


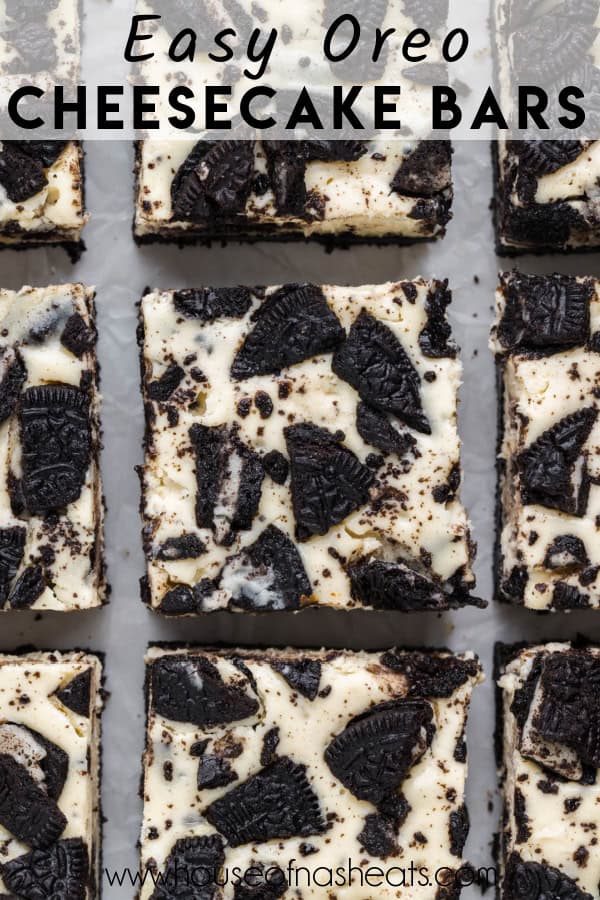
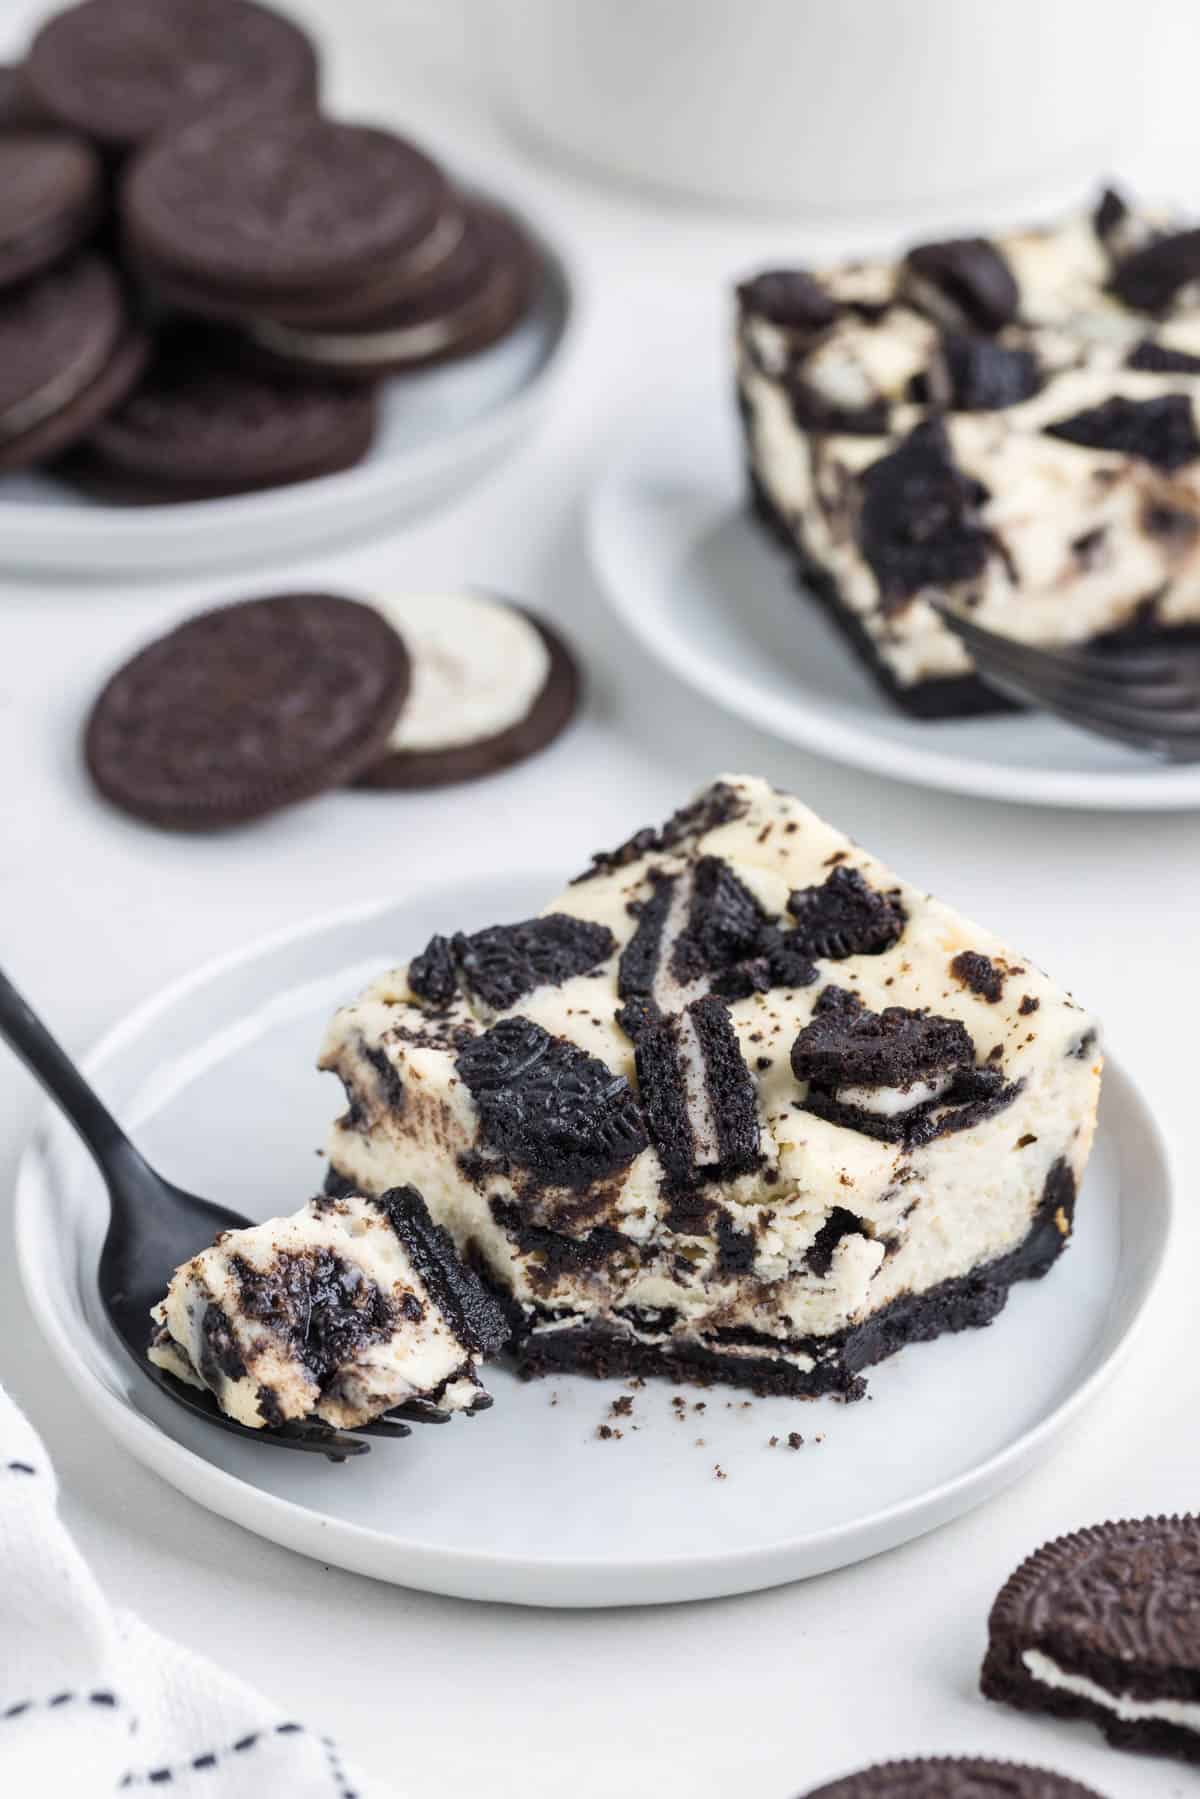
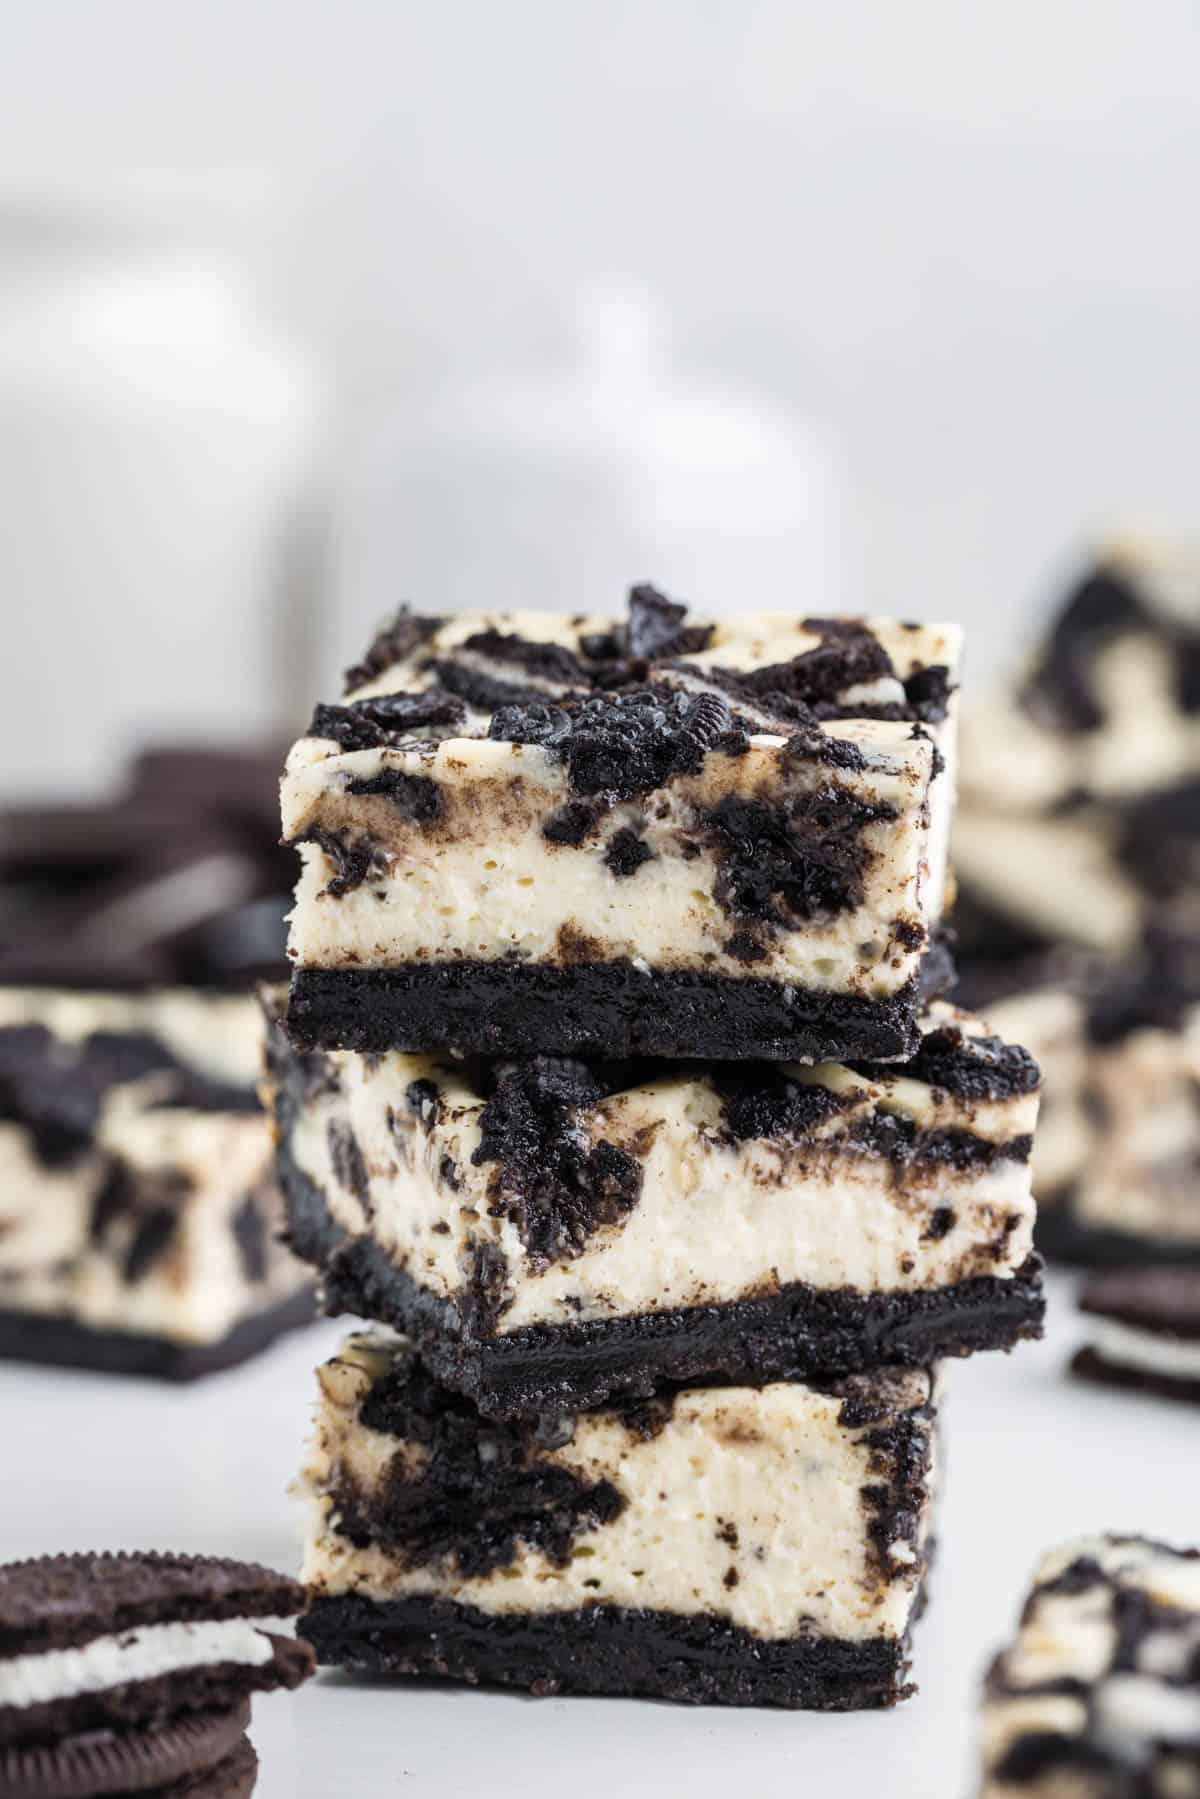
Our Oreo Cheesecake Bars combine the crunchy, classic flavor of Oreo cookies with a rich, creamy cheesecake filling! They’re a hit for parties, special occasions, or just a cozy night in, and they’re easy enough for even novice bakers to whip up with ease!
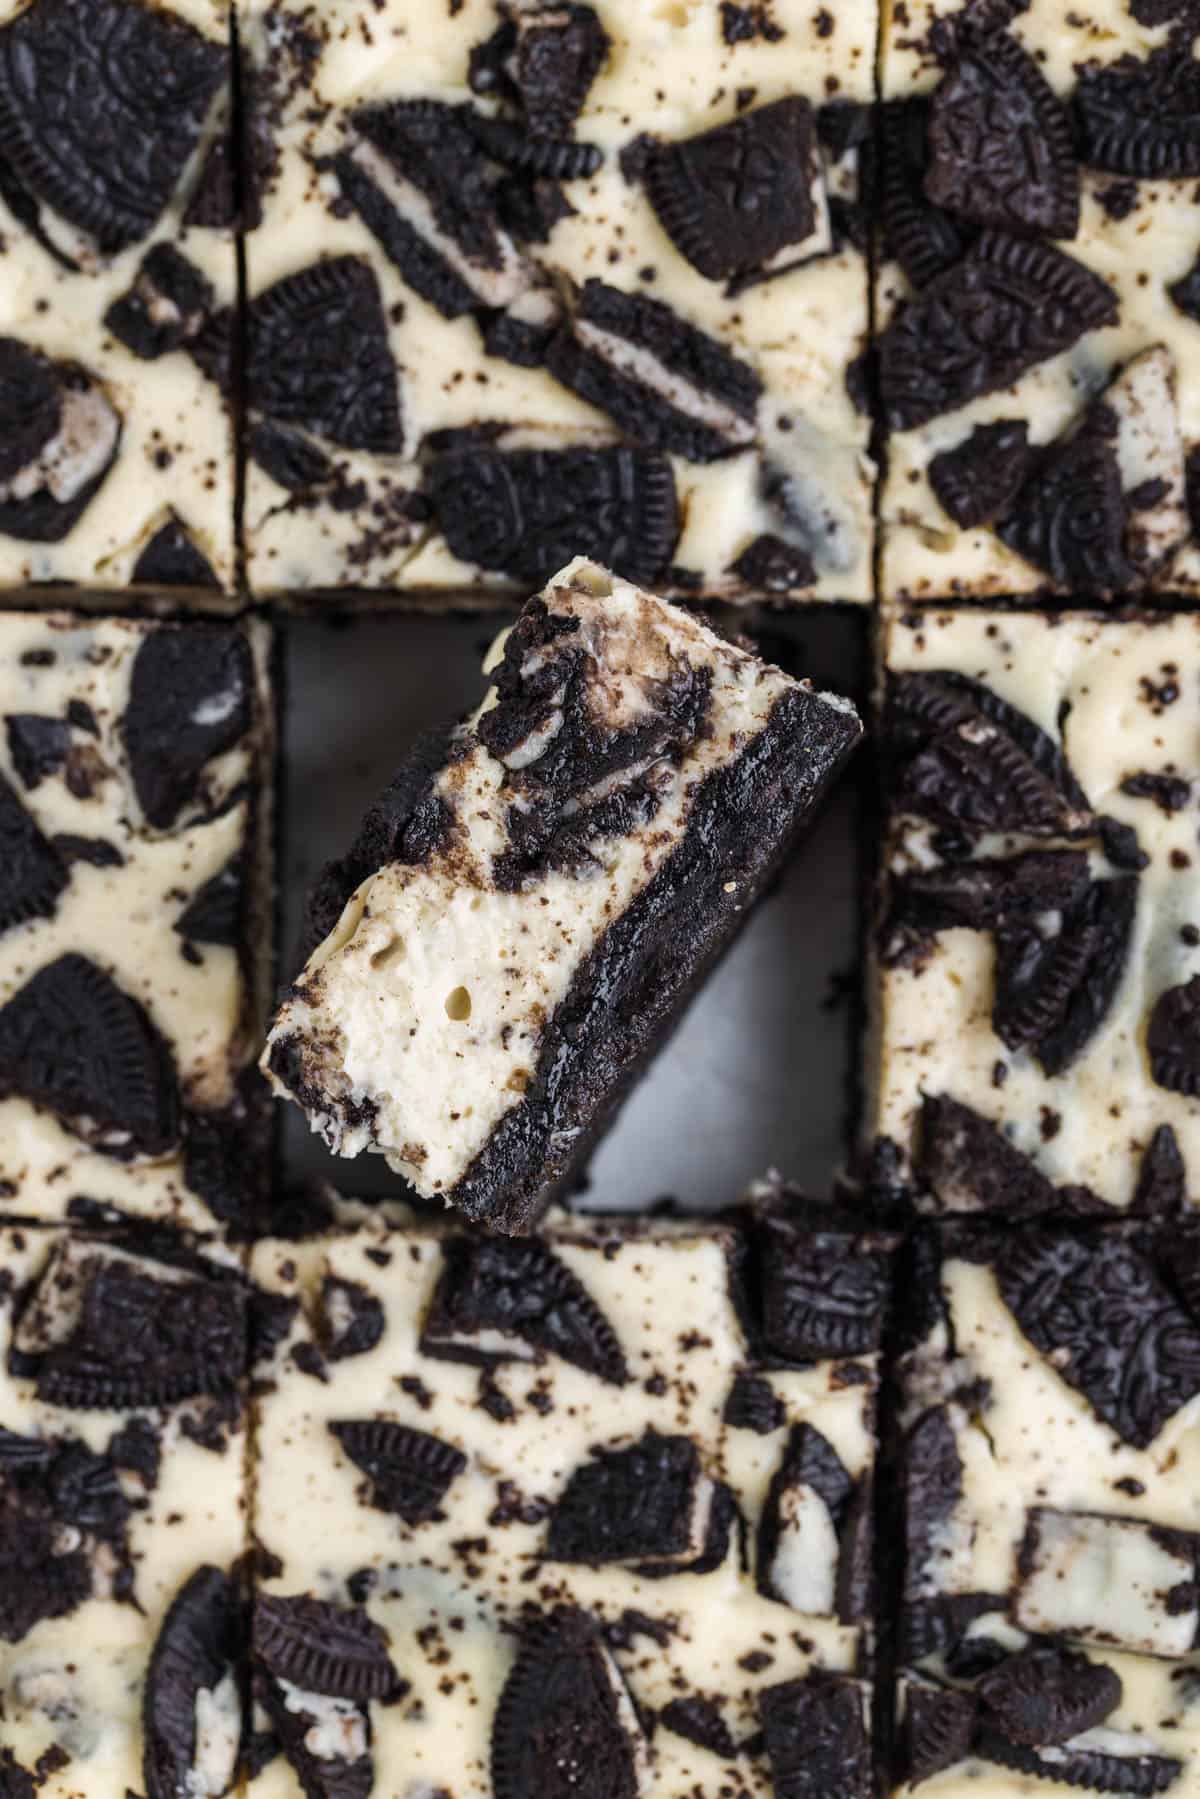
Table of Contents
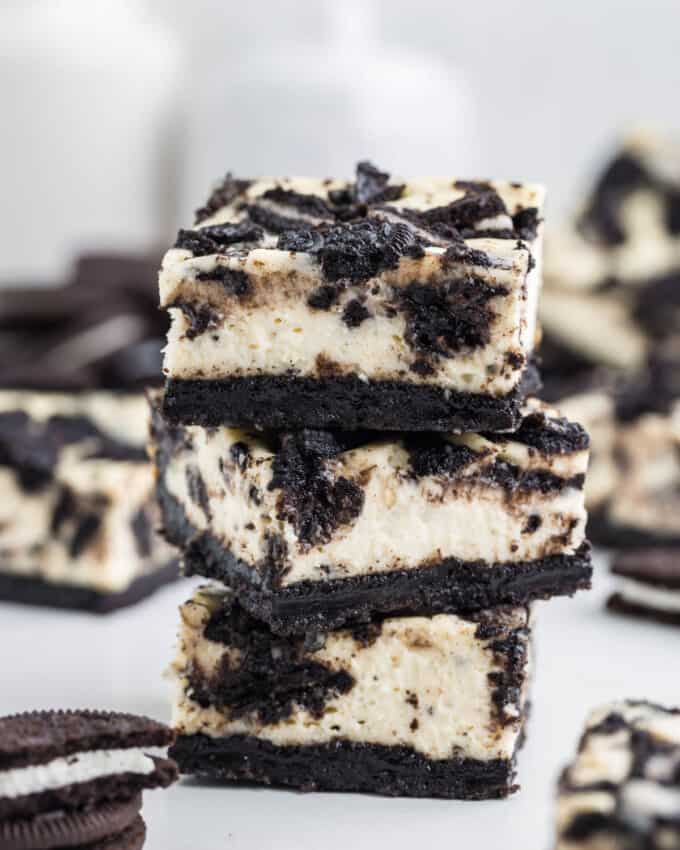
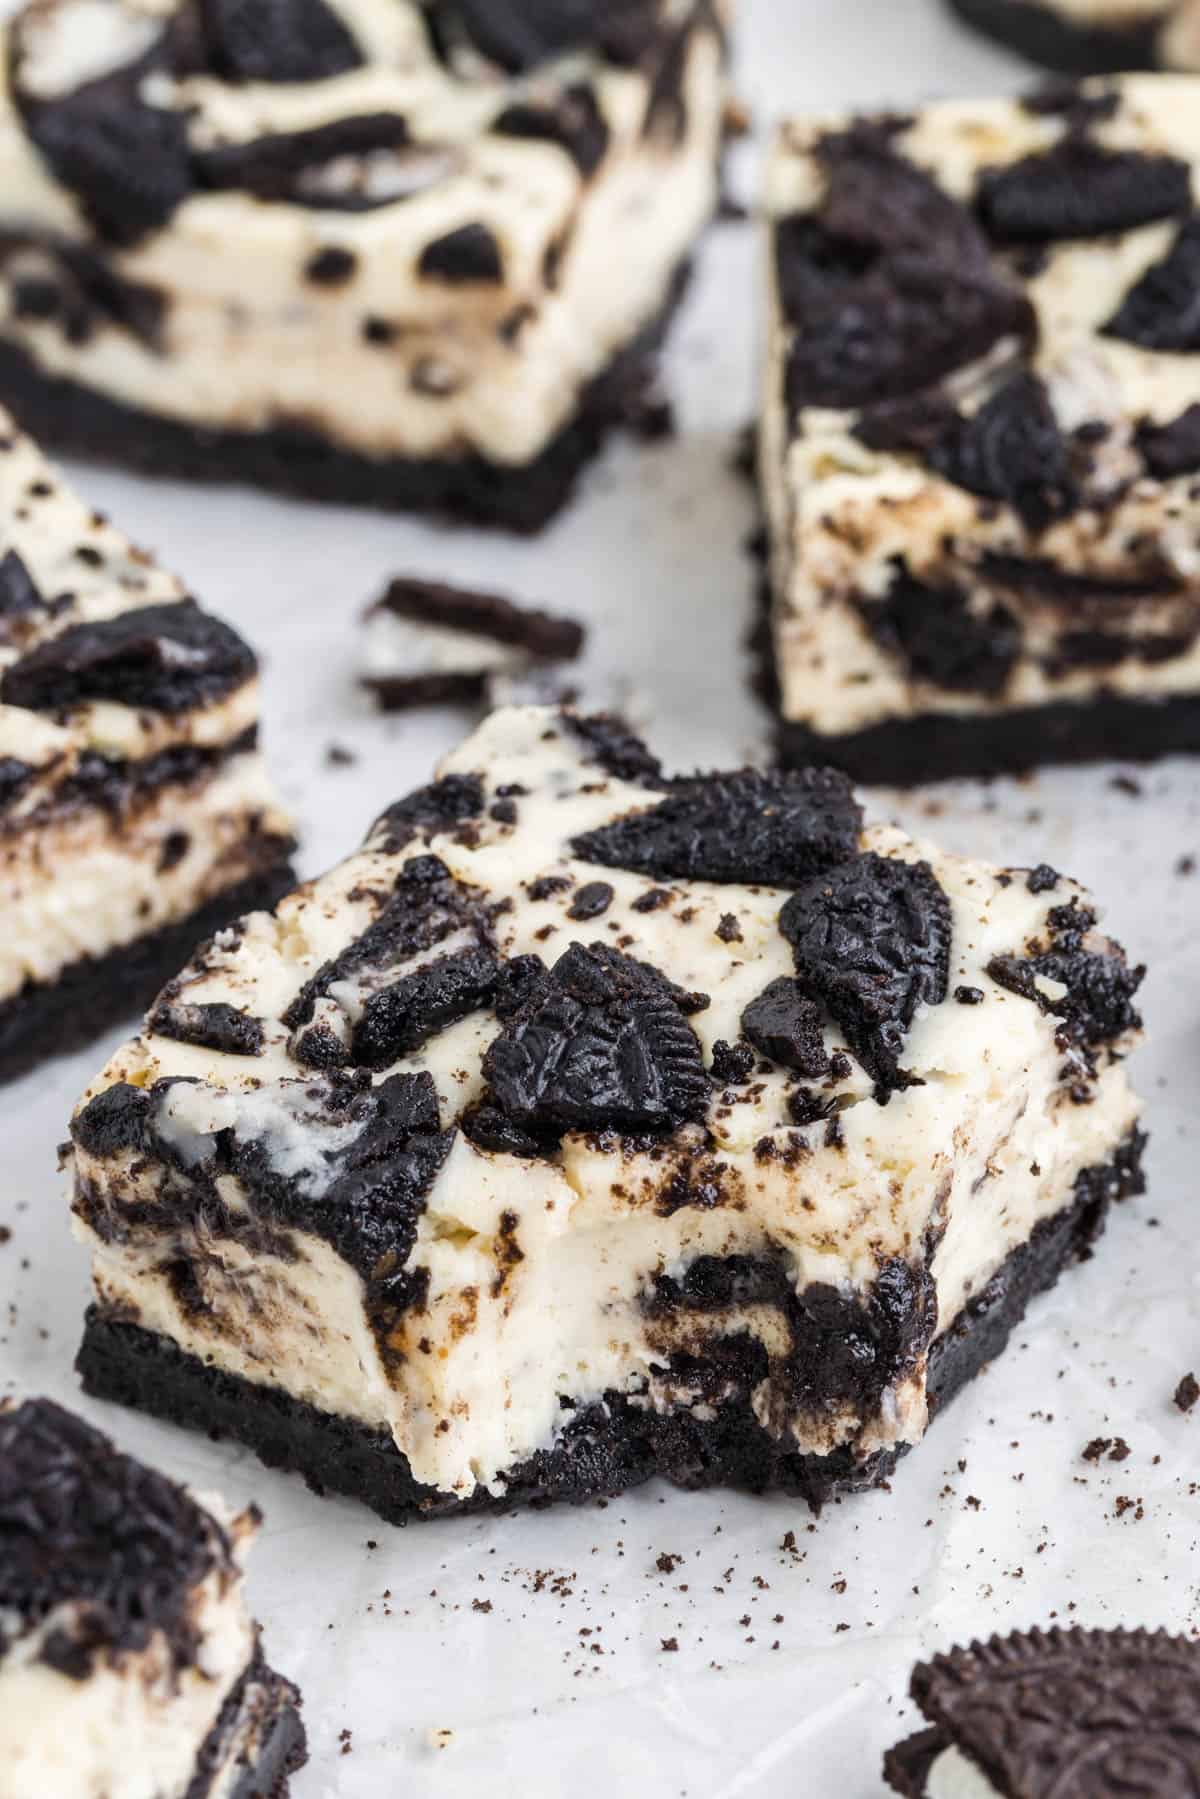
When you are wanting a cheesecake but don’t want to go to the trouble of a springform pan or even plates and forks, these cookies & cream-inspired Oreo Cheesecake Bars will come in clutch. They feature the irresistible combination of creamy cheesecake, the beloved crunch of Oreo cookies, and that classic cookies & cream flavor in every single bite!
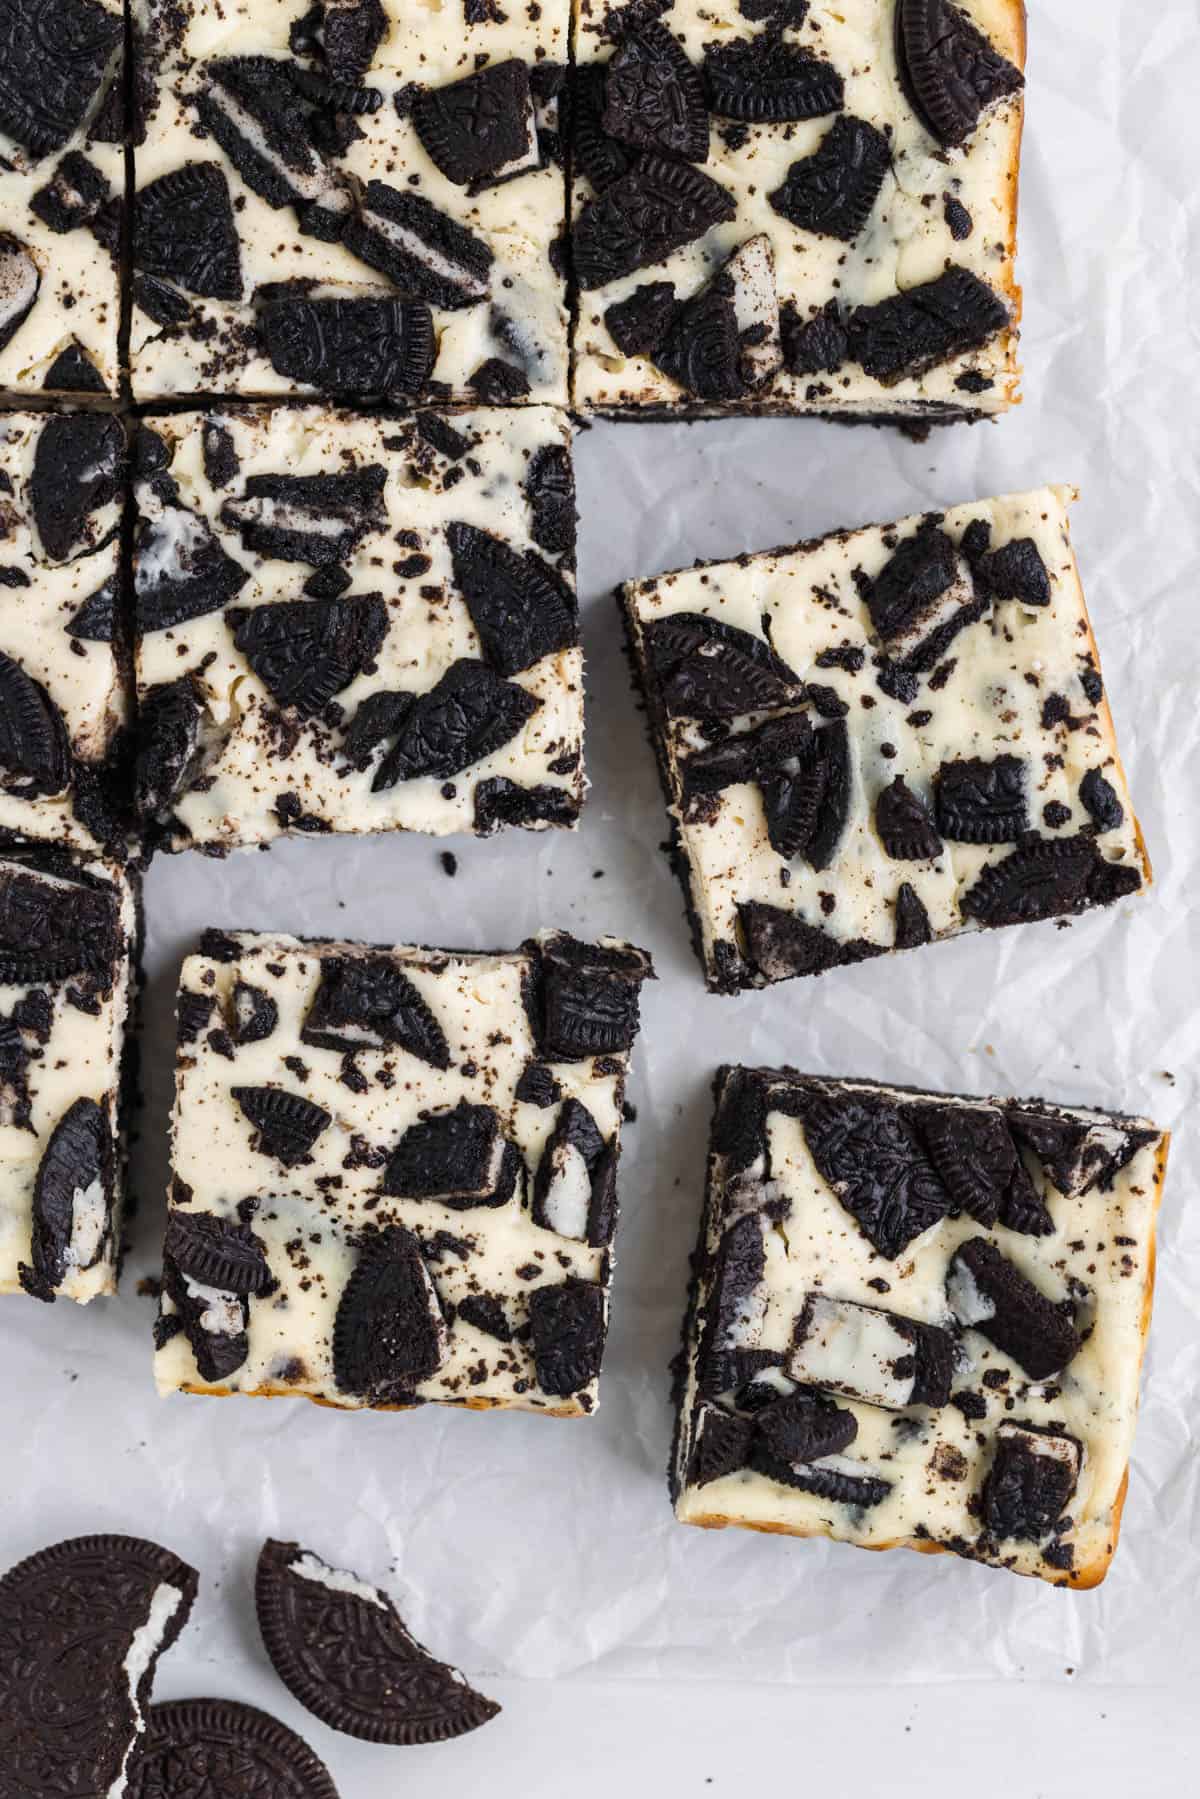
The process involves straightforward steps like mixing, baking, and chilling—perfect for those looking for a no-fuss recipe that still delivers on flavor and appearance. Plus, the finished bars are perfectly portioned for when you’re looking for a satisfying cheesecake experience without the commitment of an entire cheesecake. Each square is a complete treat in itself, making it easy to serve a crowd or keep portions in check.
If you also love Oreo cookies, check out my recipes for Easy Oreo Cheesecake Cookies, Oreo Cream Pie, Easy Oreo Cupcakes with Cookies & Cream Oreo Frosting, Homemade Fudgy Oreo Brownies, and Easy Chocolate Oreo Balls (aka Oreo Truffles)!
Why We Love This Recipe
- Oreos have universal appeal, making this Oreo Cheesecake Bar recipe a favorite for both kids and adults alike. It’s the kind of treat that brings a smile to everyone’s face when it’s brought out at gatherings.
- They can be made ahead of time, stored easily, and served at room temperature or straight from the fridge.
- You can easily dress them up with whipped cream, more Oreos, or even drizzles of syrup.

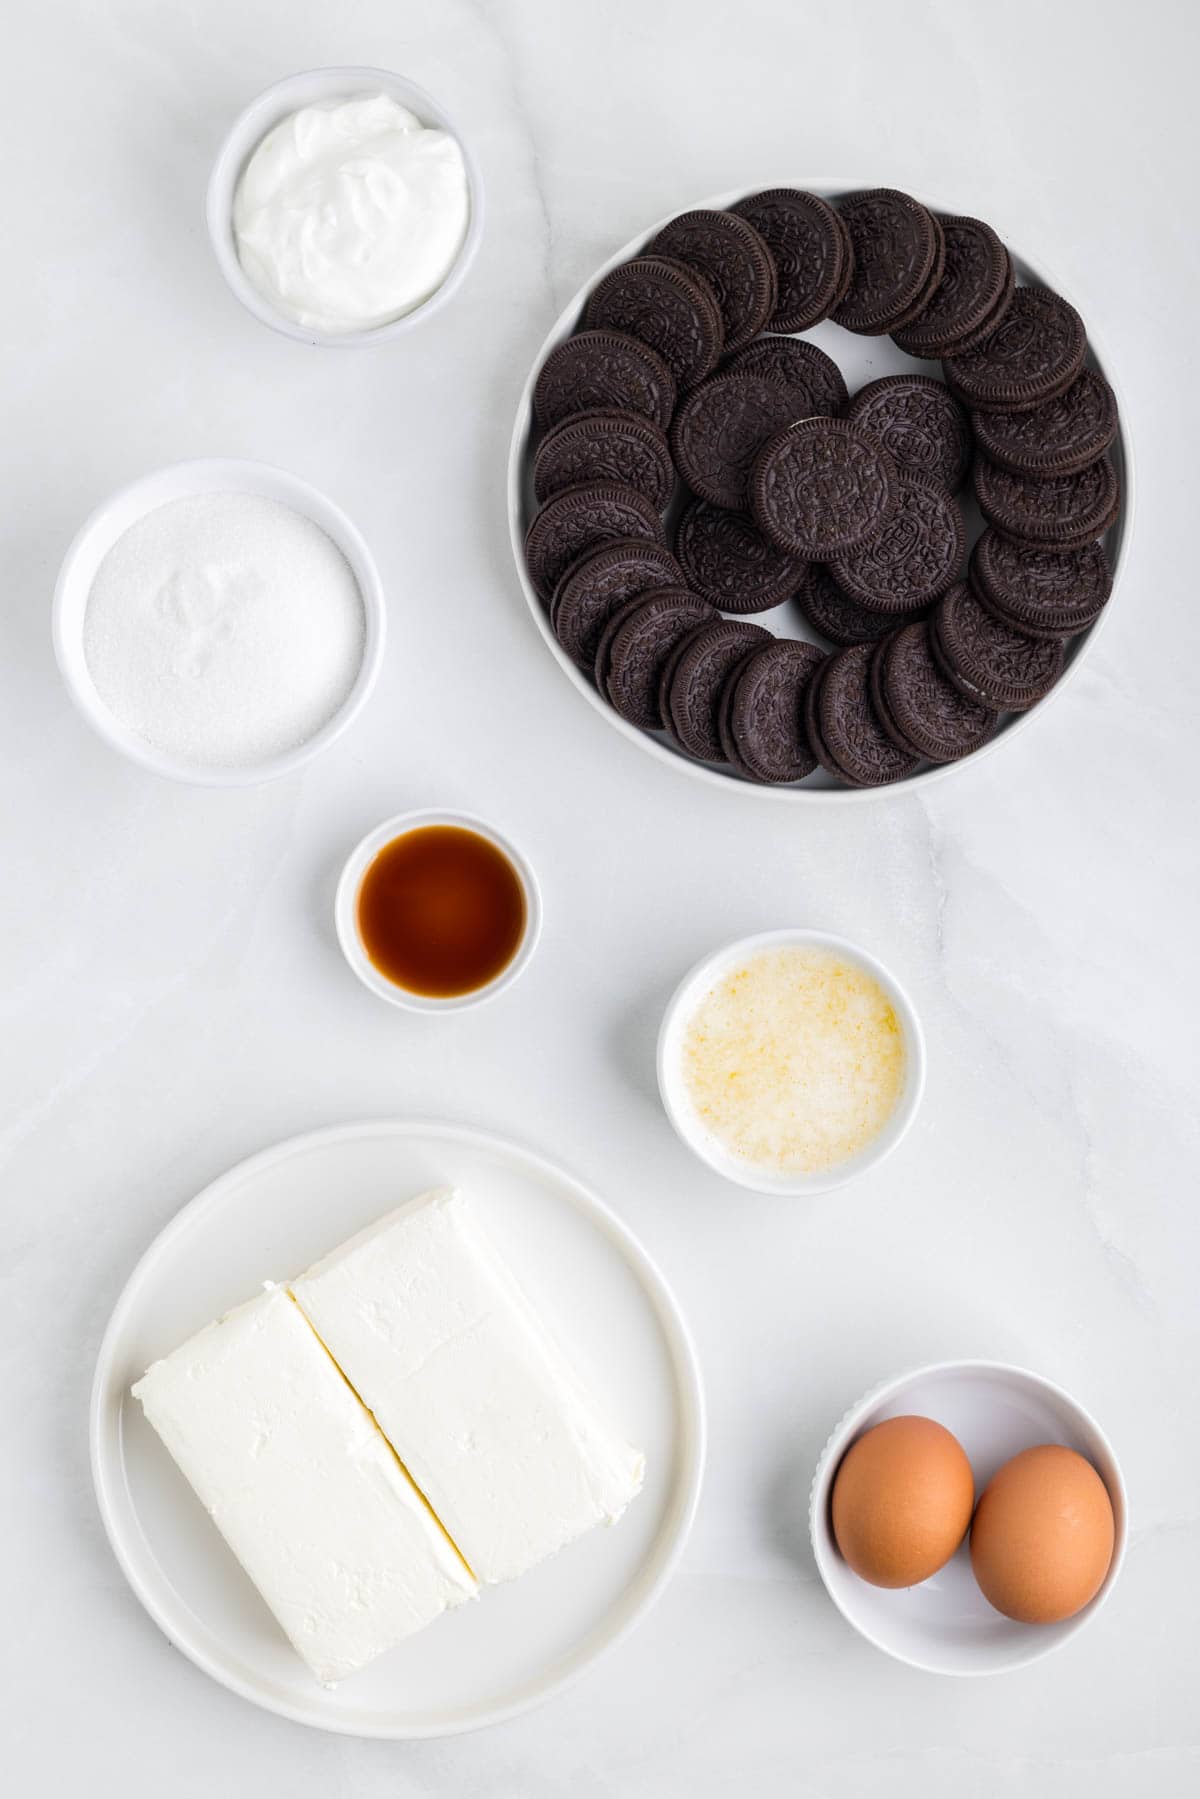
What You’ll Need
Scroll down to the recipe card below this post for ingredient quantities and full instructions.
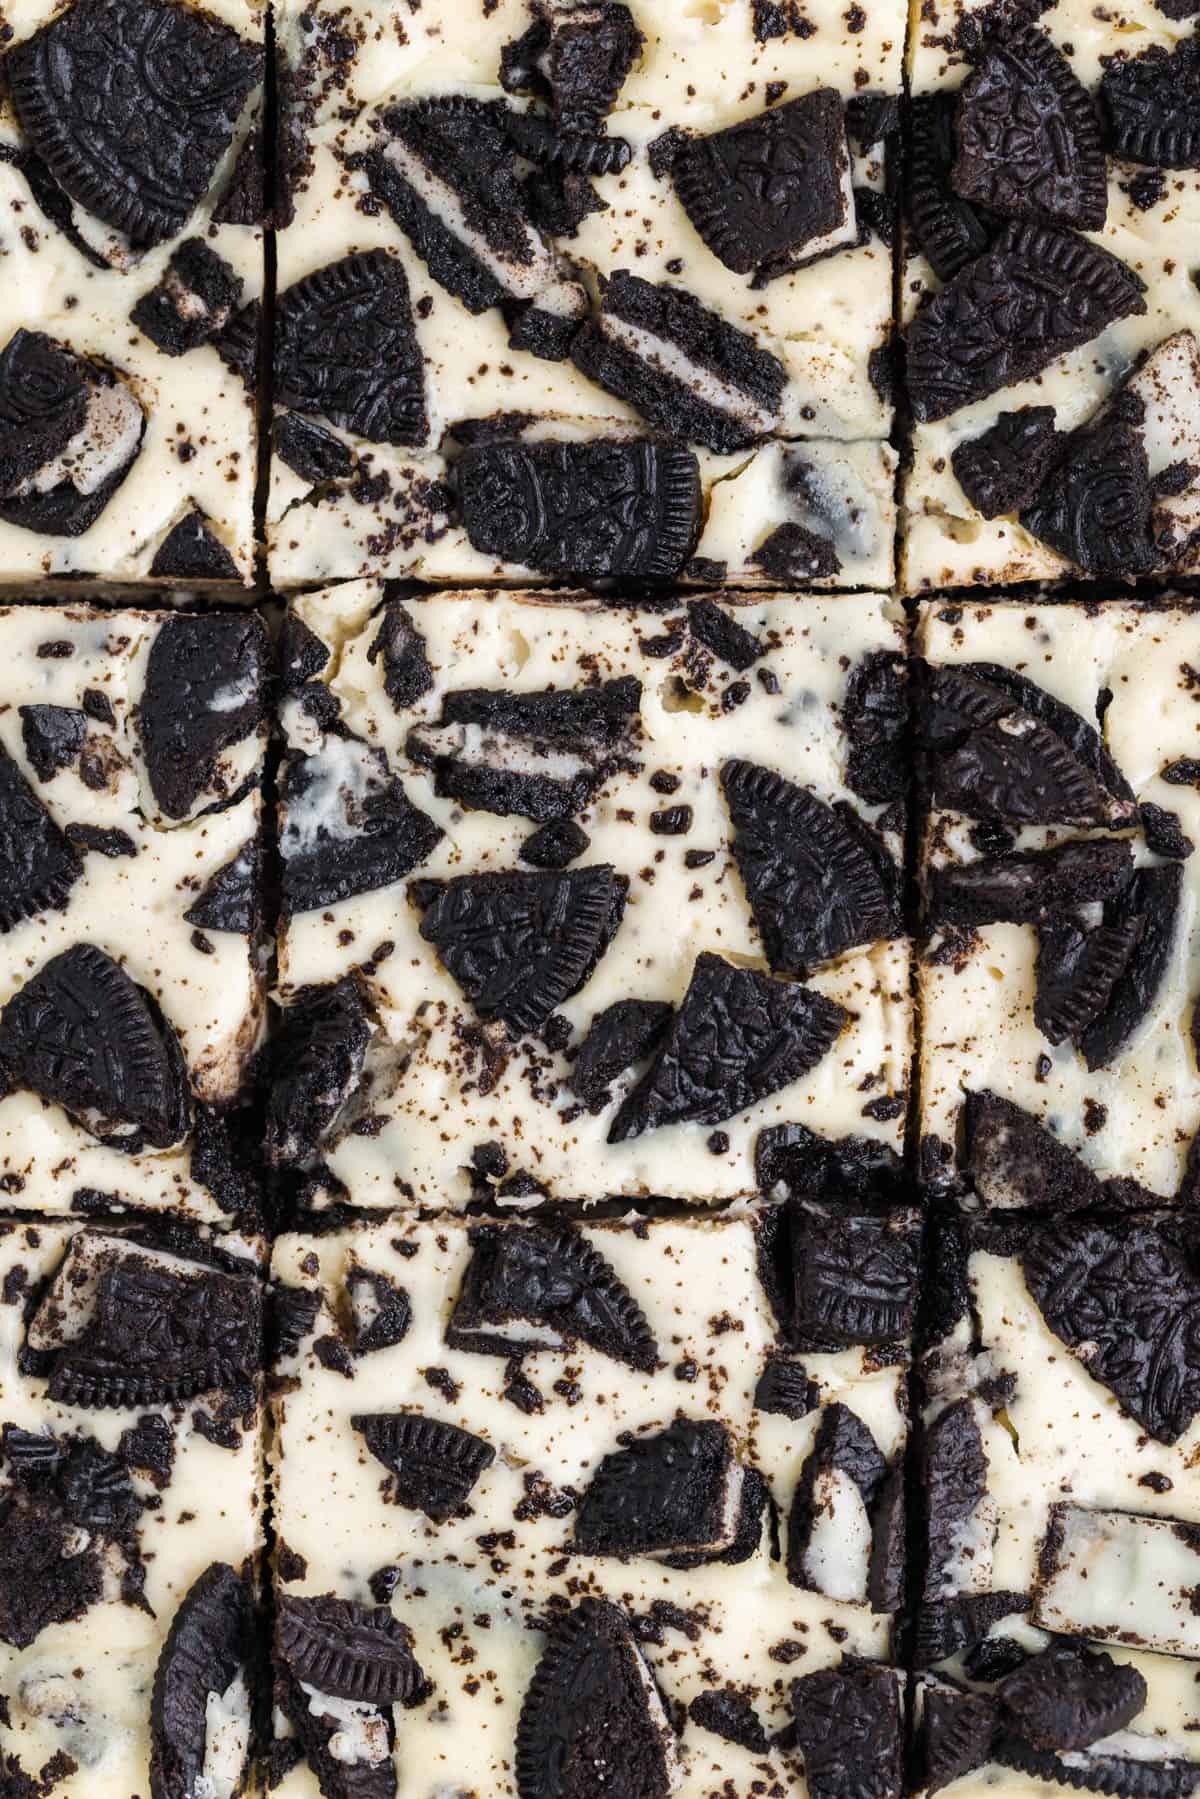
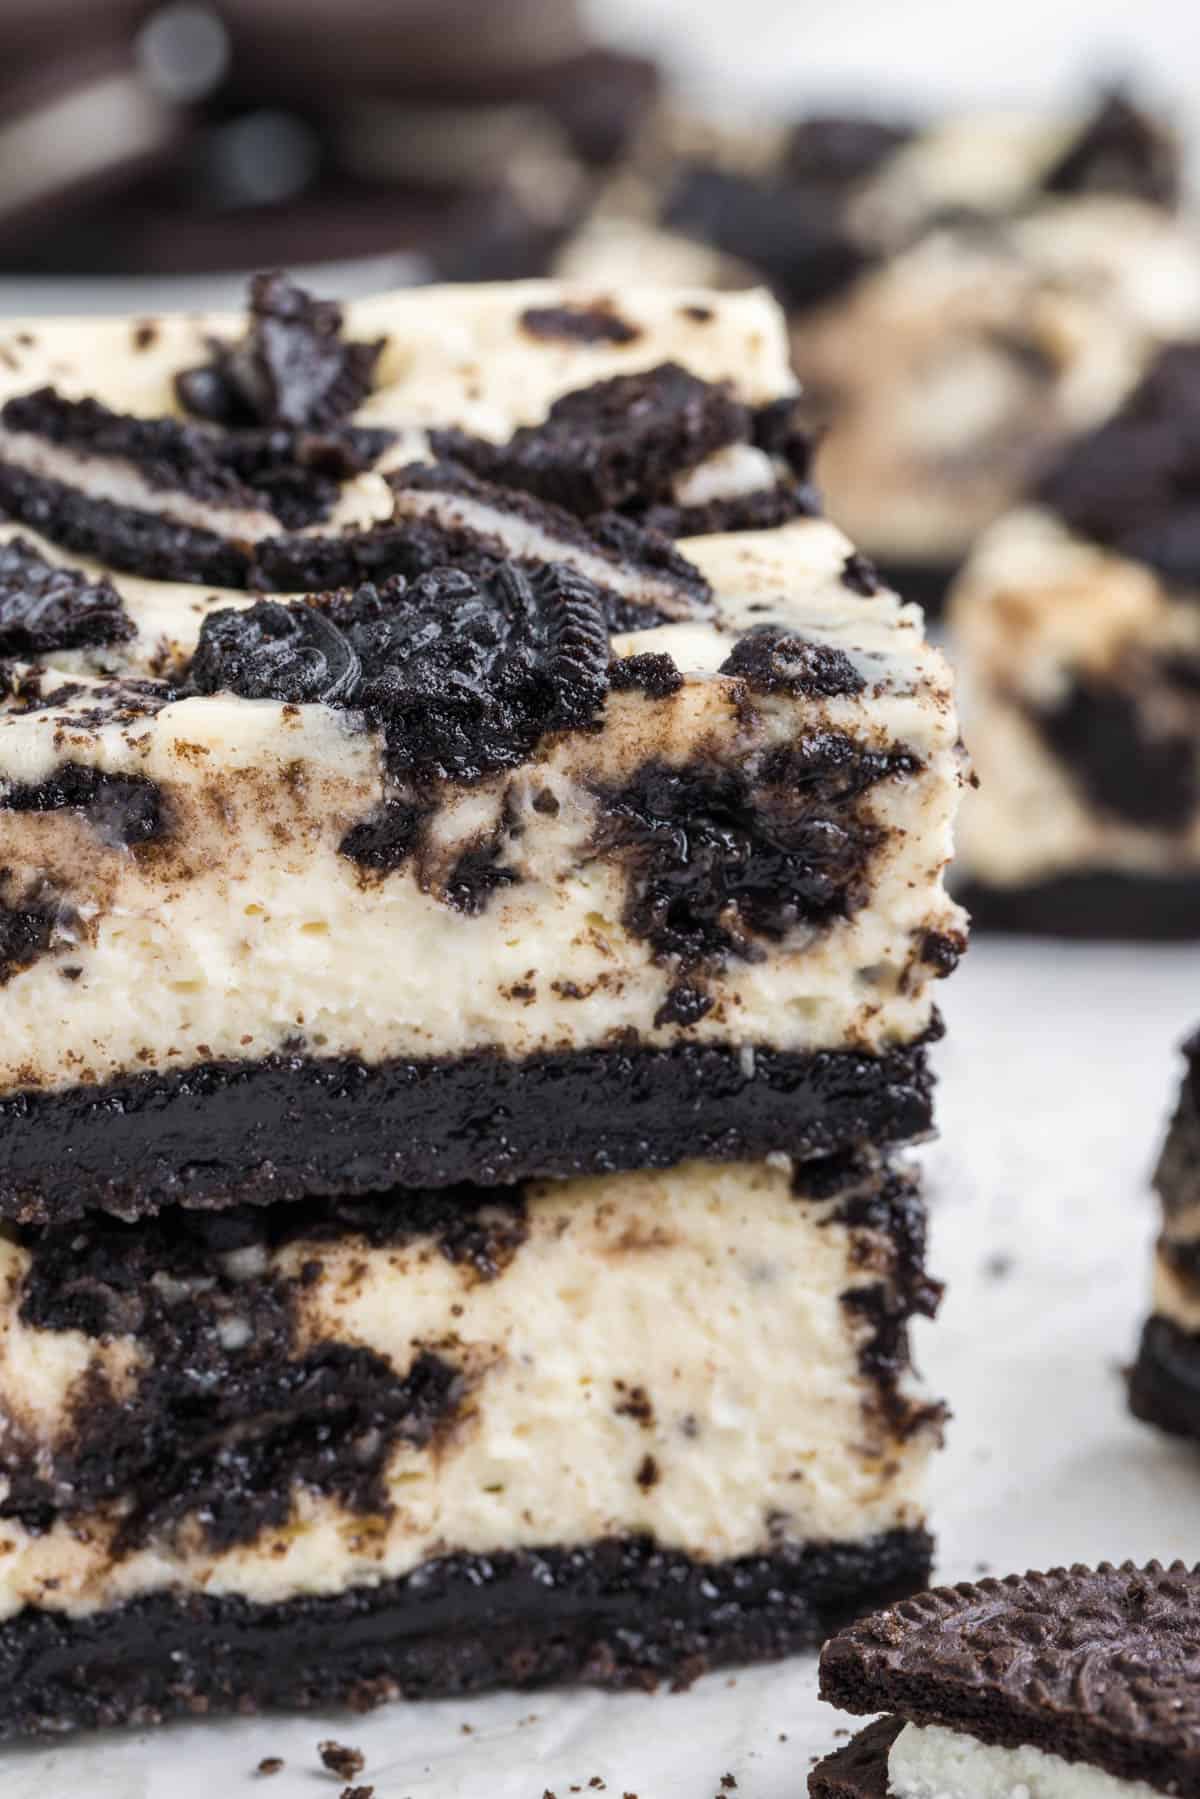
- Oreos – The fine crumbs of the crushed Oreos are mixed with the butter to create a firm Oreo cookie crust that holds up the cheesecake layer, which has even more chopped Oreos folded into the cheesecake batter and sprinkled on top before baking.
- Salted Butter – This binds the Oreo crumbs together for the crust, giving it the right texture to support the creamy topping and a buttery flavor. I recommend using salted butter in the crust to help balance the sweetness of the cheesecake bars. If you only have unsalted butter, add a pinch of salt with the Oreo crumbs when you make the crust.
- Cream Cheese – The main ingredient of the cheesecake layer. Room-temperature cream cheese is easier to mix and results in a smoother, creamier filling. Use full-fat brick-style cream cheese in this recipe, as whipped cream cheese will not give you the right texture.
- Granulated Sugar – This sweetens the cheesecake mixture, balancing the tang of the cream cheese.
- Sour Cream – Adds richness and a slight tang to the cheesecake, enhancing its texture.
- Vanilla Extract – Provides a hint of vanilla flavoring that complements both the Oreo crust and the creamy cheesecake. Vanilla extract can be replaced with an equal amount of almond extract for a different flavor profile.
- Eggs – Eggs are crucial for binding the ingredients together and helping the cheesecake set properly.
Gluten-free Oreos are fantastic and can be used in place of regular Oreos to make this dessert gluten-free. Use regular Oreos and not double-stuffed. There is no need to remove the white cream filling – use whole oreo cookies in the crust and the cheesecake filling.
How to Make Cookies & Cream Cheesecake Bars with Oreos
- Prepare equipment. Start by preheating your oven to 325°F. Line an 8×8-inch baking pan with parchment paper for easy removal of the bars after baking.
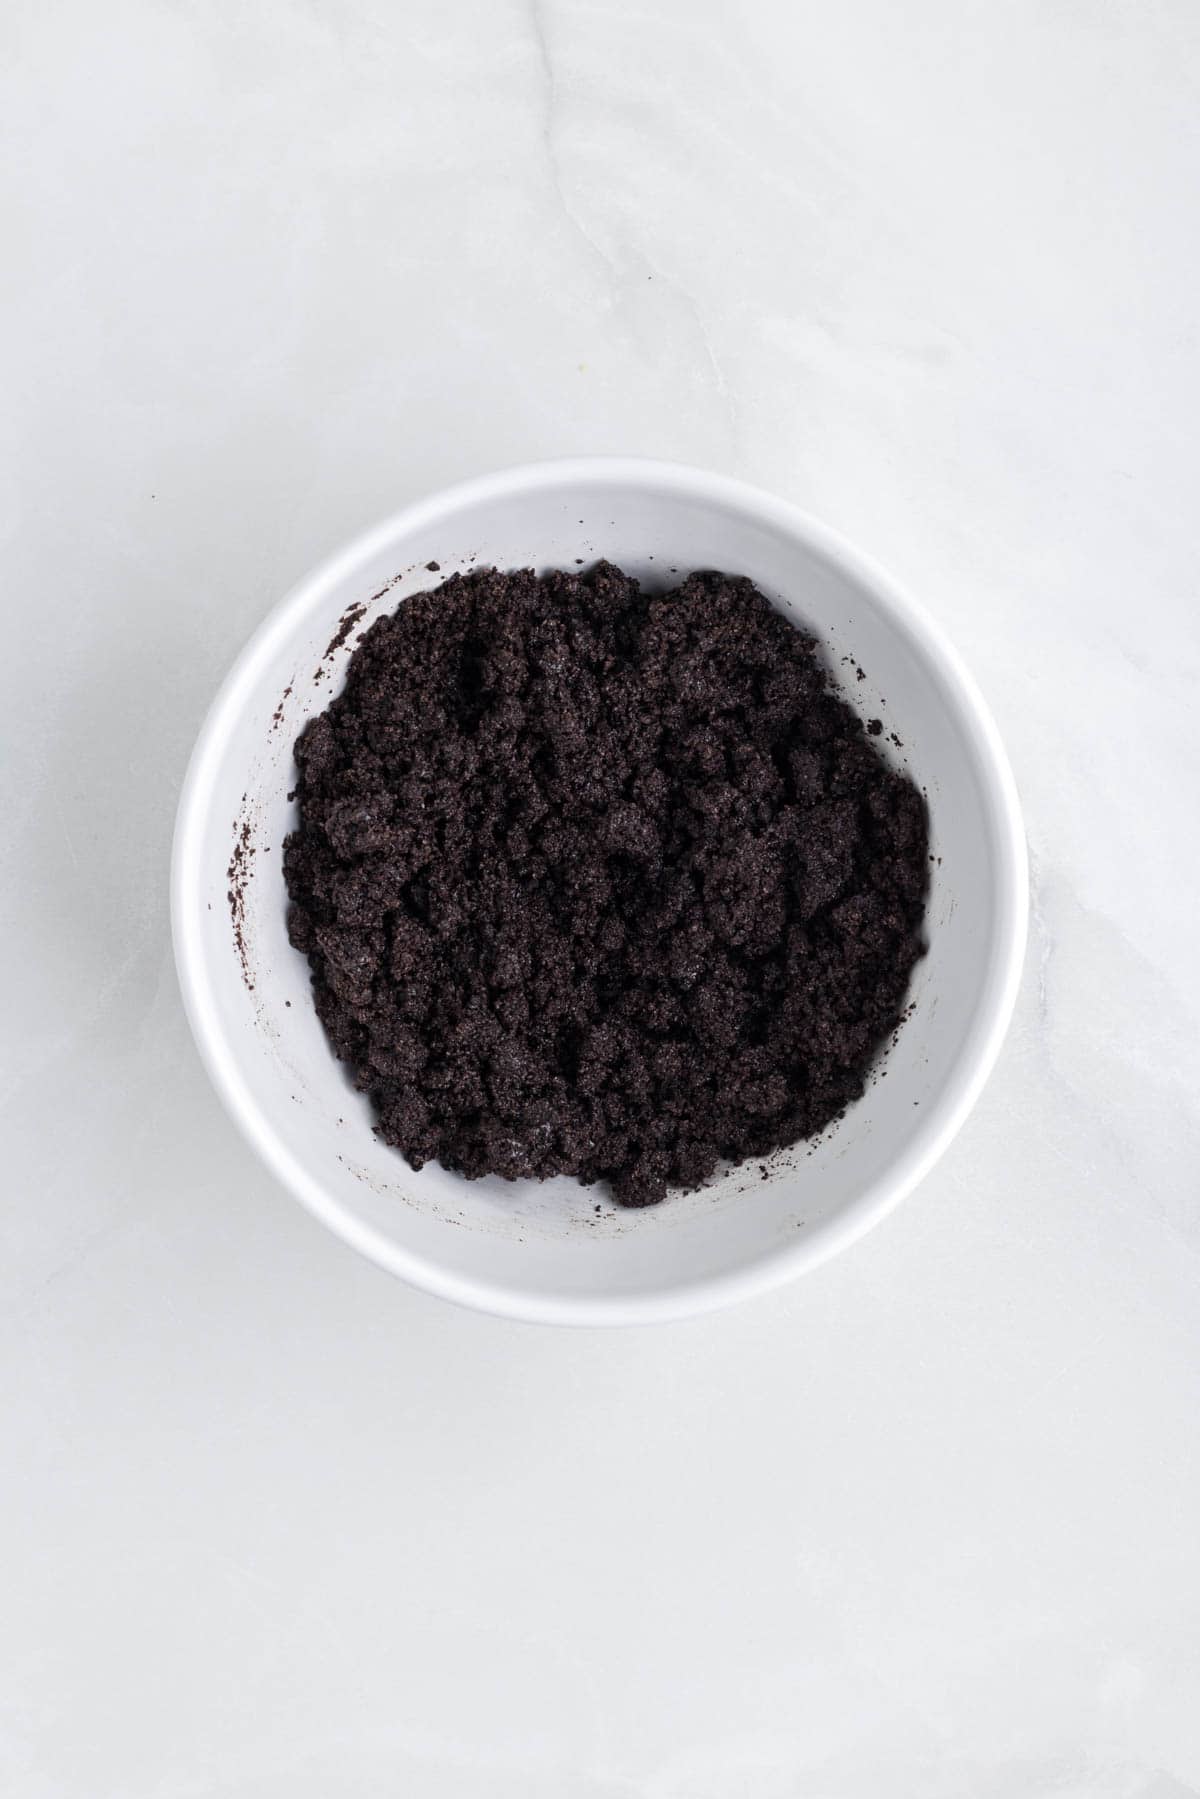
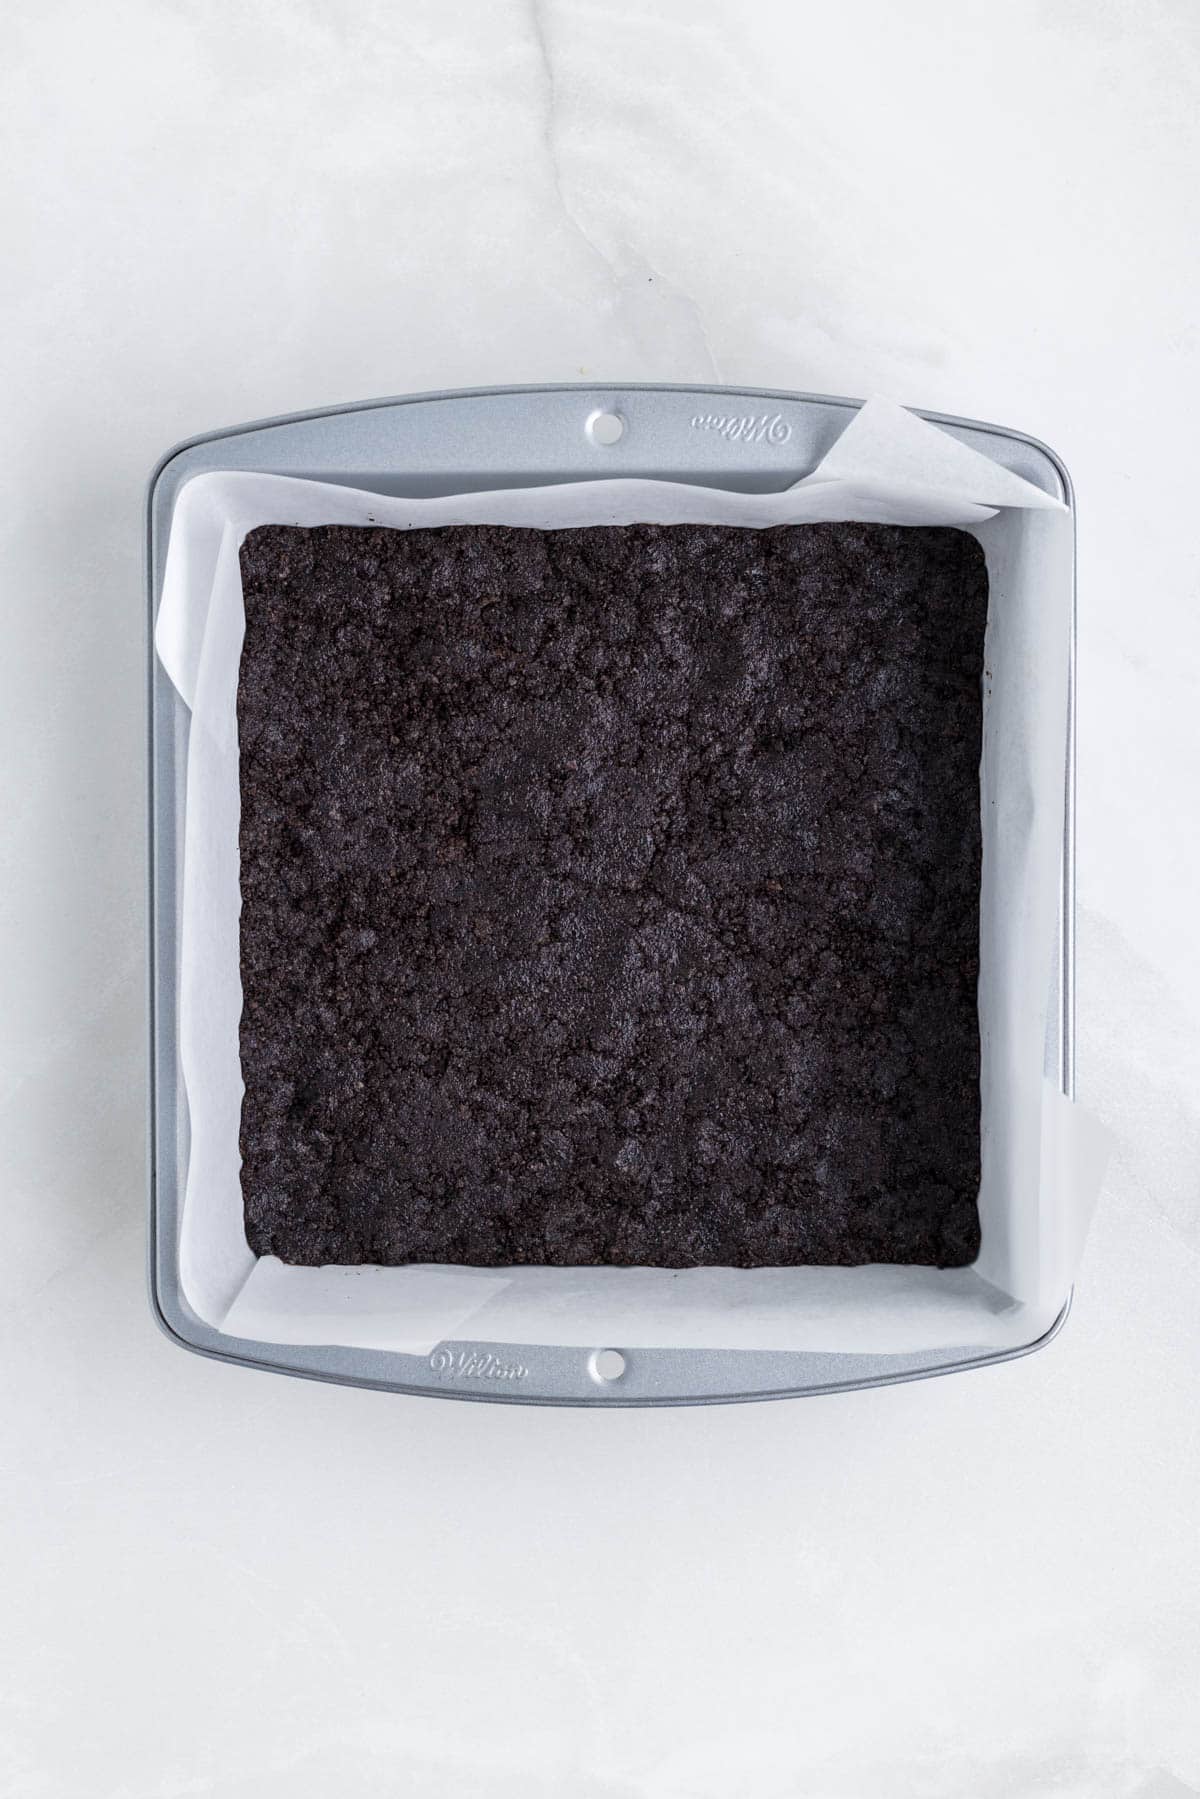
- Make cookie crust. Crush 22 Oreos finely, either using a food processor (affiliate link) or a rolling pin and a ziplock bag (about 2 cups). In a medium bowl, combine these crumbs with 4 tablespoons of melted butter, mixing until the mixture resembles wet sand. Press this mixture firmly into the lined pan to create a solid and even base. I like to use a flat-bottomed glass or measuring cup for this. Bake for 10 minutes, then remove from the oven and allow to cool while you prepare the cheesecake filling.
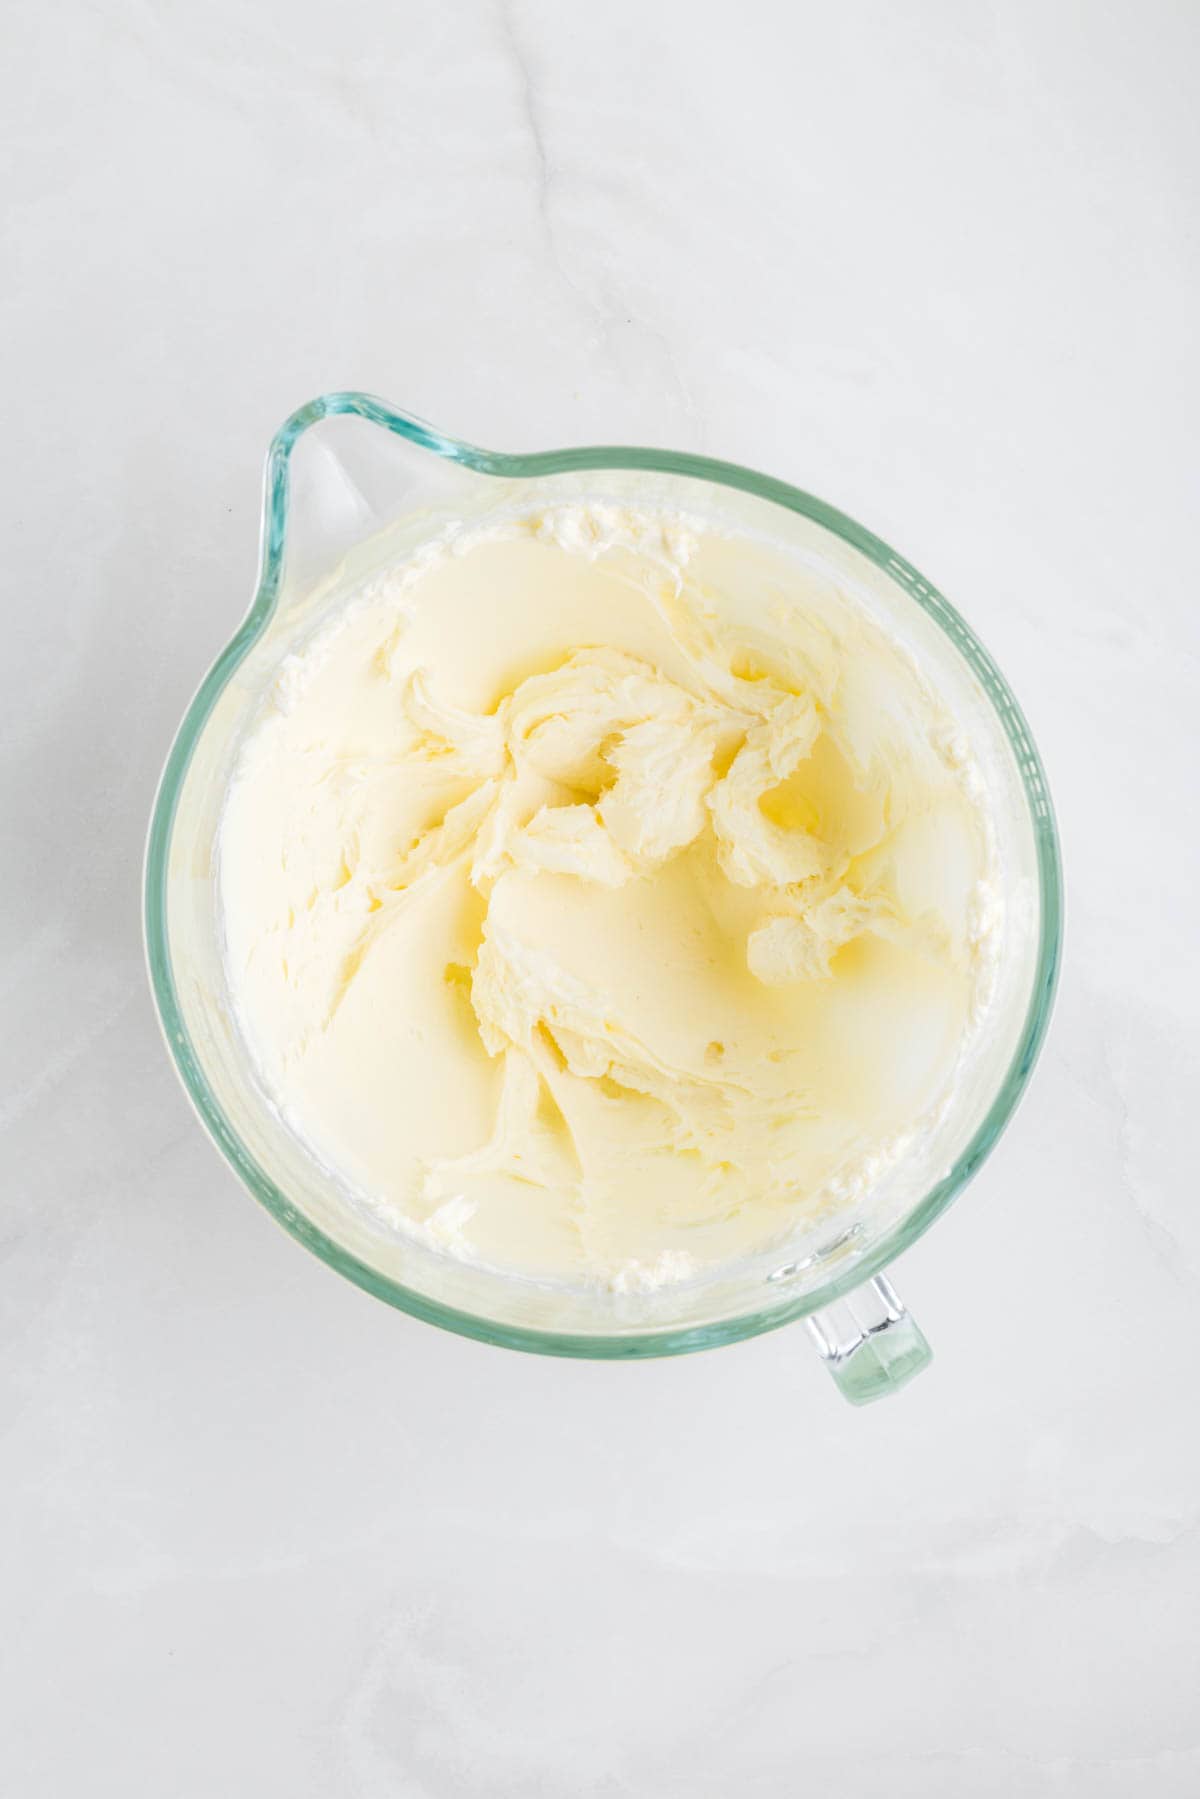
- Beat sugar and cream cheese. In a large bowl, use an electric mixer to beat the room-temperature cream cheese and granulated sugar until the mixture is smooth and creamy. This should take about 2-3 minutes on medium speed.
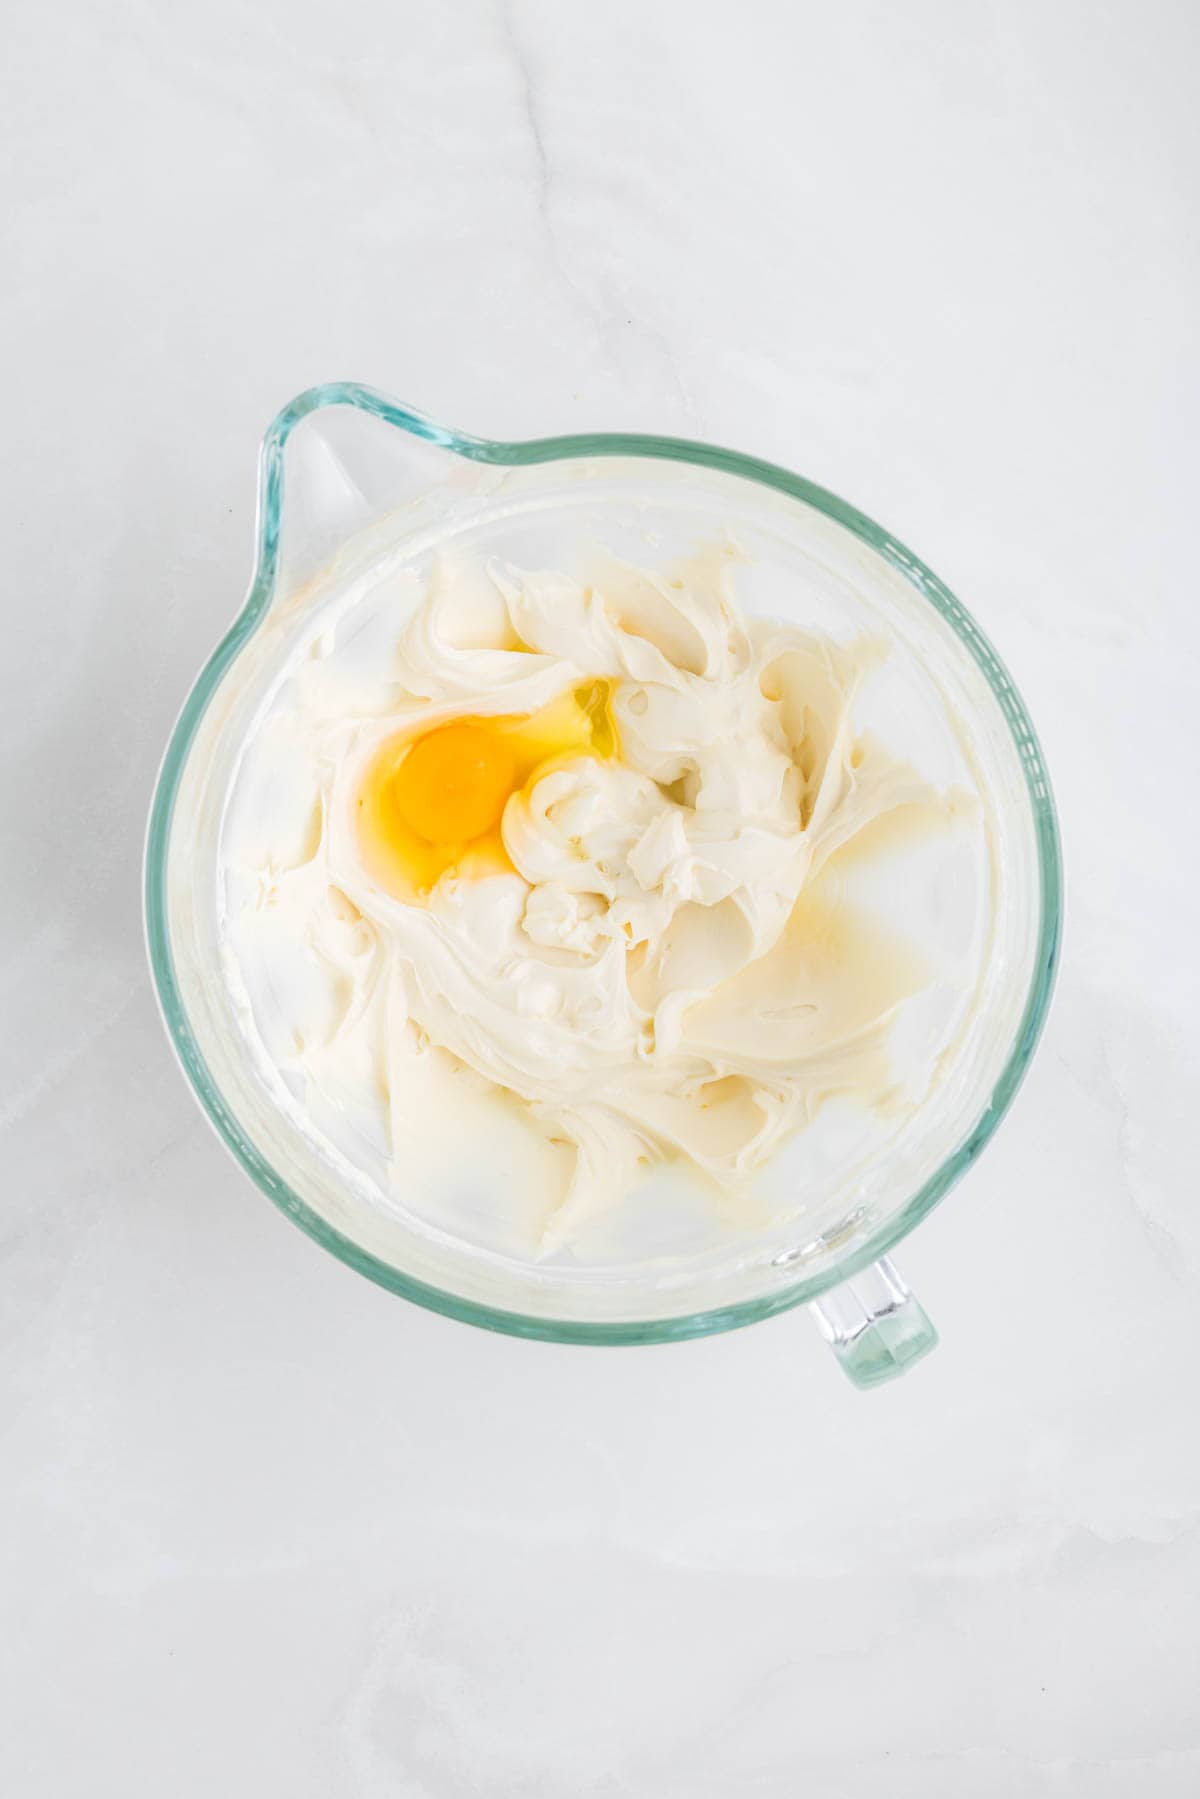
- Add sour cream, vanilla extract, and eggs. Scrape down the sides of the bowl with a flexible spatula to ensure everything is well combined. Add the sour cream and vanilla extract to the mixture, beating on low speed until everything is fully incorporated. Add the eggs one at a time, mixing on low speed just until each is combined; it’s crucial not to overmix here, as that can introduce too much air into the batter, leading to cracks.
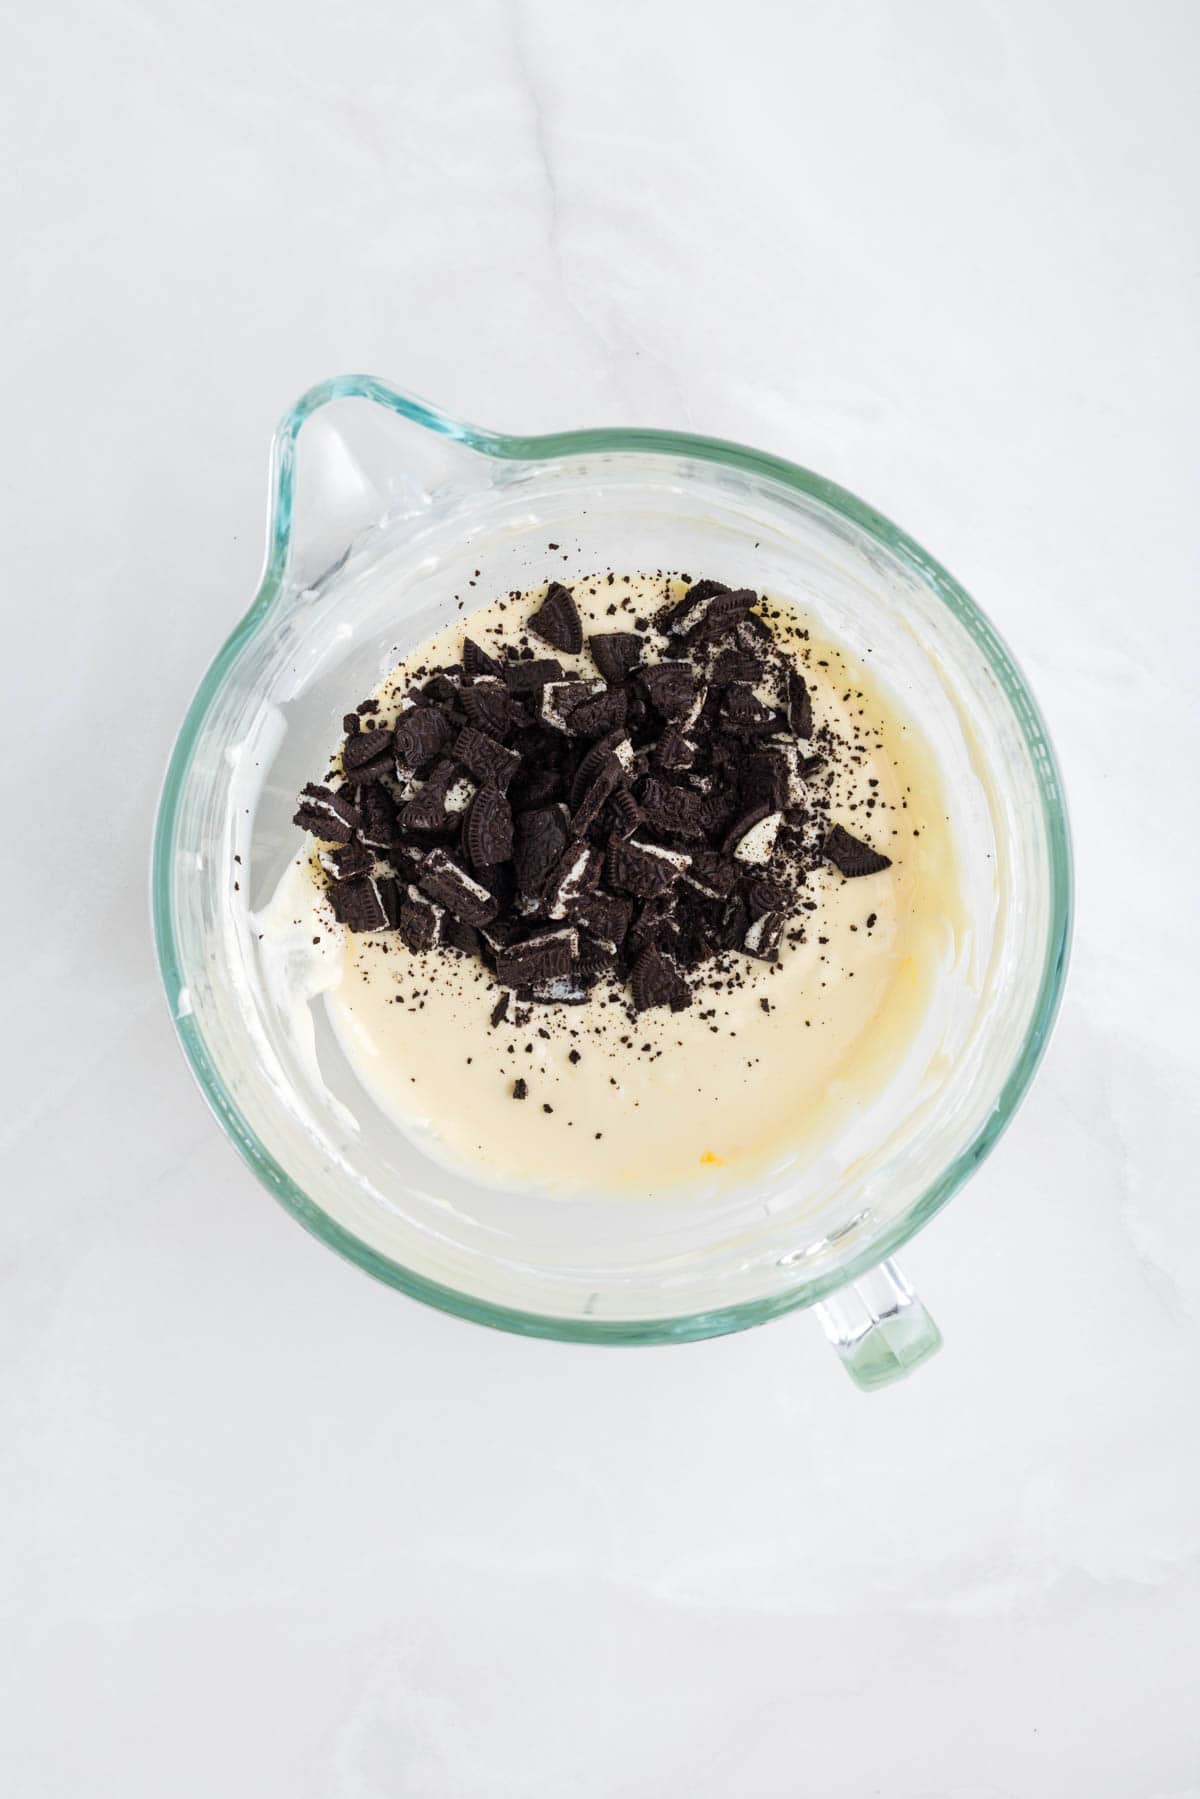
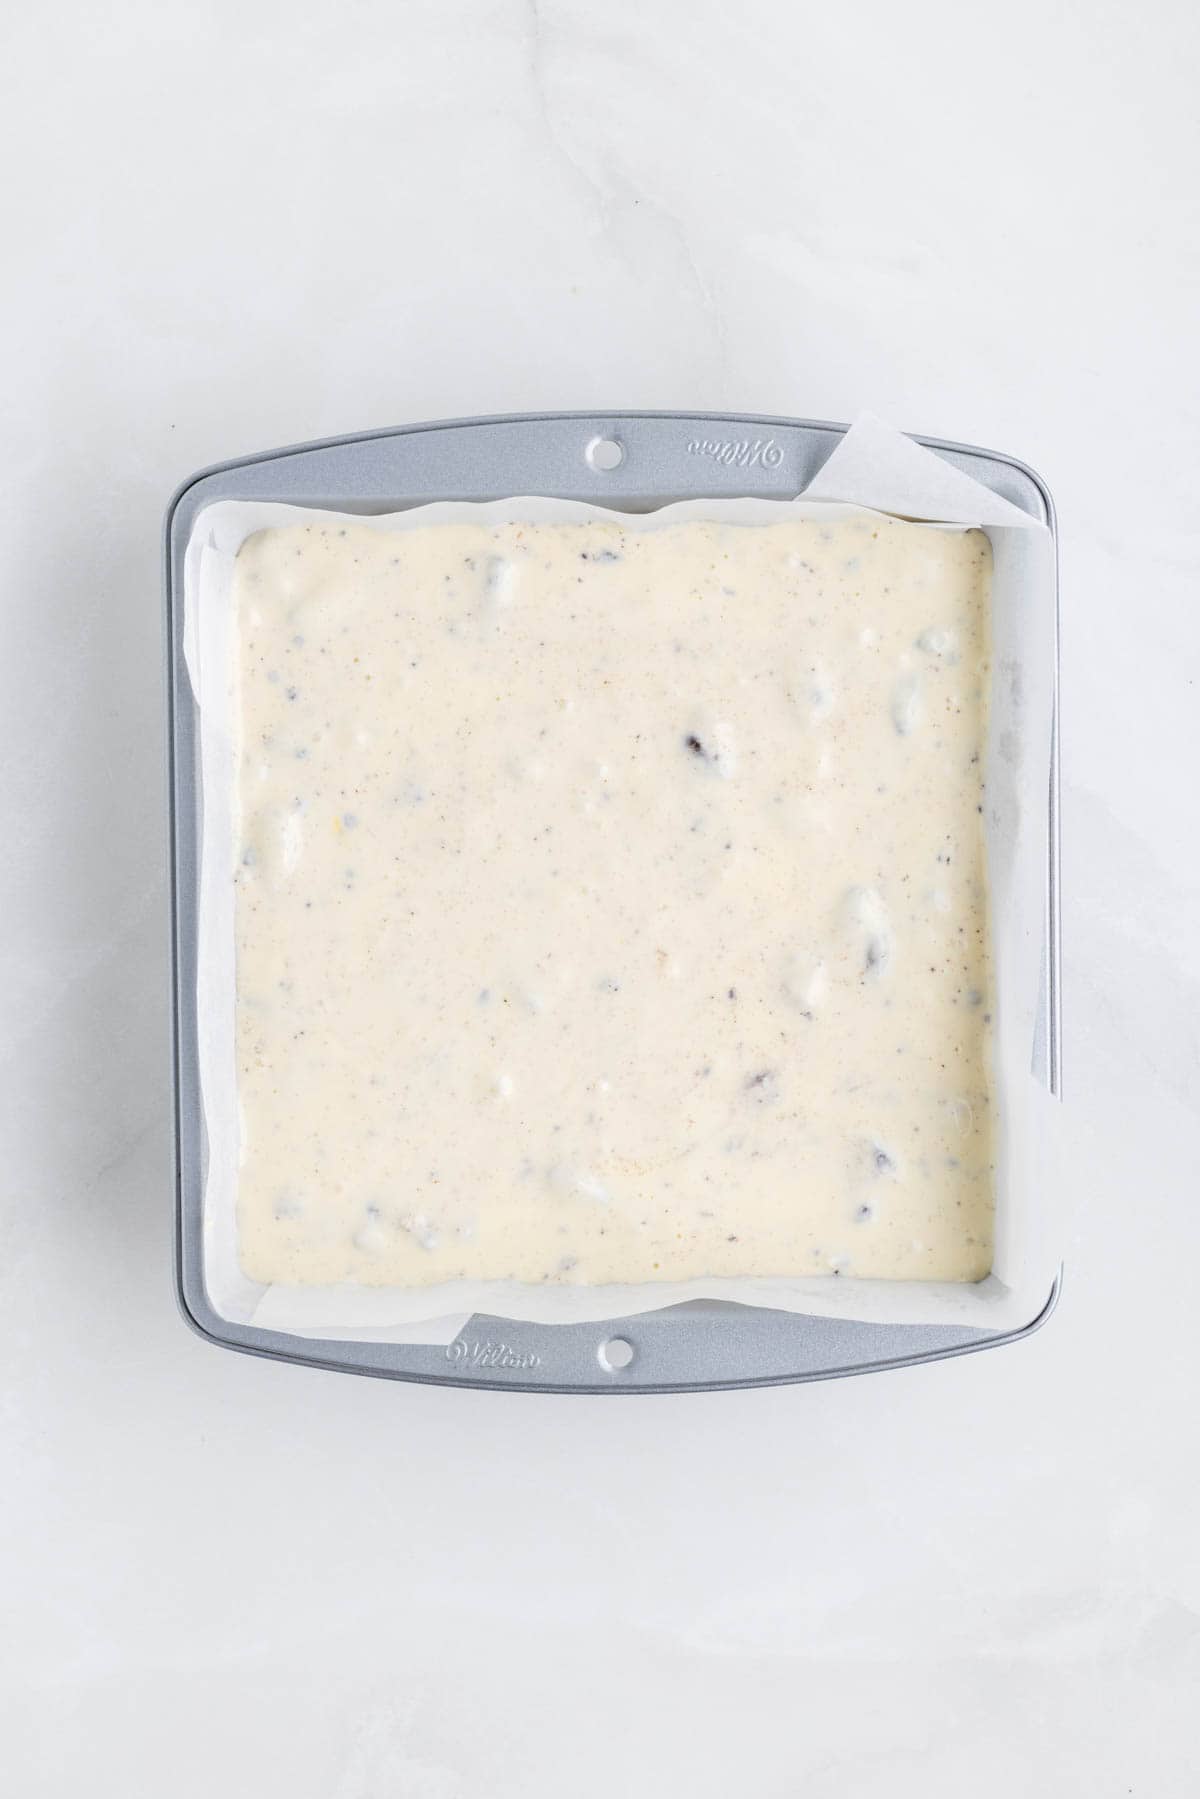
- Mix in Oreos. Fold half of the roughly chopped Oreos into the cheesecake mixture gently with a rubber spatula.
- Transfer to baking pan. Pour this mixture over the cooled crust, spreading it out into an even layer.
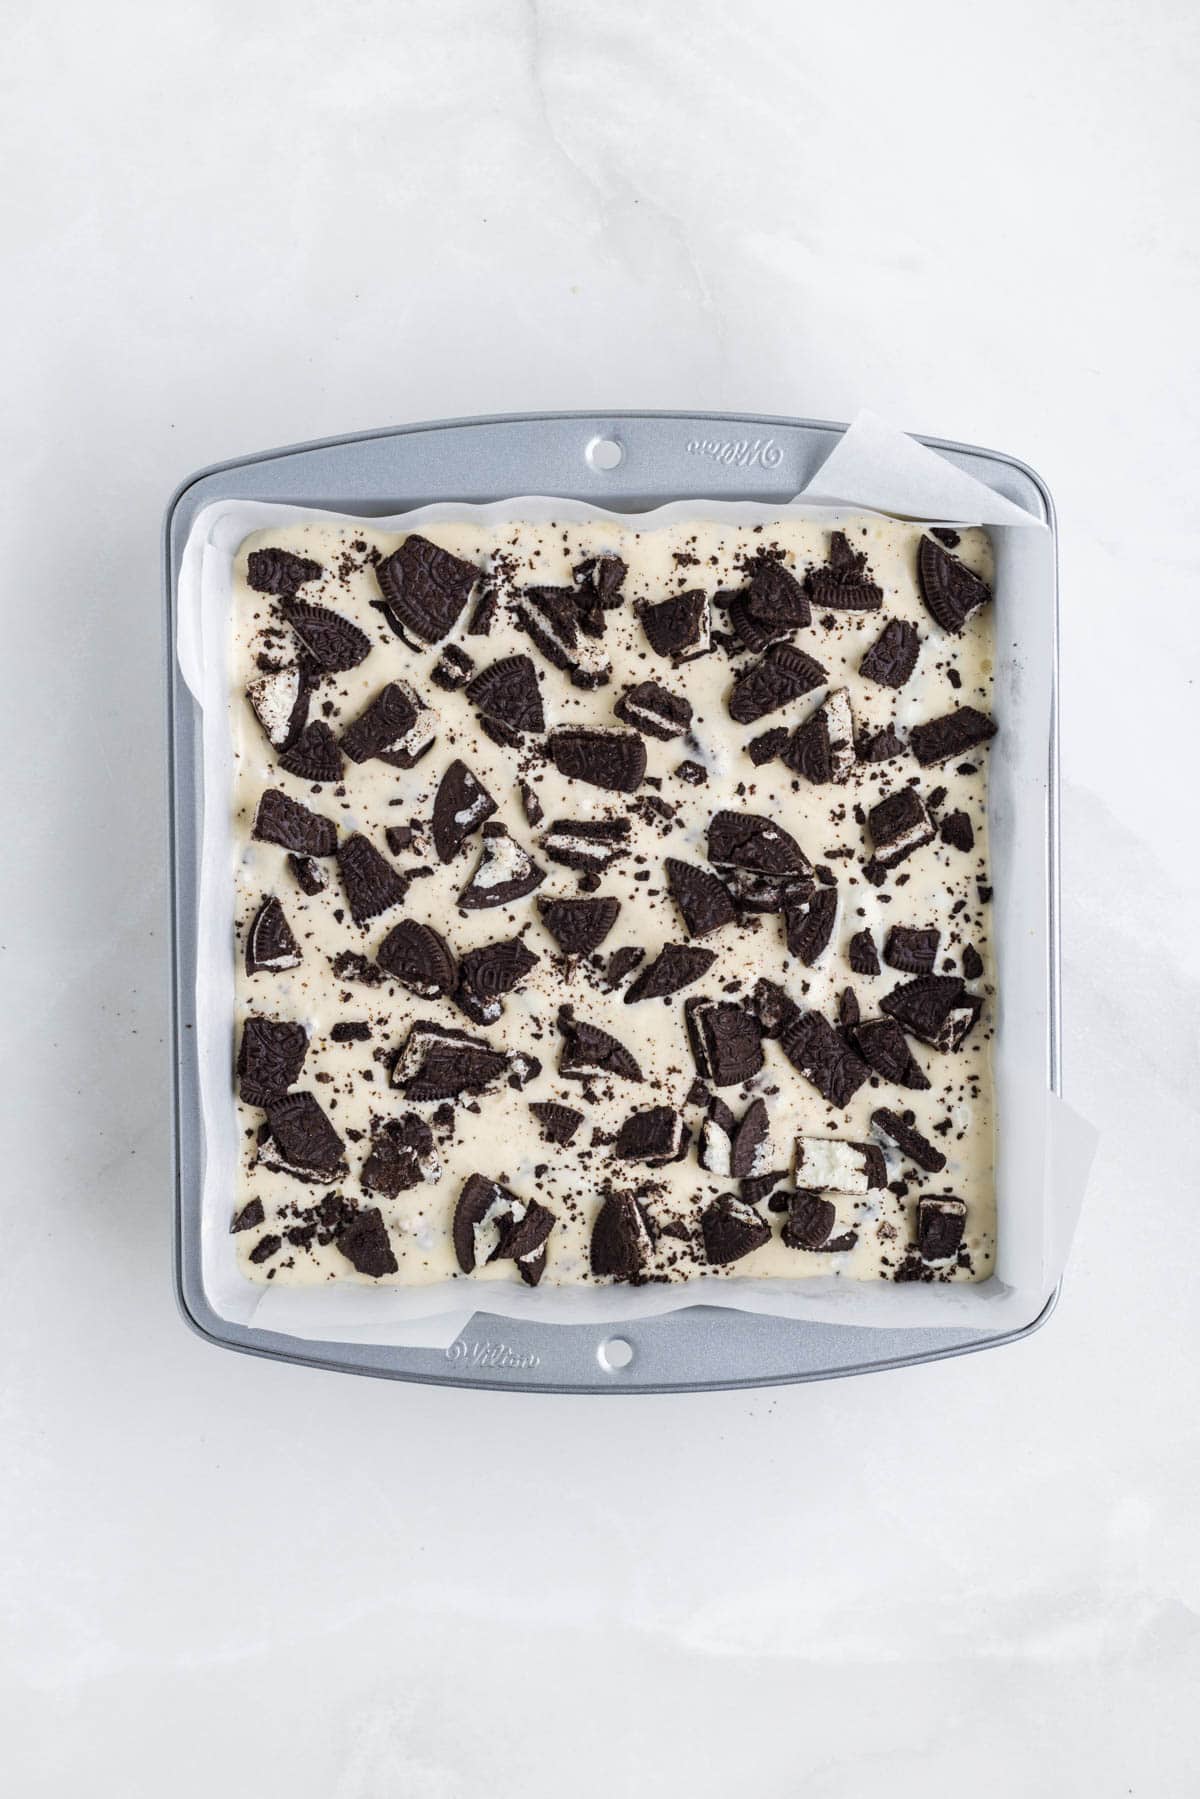
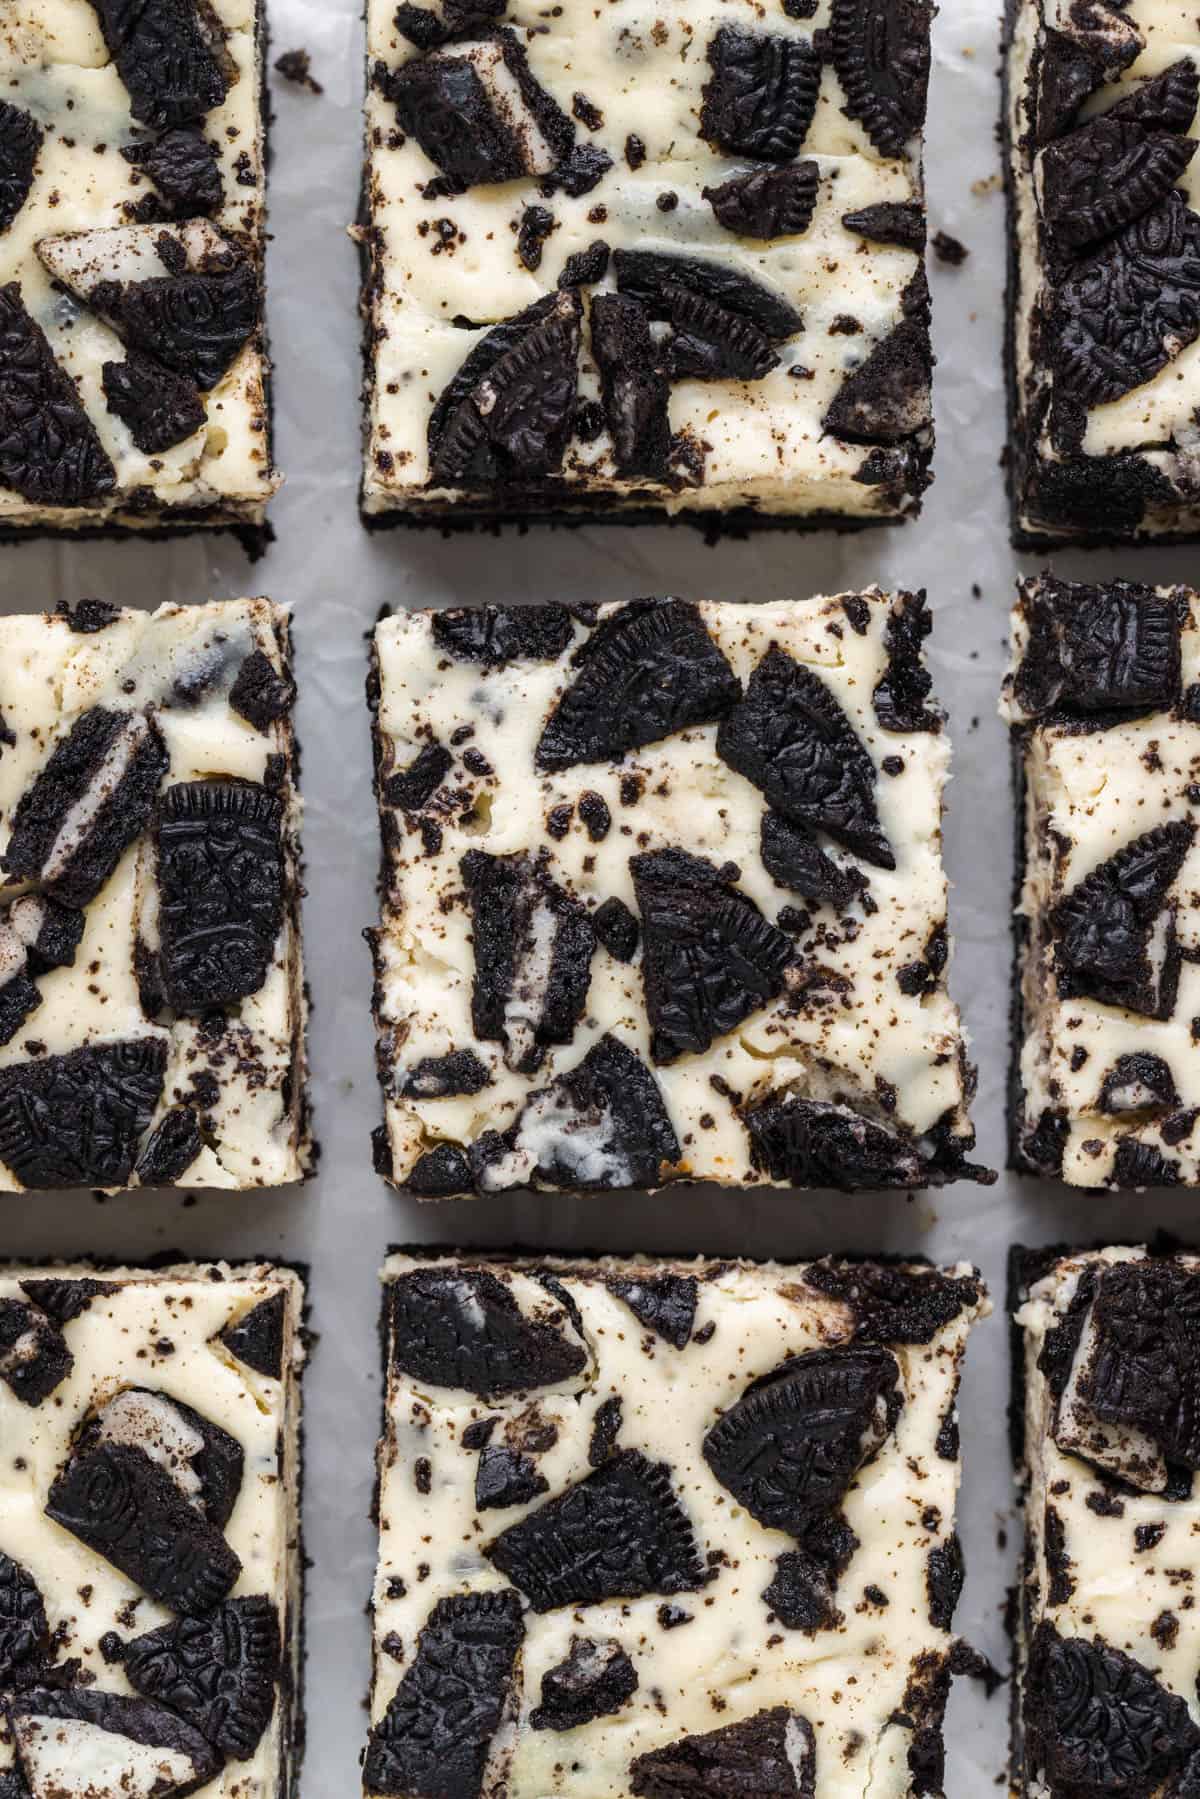
- Top with Oreos and bake. Sprinkle the remaining chopped Oreos over the top. Bake in the preheated oven for about 40-45 minutes, or until the edges are set and the center is just slightly jiggly. Avoid opening the oven door too often as this can cause the temperature to drop and affect the setting process.
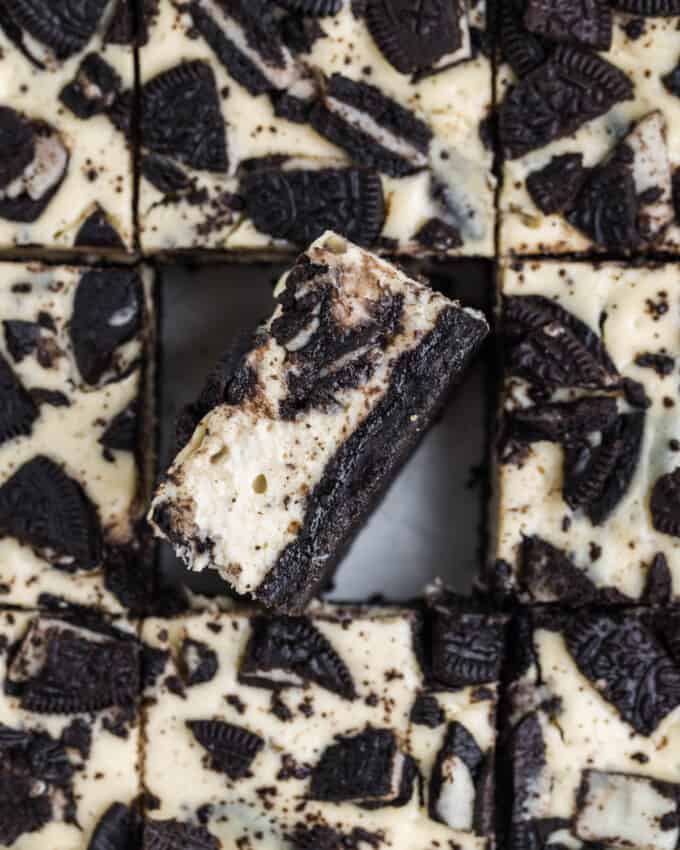
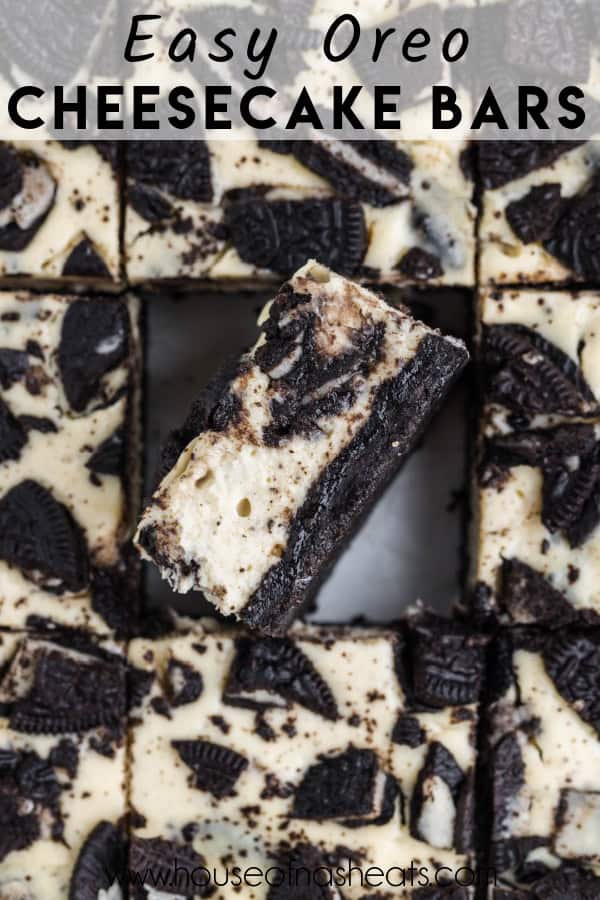
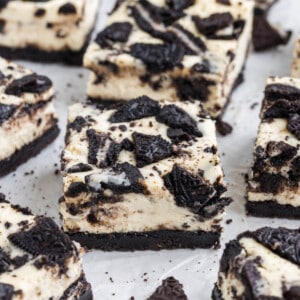
- Cooling, setting, and serving. After baking, let the cheesecake cool to room temperature on a wire rack. This gradual cooling helps prevent the top from cracking. Once cooled, cover the pan with plastic wrap and refrigerate the cheesecake for at least four hours, preferably overnight. This chilling period helps the bars to set perfectly and develop flavors. When ready to serve, lift the cheesecake out of the pan using the parchment paper overhang, and slice it into bars using a sharp knife (dipping in hot water between cuts can help make clean slices). For an extra touch of decadence, serve with a dollop of whipped cream or a drizzle of chocolate sauce.
Recipe FAQ’s
While you can use reduced-fat cream cheese, keep in mind that it may affect the texture and flavor of the cheesecake bars. The result may be slightly less rich and creamy compared to using full-fat cream cheese.
Yes, you can make this recipe gluten-free by using gluten-free Oreos or another gluten-free cookie for the crust. Ensure that all other ingredients are also gluten-free to accommodate dietary restrictions.
Absolutely! Feel free to experiment with different types of cookies for the crust, such as graham crackers, chocolate wafers, or even shortbread cookies. Just make sure to adjust the quantity accordingly to achieve the desired texture.
Absolutely! These cheesecake bars are perfect for making ahead of time. You can prepare them a day or two in advance and store them in the refrigerator until ready to serve. This makes them ideal for parties and gatherings.
Store leftover cheesecake bars in an airtight container in the refrigerator for up to 5 days. Alternatively, you can freeze individual bars for longer storage, wrapping them tightly in plastic wrap and placing them in a freezer-safe container or bag.
Yes, you can freeze Oreo Cheesecake Bars for up to 3 months. Wrap them tightly in plastic wrap or aluminum foil and place them in an airtight container or freezer bag. Thaw in the refrigerator overnight before serving for best results, as this gradual thawing helps maintain the creamy texture of the cheesecake.
Tips for Success
- Ensure that your cream cheese, sour cream, and eggs are all at room temperature before beginning the recipe. Using room temperature ingredients allows for smoother mixing and ensures that they incorporate evenly, resulting in a creamy and lump-free cheesecake filling. I like to sit the ingredients on the counter for 30 minutes before baking.
- The easiest way to crush the Oreos for the cookie-crumb mixture is in a food processor. If you do not have a food processor, add the cookies to a resealable kitchen bag and smash them with a rolling pin or meat mallet until fine crumbs form. You want to get the crumbs as uniform in size as possible.
- When combining the ingredients for the cream cheese mixture, mix on low speed and avoid overmixing, especially after adding the eggs. Overmixing can incorporate too much air into the batter, leading to a puffy or cracked top. Use a spatula to gently fold in any remaining ingredients to avoid overworking the creamy cheesecake filling.
- The cheesecake bars can be made in a 9×9-inch pan; however, they will be thinner than those made in an 8×8-inch pan. If using a 9×9-inch pan, start checking for doneness around the 30-minute mark.
- When slicing the chilled cheesecake bars, use a sharp knife and wipe it clean between cuts to ensure clean, neat slices. If the knife starts to stick to the cheesecake, dip it in hot water and wipe it dry before making the next cut. This helps achieve perfectly sliced bars with clean edges.
- Take the time to garnish your Oreo Cheesecake Bars before serving to enhance their visual appeal. A dollop of whipped cream, a sprinkle of crushed Oreos, or a drizzle of chocolate sauce can elevate the presentation and add extra flavor and texture to each serving. Additionally, serving the bars on a decorative platter or dessert plates can make them even more inviting.
Proper Cooling and Chilling
Allow the cheesecake bars to cool completely at room temperature before transferring them to the refrigerator to chill (between 1 and 2 hours).
This gradual cooling process helps prevent cracks from forming on the surface of the cheesecake and prevents condensation which can make the crust soggy.
Additionally, be sure to chill the bars for the recommended time (at least four hours or overnight) to ensure that they set properly.
Substitutions and Variations
- If you prefer, you can use unsalted butter in the crust and add a pinch of salt to balance the flavors.
- Feel free to substitute granulated sugar with an equal amount of brown sugar for a slightly different flavor profile.
- Plain Greek yogurt can be used as a substitute for sour cream if you don’t have any on hand.
- While vanilla extract adds a classic flavor, you can experiment with other extracts such as almond or coconut for a unique twist.
- Use gluten-free Oreos or another gluten-free cookie for the crust to make this dessert suitable for those with gluten sensitivities.
- Try different flavors of Oreos for a change of flavor, such as Mint, Strawberry, or Golden Oreo cookes. You can also try using other sandwich cookies or chocolate biscuits for a different experience.
- For an extra decadent twist, add a handful of chocolate chips to the cheesecake batter to make Oreo Chocolate Chip Cheesecake Bars.
- Drizzle raspberry sauce, caramel sauce, or melted chocolate over the cheesecake before baking for a decorative touch and extra flavor.
- Press a layer of cookie dough into the bottom of the pan before adding the cheesecake mixture for an indulgent twist on classic Oreo cheesecake bars.

Oreo Cheesecake Bars Recipe
Equipment
Ingredients
Crust
- 22 Oreos (about 2 cups finely crushed)
- 4 tablespoons salted butter melted
Cheesecake
- 2 (8-ounce) packages full-fat cream cheese room temperature
- ⅔ cup granulated sugar
- ½ cup sour cream room temperature
- 2 teaspoons pure vanilla extract
- 2 large eggs room temperature
- 14 Oreos roughly chopped or broken up (divided)

Instructions
- Preheat the oven to 325°F. Line the bottom and sides of an 8×8-inch baking pan with parchment paper and set aside.
- Mix the crushed Oreos and melted butter in a medium mixing bowl until well combined.22 Oreos, 4 tablespoons salted butter
- Spread the Oreo mixture into an even layer in the bottom of the prepared pan. Use a flat-bottomed glass or measuring cup to pack the crust into the pan firmly. Bake for 10 minutes, then set aside to cool while you prepare the filling.
- In a large bowl, beat the cream cheese and sugar with an electric mixer until smooth and creamy.2 (8-ounce) packages full-fat cream cheese, ⅔ cup granulated sugar
- Scrape the sides and bottom of the bowl with a rubber spatula and add the sour cream and vanilla. Beat on low until well combined.½ cup sour cream, 2 teaspoons pure vanilla extract
- Add the eggs one at a time and mix on low until just combined.2 large eggs
- Fold in half of the chopped Oreos with a rubber spatula.14 Oreos
- Spread the cheesecake mixture over the crust and smooth into an even layer.
- Sprinkle the remaining chopped Oreos over the top and bake for 40-45 minutes or until the edges are set and the center is slightly jiggly.
- Allow the cheesecake to cool to room temperature before transferring to the refrigerator for at least four hours or overnight to set. Remove the cheesecake from the pan and cut into slices.
Notes
Serving Size
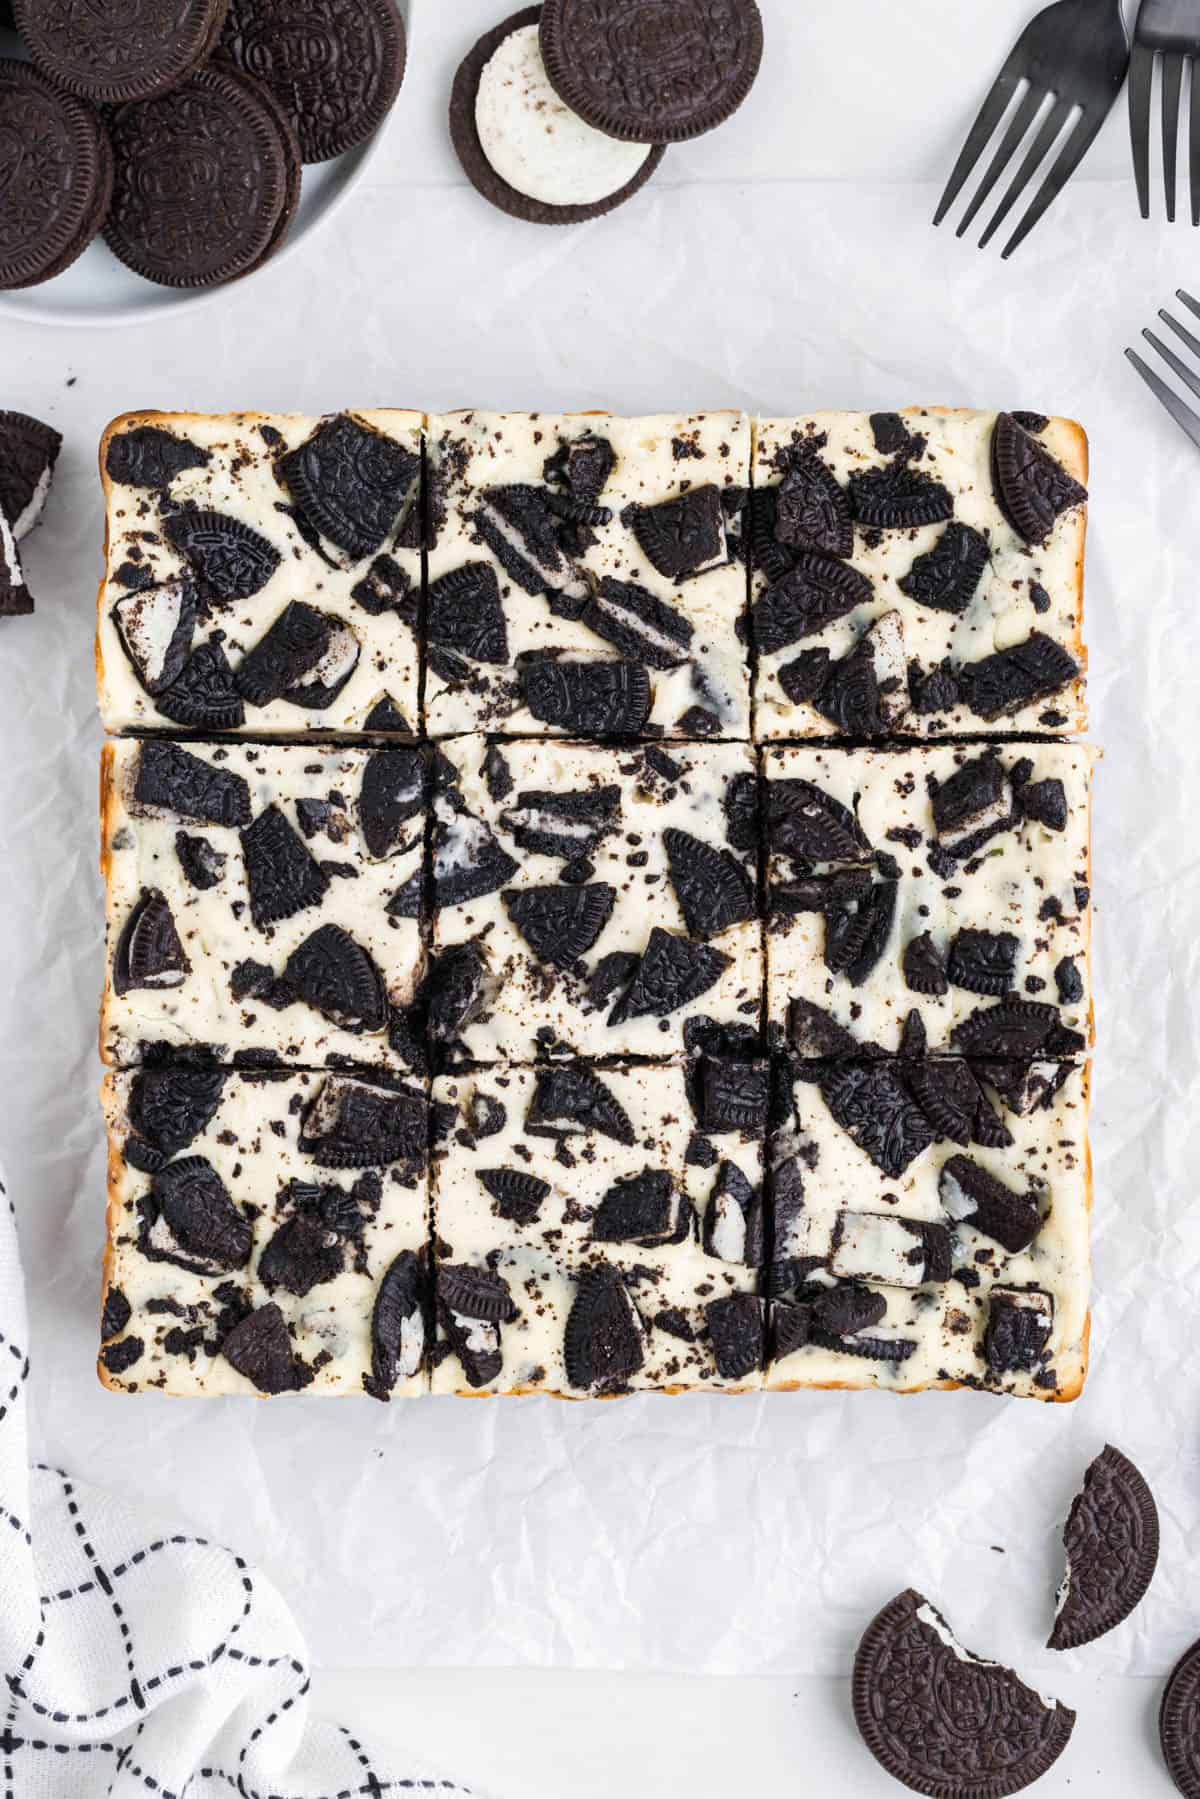
- I cut these into 9 generous-sized bars for these photos, but sometimes I like to cut much smaller squares and do 16 bars instead. The nutrition information below is based on 9 servings.
Storage
- Store: Place the bars in an airtight container or wrap the entire pan tightly with plastic wrap or aluminum foil, and store in the fridge. They will stay fresh for up to 5 days. Always ensure that the cheesecake is covered to avoid absorbing any odors from other foods in the fridge.
- Freeze: Wrap each bar individually in plastic wrap, then place them into a ziplock bag or an airtight container and store in the freezer for up to 3 months. When you’re ready to enjoy them, remove the bars from the freezer and allow them to thaw in the refrigerator overnight.
Nutrition
More Recipes With Oreo Cookies
- Oreo Cookies & Cream Cake
- Cookies & Cream Oreo Frosting
- Easy Oreo Dessert Recipe
- Easy Oreo Dip
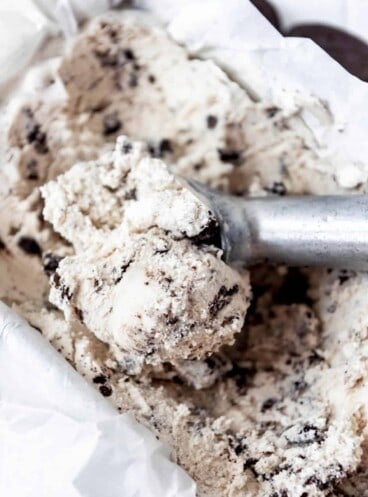
- Caramel Oreo Fudge Ripple Ice Cream
- Peppermint Oreo Cookies

Could make more than 9 squares due to being rich, but very delicious
Delicious and pretty easy to make! Just need to set in the fridge overnight or for several hours until cold. I made the evening before a dinner get-together and they were a hit! I cut into 9 big bars. Delish!
Great Maddie! Yes the longer it can chill in the fridge the better. I am glad they were such a big hit!