
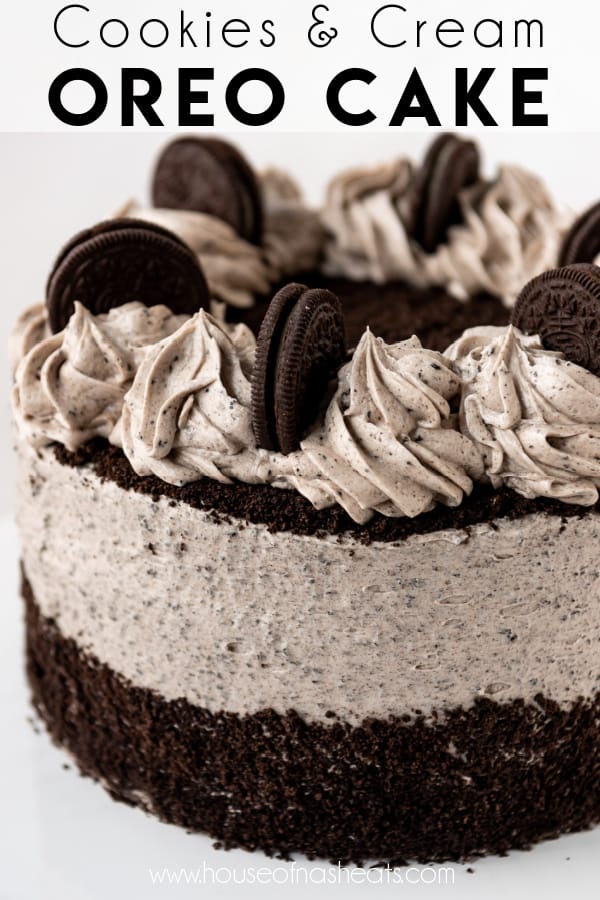
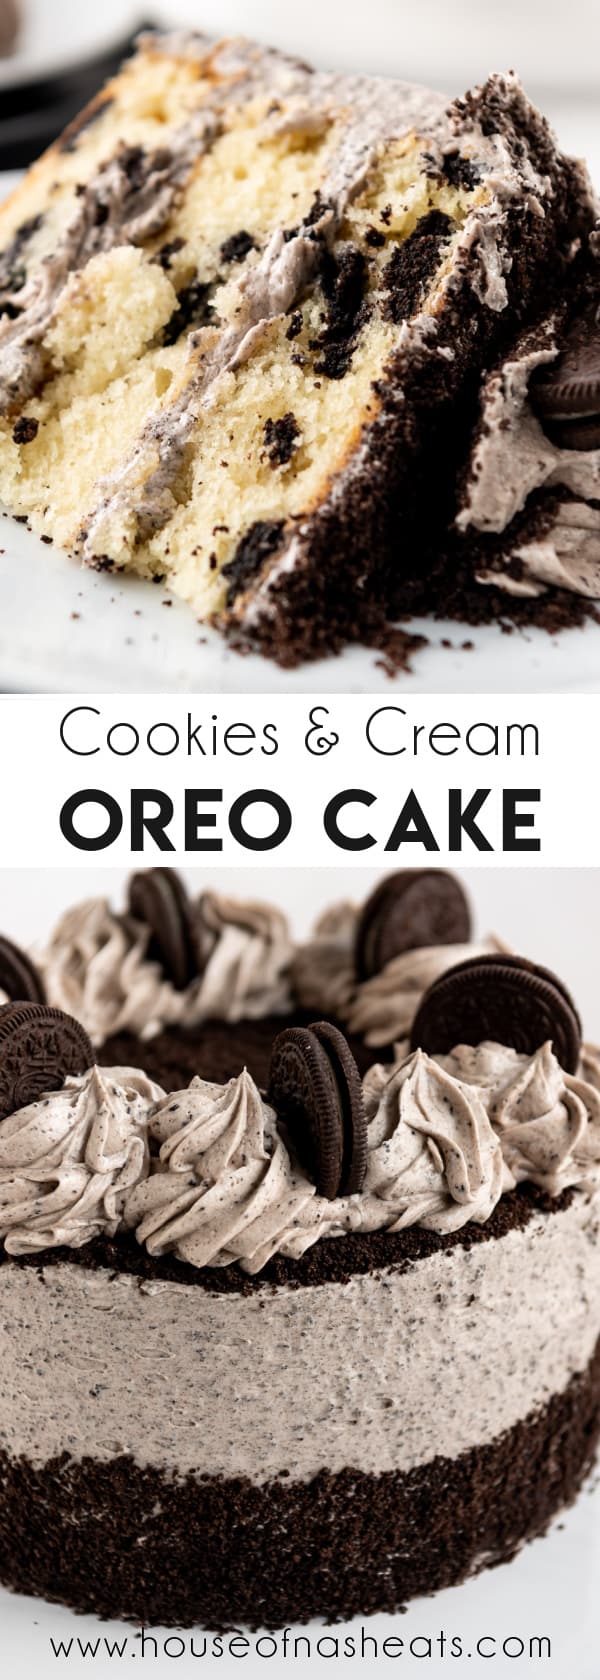
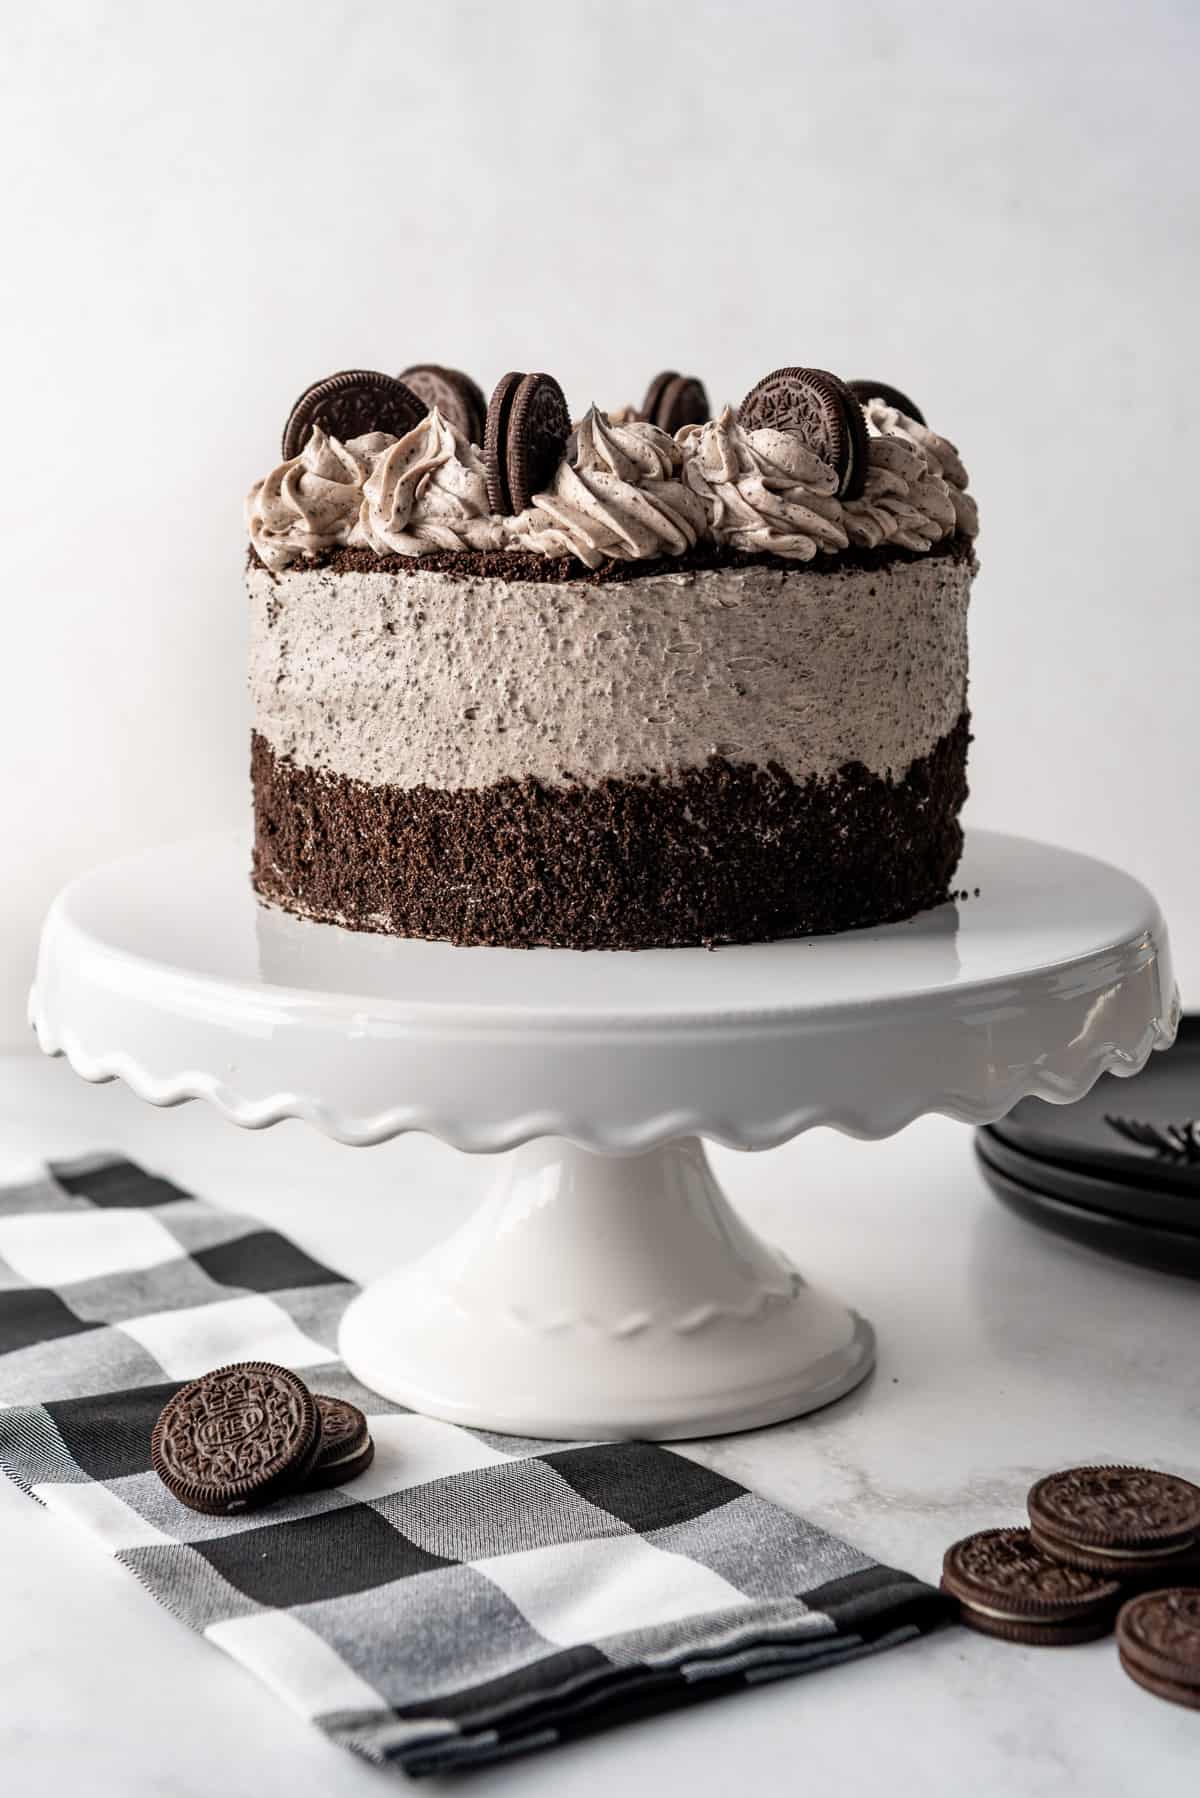
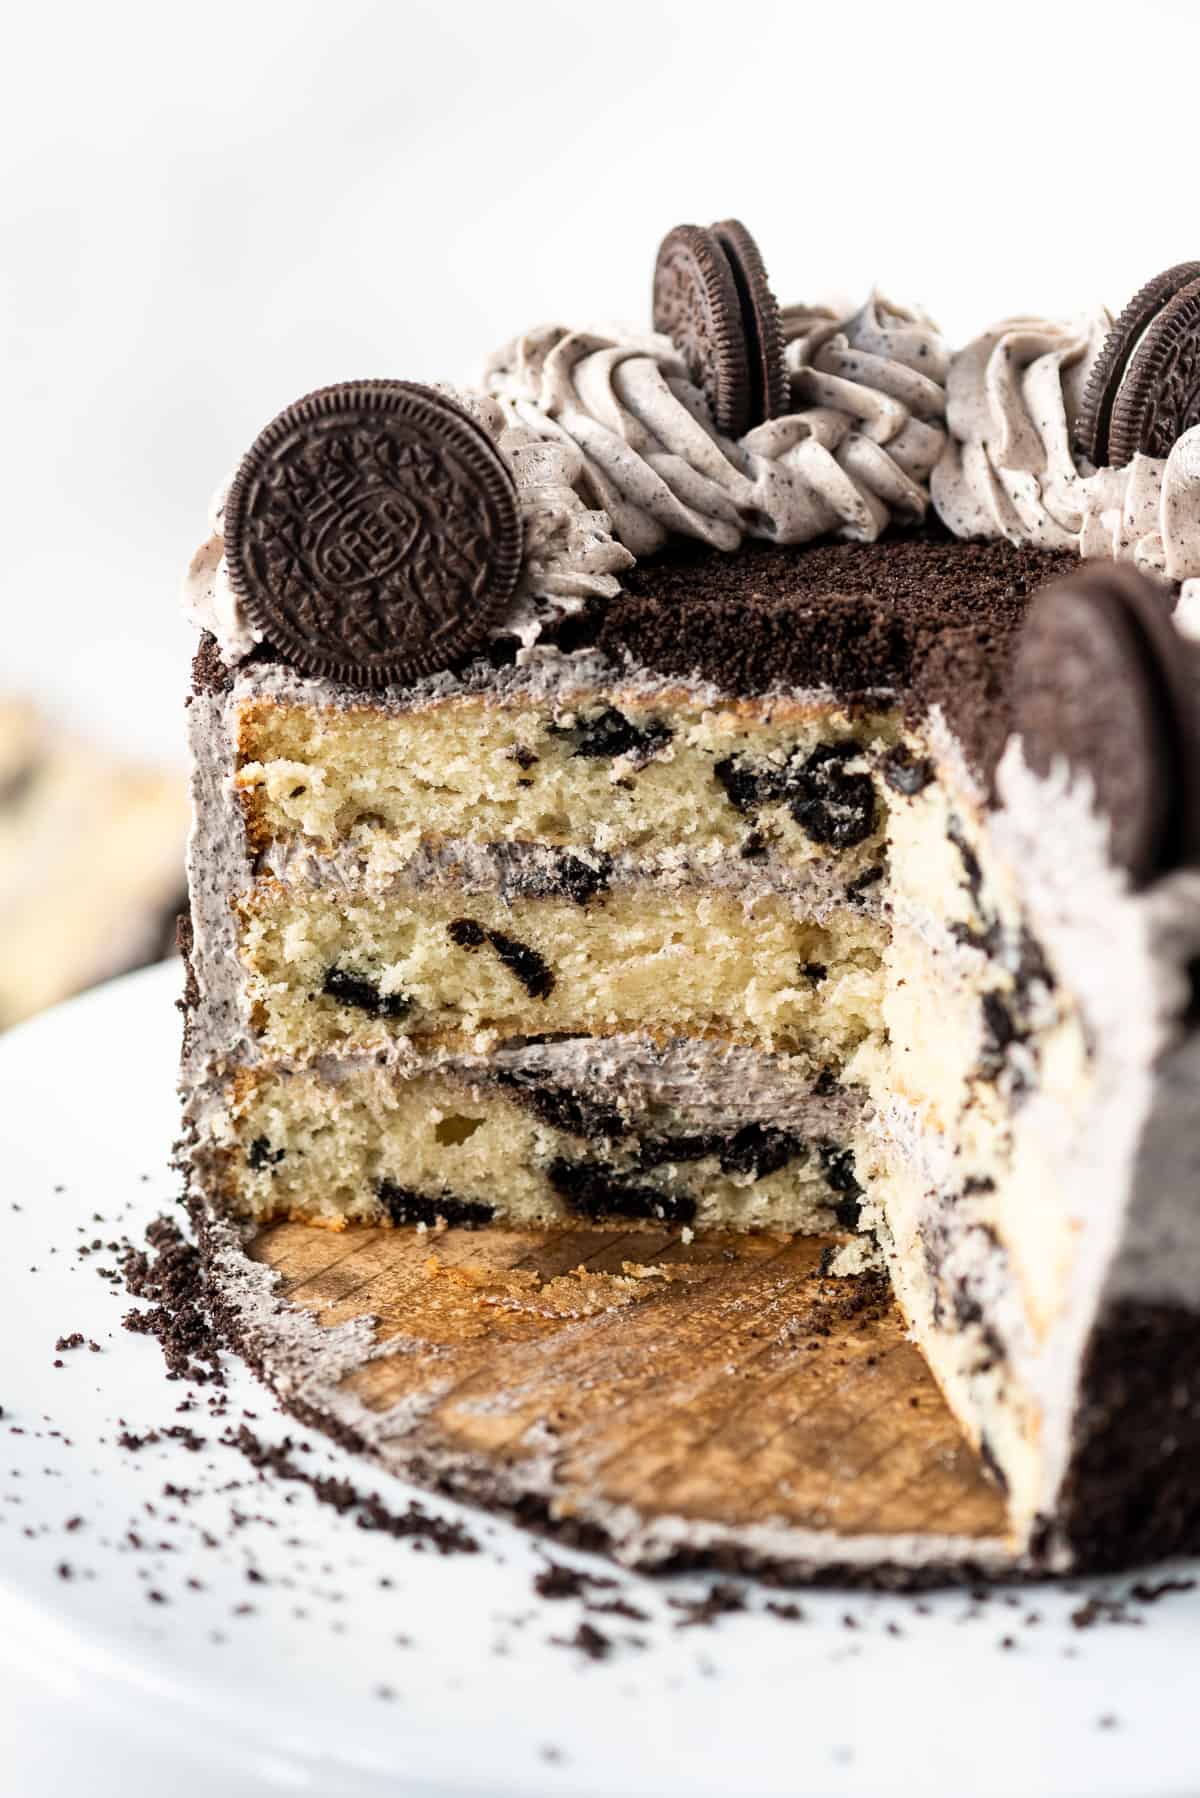
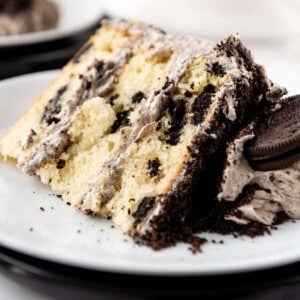
This Cookies & Cream Cake is a show-stopper with moist, fluffy white cake layers studded with large chunks of whole Oreo cookies, then frosted with the best Oreo buttercream frosting! It’s the perfect celebration cake for anyone who loves milk’s favorite cookie!
If you are looking for a cake recipe for a special birthday or event, I’ve got you covered! You might also want to try our Homemade Funfetti Cake, Chantilly Cake, or Black Forest Cake.
I just love Oreos and anything cookies & cream. You can tell by my collection of cookies & cream recipes featuring Oreos like our Cookies and Cream Macarons, Easy Oreo Dip, Cookies and Cream Ice Cream, and No-Bake Oreo Pie.
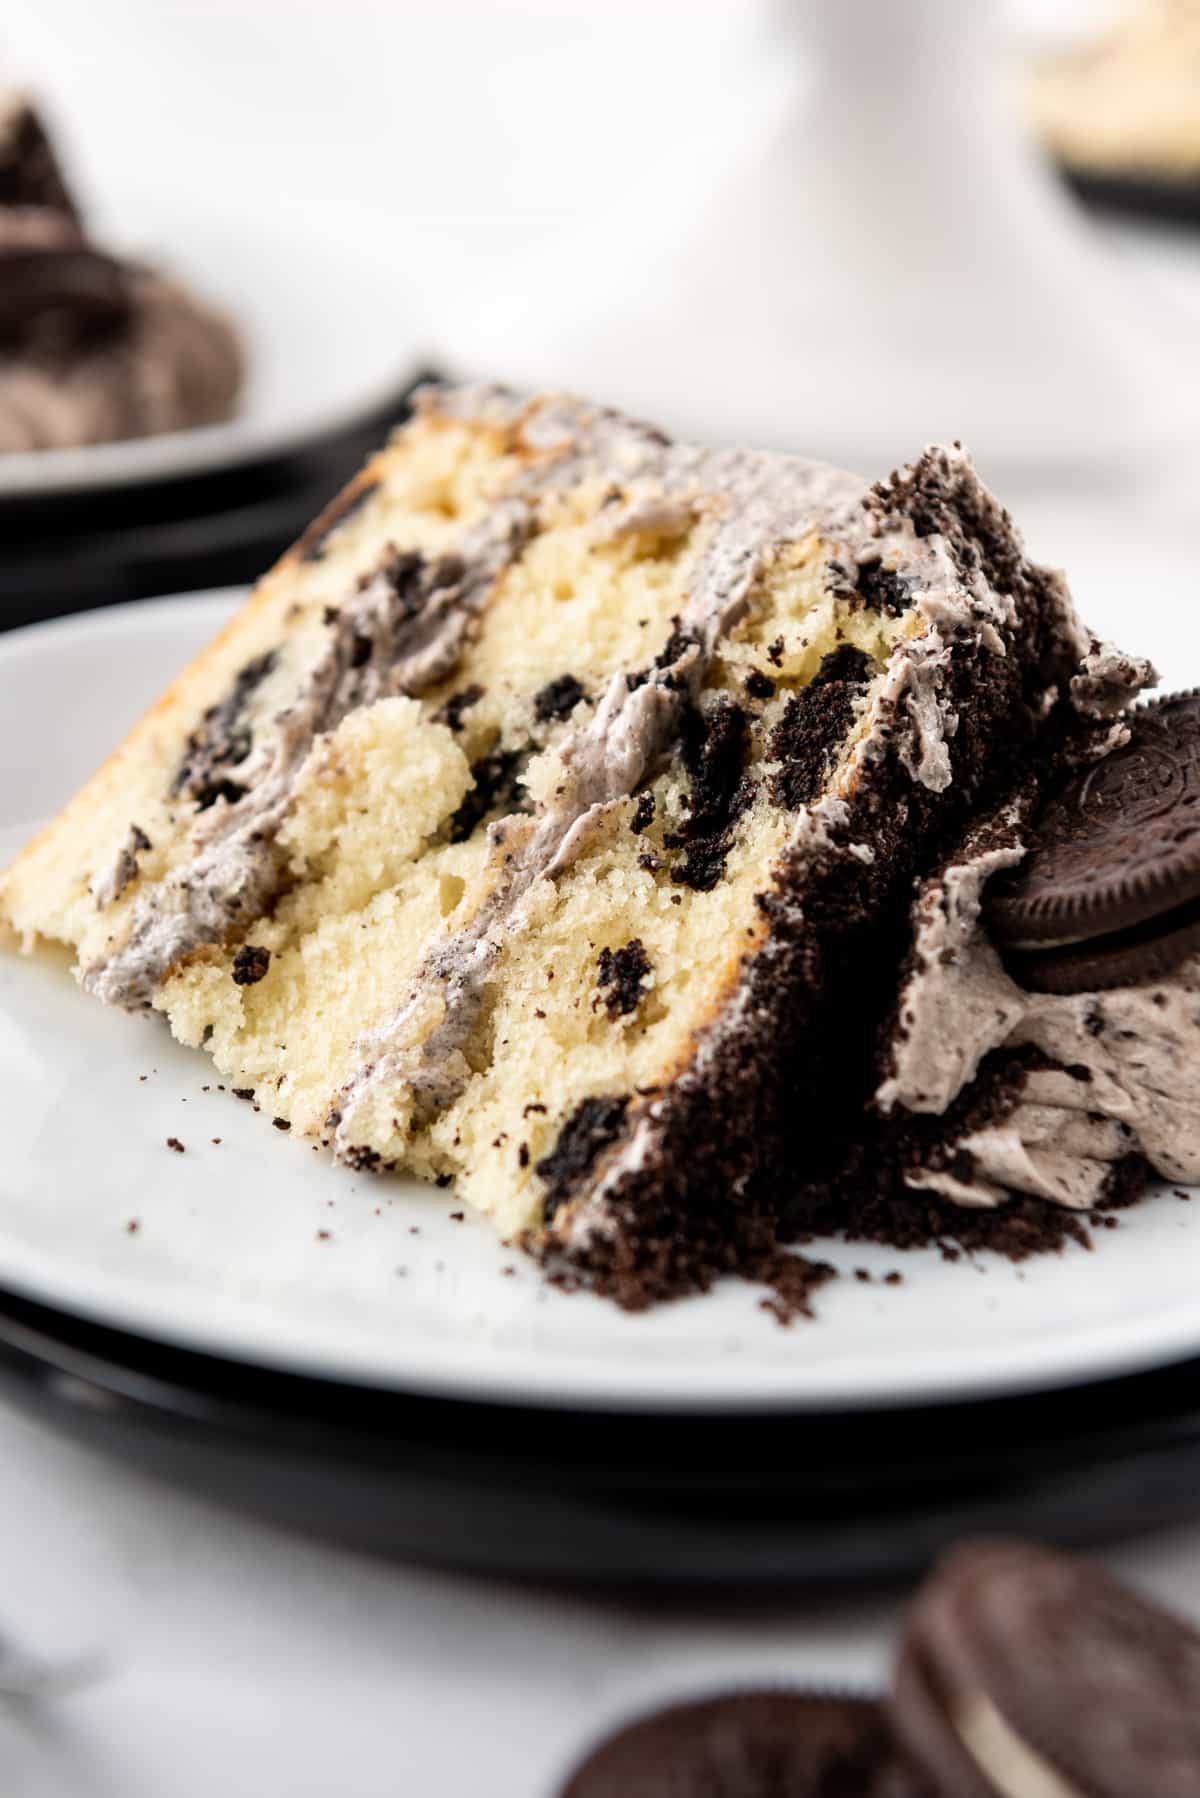
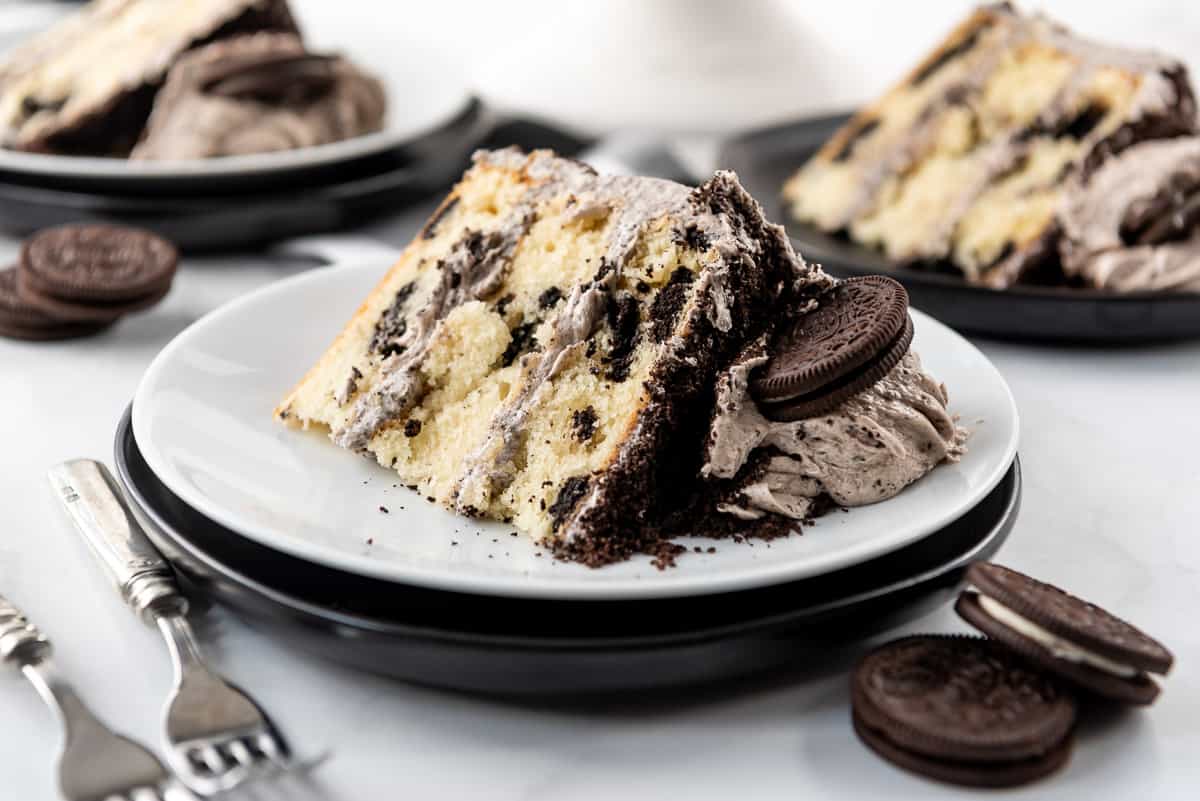
I made this beauty of a cake for a party recently and it got rave reviews from everybody. The soft, moist crumb of the layers tastes wonderful with a textural and flavor element of broken up Oreo cookies folded into the batter before baking. And adding a few Oreos soaked in cream between the layers with the frosting really intensifies that classic cookies & cream experience that anyone who loves dunking their Oreos knows well.
I know you’re going to love this one!
Why this Recipe Works
- It uses one family-size package of Oreos. Yes, an entire package of Oreos goes into one cake. Just go with it.
- There’s no need to dirty an extra bowl beating egg whites into stiff peaks and then do tricky folding in of said egg whites. The cake is plenty light and fluffy just by beating the egg whites into the batter.
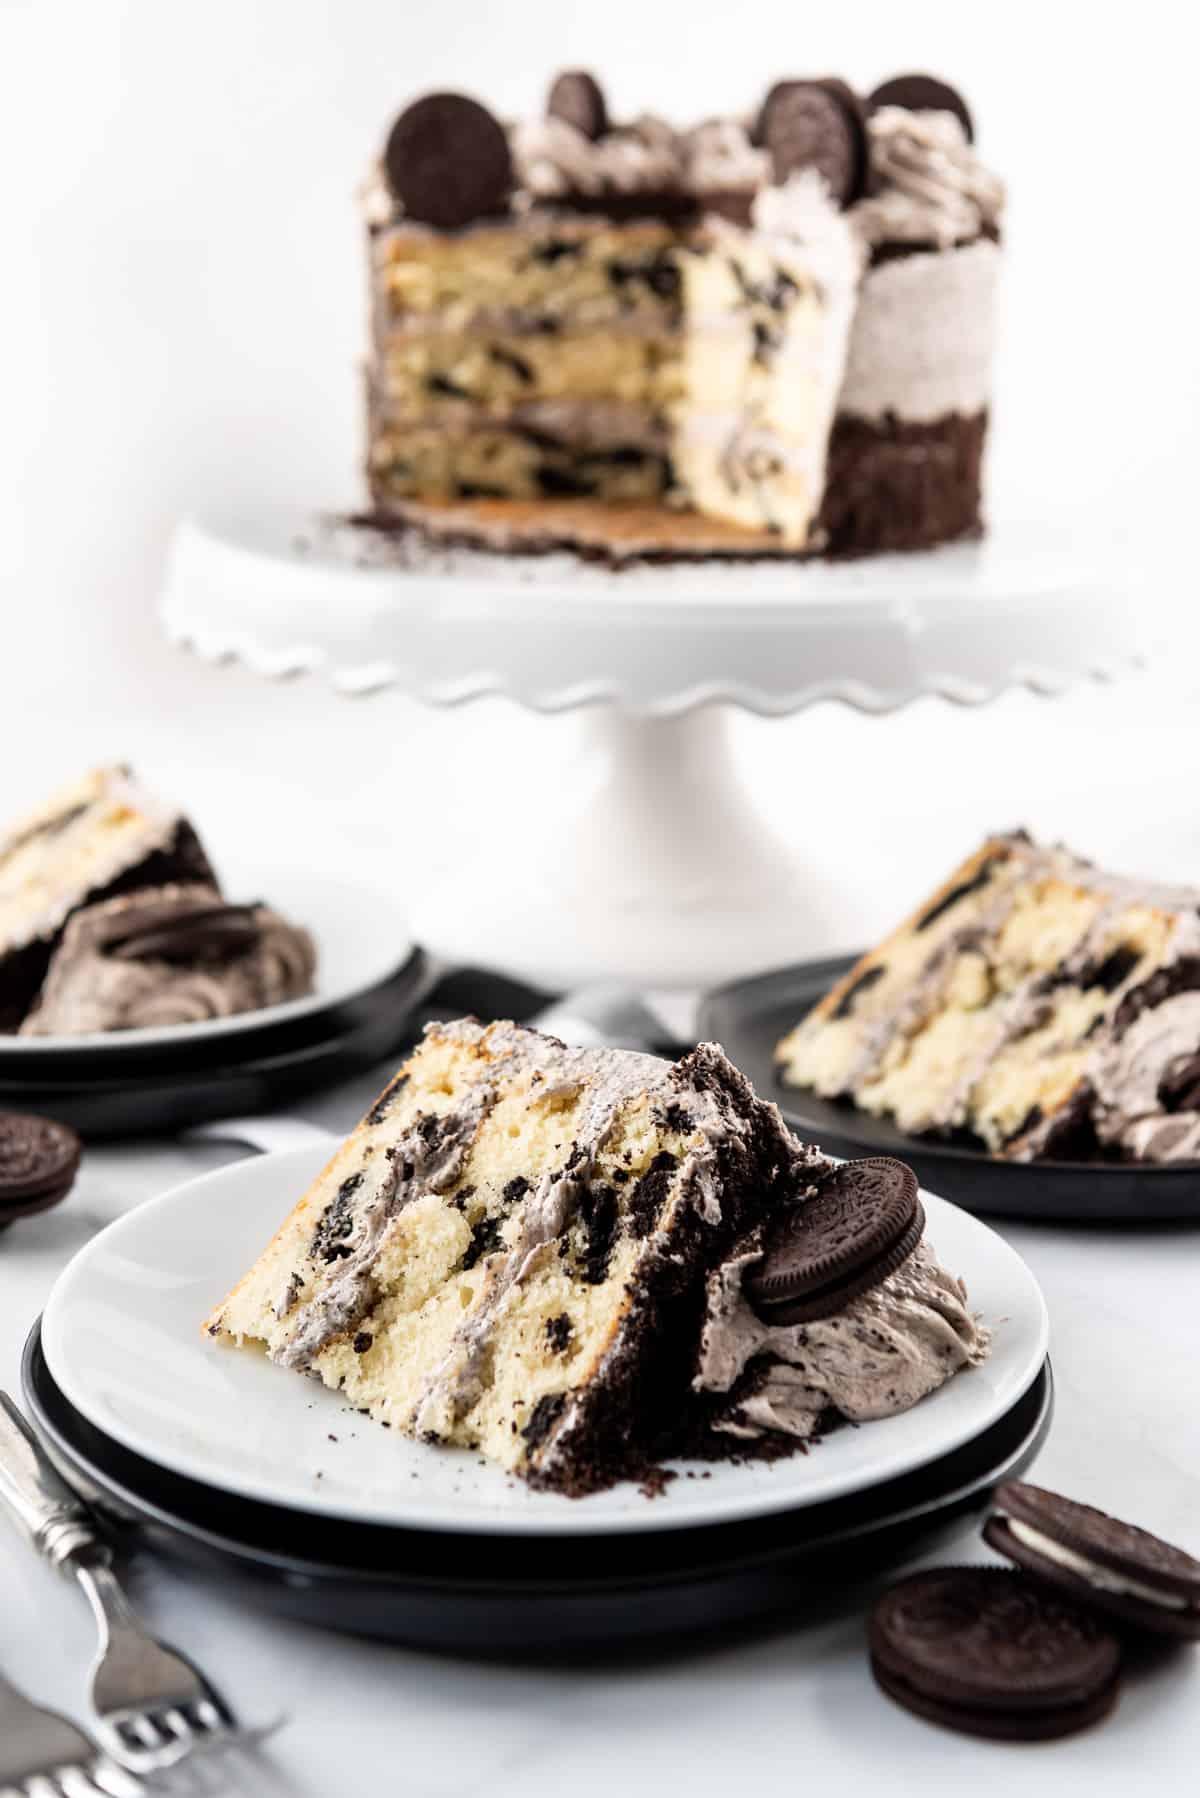
- Three layers of cake makes for an extra impressive cake that is sure to win awards at cake auctions and bake sales. But I’ll include notes for how to turn this into a 9×13, cupcakes, or a 2-layer cake below.
Recipe Ingredients
- Oreos: You can use regular or double-stuff Oreos. But I recommend getting a family-size package which has 48 Oreos in it so you have enough whole ones leftover for decorating.
- Flour: I tested this recipe using all-purpose flour rather than cake flour because I wanted a slightly sturdier crumb to support the weight of the Oreos in the batter.
- Sour cream: Adding sour cream to cake batter makes it extra moist and rich. Greek yogurt makes a good substitute.

How to Make this Recipe
- Start by preheating the oven to 350°F and prepping your three 8-inch cake pans. I like to use cut-out parchment paper circles in the bottoms of my cake pans as well as spraying them with baking spray so there is no risk of them sticking.
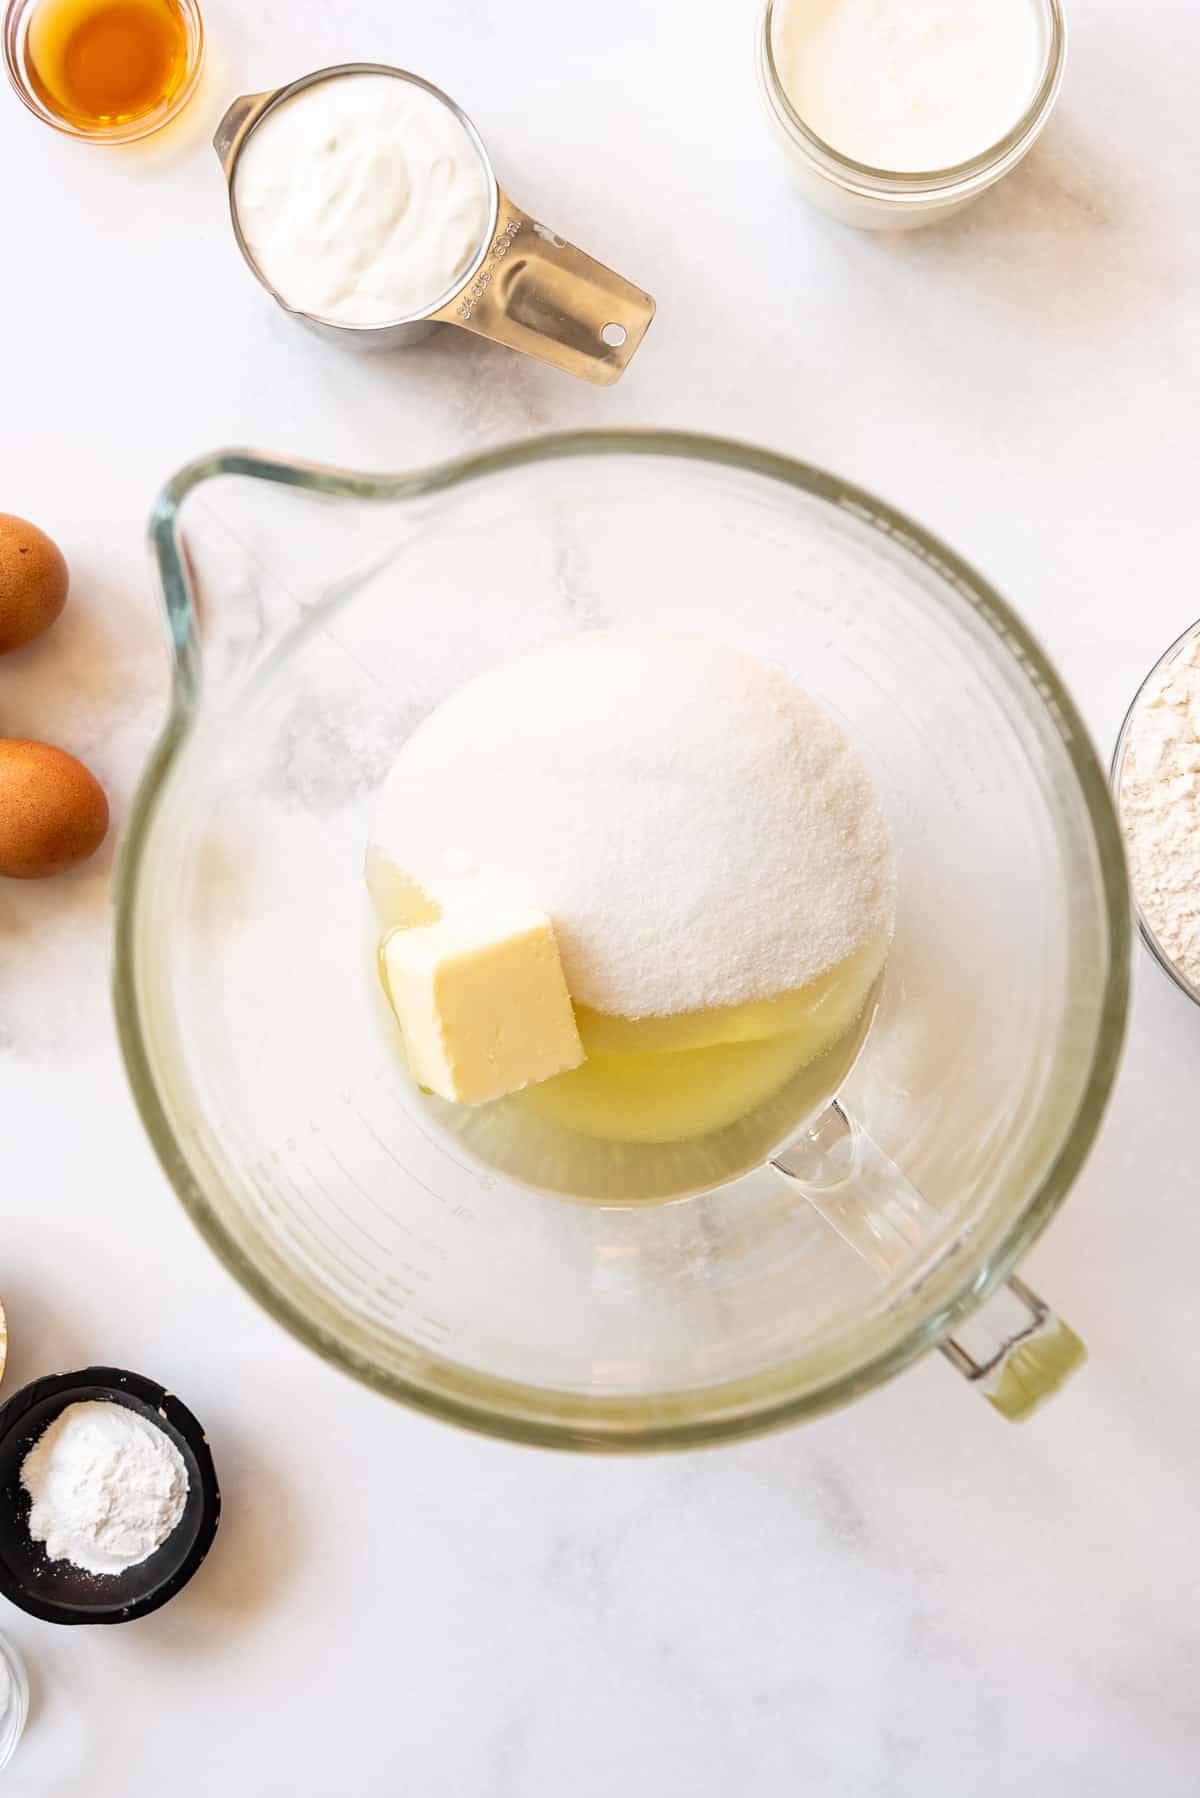
- In a large bowl, beat the sugar, oil, and butter together for 2-3 minutes until creamy and light. This can be done using a stand mixer fitted with the paddle attachment or with a hand mixer.
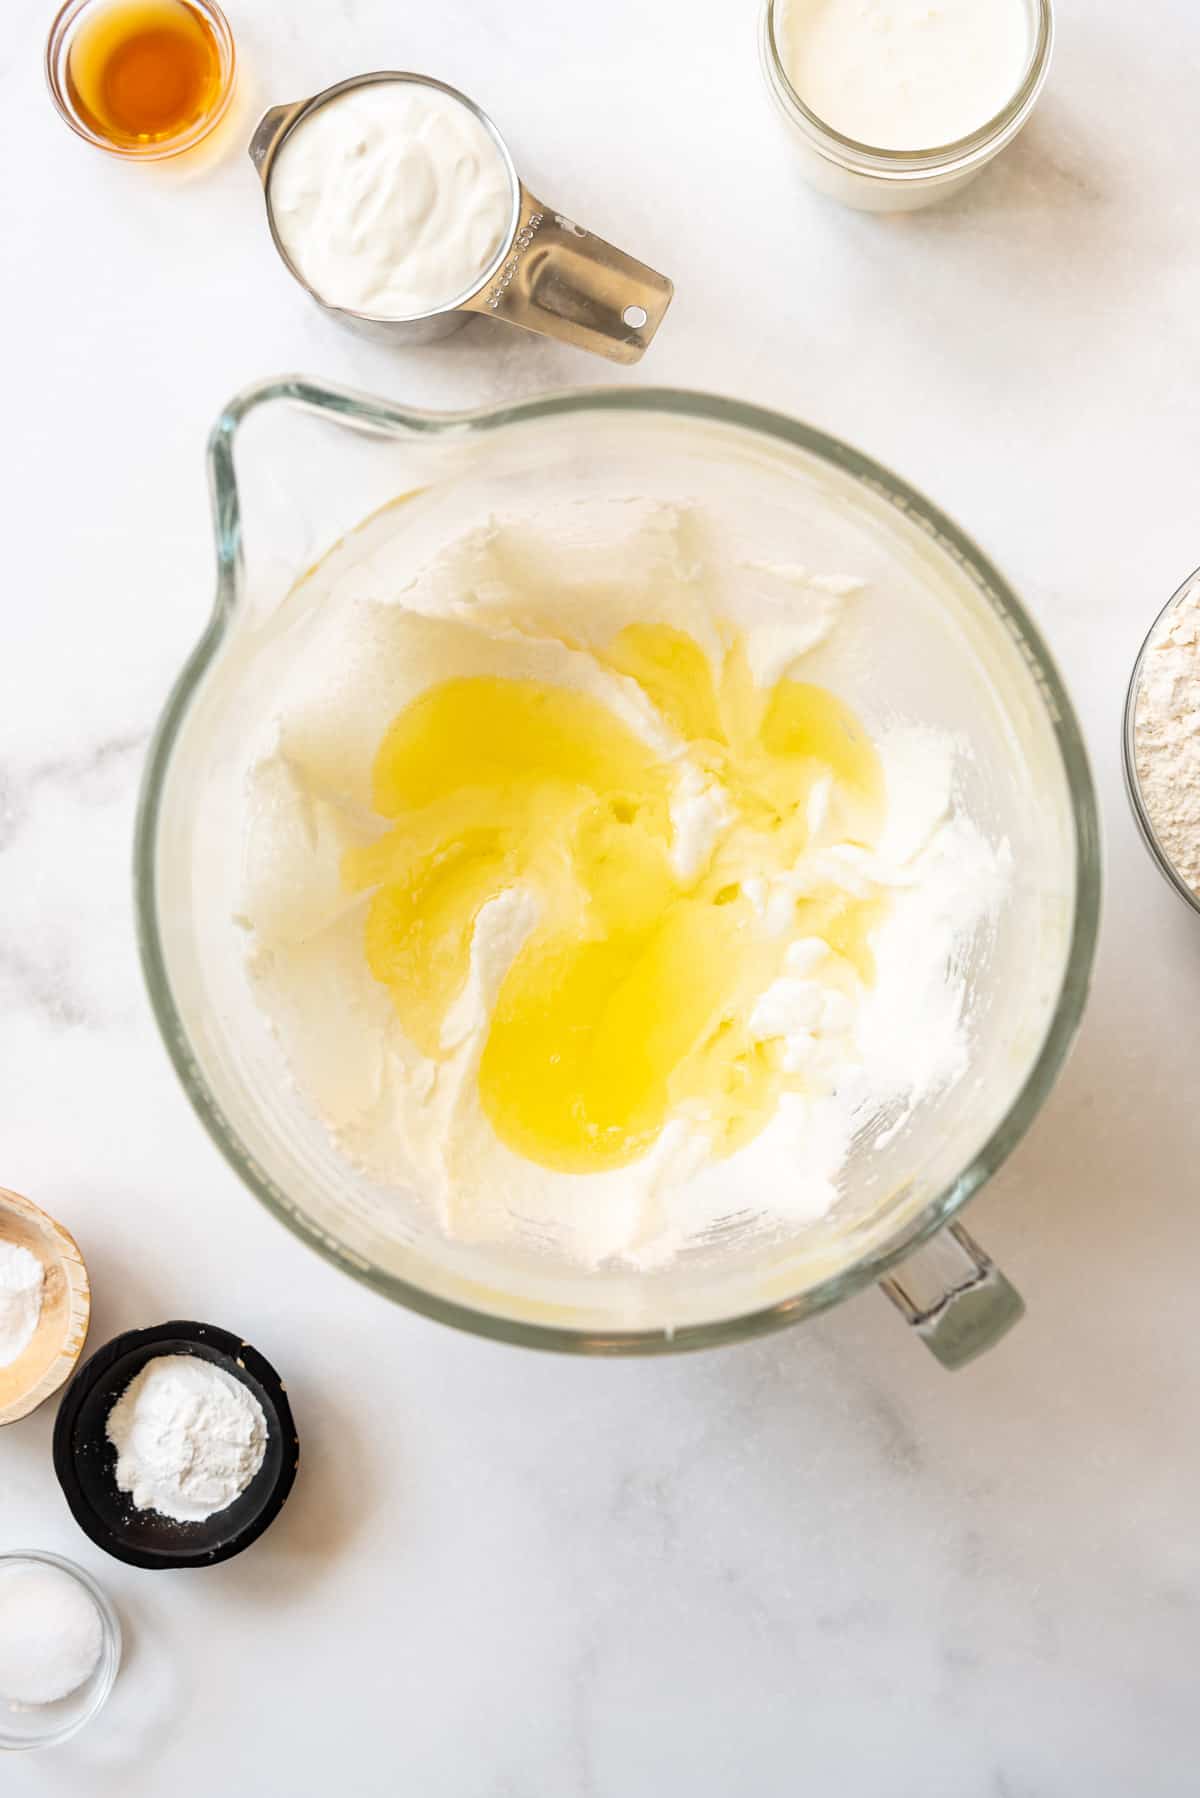
- Add the egg whites and beat well, stopping to scrape the bottom and sides of the bowl so everything gets thoroughly combined.
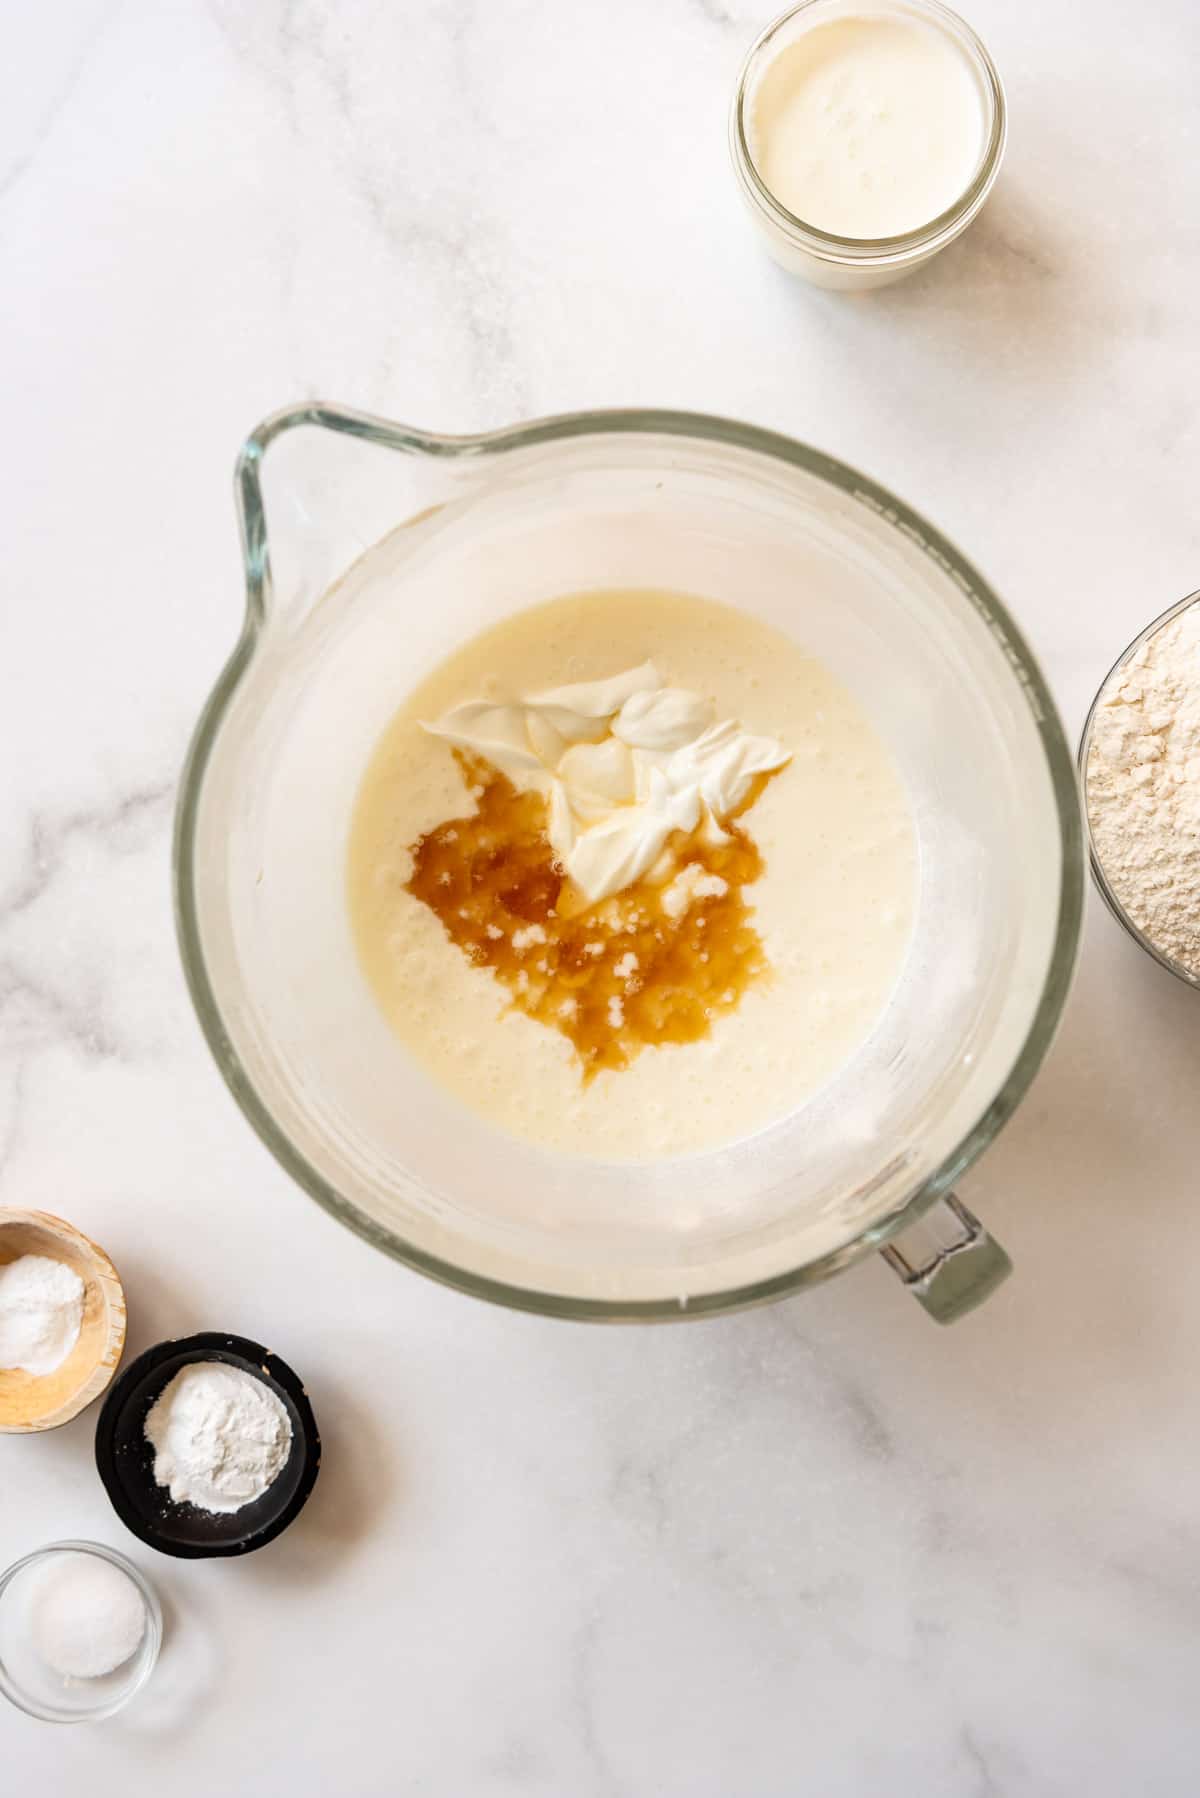
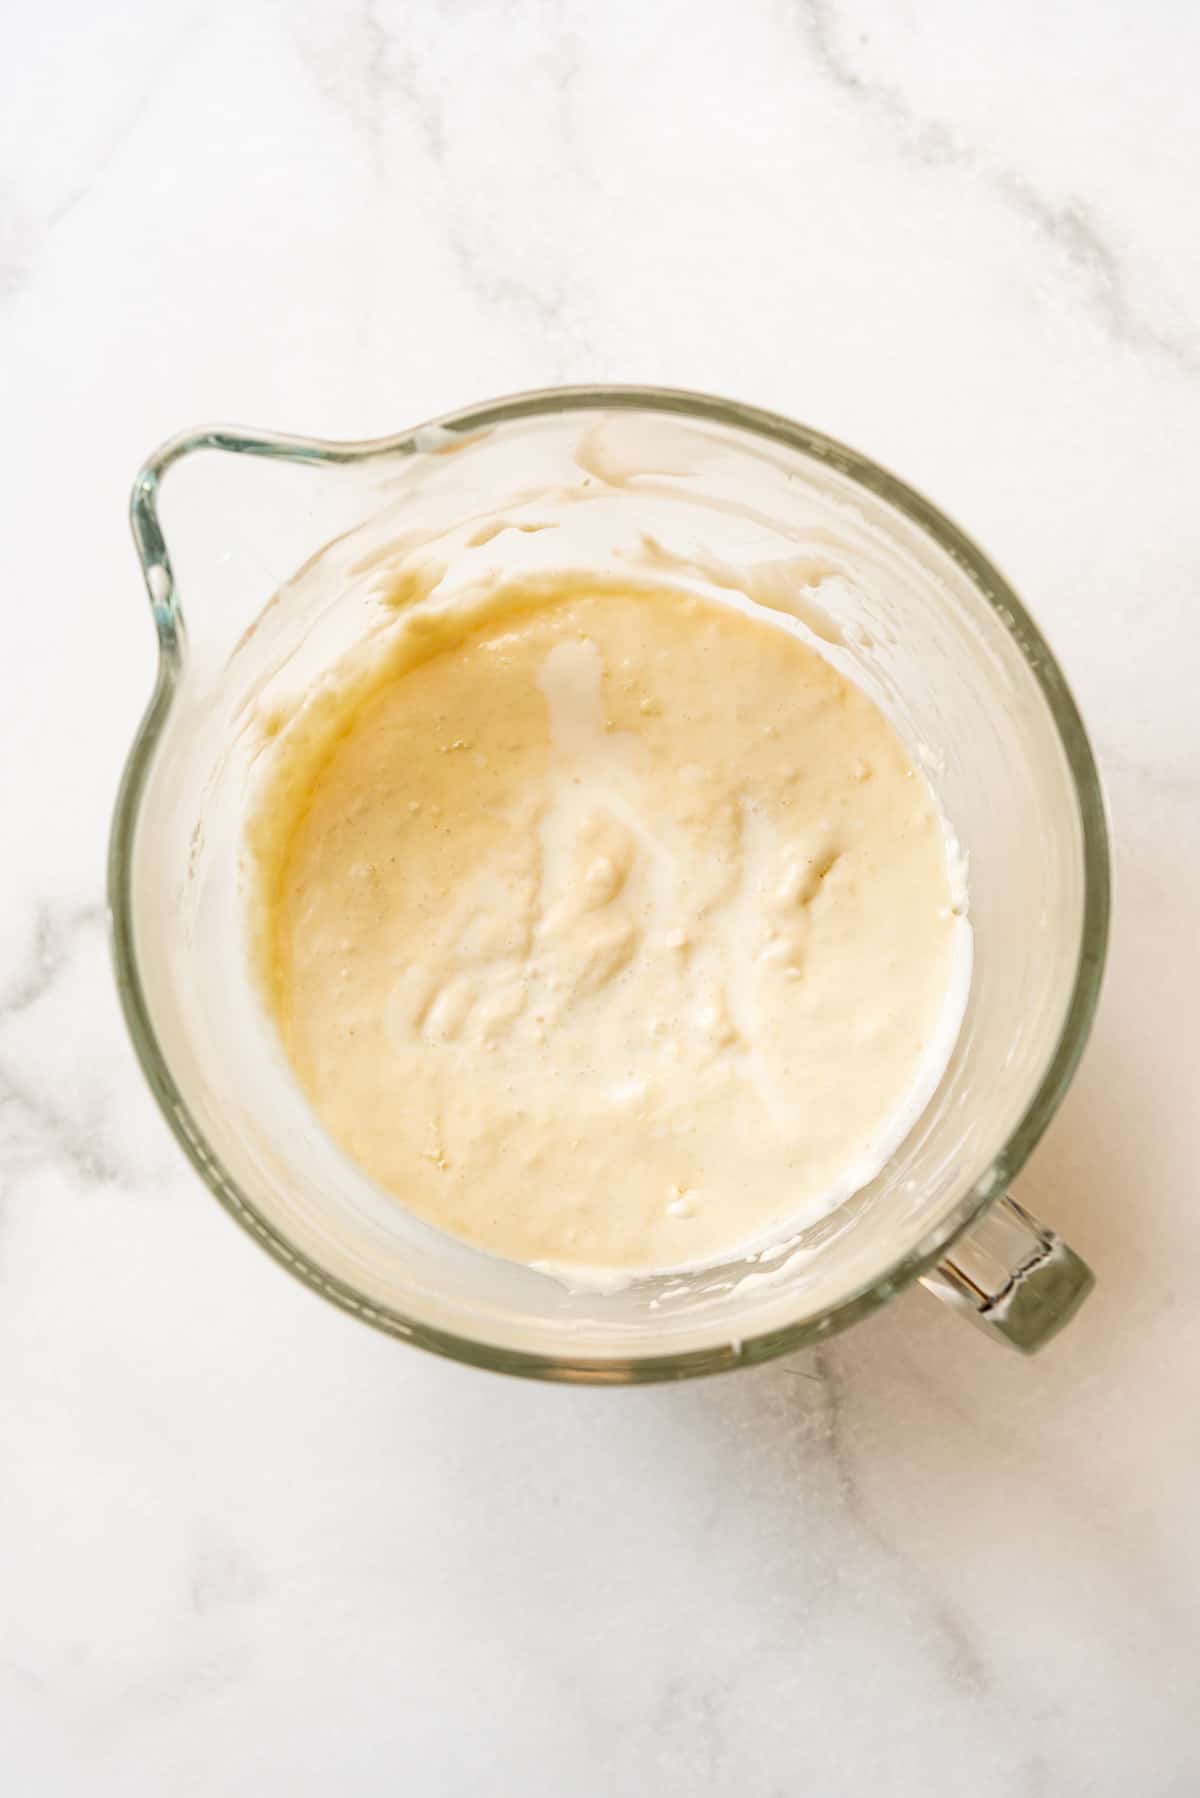
- Mix in the sour cream and vanilla extract until smooth.
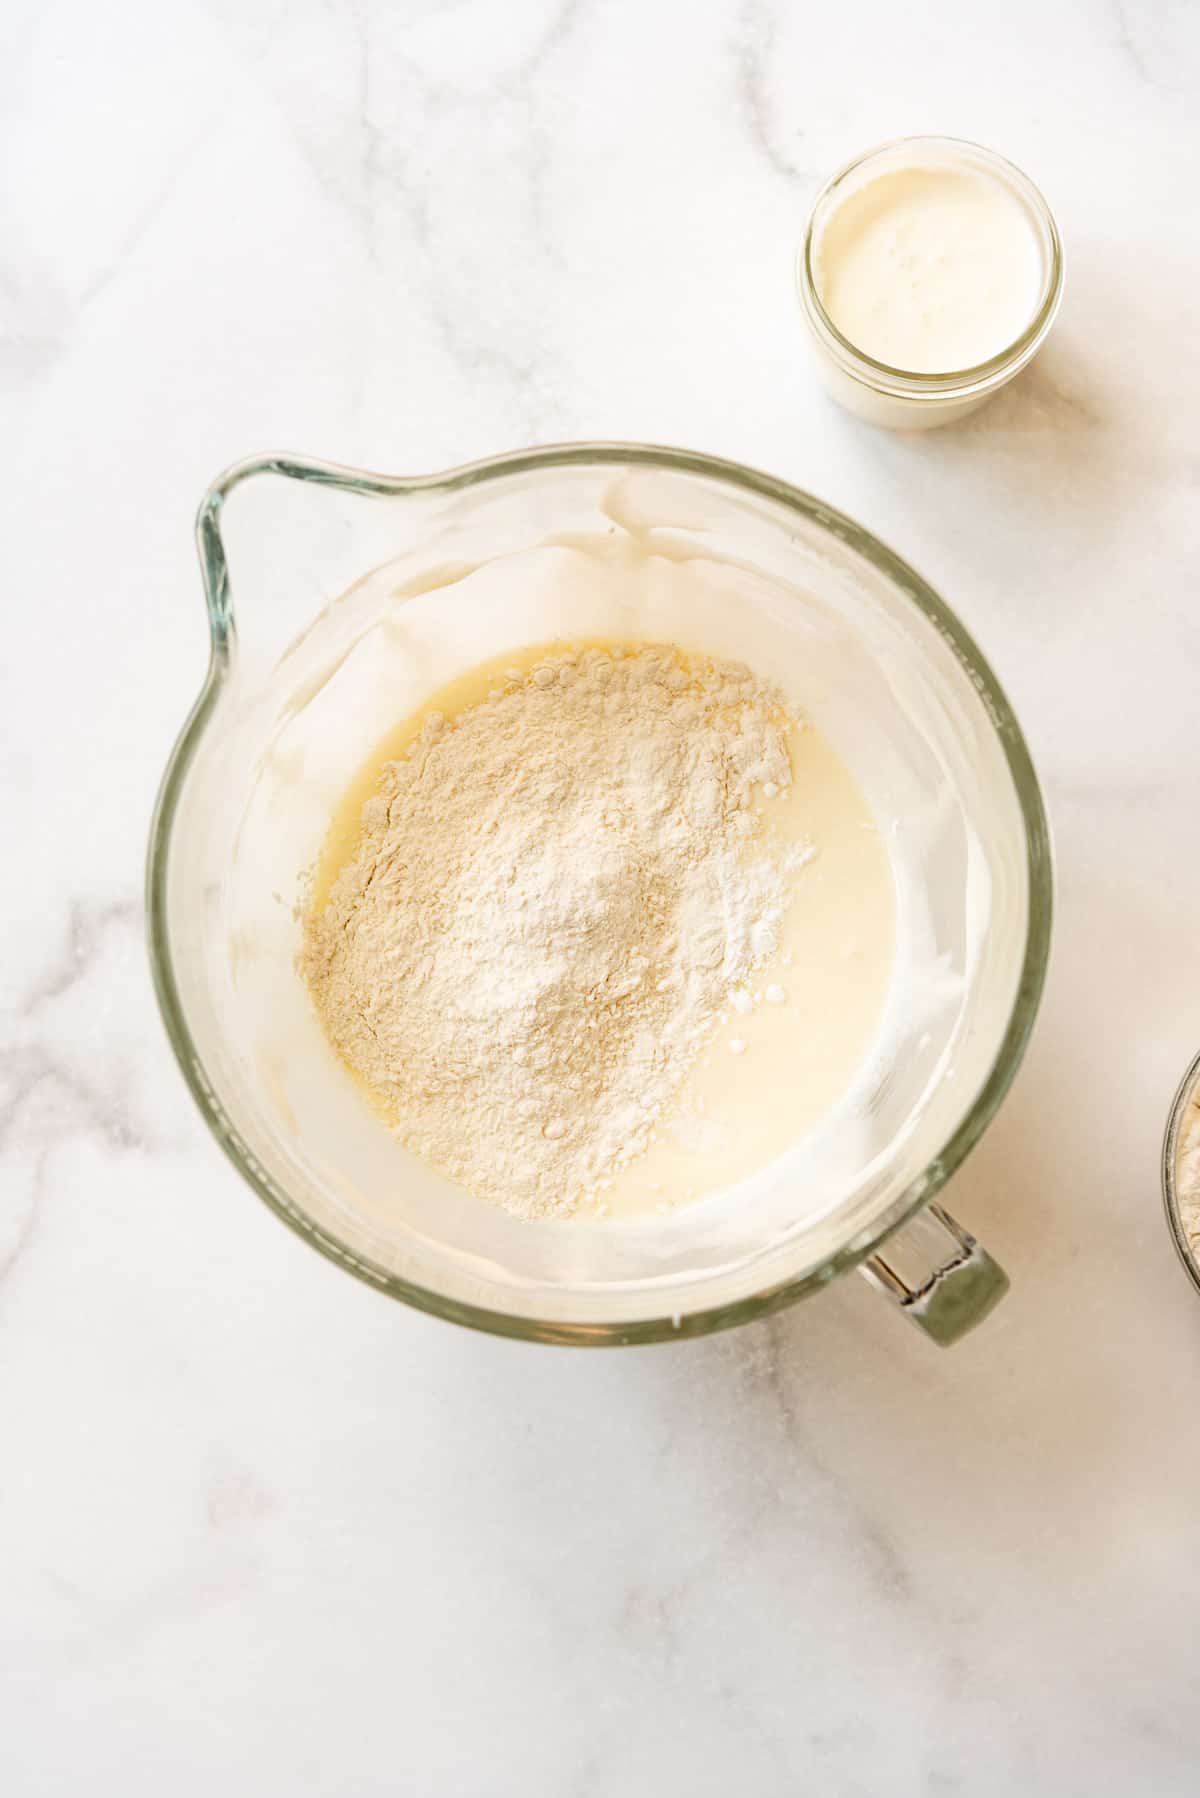
- Alternate adding the dry ingredients with the milk. I always add the baking powder, baking soda, and salt with half of the flour first and I sprinkle them in rather than dump them in a clump, rather than bothering to whisk them in a separate bowl. Mix just until combined between additions so as not to overwork the batter, and be sure to scrape the bottom and sides of the bowl.
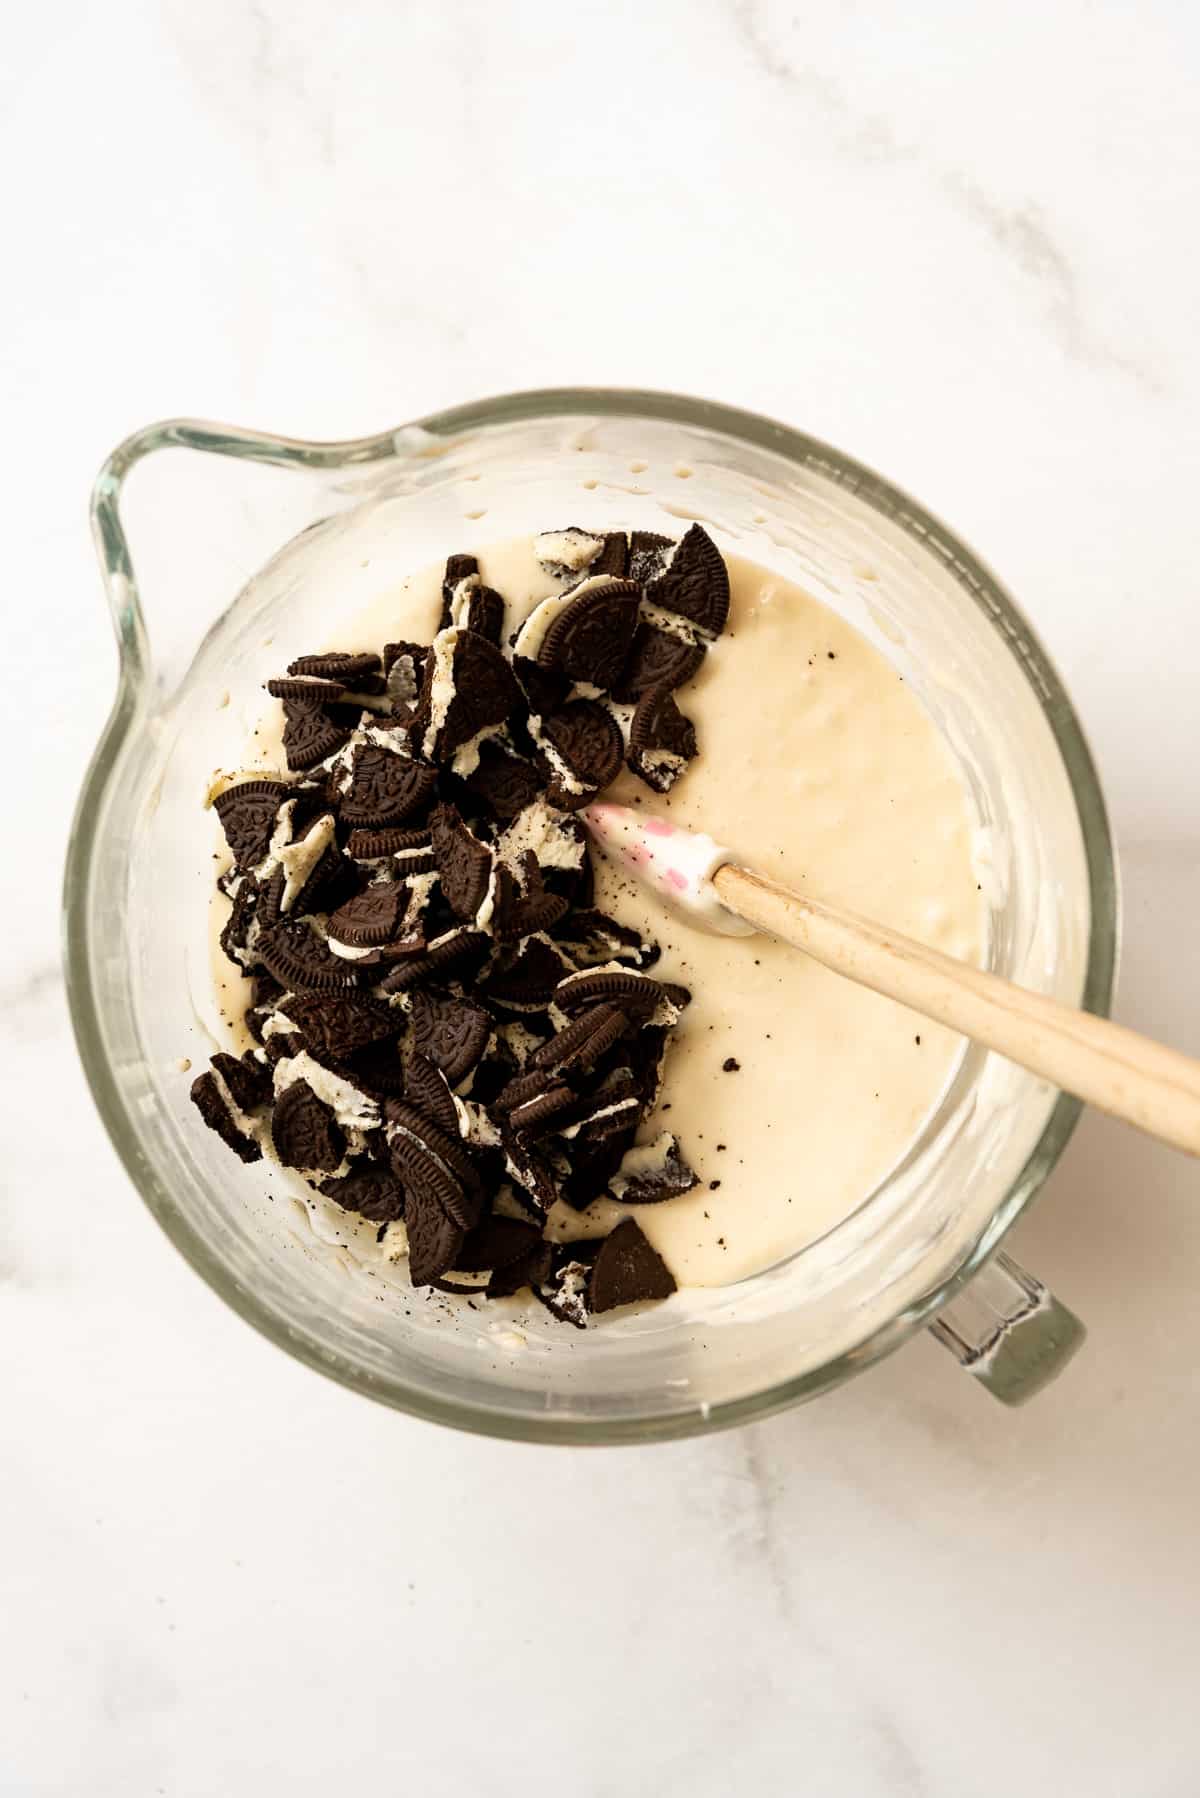
- Fold the broken up Oreo chunks into the batter by hand. This prevents the batter from turning grey so you have a nice bright white contrast between the batter and the Oreos for a beautiful appearance when sliced.
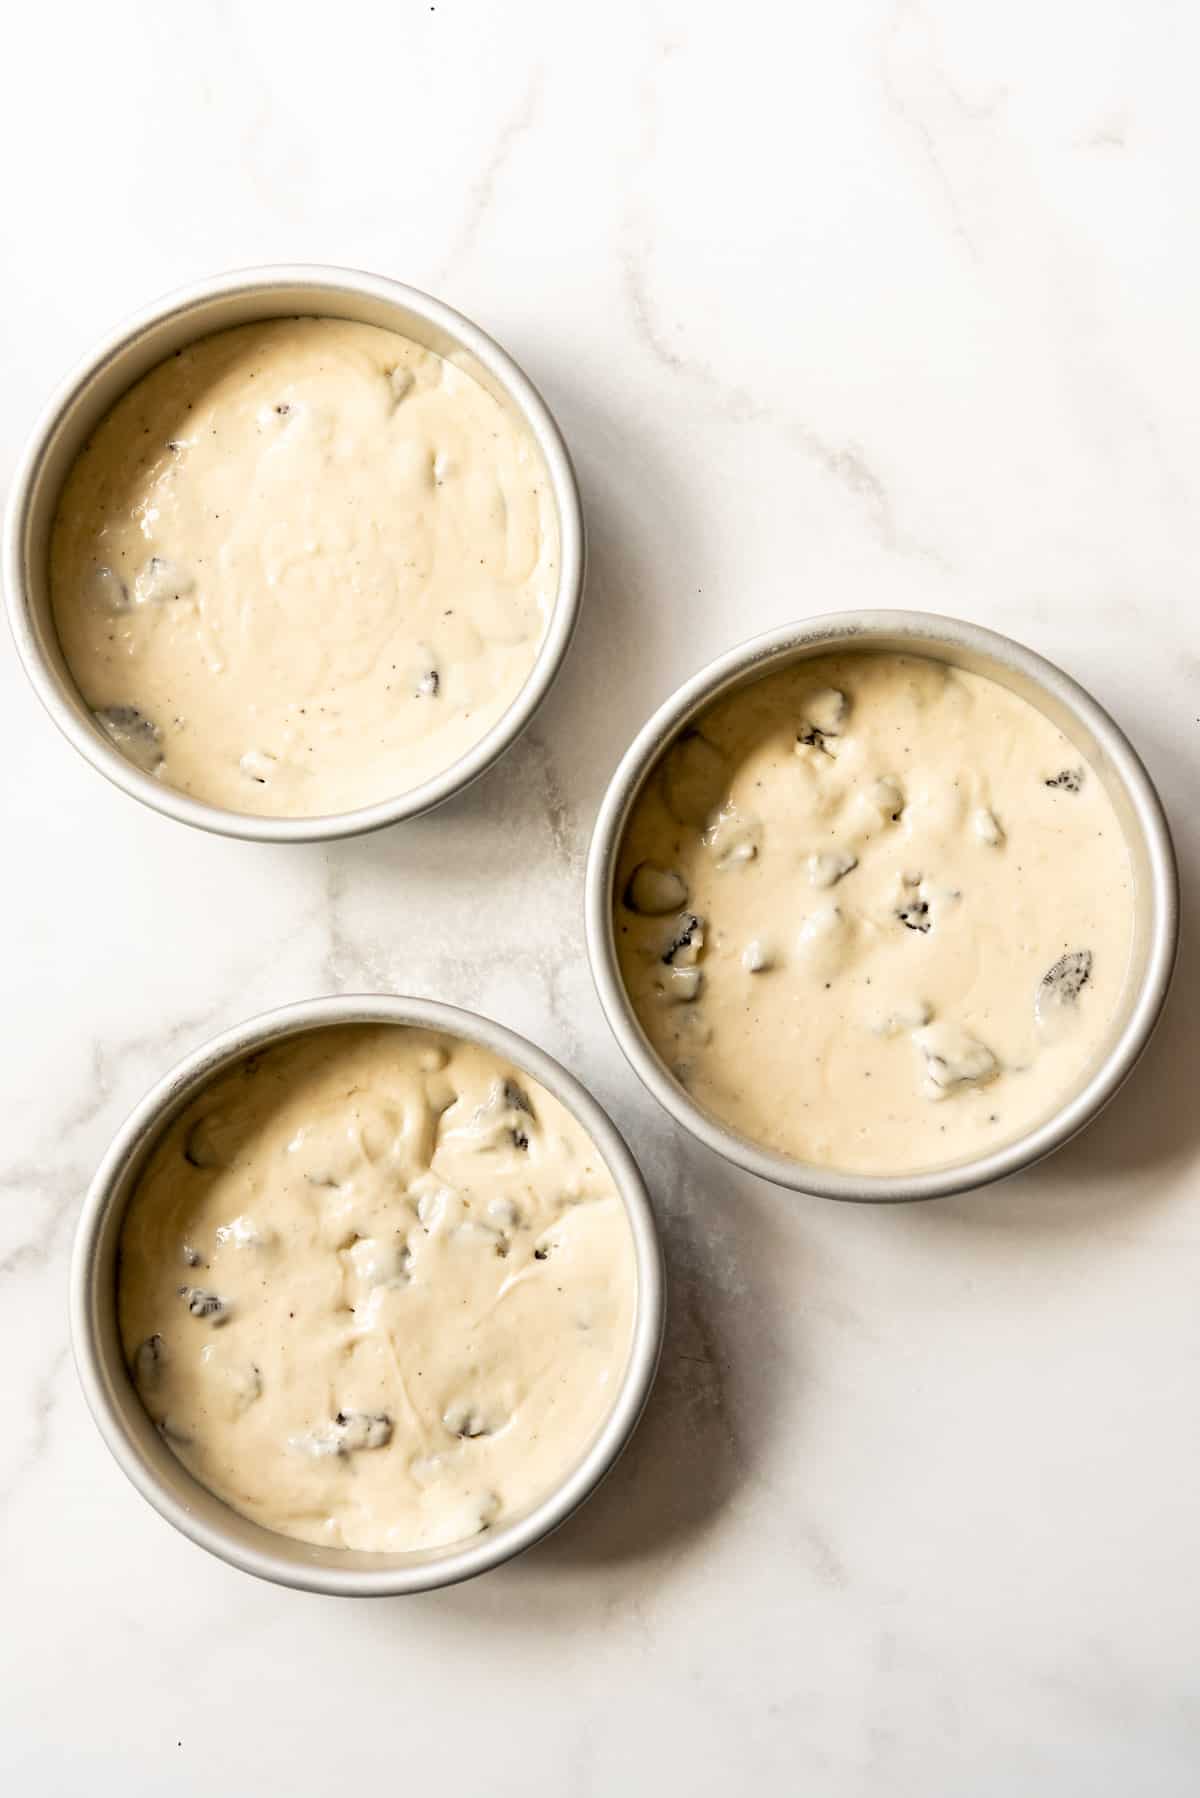
- Evenly divide the batter between the prepared cake pans. It’s about 6-7 cups of batter total, so it can be helpful to measure 2 cups of batter into each pan so you know you will end up with layers that are the same size.
- Bake for 25-30 minutes or until a toothpick inserted into the center of the cakes comes out clean. Be careful not to overbake. Remove from the pans onto wire racks and cool completely. Level off the tops of the cake layers with a serrated knife, if needed.
Pro Tip: Make sure your oven is fully preheated. Sometimes an oven indicator light will say the oven is ready when really it needs a solid 20 minutes to come to temperature. For even baking and best results, keep an inexpensive oven thermometer in your oven to get an accurate temperature reading always.
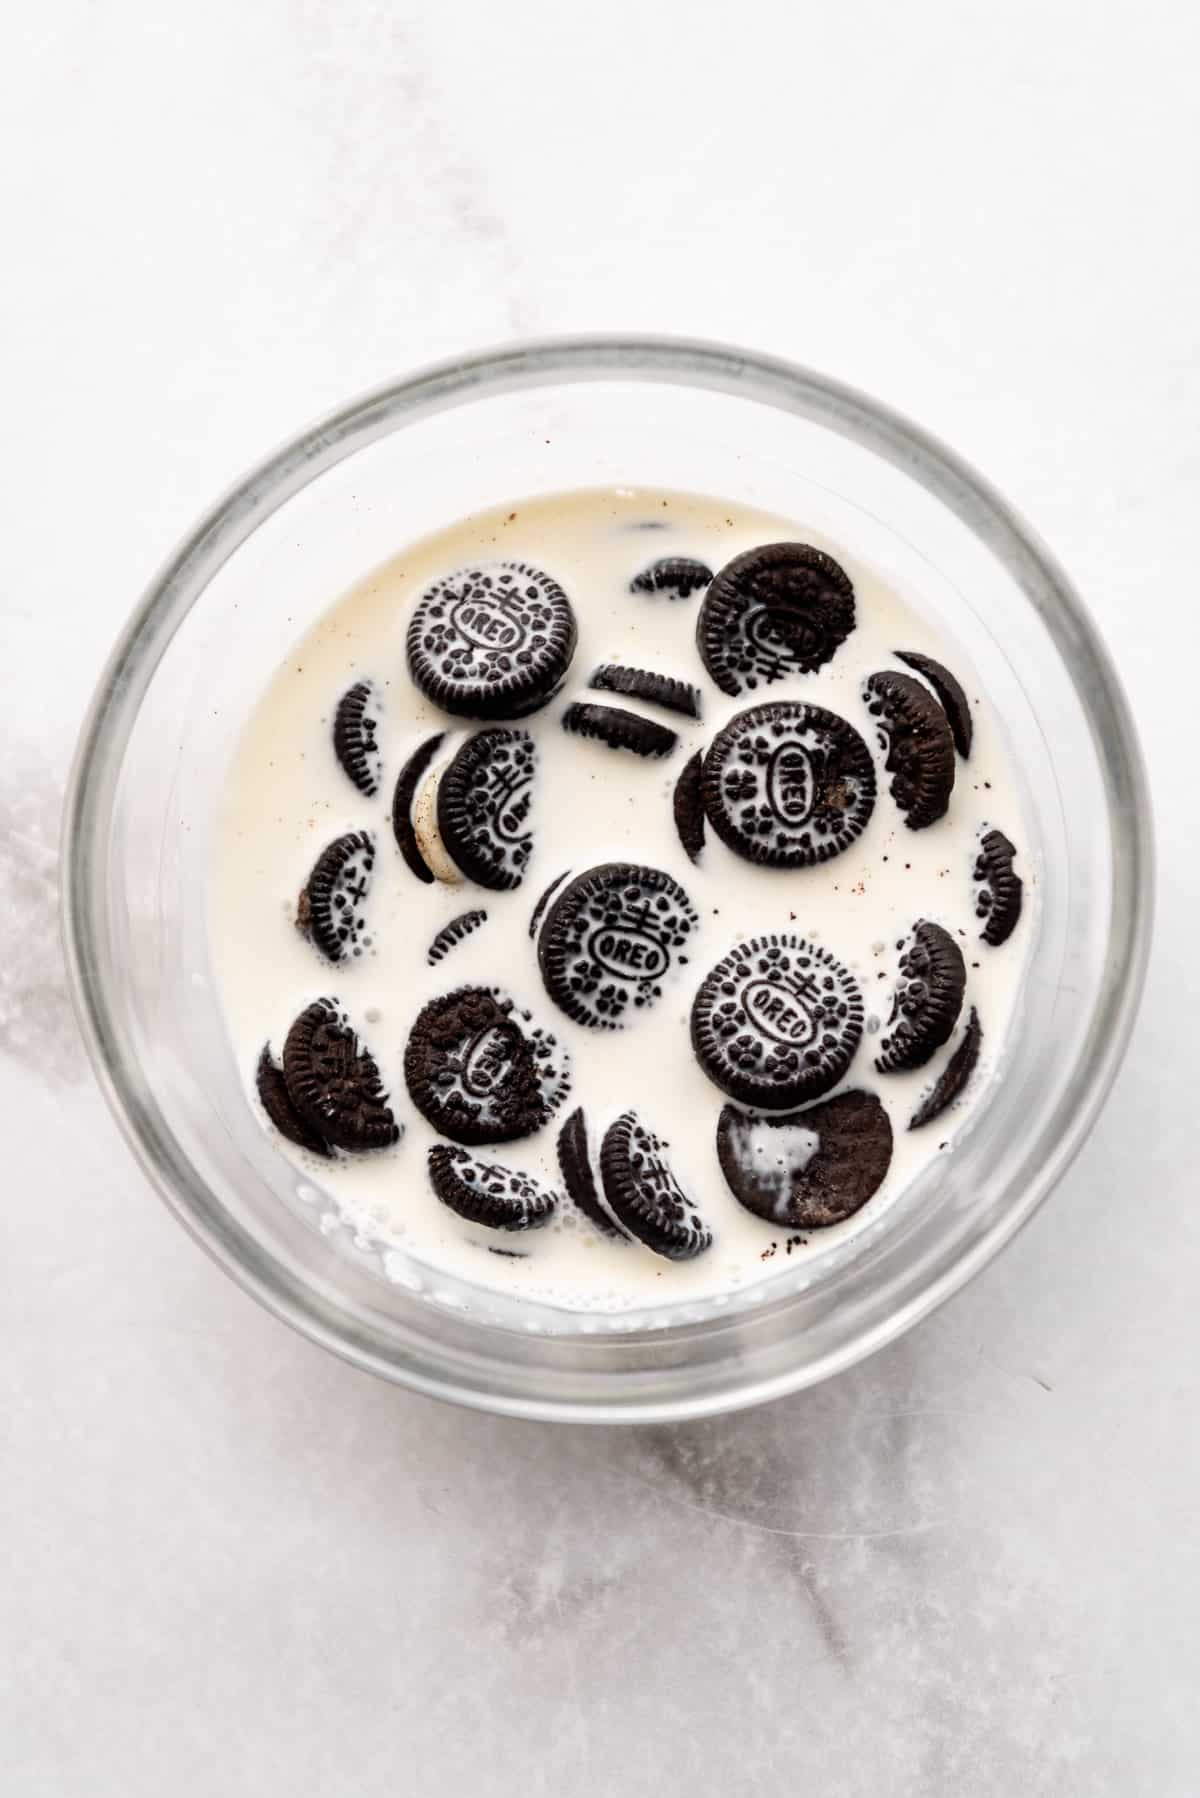
- Soak some broken up Oreos (or mini Oreos if you happen to have those on hand also and are trying to use them up because they are even more irresistible than the full-size ones) in a bowl with some heavy cream. Not only does it infuse the cream with the Oreo flavor before you add it to the frosting, but then you can actually sandwich the soaked Oreos between the cake layers for an even more intense hit of cookies & cream flavor. It’s optional, of course, but worth it, IMO.
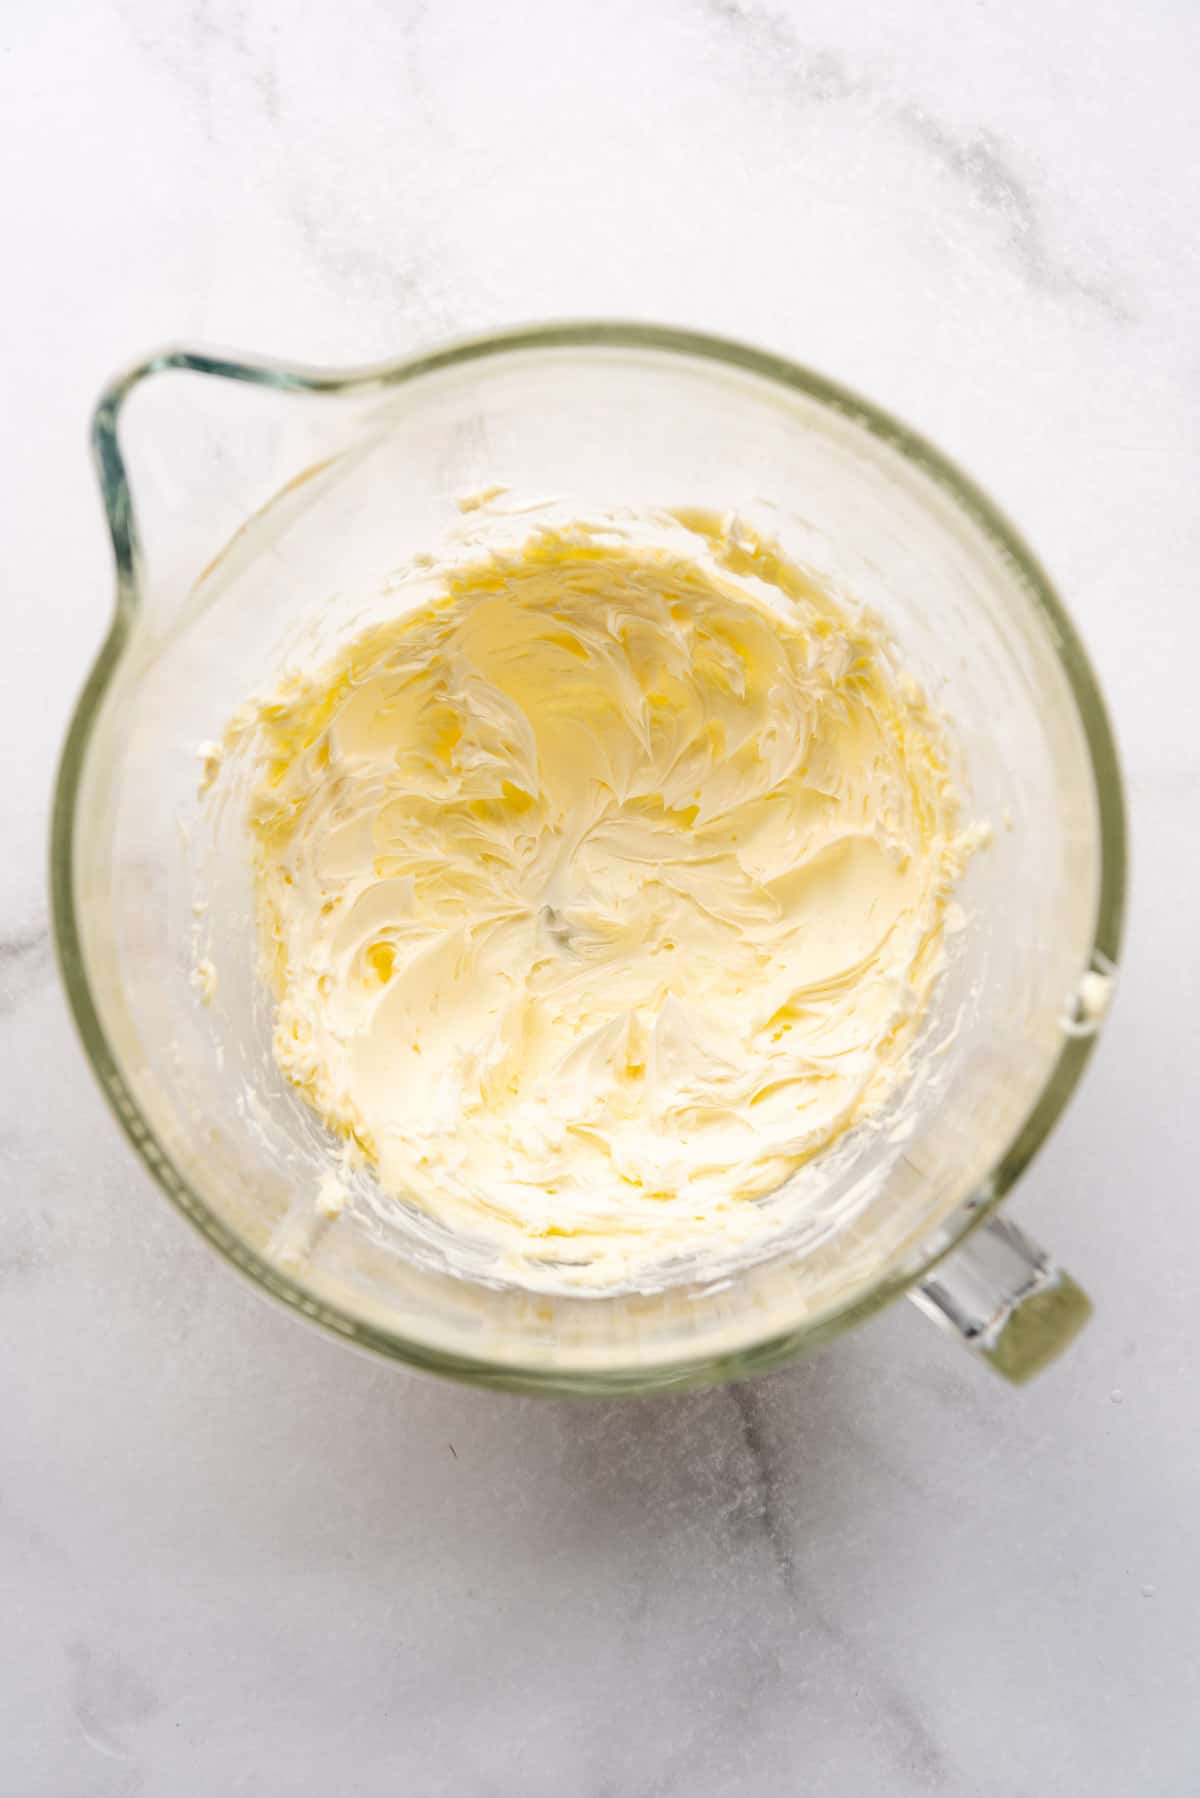
- Make the buttercream frosting by first beating the butter until creamy and light, about 2 minutes. It’s color will actually lighten as more air is incorporated into the butter.
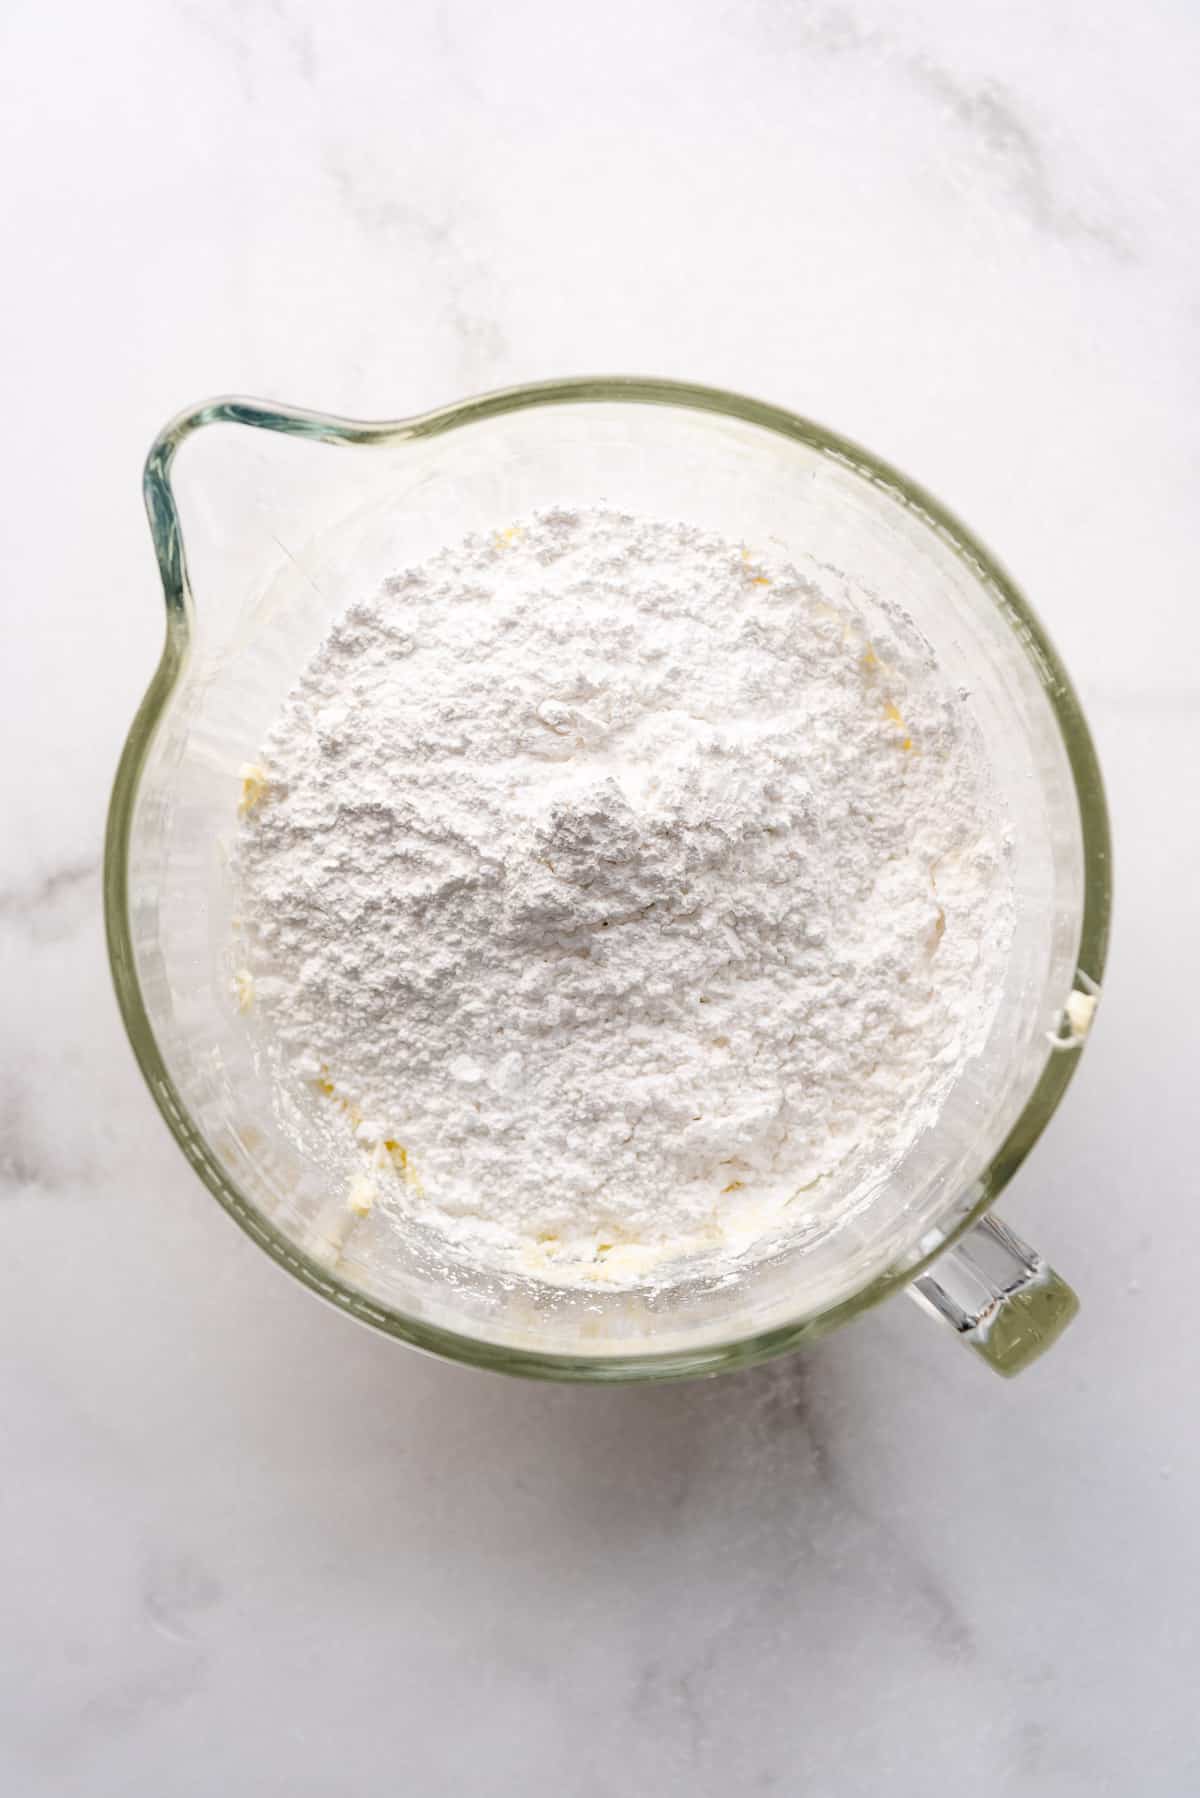
- Add the powdered sugar and continue to beat on a medium-low speed until they start to combine. Increase the speed to medium-high and beat for 5 minutes until creamy and light.
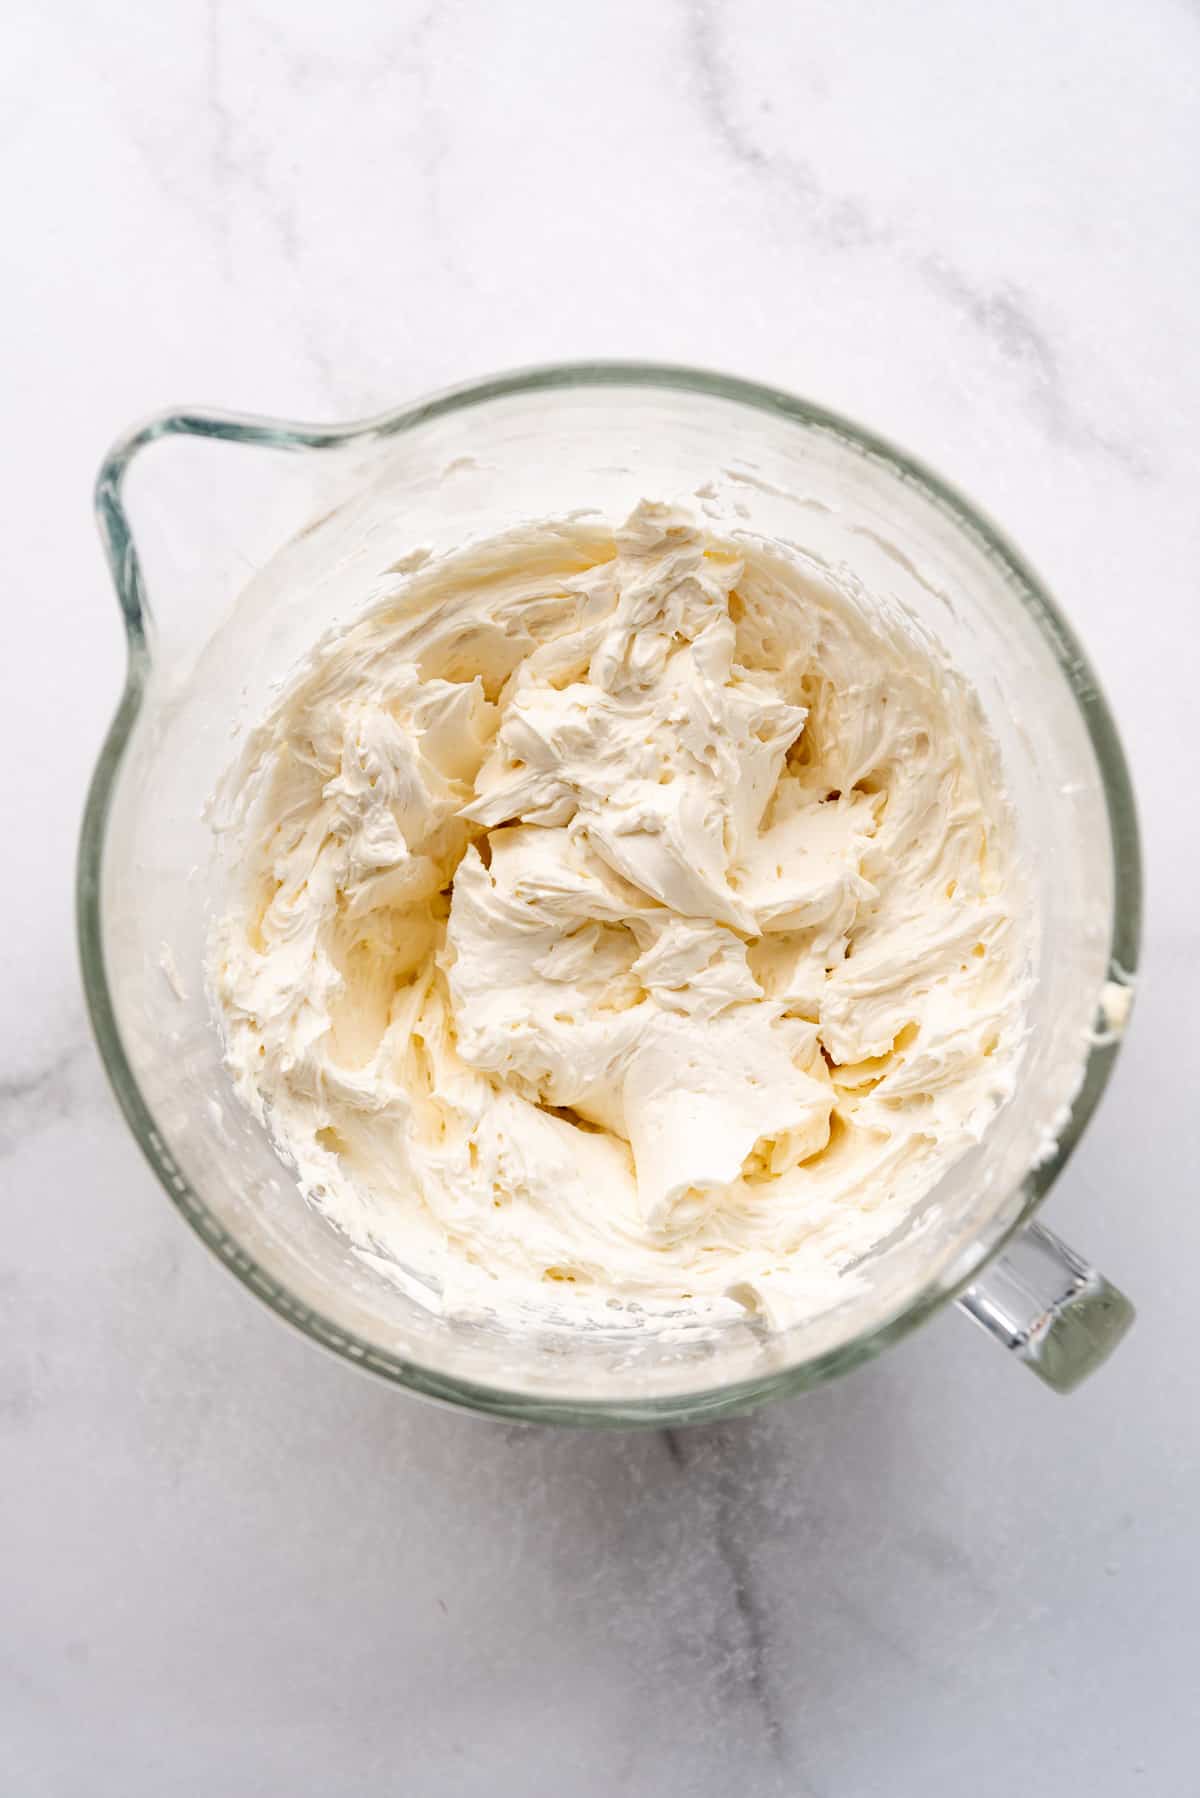
- Add the heavy cream drained off the bowl of Oreo pieces, reserving the soaked Oreos for later, and add it to the frosting along with vanilla and a little salt to cut the sweetness. Beat well, scraping the bottom and sides of the bowl.
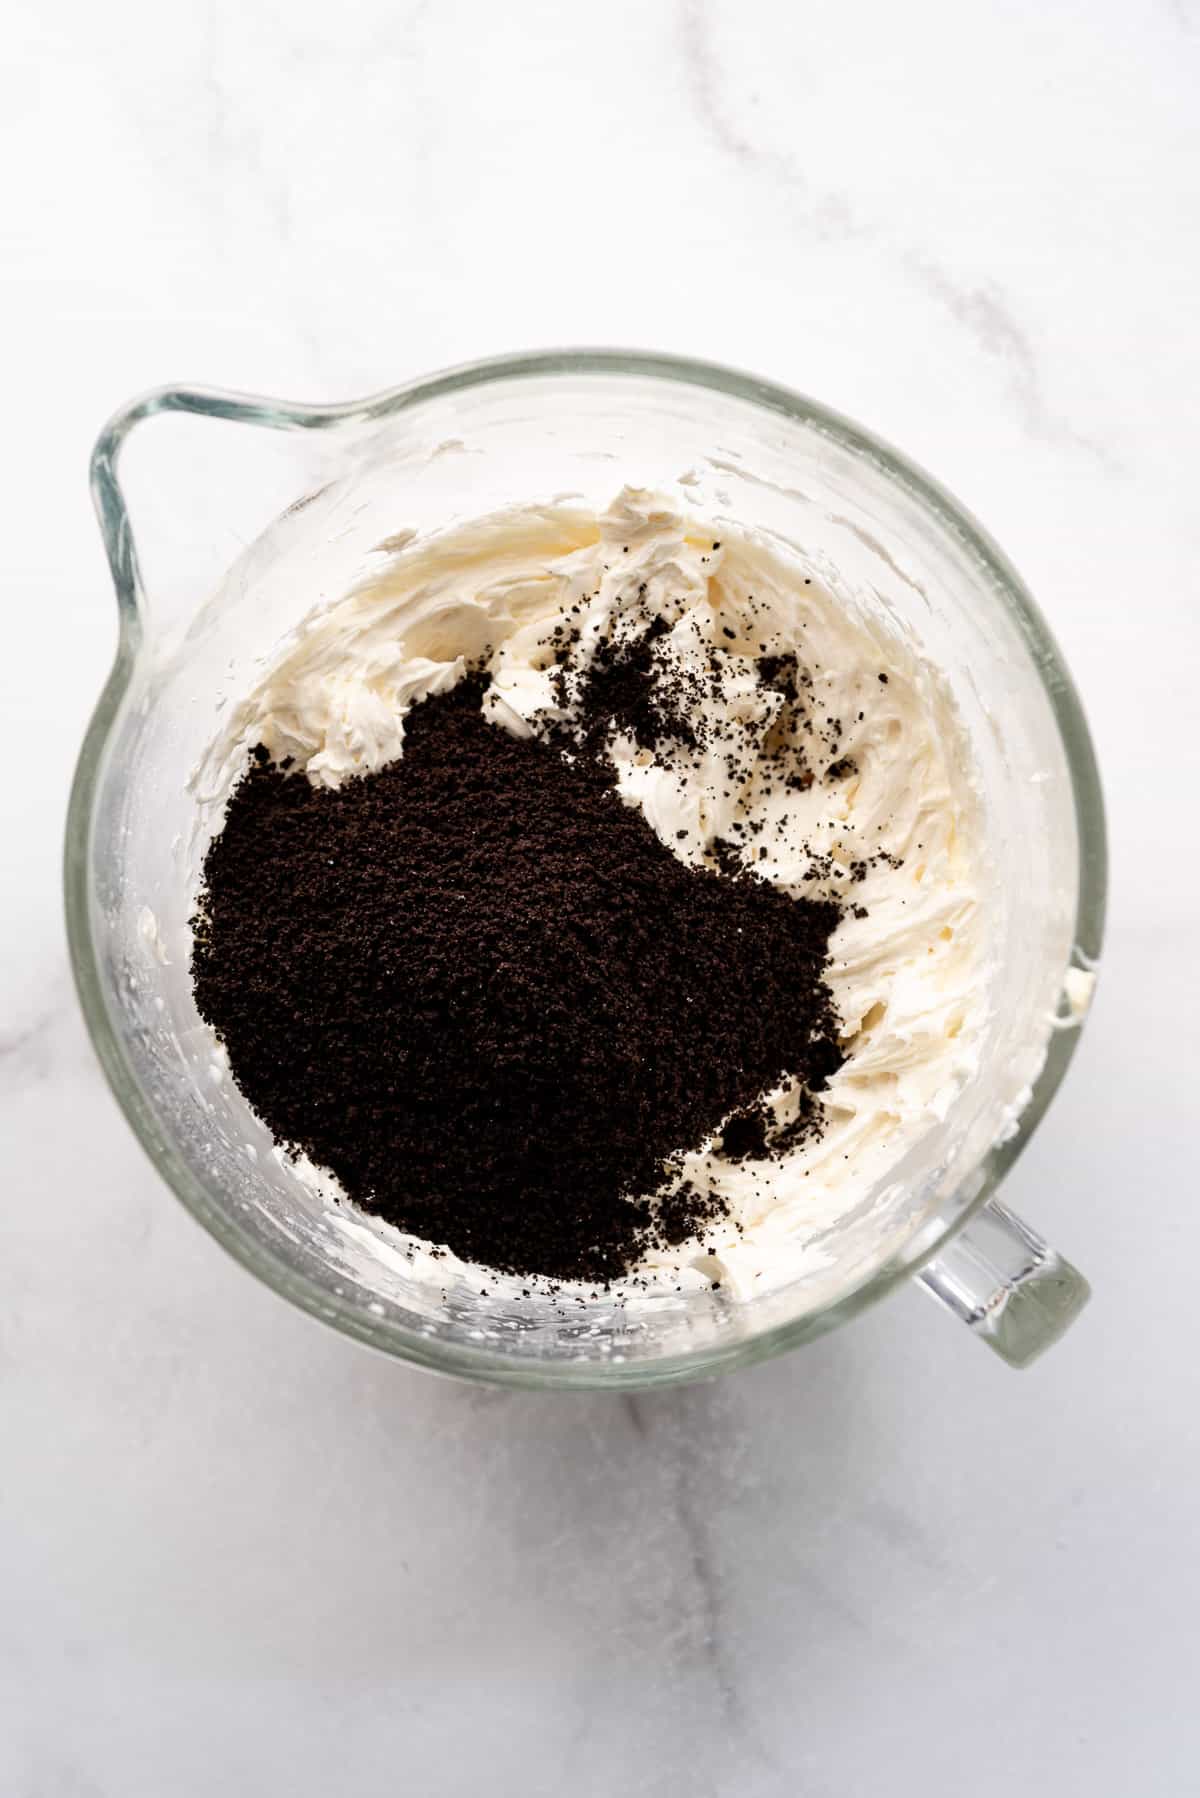
- Add the crushed Oreos to the frosting, reserving some for decorating the cake, if desired, and beat to combine.
- Place the cooled bottom cake layer on a cake stand. Spread a generous amount of frosting on the layer, then arrange half of the soaked Oreos on top, if using. Cover with a little more frosting to make sure the layer is smooth before adding the next layer.
- Repeat adding the next cake layer with more frosting and soaked Oreos. Finally add the top cake layer, making sure the whole cake is level. Stick the cake in the freezer or fridge for 30 minutes to help the frosting set up so the cake is sturdier and easier to frost.
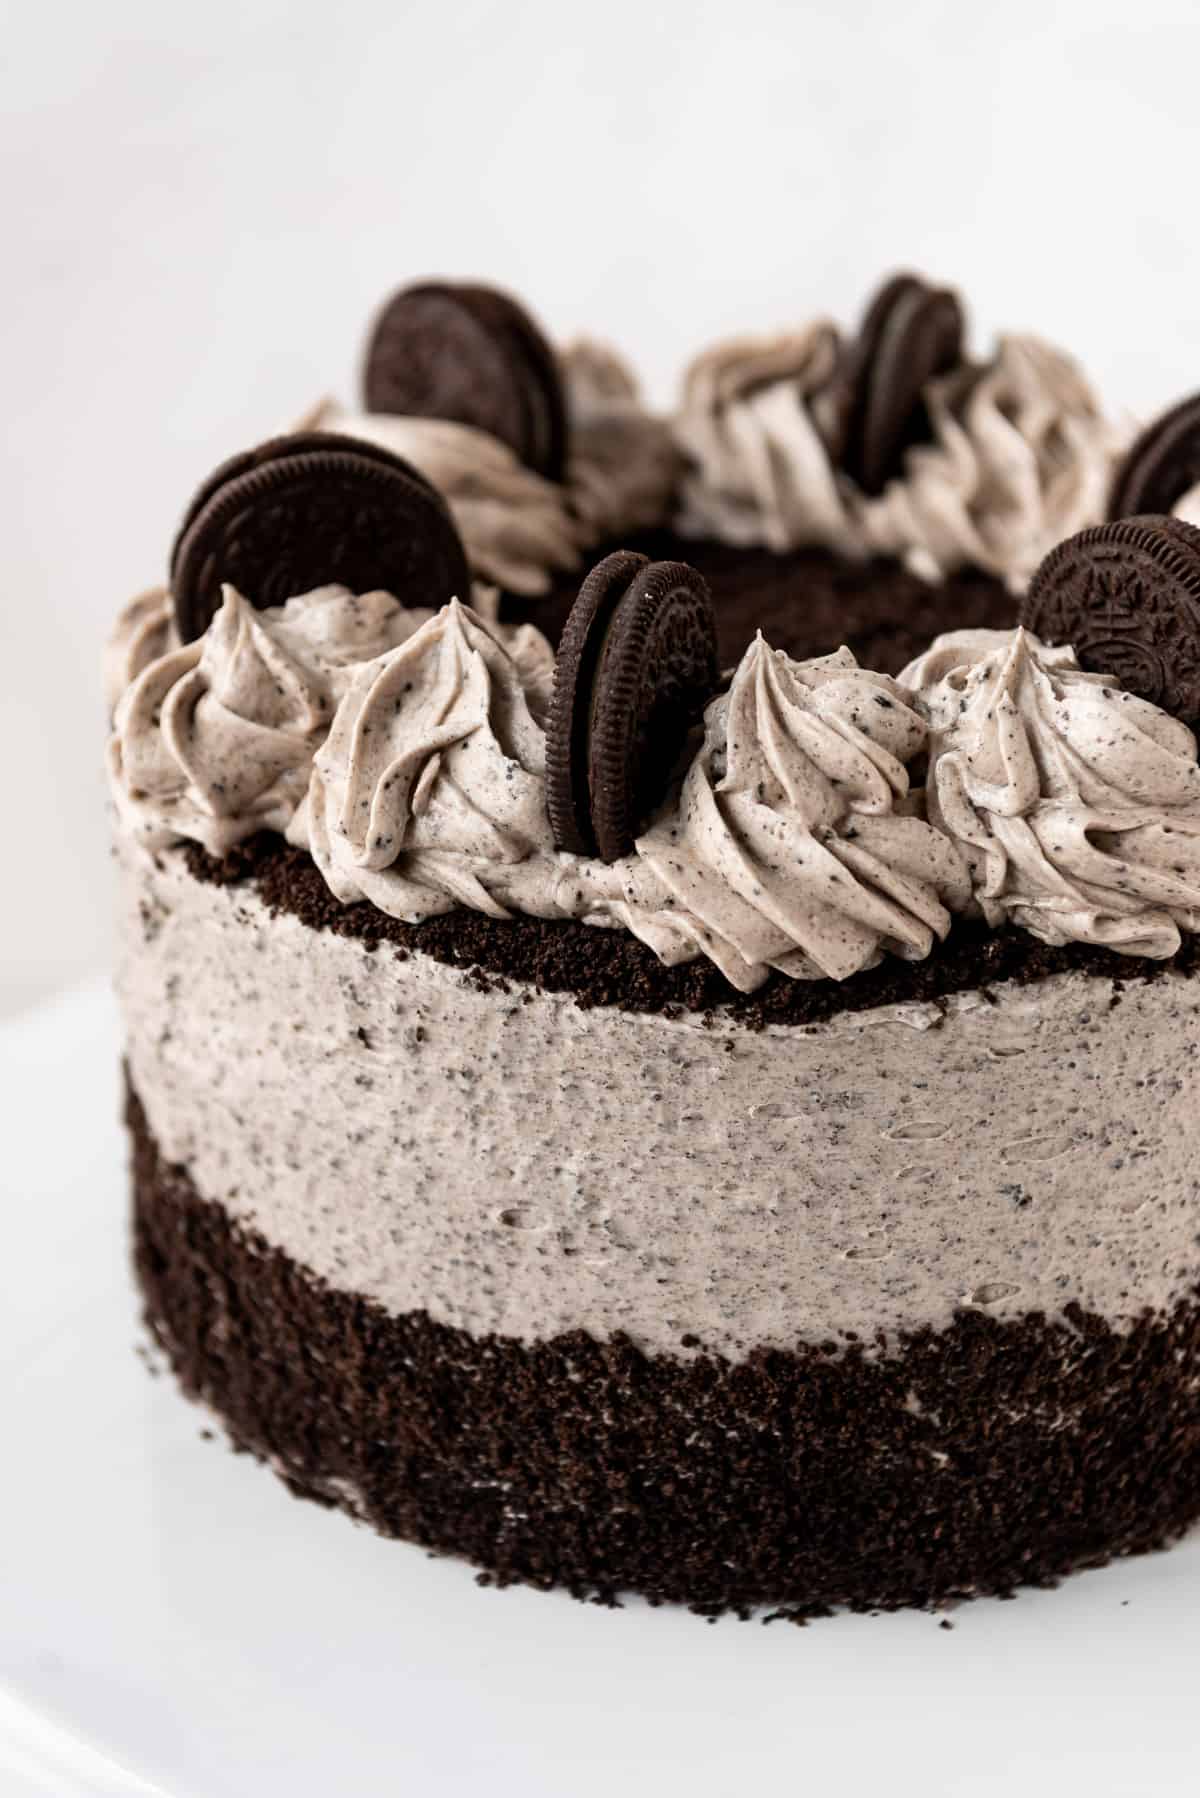
- Frost the outside of the cake with most of the remaining frosting, reserving some for piping swirls on top. Gently press Oreo crumbs around the bottom of the cake by cupping them in your hand and pressing them on while turning the cake stand. Scrape the crumbs that fall off into a bowl to clean the edge of the cake stand and use those to decorate the top of the cake along with any reserved Oreos.
Recipe FAQ’s
To store your cookies & cream cake, I recommend chilling it in the fridge for at least 30 minutes to set the frosting. Then stick a couple of toothpicks in the top of the cake and lightly cover it with plastic wrap. The chilled frosting will be less likely to stick to the plastic wrap and the toothpicks should keep it lifted off of the surface of the cake while still protecting it from drying out. Keep the cake in the fridge, but be sure to let it come all the way to room temperature before serving, otherwise it might taste dry even if it isn’t.
Yes! This is a great idea if you don’t have a large family and don’t want to or can’t eat an entire cake over the course of a few days! In this case, I recommend freezing slices of cake by wrapping them tightly in plastic wrap and freezing individually. Store the wrapped slices in an airtight container for better protection and they should be good for 1-2 months. Just let them come all the way to room temperature before enjoying. Here is a great guide on freezing and storing whole cakes, if that’s something you are interested in.
Oreo just came out with a gluten-free version that tastes exactly like the original and I have had great success in the past using Bob’s Red Mill’s 1-to-1 gluten-free baking flour (not sponsored, they are just my go-to brand for gluten-free flour). I haven’t tried this recipe with it yet, but feel pretty confident that it would turn out well. I have also heard good things about a brand called Cup 4 Cup (again, not sponsored).
There are a few ways! The first is to check to see if the cake is starting to pull away from the side of the pan. The next is to test it with a toothpick and see if it comes out mostly clean, with just a few crumbs (you just don’t want gooey batter on the toothpick). I actually worry when it comes out totally clean because that sometimes mean it is overbaked since the cake continues to cook for a few minutes after being removed from the oven because of residual heat. The third way is to lightly bounce your finger on the top of the cake. It should bounce right back without leaving an impression if the cake is done.
Recipe Tips
- Use room temperature ingredients. If you have cakes that frequently are domed across the top rather than baking flat, there is a good chance it’s because your ingredients were cold when you mix them.
- Don’t overbake the cake layers. If you find that your cakes are consistently coming out dry, chances are you are overbaking them, either because of a timing issue or because your oven temperature is hotter or colder than it indicates. An inexpensive oven thermometer can solve this problem.
- Measure correctly. Another reason for dry cakes is improper measuring. Rather than scooping flour right out of a container, use a whisk to loosen it up first, then spoon it into your measuring cup and level it off with a knife. For the most accurate results, use a kitchen scale or follow my guide on how to measure baking ingredients.
- Having simple decorating tools can be a big help! If you love to bake cakes, it may be worth it to invest in a cake turntable (<–affiliate link), some piping tips (the Wilton 1M is one of my favorites and what I used on this cake), and an offset spatula.
More Cake Recipes
- Yellow Cake with Chocolate Frosting
- Cherry Chip Layer Cake
- Devil’s Food Chocolate Cake
- Best Red Velvet Cake
Did you make this recipe?
Let me know what you thought with a comment and rating below. You can also take a picture and tag me on Instagram @houseofnasheats or share it on the Pinterest pin so I can see.
Cookies & Cream Oreo Cake
Equipment
- 8-Inch Round Cake Pans
Ingredients
Cake
- 1 ¾ cups granulated sugar (375g)
- 1/2 cup vegetable oil (112g)
- 1/4 cup salted butter melted
- 4 egg whites room temperature
- 3/4 cup sour cream room temperature (170g)
- 2 teaspoons vanilla extract
- 2 1/2 cups all-purpose flour (312g)
- 2 teaspoons baking powder
- 1/2 teaspoon baking soda
- 1 teaspoon salt
- 3/4 cup whole milk room temperature (177ml)
- 16 Oreos broken up or roughly chopped (about 1 ½ cups)
Frosting
- 32 Oreos divided
- 1/4 cup heavy cream (59ml)
- 2 cups salted butter room temperature (454g)
- 8 cups powdered sugar (960g)
- 2 teaspoons vanilla extract
- 1/4 teaspoon salt
Instructions
Cake
- Preheat oven to 350°F. Line three 8-inch pans with circles of parchment paper on the bottom and spray with baking spray.
- Combine sugar, oil, and butter in a large bowl. Beat on medium-high speed for 2-3 minutes until creamy and light.1 ¾ cups granulated sugar, ½ cup vegetable oil, ¼ cup salted butter
- Add the egg whites one at a time, beating well on medium speed and scraping the bottom and sides of the bowl with a spatula occasionally to make sure everything is mixing together evenly.4 egg whites
- Add the sour cream and vanilla extract. Mix again until combined.¾ cup sour cream, 2 teaspoons vanilla extract
- Add half of the flour along with the baking powder, baking soda, and salt. Mix on low speed just until mostly combined. Add the milk and mix again, followed by the remaining flour.2 ½ cups all-purpose flour, 2 teaspoons baking powder, ½ teaspoon baking soda, 1 teaspoon salt, ¾ cup whole milk
- Use a spatula to fold in the broken up Oreos. Divide the batter evenly between the three pans (it should be about 2 cups of batter per pan).16 Oreos
- Bake for 25-30 minutes until a toothpick or skewer inserted in the center of each cake comes out clean or with just a few crumbs on it. You can also bounce your finger on the top of the cake and it should spring right back.
- Let the cakes cool for 5-10 minutes in the pans, then run a thin, sharp knife around the edges of the pan and invert them onto wire racks to cool completely.
Frosting
- Break up 8 Oreos into quarters or halves and place them in a bowl with the heavy cream to soak while you work on the rest of the frosting. Set 6 whole Oreos aside for decorating.32 Oreos, ¼ cup heavy cream
- Add the remaining whole Oreos (cream filling and all) to a food processor (affiliate link) and pulse until they are fine crumbs. If there are any large pieces, they can clog a piping tip if you plan to pipe swirls onto the top of your cake. Set aside ½ cup of the crumbs for decorating.
- Beat the butter in the bowl of a stand mixer for 2 minutes until creamy and light using the whisk attachment. Add the powdered sugar and mix on medium-low speed, scraping the bowl occasionally, until the sugar is incorporated into the butter.2 cups salted butter, 8 cups powdered sugar
- Add the vanilla and salt, then beat the frosting for 5 minutes on medium-high speed, scraping the bottom and sides of the bowl occasionally, until fluffy and light.¼ teaspoon salt, 2 teaspoons vanilla extract
- Add the finely crushed Oreo crumbs along with the cream that has been used to soak the broken up Oreos. Reserve the soaked Oreos for assembling the cake. Beat the frosting until the cookie crumbs are evenly distributed.
Assembly
- Place one of the cake layers on a cake stand and spread a layer of the frosting on it. Add half of the soaked Oreos on top of the frosting, then top with a little more frosting so the layer is level.
- Add the next cake layer and repeat with more of the frosting and the remaining soaked Oreos. Add the final layer and stick the cake in the fridge or freezer for 30 minutes to help set the layers and make the cake easier to frost.
- Spread most of the remaining buttercream around the top and sides of the cake using an offset spatula and cake scraper to smooth it out if you want a finished look. Use any leftover frosting to pipe swirls on top of the cake. You may not need all the frosting, but it's so aggravating to have not enough frosting rather than too much.
- To decorate the sides of the cake with Oreo crumbs, cup some of the reserved crumbs in one hand and gently press them against the sides, turning the cake as you go. Some of the crumbs will fall onto the cake plate and those can be carefully scraped off and used to sprinkle on top of the cake. Decorate with the reserved whole Oreos. Refrigerate or freeze the cake for 30 minutes to set the frosting before slicing and serving.
Notes
- Makes 6-7 cups of batter.
- Alternate pan sizes: If using a 9×13-inch pan, bake for 30-35 minutes. If using two 9-inch pans, bake for 25-30 minutes. If using four 6-inch pans, bake for 25-30 minutes. If using cupcake pans, bake for 18-20 minutes. The full recipe will yield about 3 dozen cupcakes. You will only need ½ of the frosting recipe for a two-layer 9-inch cake or a 9×13-inch cake.
- This recipe is on page 235 of my cookbook, House of Nash Eats Everyday!


Loved this recipe. My boyfriend absolutely loved it(made it for his birthday) but I will say I don’t think the icing needs 8 cups of powdered sugar. That seems excessive. I used 5 and it was sweet enough. I also suggest just using the mini Oreos in the heavy cream that get mixed into the icing because the big ones seemed to soak too much of it up. Speaking of the heavy cream in the icing, I ended up a little more in there as it was mixing. Just eyeballed it for the consistency. Those are my only critiques to this otherwise great recipe.
Thank you for the recipe. I did however found this to be sickly sweet. Each one of my four children did not really rave over it. With real butter icing, even at room temperature, the icing is pretty solid as well. I would reduce the sugar by at least 1/4. I did not refridgerate it and it was still solid. I would reduce the icing/frosting quantity as well and with that add milk until soft mixing consistency to get a fluffy icing as opposed to a firm hard breaky butter type icing/frosting. Maybe is it just not for us.
Is the nutrition information per serving? Or for the entire cake?
It is per slice based on 12 slices. You can definitely get away with smaller slices, if you want.