
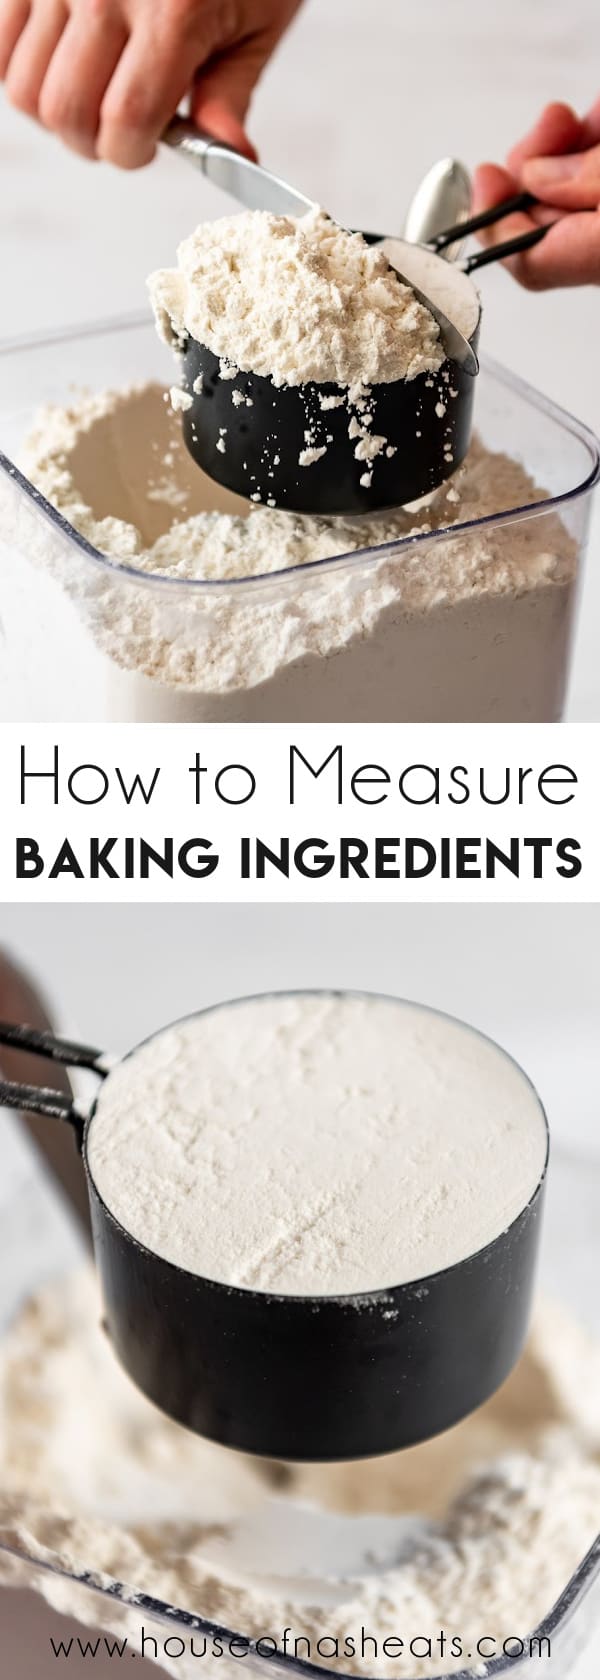
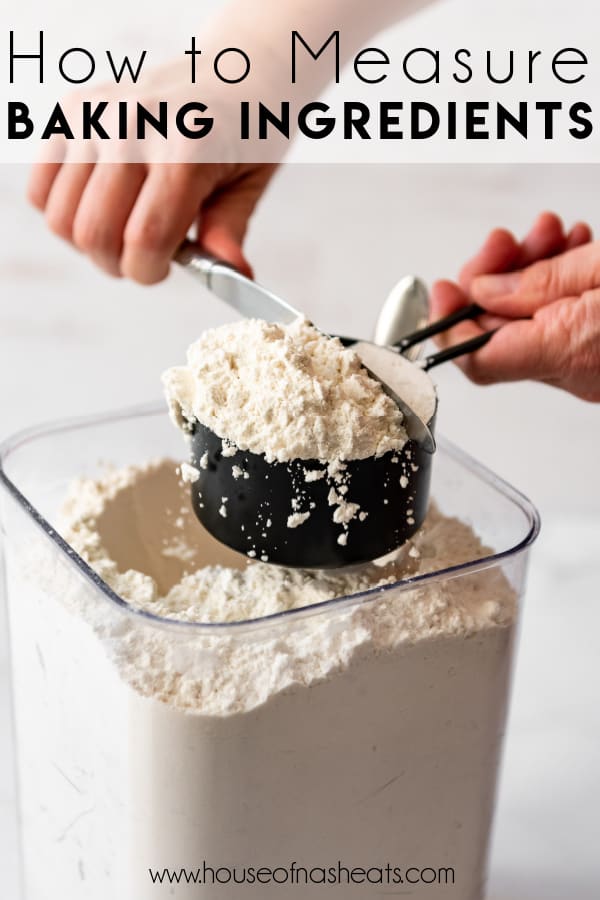
Learn how to measure flour, sugar, mix-ins, and other common baking ingredients accurately and become a better baker in no time. Stop worrying about kitchen fails and start having fun baking with consistent results every time!
It might seem straightforward, but it’s surprising how many times the reason a cake turns out dry or a cookie dough is crumbly or a bread is too dense is because of inaccurate measuring techniques.
This post is meant to be a helpful reference guide with in-depth information to anyone who is new to baking, wanting to become a better baker, or who has struggled with inconsistent results when making recipes.
Why is it Important?
Accurate measuring of both liquid and dry ingredients can make or break a recipe since so much of baking is literally a science. Most baked goods involve chemical reactions and changing a variable like the amount of flour can throw off the results turning soft cookies into rocks or a moist cake into something dry and dense.
This is especially true when dealing with a recipe that calls for multiple cups of flour as the issue compounds itself with each scoop. In a recipe that calls for 4 cups of flour, you can inadvertently end up adding significantly more than you intended just through improper measuring.
Whether you choose to measure in cups using the “spoon & sweep” method or decide to start using a kitchen scale to measure by weight, these are my best tips & tricks for measuring ingredients properly so you can always have delicious bakes!
How to Measure Flour in Cups
Spoon & Sweep Method
Most of the dessert recipes on my site use more flour than any other ingredient, so it’s pretty important to get this measurement right. That’s doesn’t just mean not losing count and accidentally adding an extra cup of flour (been there, done that).
The spoon & sweep method is the simplest way to measure flour or other dry ingredients without a kitchen scale. It’s not quite as precise as measuring by weight, but it’s pretty nearly accurate most of the time if done properly.
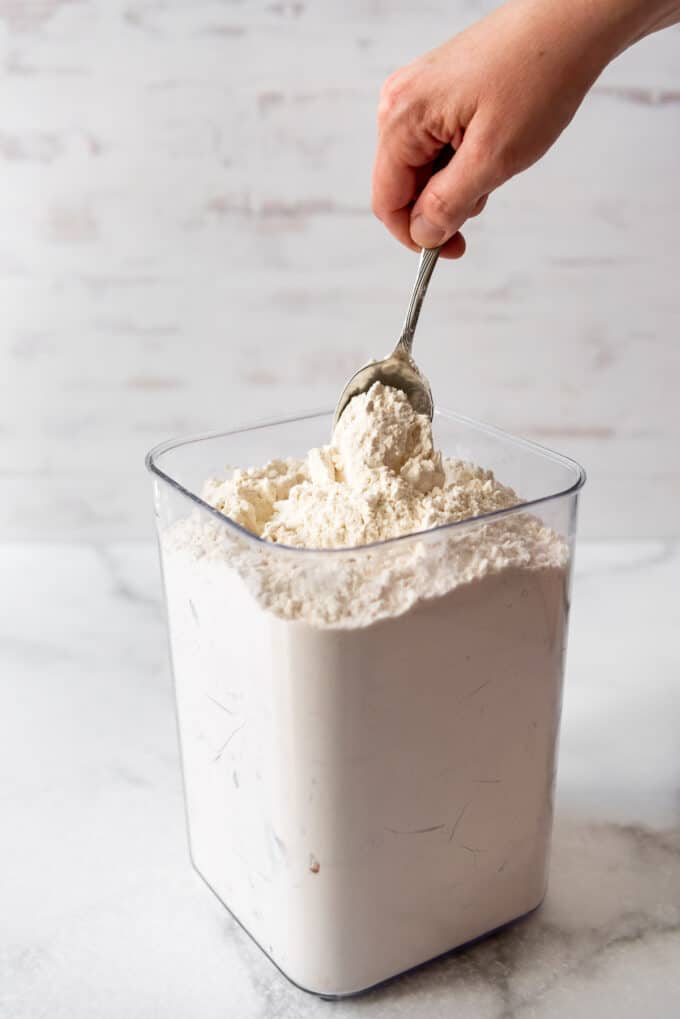
Step 1: Fluff the flour. Use a spoon or whisk to loosen up the flour before measuring. Even if you did this last time, the flour will settle on itself over time, so it’s definitely a good idea to aerate it a bit before measuring.
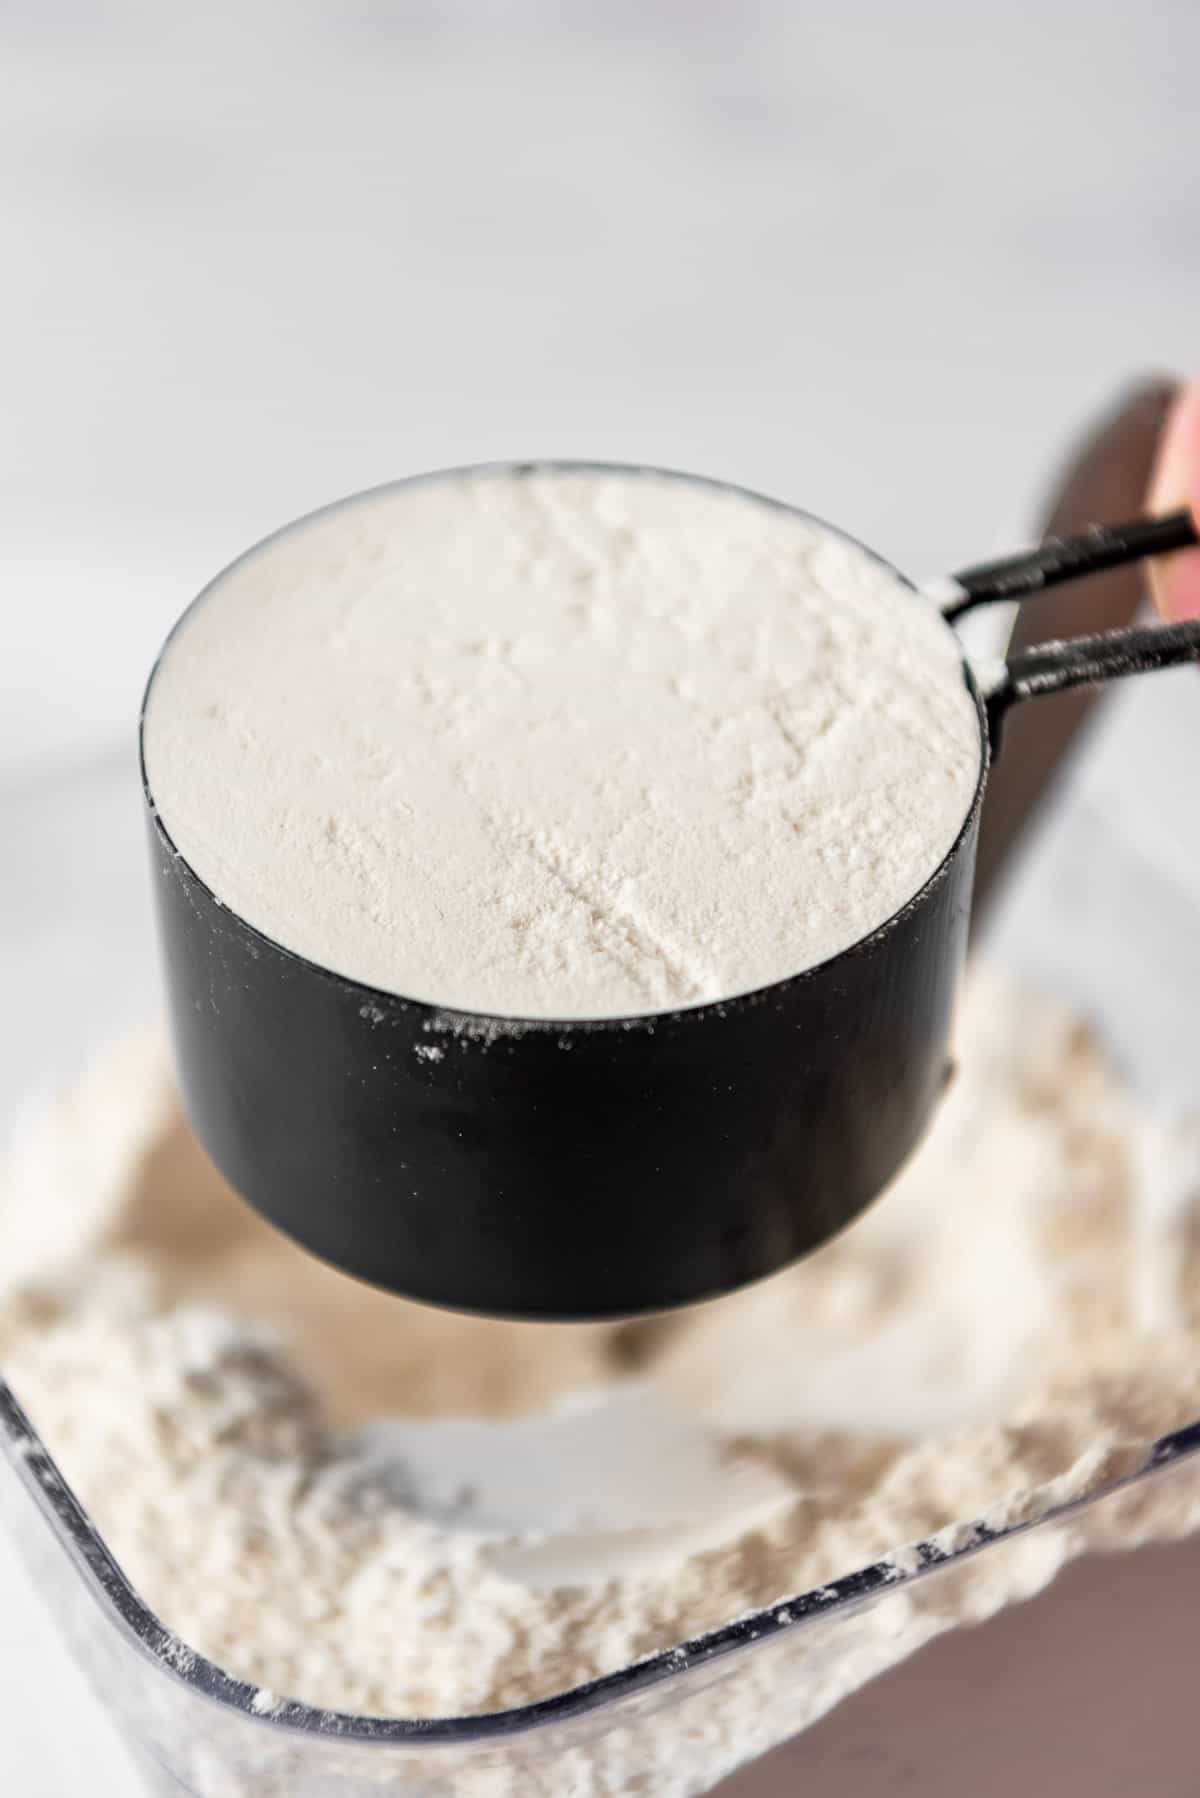
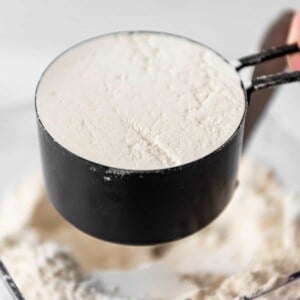
Step 2: Spoon into a measuring cup. Hold your measuring cup over the flour container or bag and use a spoon to fill the measuring cup until the flour is piled slightly over the rim.
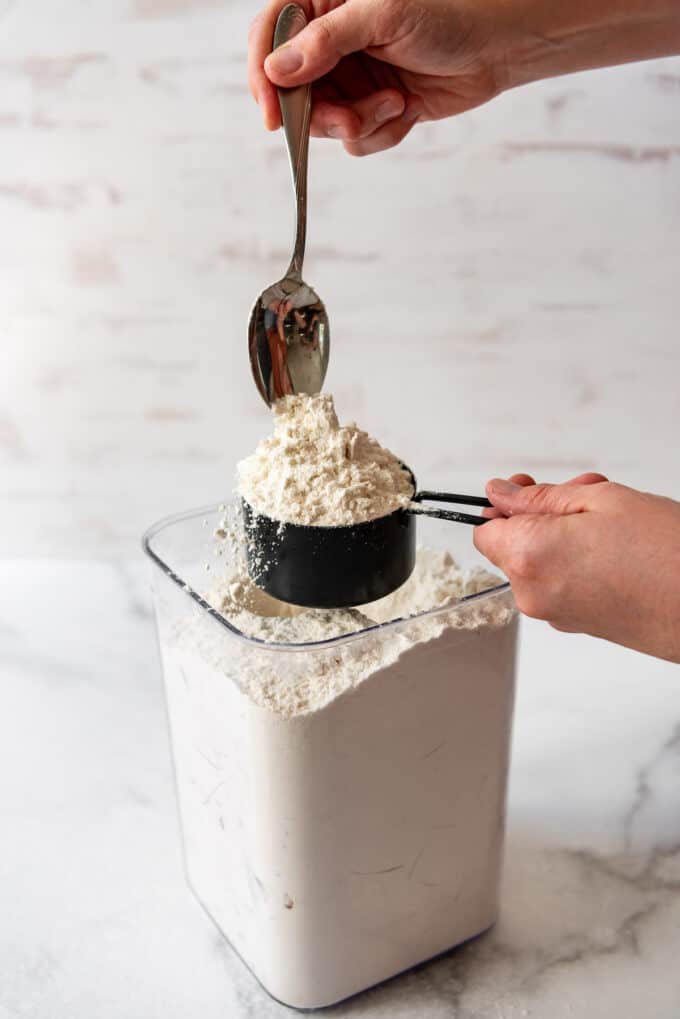
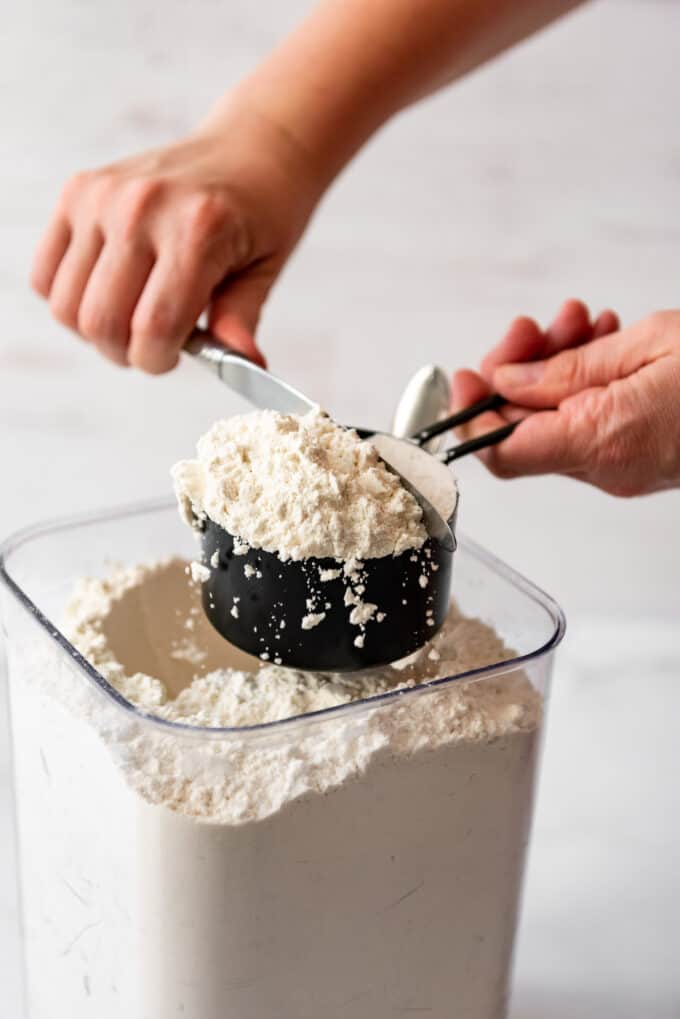
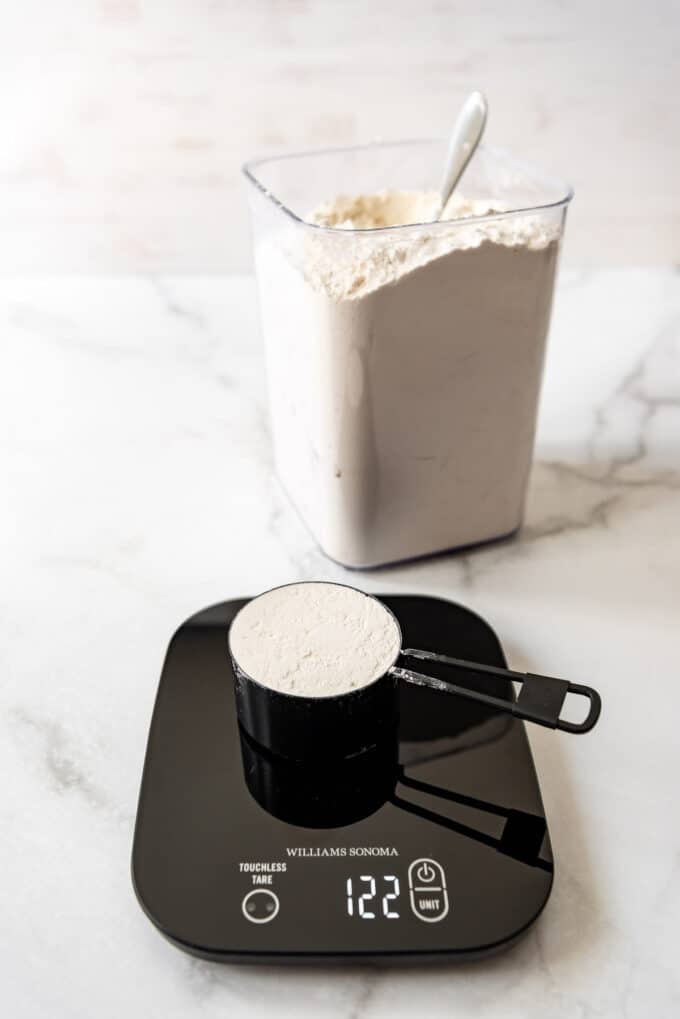
Step 3: Level off with a straight edge tool. Use the straight edge of a knife or bench scraper to scrape off excess flour back into the flour container. As you can see, using this approach I ended up with 122 grams of flour, which is right between the commonly accepted standard of weighing flour between 120 to 125 grams per cup.
Scoop & Sweep Method
The other method which is frequently used by many home bakers is the scoop & sweep method. I think of this as the American way where you just dip the measuring cup into the flour, scoop up enough flour to fill the cup, then level it off.
If I had to guess, I would say this is how the vast majority of most home bakers measure their flour. And it’s not wrong! But you will end up with more flour by grams using this approach than the spoon & sweep method. I repeated this step more than a dozen times, weighing the flour amounts each time and got pretty consistent results averaging 141 grams of flour per cup. This is roughly 12% more flour than using the spoon & sweep method and you can see how the difference will compound if making a recipe calling for multiple cups of flour.
How to use a food scale to weigh flour
If you want to skip the measuring cups altogether, you could save yourself dirtying some extra dishes and ensure accuracy every time by simply investing in a good kitchen scale.
Start by placing any bowl or measuring cup on a scale and hitting the “tare” or “zero” button to zero it out. That way the scale won’t take the weight of the bowl into account when measuring the weight of the flour. Spoon flour into the bowl on the kitchen scale until you reach 120 to 125 grams (for regular all-purpose flour). If you go over, just take a little bit out. Easy-peasy!
Do a little mental math or grab a calculator to adjust the needed weight amount for any recipe and you’ll be good to go.
I picked up my scale at Williams Sonoma but you can get a good inexpensive one just about anywhere, including Amazon of course. I happen to really love mine because of it’s completely smooth top so I don’t have pesky cracks or ridges to clean when it gets dirty. It’s also thin and streamlined so it takes up very little space in a drawer.
Which method should you use?
If you are struggling to know which method to use between spoon & sweep, scoop & sweep, or weighing, the best answer is to follow what the recipe says if it specifies one of the approaches. Weight will always be most consistent, so if grams are given, use those if you have a scale.
If you don’t have a scale, but the recipes says spoon & sweep or scoop & sweep, follow the method described above.
If nothing is specified, you will need to make a judgment call. In my experience, most cookie recipes use a scoop & level approach while most cake recipes use a spoon & level approach. Should this all be standardized so it’s less confusing? Yes, most definitely. For now, I’m updating all of my older recipes to specify the method used while including weights in grams to help readers get more consistent results and clear up confusion to the extent possible.
How much does a cup of flour weigh?
I feel like I researched every cookbook and website to figure out a universally accepted standard for how much 1 cup of regular all-purpose flour weighs and the results varied widely. Here are some of the most common results from notable sources:
- King Arthur Flour: 120g
- Martha Stewart: 125g
- New York Times Cooking: 128g
- Gold Medal Flour: 130g
- Dorie Greenspan: 136g
- David Lebovitz: 140g
- America’s Test Kitchen: 142g
- Ina Garten: 150g
Some reference material indicates it could depend on the brand of flour you purchase, while other variations can vary depending on how you fill your measuring cup (and even the specific measuring cup being used)
I have found that 141 grams works well for my purposes and is what I come to most consistently when using the scoop & level method. When testing recipes for my website I use 141 grams per cup using the scoop & level method unless otherwise specified.
Tips for Measuring Flour
- Don’t sift your flour before measuring unless the recipe specifically calls for it.
- Fluff the flour with a spoon or whisk before measuring.
- Don’t pack, tap, or shake the flour into the measuring cup, which will compact it and result in adding more flour to a recipe than called for.
- Gently scoop from the container or bag of flour with the measuring cup and level off the top. Alternatively, you can spoon the flour into your measuring cup, but in my experience, most home bakers don’t bother taking that approach.

How to Measure Sugar
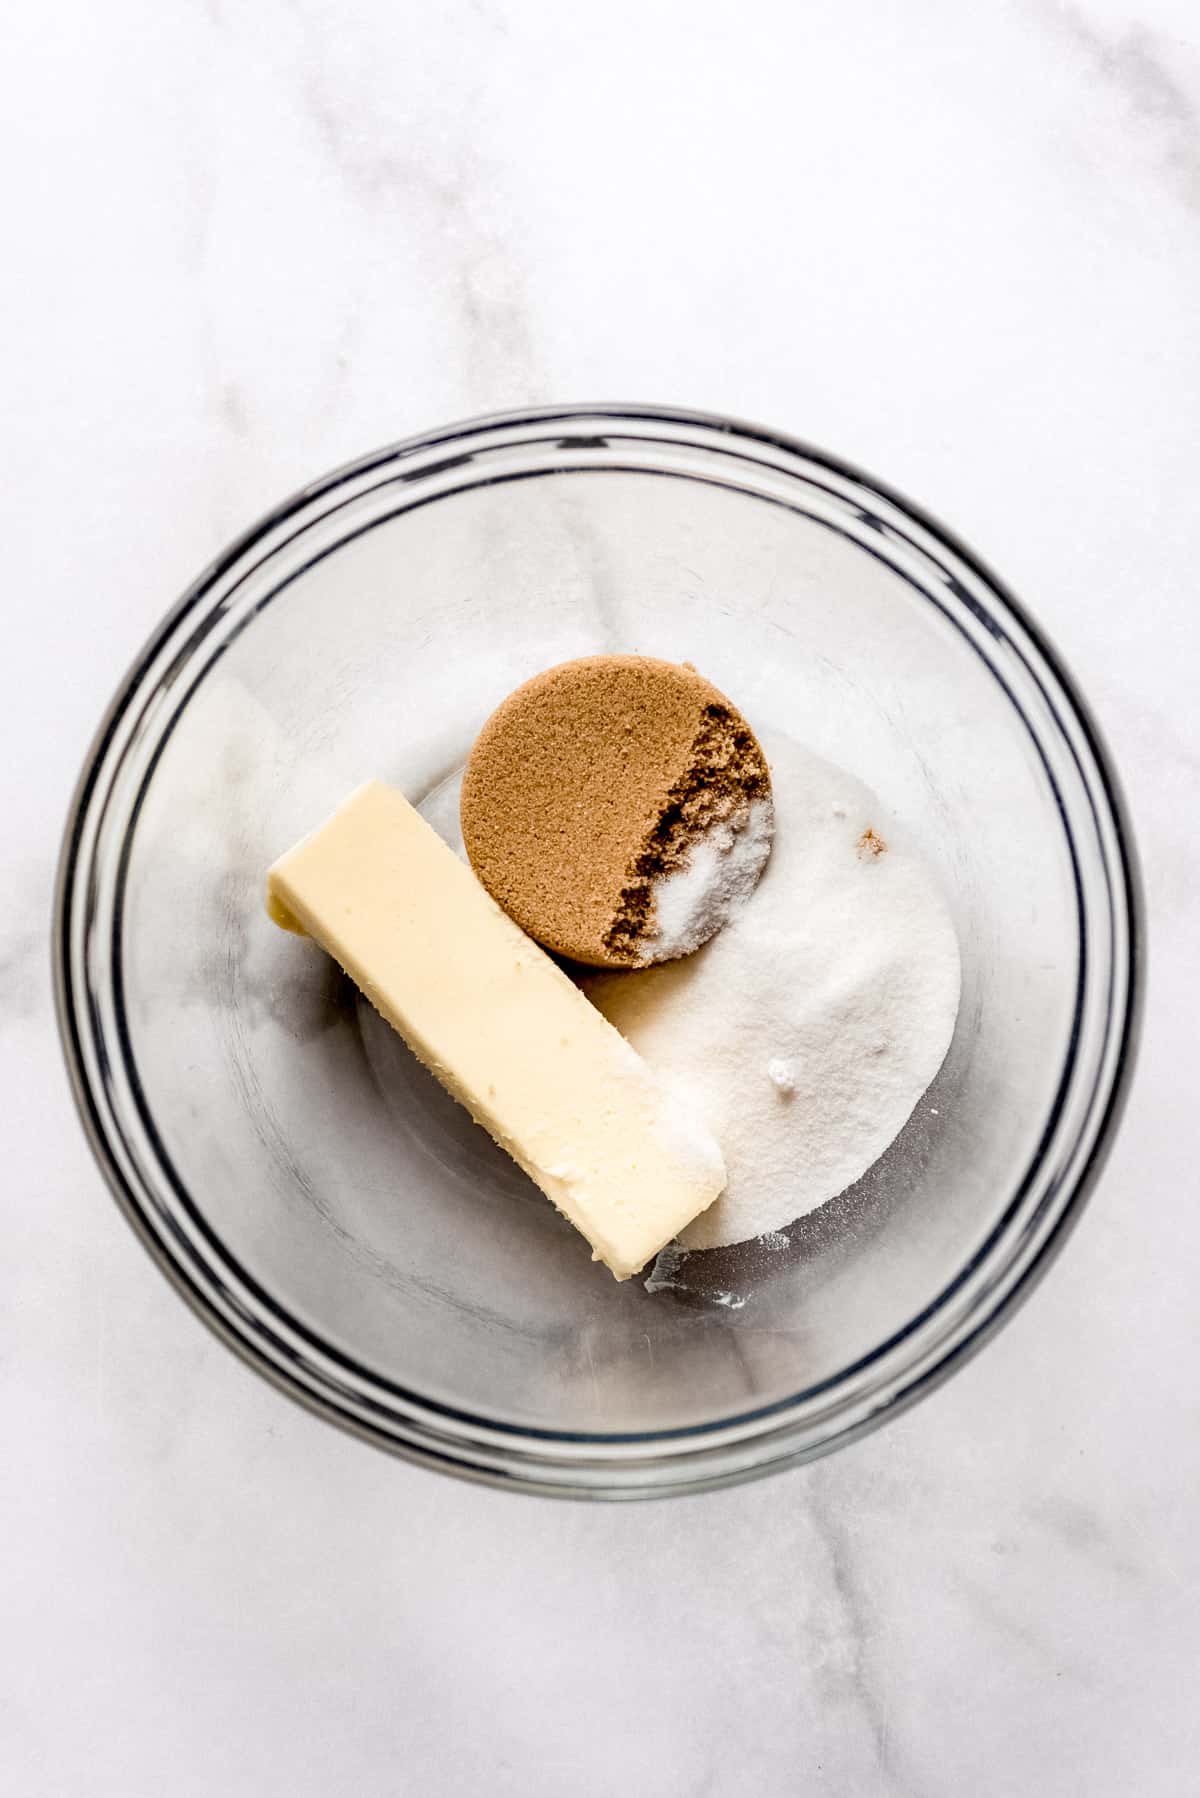
Granulated Sugar: Measure granulated sugar by scooping it into a measuring cup. If you are already using a kitchen scale, you can weigh the sugar. 1 cup of granulated sugar = 200 grams. But you don’t run the same risk of over-measuring by scooping sugar like you do with flour.
Brown Sugar: Most recipes call for brown sugar to be packed into the measuring cup. Press it against the side of the storage container to compact the brown sugar. It should mostly hold its shape for a few seconds after you dump it out. If you don’t have brown sugar on hand, you can make homemade brown sugar easily with granulated sugar and molasses!
Powdered Sugar: When measuring powdered sugar (also known as confectioners’ sugar or icing sugar), use the same spoon & level approach as flour. If your powdered sugar is lumpy, you may want to whisk or fluff it first as well. It’s usually not necessary to sift the powdered sugar unless a recipe specifically calls for it.
Measuring Liquid Ingredients
To measure liquid ingredients, like water, milk, buttermilk, or oil, place your measuring cup on a flat surface and add your liquid ingredients to reach the fill line.
If using sticky ingredients like honey, molasses, sweetened condensed milk, or corn syrup, you might want to spray the measuring cup with cooking spray first to help them slide right out.
Measuring Semi-Liquid Ingredients
Sour cream, peanut butter, applesauce, pumpkin, greek yogurt, mashed bananas, etc. in dry measuring cups so you can level them off. Spoon it in, but be sure to press down around the sides a few times to make sure there aren’t air pockets, which could actually cause you to undermeasure and have less than you needed.
Measuring Butter & Shortening
Most butter comes prepackaged with marking lines to indicate where to cut for the amount called for in your recipe. 1 stick of butter = ½ cup (8 tablespoons) or 115 grams.
I like to buy shortening in sticks as well for the same reason. It’s so easy and I don’t have to bother with measuring cups. If you buy large containers of shortening though, measure it just like a semi-liquid ingredient by spooning and pressing it into a measuring cup and leveling off the top.
Reader Tip: A reader named Peg reached out with a helpful trick for measuring shortening without the mess if you don’t use the shortening sticks. She said that she learned to measure shortening in a liquid measuring cup by first filling the cup with water to the amount of shortening needed, then add shortening until the water reaches the line that is double the amount. So if you need ½ cup of shortening, for example, you would first fill the liquid measuring cup with ½ cup of water, then add shortening until the water reaches the 1 cup line. Then just dump out the water and you have the correct amount of shortening needed for the recipe! Thanks, Peg!
How to use Measuring Spoons
If you are measuring baking powder, baking soda, cornstarch, spices or other dry ingredients in smaller quantities using measuring spoons, you can dip the spoon into the container and use a straight edge to level off the top.
Cocoa Powder
This is another ingredient that calls for the spoon & level method for accurate measuring. It can also clump up, so it’s a good idea to fluff it first with a spoon before transferring it to your measuring cup.
Yeast
If you enjoy making homemade bread, you might consider buying yeast in bulk and storing it in the fridge or freezer rather than buying individual packets of yeast. I typically buy active-dry yeast, which needs to be proofed in warm water with a little sugar before using, but you can also purchase instant yeast for quicker results.
A standard packet of yeast is 2 ¼ teaspoons or .25 ounces. Measure it just like you would measure baking powder or baking soda buy scooping and leveling it off.
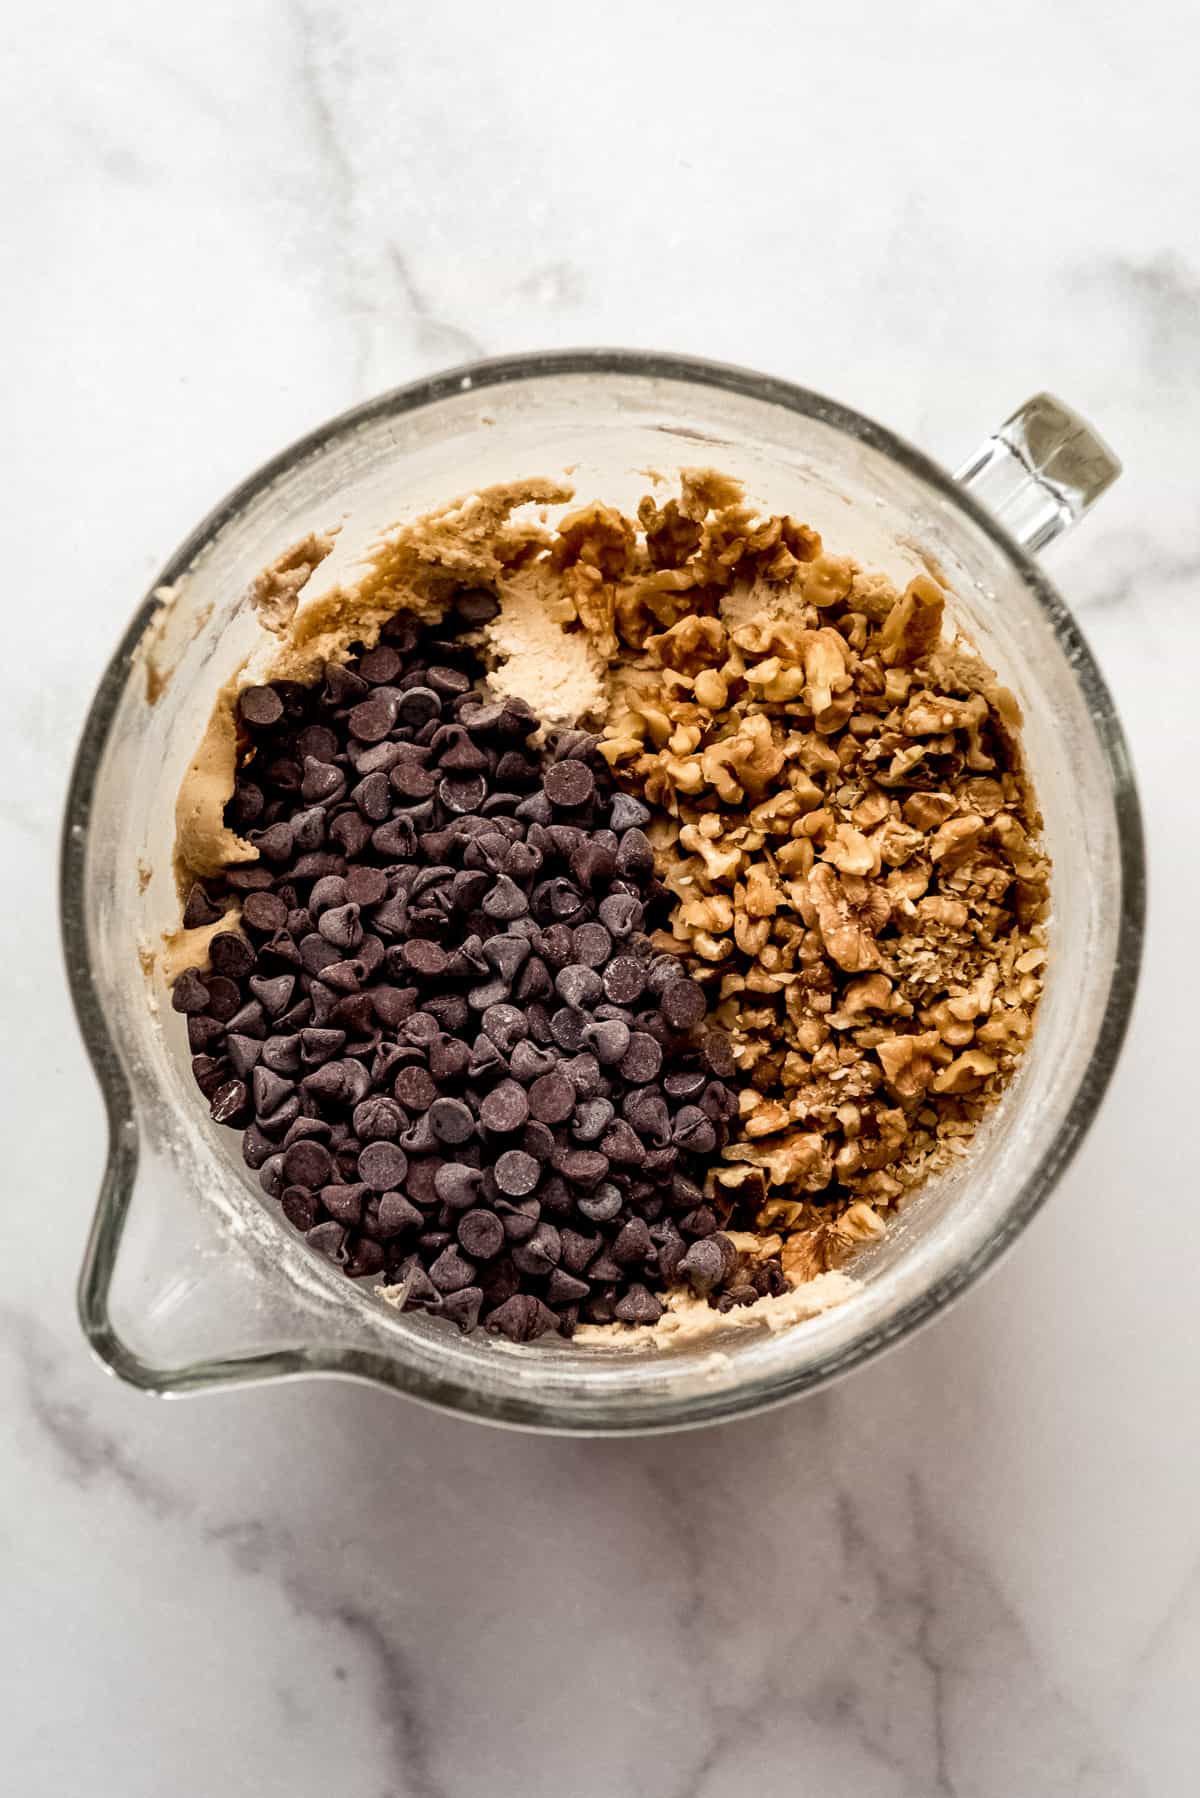
Mix-ins
Things like chocolate chips, nuts, cereal, sprinkles, and seeds don’t have to measured quite as precisely. In fact, some people (my husband is among them) intentionally over-measure things like chocolate chips based on personal preference. In most cases, this shouldn’t impact the integrity of a recipe unless the chocolate is being melted and added to the recipe, in which case it’s more important to measure accurately.
Treat mix-ins much like you would measuring flour by spooning and leveling the ingredients into your measuring cups.
Fruit is typically measured by weight rather than volume. Berries usually come in 8 or 12-ounce containers and will usually be marked as such. But if a recipe calls for fruit to be measured by cups, it will typically say so. You may need to chop or slice the fruit first to measure accurately.
Measurements for Frequently Used Baking Ingredients
These are some of the most commonly used ingredients in recipes you will find on my site. I found I looked up each of these enough times that I was making myself a sticky note to always have them on hand so it might be worthwhile for you to have them here as well. Plus, now I can throw away my sticky notes.
- 1 cup all-purpose flour = 141 grams (4 ½ ounces)
- 1 cup cake flour = 128 grams (4 ounces)
- 1 cup bread flour = 130 grams (4 ½ ounces)
- 1 cup granulated or brown sugar = 200 grams (7 ounces)
- 1 cup powdered sugar = 120 grams (4 ¼ ounces)
- 1 cup water or milk = 227 grams (240ml; 8 ounces)
- 1 cup sour cream = 227 grams (8 ounces)
- 1 cup chocolate chips = 180 grams (6 ¼ ounces)
- 1 cup oats = 80 grams (3 ounces)
- ½ cup butter = 1 stick = 115 grams (4 ounces)
- ½ cup shortening = 96 grams (3 ½ ounces)
- ½ cup creamy peanut butter = 135 grams (4 ¾ ounces)
- ½ cup vegetable oil = 112 grams (4 ounces)
- ½ cup cocoa powder = 41 grams (1.6 ounces)
- ¼ cup cornstarch = 28 grams (1 ounce)
For many more frequently used ingredients, I often reference this conversion chart from King Arthur Flour.
Dry Ingredient Equivalents
- 1 cup = 16 Tablespoons
- ¾ cup = 12 Tablespoons
- 2/3 cup = 10 Tablespoons + 2 teaspoons
- ½ cup = 8 Tablespoons
- ⅓ cup = 5 Tablespoons + 1 teaspoon
- ¼ cup = 4 tablespoons
- ⅛ cup = 2 tablespoons
- 1 Tablespoon = 3 teaspoons
Liquid Ingredient Equivalents
- 4 quarts = 128 fluid ounces = 1 gallon
- 8 cups = 64 fluid ounces = 4 pints
- 4 cups = 32 fluid ounces = 2 pints = 1 quart
- 2 cups = 16 fluid ounces = 1 pint
- 1 cup = 8 fluid ounces = ½ pint
More Baking Basics
- How to Make a Graham Cracker Crust
- How to Make Roasted Garlic
- Perfect Homemade Pie Crust
- How to Make Roasted Red Peppers
Did you make this recipe?
Let me know what you thought with a comment and rating below. You can also take a picture and tag me on Instagram @houseofnasheats or share it on the Pinterest pin so I can see.
How to Measure Flour
Equipment
- Measuring Cups
- Kitchen Scale (optional)
- Spoon or Whisk
- Straight Edge Tool or Knife
Ingredients
- 1 cup all-purpose flour
Instructions
Spoon & Sweep
- Fluff or whisk the flour first. Spoon spoonfuls of the flour into a 1 cup measuring cup piling it slightly over the top until full, then use a straight edge tool like a bench scraper or the straight edge of a knife to sweep across the top of the measuring cup to level it off, returning the excess flour to your flour container.
Weighing
- Place a bowl onto a kitchen scale and zero it out by pressing the "tare" button. Spoon enough flour into the bowl to measure 141g. Both are commonly accepted standard weights for 1 cup of flour depending on the source you are using, so I feel fine saying that anything between those amounts will suffice.
- It's actually unnecessary to fluff the flour first if you are just measuring for weight, although if your flour is particularly compacted you might want to anyway to break up clumps.


Such a great and useful post! I always measure my flour this way, but not my mix-ins, lol. I definitely over measure those chocolate chips, too!! Thanks for all the measurements will definitely be bookmarking this post for reference.
This is a very helpful post! Thanks for all the great measuring tips! I especially like the weight / equivalency chart.
Thank you so much for sharing this amazing idea! Will surely have this again! It’s really easy to follow! Highly recommended!
thank you so very much for this helpful post!! I think it will be very helpful it making baking much more accurate and delicious !
I can’t wait to share this guide with friends and family. It’s the perfect how-to guide right before the holiday baking season.
This is such a great guideline for a first-time baker like me. Thank you so much!
Wow, this post is so helpful! Every sentence here is beneficial. Thank you so much for sharing this!
Very easy explanation. I love my kitchen scale, it’s so much easier weighting with it than with cups. s
My daughter recently moved out and is constantly calling me with cooking questions. I’m sending this along to her – so much good information here. Thanks a million!
Thank you for this post! So many amazing tips — I know it’ll help me get more consistent results in my baking!
Such a great and informative post! When I used shortening in the past the tip your reader gave is how I was taught how to do it. Love all your guides and tips!
Super helpful and I’m doing a ton of baking right now, so very timely!
What a wonderful reference! I loved your reader’s tip for shortening too.
This is sooo helpful!! Baking 101 right here! Paying attention to the details makes such a difference when baking. Bookmarking for future reference.