
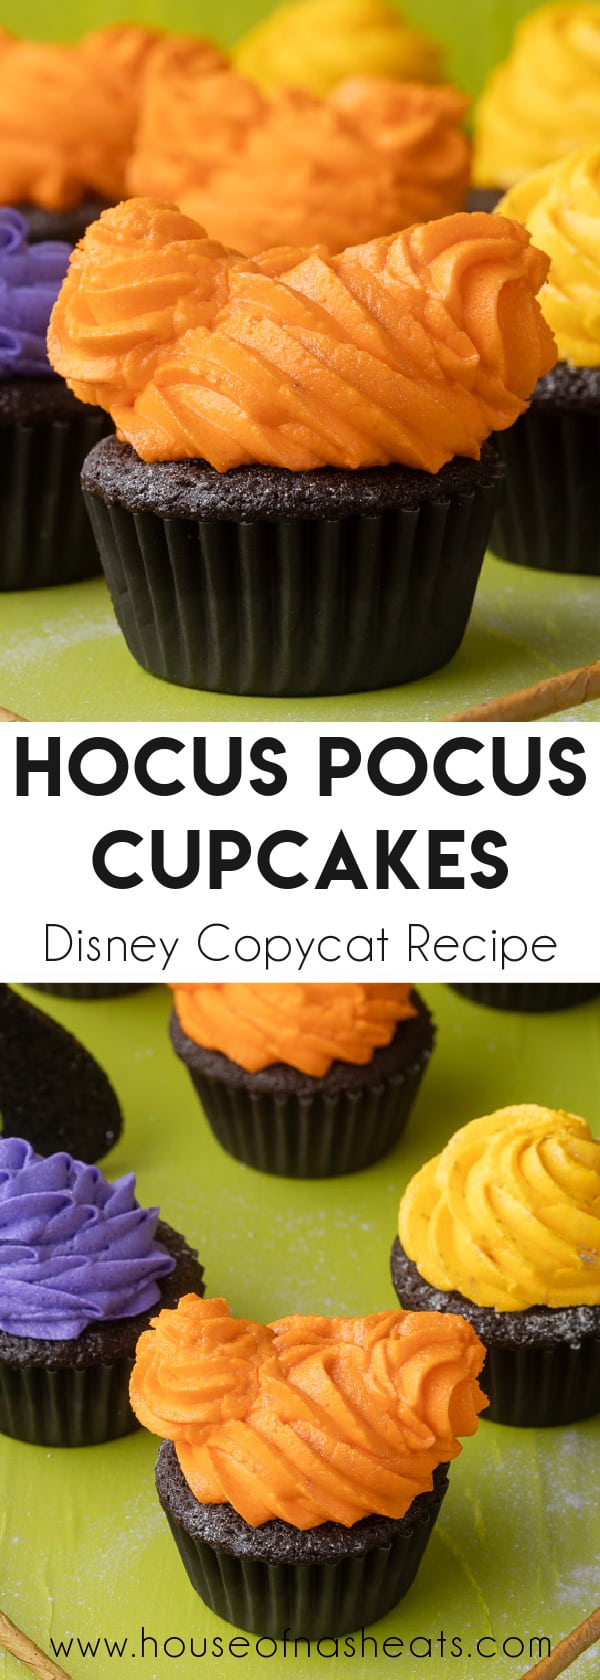

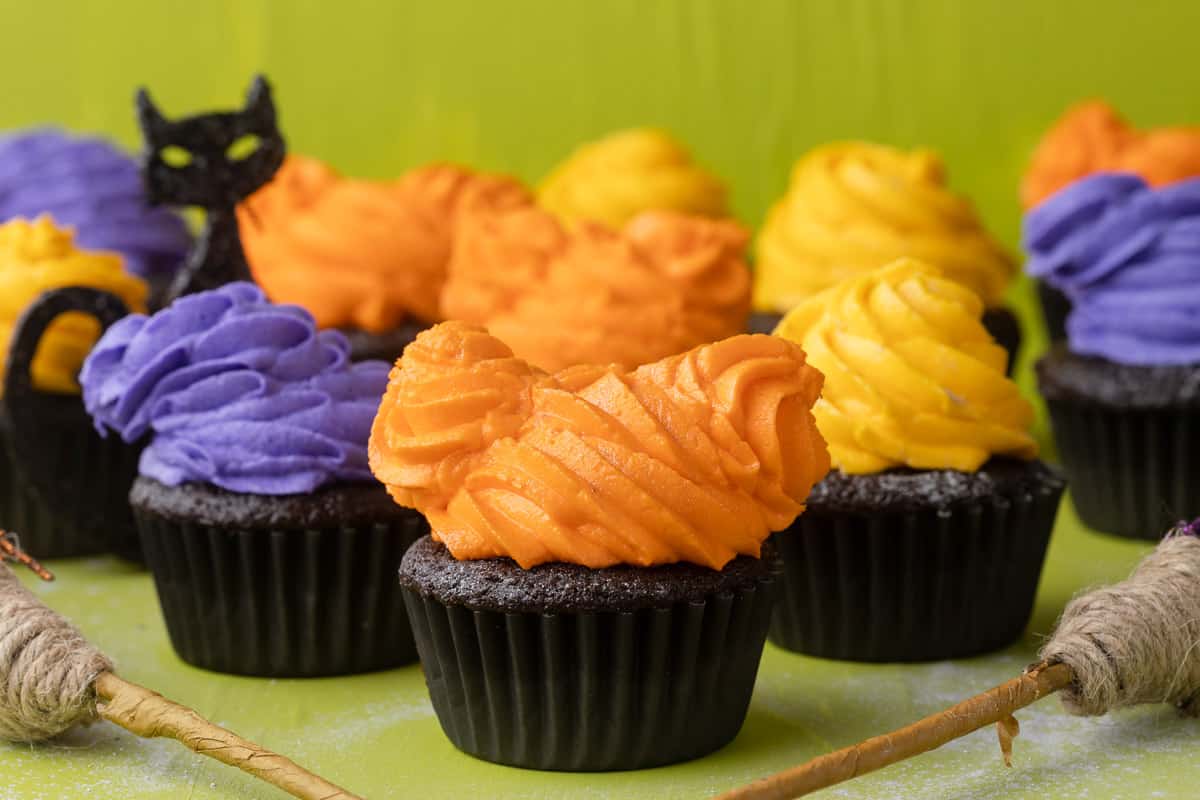
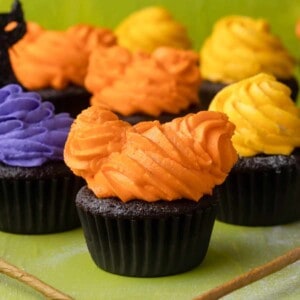
These Hocus Pocus Cupcakes will put a spell on you this Halloween season! With a rich dark chocolate base, peanut “boo-tter” filling, and homemade vanilla buttercream frosting, these fun Halloween cupcakes are inspired by Disney’s latest seasonal desserts and the infamous Sanderson Sisters!
This trio of not-too-spooky hocus pocus cupcakes are delightfully fun for all you witches out there obsessed with Winifred (Winnie), Sarah, and Mary and their exploits on Halloween night. Hocus Pocus is one of our all-time favorite movies and one of the most quotable films ever made! You’ll also love our Hocus Pocus Marshmallow Pops!
We are thrilled that a sequel is in the works and when we saw that the Grand Floridian at Disney World was offering these Hocus Pocus cupcakes filled with “peanut boo-tter” filling, we thought it would be fun to recreate a copycat version of them here for those of us who can’t make the trip to enjoy them in person this season!
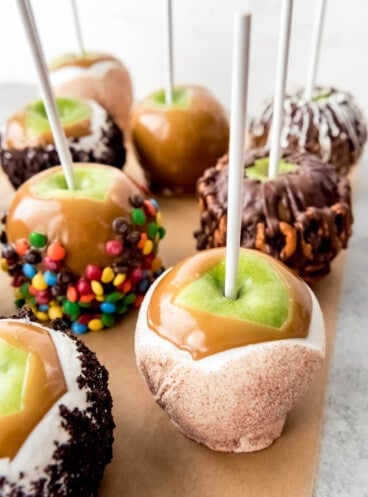
When it comes to Halloween, we have some of the best recipes that not only look spooky and fun, but taste amazing too! Some of our other popular Halloween posts include Chocolate Peanut Butter Cup Monster Cookies, Graveyard Dirt Cake, and Poison Apples.
Why you’ll want to make this recipe
- Even novice cupcake bakers can be proud of their decorating skills with these ones. A simple tip, some food dye, and basic swirls are all you need to mimic the hairstyles of your favorite witches. Some edible glitter adds a magical sparkle that takes them over the top, but it’s totally optional.
- Everything is made from-scratch for the best possible flavor. Although you could certainly use a mix, if you wanted to.
- These fun and easy cupcakes are great for a hocus pocus themed Halloween party or birthday (I have an October birthday and always loved making it Halloween themed!). They are way more sweet than spooky, so they are perfect for children.
“I smell children.” – Mary Sanderson
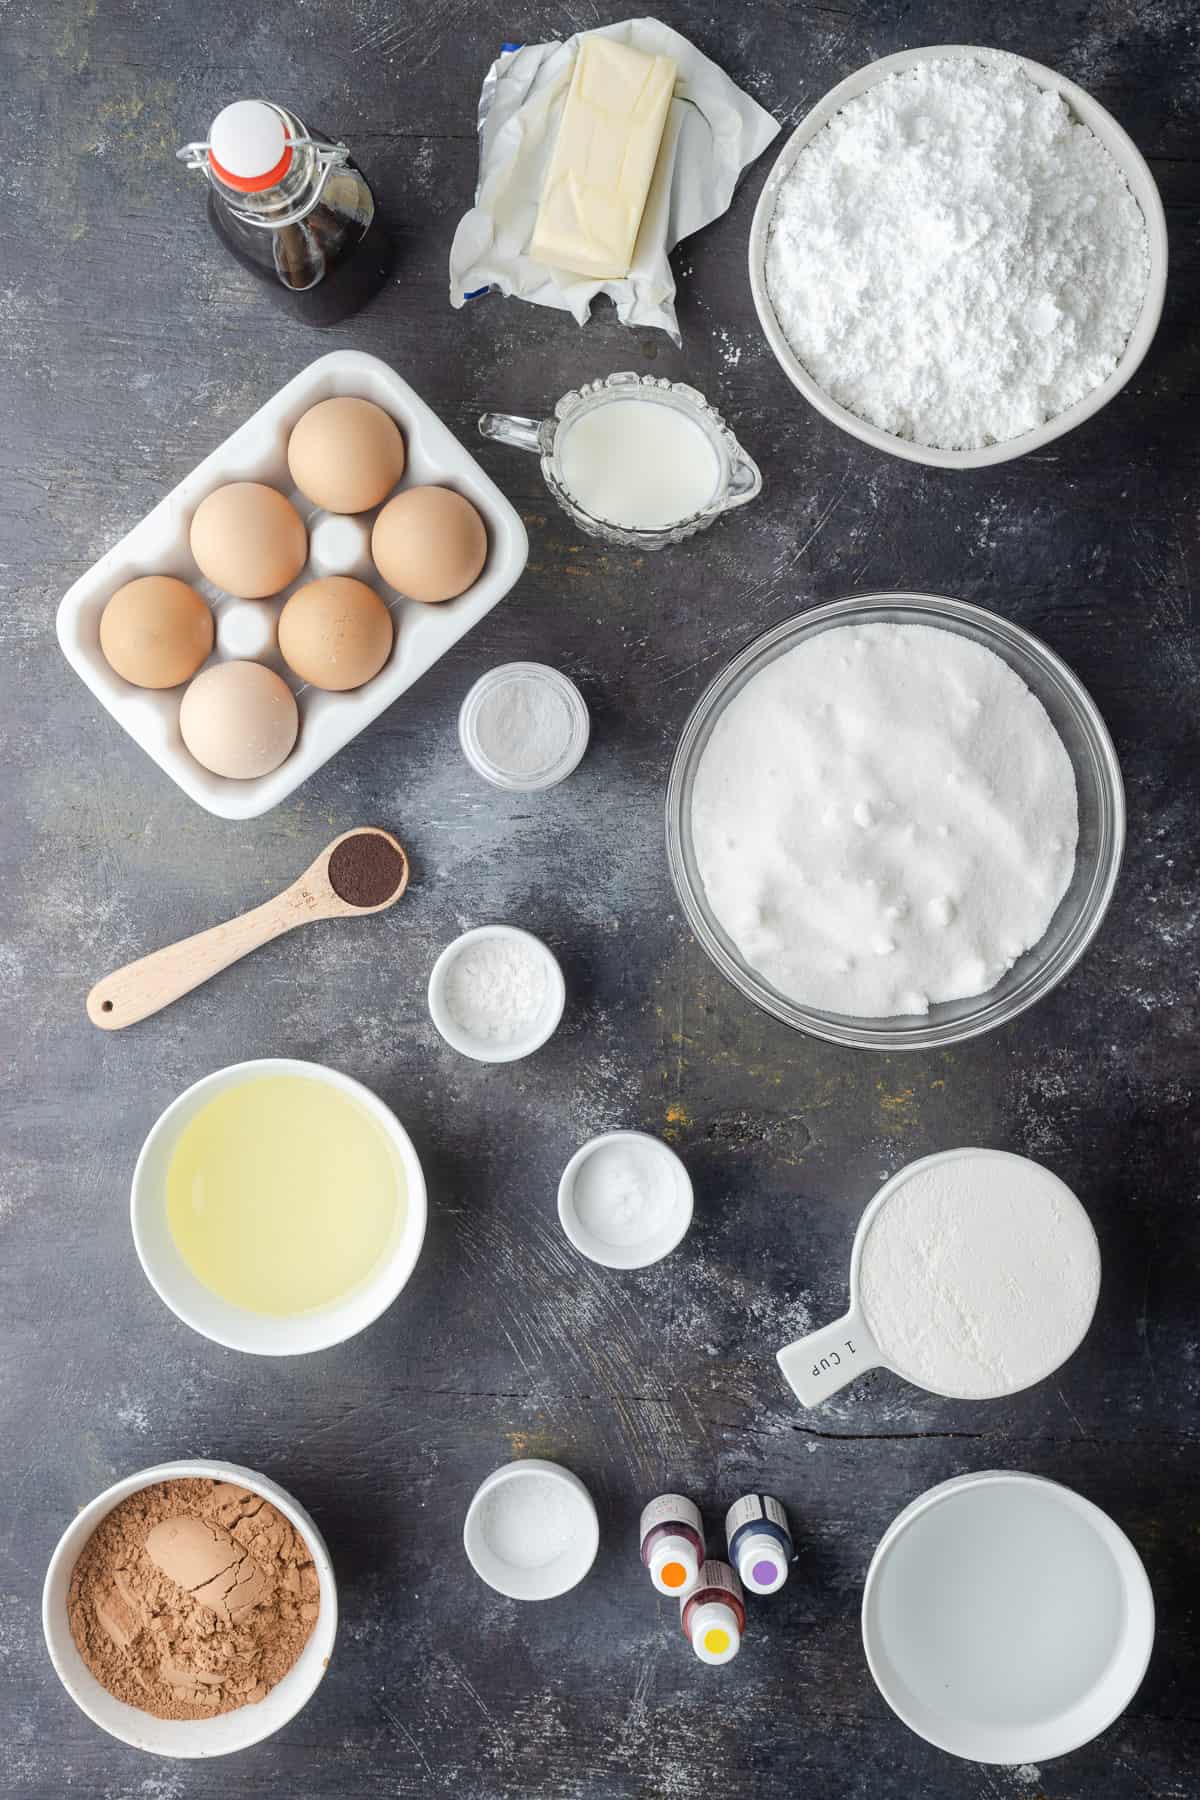
Recipe Ingredients
- Cocoa powder: I love Ghiradelli and Rodelle cocoa powder, but I typically test recipes with Hershey’s because that is the most readily available brand that I think most people have in their pantry. And it tastes great!
- Espresso powder: After lots of comments on my OG moist chocolate cupcakes about using hot coffee or espresso powder to intensify the chocolate flavor, I went ahead and used a little espresso powder in these. It really does add depth, although not so much that I think it’s totally necessary. So if you want to skip it, you’ll be just fine!
- Food coloring: I recommend using gel food coloring rather than the liquid kind. It gives more intense results using less food coloring.
- Oil AND butter: There is a reason for using both types of fat! Butter gives better flavor, but oil keeps cupcakes more moist. So using them together gives the best of both worlds for these cupcakes!
How to Make Hocus Pocus Cupcakes
Here is a step-by-step overview of the process to make this recipe with pictures to help you visualize the piping technique. The full recipe and instructions are in the printable recipe card below.
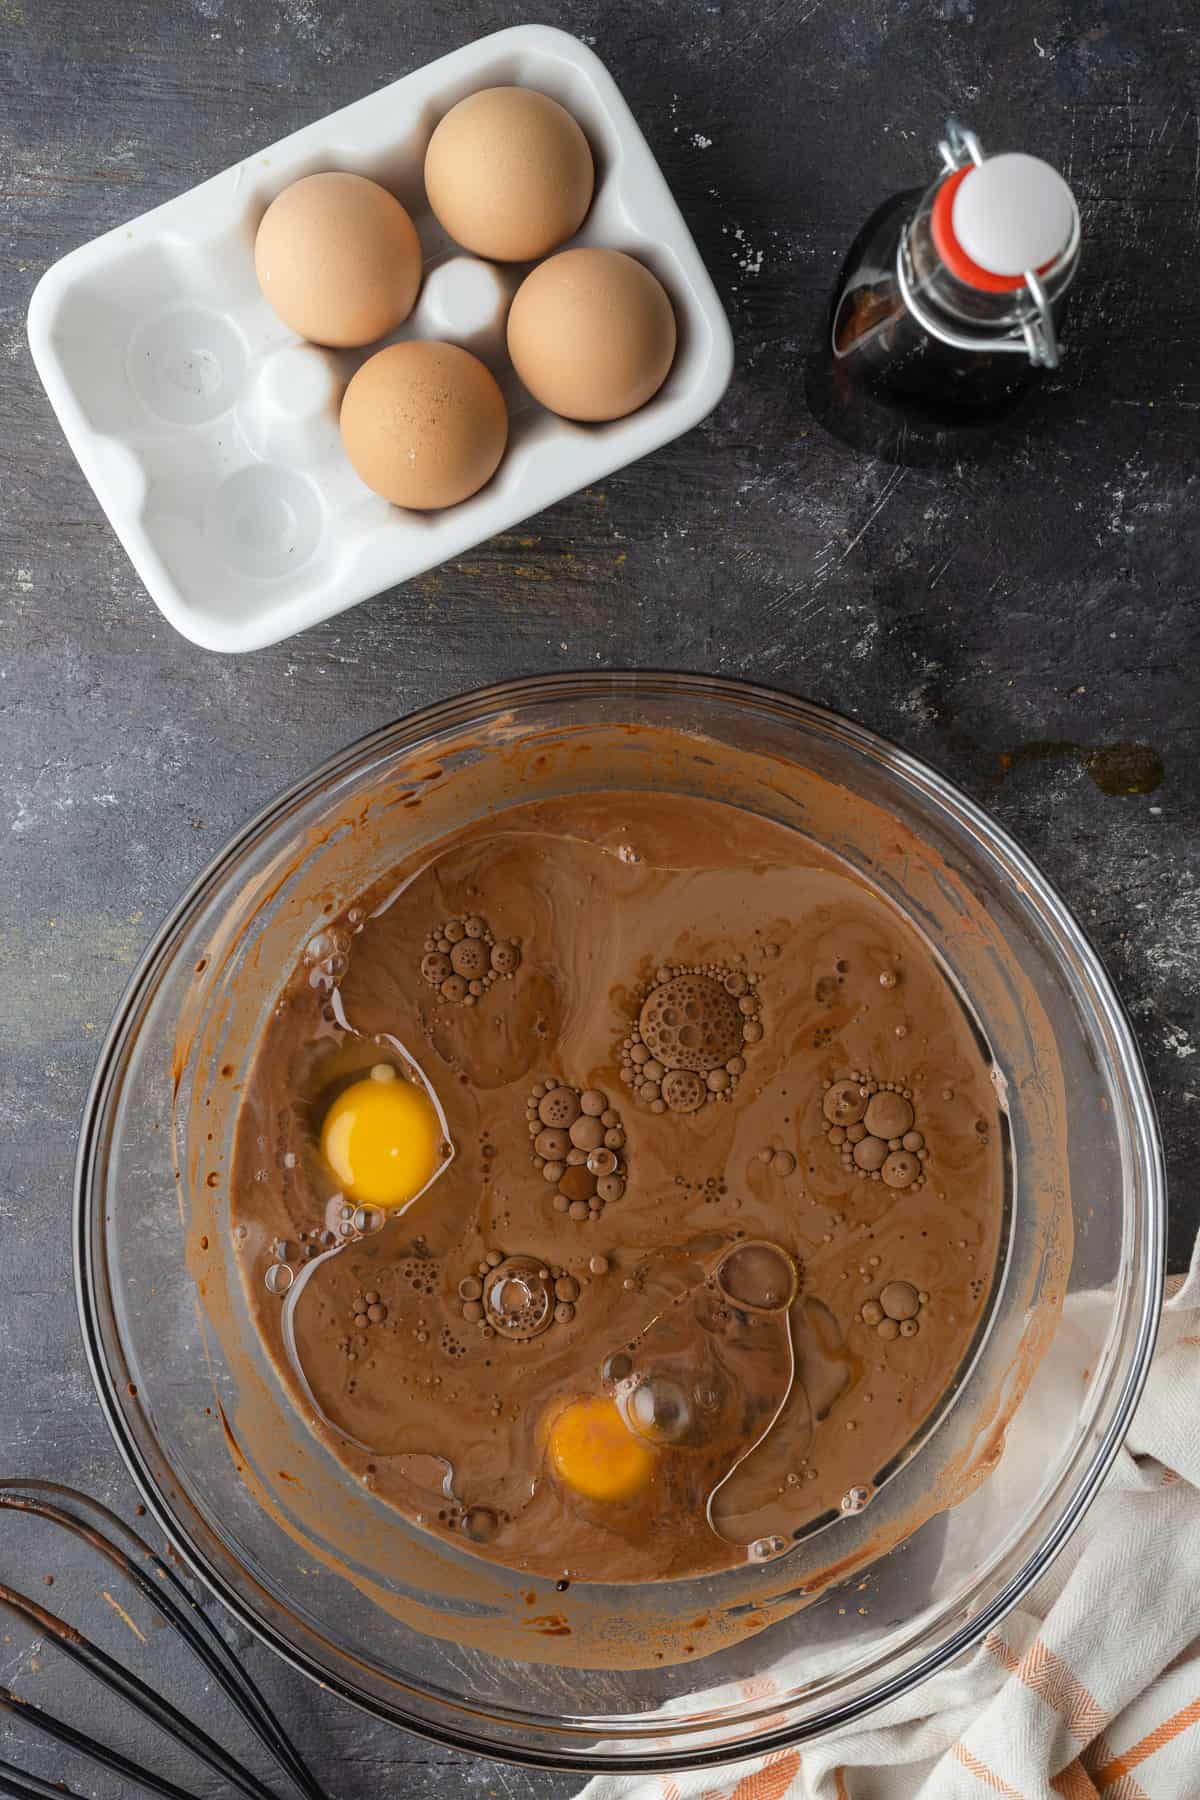
- Start by “blooming” the cocoa powder & espresso powder: This is where you add boiling hot water to the cocoa powder and espresso powder in a large bowl and whisk them together. The heat from the hot water actually brings out and intensifies the chocolatey-ness of the cocoa powder in a way that doesn’t happen if you just add it with the flour later on.
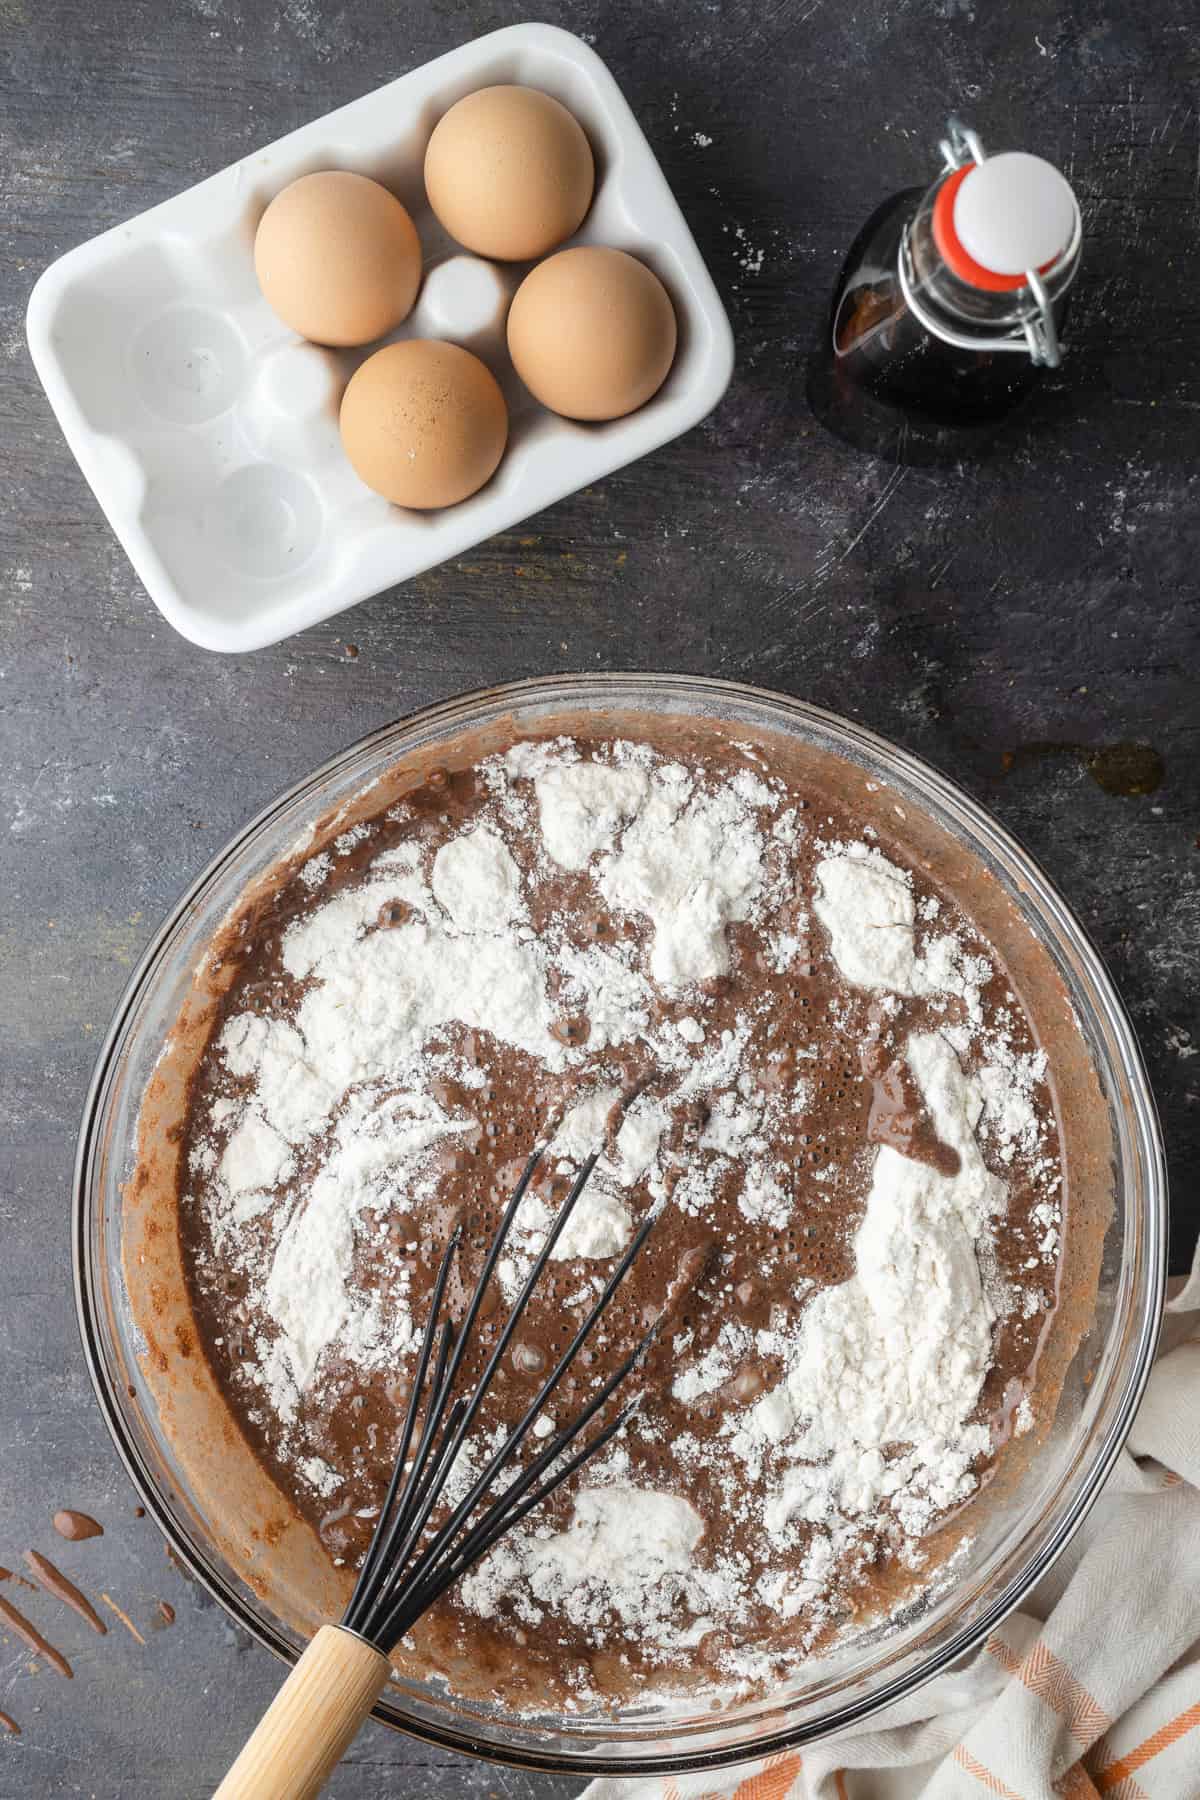
- Add remaining ingredients: Mix in the eggs, milk, oil, and vanilla extract. Then add the sugar, flour, baking powder, baking soda, and salt. You can use a mixer or just whisk the batter together by hand since it will be very thin.
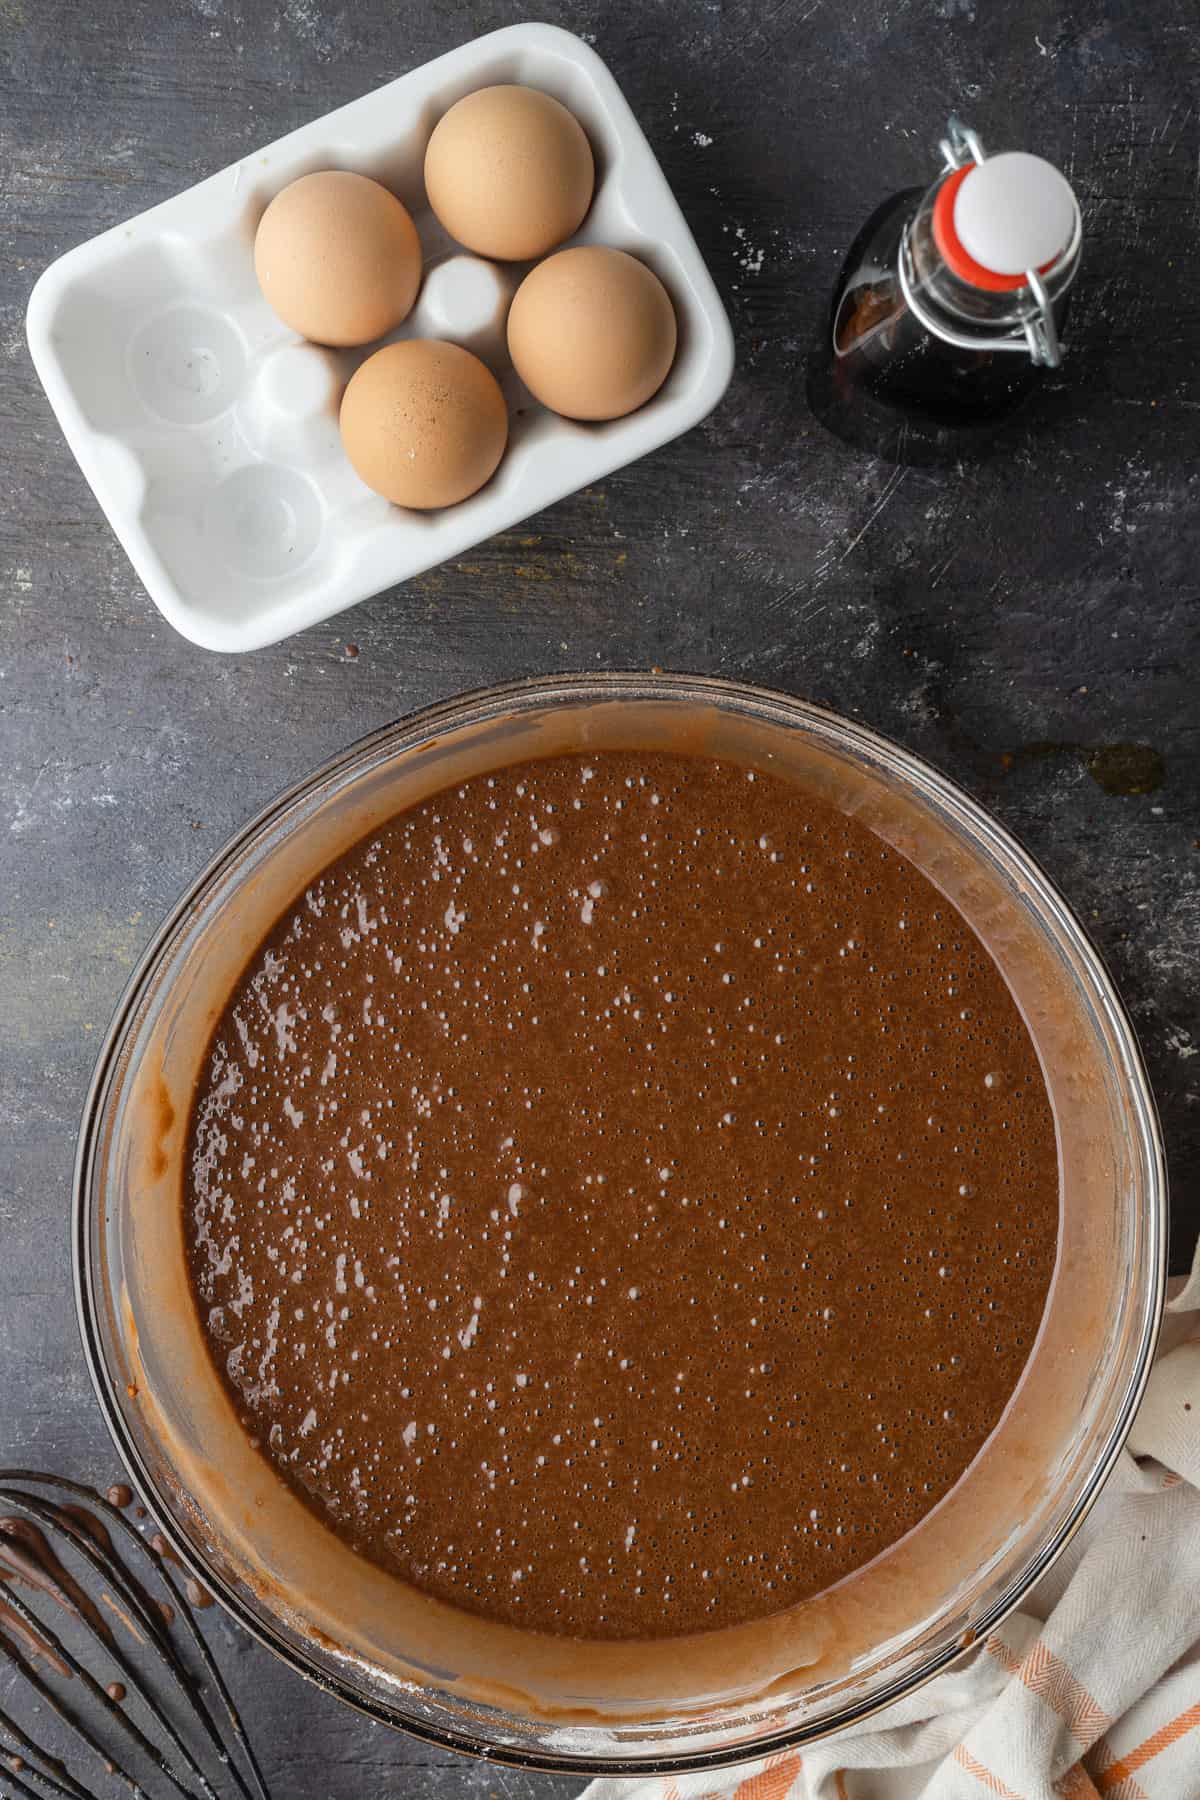
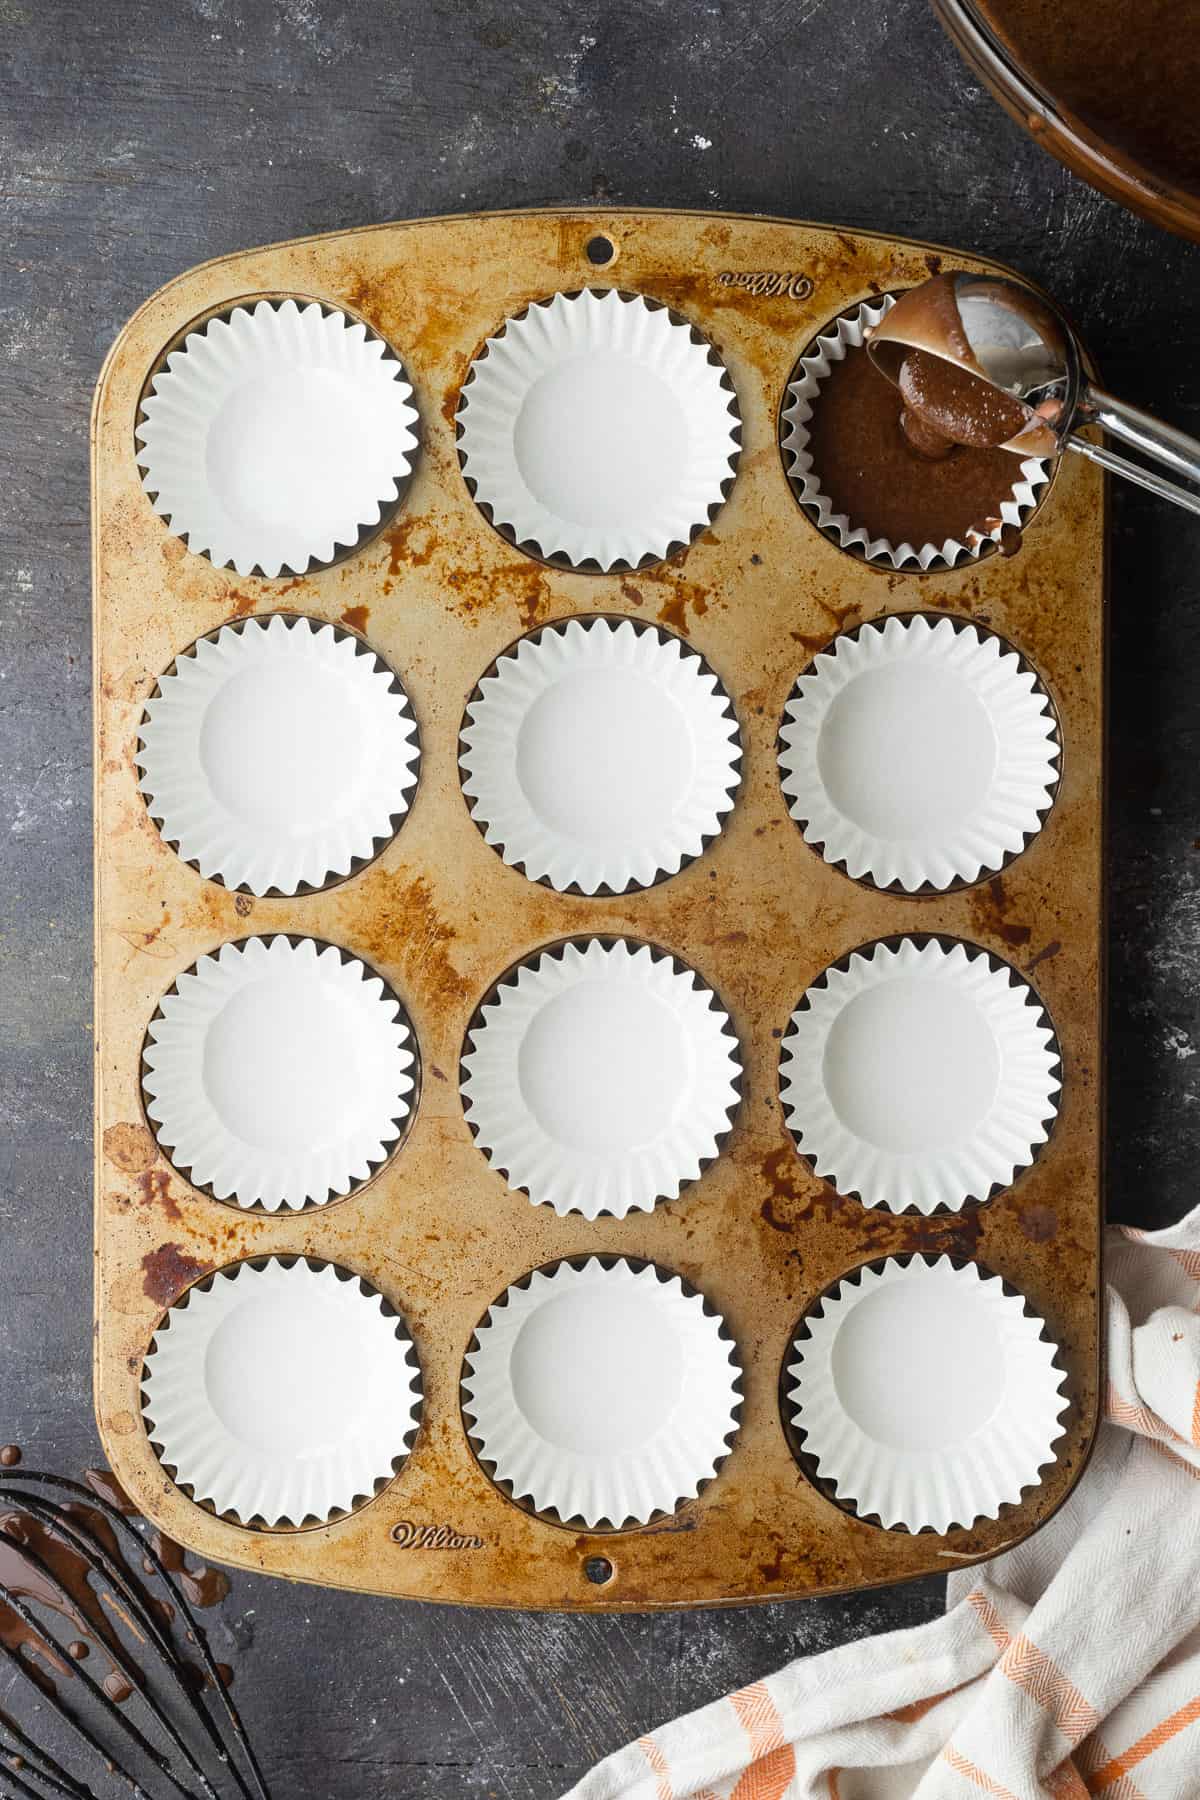
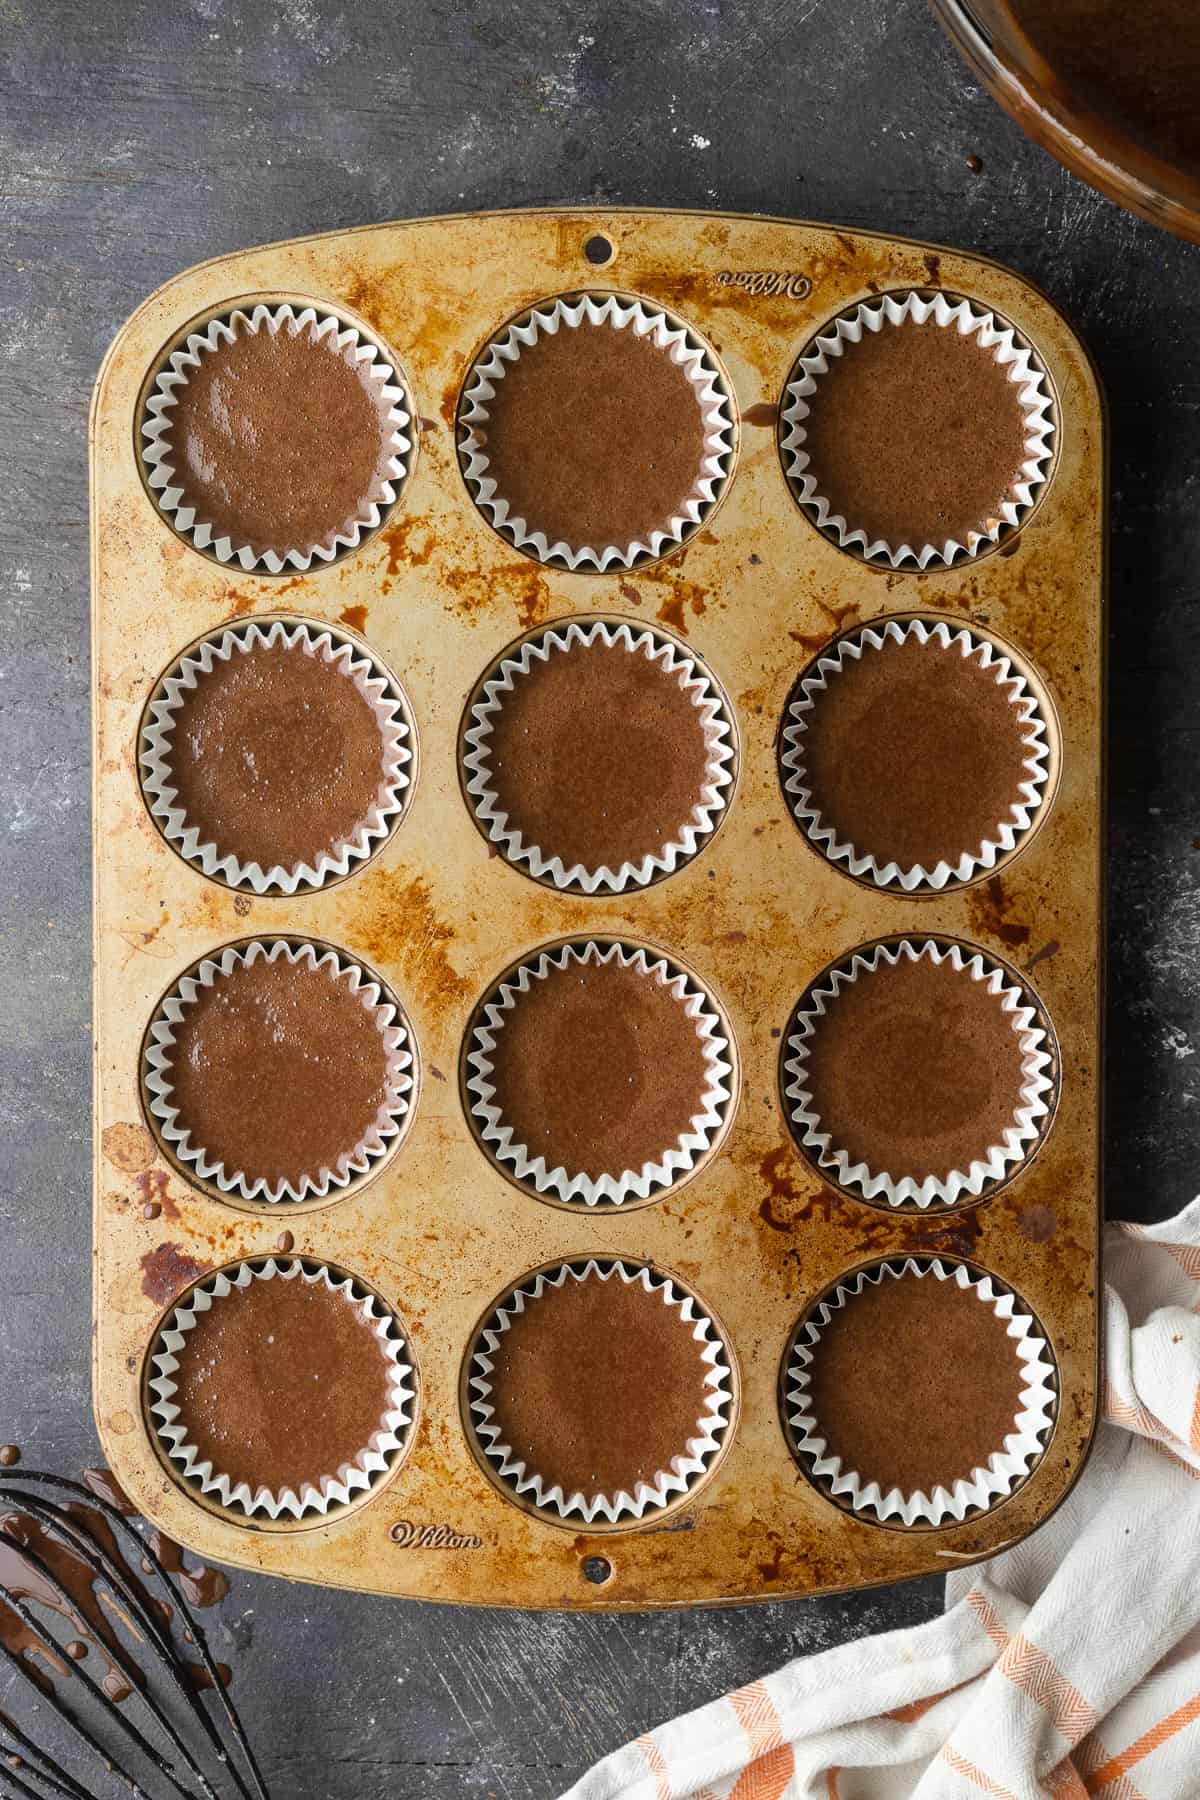
- Fill muffin tins 2/3 to ¾ full: I like to use a cookie scoop to fill the paper liners because it gives consistent amounts so the cupcakes are all the same size. Don’t overfill because the thin batter actually needs room to rise and overfilling can result in cupcakes that spill out over the tops and don’t dome as nicely.
- Bake: I test for doneness by lightly bouncing my finger on top of the cupcakes. If it sticks or leaves an impression, they need a little bit longer. If it bounces right back, the cupcakes are done.
- Fill the cooled cupcakes with the peanut “boo-tter” filling: Beat the softened butter and peanut butter together until creamy and smooth, then mix in the powdered sugar and beat for 3-4 minutes until creamy and light. Transfer to a piping bag fitted with a plain medium tip and use it to pipe about 1 tablespoon of filling into the center of each cupcake from the top, which will be covered with frosting later.
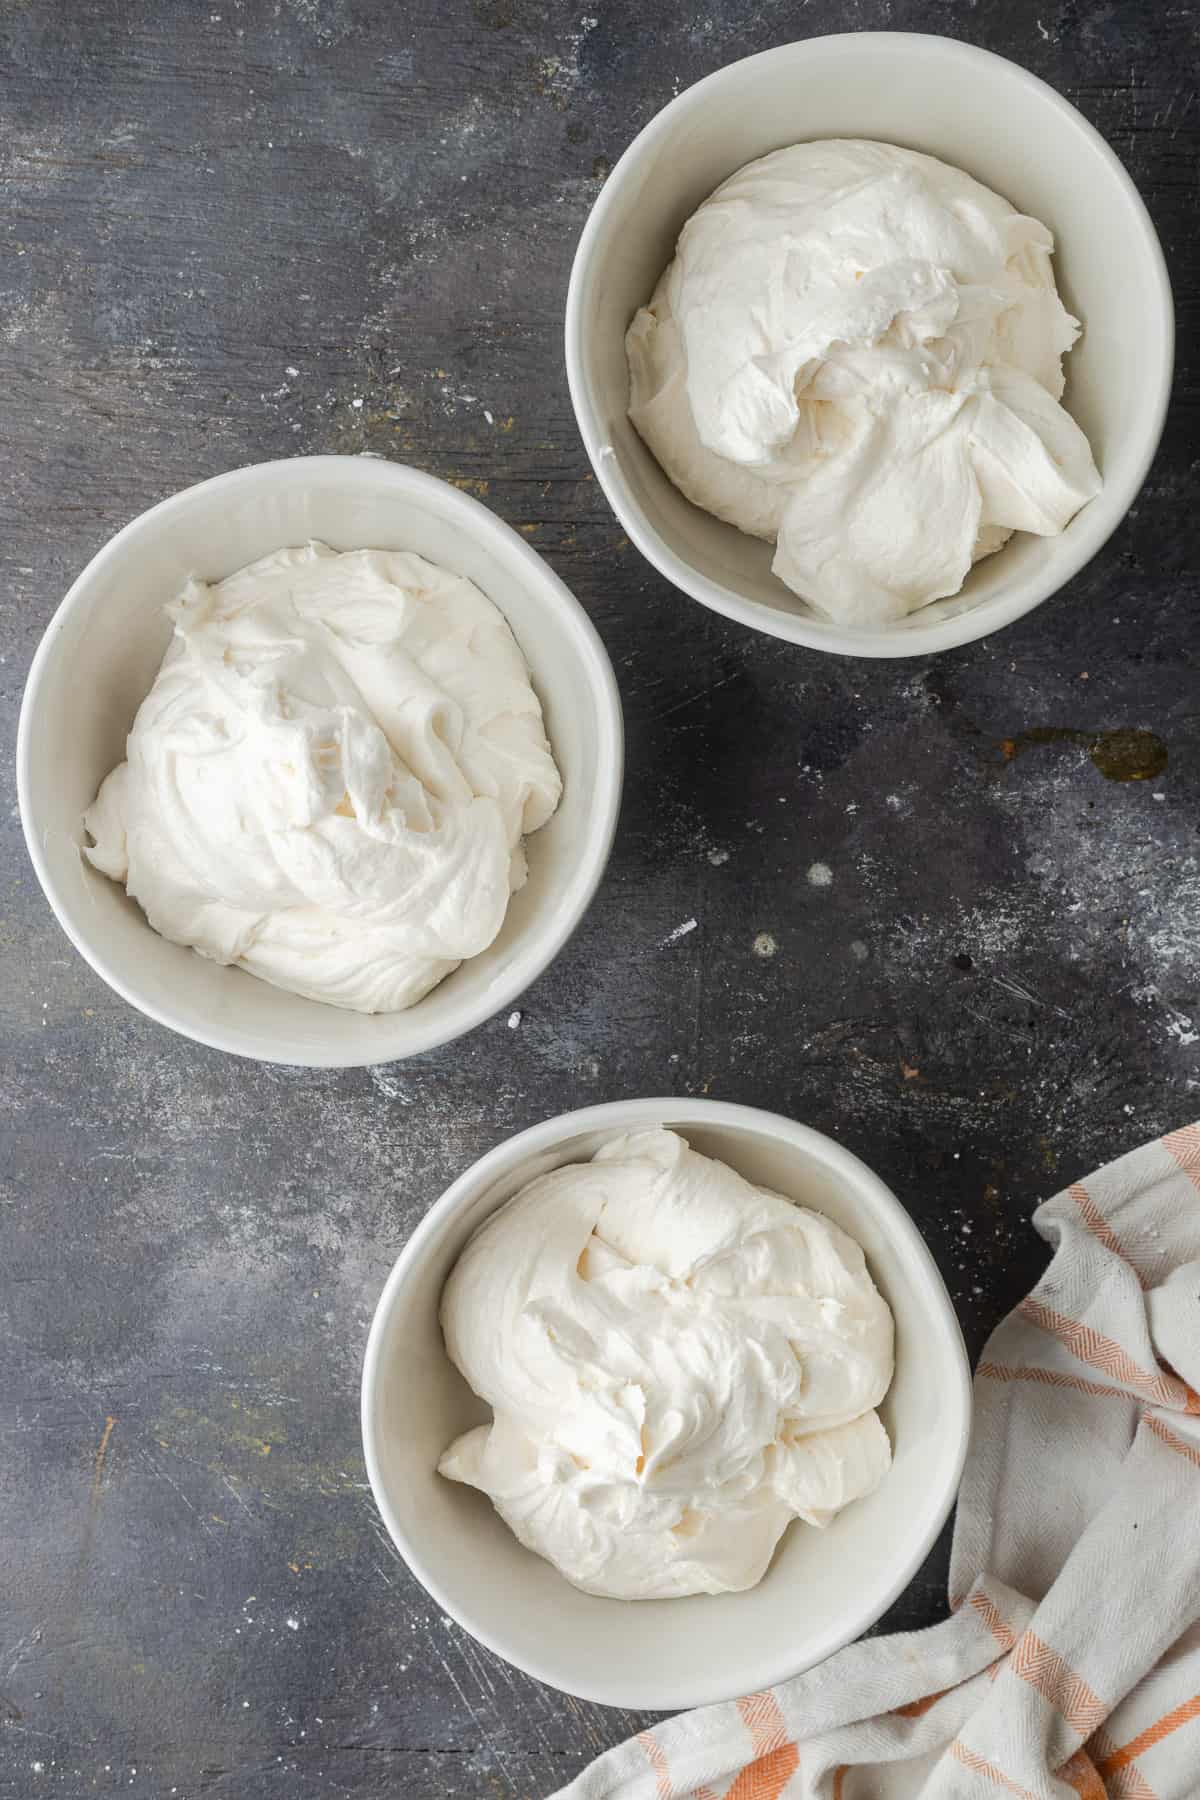
- Make the buttercream frosting: In a large bowl, beat the butter until creamy and smooth, about 2 minutes. Add the powdered sugar and vanilla extract, mixing on low speed to incorporate, then increasing the speed gradually. Add just enough milk, one tablespoon at a time, to get the frosting to a nice, pipeable consistency that will still hold its shape.
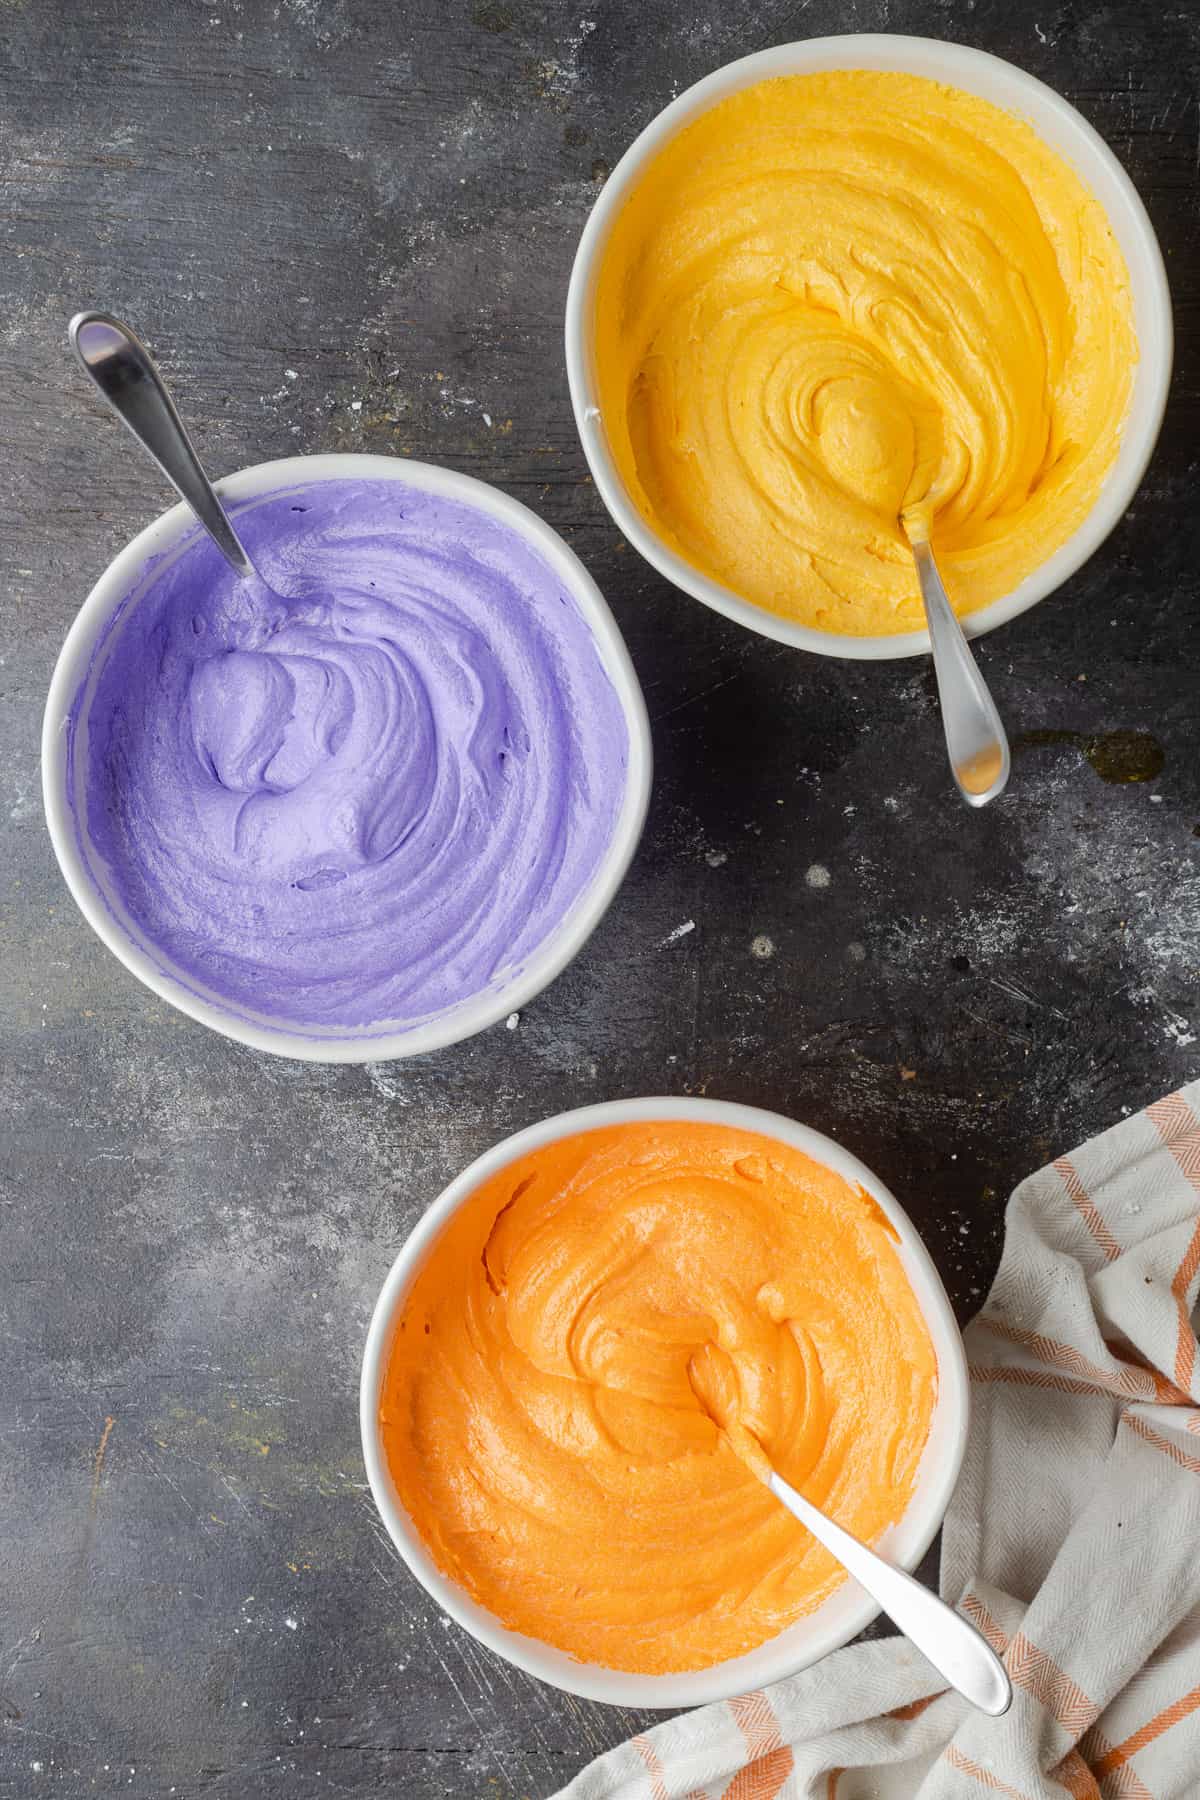
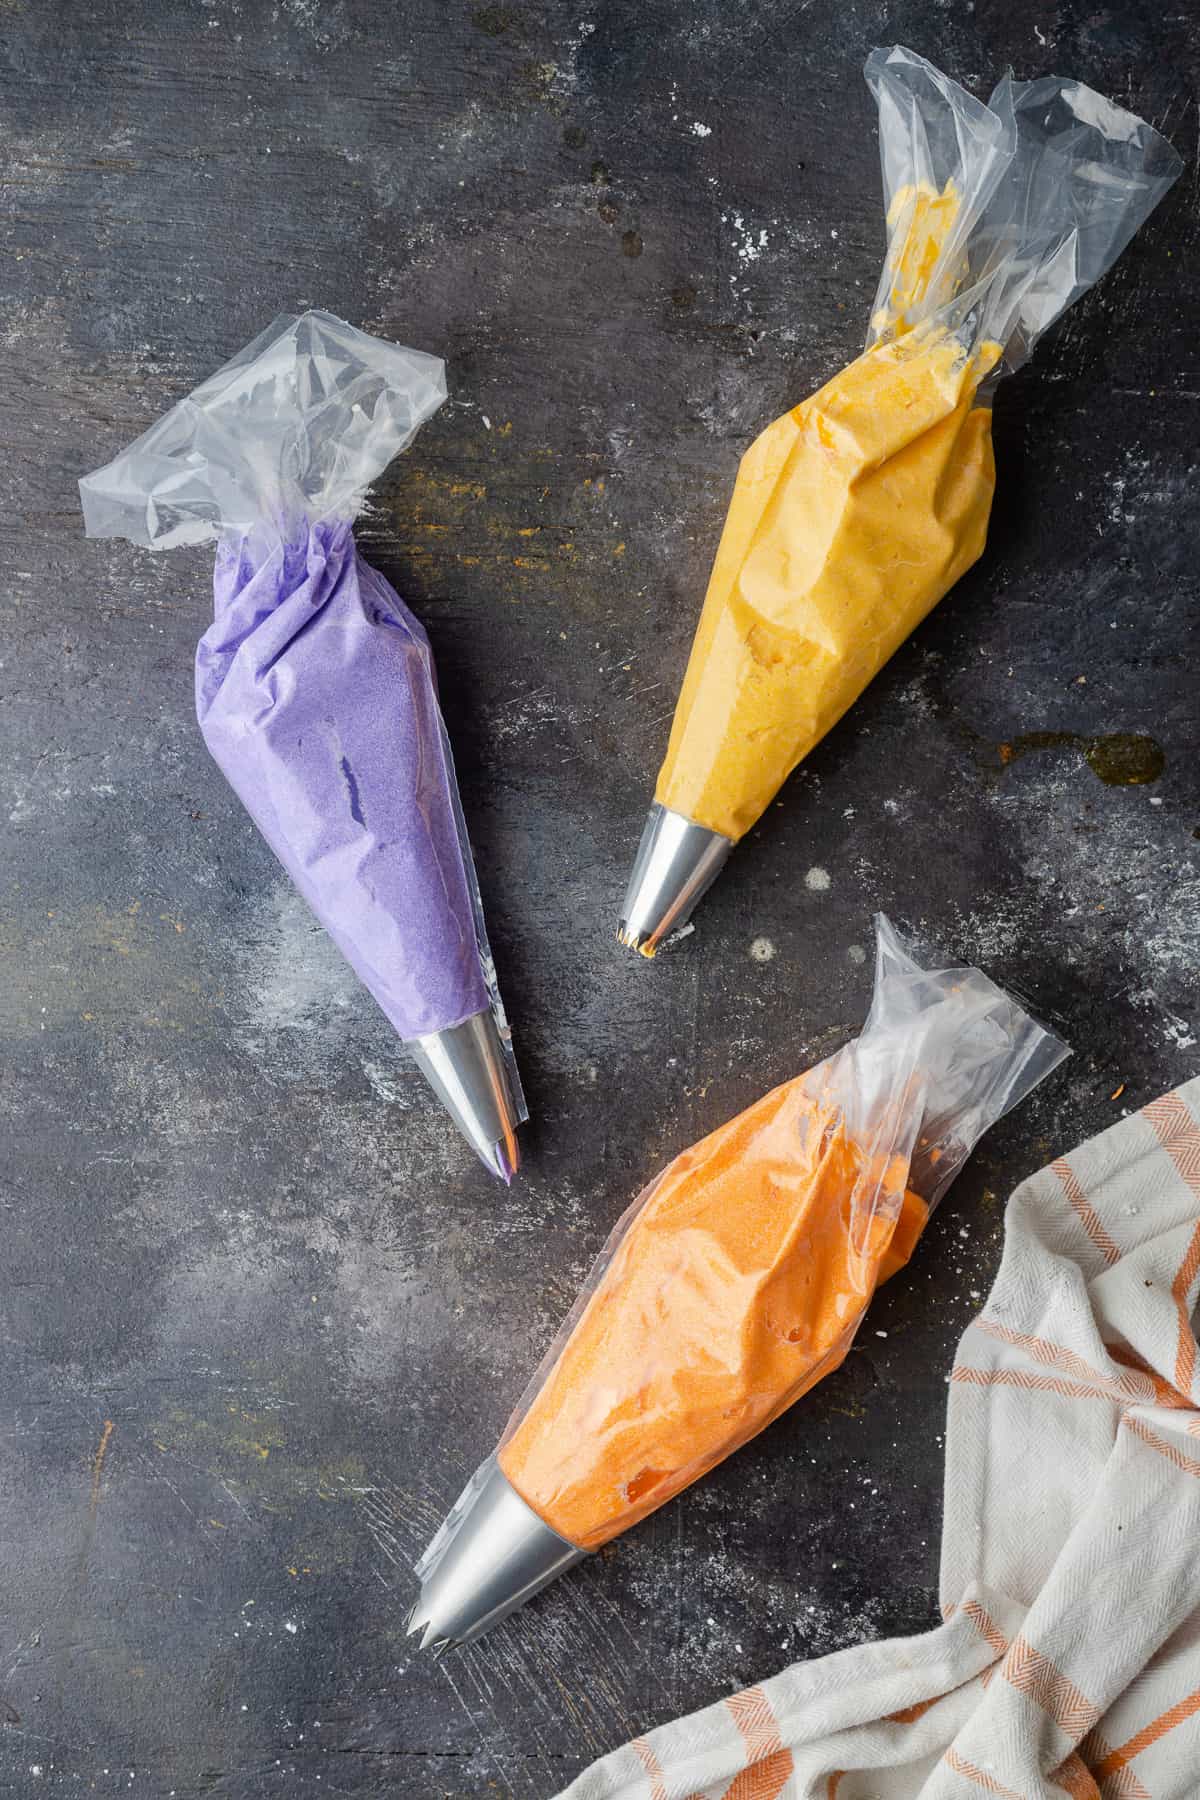
- Divide into bowls and color the frosting: Use yellow, purple, and orange food coloring (affiliate link) to dye each bowl into the different hues to represent each of the Sanderson sisters. Transfer each color of frosting to a separate piping bag fitted with an large star piping tip like the Wilton 1M or Ateco 849.
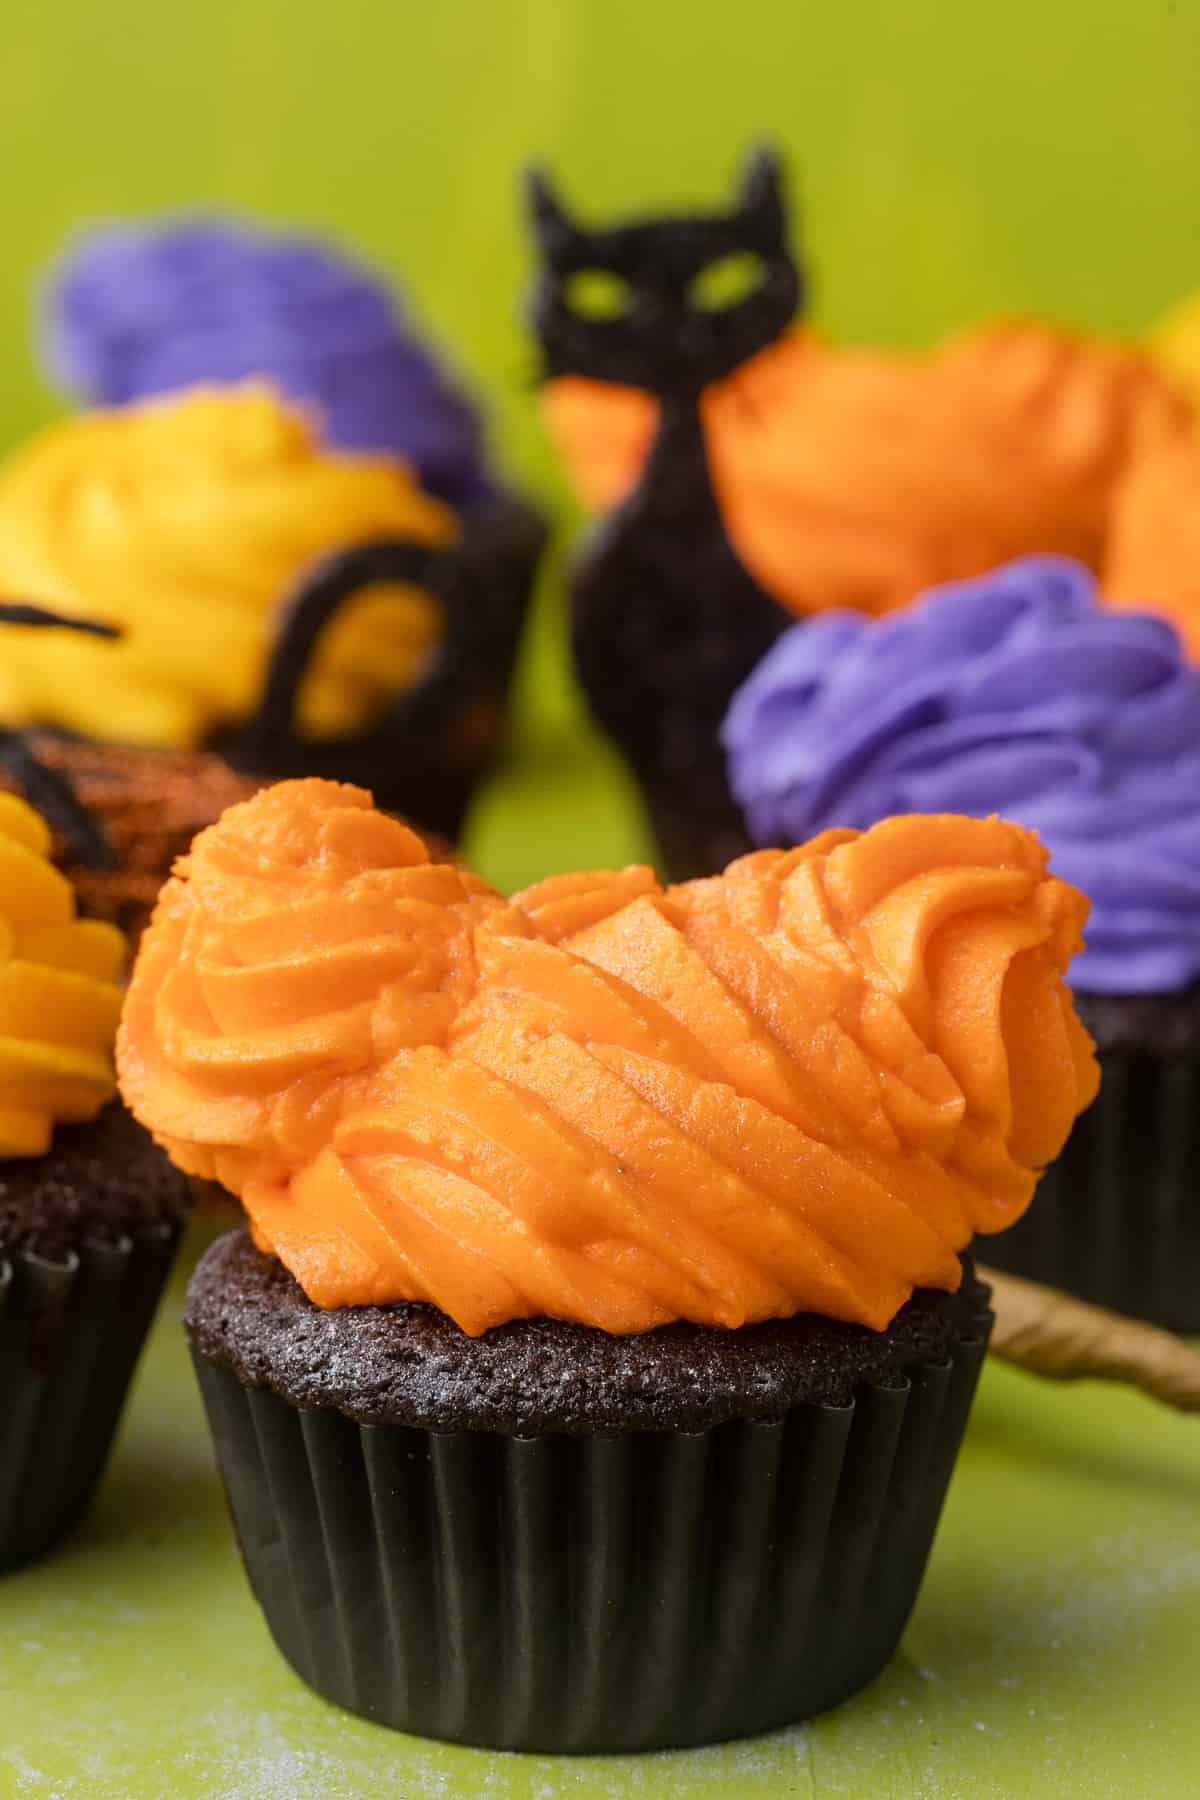
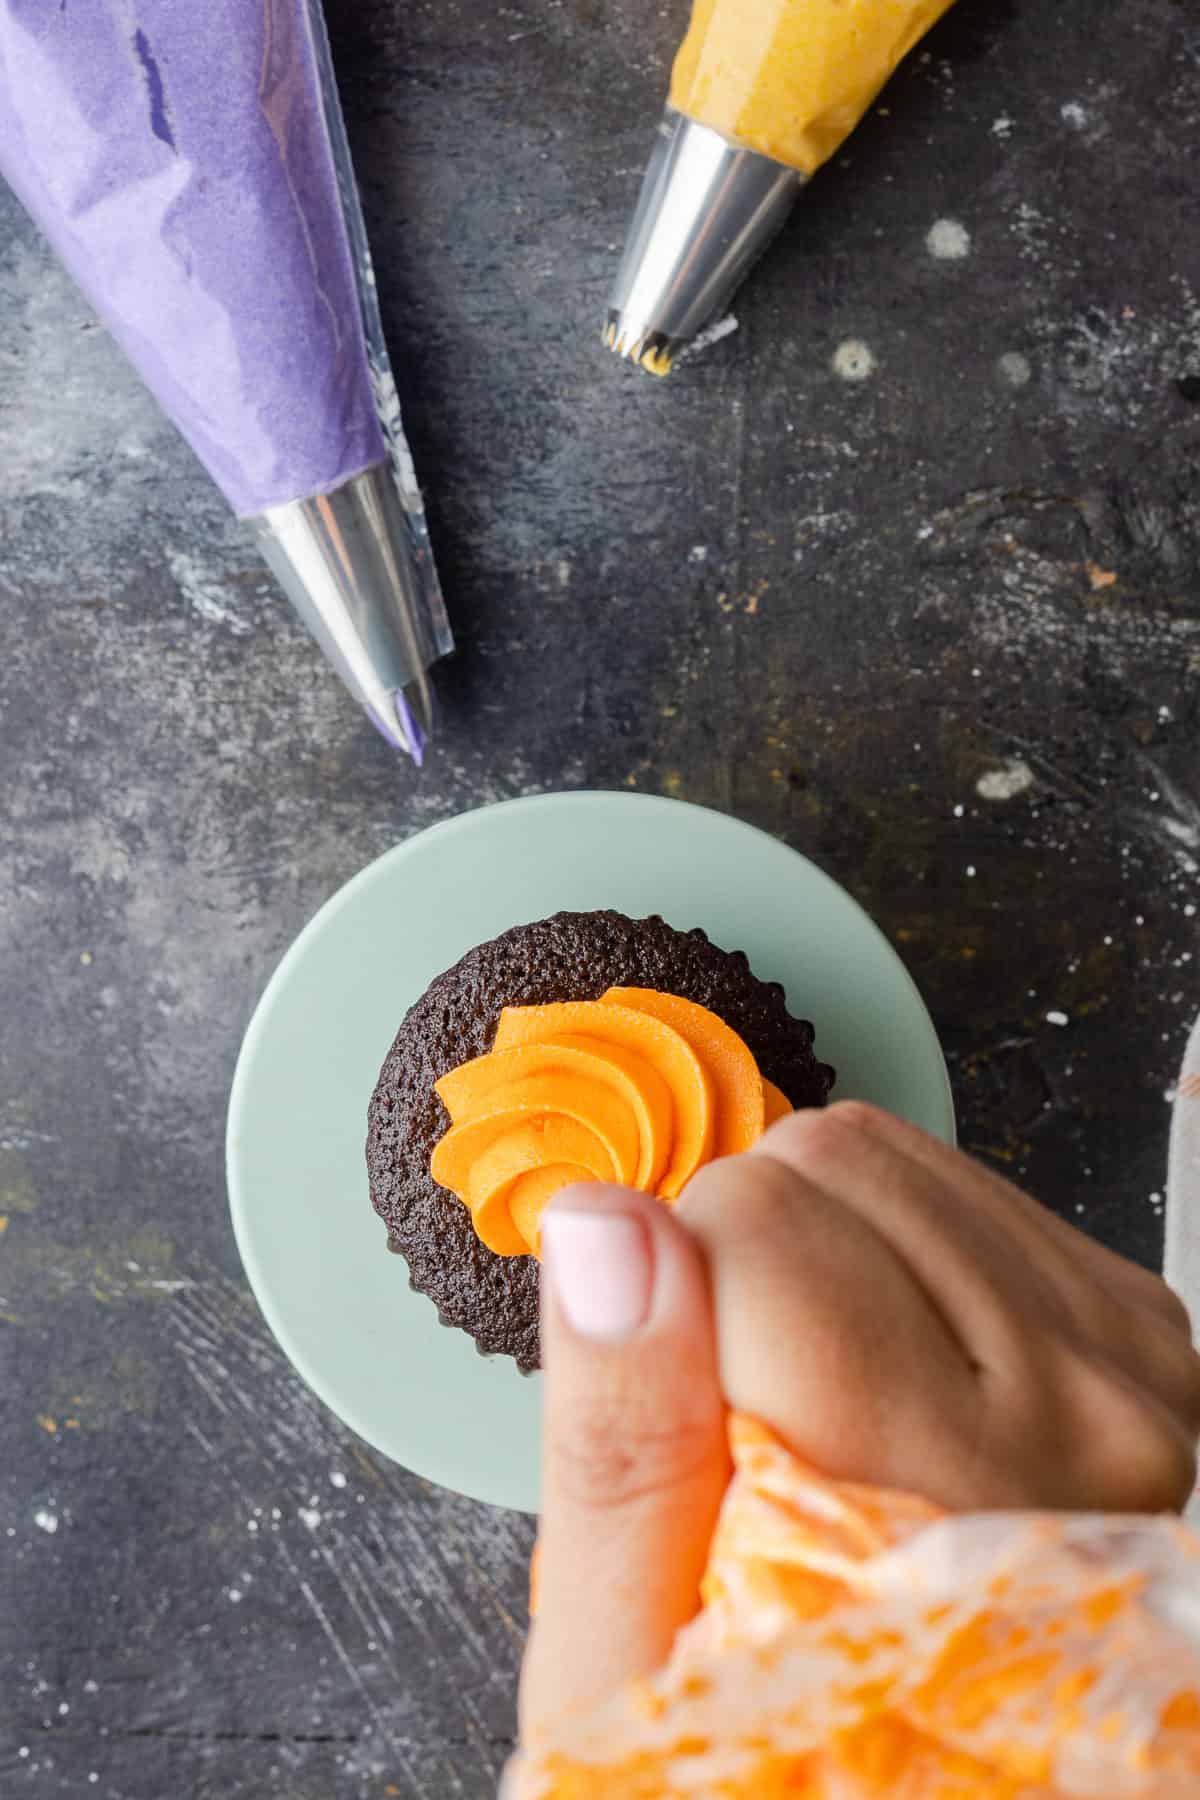
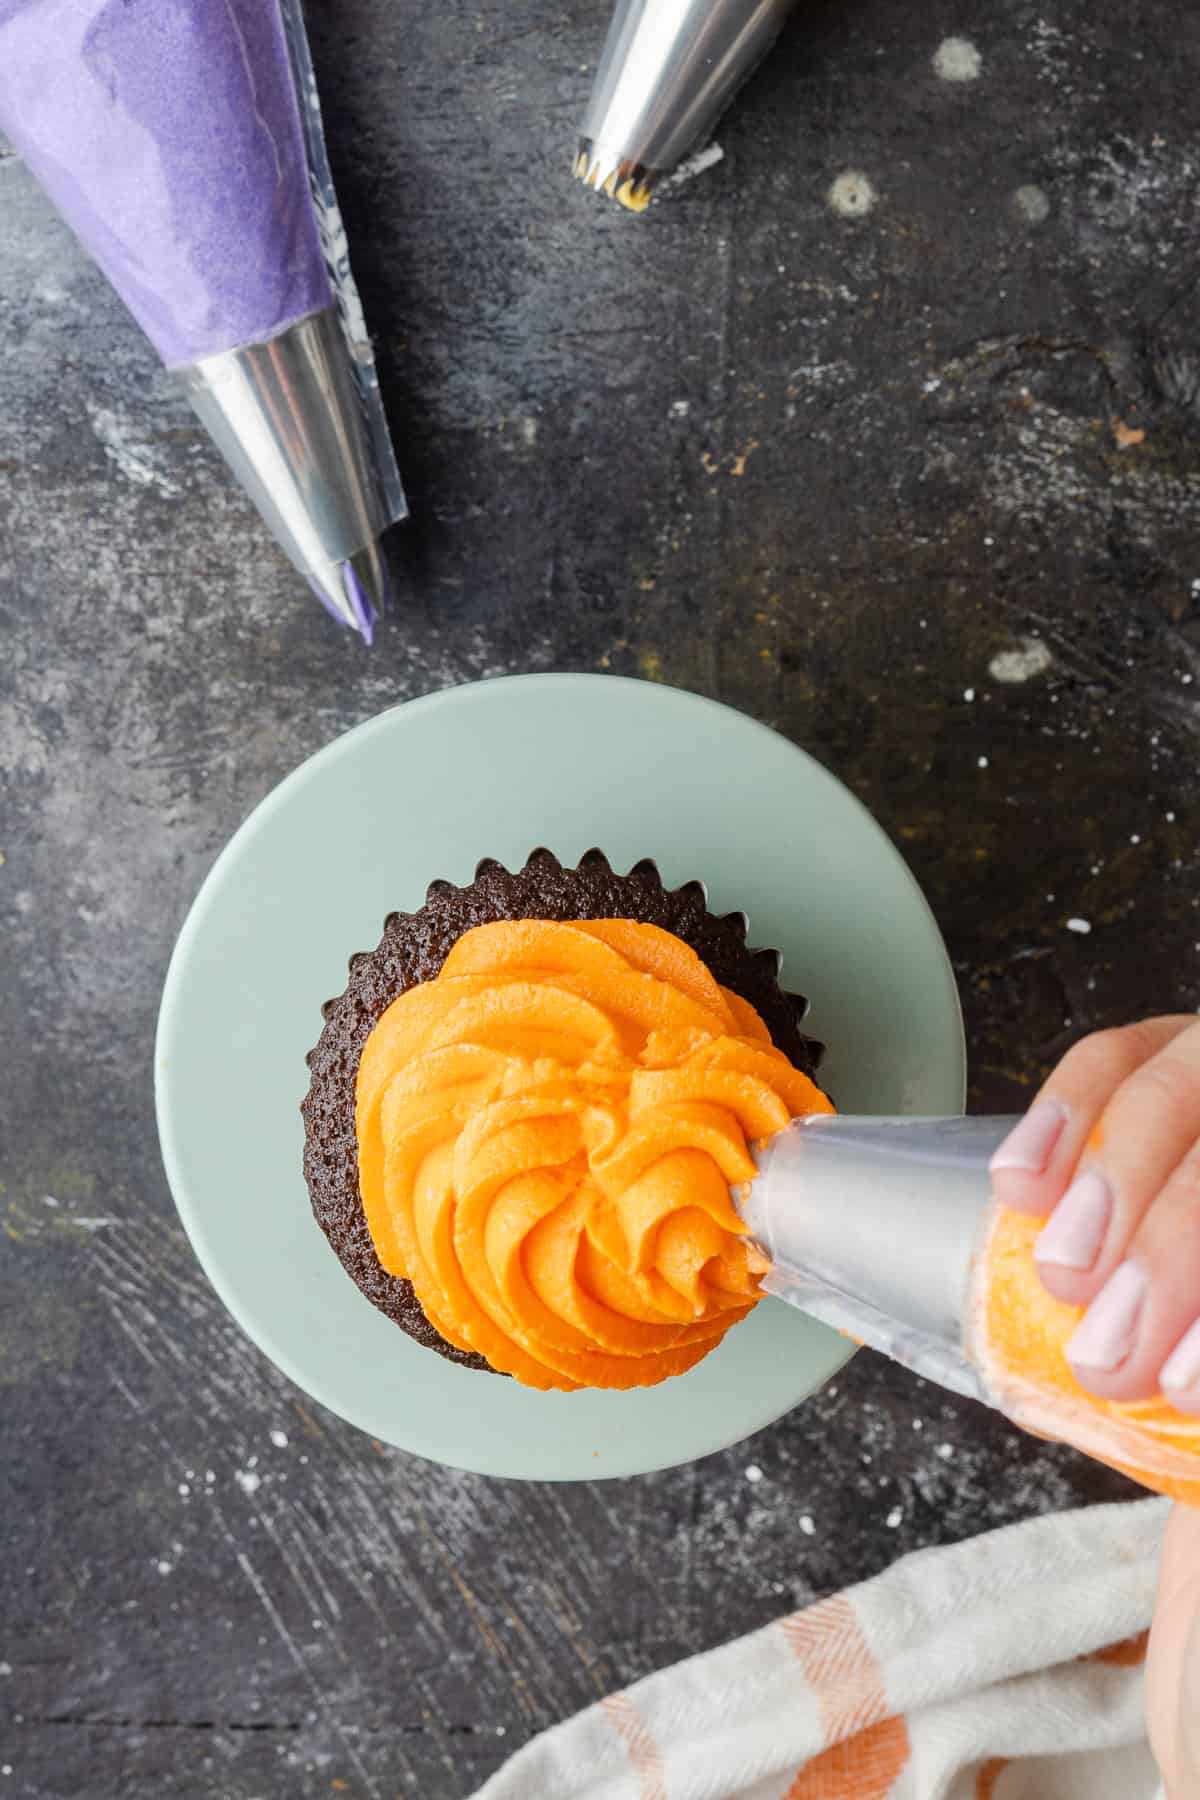
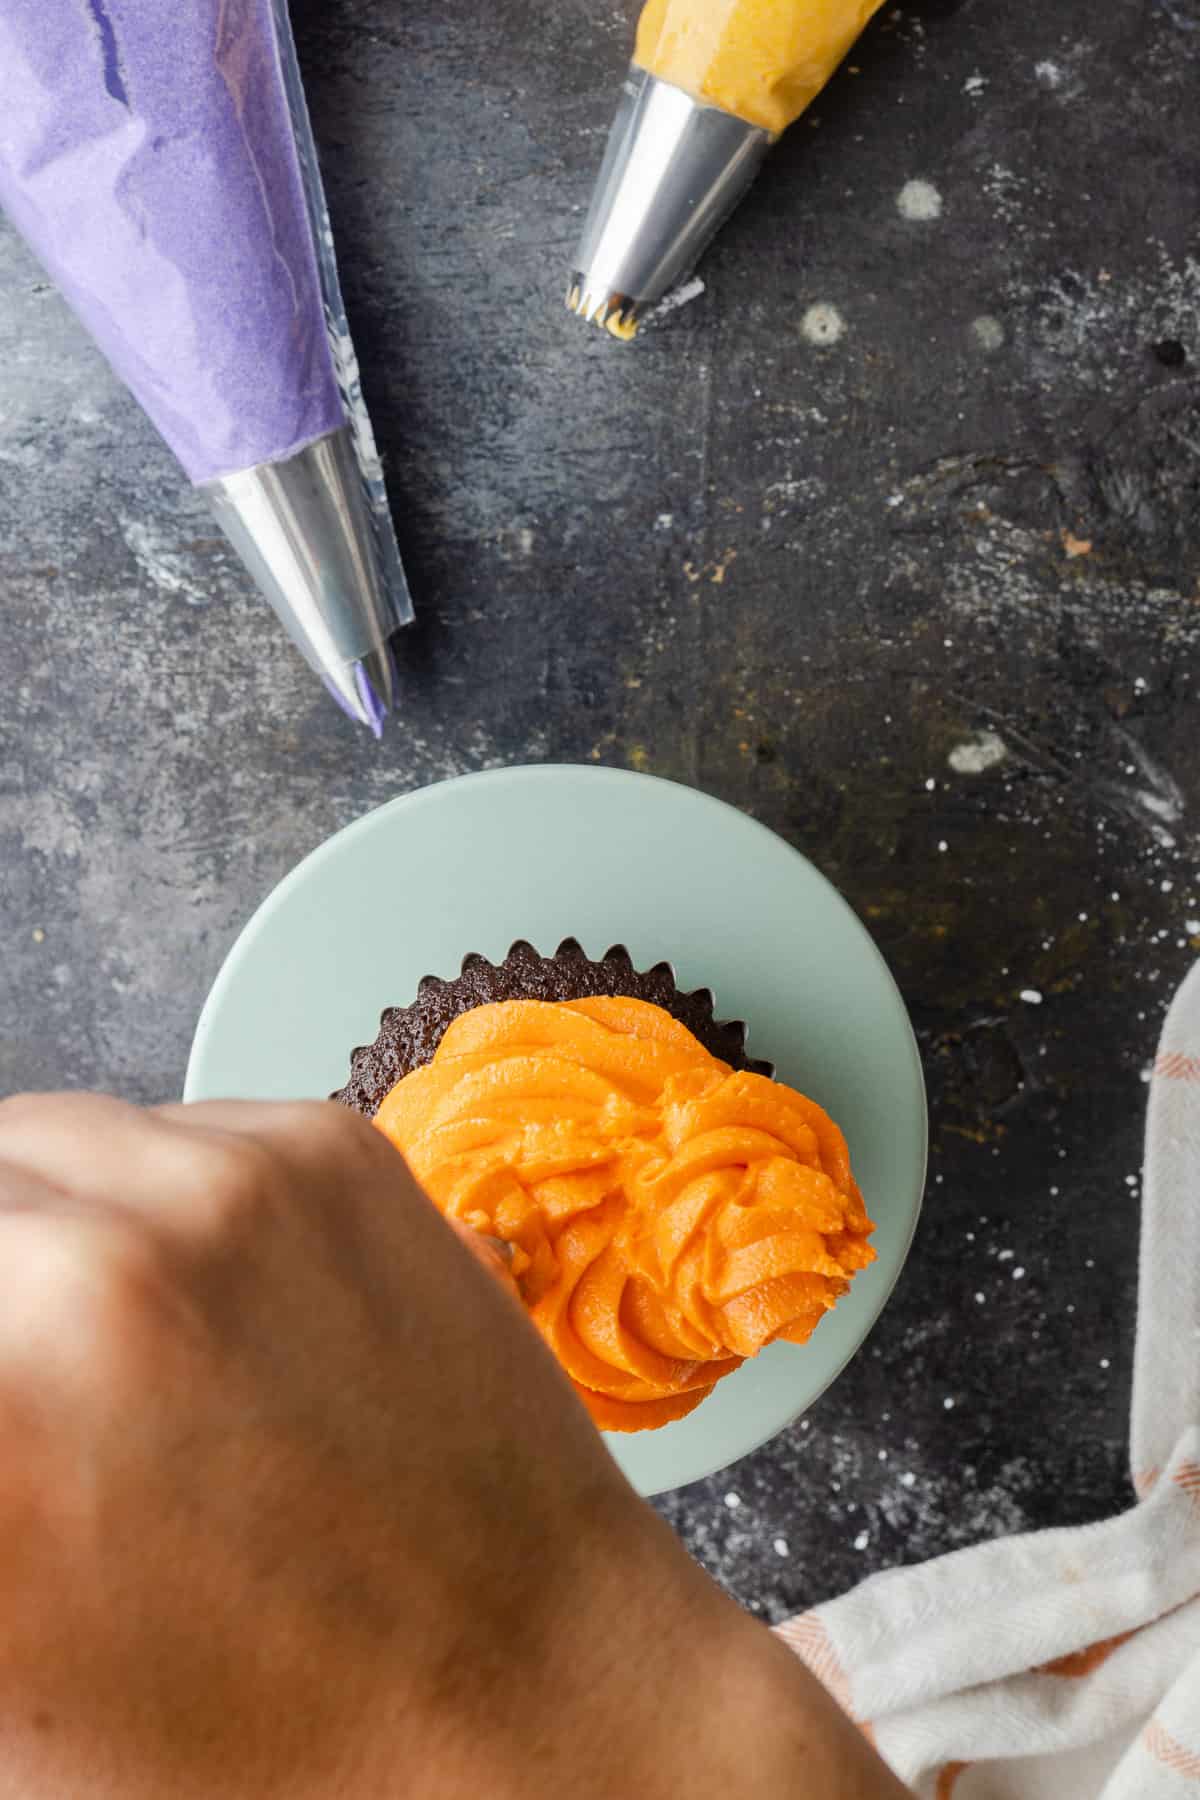
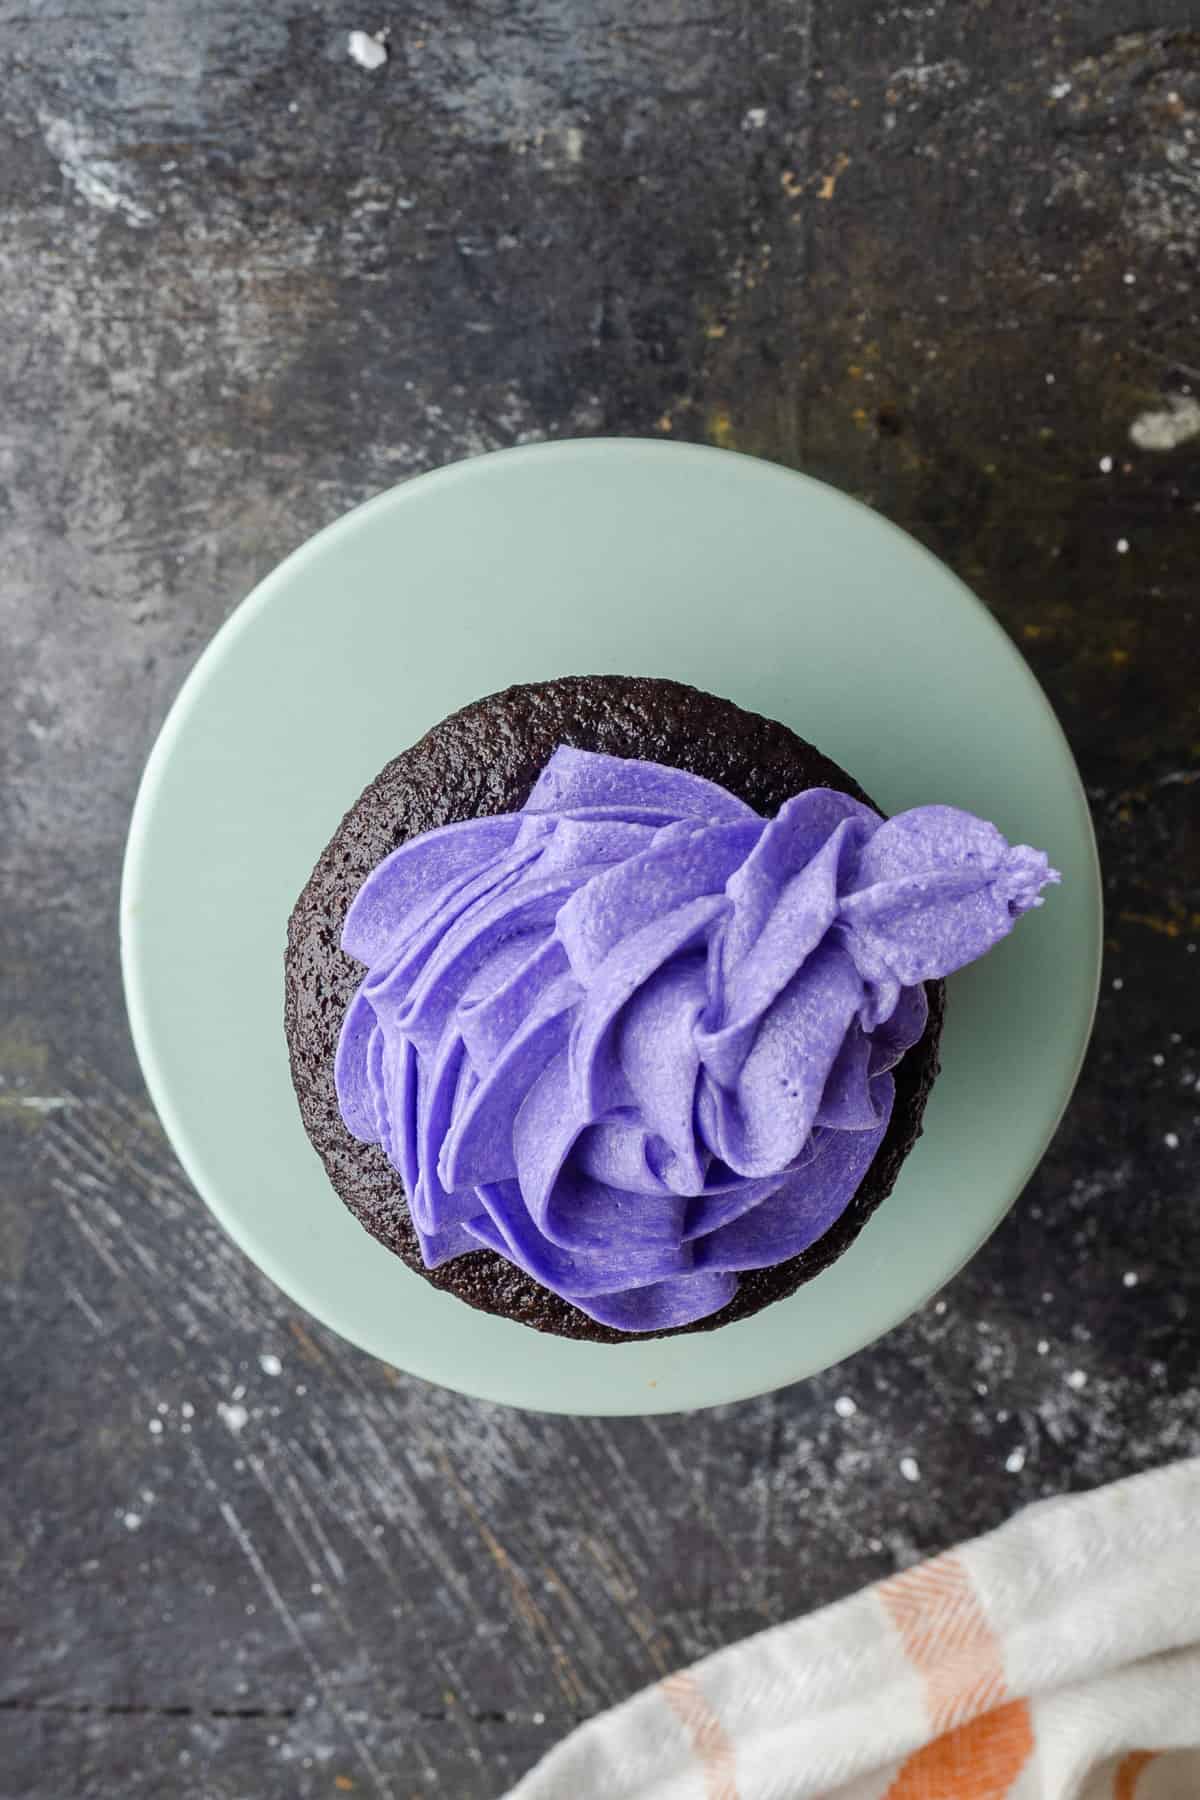
- To make the “Winnie” cupcakes: Pipe a medium-sized swirl covering the cupcake first. Then use the piping tip to pie small swirls on two sides of the base swirl to look like little buns.
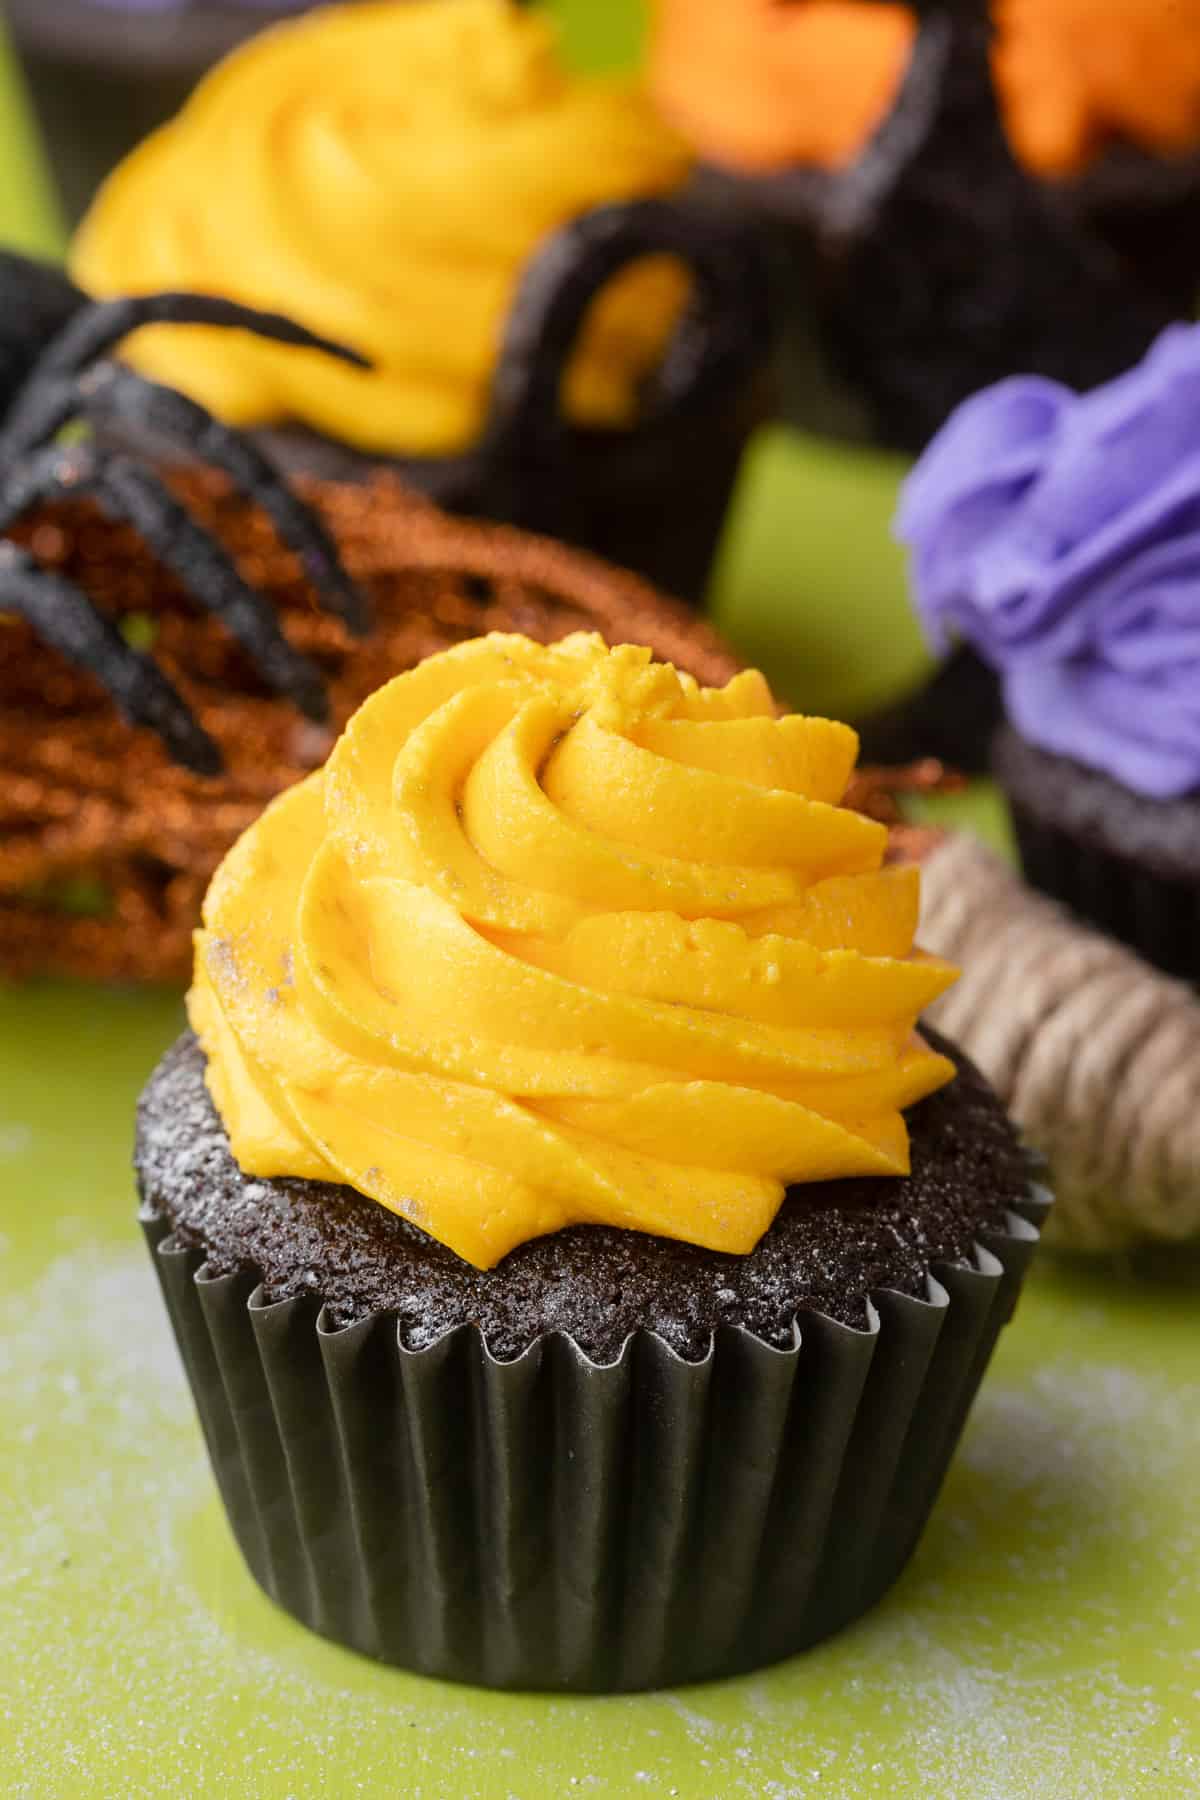
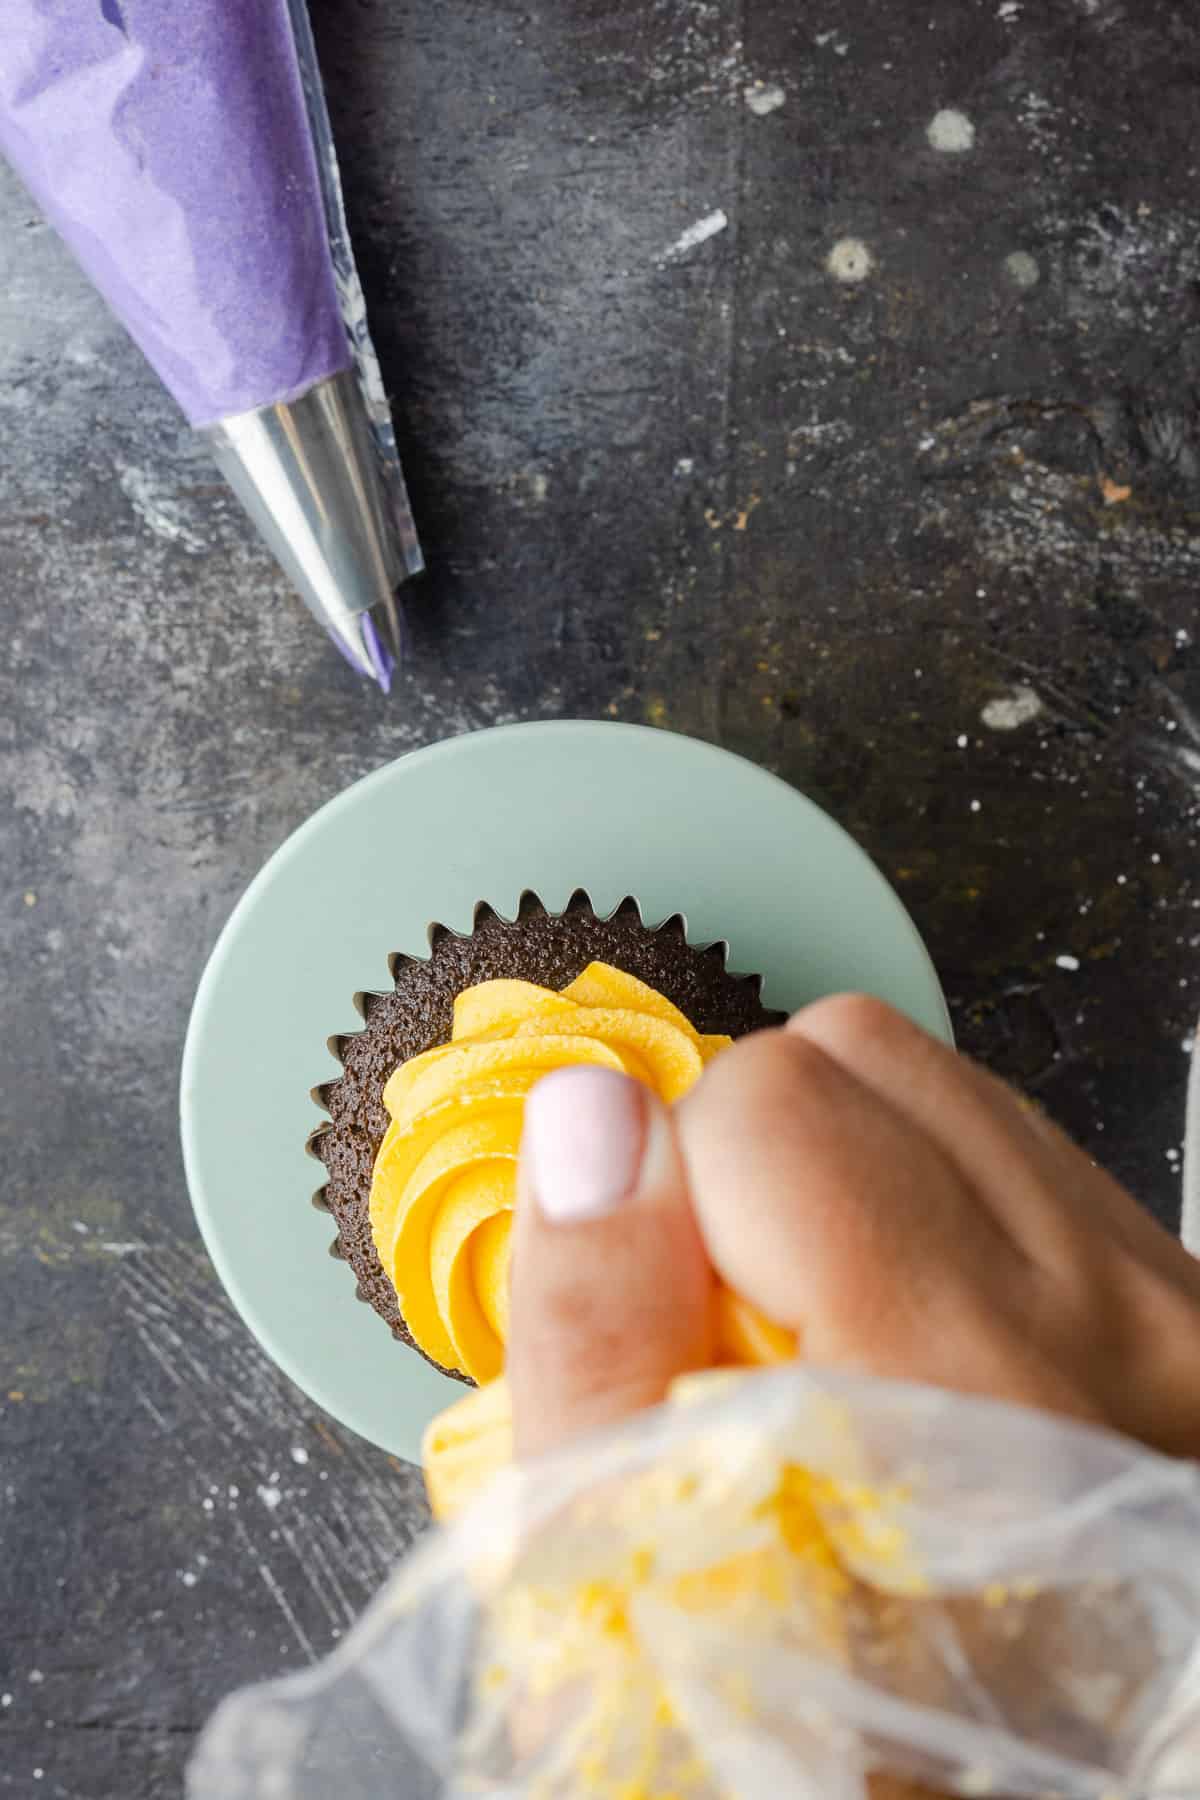
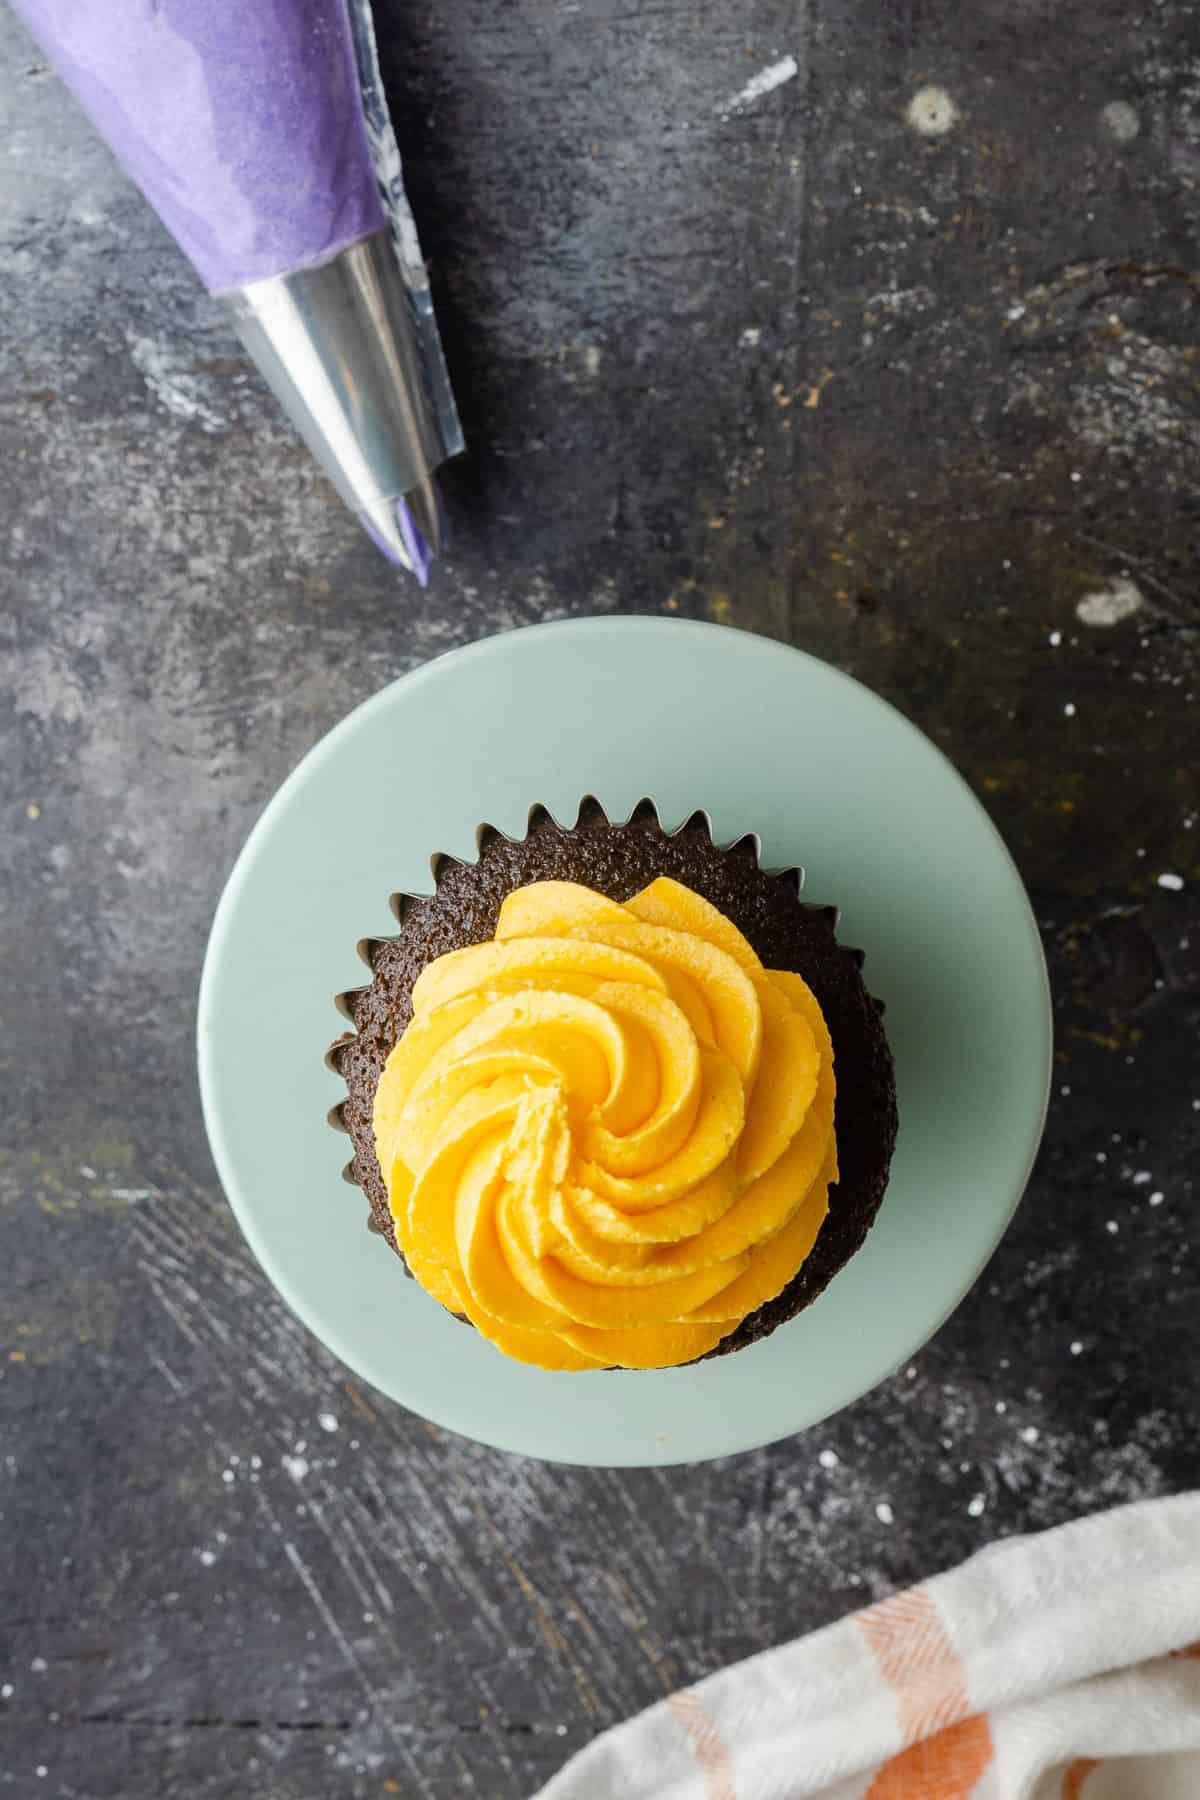
- To make the “Sarah” cupcakes: This is the easiest of them all. Just pipe and tall swirl of the yellow frosting on each cupcake and you are done with that one!
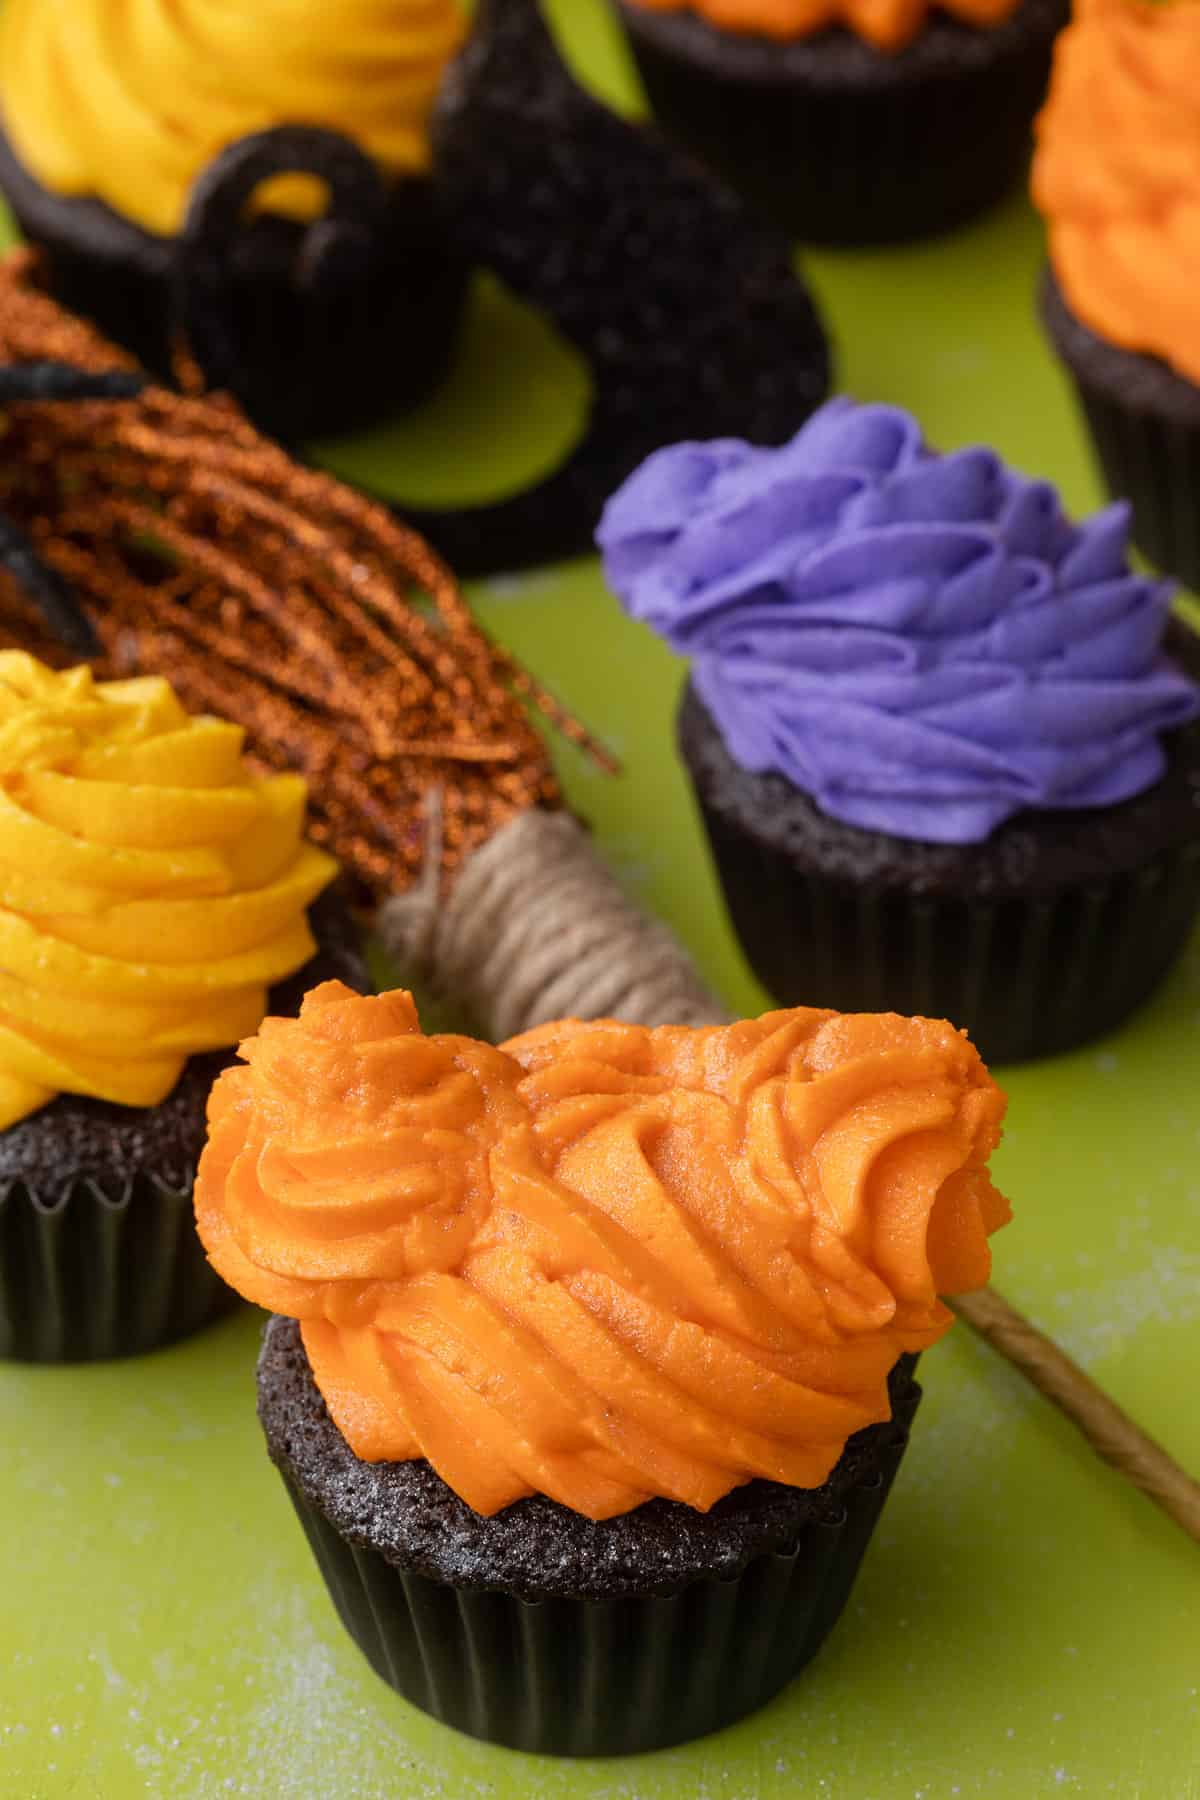
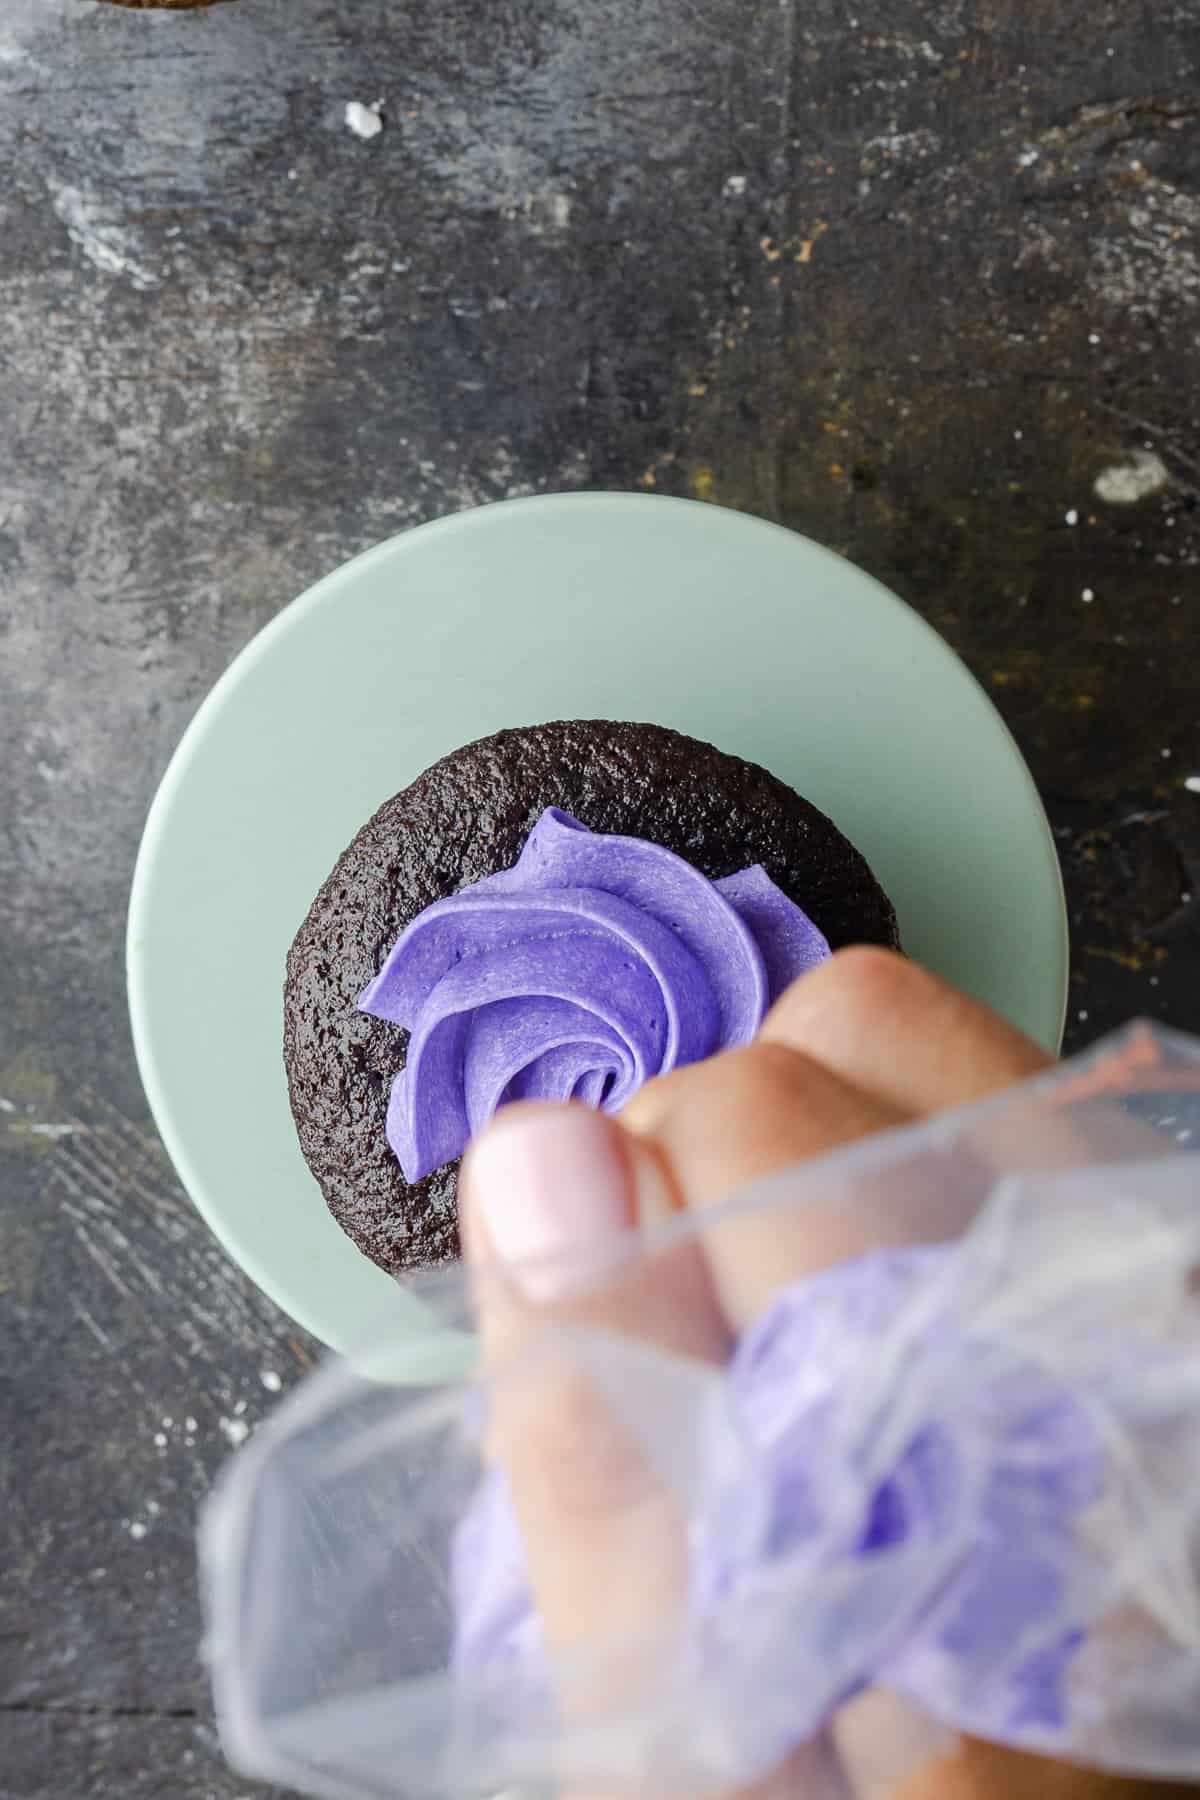
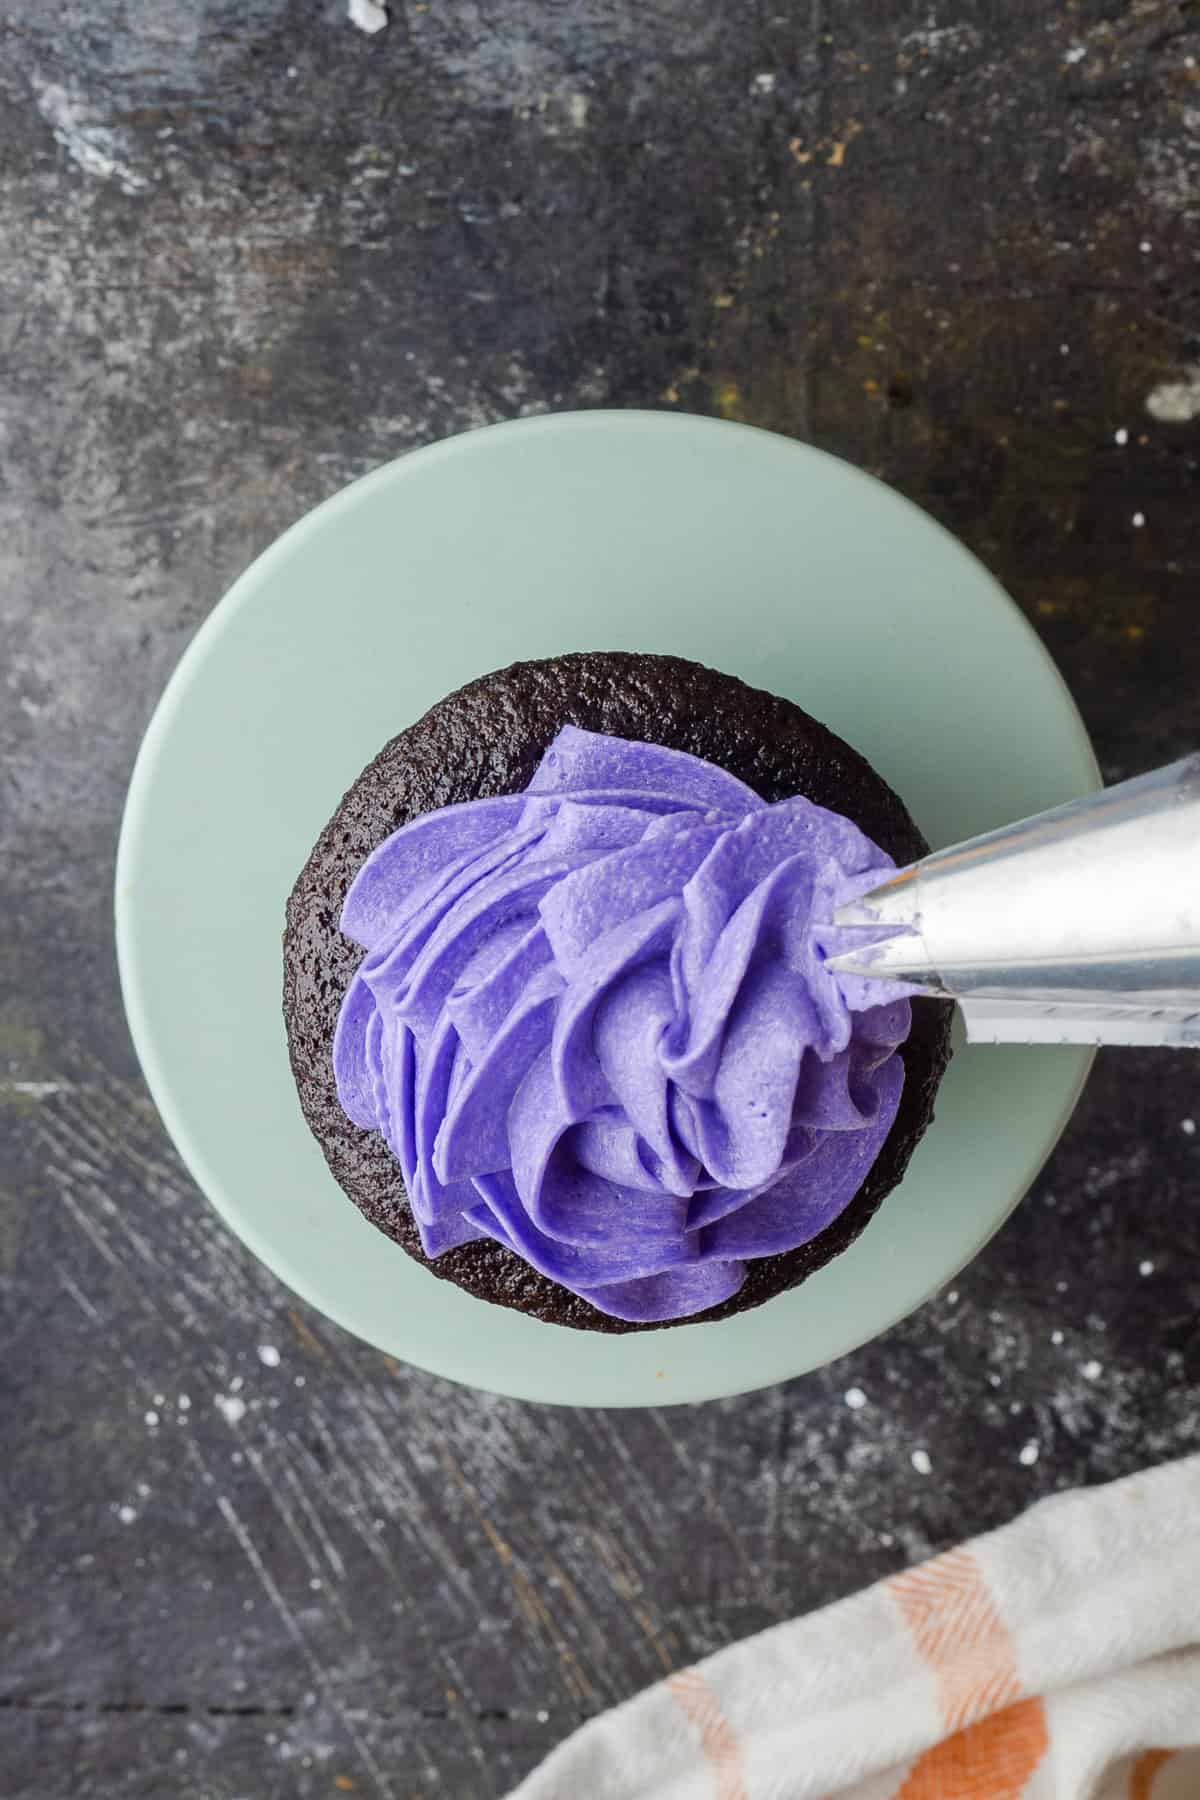
- To make the “Mary” cupcakes: Use the purple frosting to start piping a swirl covering the cupcake, like normal. But when you approach the top of the cupcake, intentionally draw the swirl off to one side for a lopsided, falling-over look that is reminiscent of Mary’s corkscrew hairstyle.
- Dust with edible glitter & serve: For a magical sparkle, sprinkle the finished hocus pocus cupcakes with a light dusting of edible glitter for a shimmery effect that might be hard to see in my photos but is so fun in real life.
Recipe FAQ’s
You can usually find this easily at most craft stores like Joann’s, Michaels, or Hobby Lobby. Or you can just order it on Amazon (affil. link).
If you have problems with your buttercream not being thick enough to hold it’s shape without drooping, try adding more powdered sugar, about ½ cup at a time until the frosting isn’t so soft.
No, definitely not! You can just leave it out if you don’t have it on hand, but many people love it because it deepens the chocolate flavor of the cupcakes without actually making it taste like coffee.
Recipe Tips
- Storage: These hocus pocus cupcakes will be good for about 3-4 days when kept covered in an airtight container on the fridge.
- Freezing: You can freeze both the cupcakes and the buttercream separately. When you are ready to decorate and serve the cupcakes, just thaw the cupcakes on the counter and the frosting in the fridge overnight and then on the counter for at least an hour to come to room temperature. I recommend using a hand mixer to mix the frosting again so it’s really smooth and pipeable before decorating and serving the cupcakes.
- Use dark cupcake wrappers: To keep the focus of the cupcakes on the decorative piping inspired by each of the three Sanderson sisters, I recommend using a dark, solid colored cupcake wrapper. You can find them at most craft stores or just order them online (affil. link).
More Halloween Recipes
- Halloween Chocolate Blossom Sprinkle Cookies
- Decorate Your Own Halloween Cupcake Board
- Halloween Sugar Cookie Bars
- Haunted Halloween Gingerbread House
Brownies and bars
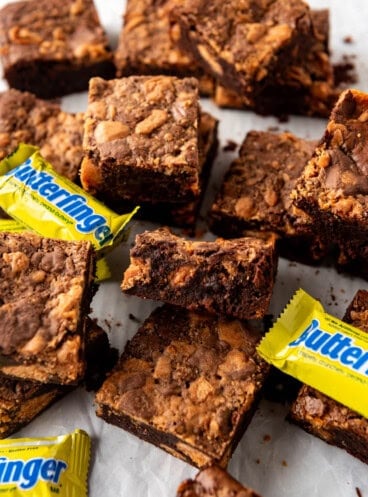
Butterfinger Brownies

Brownies and bars
Pumpkin Chocolate Chip Bars
Halloween
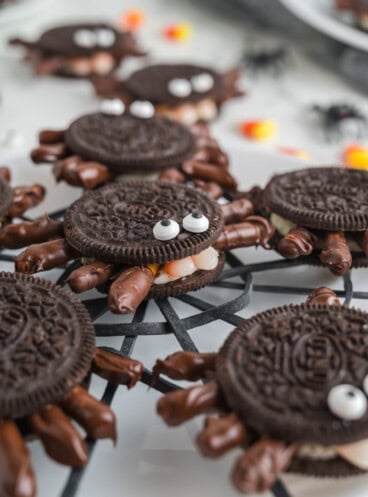
Halloween Oreo Spiders
Did you make this recipe?
Let me know what you thought with a comment and rating below. You can also take a picture and tag me on Instagram @houseofnasheats or share it on the Pinterest pin so I can see.
Hocus Pocus Cupcakes
Ingredients
Cupcakes
- 1 cup boiling water
- 1 teaspoon espresso powder optional
- 3/4 cup unsweetened cocoa powder
- 2 cups all-purpose flour
- 2 cups granulated sugar
- 2 teaspoons baking soda
- 1 teaspoon baking powder
- 1/2 teaspoon salt
- 1 cup milk
- 2 large eggs room temperature
- 1/2 cup vegetable oil
Peanut Butter Filling
- 1/2 cup salted butter softened
- 1 cup creamy peanut butter
- 1 cup powdered sugar
Buttercream Frosting
- 2 cups salted butter
- 2 pounds powdered sugar
- 1 Tablespoon vanilla extract
- 2 Tablespoons milk
- Yellow, orange, and purple food coloring (affiliate link)
- Silver edible glitter

Instructions
Cupcakes
- Preheat oven to 375° F. Line two cupcake pans with paper liners.
- In a large mixing bowl, combine the water, cocoa powder, and espresso powder. Let them sit for 5 minutes so the chocolate flavor can deepen.1 cup boiling water, ¾ cup unsweetened cocoa powder, 1 teaspoon espresso powder
- In a medium mixing bowl, whisk together the flour, sugar, baking soda, baking powder, and salt. Set aside.2 cups all-purpose flour, 2 cups granulated sugar, 2 teaspoons baking soda, 1 teaspoon baking powder, ½ teaspoon salt
- Whisk the milk, eggs, and oil into the cooled cocoa mixture. Stir in the flour mixture just until the batter is smooth.1 cup milk, 2 large eggs , ½ cup vegetable oil
- Fill the cupcake pan, so each cup is about ¾ full.
- Bake for 20-25 minutes until the tops spring back when pressed lightly in the center. Transfer to a cooling rack to cool completely.
Peanut Butter Filling
- Beat the softened butter and peanut butter together until creamy and smooth. Mix in the powdered sugar on low speed, then increase to medium speed and beat for 3-4 minutes until creamy and light.½ cup salted butter , 1 cup creamy peanut butter, 1 cup powdered sugar
- Transfer to a piping bag fitted with a plain medium tip and use it to pipe about 1 tablespoon of filling into the center of each cooled cupcake from the top, which will be covered with frosting later.
Buttercream Frosting
- In the bowl of a large mixer fitted with a paddle attachment, beat the butter on medium speed for 5 minutes until light and fluffy.2 cups salted butter
- Turn the speed down to low and gradually add the powdered sugar and vanilla extract. Add in the milk one tablespoon at a time. Turn the mixer back up to medium speed and mix for an additional 3 minutes until creamy and light.2 pounds powdered sugar, 1 Tablespoon vanilla extract, 2 Tablespoons milk
- Divide the buttercream into three separate bowls. Add enough food coloring (affiliate link) to each bowl to get a vibrant color, so you end up with one bowl of orange, one bowl of yellow, and one bowl of purple.Yellow, orange, and purple food coloring (affiliate link)
Assembly
- Transfer each buttercream color into a separate piping bag fitted with a large star piping tip.
- On one-third of the cupcakes, pipe a swirl of the yellow buttercream by placing the piping tip in the middle of the cupcake and adding pressure to the bag from the top. Swirl the bag around the cupcake, slowly making your way to the top.
- Pipe a swirl of orange buttercream on another third of the cupcakes. Then pipe two mini swirls on the top sides of the top of the buttercream.
- On the last third of the cupcakes, start by piping a swirl of purple buttercream, but but continue piping at an angle once you get towards the top. Draw the piping bag away, letting the top of the swirl tip over.
- Sprinkle the cupcakes with edible glitter for a magical sparkly effect.Silver edible glitter
Notes
- Storage: These Hocus Pocus cupcakes will be good for about 3-4 days when kept covered in an airtight container on the fridge.
- Freezing: You can freeze both the cupcakes and the buttercream separately. When you are ready to decorate and serve the cupcakes, just thaw the cupcakes on the counter and the frosting in the fridge overnight and then on the counter for at least an hour to come to room temperature. I recommend using a hand mixer to mix the frosting again so it’s really smooth and pipeable before decorating and serving the cupcakes.
- Use dark cupcake wrappers: To keep the focus of the cupcakes on the decorative piping inspired by each of the three Sanderson sisters, I recommend using a dark, solid colored cupcake wrapper.

These cupcakes were a hit with my neighbors. though I admit that mine weren’t as cute as yours, they were still delicious!
SO creative, so fun. We all LOVED it! That peanut butter filling is incredible!
These cupcakes are just the cutest — I mean spookiest — Halloween dessert! Not only are they delicious, they so are colorful and fun!
These are just SO MUCH FUN! What a great idea for Halloween festivities. We tested these out, and they are absolutely delicious! We’ve just got to work on our decorating skills before the big day, haha.
Such a fun treat without a ton of work! Love the mimicking of the hair styles and colors!
These cupcakes are just adorable! I recognized the witches immediately. They’re going to be a hit with our neighborhood get-together!
These were such a huge hit!! I will be making them again. Such a super clever recipe!