This post was created as in partnership with Imperial Sugar. All thoughts and opinions are 100% my own.
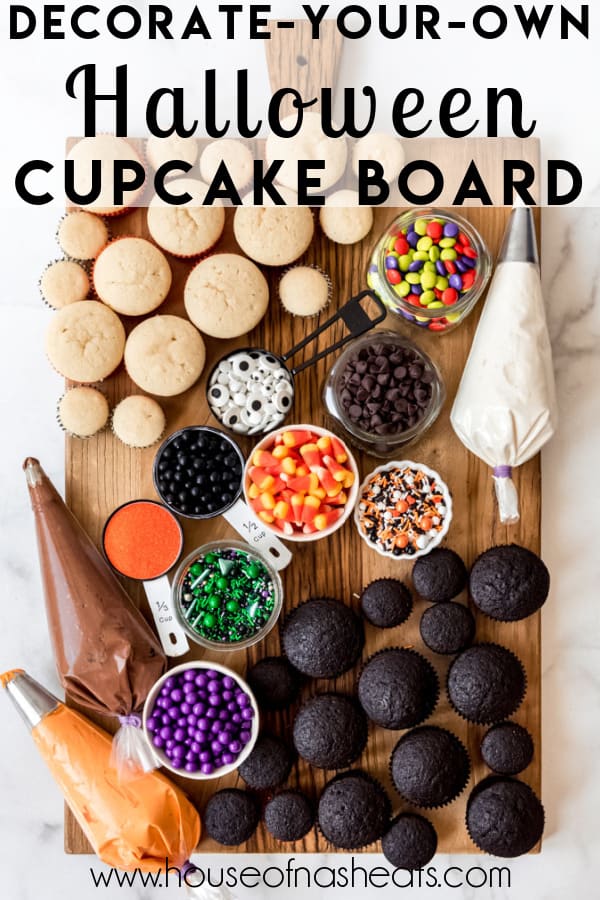
Why not let everybody make their own Halloween cupcake this year with a Decorate Your Own Halloween Cupcake Board? It’s a fun, visual feast that gets kids and adults creative juices flowing and provides a fun activity as well as a delicious dessert!
With Halloween being a little different this year, I have been brainstorming alternatives to trick-or-treating. And the idea of making a cupcake board popped in my head, probably after seeing my sister host a cupcake decorating party last year for my niece’s birthday. I tried this out early with my kids and it was a smashing success!
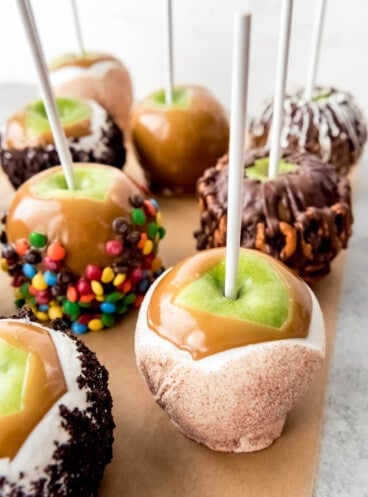
Be sure to check out the rest of our Halloween recipes for more frighteningly easy and delicious treat ideas like Homemade Caramel Apples, Graveyard Dirt Cake, and Dark Chocolate Halloween Chip Cookies!
Fruit and cheese boards and charcuterie boards have long been popular party fare because everybody can graze and assemble their favorite bites. But I’ve noticed a trend in the last few years of more elaborate boards for all sorts of things. Like pancake boards, s’mores boards, and even hot dog boards, there seem to be boards for every occasion!
Making a decorate-your-own-cupcake board is super easy because it’s mostly just an artful assembly of supplies so that everybody can make something the way they like!
Sure you could just set out a tray of cupcakes and bowls of sprinkles, but grouping them in a pleasing spread on a board just has a visual appeal that delights everybody and gets them excited about decorating their own cupcakes in a way that nothing else does.
I found and fell in love with this wooden board on our trip to New Zealand and actually brought it all the way home with me. It’s oversized and made with salvaged wood, which gives it a ton of character and charm. But any oversized wooden board will work. Another option would be to use a large sheet pan to contain all of the elements of your cupcake board.
This idea could easily be adapted for any holiday or occasion. I’m already itching to make a Christmas one using fun Christmas sprinkles and candies, or an Easter one with all the pretty pastels and different cupcake flavors like coconut, lemon, and strawberry!
How to make a Halloween cupcake board
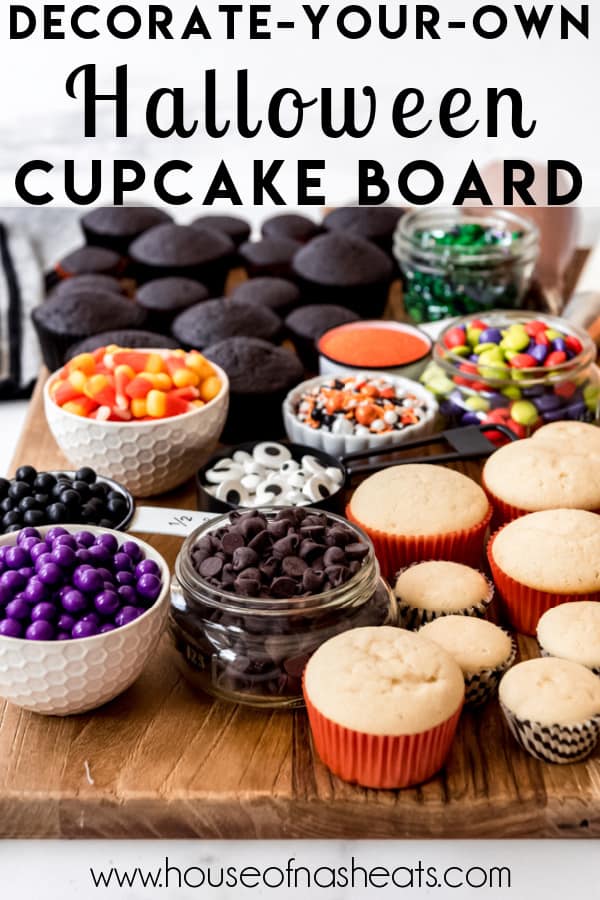
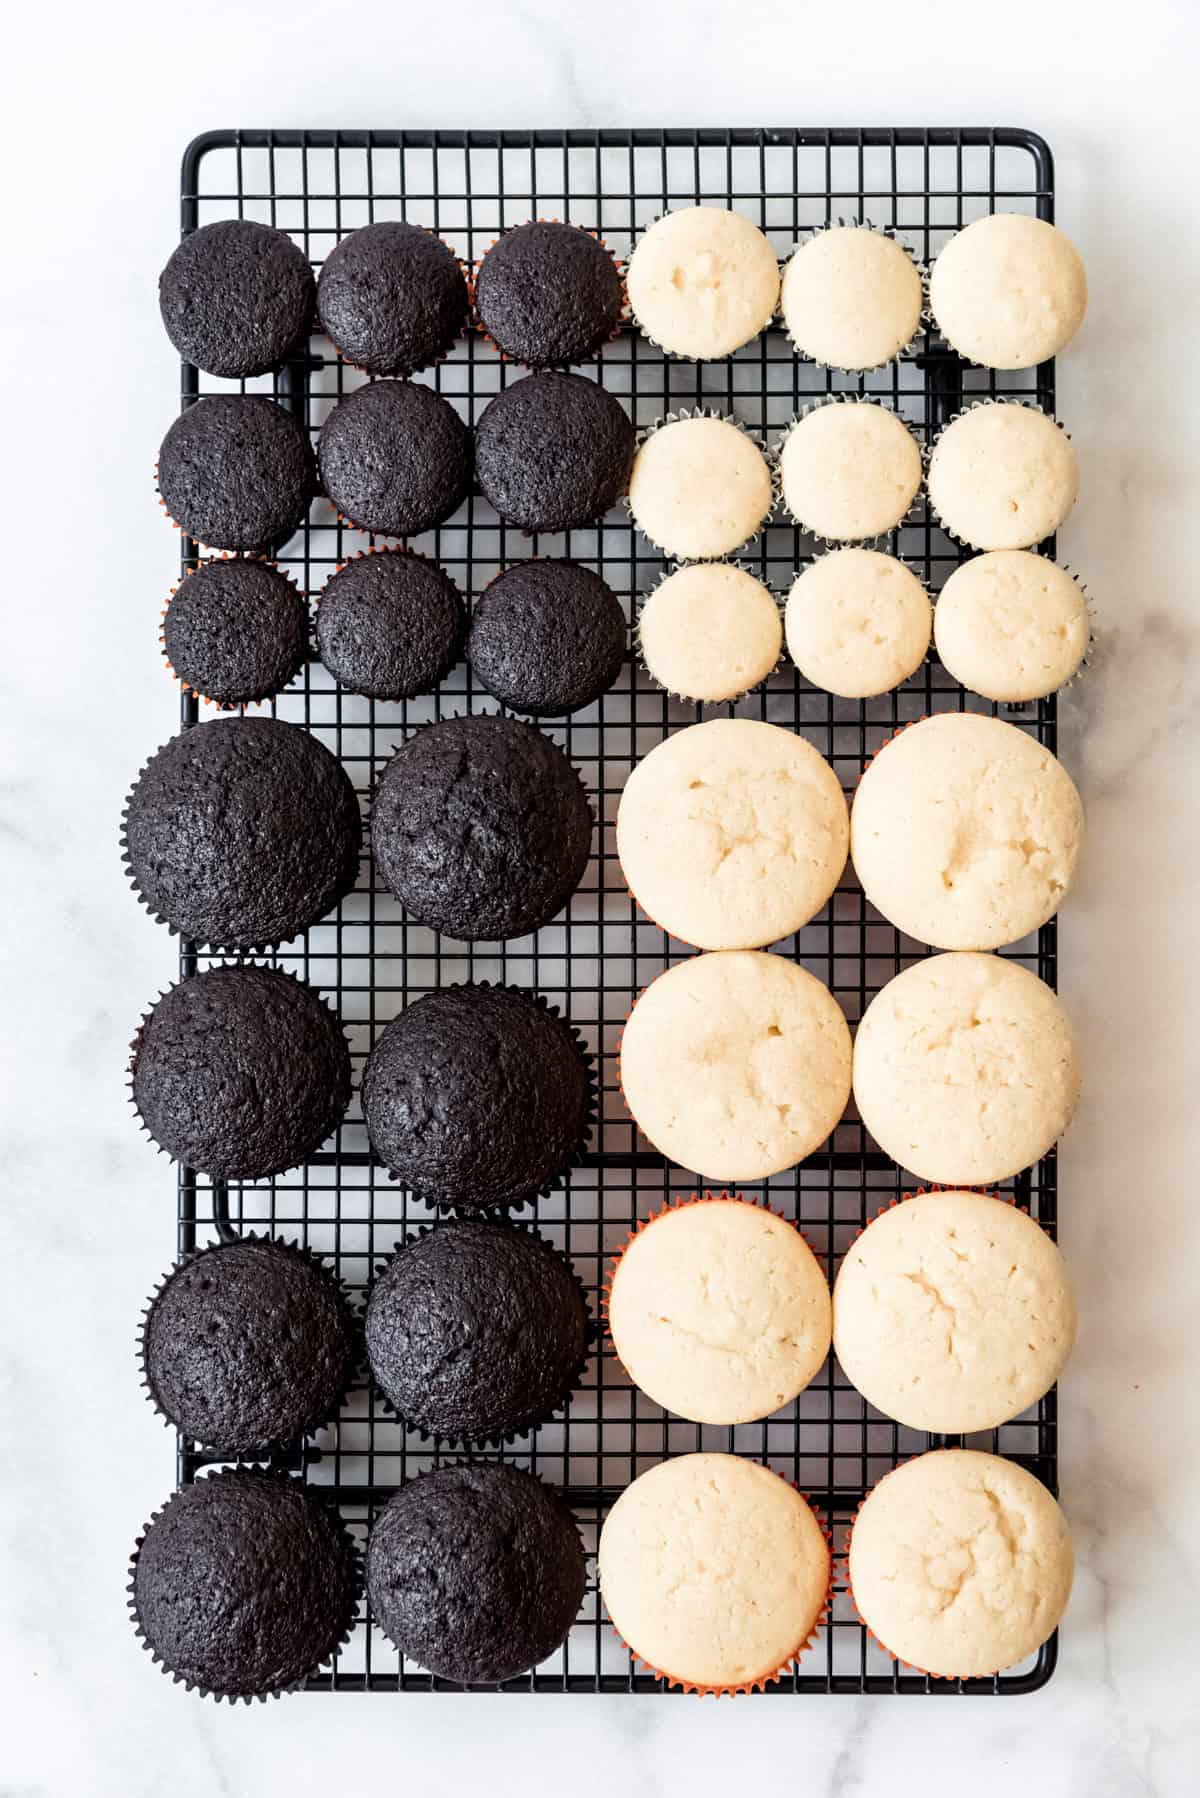
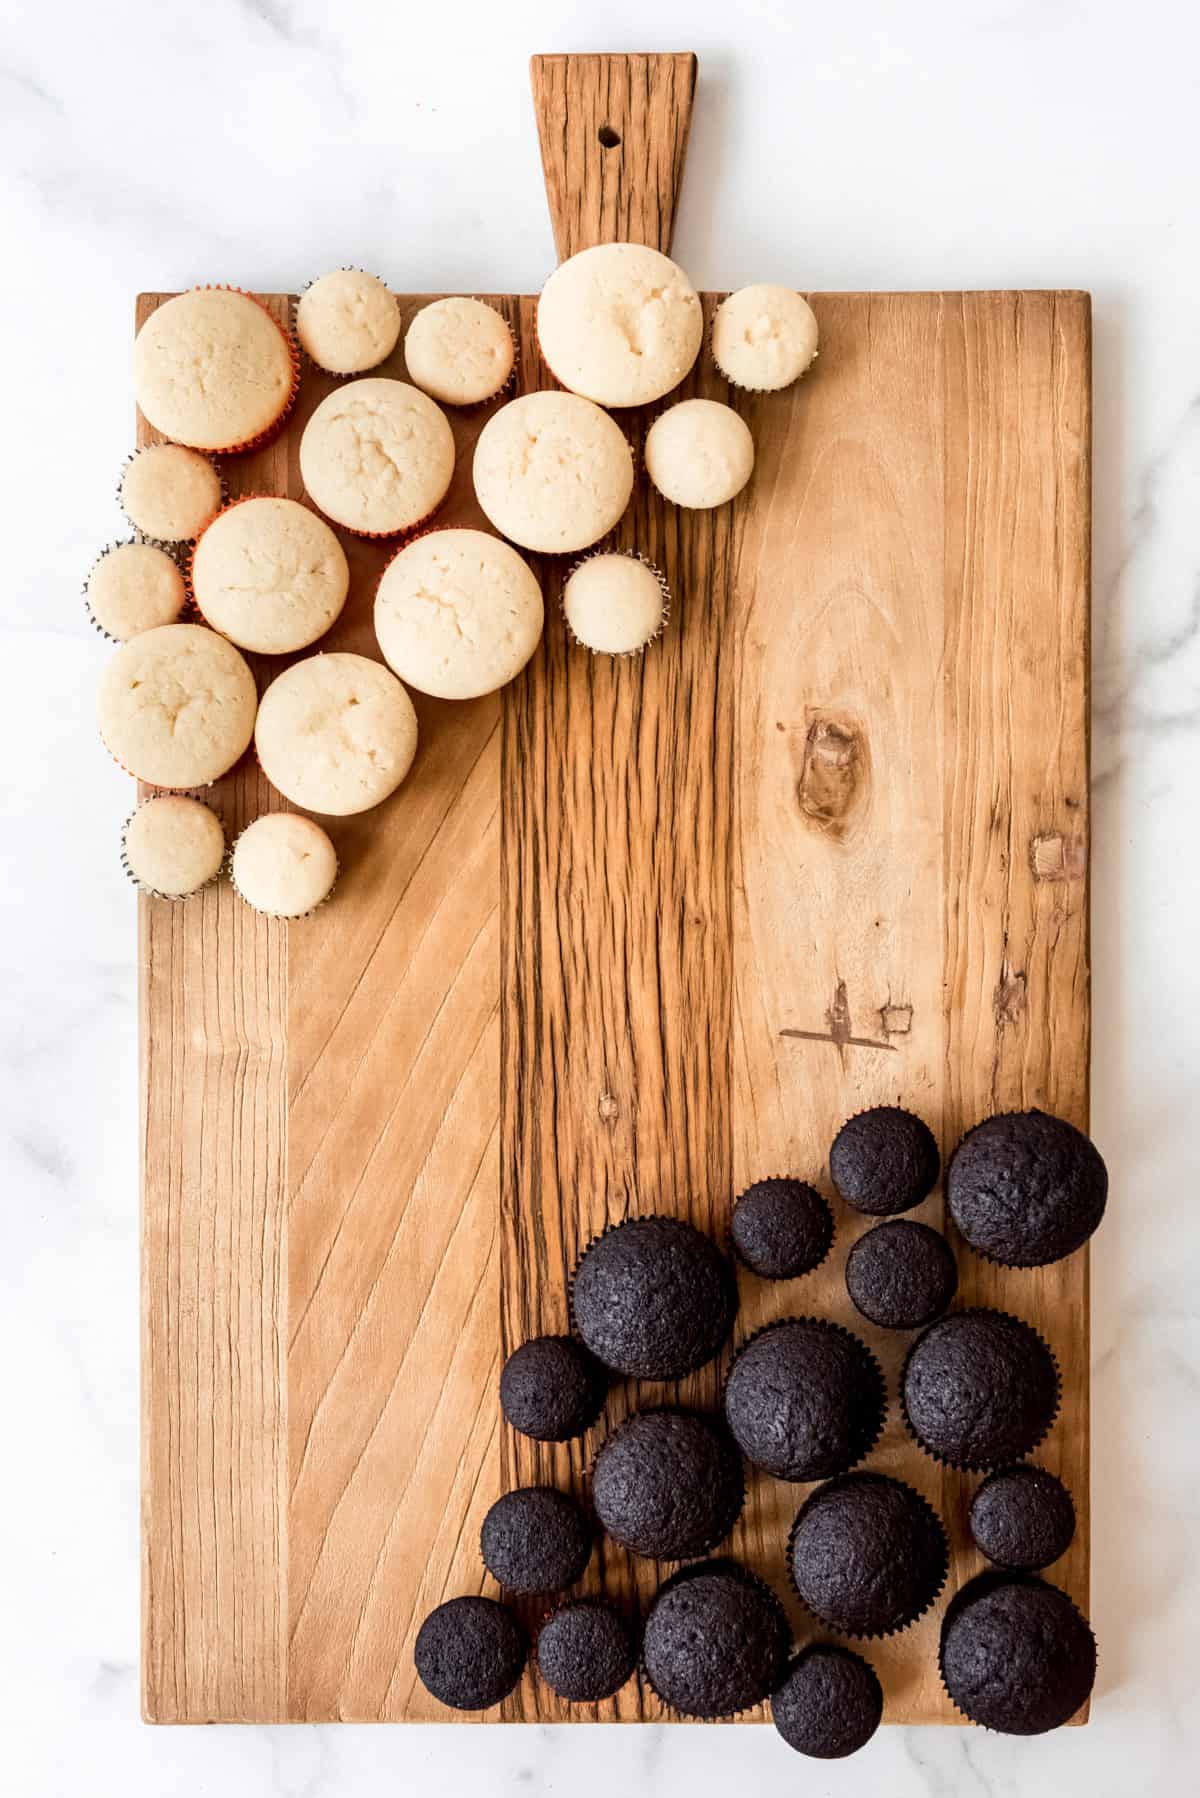
- Bake your cupcakes: I recommend providing both regular and mini-sized cupcakes, both for visual interest and because the mini ones are fun since you can decorate (and eat) more of them than the regular ones. I used my go-to chocolate cupcake and vanilla cupcake recipes, which are tried-and-true favorites.
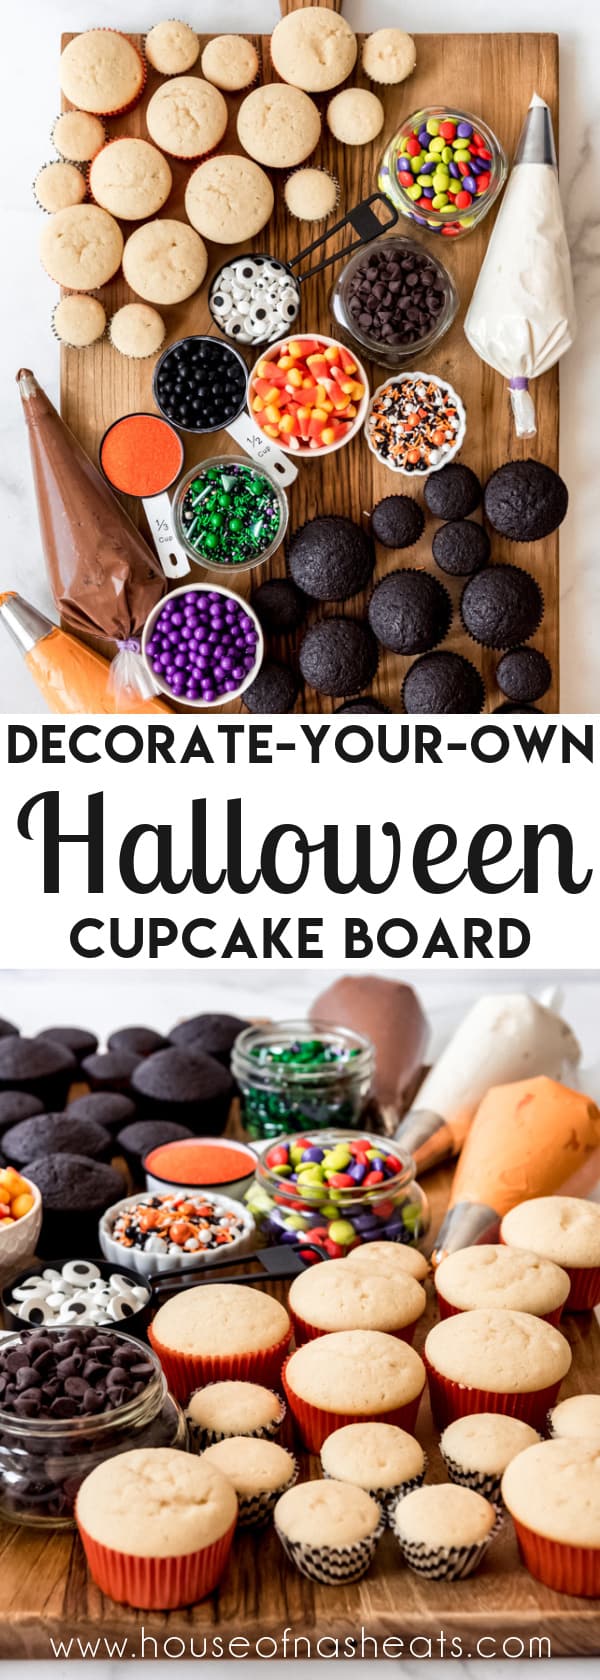
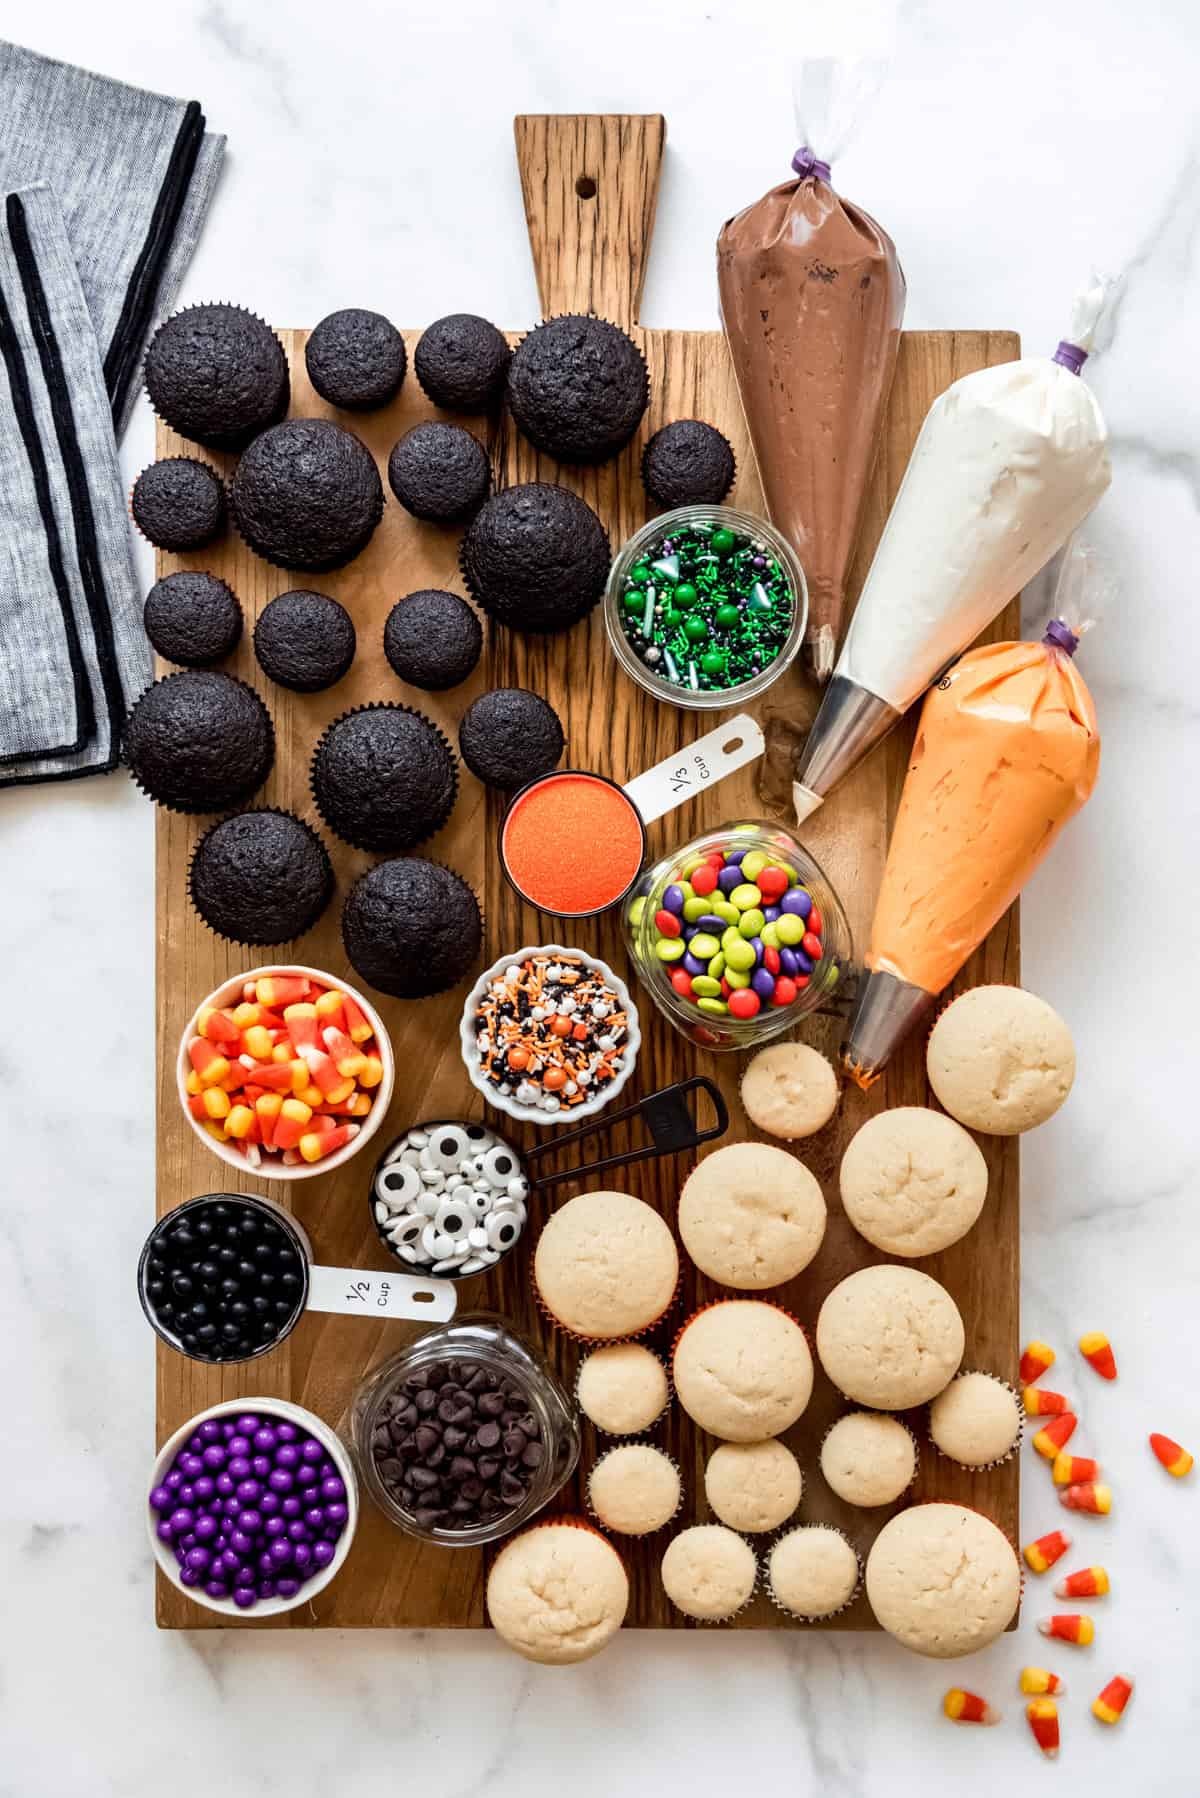
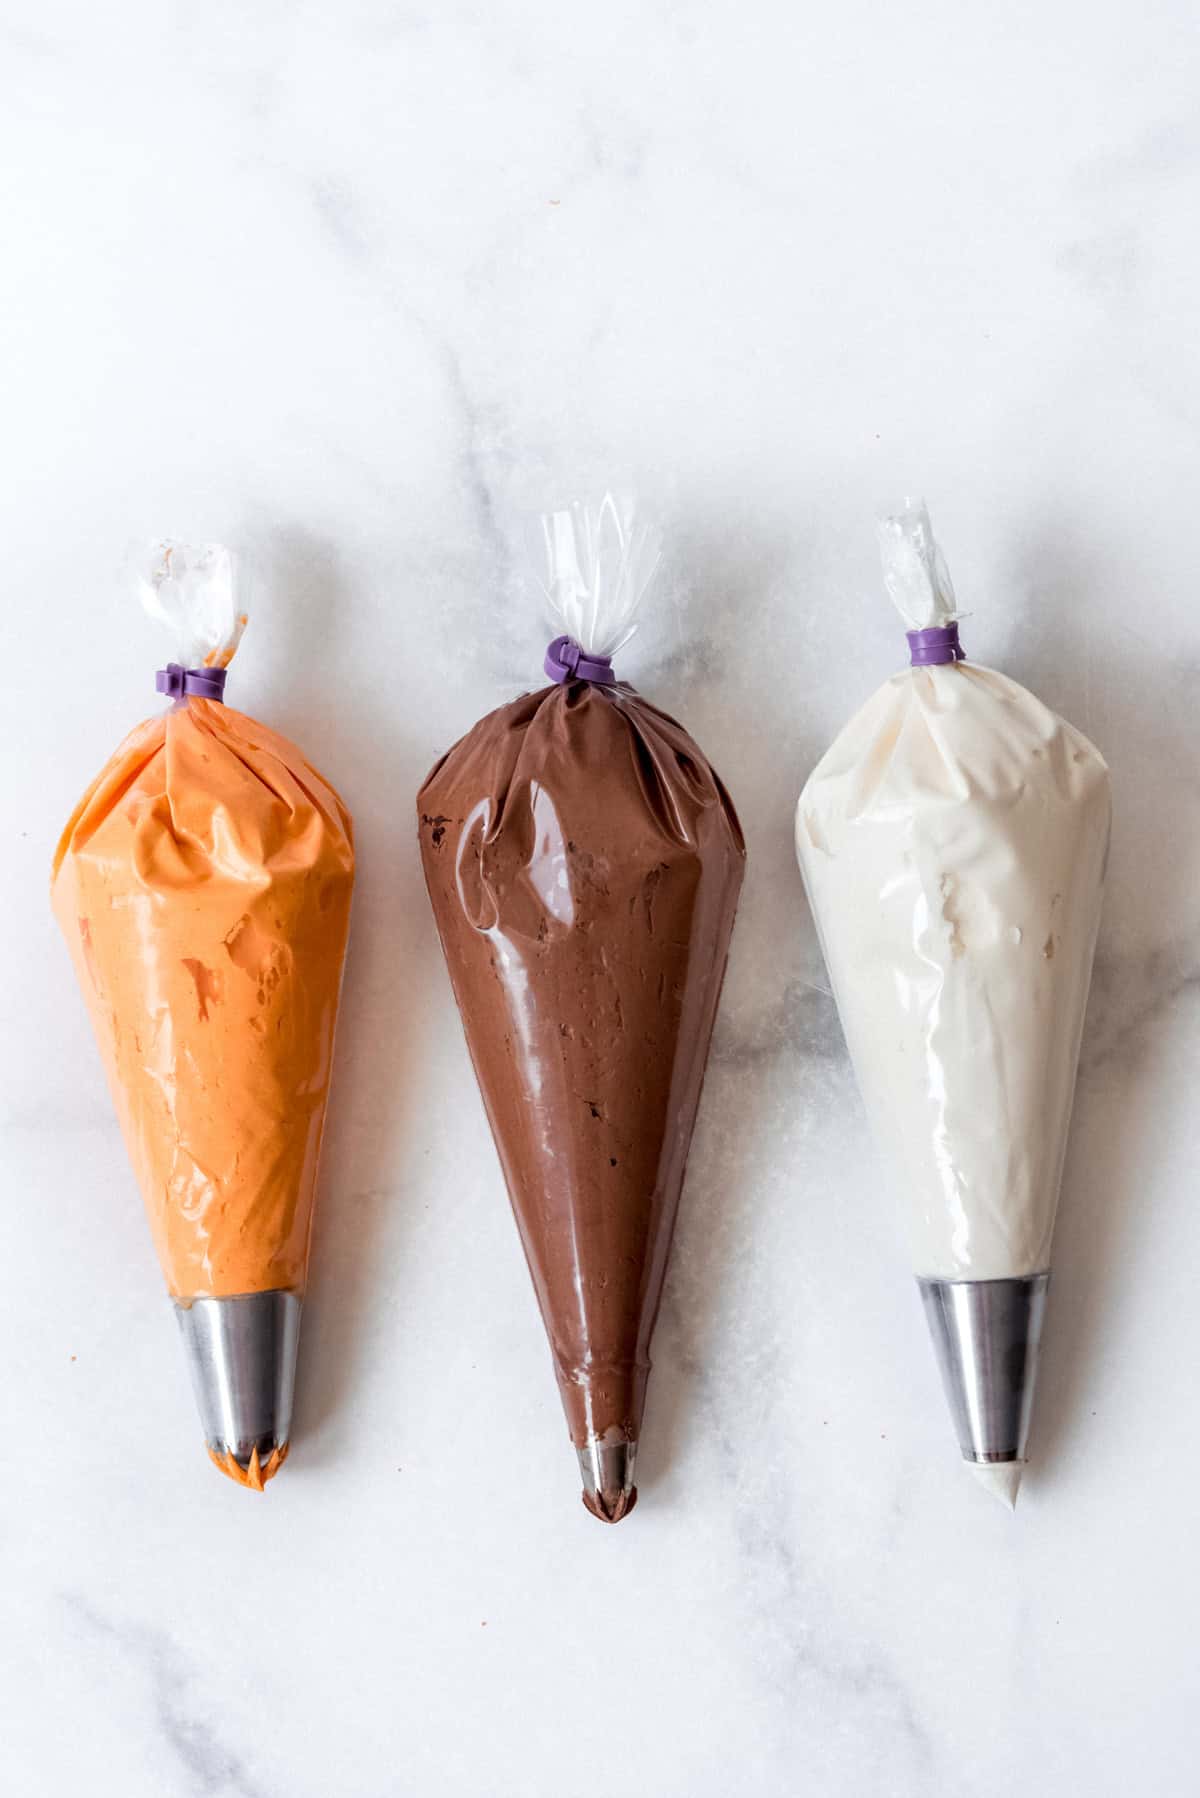
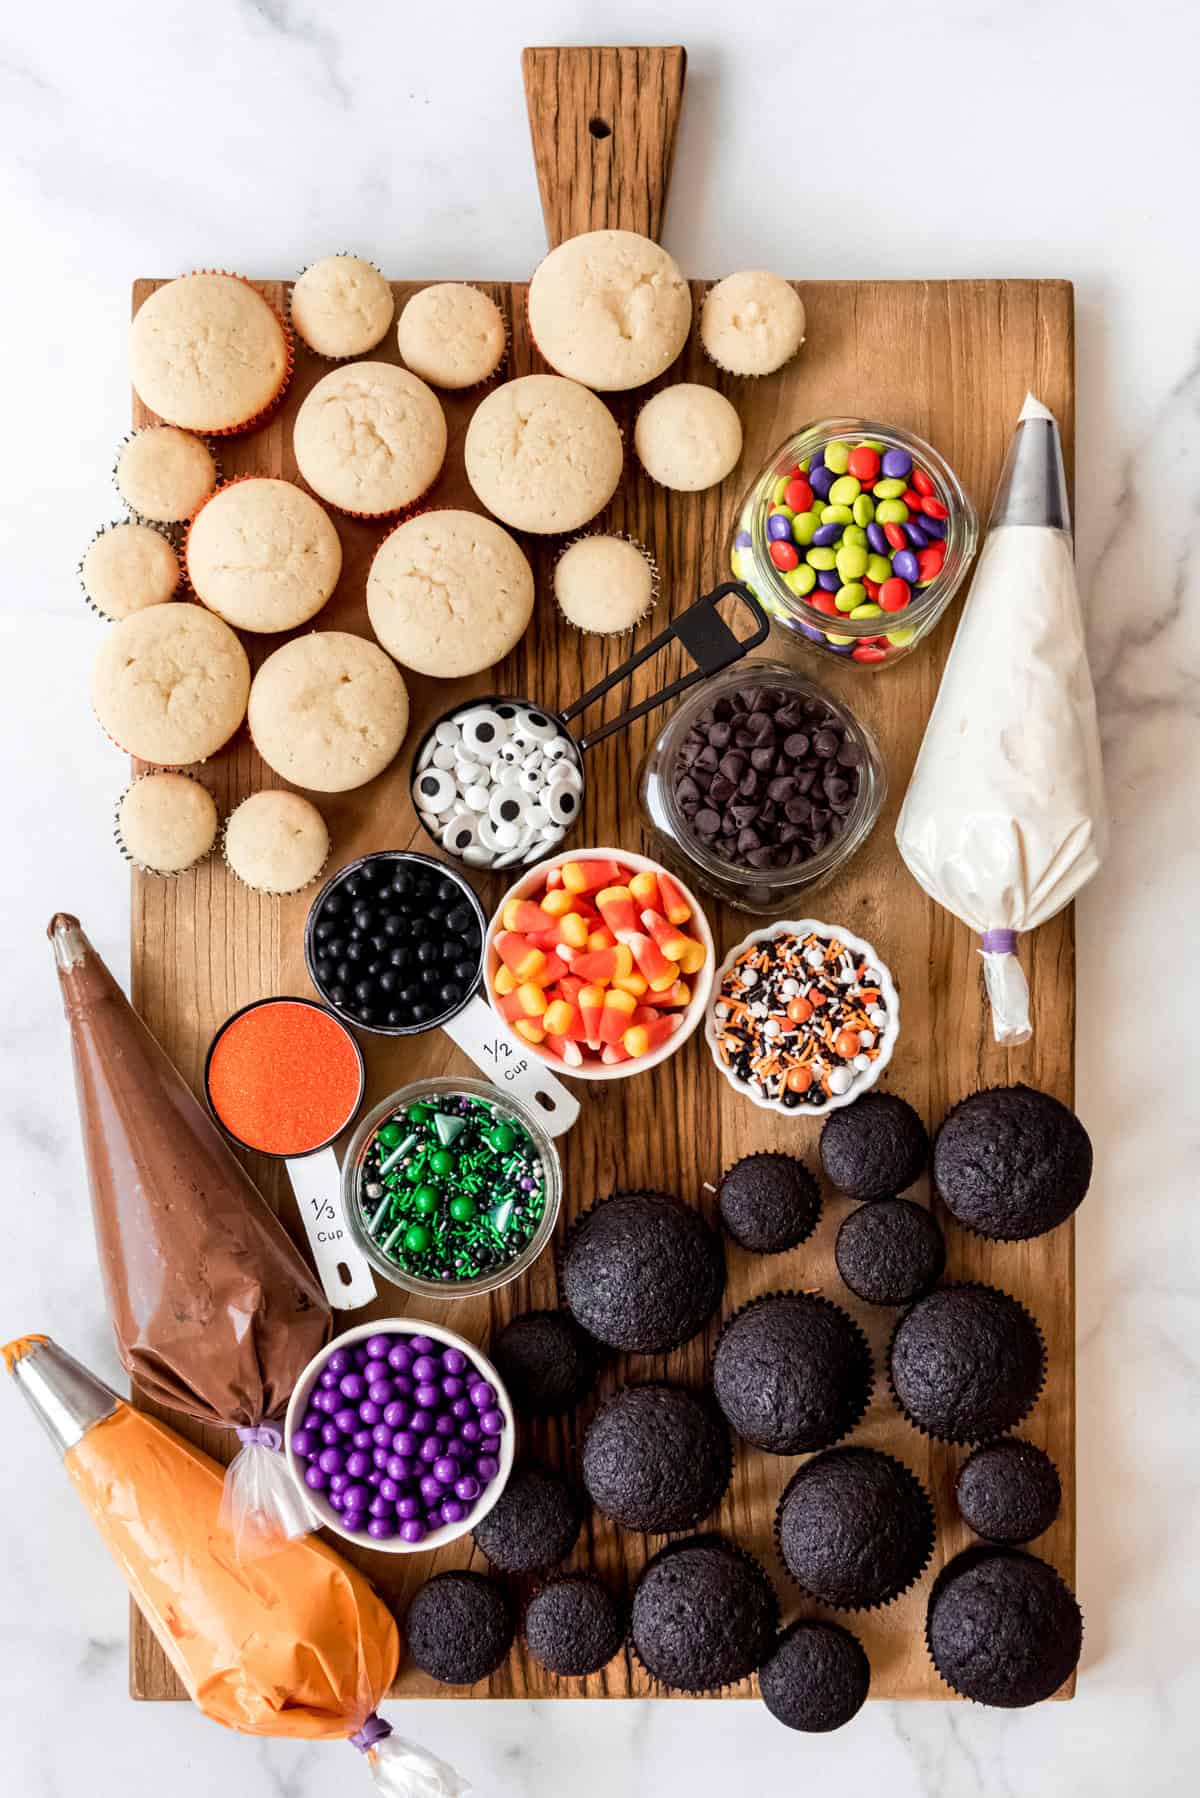
- Make the frosting: I recommend two or three different frosting colors or flavors and putting them in piping bags fitted with decorative tips. Anyone can feel like a decorating pro with some fun piping tips! My favorites for cupcakes are Ateco 849, Wilton 8B, and Ateco 808. I just did one batch of chocolate buttercream and a large batch of classic vanilla buttercream and dyed half of it orange. Be sure to close the ends of the piping bags with elastics so that the frosting doesn’t squish out of the top, especially if you have little kids who will be using them since they always want to squeeze the bag right in the middle!
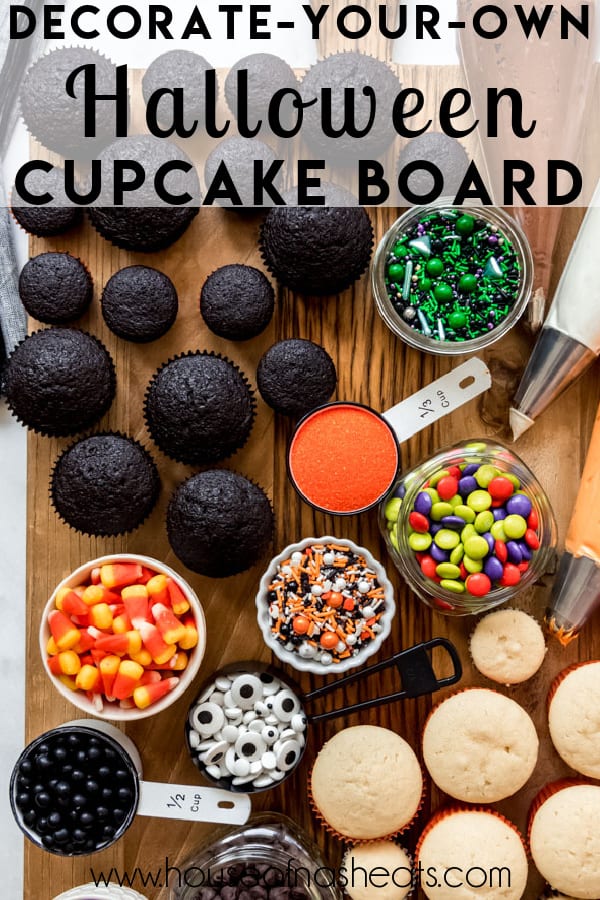
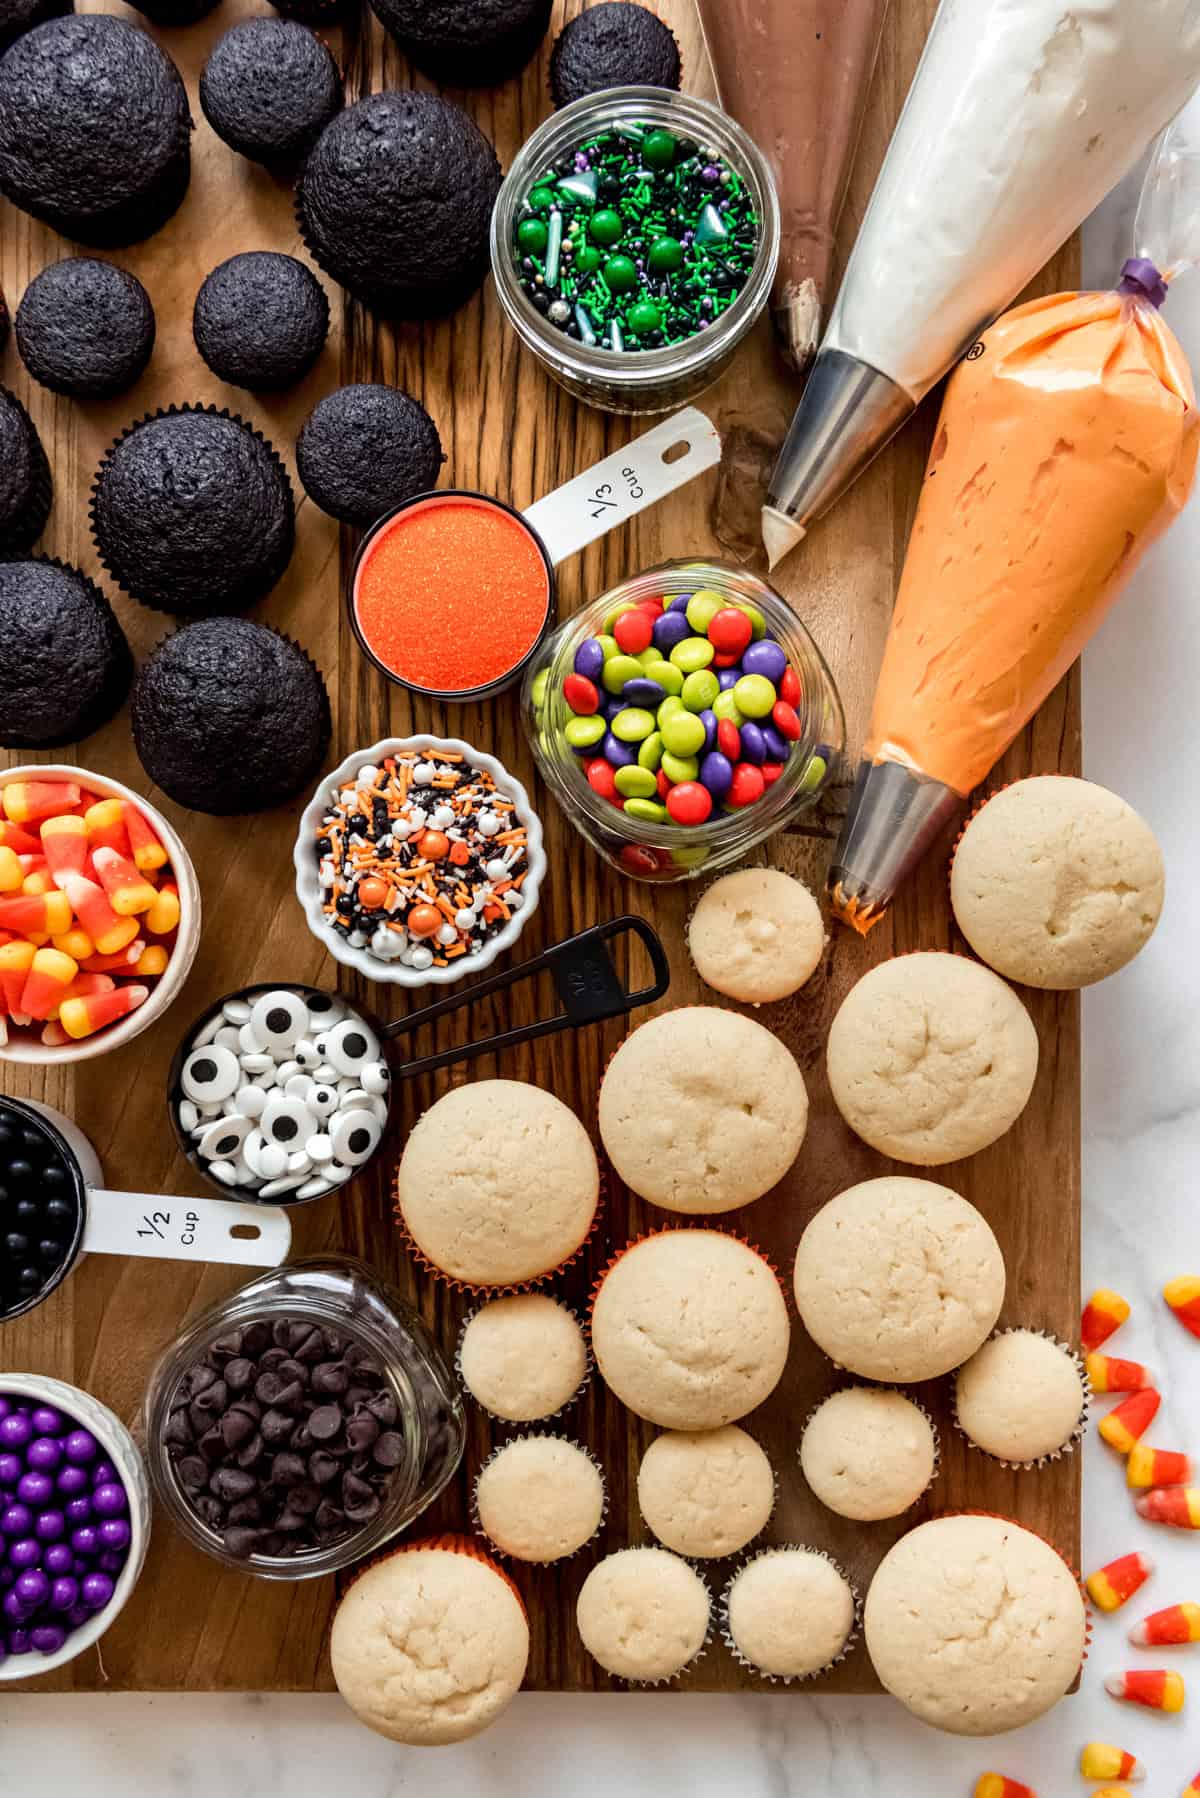
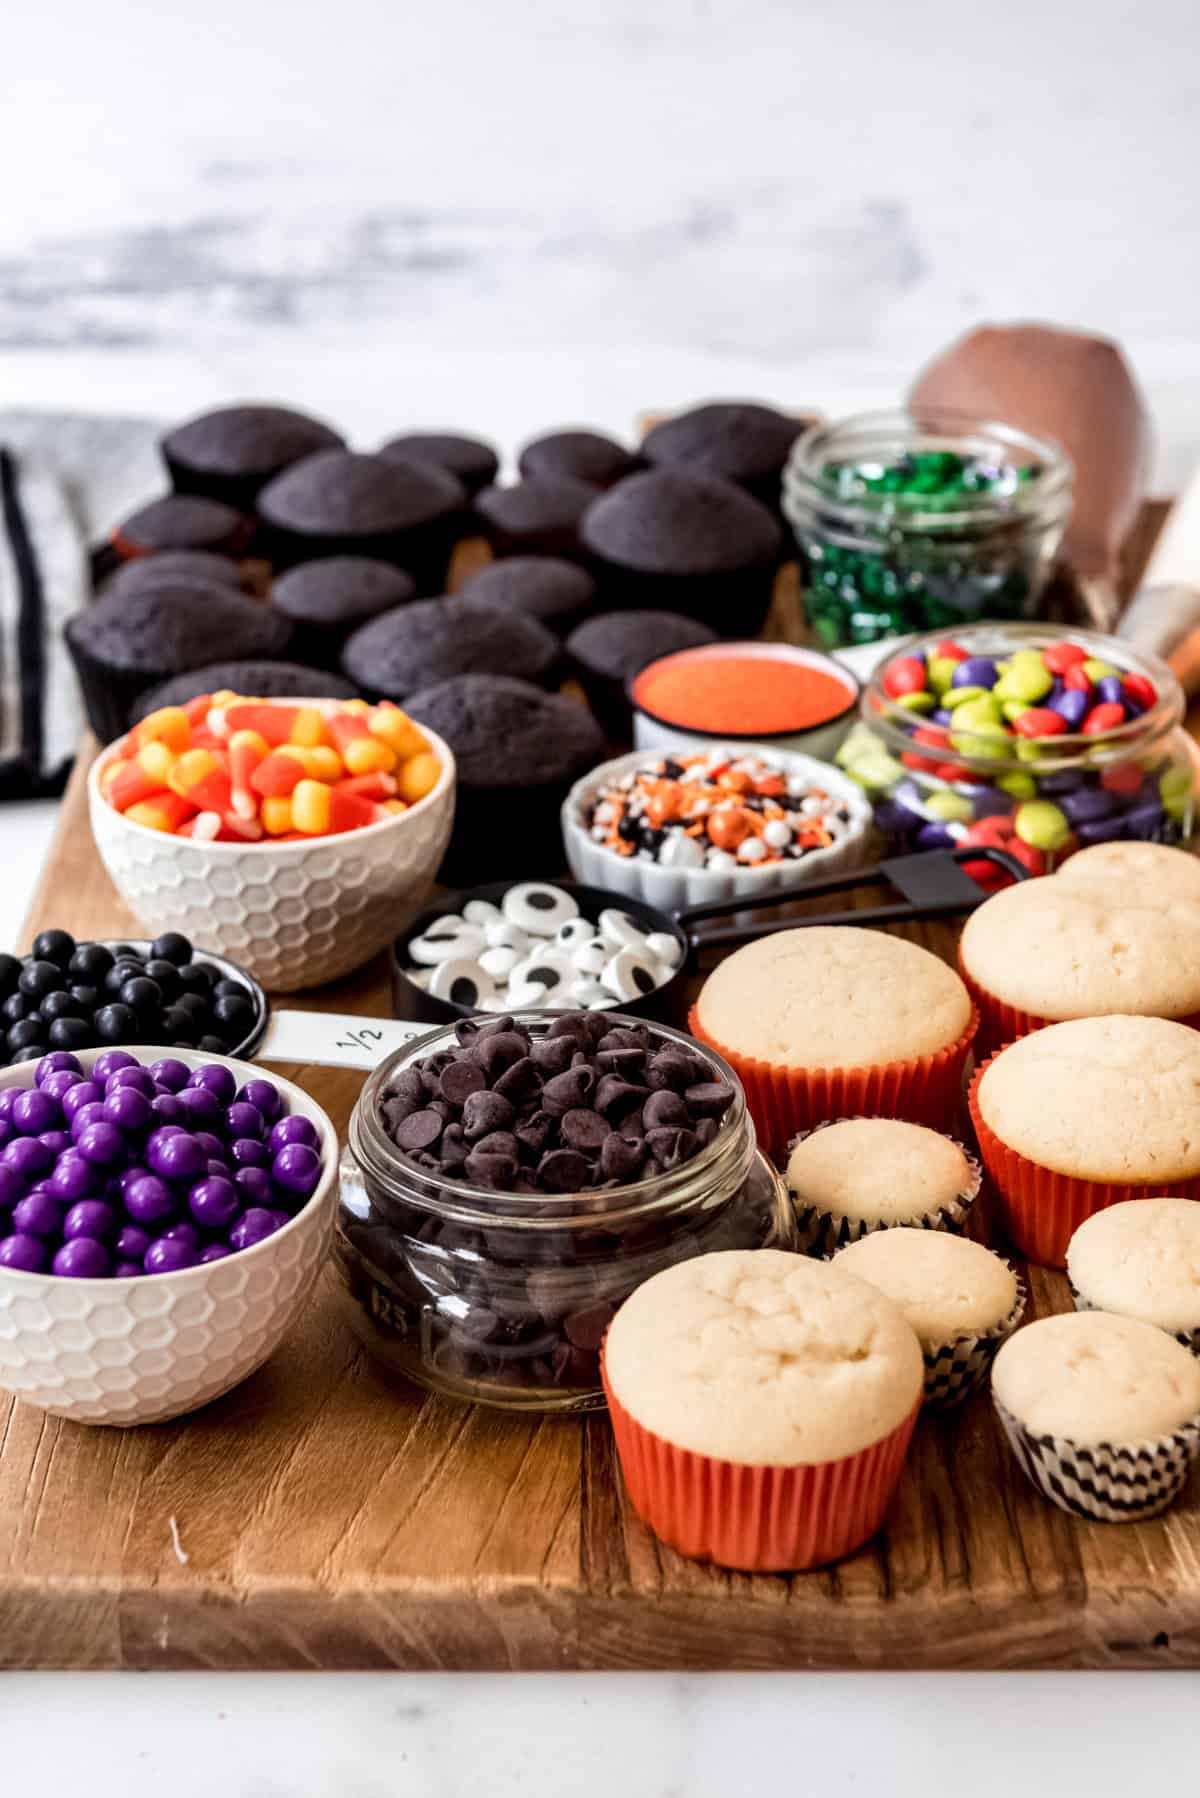
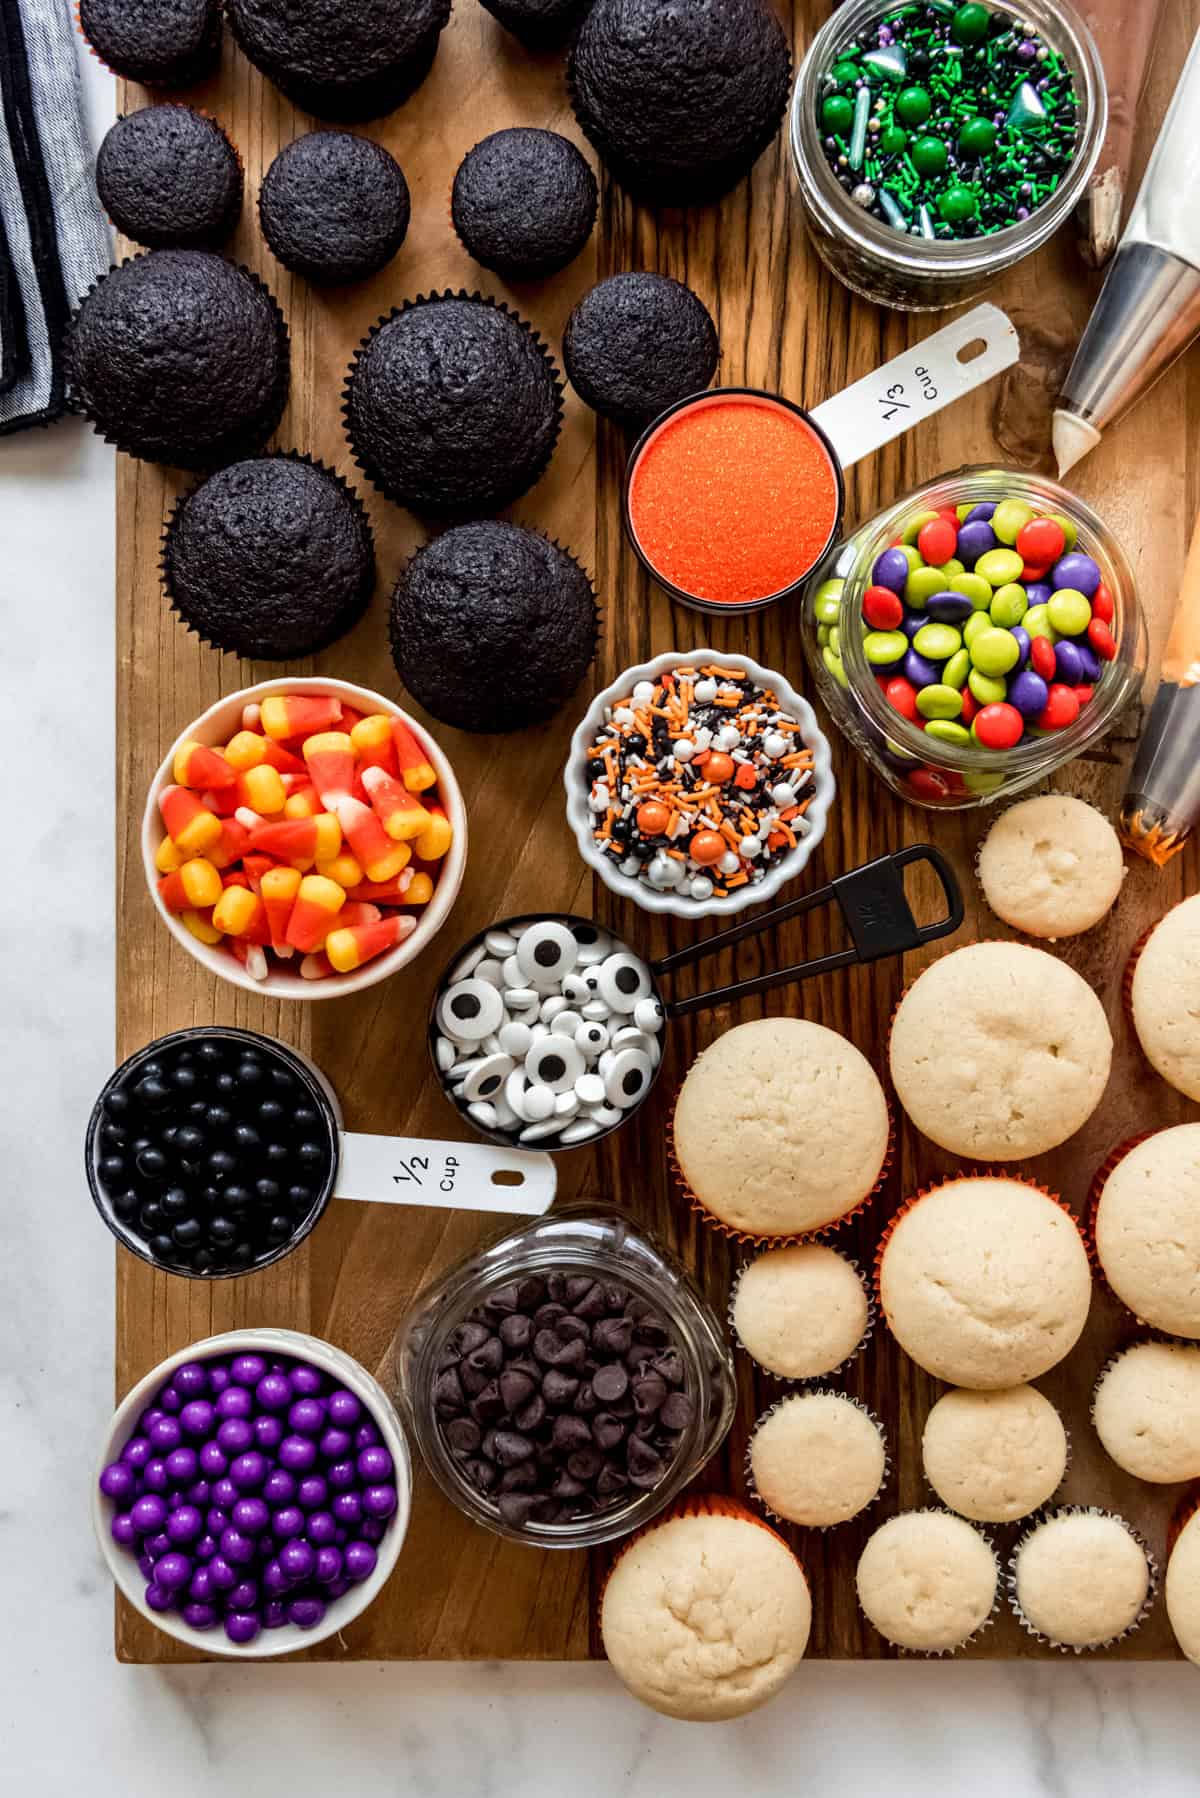
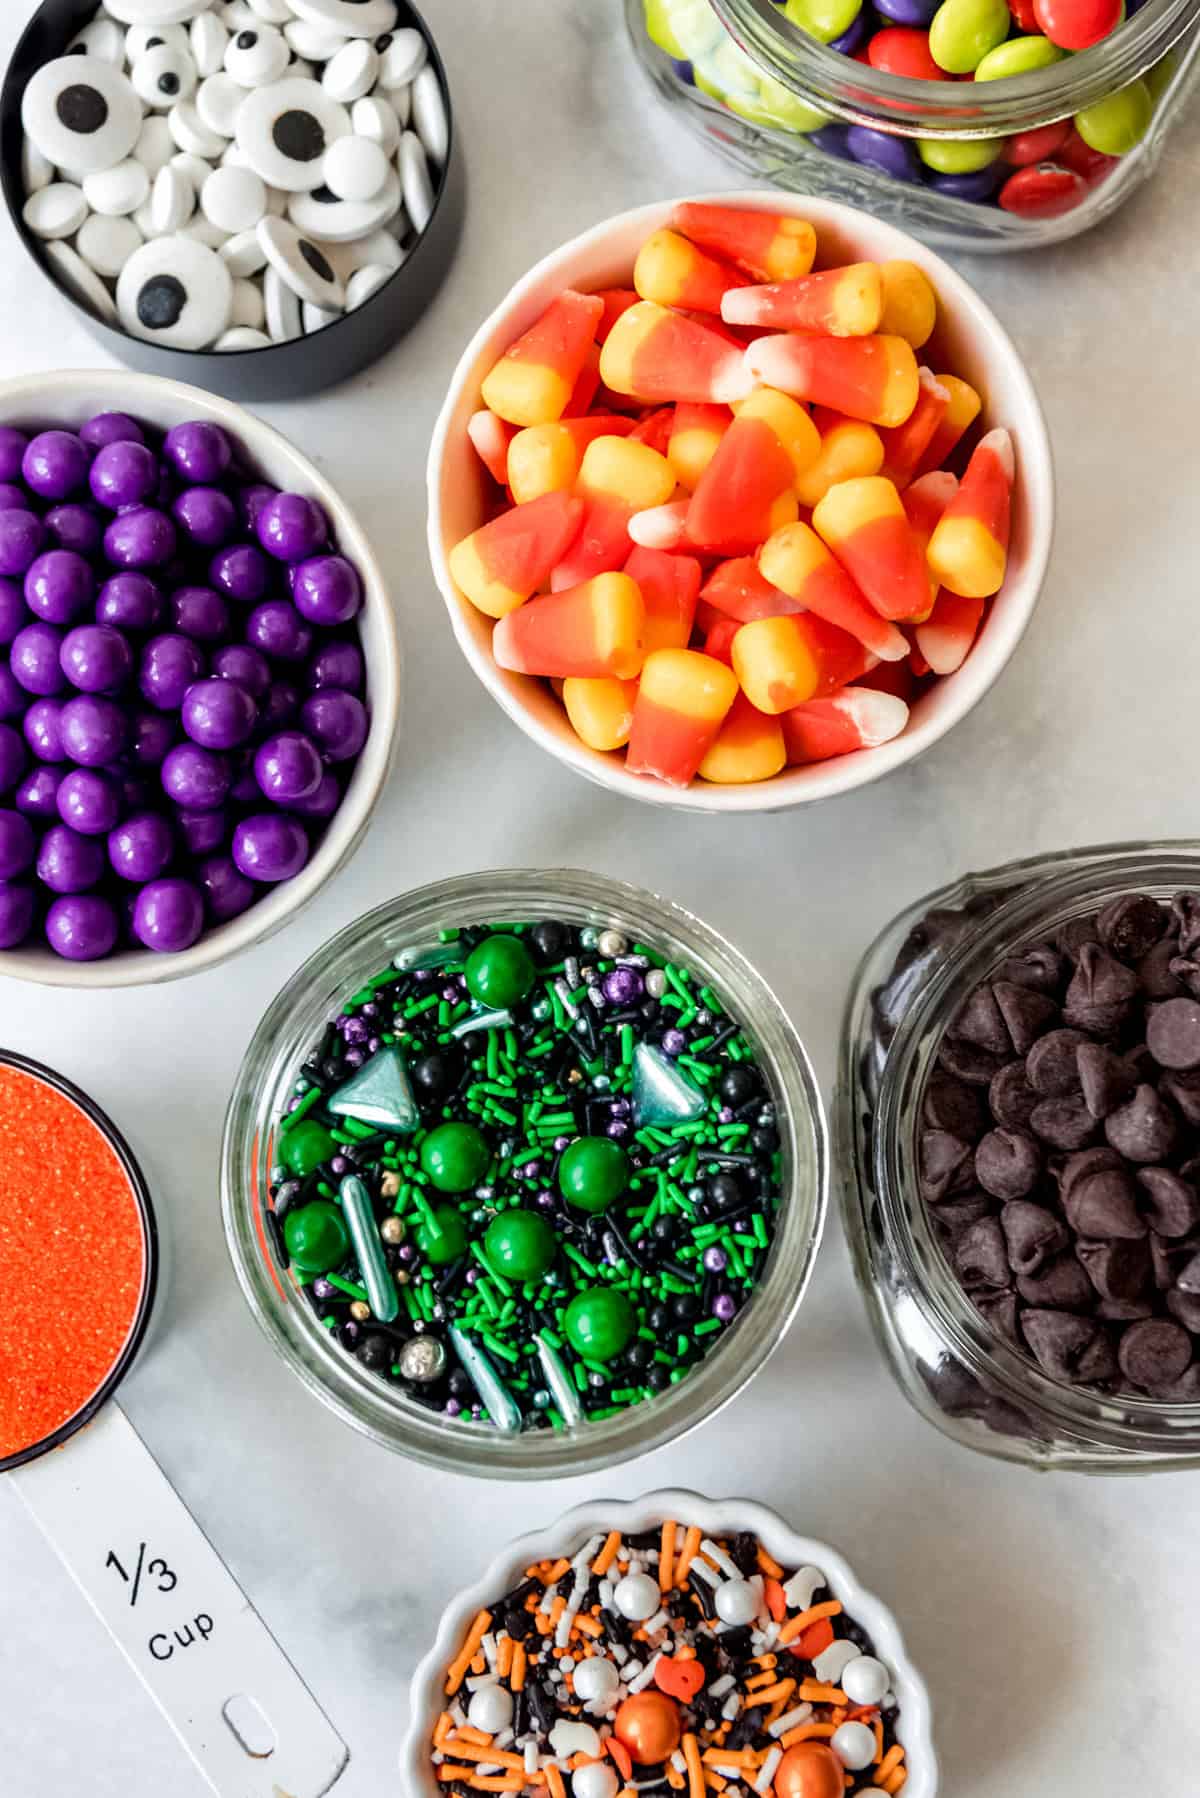
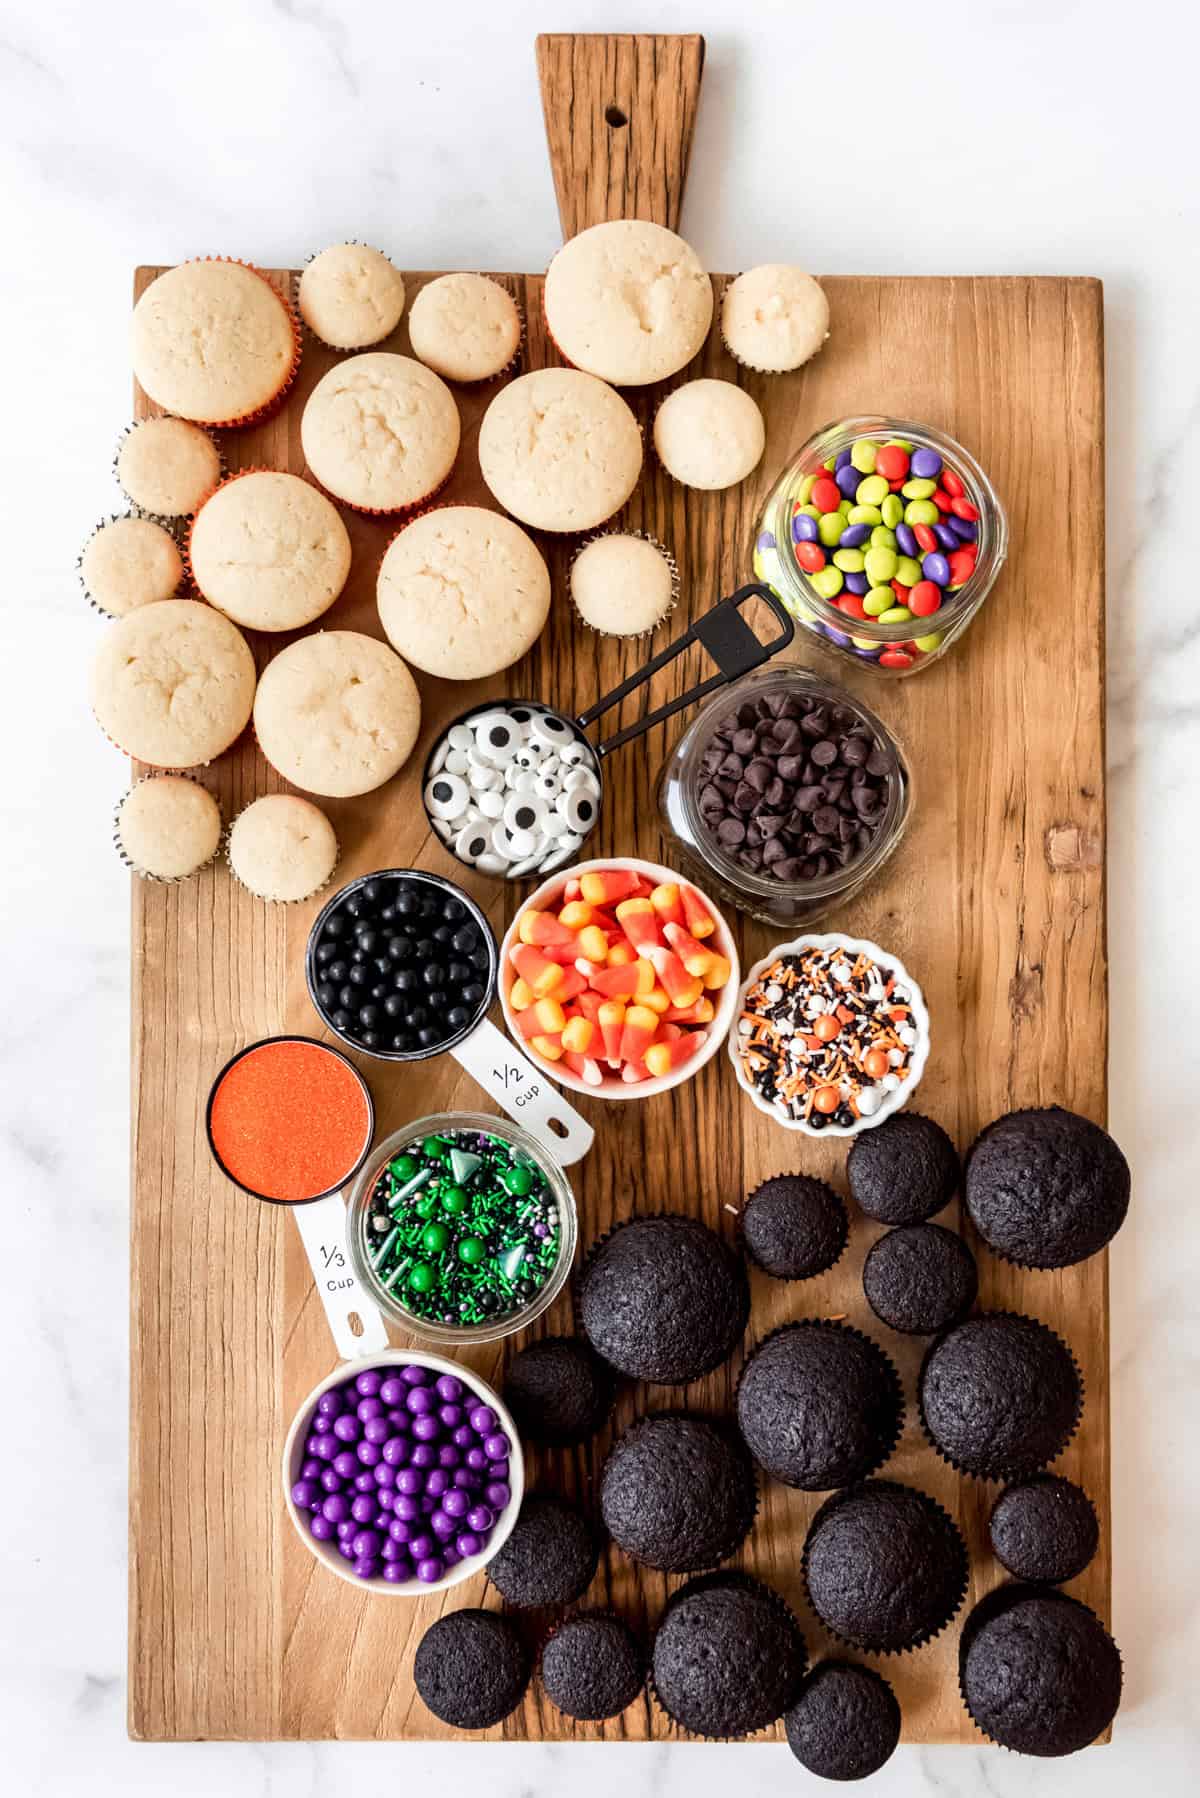
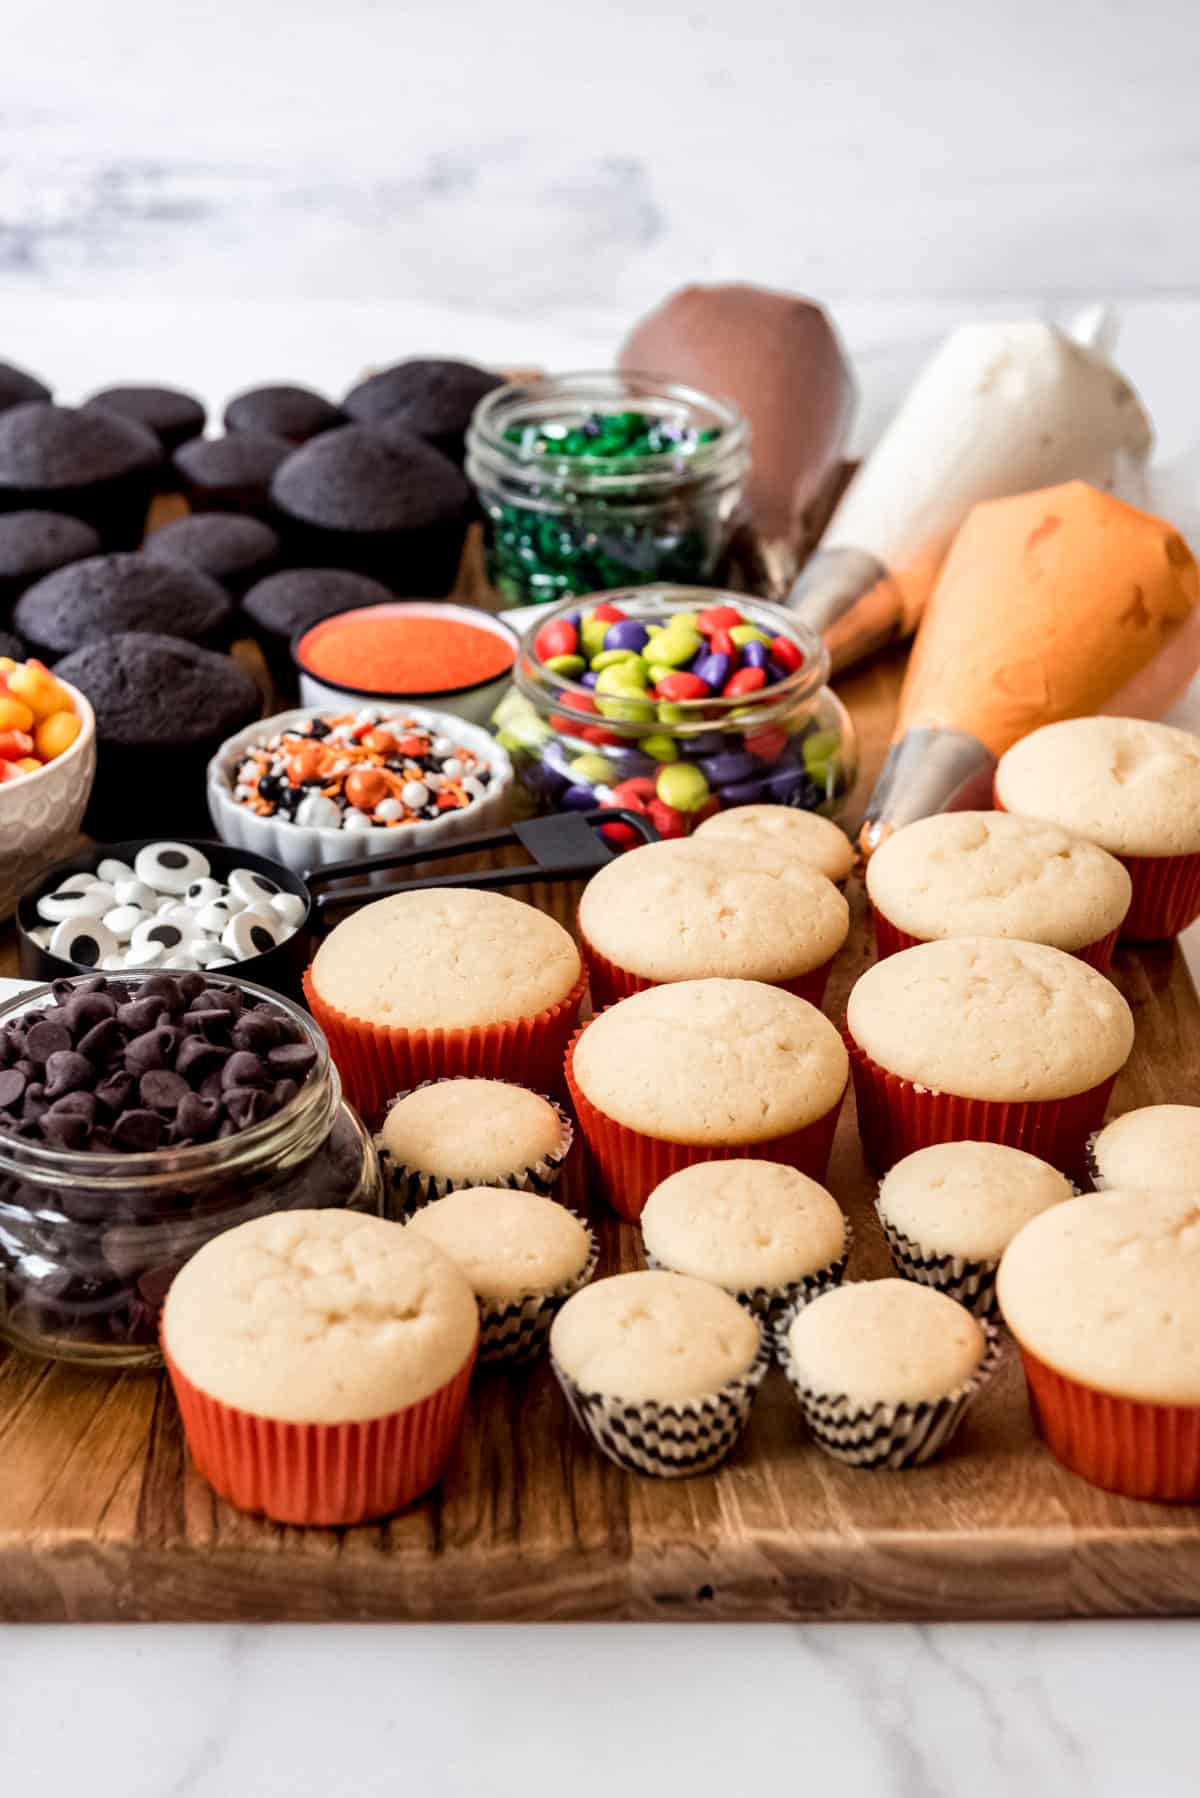
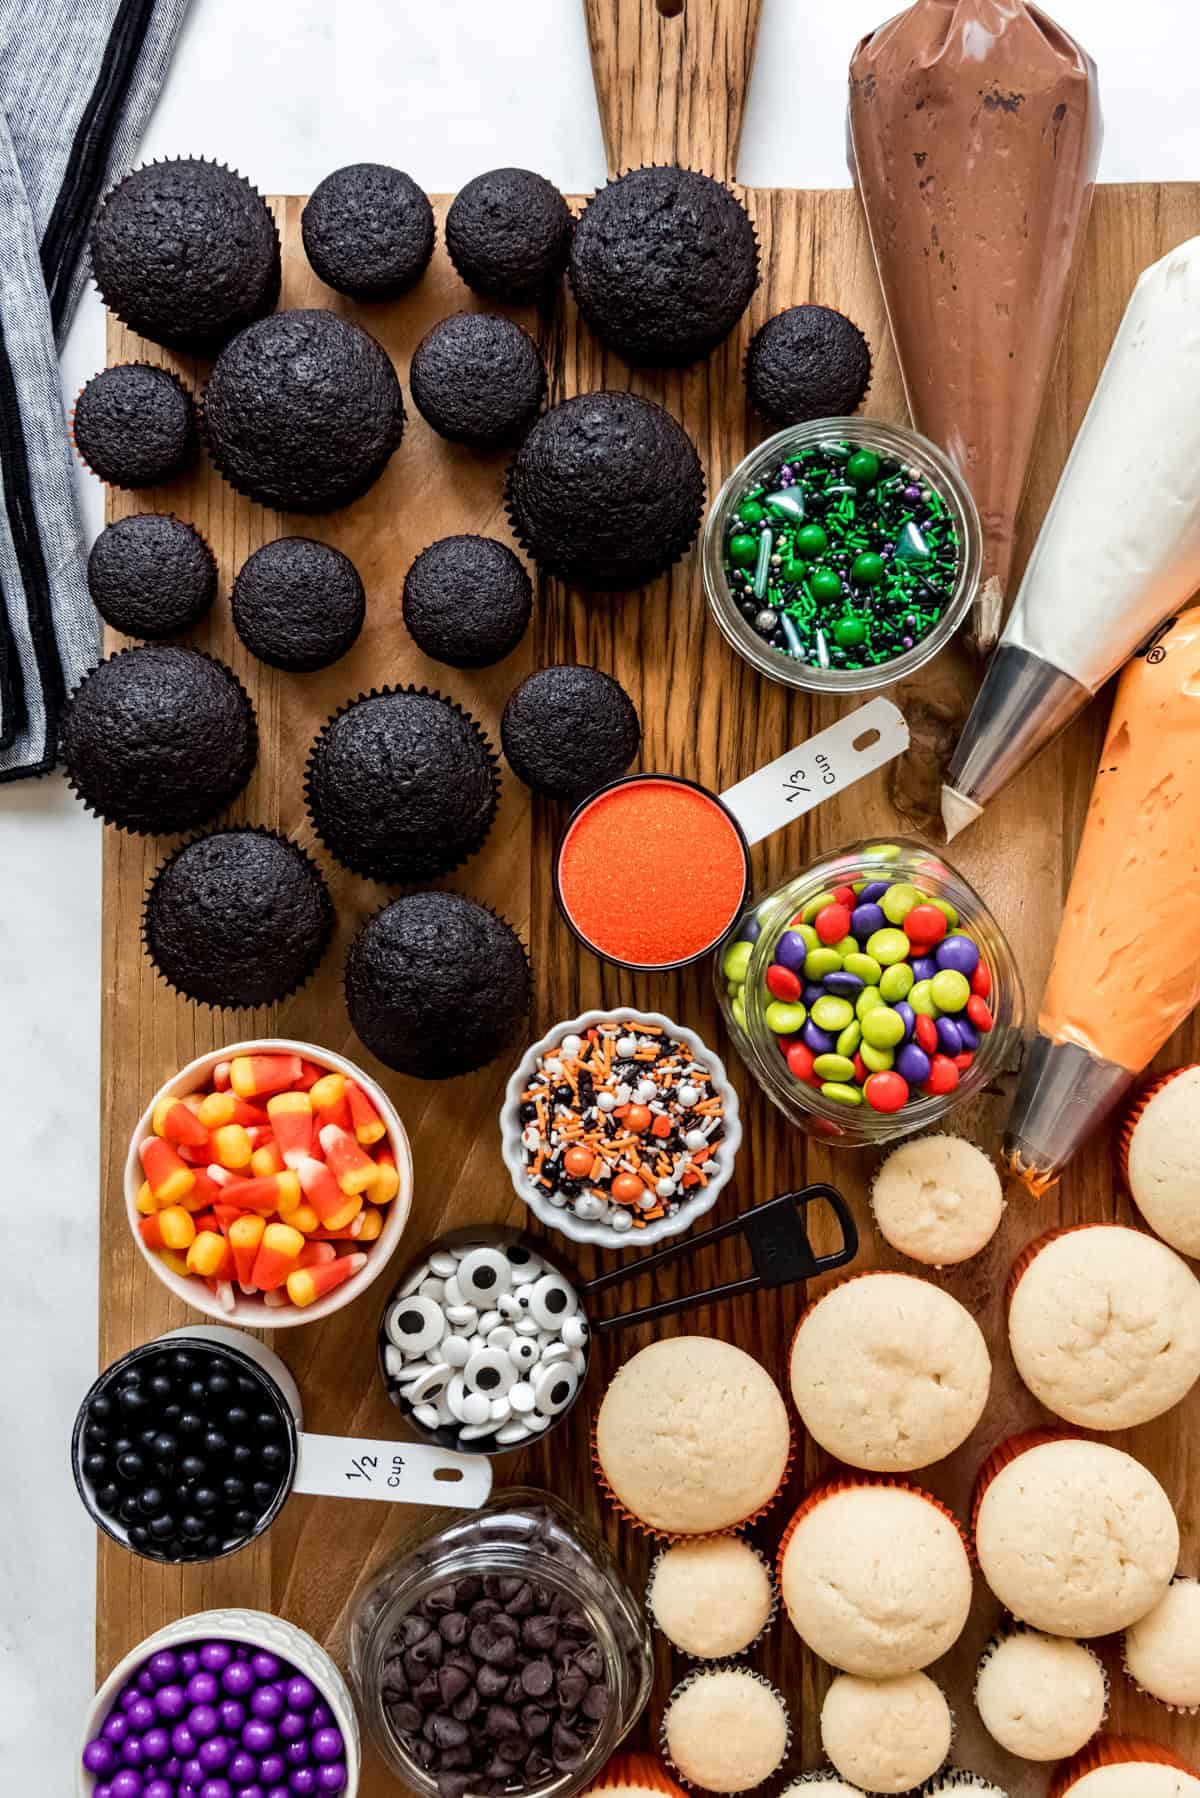
- Gather decorating ingredients: Offering a variety of candy and sprinkles to decorate the cupcakes makes it more fun because there are more things for guests to use to customize their cupcakes. I used an assortment of small bowls and measuring cups to hold each different decorating element.
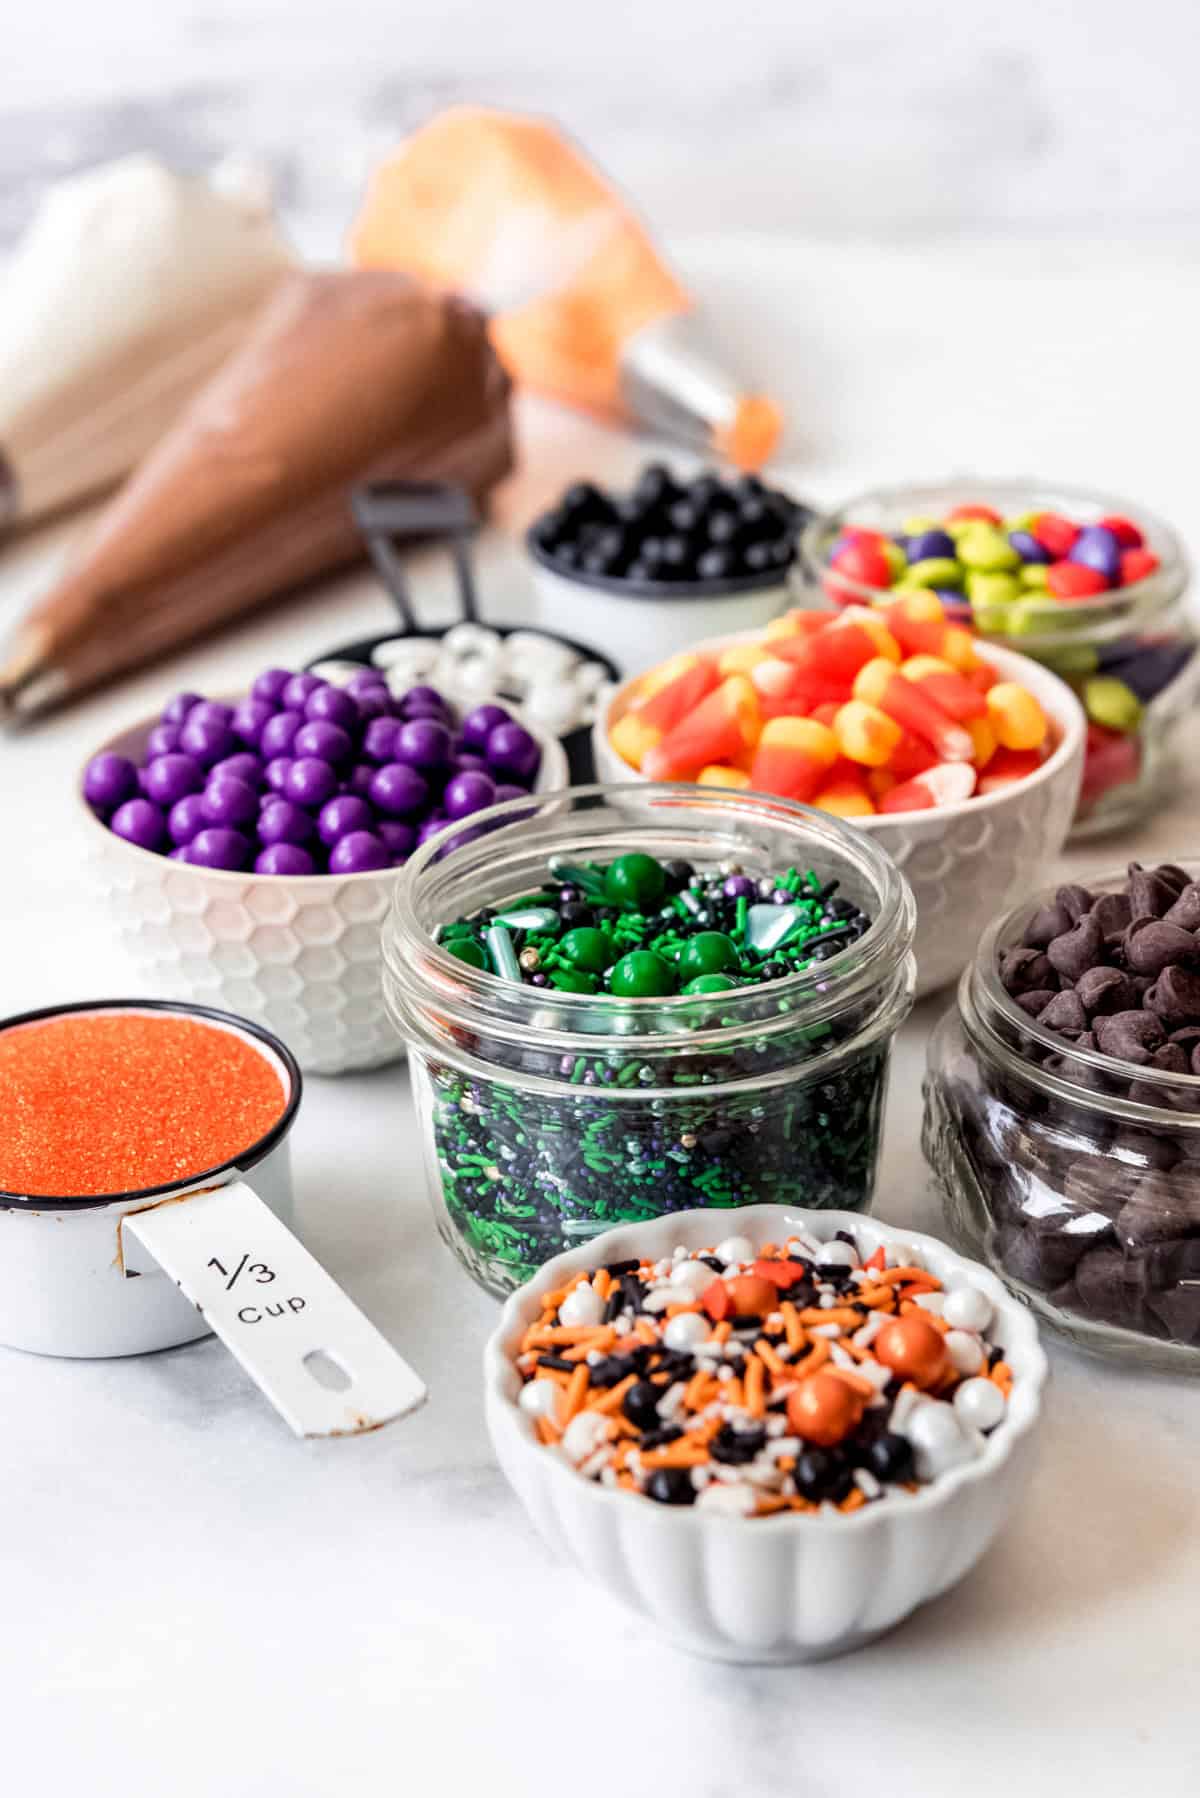
Cupcake decorating candies & sprinkles
- Candy corn: It’s Halloween and I’m a fan, so of course candy corn is going to be at the top of my list.
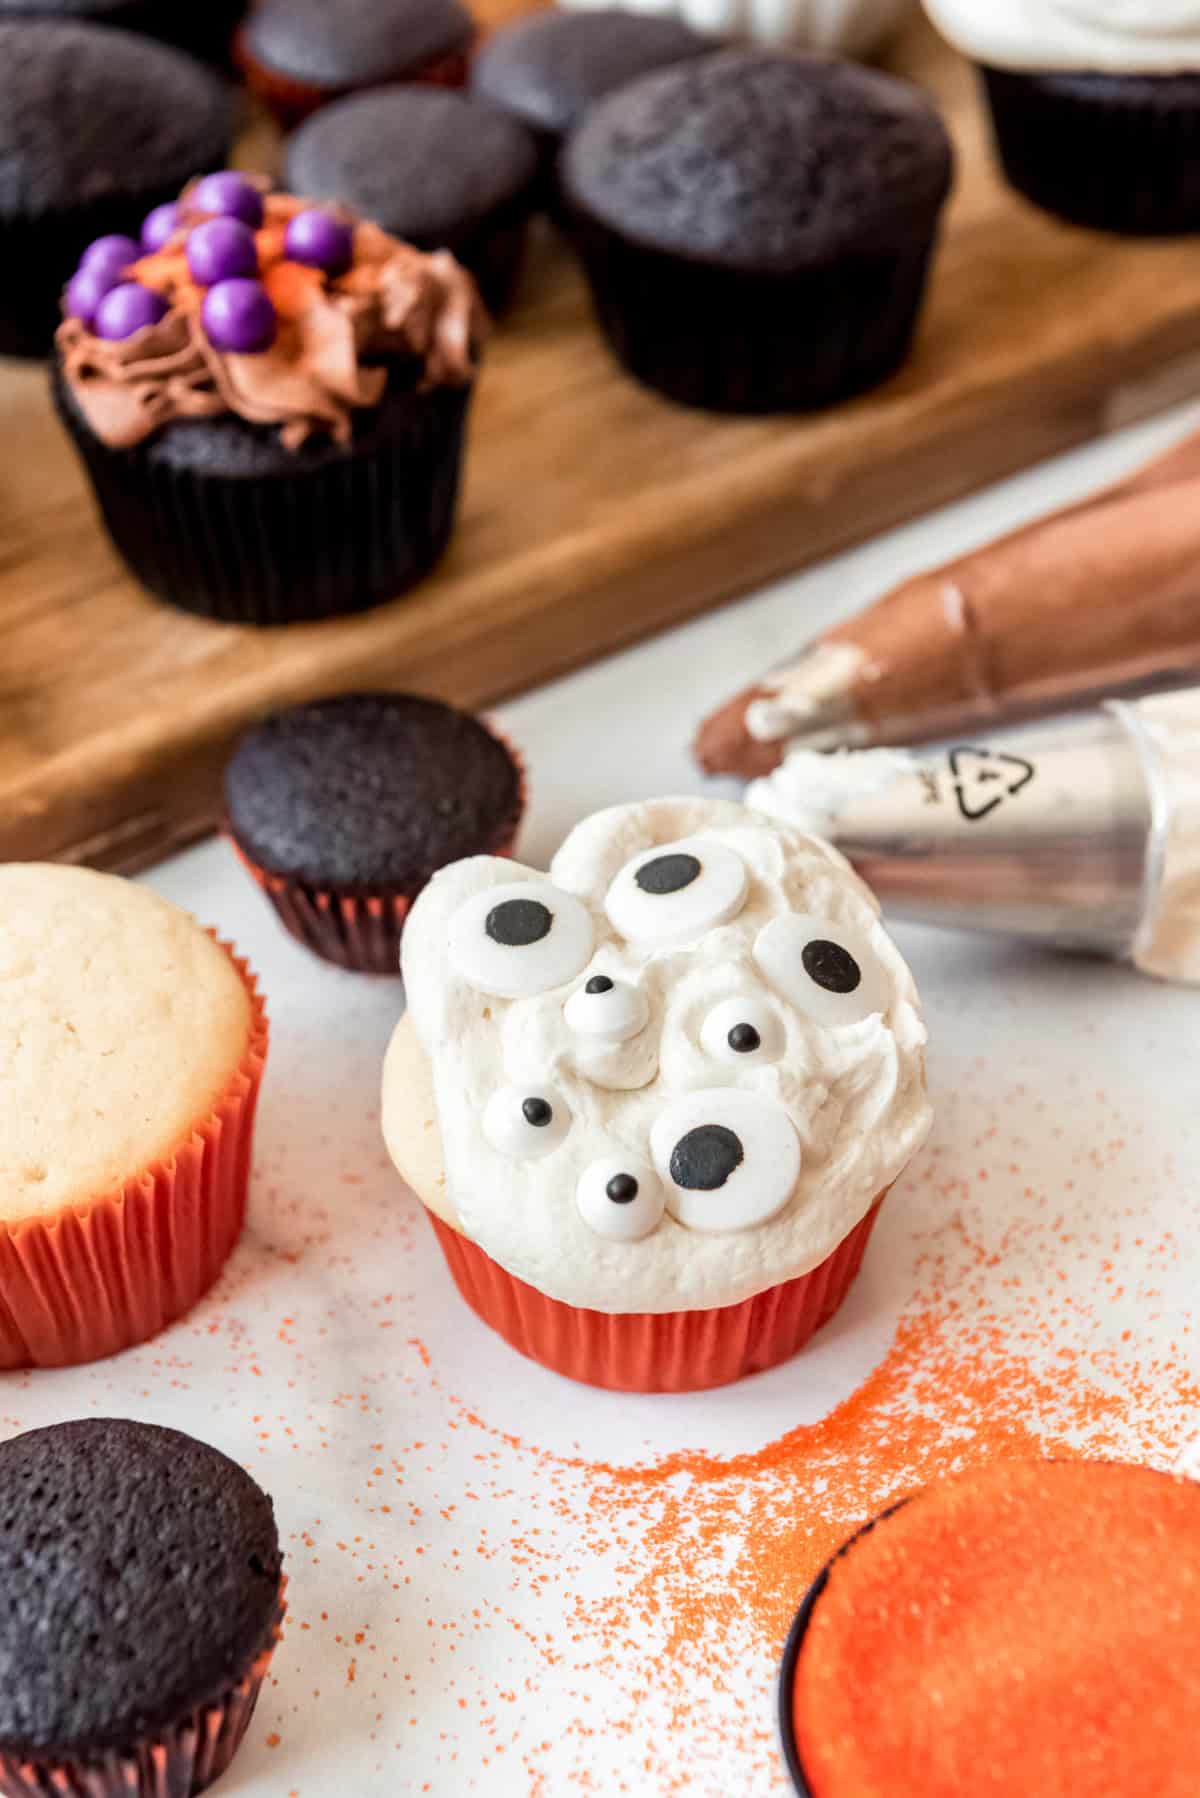
- Googly eyes: These sprinkles are so fun that I buy them every year and use them in all sorts of treats and projects like my Halloween sugar cookie bars and Halloween gingerbread house.
- Mini Oreos: These make great owl eyes!
- Halloween sprinkles: A couple of Halloween sprinkle blends are always a hit. Grocery stores always have a few to choose from at Halloween, or you can order specialty ones from online sprinkle suppliers.
- Chocolate candies: Candy-coated chocolate is super fun and can be found at party stores in bags of individual colors like orange, black, white, green, or purple, which are all great for a Halloween cupcake board.
- Skeleton bones: You can make your own by piping melted white chocolate onto parchment paper, or pick up some sprinkle versions.
- Colored sanding sugar: This is one of my personal favorites because I like the crunch it adds to the cupcakes!
- Marshmallows
- Mini PB cups or Rolos
- Gummy worms
- Chocolate chips
- Sliced almonds
Assembling the board
To assemble the board, first arrange the cupcakes in either corner of the board. I like the idea of keeping the flavors separated for more visual impact, and I use a photography principle of adding movement with curved lines to draw the eye around the board.
Next, add the decorations down the middle of the board, making sure to leave space for the bags of frosting. I tried to be thoughtful about spacing out colors and sizes here so I didn’t end up with all orange in one spot or have all the big sprinkles together.
Finally, place the frosting bags around the edges. I added the frosting last because I was worried I wouldn’t be able to fit everything on my board, but it worked just fine! You could also always just provide bowls of frosting and knives if you don’t have piping tips, but that definitely gets messier and isn’t as easy to share with others as a piping bag, in my opinion.
Then it’s up to your guests to decorate their own cupcakes! Here is a picture of Rose adding chocolate frosting to a chocolate cupcake (not surprising – she’s a chocolate fiend).

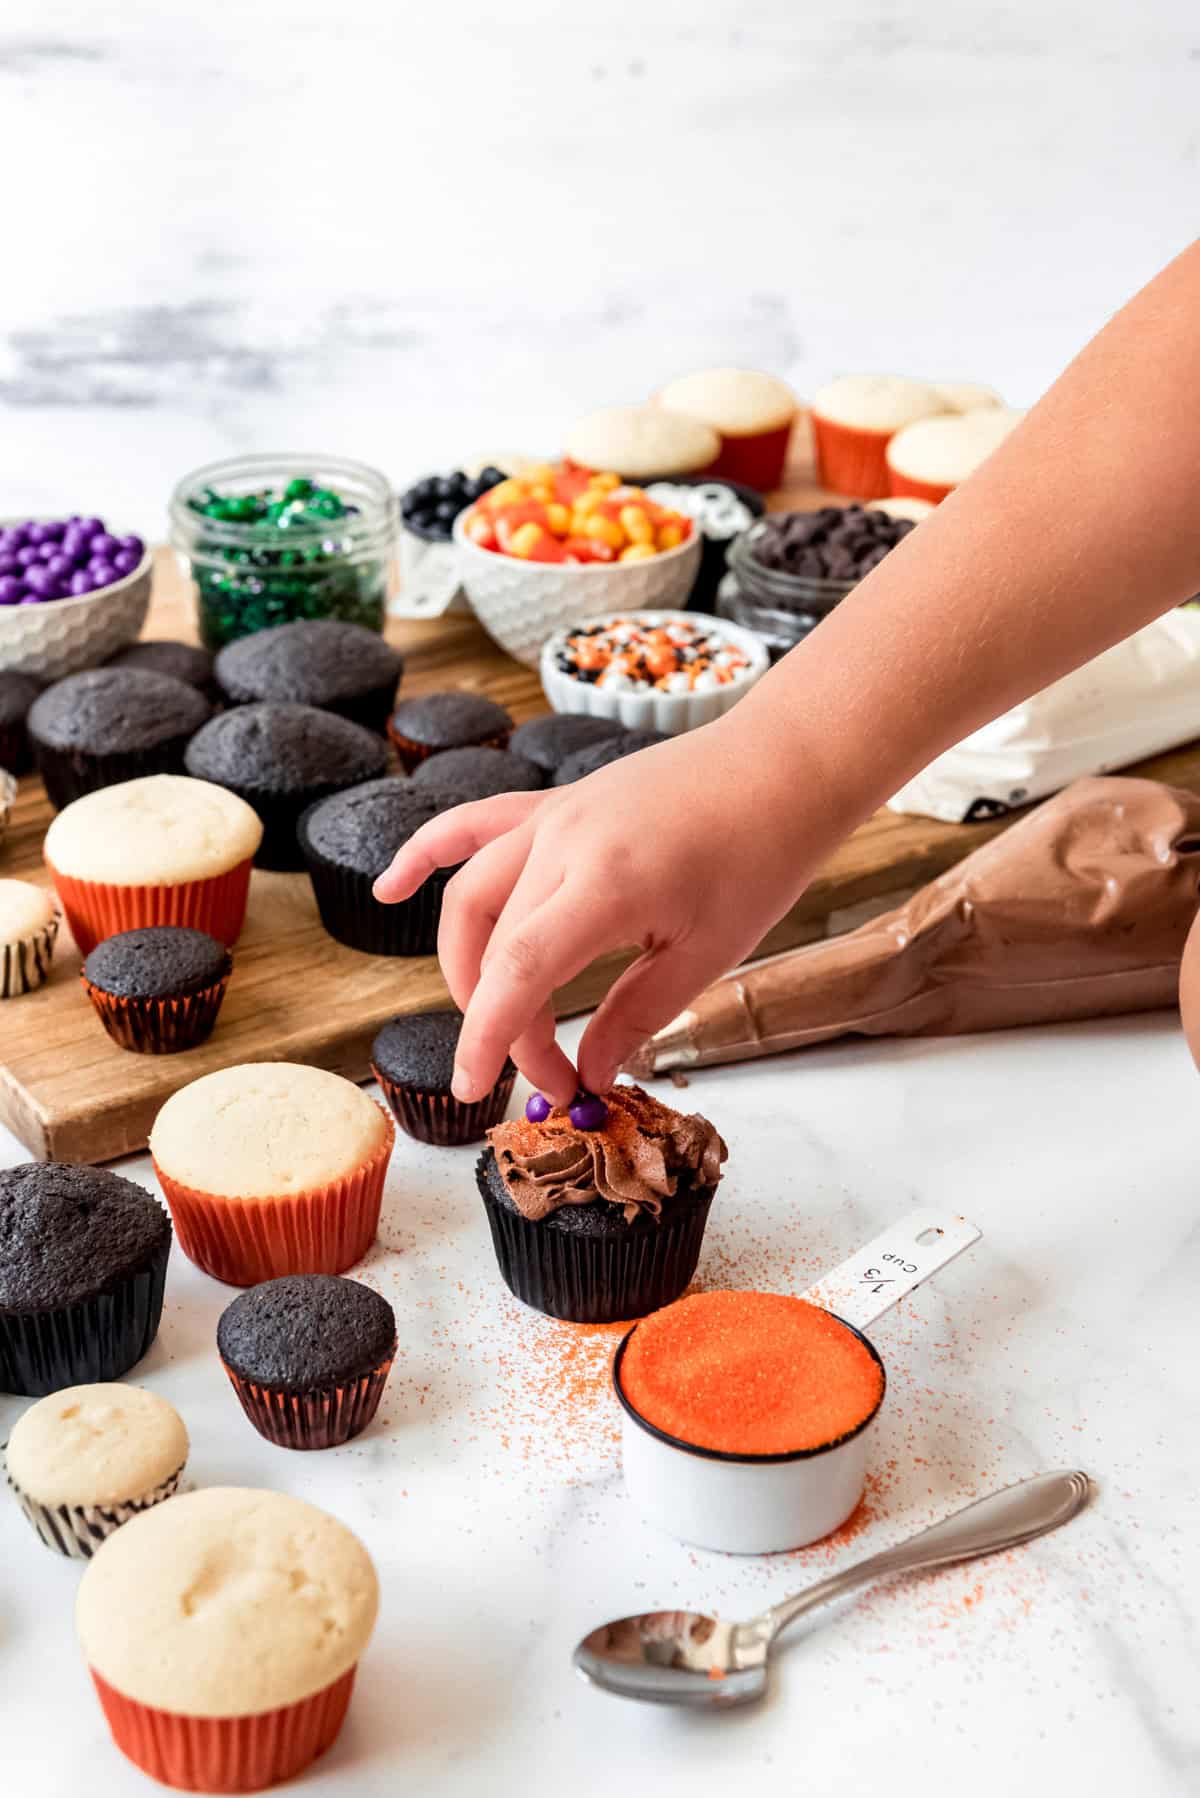
I was impressed with their creativity and enthusiasm for this activity! Rose, who is six, gushed afterwards, “When I’m a mom, this is what I’m going to do with my kids!”
Pro tip: It’s not a bad idea to have each child decorating over their own small baking sheet or plate to help contain the mess of sprinkles.
Freezing and storage instructions
The decorated cupcakes can be kept in an airtight container on the counter for 3-5 days.
If you find that you end up with leftover cupcakes and frosting, you can freeze both separately for 3 months. Just thaw the frosting and beat it in a mixer again until creamy and smooth to use it to decorate the remaining cupcakes.
More Recipes Like This
- Halloween Chocolate Blossom Sprinkle Cookies
- Poison Candied Apples
- Halloween Chocolate Cherry Hand Pies
- Halloween Sugar Cookies
- Twix Caramel Popcorn
Did you make this recipe?
Let me know what you thought with a comment and rating below. You can also take a picture and tag me on Instagram @houseofnasheats or share it on the Pinterest pin so I can see.

Halloween Cupcake Board
Ingredients
- 8-10 unfrosted chocolate cupcakes
- 8-10 unfrosted vanilla cupcakes
- 8-10 unfrosted mini chocolate cupcakes
- 8-10 unfrosted mini vanilla cupcakes
- 2 batches vanilla buttercream frosting (dye one orange)
- 1 batch chocolate buttercream frosting
- 1 cup chocolate chips
- 1 cup candy corn
- 1/2 cup orange and black Halloween sprinkles
- 1/2 cup green or purple Halloween sprinkles
- 1/3 cup orange sparkling sugar
- 1/3 cup candy eyes
Instructions
- Prepare cupcakes and frosting. Transfer frosting to large piping bags fitted with decorative tips and twist ends, sealing with elastics so they are secure.8-10 unfrosted chocolate cupcakes, 8-10 unfrosted vanilla cupcakes, 8-10 unfrosted mini chocolate cupcakes, 8-10 unfrosted mini vanilla cupcakes, 2 batches vanilla buttercream frosting, 1 batch chocolate buttercream frosting
- On a large board or baking sheet, arrange cupcakes in corners and around edges.
- Fill small bowls, jars, or measuring cups with chocolate candies, mini chocolate chips, candy corn, sprinkles, sparkling sugar, and candy eyes. Arrange in the center of the board, along with bags of frosting.1 cup chocolate chips, 1 cup candy corn, ½ cup orange and black Halloween sprinkles, ½ cup green or purple Halloween sprinkles, ⅓ cup orange sparkling sugar, ⅓ cup candy eyes
- Let everyone decorate their own cupcakes!