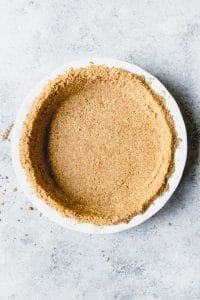
Never buy a store-bought graham cracker pie crust again by learning how to make a Graham Cracker Crust at home. It’s super easy, tastes better, and doesn’t fall apart like the store-bought graham cracker crusts.
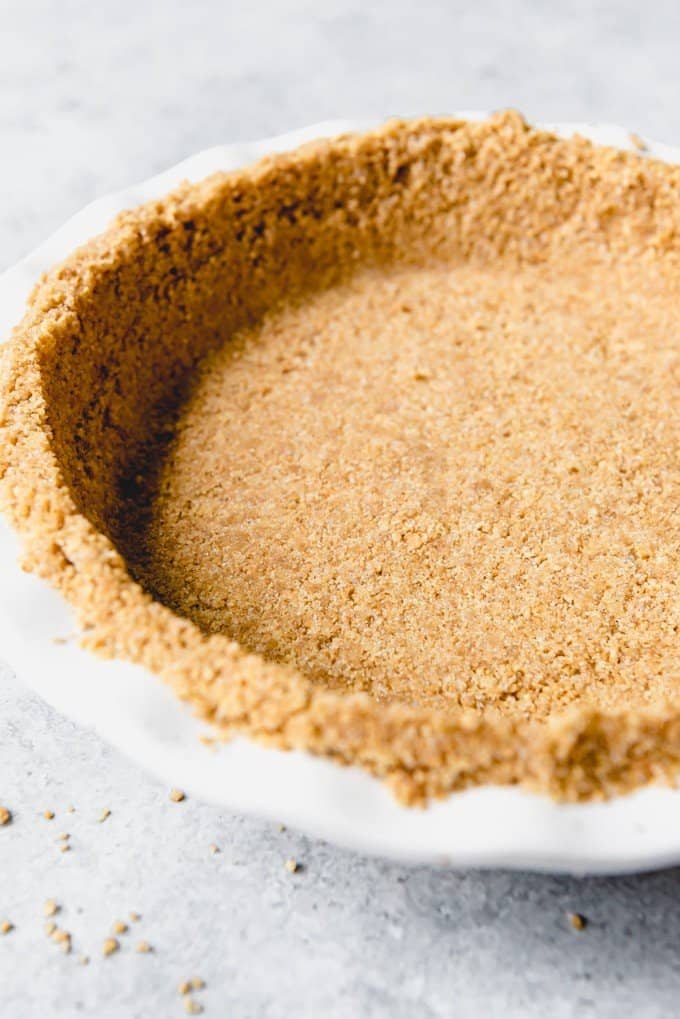
Table of Contents
This easy graham cracker crust recipe is so basic, but it’s one I think every home baker should have in their arsenal. There’s something irresistible about a sweet, buttery graham cracker crust!
The most frequently told story of my childhood by my parents is one involving graham crackers.
As a kid (and now as an adult), I always loved graham crackers. Except I had this weird thing where I would only accept WHOLE graham crackers. If it had a corner broken off, I wasn’t having it. Even if my mom broke one in half in front of me to show that it really was the whole thing, I would throw a fit about it and refuse to eat the broken graham cracker. I only wanted the full sheets.
It’s slightly embarrassing to admit that I still prefer the whole graham crackers and always pull them out of the sleeve for myself first before deigning to eat the broken ones now that I am an adult.
So when I was 2 and the woman in front of my family at church was giving graham crackers to her young children to keep them content, my parents were worried when I started pleading to have one. The woman kindly turned around and offered one to me, only it wasn’t the full sheet. So I grabbed it and chucked it across the chapel. My parents were mortified.
And that story is now legend in my family. Needless to say, I take all things graham cracker related, including graham cracker pie crusts, pretty darn seriously.
That said, I’m not going to judge if you just find using the store-bought crusts more convenient. I’ve been there and done that myself.
But there is almost no comparison between a fresh, homemade graham cracker crust and a store-bought one, and as long as you are going to the trouble of making a homemade dessert, you might as well knock it out of the park with this perfect graham cracker crust.
And it’s only 3 ingredients – graham crackers, sugar, and butter – and takes all of 5 minutes to throw together, so…..
What you’ll need to make a Homemade Graham Cracker Crust
- Graham Crackers – This recipe works just as well with chocolate wafers, Nilla wafers, biscoff cookies, chocolate graham crackers, or other similar sweet crackers, but I usually just use honey grahams.
- Sugar – I like to use granulated sugar, but brown sugar will work just as well.
- Salted Butter – I use salted butter for almost all my baking. If you only have unsalted butter, just add a pinch of salt to the crust.
Graham Cracker Crust Uses
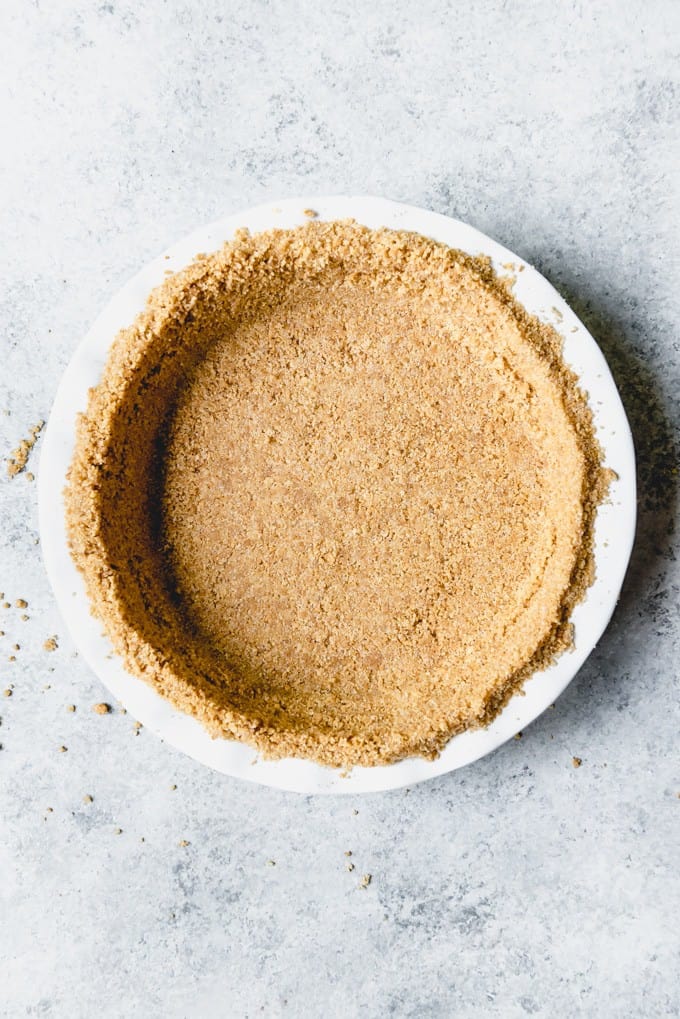
I made this particular graham cracker crust for key lime pie specifically. But it can be used with almost any pie recipe you want, especially if you aren’t a fan of traditional pie crust made with flour, fat, salt, and water that gets rolled out and baked.
Use graham cracker crust recipe to go with sour cream lemon pie, banana cream pie, chocolate cream pie, fresh strawberry pie, no bake cherry cheesecake, ice cream pie, and so many more desserts.
Or bake up a crust, then break it into chunks and sprinkle it over ice cream or mix it into brownie batter!
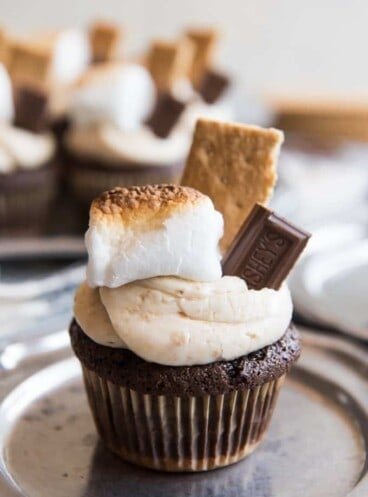
We sure love graham crackers around here! Some other recipes featuring them include Graham Canyon Ice Cream, S’mores Bars, and S’mores Cupcakes with Graham Cracker Frosting.
How to Make Graham Cracker Crust
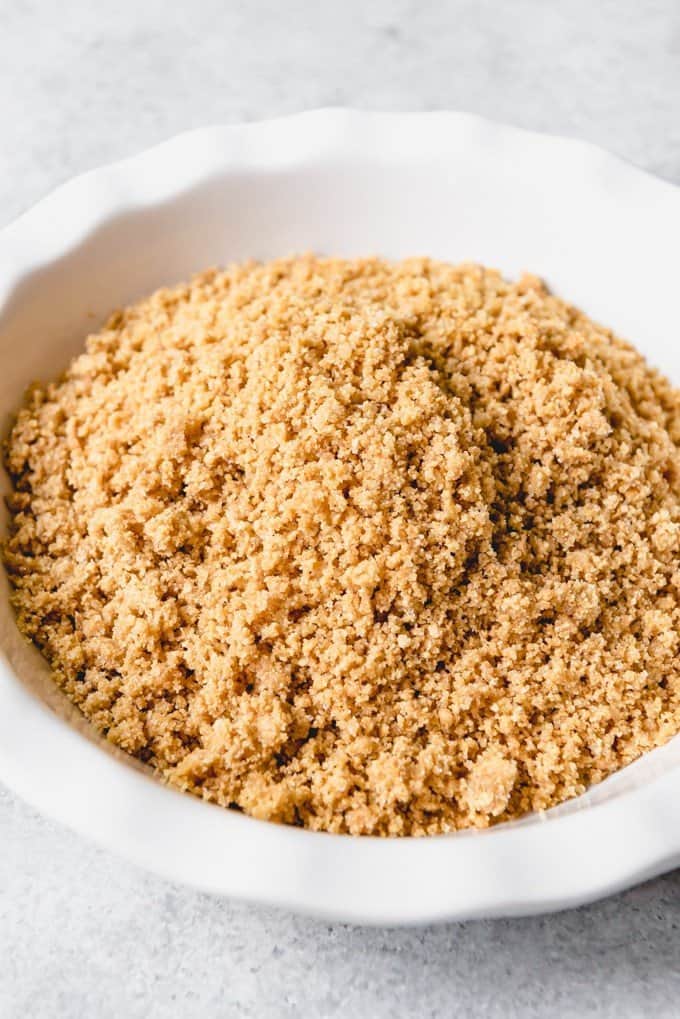
- Crush graham crackers into fine crumbs. A food processor (affiliate link) will make this a snap, but you can also use the old-fashioned method of a large ziploc bag and a rolling pin (affiliate link).
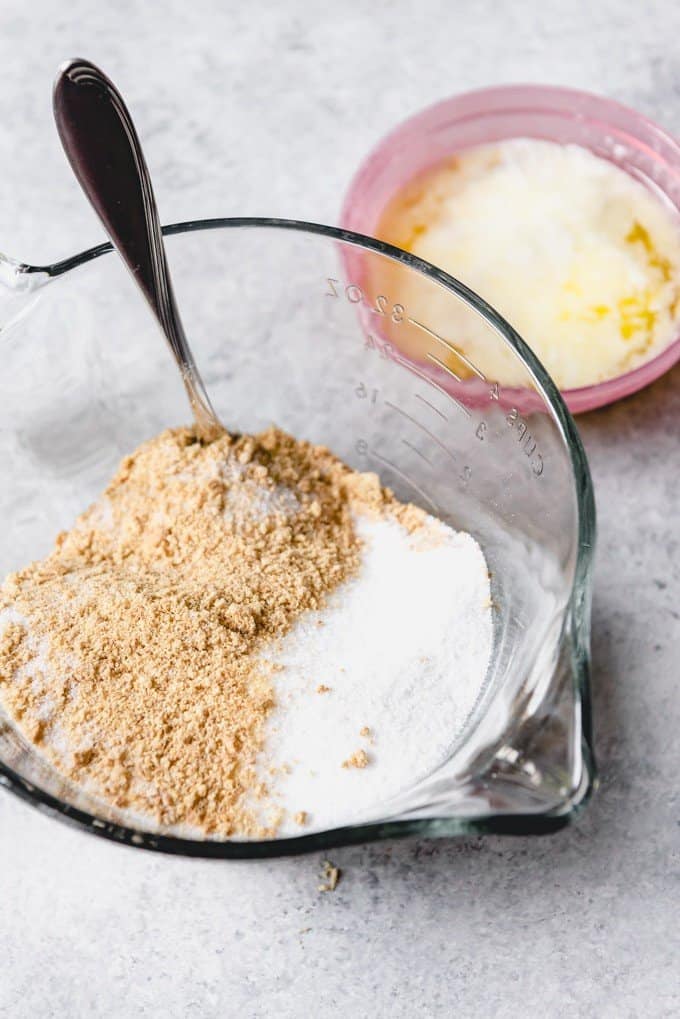
- Combine graham cracker crumbs and sugar in a large bowl and stir together with a fork.
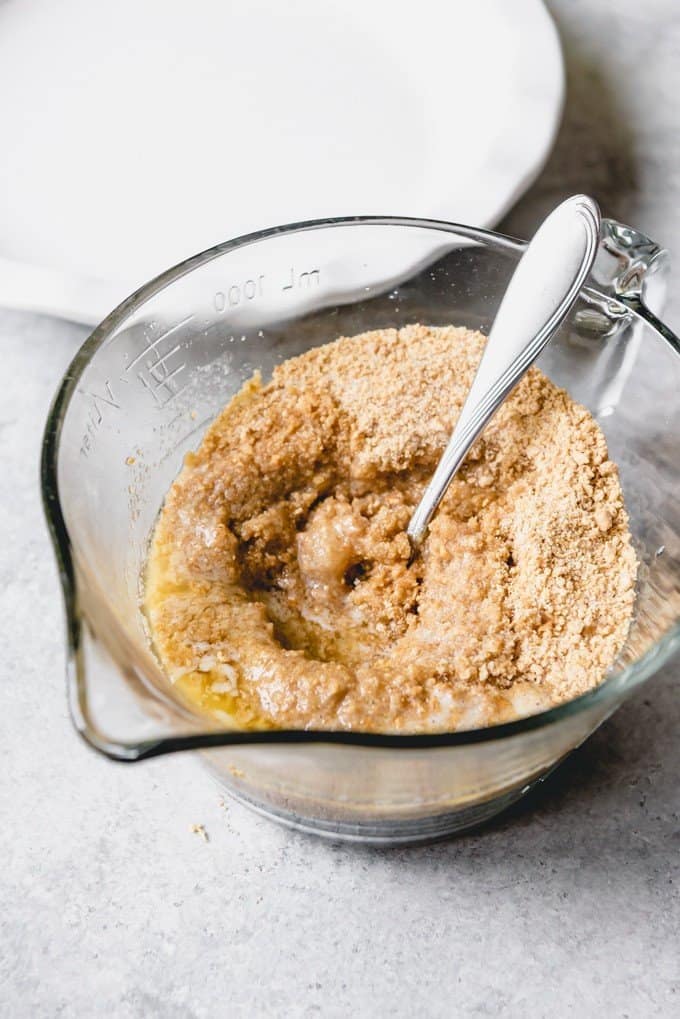
- Drizzle melted butter over the crumbs, stirring with a fork until the crumbs are evenly coated.
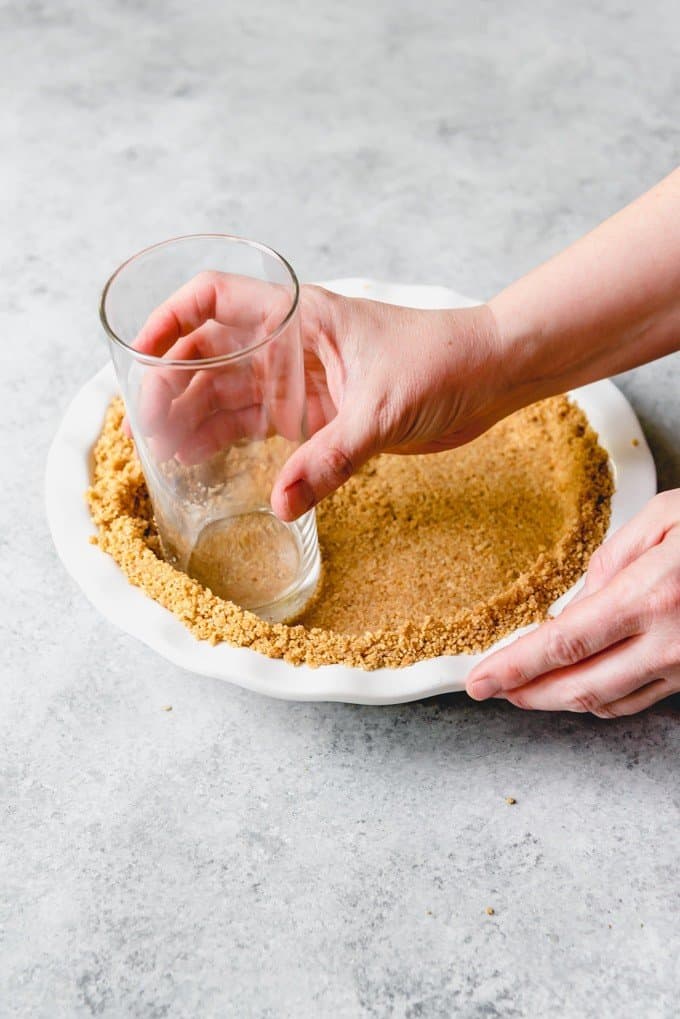
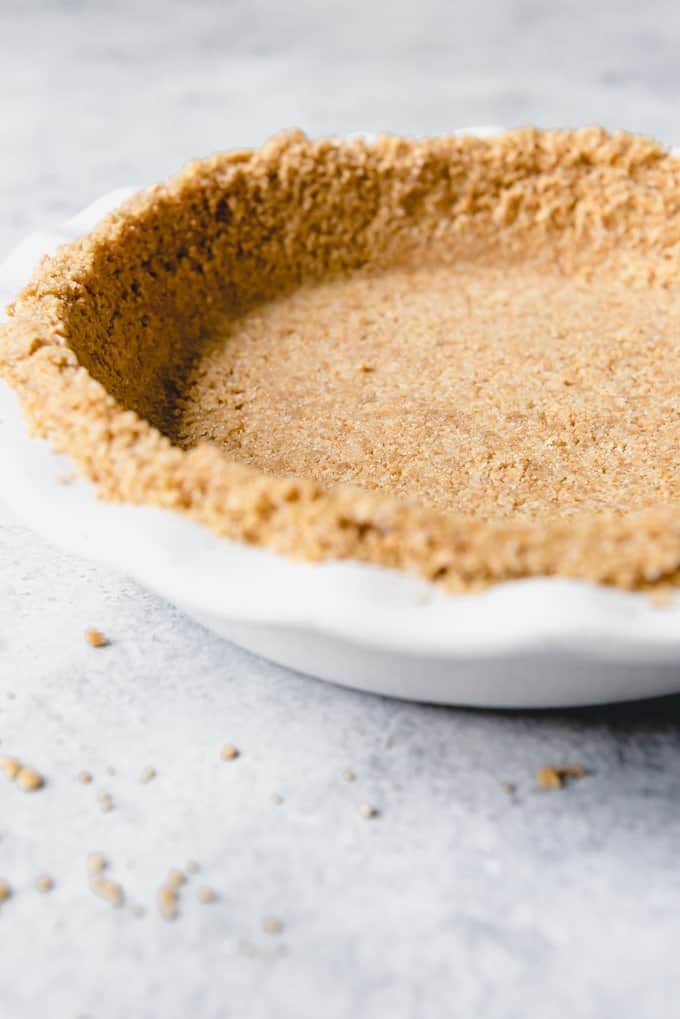
- Dump the crumb mixture into a pie plate (affiliate link) or springform pan and press into the sides and bottom using your hands or the bottom of a glass or measuring cup.
- Bake at 350 degrees F for 10 minutes, then cool completely before filling. Or for a no-bake pie and pie crust, just chill for 1-2 hours until set.
Graham Cracker Crust Recipe Tips
- You can buy boxes of graham cracker crumbs, which saves the step of crushing them yourself. Or just empty 1 ½ sleeves of graham crackers (it’s about 11-12 full-size graham crackers) into a plastic bag and crushing them with a rolling pin (affiliate link). This was my favorite job when I was a kid and now my kids LOVE this job as well. Or you can dump them in a food processor (affiliate link) and pulse until fine.
- For the record, I always use Honey Maid graham crackers by Nabisco. Exclusively. This post isn’t sponsored by them or anything, I just think they are the best graham crackers and prefer a Honey Maid graham cracker crust over a Keebler graham cracker crust.
- I mix my crust using only a fork. First I stir the graham cracker crumbs and sugar together, then drizzle the melted butter over the top and continue to stir with a fork until everything is combined evenly.
- Press the crust into the pie plate (affiliate link) or springform pan using the flat bottom of a measuring cup or drinking glass, making sure to also press the sides. You may need to use your hands, especially on the sides, to press it well, but if the ingredients were measured correctly there should be enough moisture from the melted butter for the crumbly crust to stick together with a little pressure.
- Sub the graham crackers for Nabisco Famous Chocolate Wafers, chocolate graham crackers, or Oreo cookies to make a chocolate crust.
- Or change up the flavor by adding ½ teaspoon of cinnamon to the crust.
- For an 8- or 9-inch cheesecake, you might want to decrease the ingredient amounts to 1 ¼ cups crumbs, ¼ cup sugar, and 5 tablespoons butter depending on whether you are planning to have the crumbs go up the side of the cheesecake or just press it into the bottom. Unless you want a really thick graham cracker crust, which sounds pretty perfect to me.
How to store a Graham Cracker Pie Crust
If you are making your graham cracker pie crust in advance, I recommend freezing it until you are ready to use it since graham crackers can go stale when left out for too long. To freeze, make the crust, then cover it with plastic wrap so that the plastic wrap directly touches the crust. You will need to freeze your pie dish with the crust until ready to use it. You can fill it while it is frozen then serve pretty much right away or let it come to room temperature before filling and using.
FAQs for How to Make a Graham Cracker Crust
Butter is the only binding agent in a graham cracker crust, so if you have had problems with your crust sticking together, it’s most likely the result of the butter to graham cracker crumbs ratio being off. If you decide you want a thicker crust, you can’t just add more crumbs (say 2 cups) without simultaneously increasing the butter.
At the same time, you don’t want to make your crumbs soggy with melted butter.
Another important part of getting the graham cracker crust to stick together is to apply some pressure to it.
I always use a glass to do this, tamping and packing the crumbs together, but a flat-bottomed measuring cup works perfectly well also.
The final step is to set the crust either by baking or chilling. Baking the crust will melt the sugar and help bind the crust together. Chilling with cause the butter to firm up again and help the crust hold together.
The short answer is no. You could just make the crust and press it into a pie plate or springform pan, then chill in the fridge for an hour or two to firm up for an easy no-bake graham cracker crust.
But I think it tastes best when baked. It not only helps the crust set up and be sturdier, which is great for cream pies, but I also love the slightly nutty, toasty flavor it takes on after baking the graham cracker crust.
More Recipes Using Graham Crackers
- S’mores Bars
- Easy Lemon Icebox Cake
- No-Bake Chocolate Eclair Cake
- Key Lime Cupcakes
- Pecan Pie Cheesecake Bars
Did you make this recipe?
Let me know what you thought with a comment and rating below. You can also take a picture and tag me on Instagram @houseofnasheats or share it on the Pinterest pin so I can see.
Homemade Graham Cracker Crust
Equipment
Ingredients
- 1 1/2 cups finely crushed graham cracker crumbs (9-11 full sheets)
- 1/3 cup granulated sugar
- 6 Tablespoons salted butter melted

Instructions
- Finely crush graham crackers in a food processor (affiliate link) or by placing them in a ziploc bag and rolling with a rolling pin (affiliate link).1 ½ cups finely crushed graham cracker crumbs
- In a large bowl, combine graham cracker crumbs and sugar, mixing with a fork.⅓ cup granulated sugar
- Drizzle melted butter over the crumbs and stir with a fork until crumbs are evenly moistened.6 Tablespoons salted butter
- Press mixture into a 9-inch pie dish using the bottom of a measuring cup or glass. You may need to use your fingers to press the sides until compact.
- For a baked graham cracker crust: Bake at 350°F for 10 minutes or until the crust is lightly browned just around the edges. Cool completely before filling.
- For a no-bake graham cracker crust: Chill for 1-2 hours or freeze for 30 minutes before filling.
Notes
- Variation: For a slight flavor change, you can substitute an equal amount of brown sugar for the granulated sugar, or add ½ teaspoon of ground cinnamon to the graham cracker crumbs.


Thanks for the excellent instructions, I’ll be pinning this for future use!
Can I place the crust in the freezer to set? If so, for how long?
Absolutely! It should set really quickly in the freezer – probably within 15 minutes.
It’s a graham cracker crust.
Long stories from childhood are not needed.
Or appreciated.
Please.
You might find it helpful to use the “jump to recipe” feature at the top of each post. It will allow you to bypass the stories, if you don’t want to read them. Or simply scroll down.
Love love love the stories!!! Keep ’em coming.
You are very rude, C. Reid. Apparently your mother didn’t teach you that if you don’t have anything nice to say, to not say anything at all. The rest of us enjoyed the story. Go back to bed. Please.
🙂 Thanks for standing up for my stories, Jennifer! I’m glad you enjoyed it!
For the record, absolutely love the stories. I’ve been frequenting all of your pie recipes recently. I’ve never considered myself much of a baker. Now, I am obsessed & so is my family!!! Thank you Amy. God Bless You!
Thank you Ciara! That is so kind of you to say! The pie collection has some of my favorite recipes. I am so happy you found recipes you love!
I love this crust.
Best childhood memories and now handed down to my children and grand children
Oh, I’m so glad I found this web site; soooo easy to use. Thank you…I’m off to make graham crust, for my banana cream PIE….
STZ
Oh wow thank you! I have a weakness for graham cracker crust. It’s so good!
Thank you and can’t wait to make the Gingerbread Bars. I love Gingerbread cookies and I’m sure I’ll love these bars…prefer the soft texture in Gingerbread