
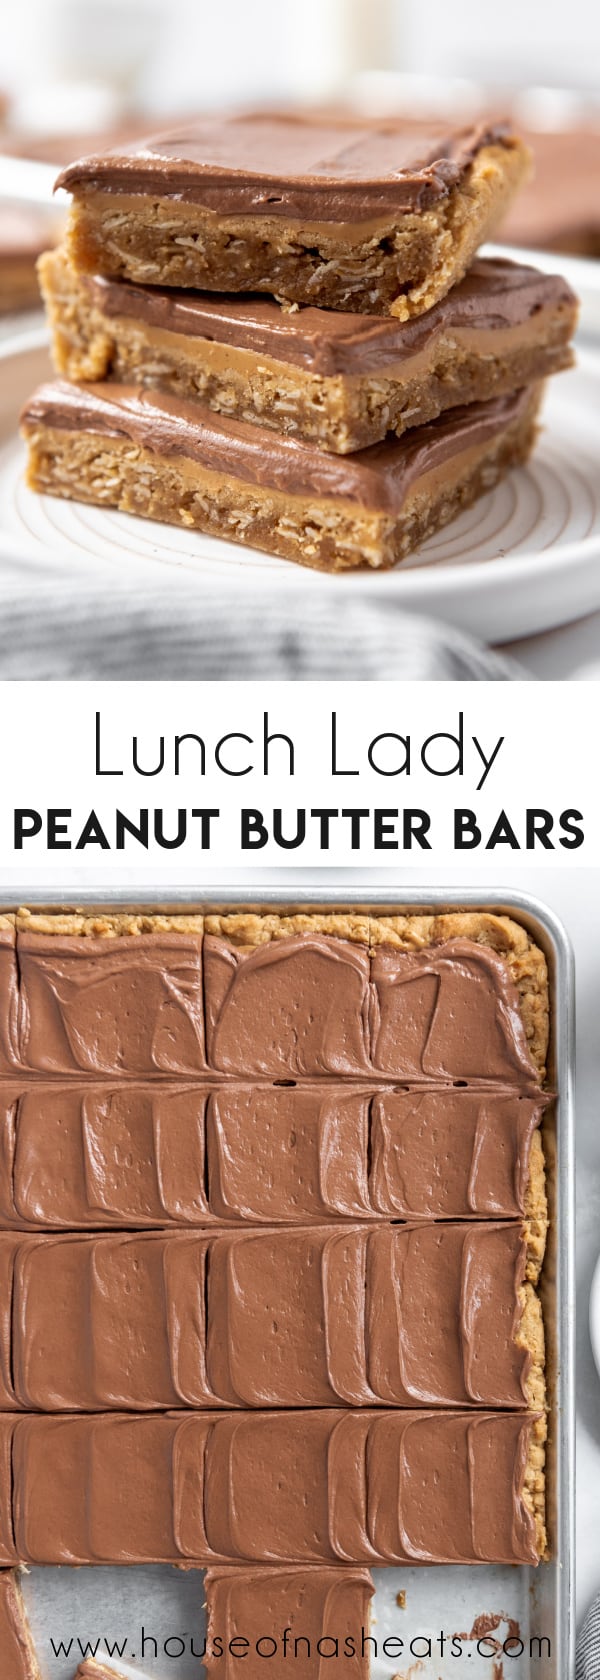
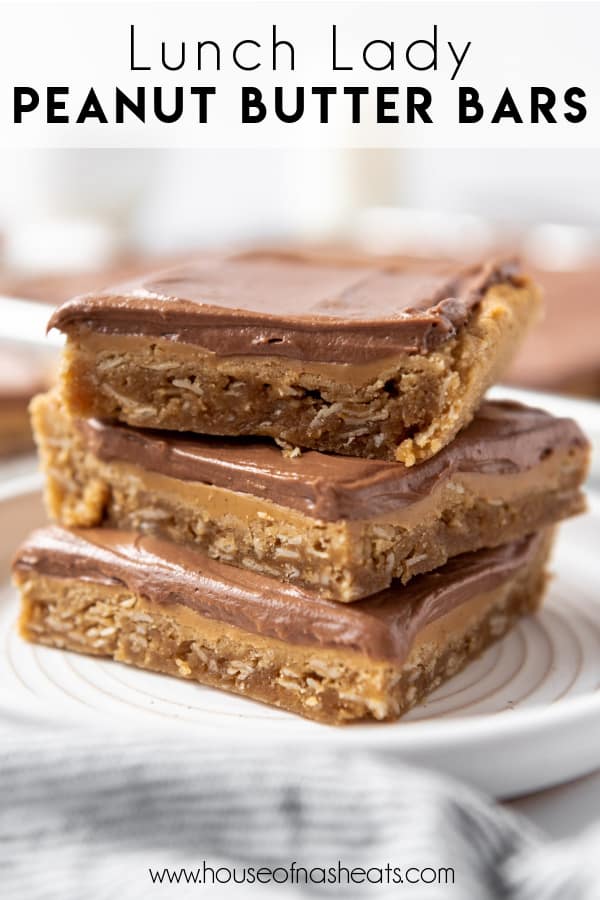
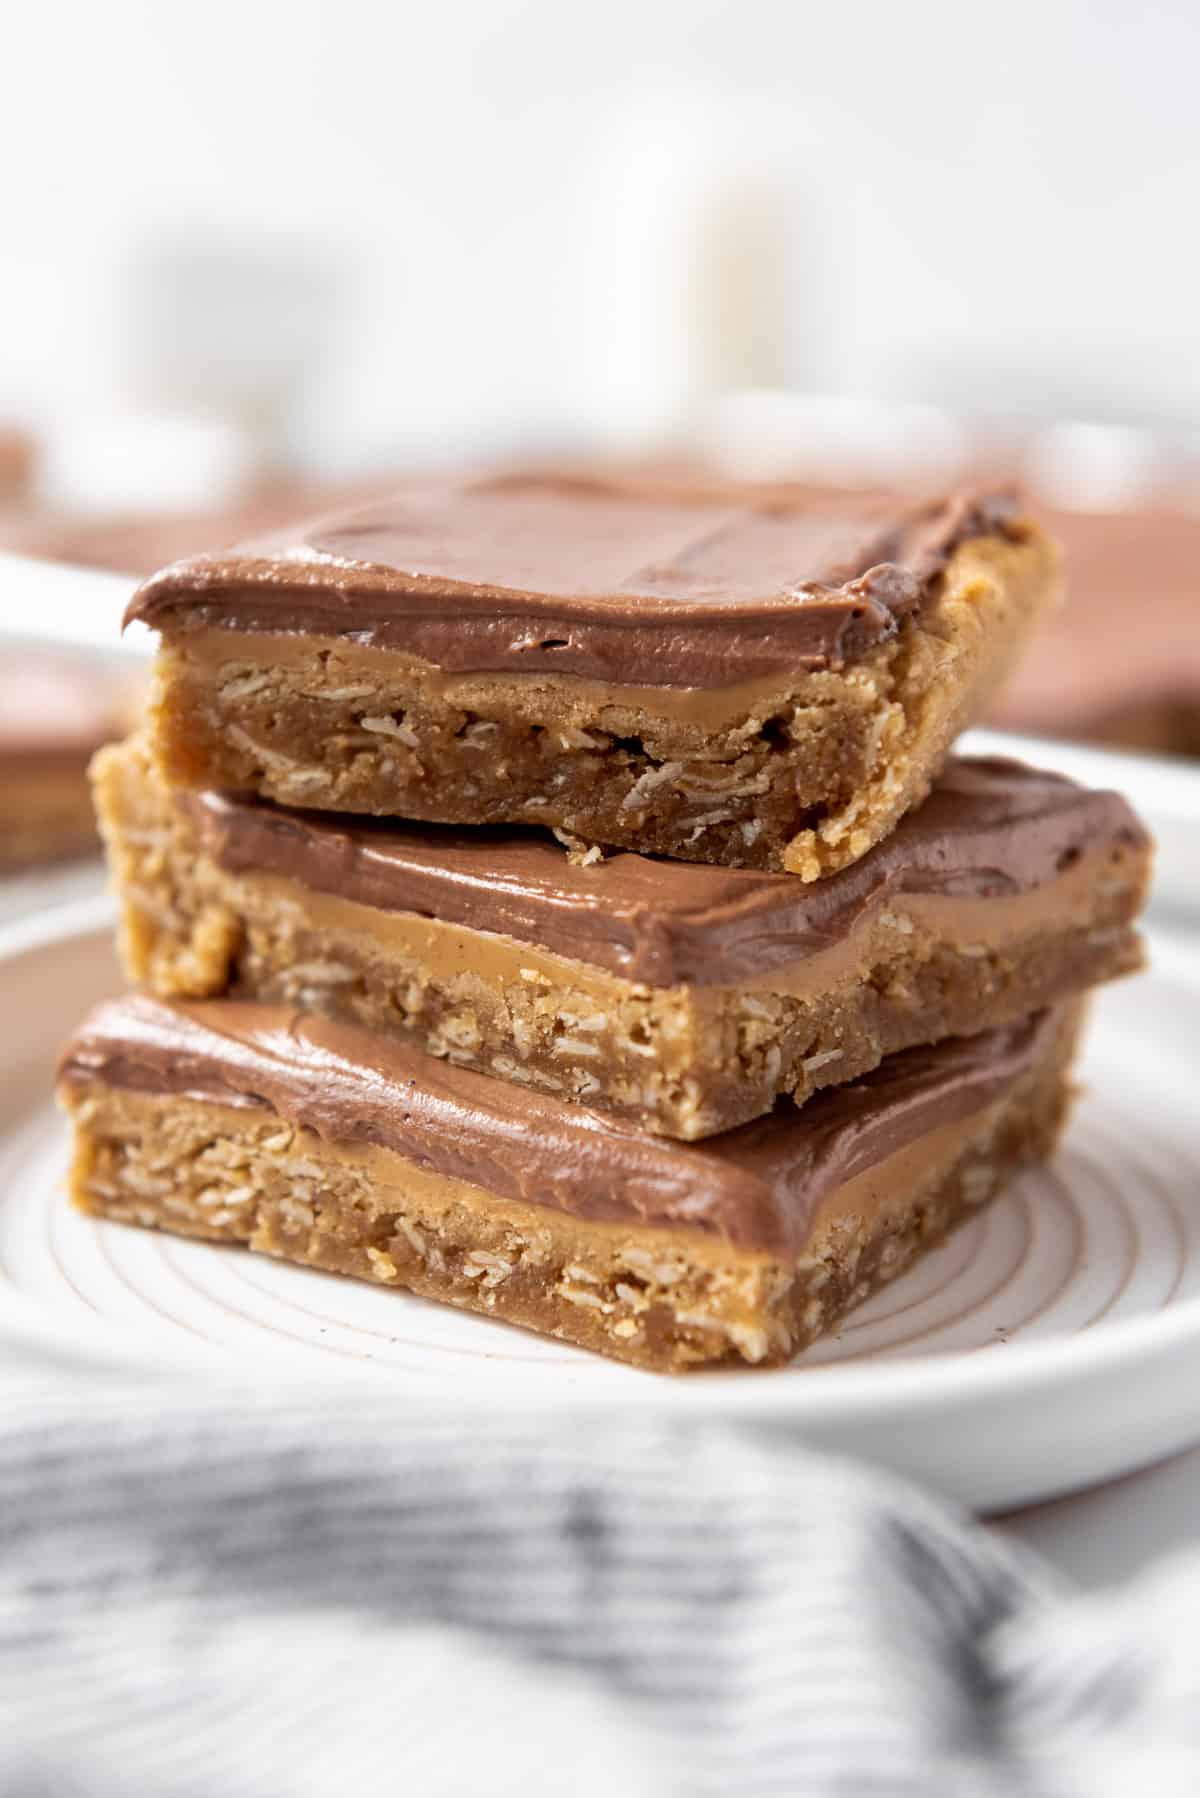
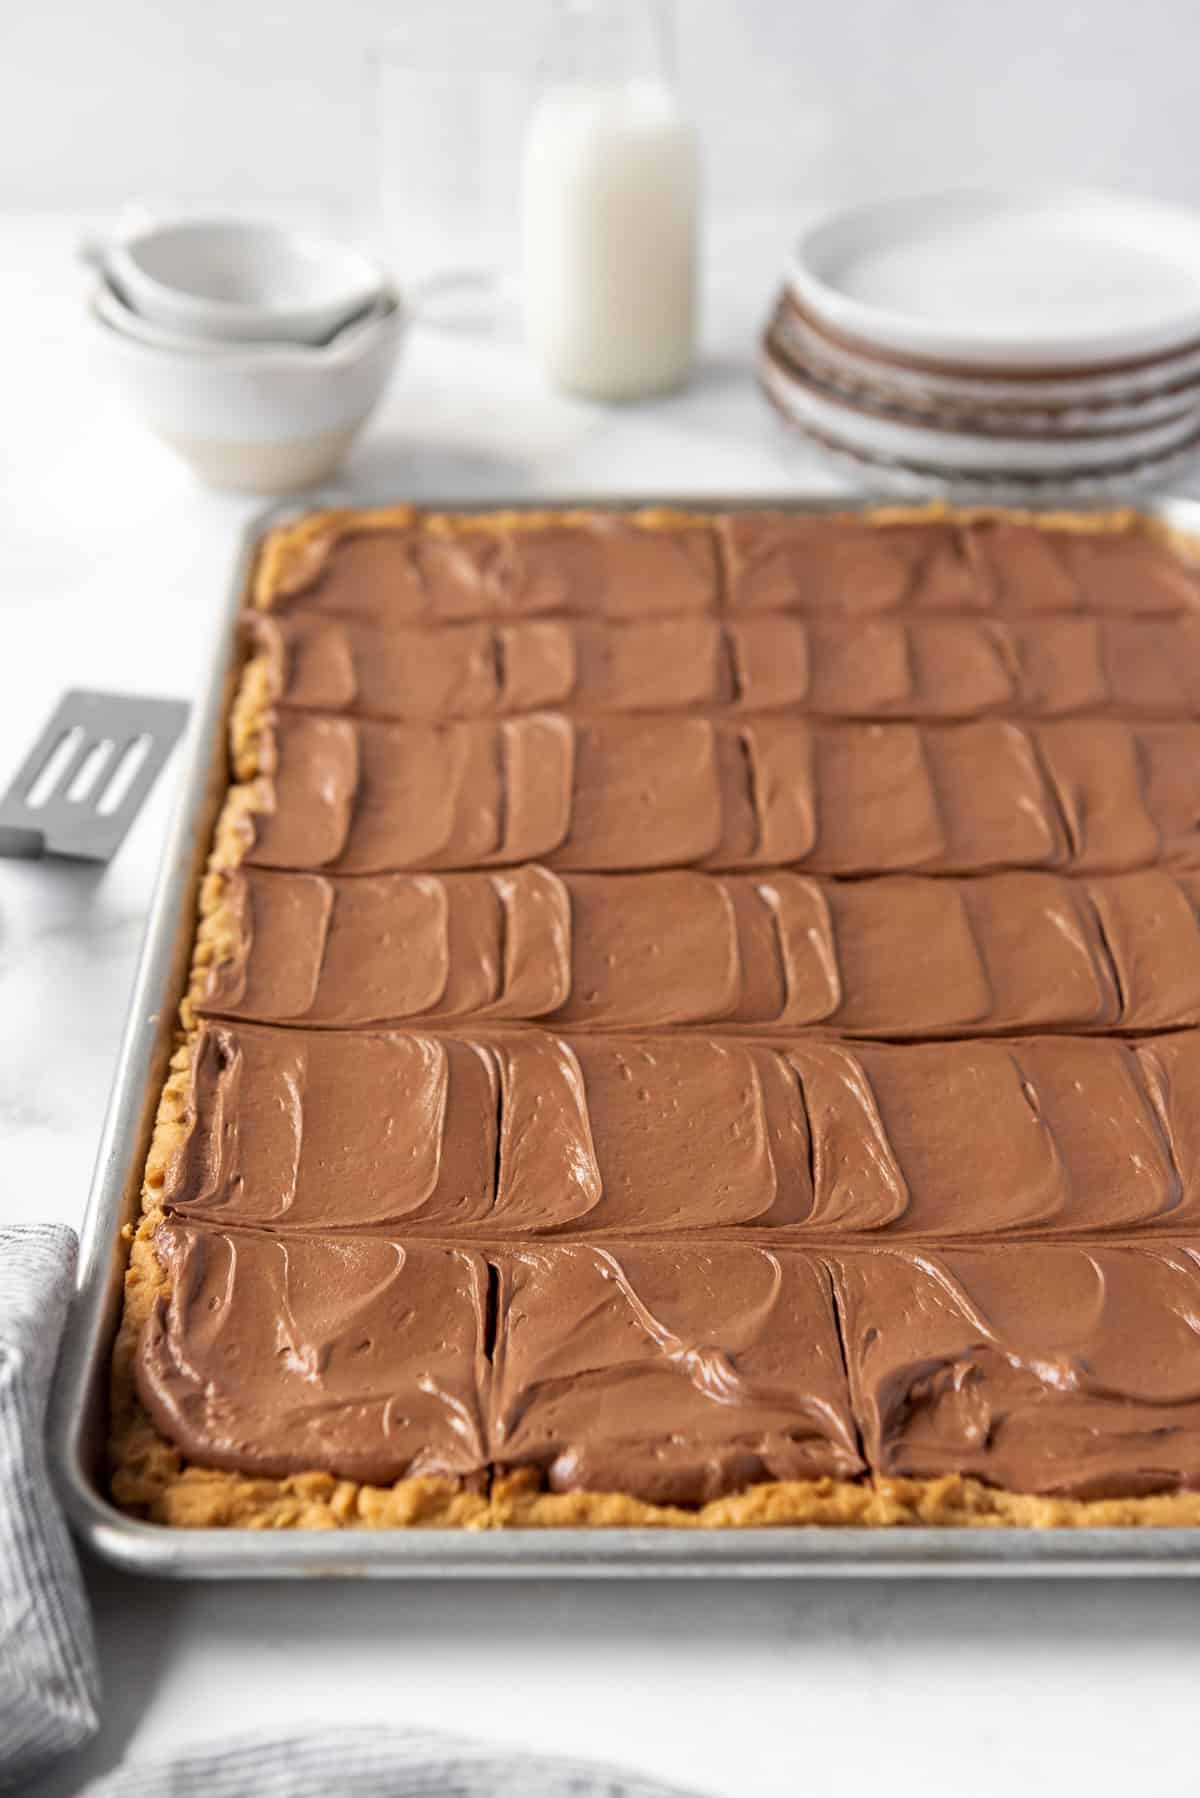
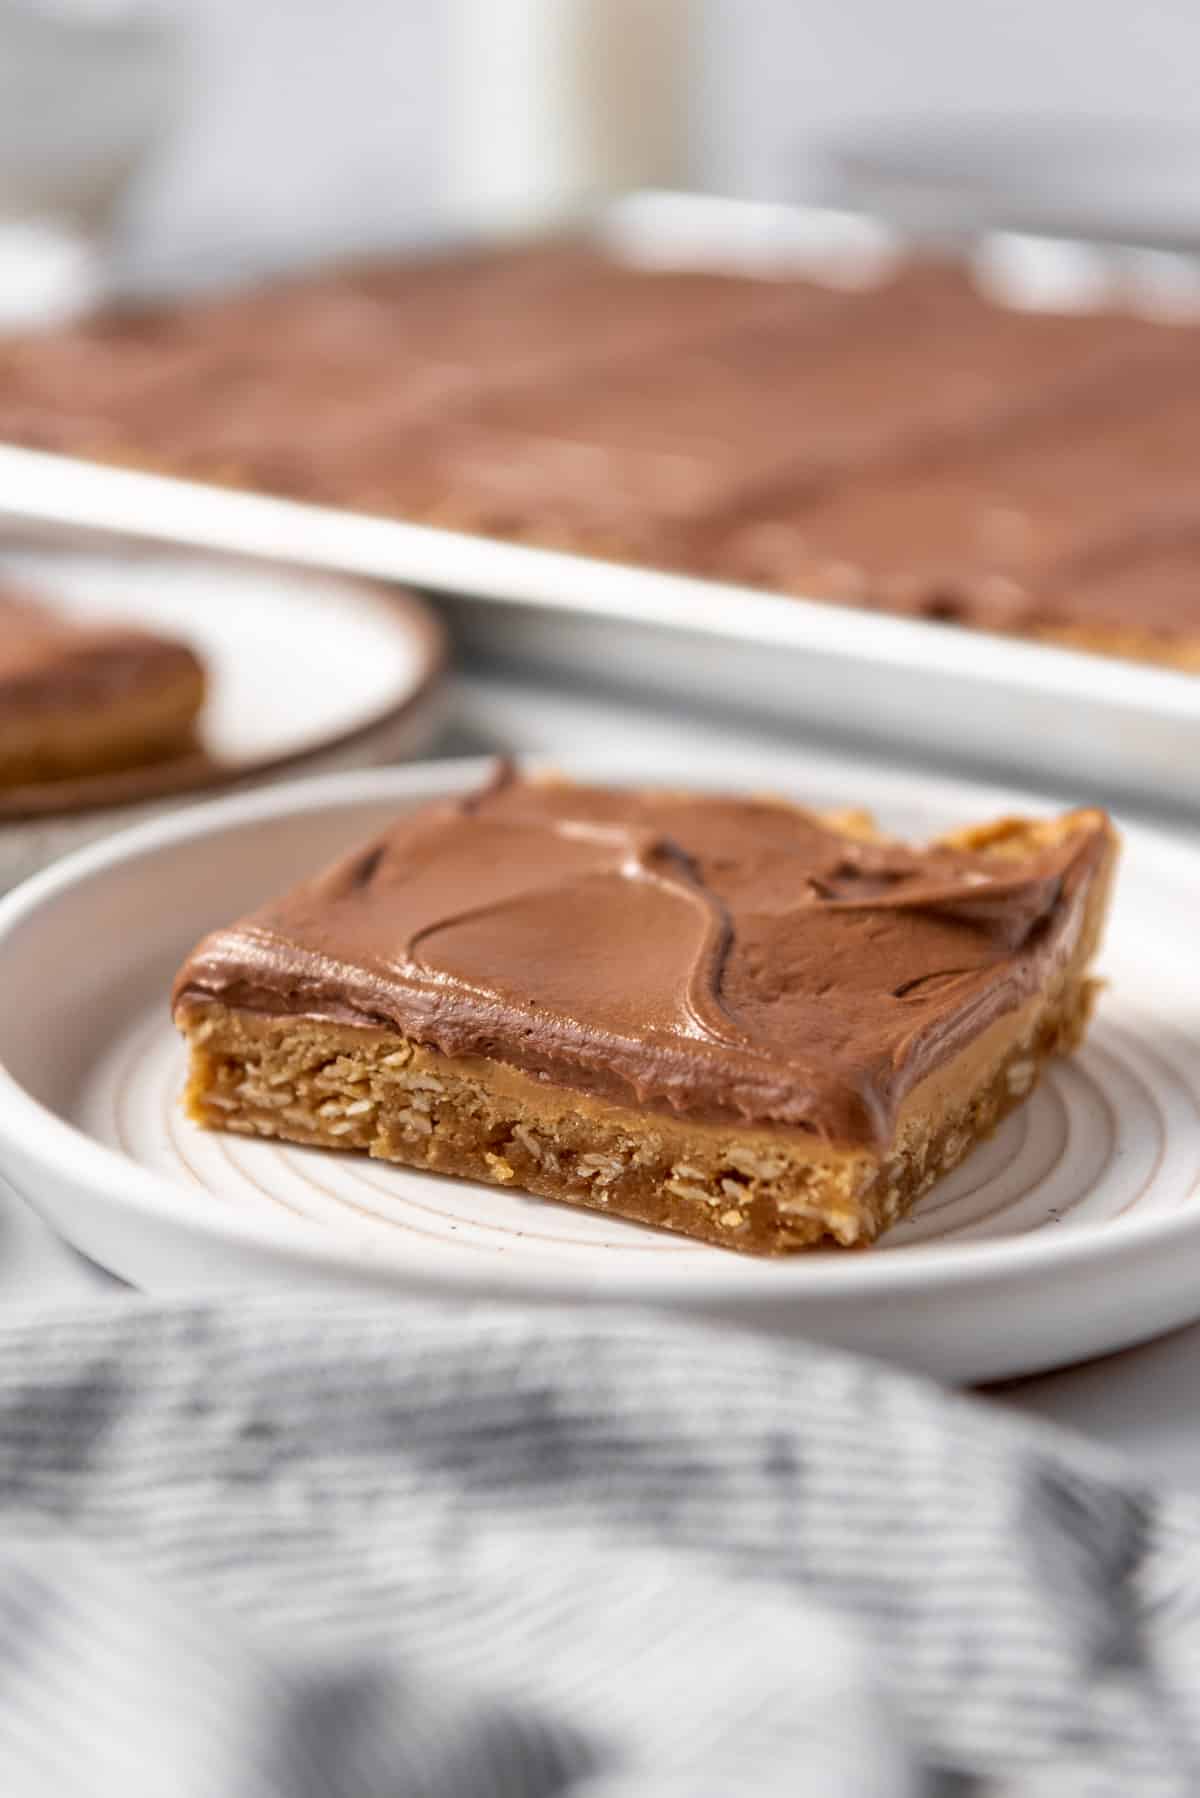
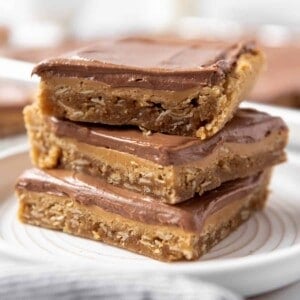
You have the lunch lady to thank for these old school cafeteria-style Peanut Butter Cookie Bars that have a chewy peanut butter oatmeal cookie base and a thin layer of salty-sweet melted peanut butter underneath those rich swirls of chocolate frosting.
If you want more easy peanut butter desserts, be sure to also check out our Copycat Levain Bakery Dark Chocolate Peanut Butter Chip Cookies, Peanut Butter Swirl Brownies, and No-Bake Peanut Butter Pie!
These peanut butter oatmeal bars with chocolate frosting are dangerous to have around. I can’t make them for just my family of four unless we are having friends over or we are taking them someplace because I legit cannot resist the temptation. They are great for a crowd and things like potlucks, picnics, and bake sales.
I was recently reminded of these peanut butter cookie bars when we went to a place in Utah called Blox Dessert Bars. One of their signature dessert bars is called “The Skippy” which is a peanut butter blondie with chewy oats that is topped with a layer of melted peanut butter and rich chocolate frosting.
You might know or remember them as “lunch lady peanut butter bars” if you grew up in a certain era. I grew up back when school cafeteria lunch was still pretty decent. Sloppy joe day was always my personal favorite.
But what I really remember are the treats that the lunch ladies would make. I practically subsisted on the chewiest, thickest rice krispies treats with super stretchy marshmallows through high school. And their hardly baked, giant chocolate chip cookies were basically just molten dough that was literally scalding and so gooey that they were essentially raw. You could buy them at the cafeteria in the morning before school started, which was pretty much how I began every day.
These days dessert isn’t offered as part of a “healthy” school lunch, and most schools are “nut-free” anyway. But these classic peanut butter bars will forever immortalize the stalwart lunch ladies in my memory.
Why this Recipe Works
- No need to scoop and frost individual cookies. Like sugar cookie bars, you just bake up one big pan and then slice them into squares. Done.
- The dough is slightly softer and more spreadable than regular cookie dough so it can be pushed into the corners of a large baking sheet.
- There is a thin layer of straight peanut butter between the cookie base and the creamy chocolate frosting on top. Don’t skip it. It adds a density and intensity to these bars that is out-of-this-world.
Ingredient Notes
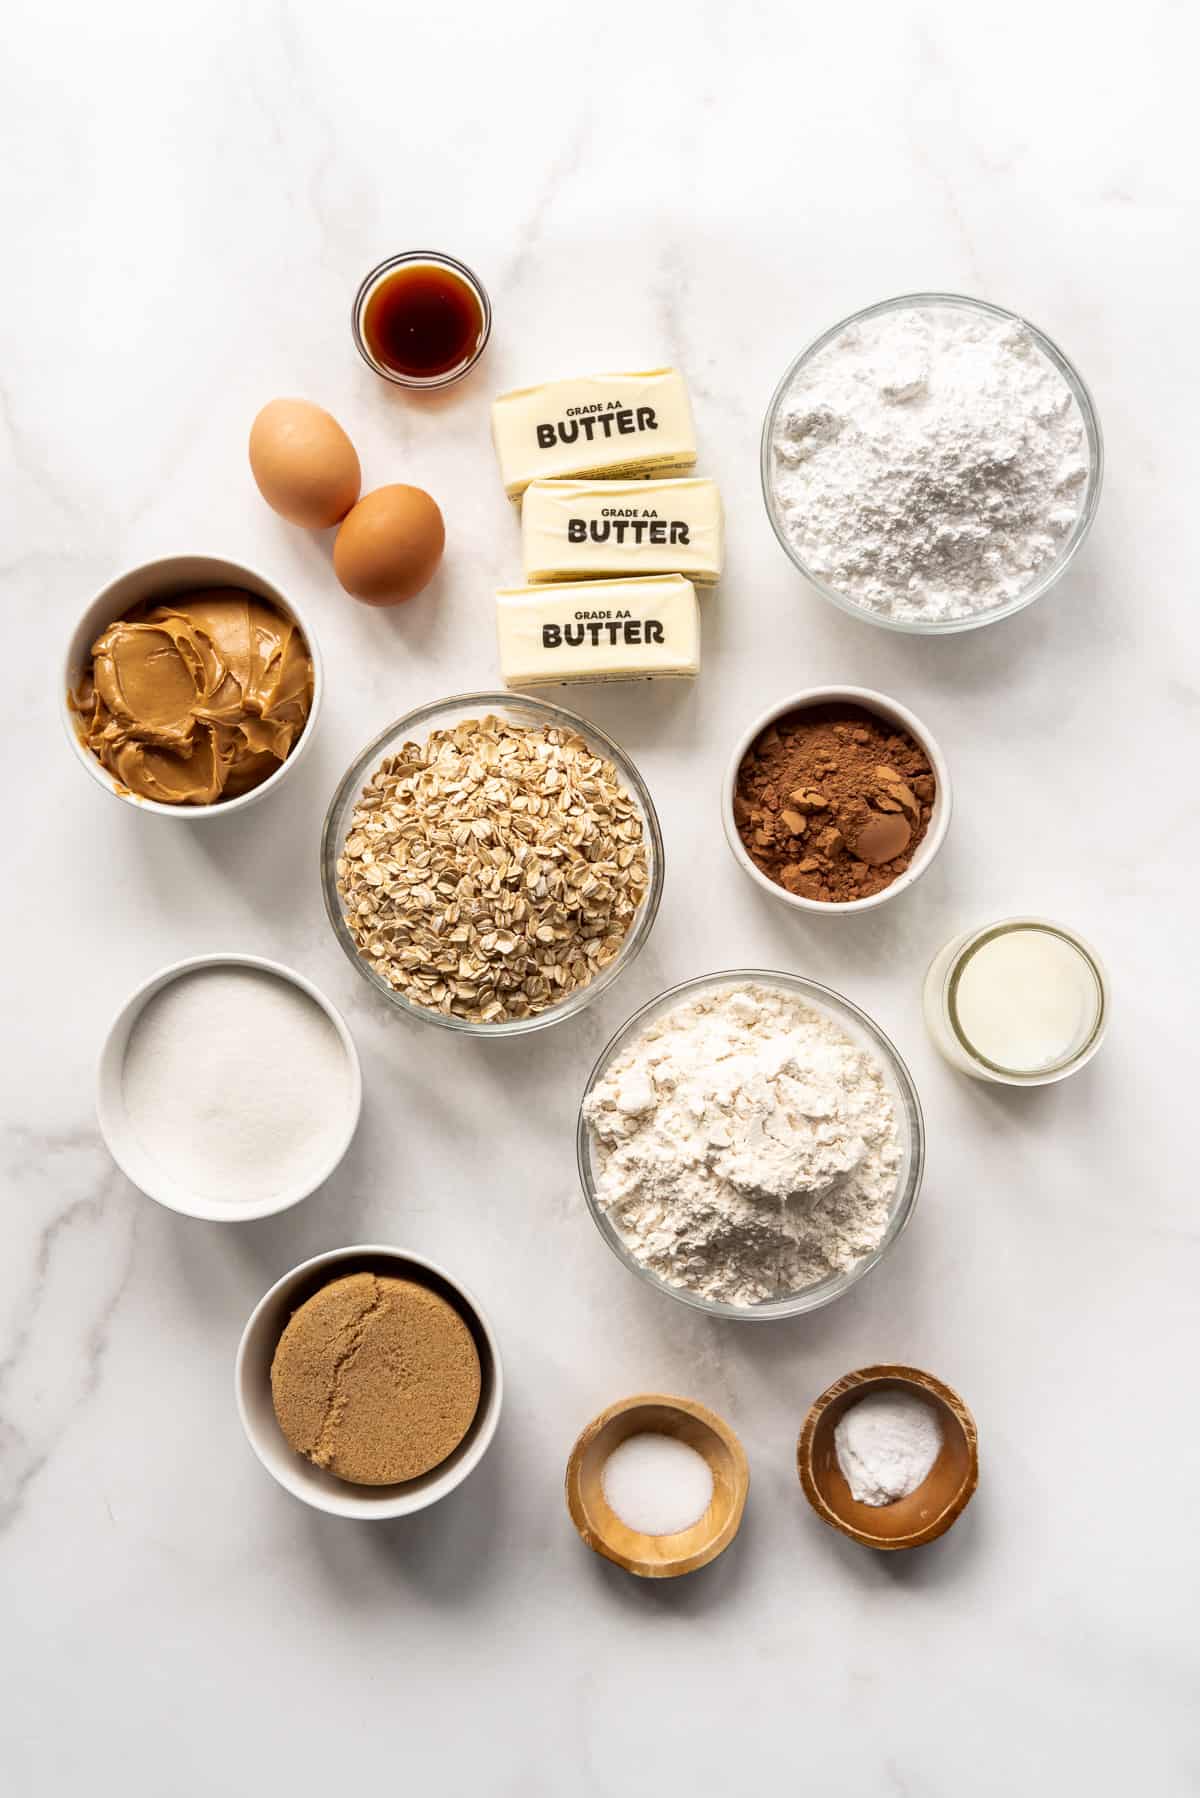
- Peanut Butter: I used creamy peanut butter, but crunchy will work just as well.
- Oatmeal: I like using old-fashioned oats best because they give a chewier texture, but quick oats will work as well.
- Cocoa powder: I just used Hershey’s unsweetened natural cocoa powder for the frosting in this recipe because it’s always readily available.
- Sugar: A combination of granulated sugar and brown sugar gives depth and just the right amount of sweetness to the base of these yummy bars.
How to Make This Recipe
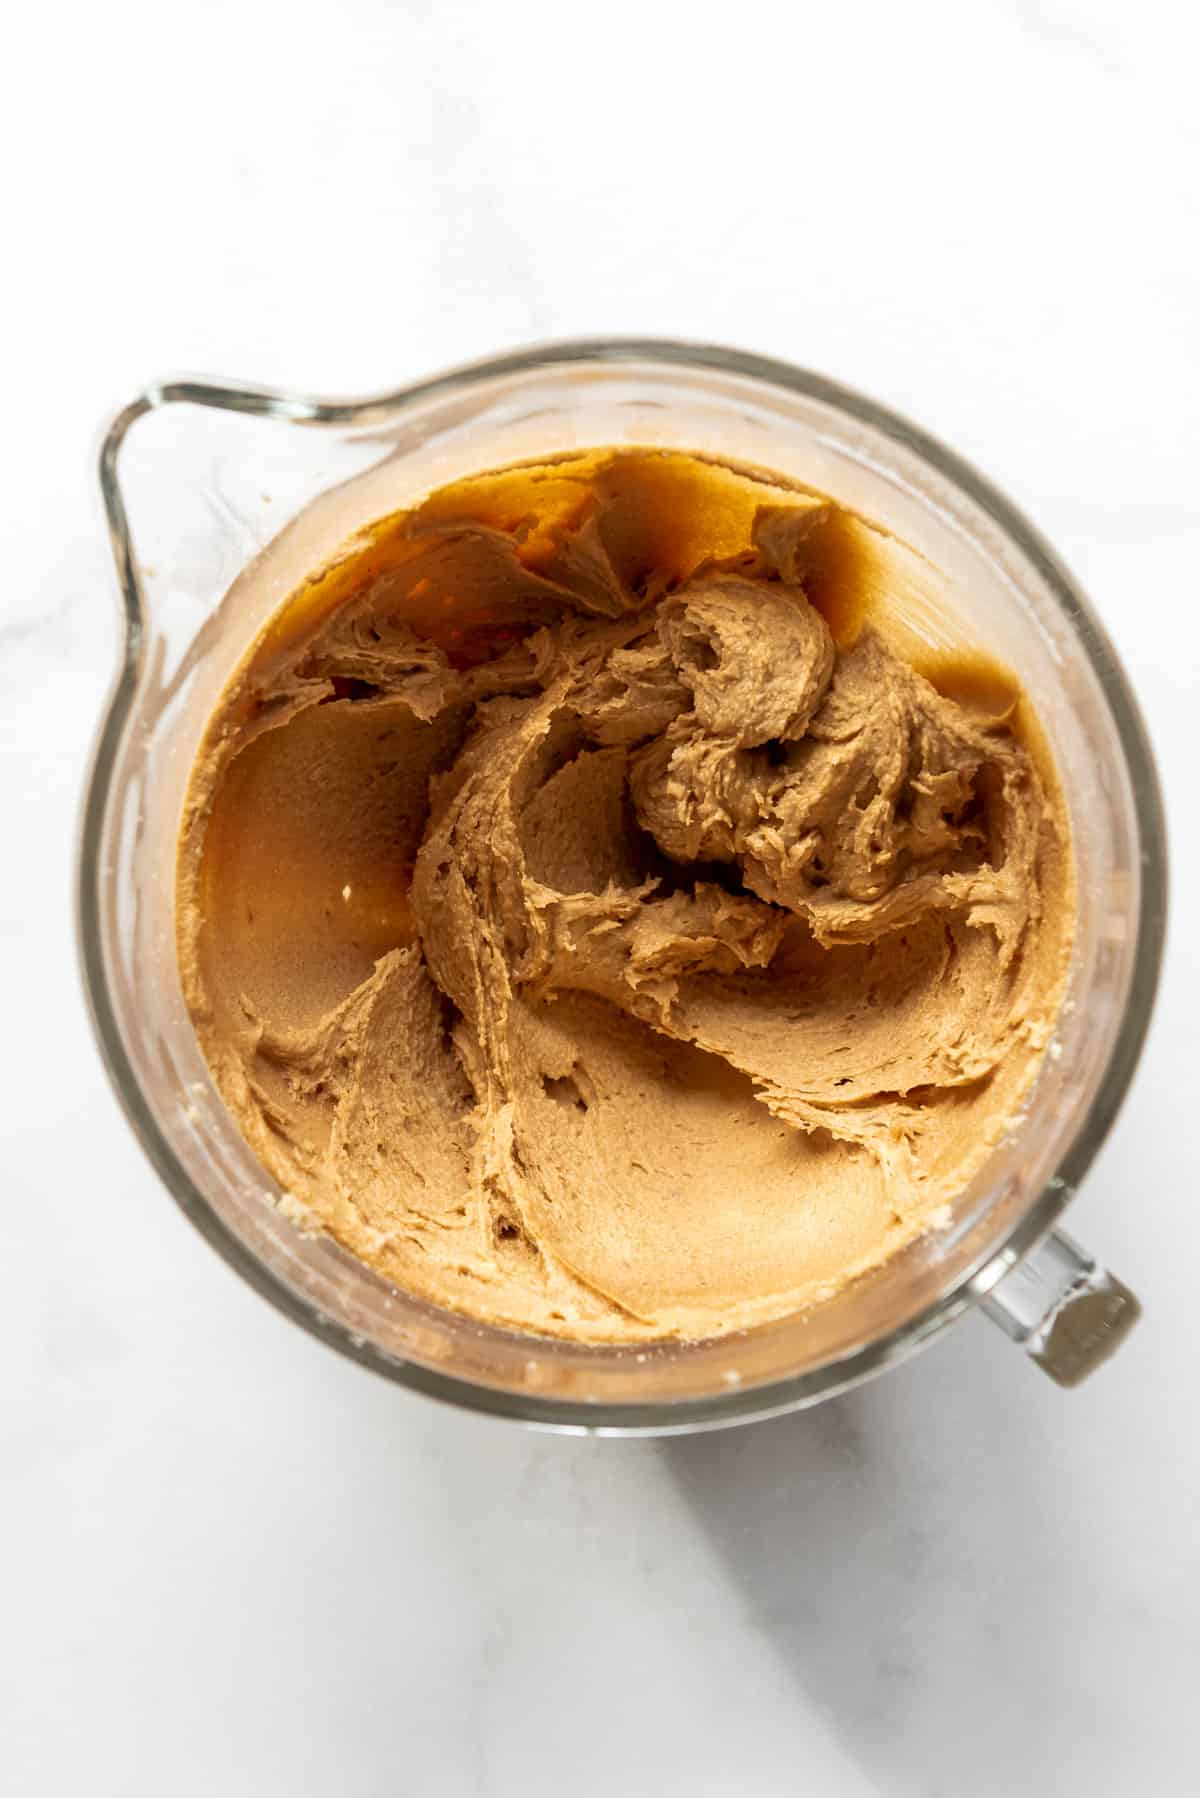
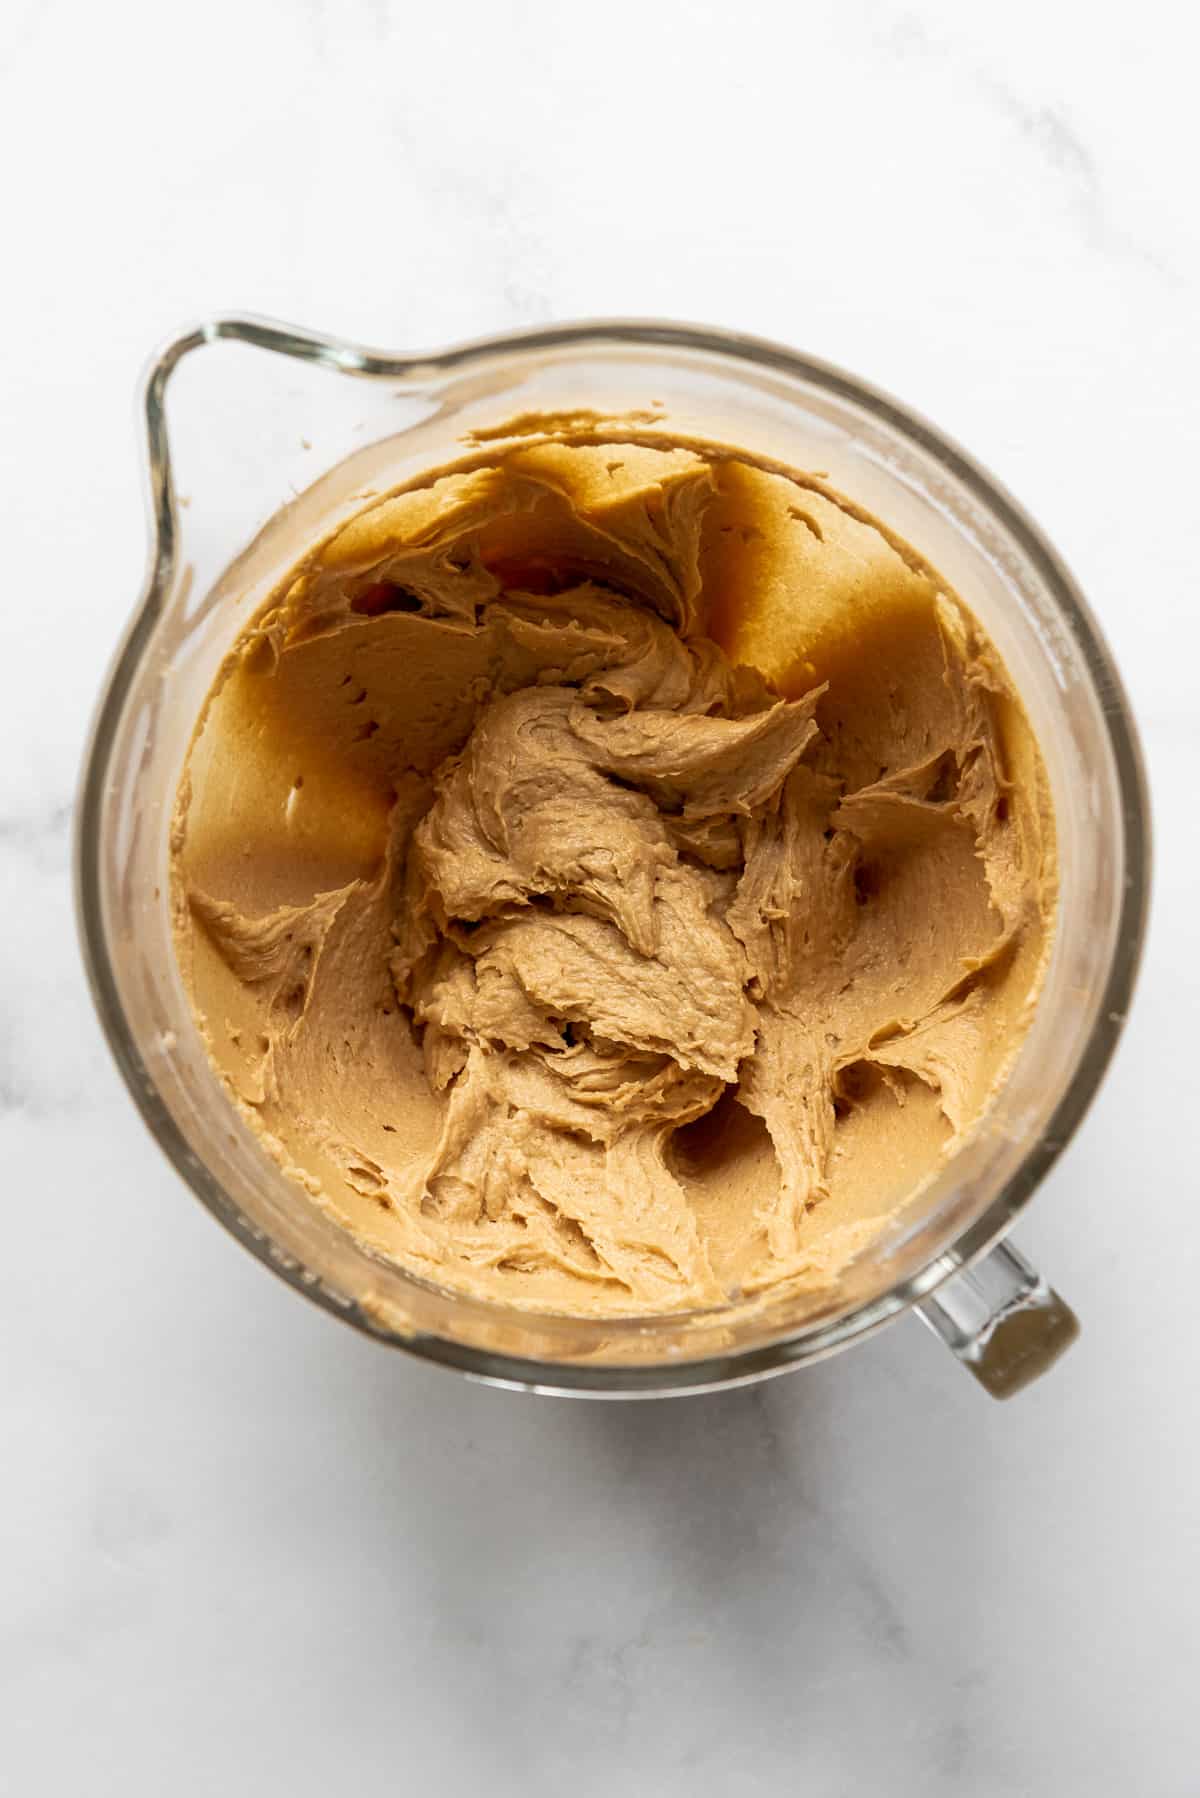
Start out by creaming the butter, granulated sugar, brown sugar, and peanut butter together in a large bowl until smooth. Then add the eggs and vanilla extract and beat again, scraping the bottom and sides of the bowl so everything mixes together evenly.

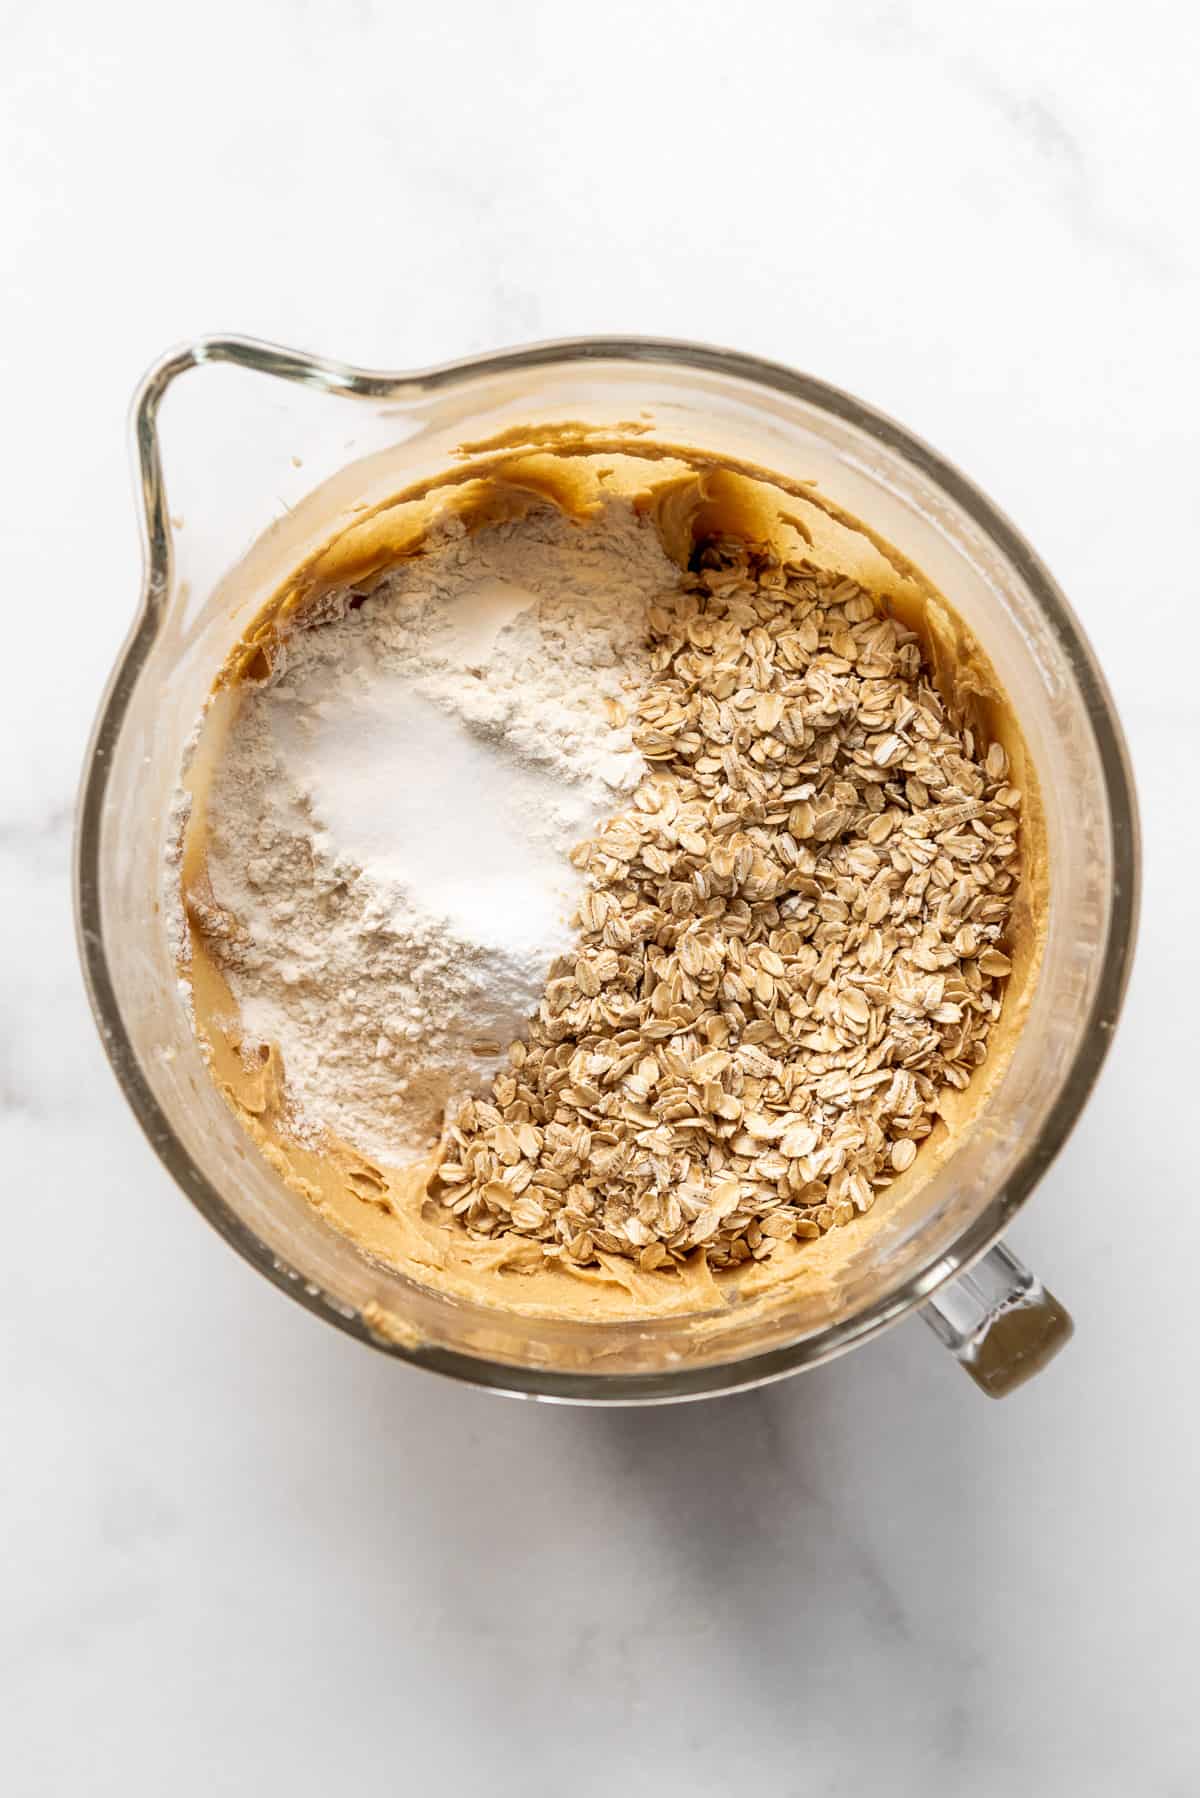
Add the dry ingredients to the creamy mixture, then mix again just until combined. Stop and scrape the bottom and sides of the bowl again to make sure that the oats especially are nice and evenly dispersed throughout the oatmeal peanut butter cookie dough.
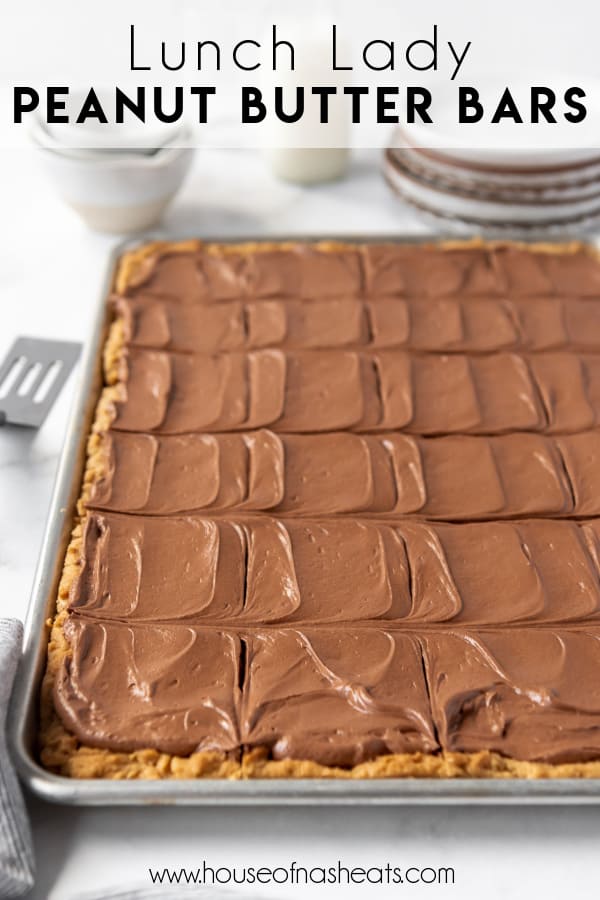
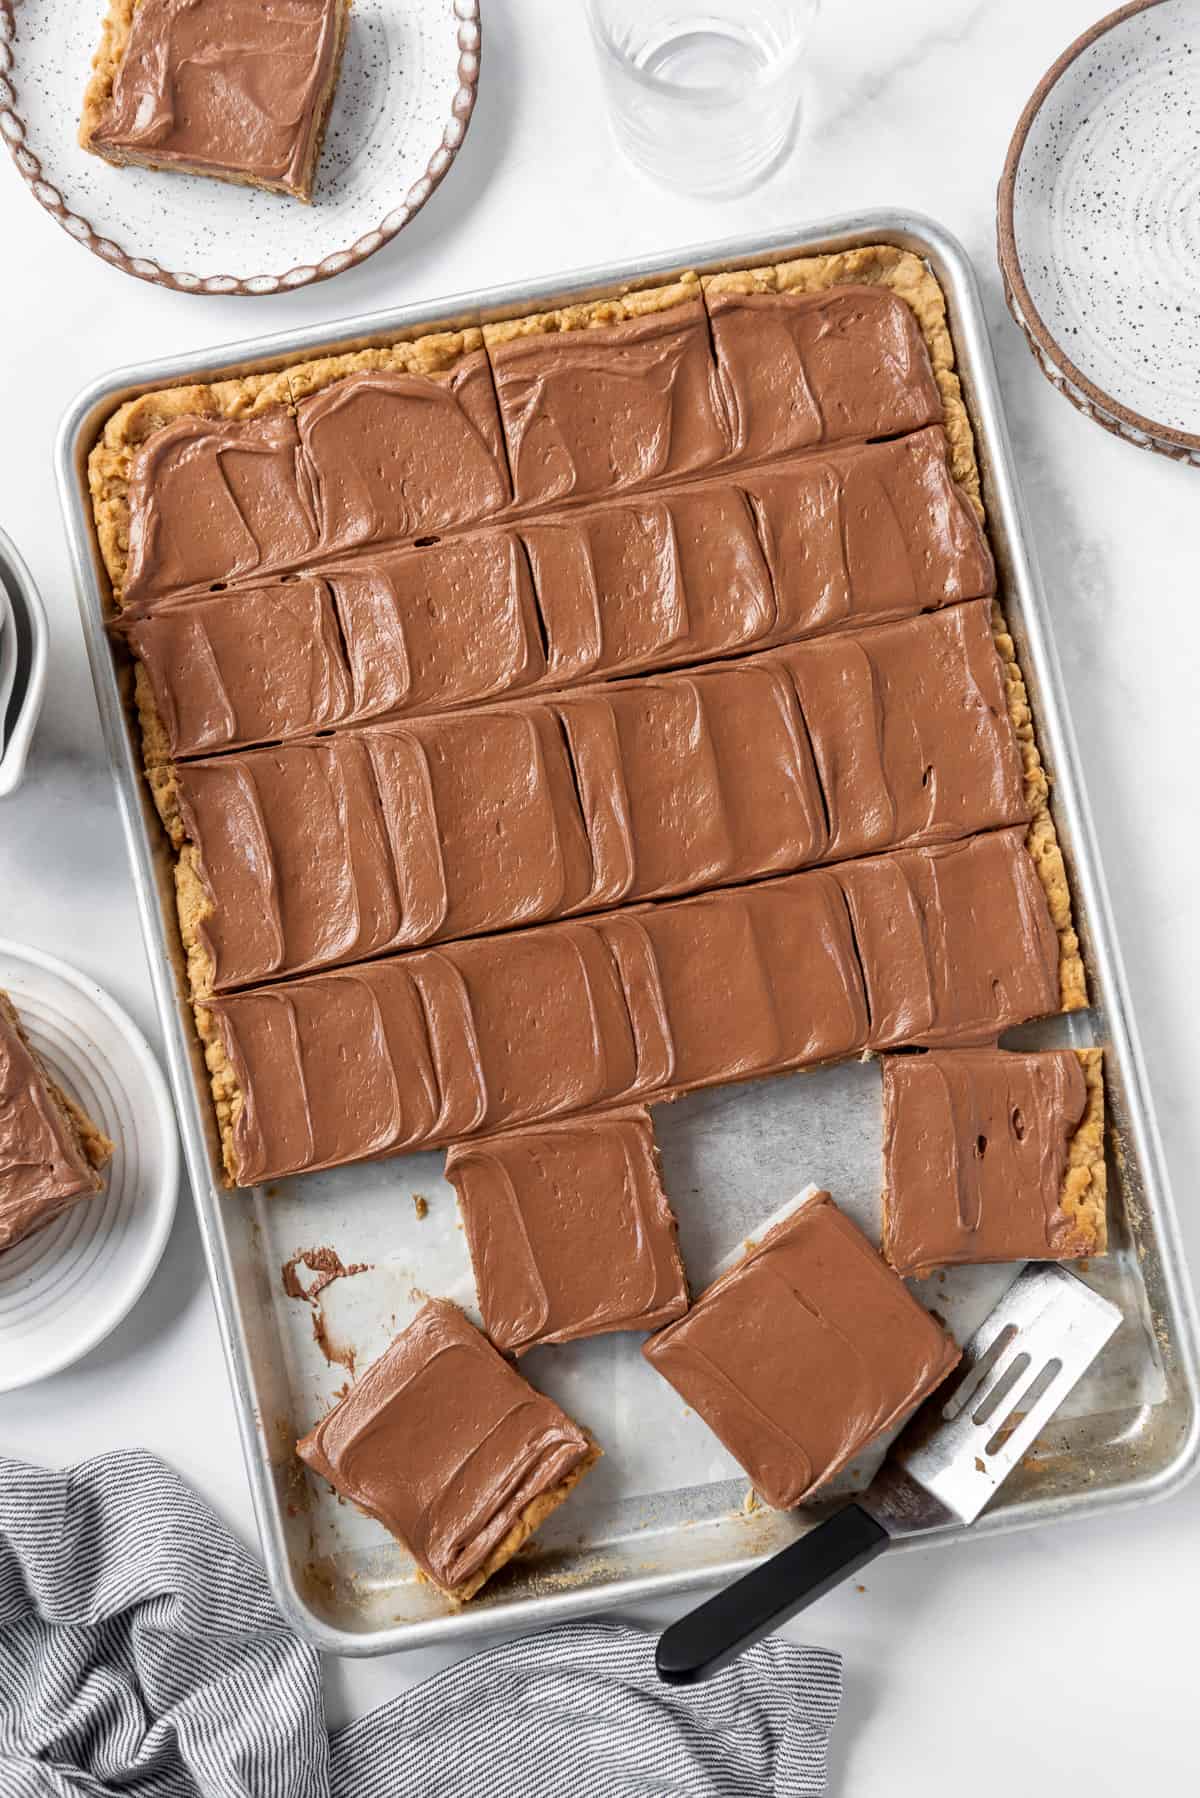
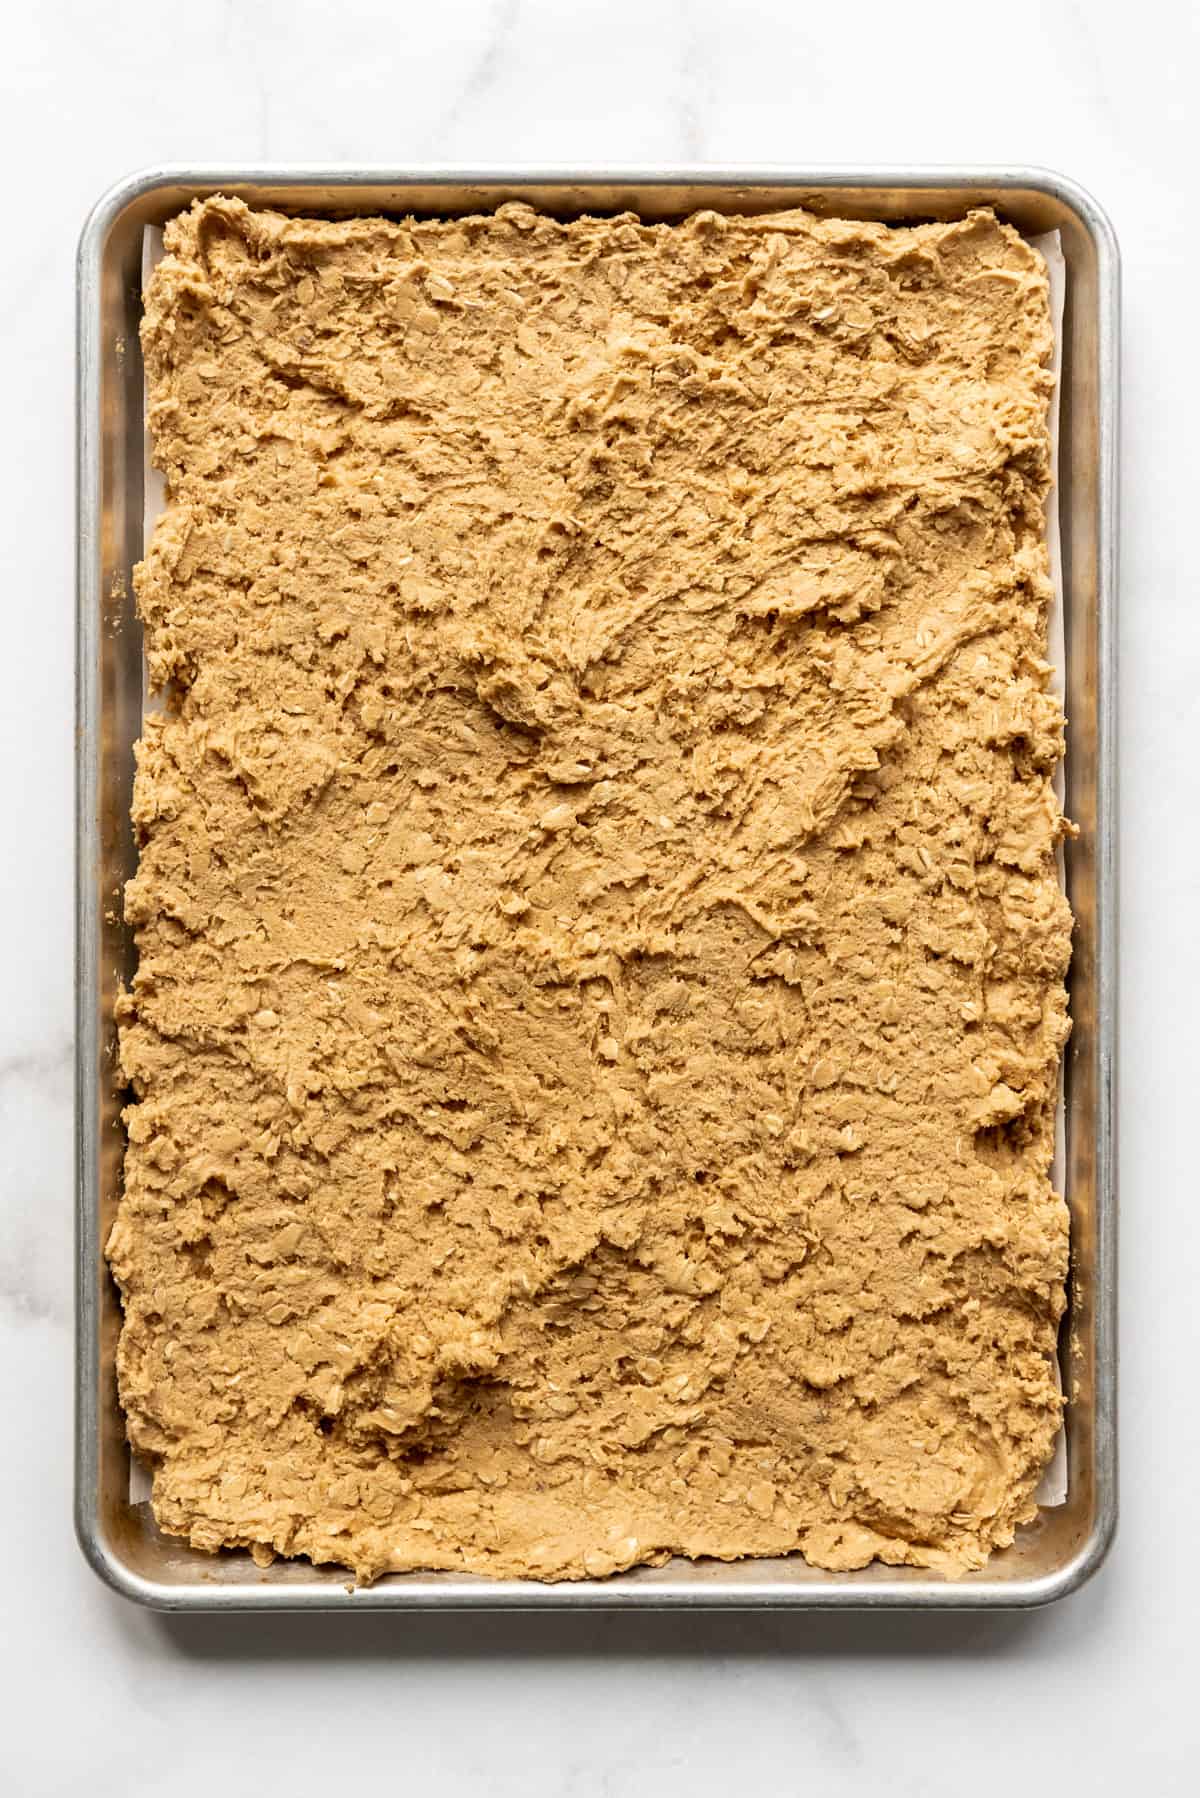
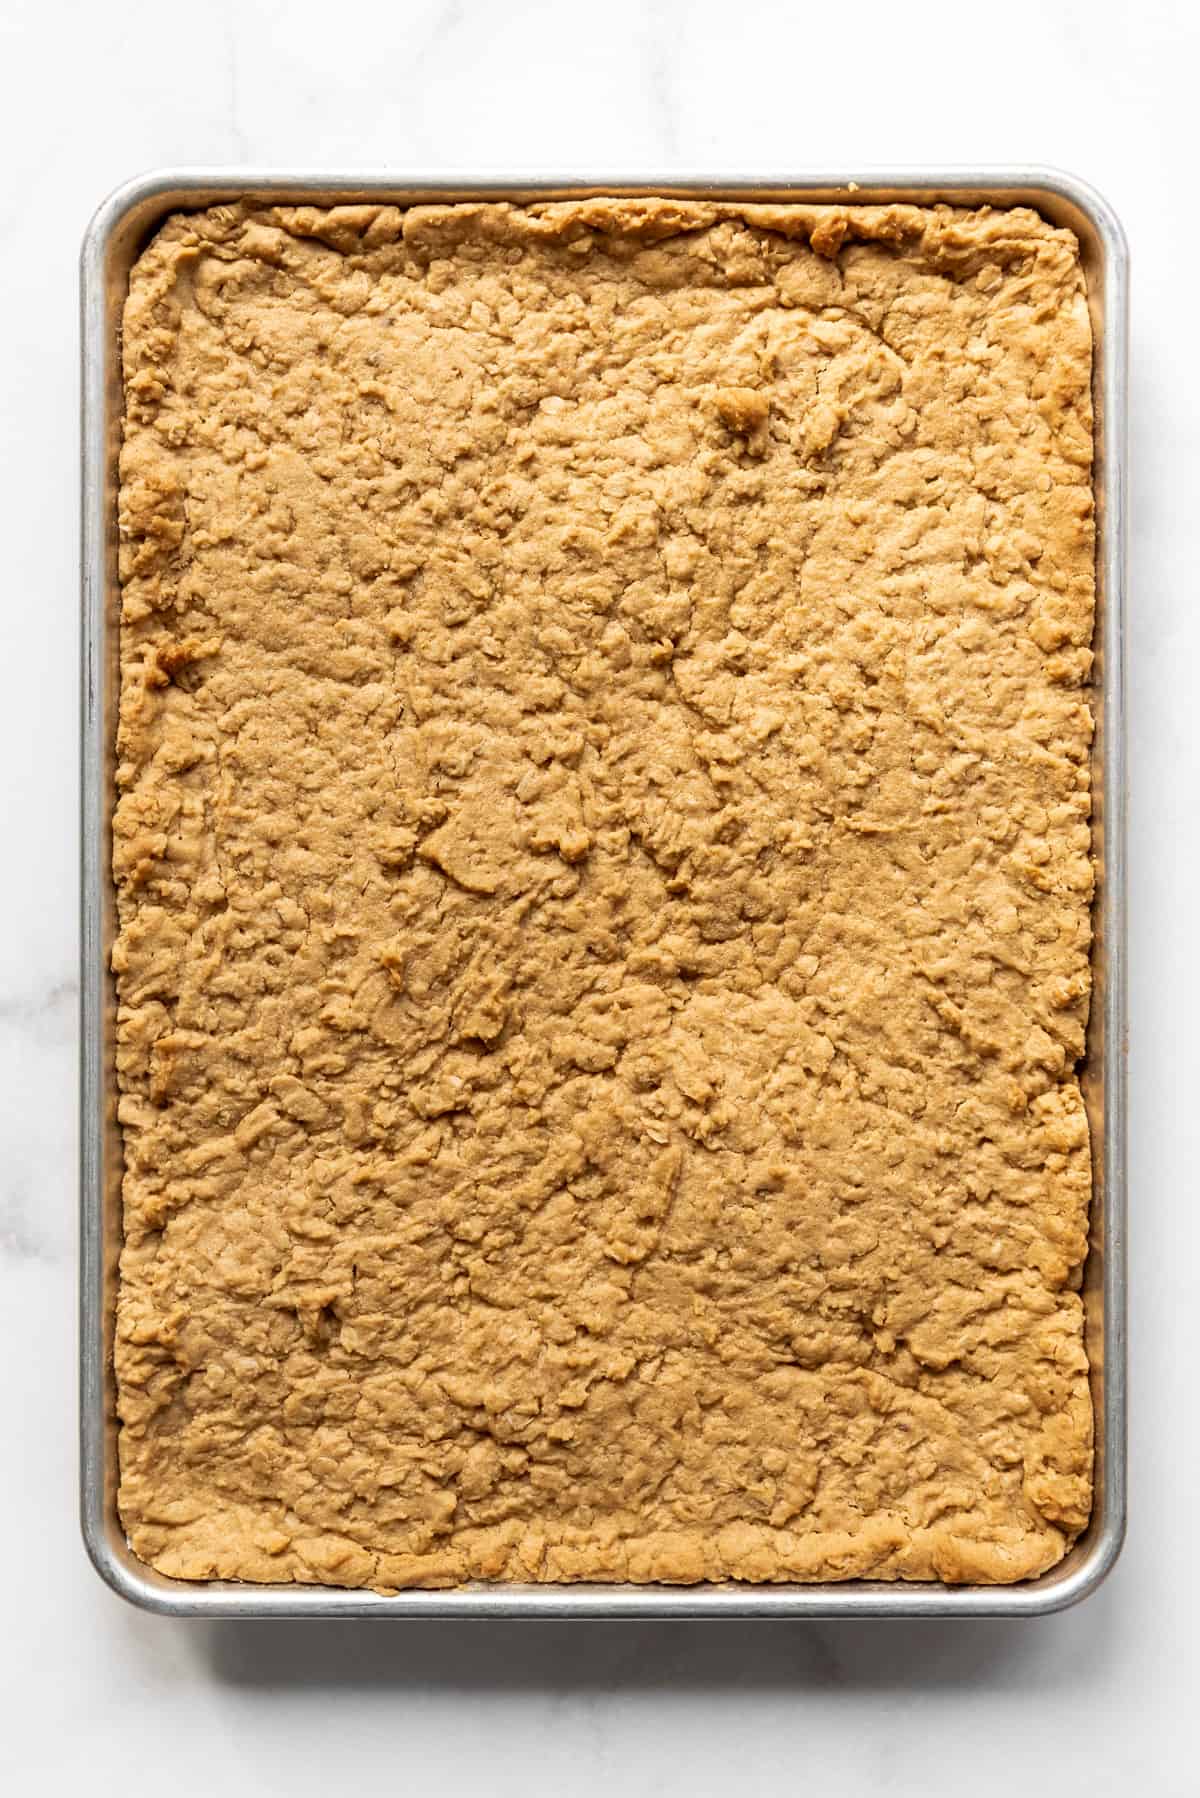
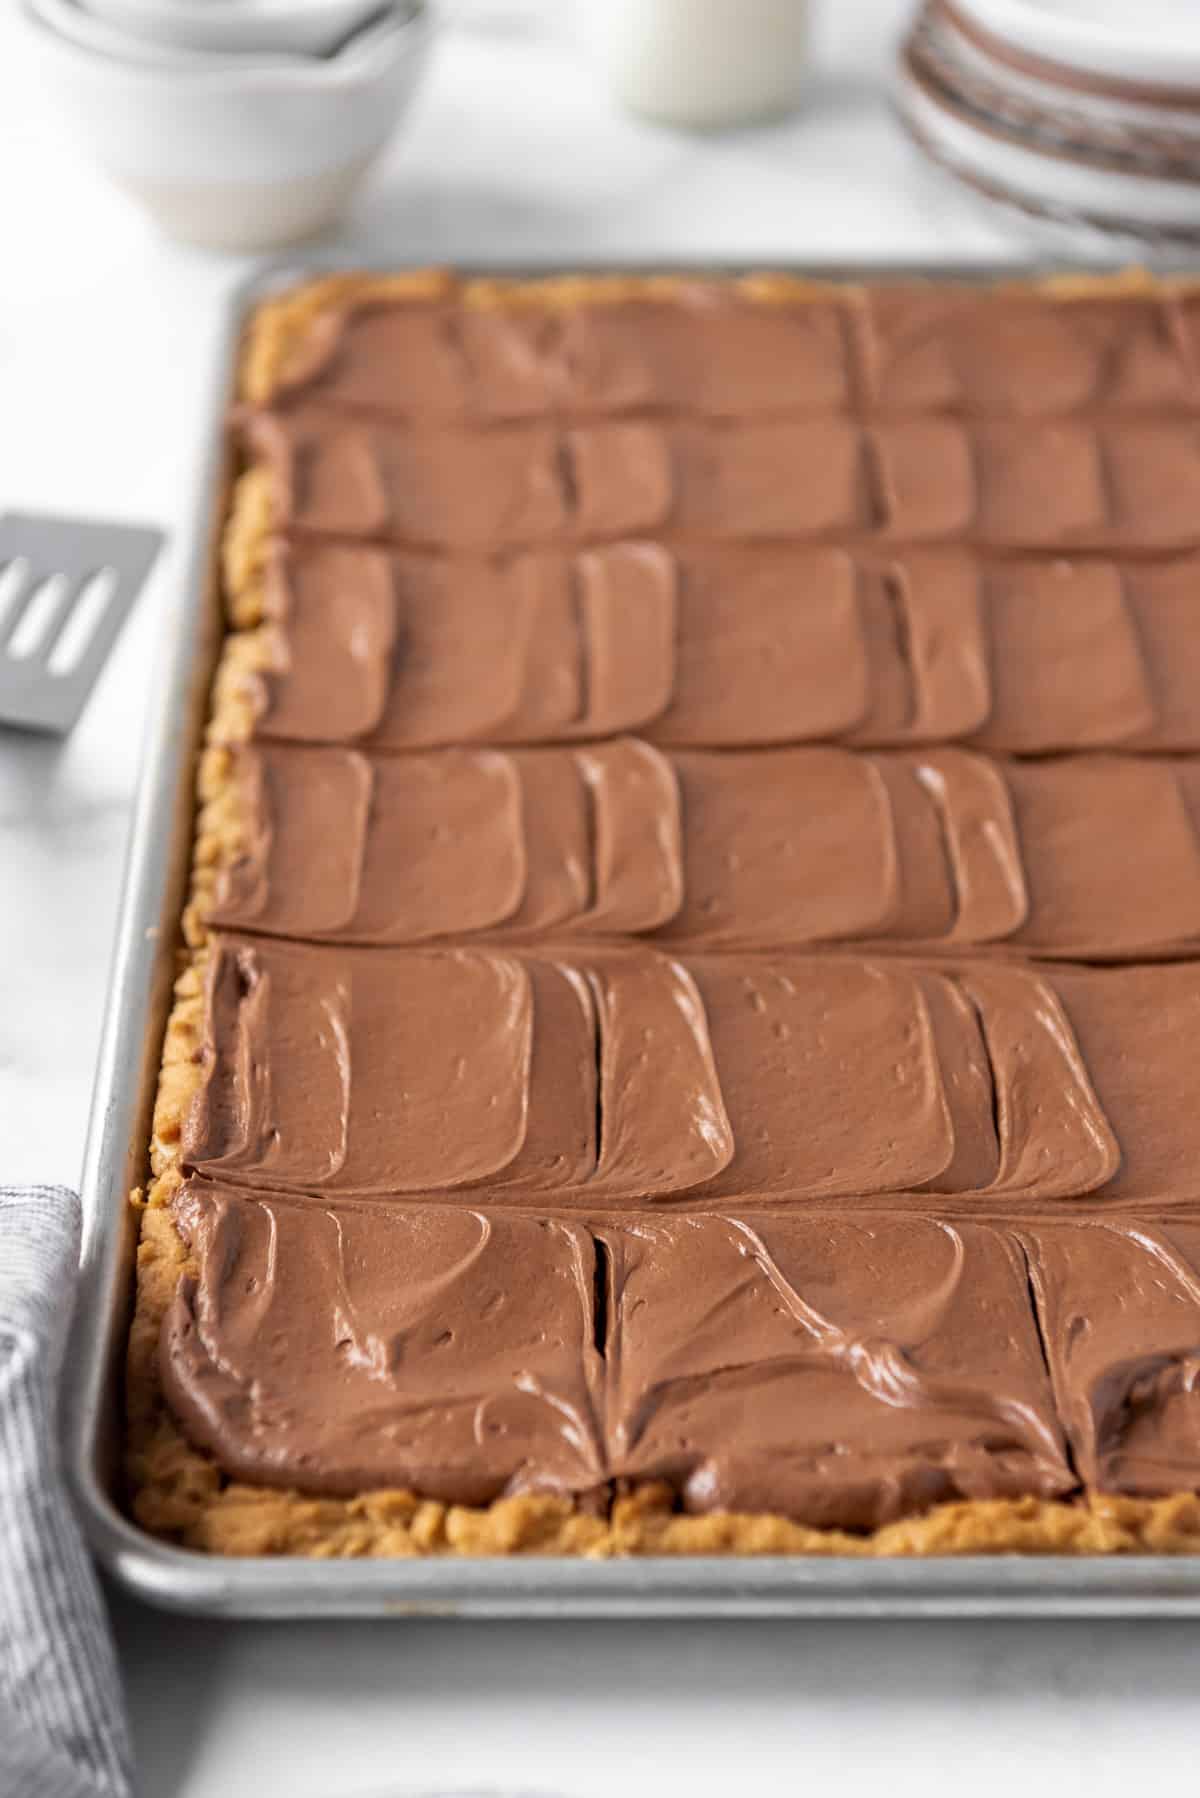
Spread or press the cookie dough into a half baking sheet that has been sprayed with baking spray. These are the normal sized 13″x18″ rimmed baking sheets that we use all the time for making cookies.
The dough is thick, but you should be able to press it into the corners of the pan using a spatula. It doesn’t need to be perfect since the soft dough will spread and puff a bit as it bakes anyway. Bake for about 15 minutes until the edges are barely turning golden brown and the bars are set, but don’t overbake.
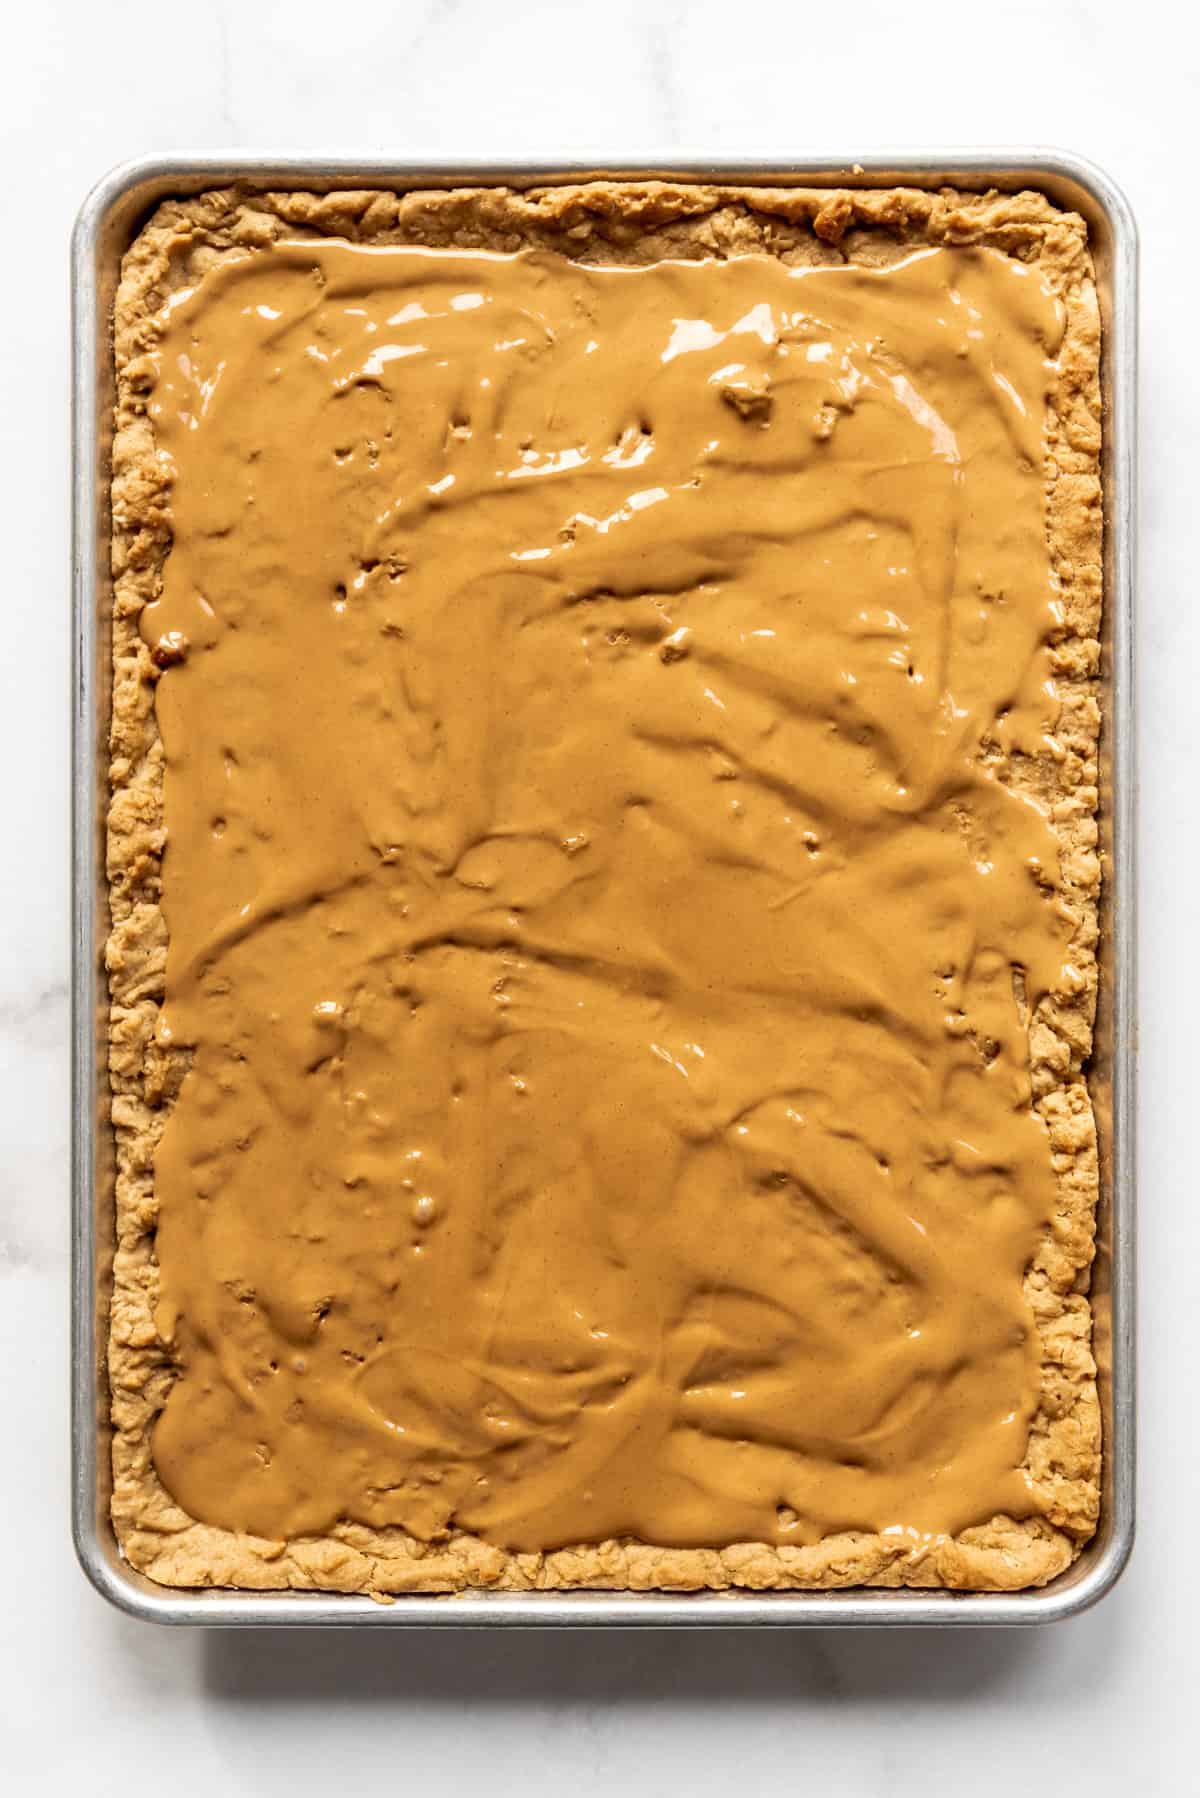
While the bars are still hot, heat some additional peanut butter in the microwave for 45-60 seconds until it’s melted, then drizzle it over the top and spread it in a thin, even layer.
You could just plop on some spoonfuls of the peanut butter without bothering to melt it in the microwave and the residual heat of the bars will do most of the work for you, but sometimes it doesn’t quite melt all the way and when I go to spread it the warm, soft cookie part underneath lifts up, so I think it’s worth it to melt the peanut butter first.
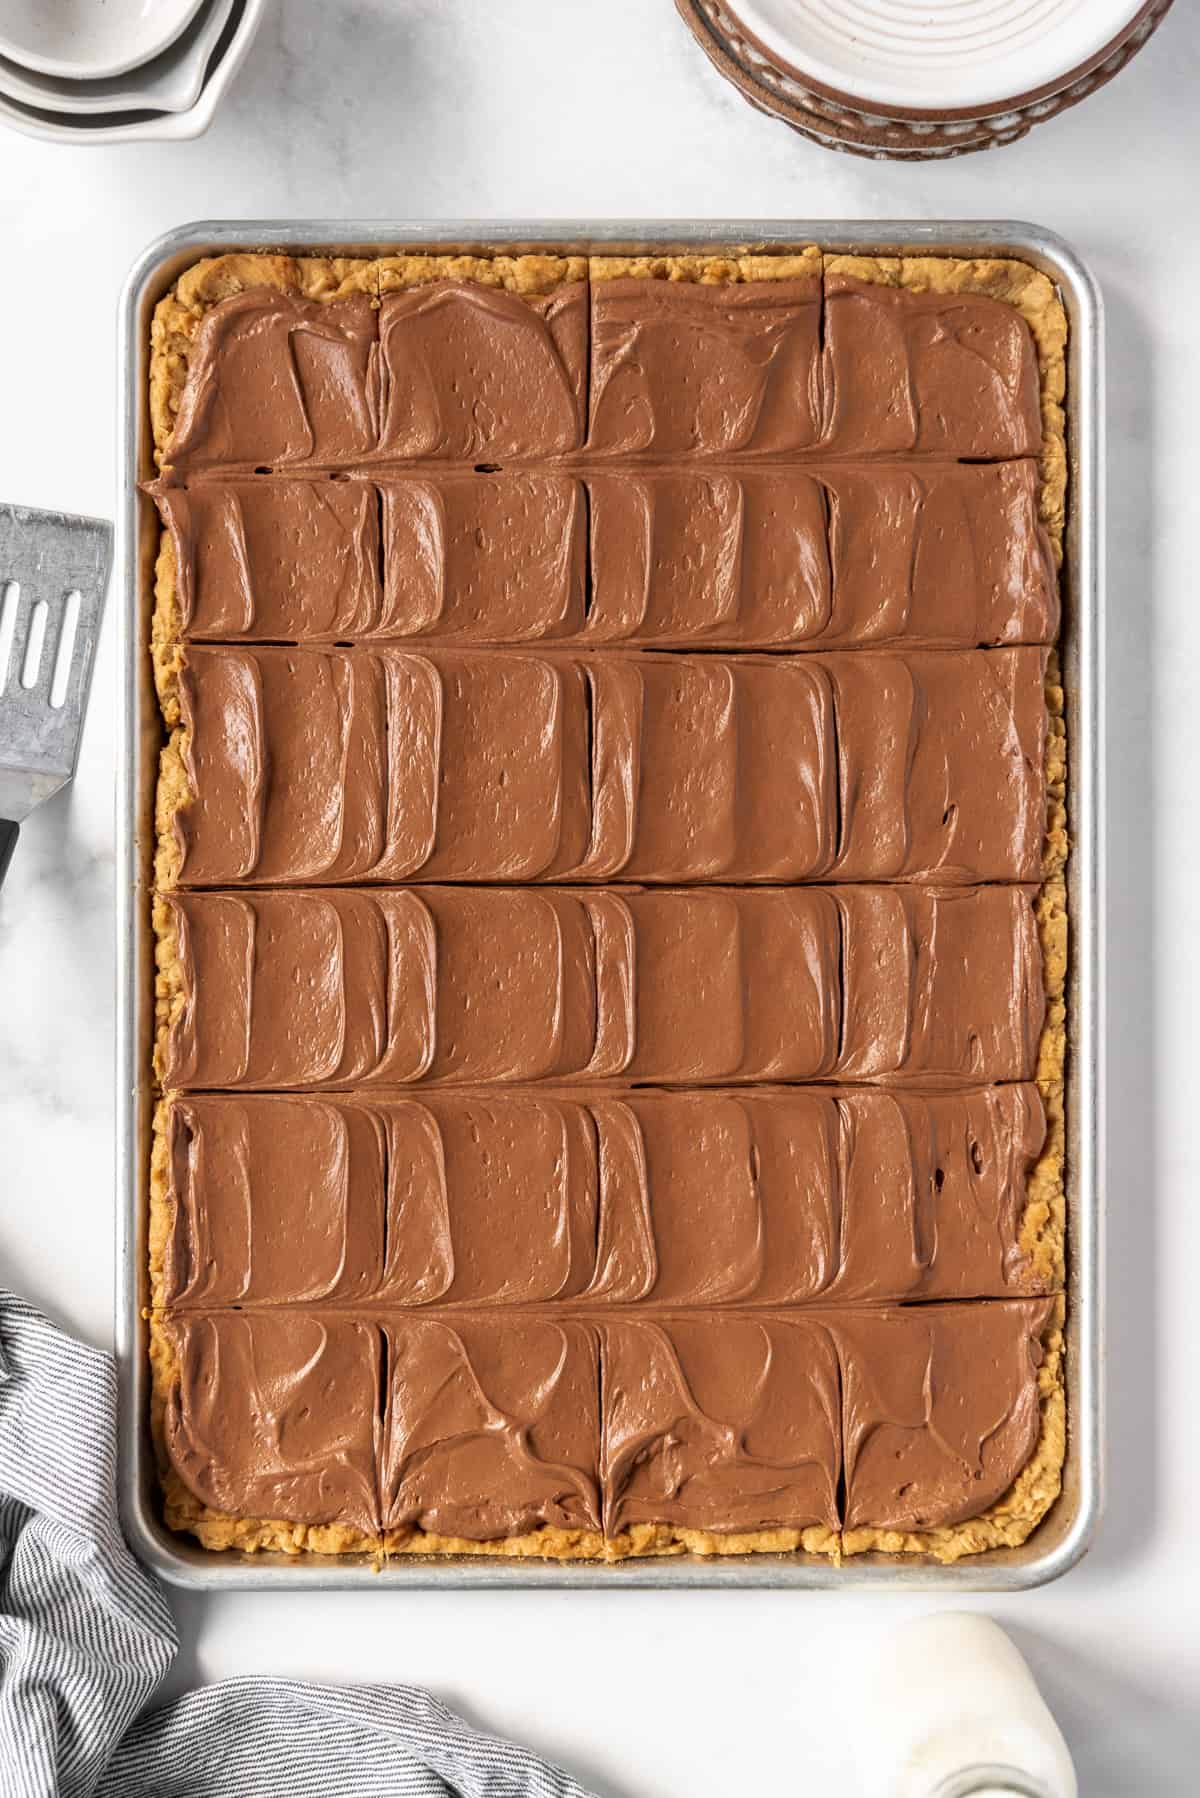
Let the bars cool COMPLETELY at this point. It’s painful to wait, I know, but if you top them with the chocolate frosting while the bars are still warm, the frosting will melt. Once the bars are cool, the peanut butter will solidify back into a firm layer and you can easily spread the chocolate frosting on top of the bars.
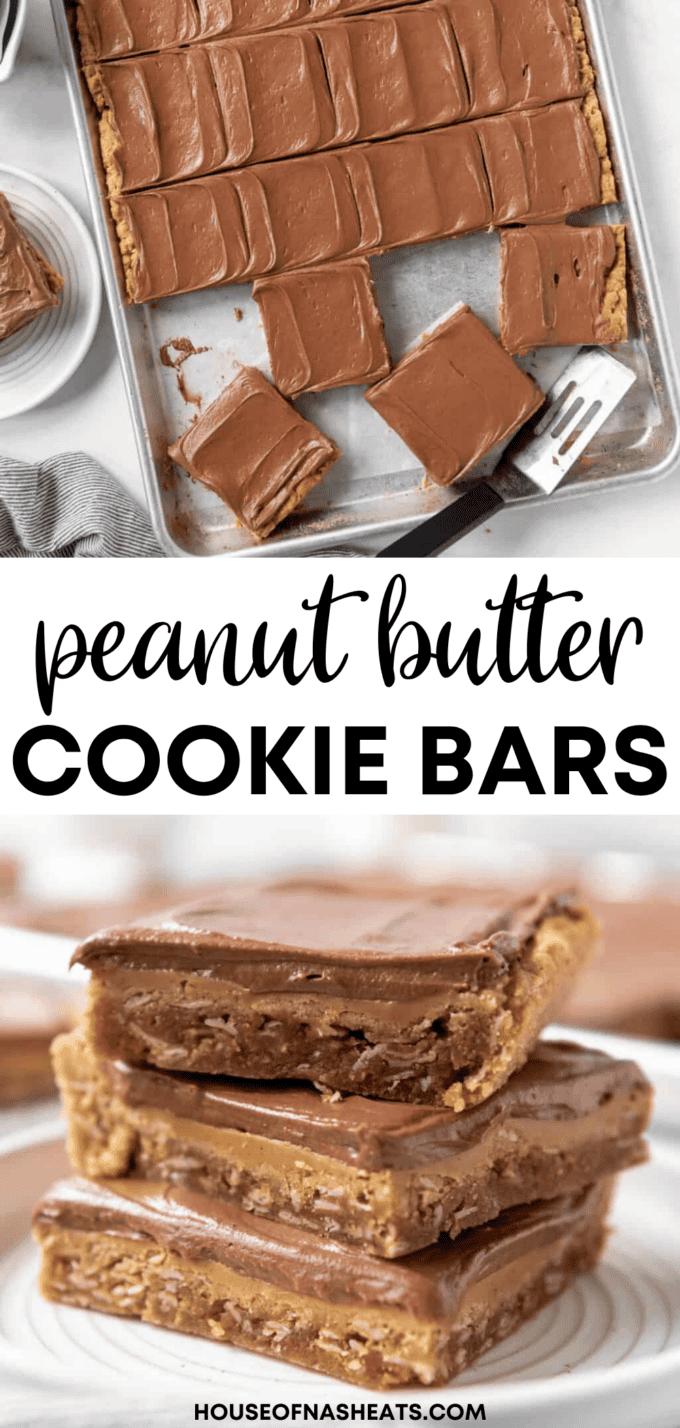
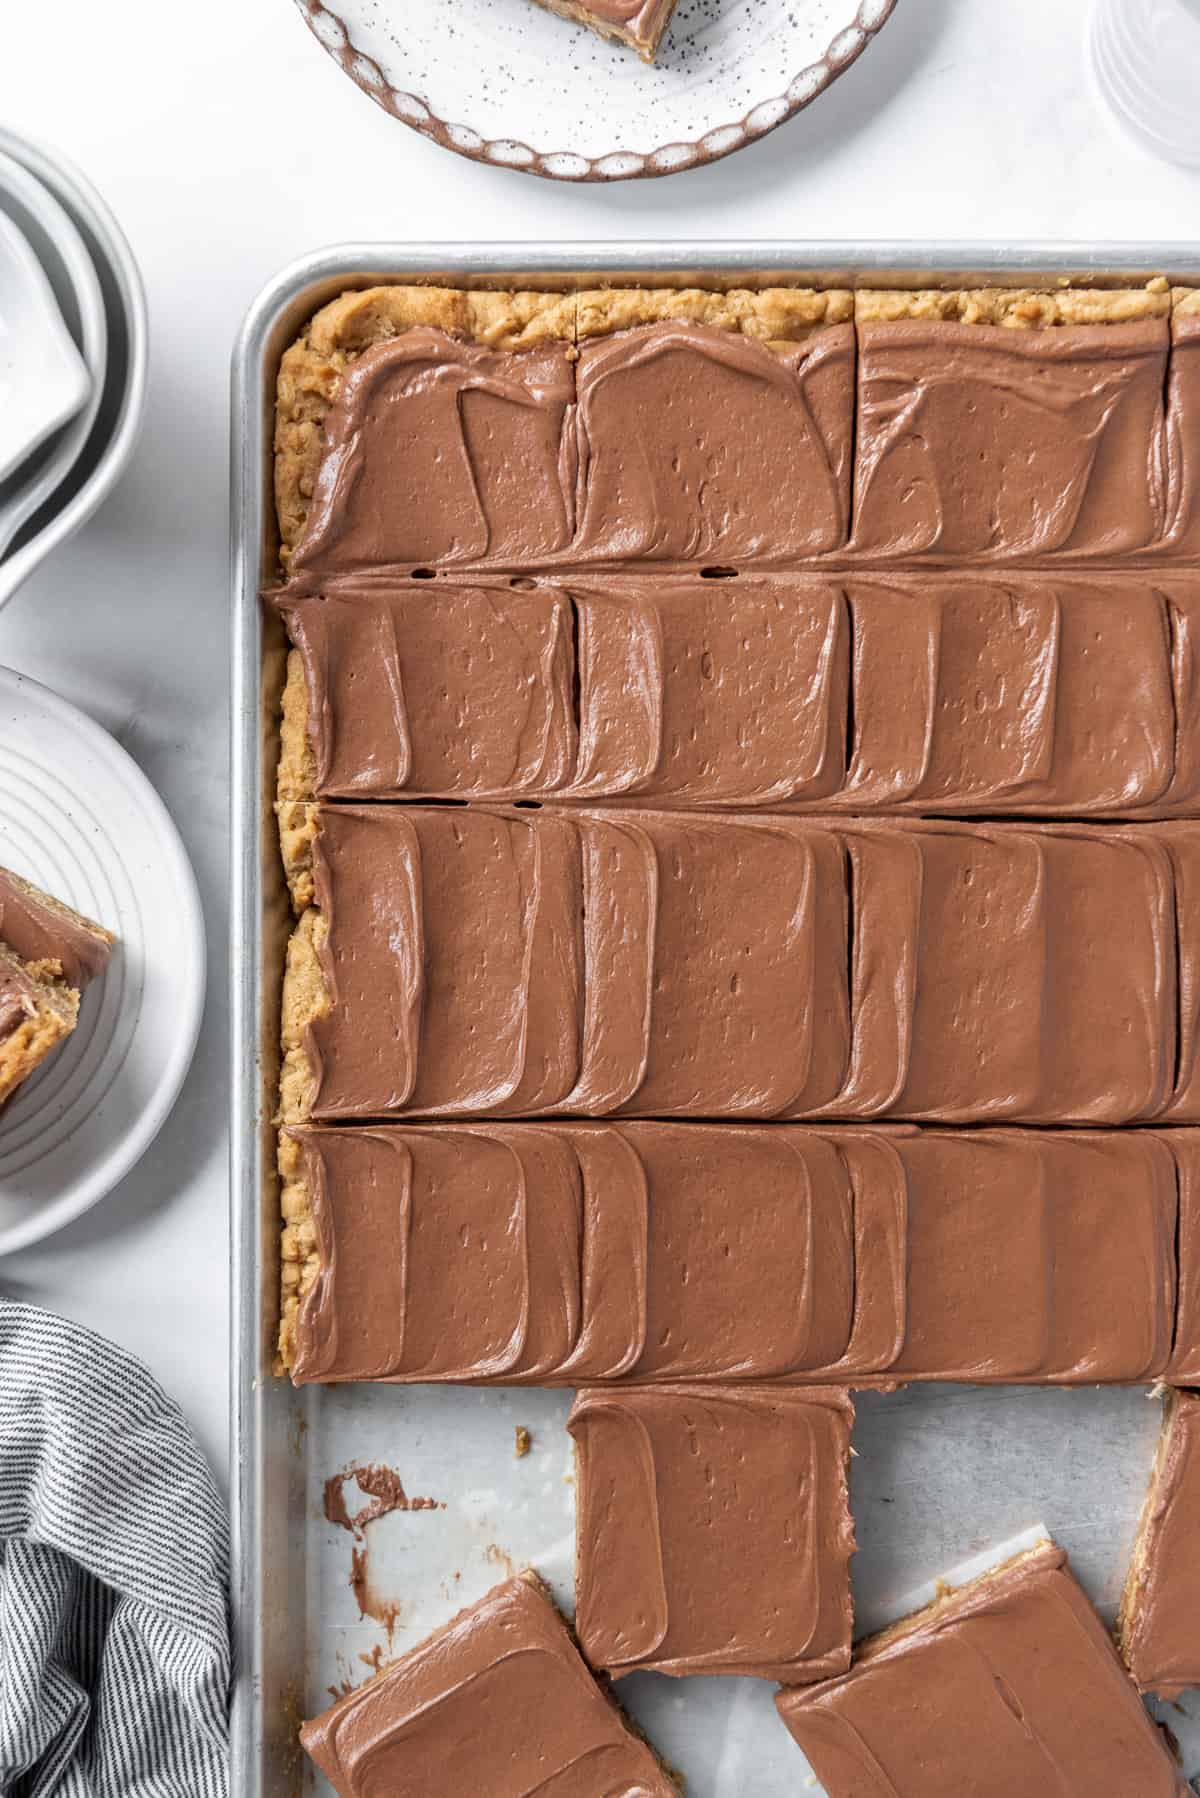
Slice them into large squares (this recipe makes 2 dozen large squares) or smaller rectangles, then serve.
Recipe FAQ’s
If you have a peanut butter allergy, these could definitely be made with cookie butter instead and I’m sure they would be delicious, just like my Biscoff Cookie Butter White Chocolate Chip Cookies. I’m also pretty sure almond butter or sunflower seed butter would also work just as well.
You can use a 1-to-1 gluten-free baking flour replacement for the flour in this recipe. Just be careful with your oats since some oats actually do have gluten in them.
Recipe Tips
- Storage: Keep your bars covered in an airtight container on the counter for 5-7 days. Some rimmed baking sheets come with a plastic lid that is perfect for just this sort of occasion. Or you can just cover them with plastic wrap once the frosting has dried and firmed up a bit. You can also keep the bars in the fridge and serve them chilled, if you prefer.
- Freezing: These freeze great for 2-3 months. For easier storage, I recommend slicing and separating the bars, then freezing them individually for an hour to set the frosting. Then you can transfer them to a freezer-safe container and stack them so they don’t take up as much space in the freezer.
- Variation: If you STILL can’t get enough peanut butter chocolate action, try chopping up some Reese’s peanut butter cups to sprinkle on top. Or sprinkle with some Reese’s Pieces or chopped dry roasted peanuts instead.
More Dessert Bar Recipes
- Carmelitas (Oatmeal, Chocolate, Caramel Bars)
- Oatmeal Fudge Bars
- Pecan Pie Cheesecake Bars
- Classic 7 Layer Bars
Lunch Lady Peanut Butter Bars
Ingredients
Bars
- 1 cup (227g) salted butter softened
- 1 cup (200g) granulated sugar
- 1 cup (200g) packed light brown sugar
- 2 1/2 cups creamy peanut butter
- 2 large eggs
- 2 teaspoons vanilla extract
- 2 cups (282g) all-purpose flour
- 2 cups old-fashioned oats
- 1 teaspoon baking soda
- 1 teaspoon salt
Frosting
- 1/2 cup (114g) salted butter softened
- 3 cups (320g) powdered sugar
- 4 Tablespoons cocoa powder
- 1/4 cup milk
- 2 teaspoons vanilla extract
Instructions
- Preheat oven to 350℉ (177℃). Spray a half-sheet baking sheet (13"x18") with baking spray.
- Beat the butter, granulated sugar, brown sugar, and 1 cup of the peanut butter in a mixer until creamy and light. Add eggs and vanilla extract, then beat again, scraping the bottom and sides of the bowl.1 cup (227g) salted butter, 1 cup (200g) granulated sugar, 1 cup (200g) packed light brown sugar, 2 large eggs, 2 teaspoons vanilla extract, 1 cups creamy peanut butter
- Add the flour, oats, baking soda, and salt. Mix just until combined. Spread the peanut butter oatmeal cookie dough into the prepared pan with a spatula. Bake for 15-17 minutes until golden brown around the edges and barely set in the middle. Do not overbake.2 cups (282g) all-purpose flour, 2 cups old-fashioned oats, 1 teaspoon baking soda, 1 teaspoon salt
- While the peanut butter oatmeal cookie base is still hot, melt the remaining 1 ½ cups of peanut butter in the microwave in a microwave safe bowl for 1 minute, then drizzle over the top of the bars, spreading it into an even layer with a spatula or knife. Let cool completely until the peanut butter has firmed up. This can be sped up by sticking the bars in the fridge.1.5 cups creamy peanut butter
- Make the chocolate frosting by beating the butter, powdered sugar, cocoa powder, milk, and vanilla extract in a large bowl until smooth. Spread in an even layer over the cooled bars, then cut into squares.½ cup (114g) salted butter, 3 cups (320g) powdered sugar, 4 Tablespoons cocoa powder, ¼ cup milk, 2 teaspoons vanilla extract
Video
Notes
- Storage: Keep your bars covered in an airtight container on the counter for 5-7 days. Some rimmed baking sheets come with a plastic lid that is perfect for just this sort of occasion. Or you can just cover them with plastic wrap once the frosting has dried and firmed up a bit. You can also keep the bars in the fridge and serve them chilled, if you prefer.
- Freezing: These freeze great for 2-3 months. For easier storage, I recommend slicing and separating the bars, then freezing them individually for an hour to set the frosting. Then you can transfer them to a freezer-safe container and stack them so they don’t take up as much space in the freezer.
- Variation: If you STILL can’t get enough peanut butter chocolate action, try chopping up some Reese’s peanut butter cups to sprinkle on top. Or sprinkle with some Reese’s Pieces or chopped dry roasted peanuts instead.
- Gluten-free version: You can use a 1-to-1 gluten-free baking flour replacement for the flour in this recipe. Just be careful with your oats since some oats actually do have gluten in them.
- Allergy-friendly: If you have a peanut butter allergy, these can be made with cookie butter, almond butter, or sunflower seed butter instead.
- This recipe is on page 224 of my cookbook, House of Nash Eats Everyday!

If this doesn’t take me back to childhood! These were always the best for school lunches! Excited to give these a try!
I remember these, but ours came sans the frosting. So good. Looking forward to trying this as well.
These are actually truly irresistible. I ate 3 before I made my husband take them away from me so I wouldn’t eat the whole batch.
Glad to hear they were such a hit, Marie! 🙂
Just made these, and they’re perfect! Such a good peanut butter flavor. New favorite. Thanks for sharing!
Yay! I’m glad they were a hit!
The absolute best thing ever!
MMMMM
Super yummy. I made these as soon as I found the recipe. I used canned fudge frosting instead making it because I had some on hand. Also, I only made 1/4 of the recipe. Full recipe would have been way too much.
These are very good!
Best lunch lady pb bars ever!! I make them for almost every event I go to because everyone raves about how amazing they are!
What size of pan did you use?
Hi! Just a regular cookie sheet which is a half-sheet baking sheet (13″x18″).
I have had these.. they are delicious 🙂
they look Good will make them soon,thanks
I made the bars WITHOUT the pb topping and frosting and they are INCREDIBLE. They are thin but dense and super moist and chewy. A keeper recipe fir sure. Thank you!
We use to make these bars only we called them “Magic cookie bars!
My family loves these bars,I made them for memorial day all gone same day, but I’d double it.
Thank you for sharing your recipes! I enjoy trying new recipes. I live on a farm and I’m always baking things for a lunch break for the guys working out on the farm! Will enjoy your recipes!
I’m glad you found my site! Let me know if there is anything you are looking for that you don’t see!
Halve recipe for 13×9 pan.
Made this today, was really good thanks for sharing
These are awesome. So awesome, in fact, that I cannot make these too often or I’d better be taking these somewhere as a dish to pass!!! lol
Thanks for the recipe :))
Ha ha Oh I completely understand. If I make these I have to plan on giving some to friends or else I will eat them all! They’re so good! Thanks for the review!
Thanks for your good 👍 Recipe,s
Thank you for letting me have your Recipes l like the old recipes the Best 😜
Delicious everytime! For cookie base, I used 1/2 cup of Biscoff cookie butter and 1/2 cup of peanut butter. Always a hit and perfect for large crowds.
Can I use self rising flour to make these with?
I don’t see why not. I would just omit the baking soda and maybe decrease the salt to 1/2 teaspoon.
I assume I need to use whole milk? Not 2% or 1%?
Honestly it doesn’t matter. You can use any type of milk. Whole milk will make it a tad creamier but it’s such a minimal amount that you probably won’t even notice the difference. I’ve made the frosting with with 2% and 1% and haven’t noticed a huge difference.
This is the yummy treat I’ve had in a while. I added melted chocolate chips w/coconut oil drizzled over the top to add a little crunch and a finishing touch.
These bars are delicious!!! The kids loved them!
We love them too! I’m so glad you enjoyed them!
Perhaps I’m misreading, the weight for the butter by grams in the frosting portion is the same weight listed in the cookie base. Am I using a full cup of butter for the frosting?
No, sorry! That was a typo. I fixed it!
This is exactly the kind of desert I like, and this recipe was perfect. I live alone so I cut all the ingredients amounts down by 1/2 and made a 9×13 (quarter sheet). The cookie bake is exactly right, crunchy edges, chewy insides – the melted PB layer adds depth, like you said (I used chunky Skippy) and the chocolate layer is rich and sweet without being too sweet. It’s five stars for me – chefs kiss. You did the lunch ladies proud.
p.s. I came here by way of FB, via BareFeetInTheKitchen
Aww, thank you, Lisa! I love that you made a half batch – I have this one on my list for a small batch version because we are a family of four and this makes a BIG pan and it’s always sooooo tempting for me.
Very good recipe!! Easy to follow and tastes excellent. They were just a touch to sweet though. I would recommend adding a pinch of salt to the chocolate frosting, and I may even half the frosting recipe next time as well because I had quite a thick layer. But, will definitely make again!!
Thanks! Yes, adjust to how you like it!
I just finished making these and the people have just finished taste testing. Everyone is raving about them and asking when I’ll be making them again. The answer is, soon, very very soon!!
The couple of things I did differently than the written recipe:
1. For the middle peanut butter layer I used half of what is called for (so, 3/4 of a cup) and it is just right, for us.
2. I felt like the 13 x 18 inch sheet would be stretching the batter very thin and so I used a 15 x 10 inch sheet and basically the same baking time applied (18 minutes), they cooked just fine. They really aren’t very thick at all either, I’m glad I went with the slightly smaller cookie sheet.
These are fantastic, delicious, all the yummy words! Thanks so much for offering up this recipe, thrilled to have found it.
So good!!! Like a pb oatmeal cookie with chocolate icing. Perfect amount of sweetness and chew. Saved.
Perfect texture and so so delicious
Thank you!
Made this for my family and colleagues at work and they just couldn’t get enough of them….easy to make! Great job!
Great! This is one of my favorites. I can never make them because I want to eat the whole pan!
These squares are easy to make and so good. The recipe makes a lot so we freeze most and take them out as need. Highly recommend trying this recipe!
Good idea to freeze! It does make a lot so storing in the freezer would be great!
This recipe is sooo delicious and so easy! I even make iit easier by combining the peanutbutter with the frosting so I onlybhave tonspread once, and it’s still to die for! Thanks for the fun, nostalgic recipe!
This recipe is so delicious and so easy! I even make it easier by combining the peanut butter with the frosting so I only have to spread once. It’s still to die for! Thank you for this nostalgic recipe!
Thanks BJ! Oh man I can’t make these or I eat the whole pan. It is also very nostalgic for me!
This is quite possibly the best dessert I have ever made/eaten. I made a chocolate ganache with chocolate chips and heavy cream instead of the chocolate frosting, but they were still delicious. I will most definitely be using this recipe again.
Thank you so much! I love this one too Hope! I want to eat the whole pan when I make it.
My cookies were very dry, maybe next time I’ll use less oatmeal. And these don’t have that nice topping that we see. Therefore mine didn’t look like this.
If your cookies were dry, you overbaked them. Mine look exactly like the picture so maybe you need to try again.
Hi! Would quick cooking oats work as a sub for the old fashioned oats? (I know in some recipes the texture can be affected)
Thanks!
Yes, you could use quick oats. The bars will be softer and not quite as chewy, but it should work okay.
Good. I used banana extract in the frosting and it adds a banana-peanut butter flavour to the bar.
Oh wow! That would be interesting to try!
Hi Amy, sorry if this has been asked already, but can you make the frosting and have it stored in a bowl until the bars are cooled?
Yes you can make the frosting before and store in a bowl. Just frost when ready.
I want to make these and have many pans, none are 13×18. Even my largest , so I’ll have to see if I can borrow one. These sound so good
These are so good! You need to try them! A 13X18 pan is just a standard sized cookie sheet or half sheet pan. You can just try making it in smaller pans depending on the size of your pans?
WOW these are good! Like, dangerously good, and super easy to make!
Oh man April you are right on them being dangerously good. I can’t make these too often because I seriously want to eat the whole pan!
This is the best recipe I have found for peanut butter bars. My co-workers request these all the time as their birthday treats. I make sure to keep a supply of peanut butter on hand.
Your co-workers have great taste! Ha ha. I love these bars as well. I am happy you make these!
This recipe was great, I did use a 9 x 13 casserole dish which made them a little thicker and I did have to go a little longer in the oven. I’ll definitely do the baking sheet next time cause they could’ve been thinner but the flavors are wonderful my mom even compared it to Reese’s peanut butter cup.
So delicious. My grandkids love them
This recipe is one of my favorites! Happy to hear your grandkids loved them!
These bars are ridiculously good and so easy! I get asked to bring them to every function. I like my desserts underbaked a bit, so I only bake for 11 minutes. I also use heavy cream instead of milk in the frosting. Both are delicious but the cream makes it extra decadent.
I am so glad you liked it Jessie! This is one of my favorites. I love hearing how readers make recipes their own!
Question: pre-bake
Could I use rice krispies instead of oats? Looking for some crunch.
Hi Christina! I actually have a couple of recipes that would be good if you are looking for some crunch! My https://houseofnasheats.com/scotcheroos-recipe/ and https://houseofnasheats.com/chocolate-peanut-butter-crunch-brownies/ and https://houseofnasheats.com/rocky-mountain-avalanche-bars/ have some good crunch with peanut butter.
Excellent recipe and easy, my family enjoyed them and I had my husband take the rest to work and they got devoured quickly. Instead of milk for the frosting I used half and half since I had it on hand and it made the frosting slightly richer. Definitely a good go to recipe if you need to make something for a potluck or bring to an event.
Thanks Julie! This is one of my favorites so it makes me so happy when other people love it! I am ecstatic to be included as a go-to recipe!
These were so good! It made about 48 so my husband took some to work to share and I froze some. I added salt to the frosting. Such a great recipe!
Thank you Crissy! I have to get these out of the house when I make them or I eat them all! Sending them with your husband is a good idea. Also freezing them for later, yum!