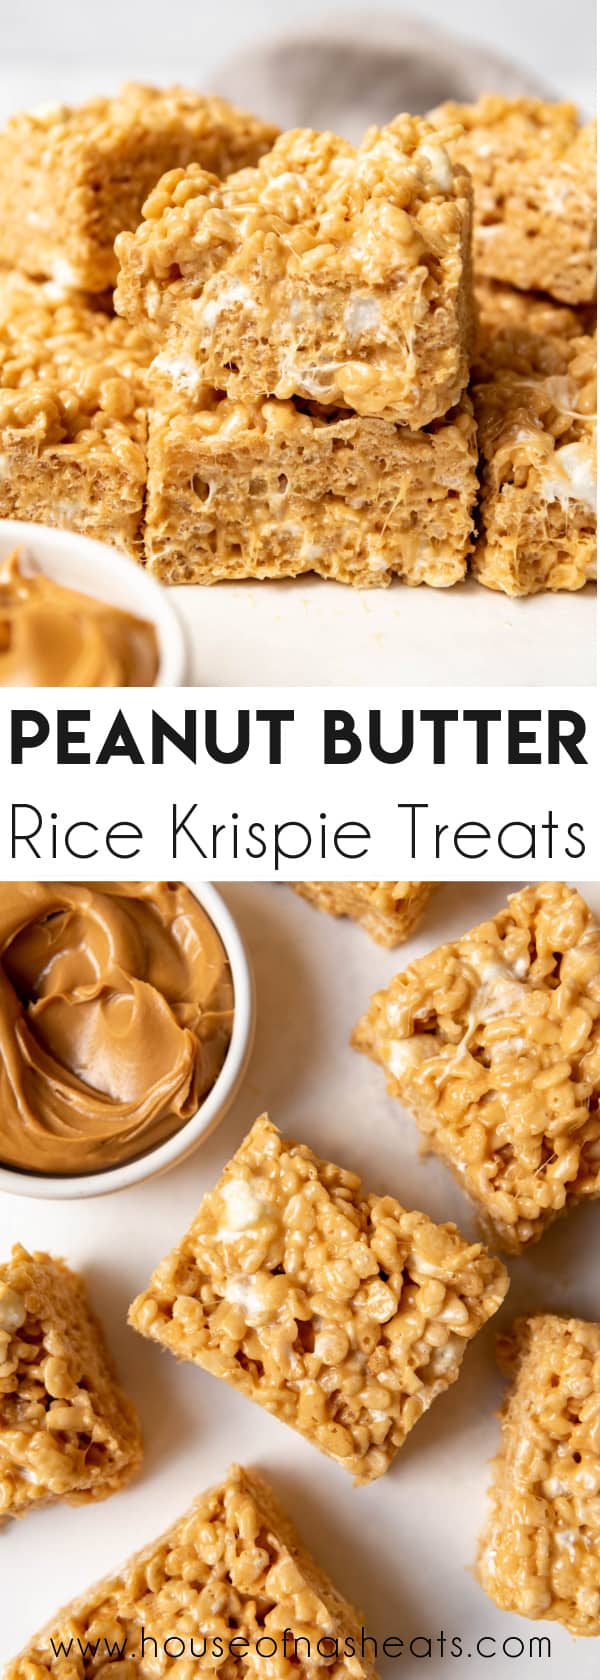
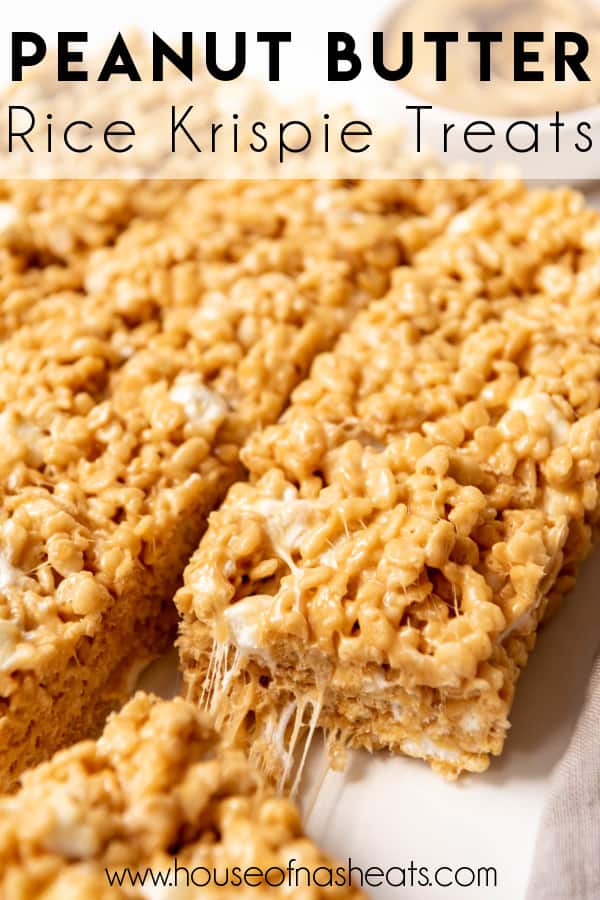
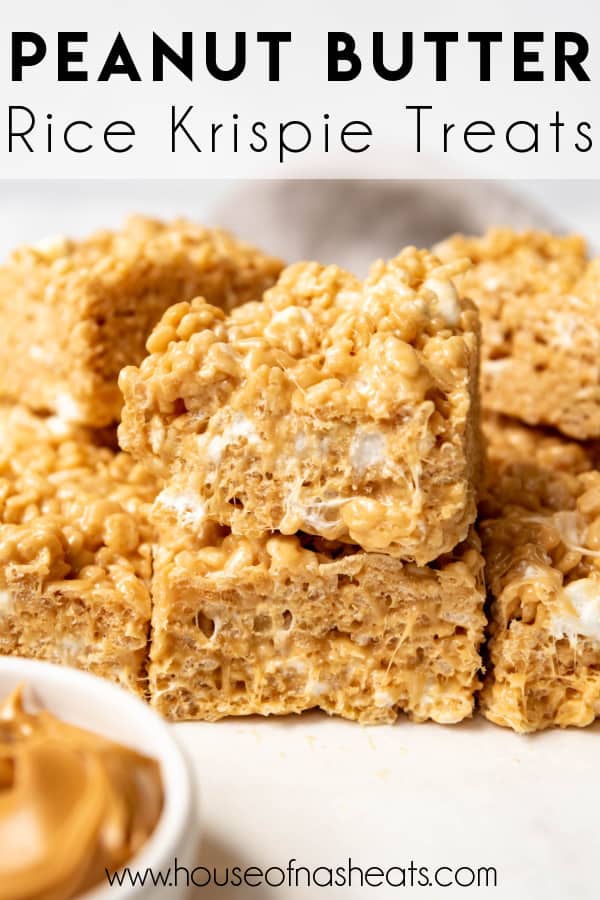
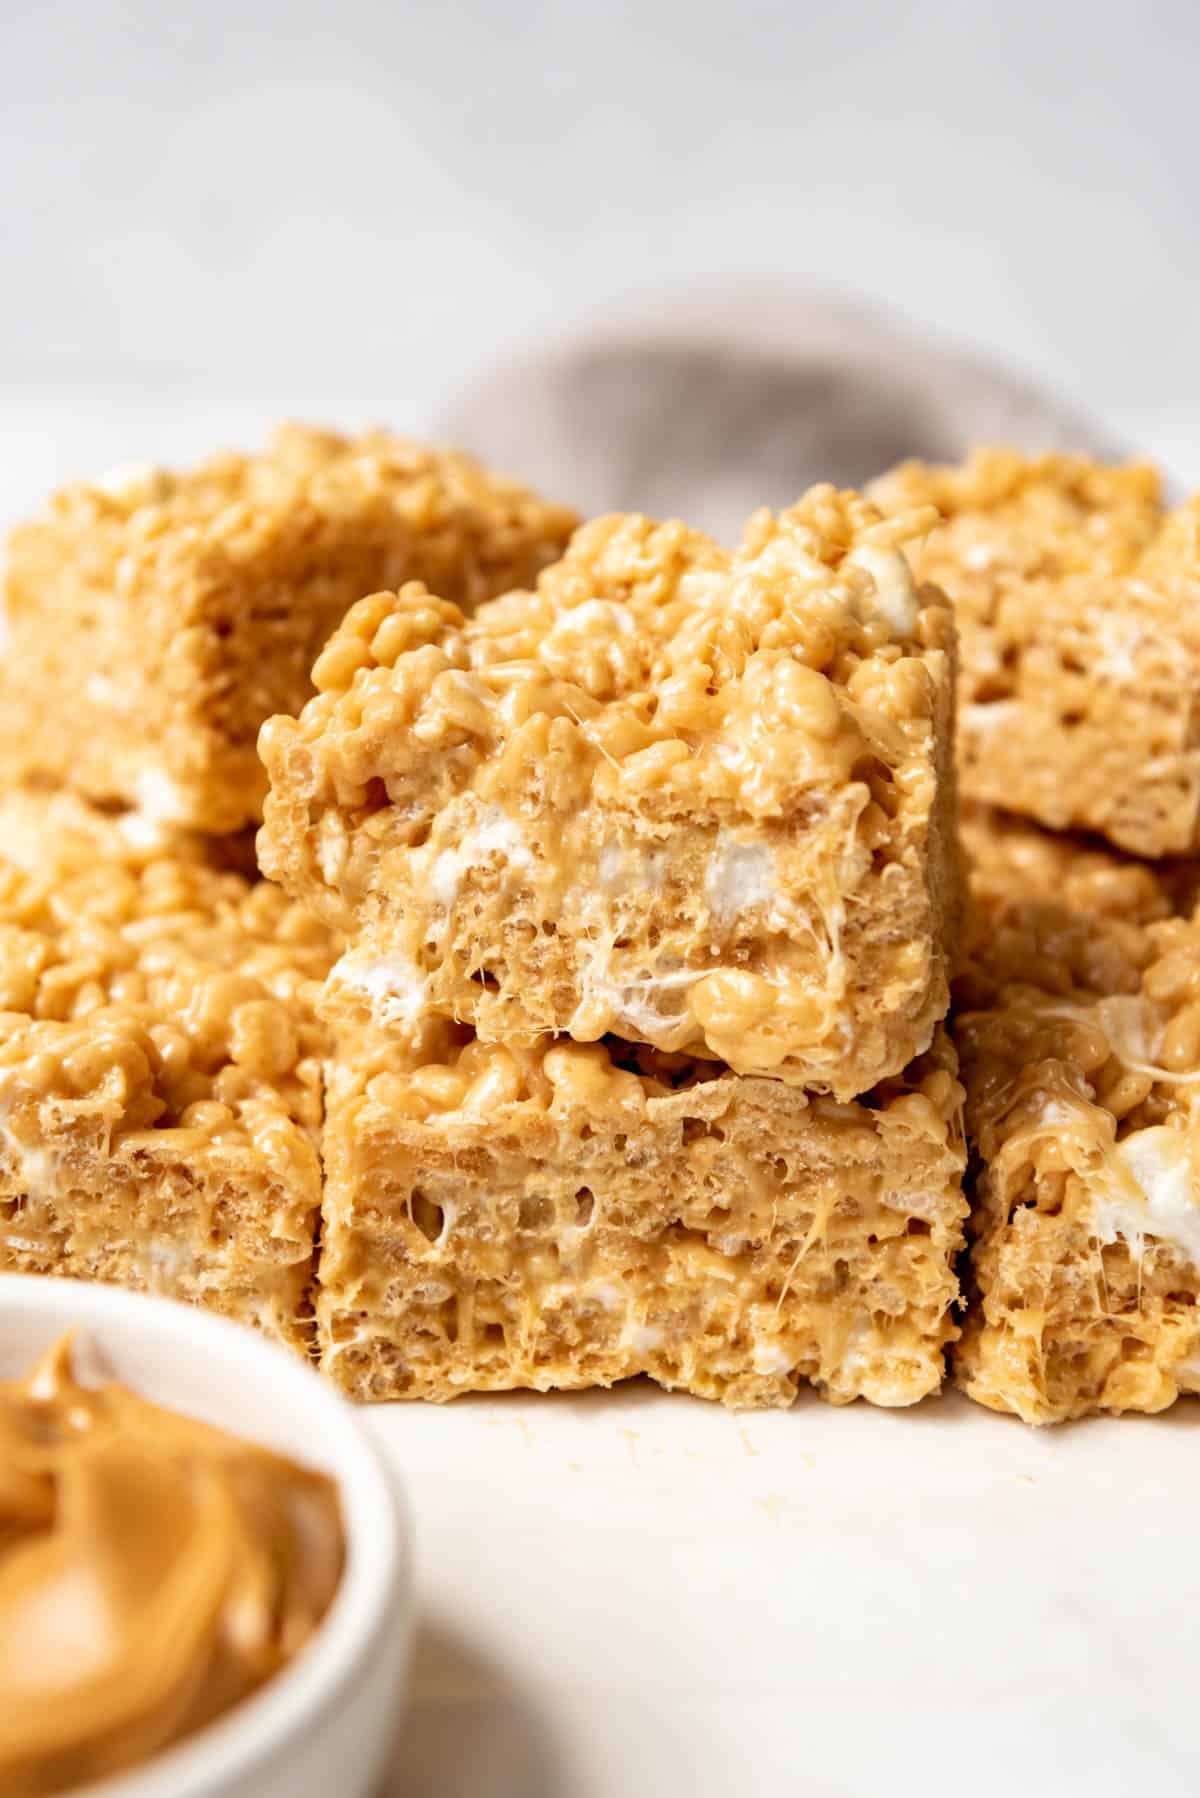
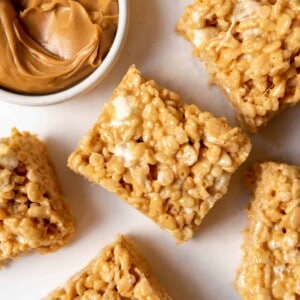
Peanut Butter Rice Krispie Treats are always a hit in my house! Loaded with marshmallows, smooth peanut butter, and crispy rice cereal, they are wonderfully crispy, super ooey gooey, and very sweet!
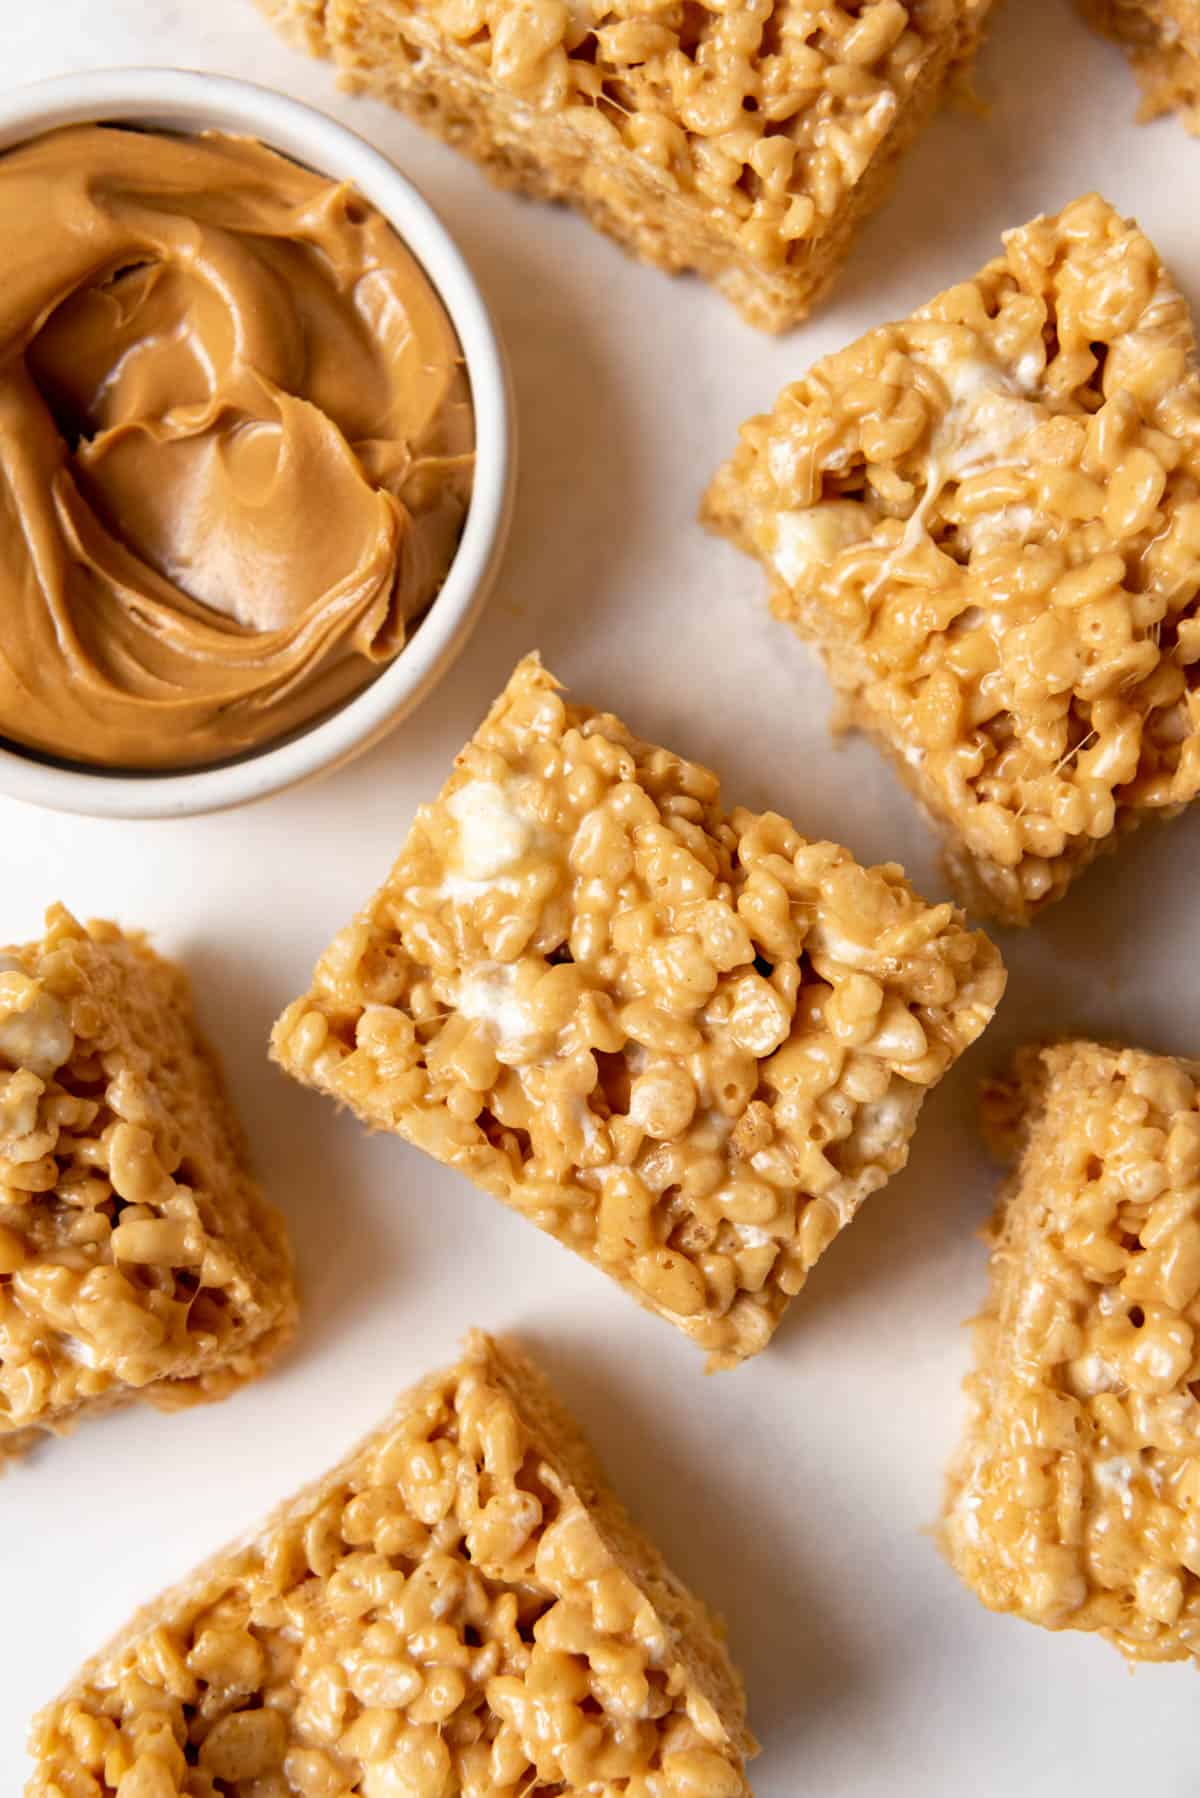
Table of Contents
Peanut Butter Rice Krispie Bars are so easy to make. This fun twist on the Classic Rice Krispies recipe is every peanut butter lovers’ dream.
These crispy treats are also perfect for customizing with other cereals, flavorings, candy, or chocolate, so they’re great for any special occasion!
Make them for kids’ lunchboxes, handy traveling snacks, or movie nights, they’re so versatile. You can even make them ahead of time and store them in the freezer!
For more fun Rice Krispie treat ideas, try my S’mores Rice Krispie Bars, these Biscoff Cookie Krispy Treats, and these Rainbow Rice Krispie Treats with Fruit Pebbles!
This peanut butter Rice Krispie treats recipe has less than 10 minutes of hands-on prep time. The rest of the time is needed to let the mixture set. This is a great no-bake recipe to have on hand for last-minute treats if you have some travel time before serving them.
For more no-bake treats the whole family will love, check out my No Bake Peanut Butter Pie, these Chocolate Peanut Butter No Bake Cookies, or this Classic Puppy Chow Mix!
Why We Love This Recipe
- Customize these treats with your favorite candies, or with chocolate drizzle on top!
- Made with super simple ingredients you’ll already have in your pantry.
- Quick and easy to make, these sweet treats are perfect for last-minute snacking!
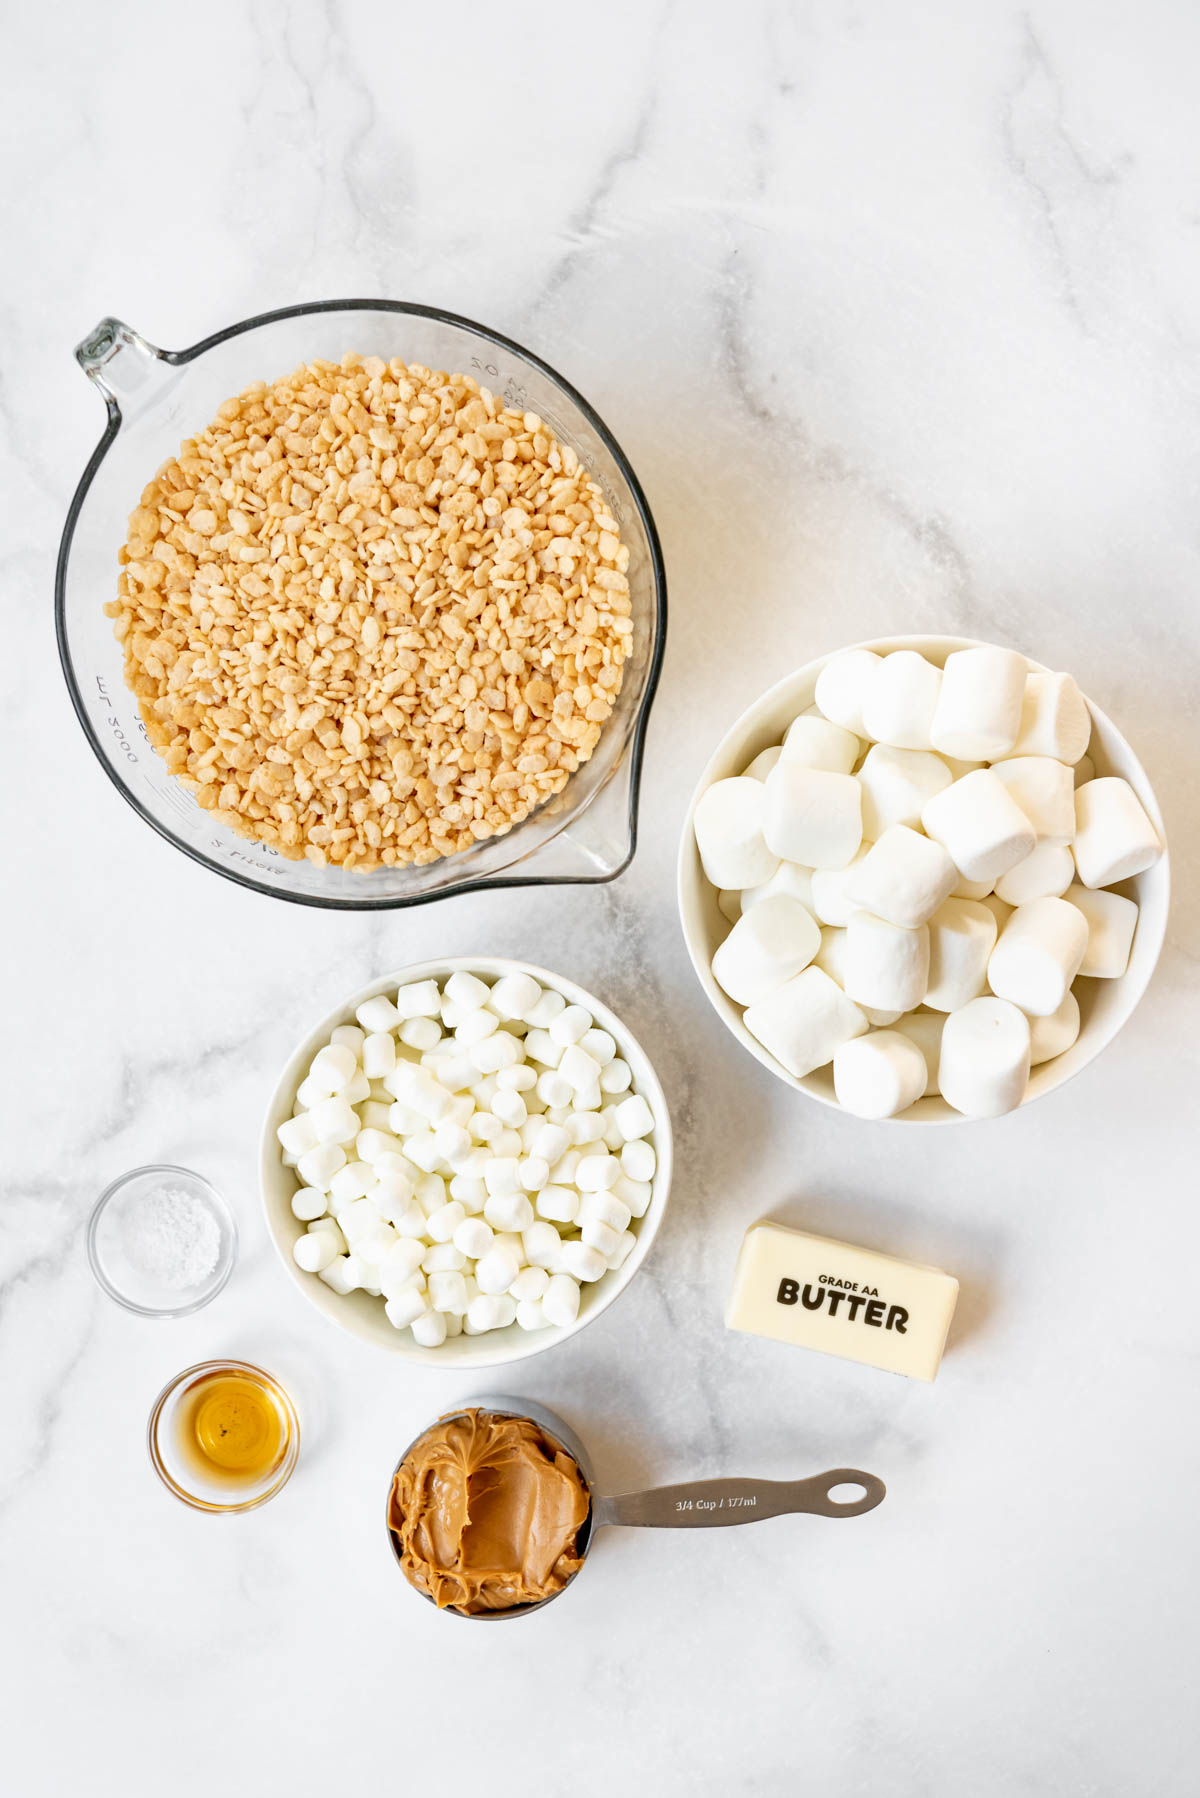
What You’ll Need
Scroll down to the printable recipe card below this post for ingredient quantities and full instructions.
- Butter – Use salted butter for these treats, to enhance the flavors and balance the sweetness a bit.
- Marshmallows – Mini marshmallows will melt more easily than large ones. You can use just white ones or a range of colors.
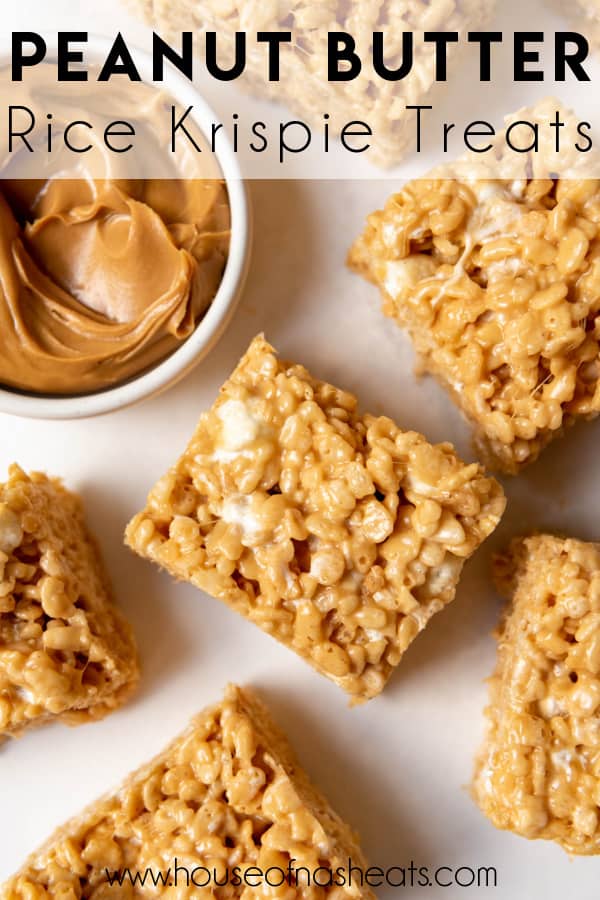
- Peanut Butter – Creamy peanut butter is best for this recipe.
- Vanilla Extract – Adds a subtle warmth and sweetness to these treats.
- Salt – Kosher salt will also help balance out the sweetness here.
- Cereal – Rice Krispies make the base of these bars, you can use the branded kind or a store’s own version.
How to Make Peanut Butter Rice Krispies
Prepare pan. Line a 9×9-inch baking dish with parchment paper, butter, or cooking spray. Set aside.
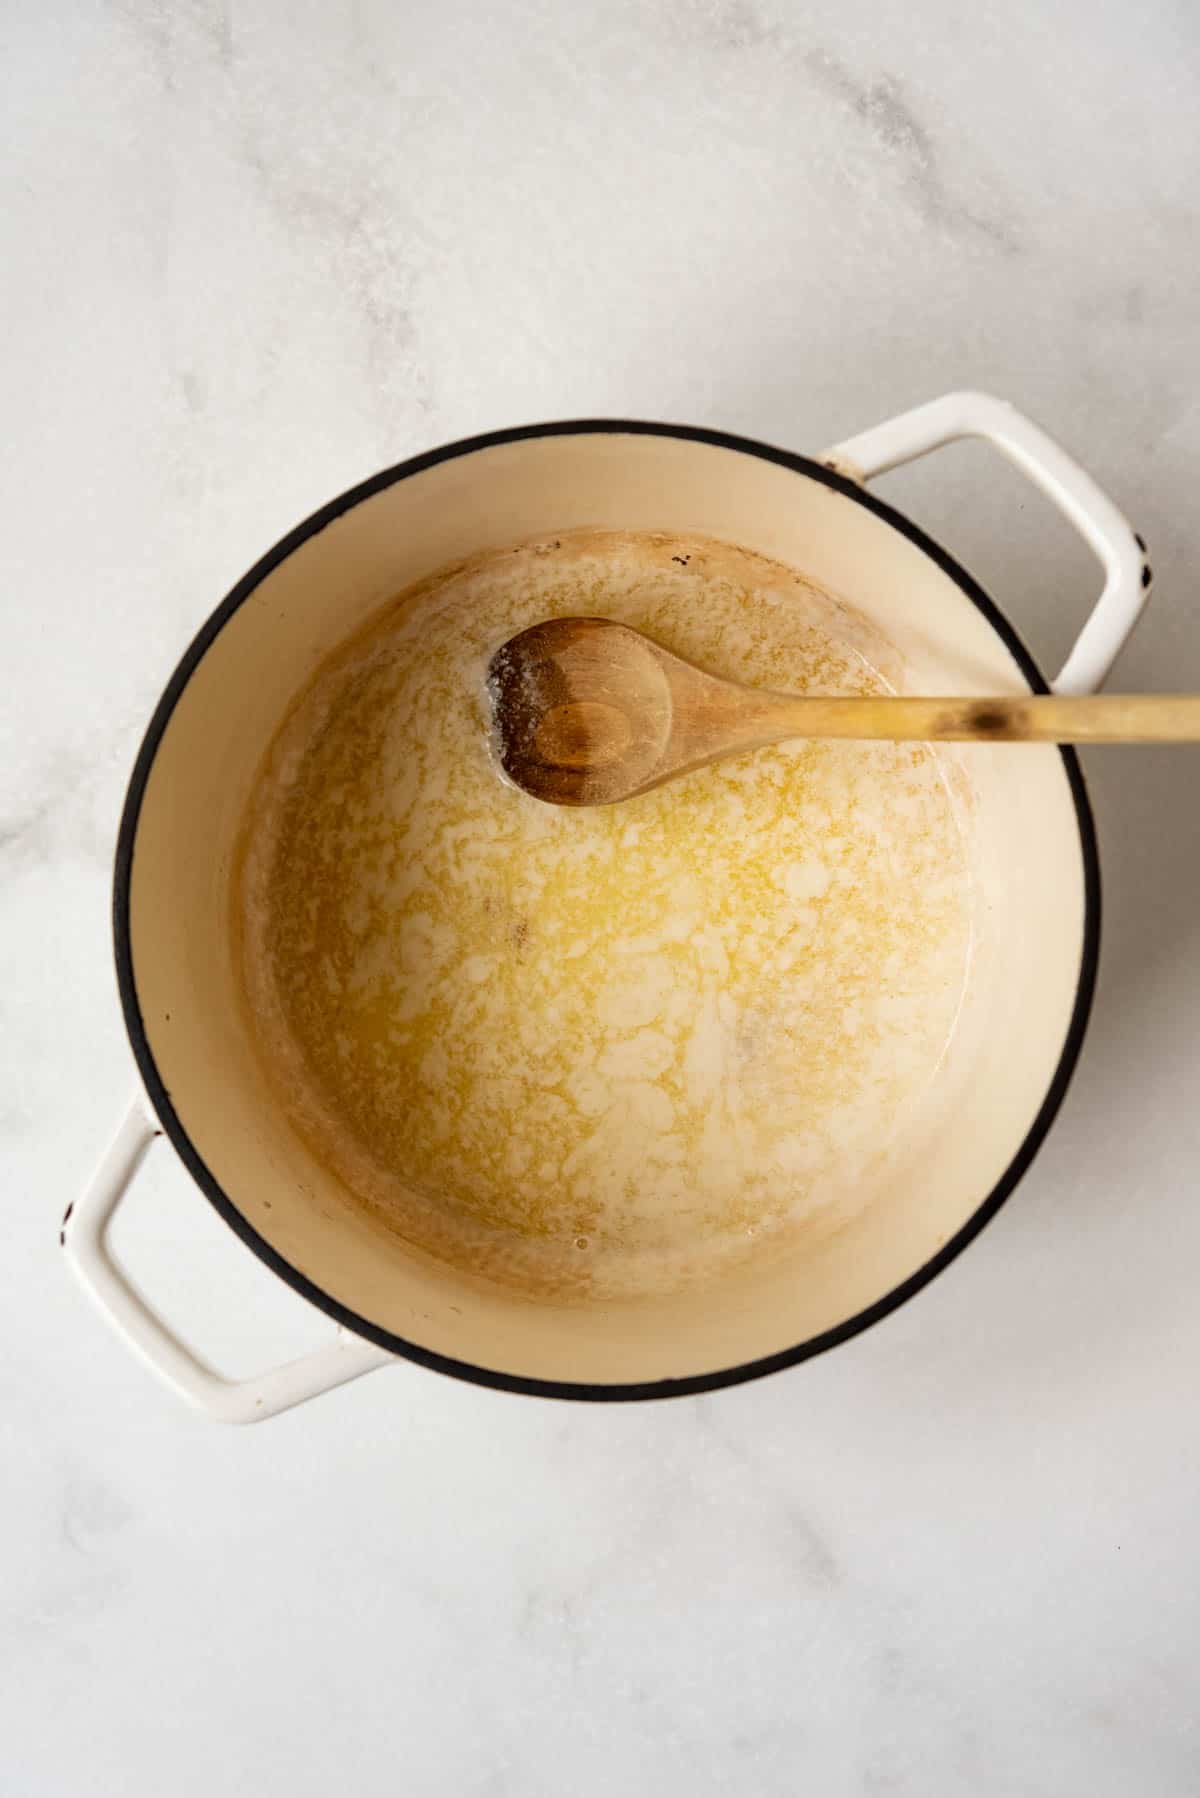
Melt butter. Melt butter in a large pot over medium heat. Save the butter wrapper for later.
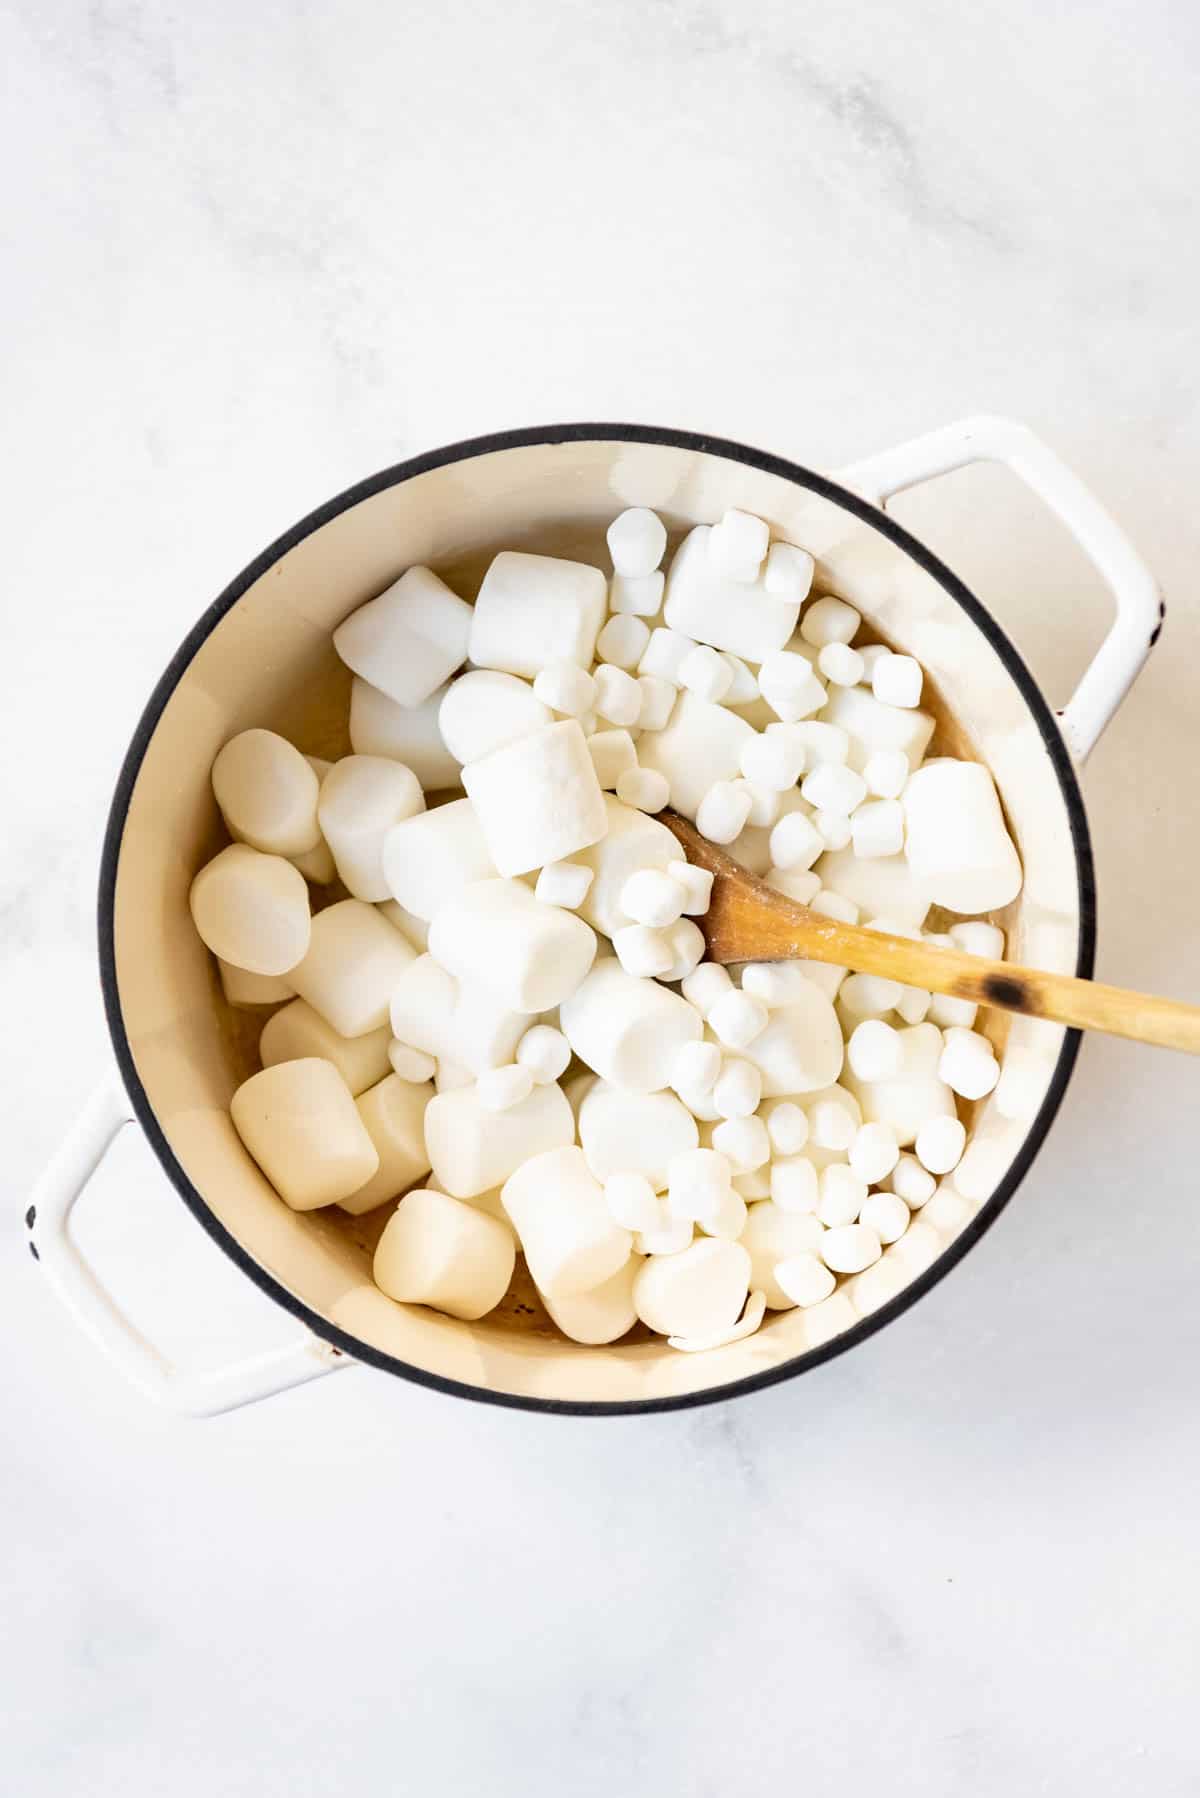
Add marshmallows. Set aside 2 cups of the marshmallows (about ½ of one bag), then add the remaining marshmallows to the melted butter.
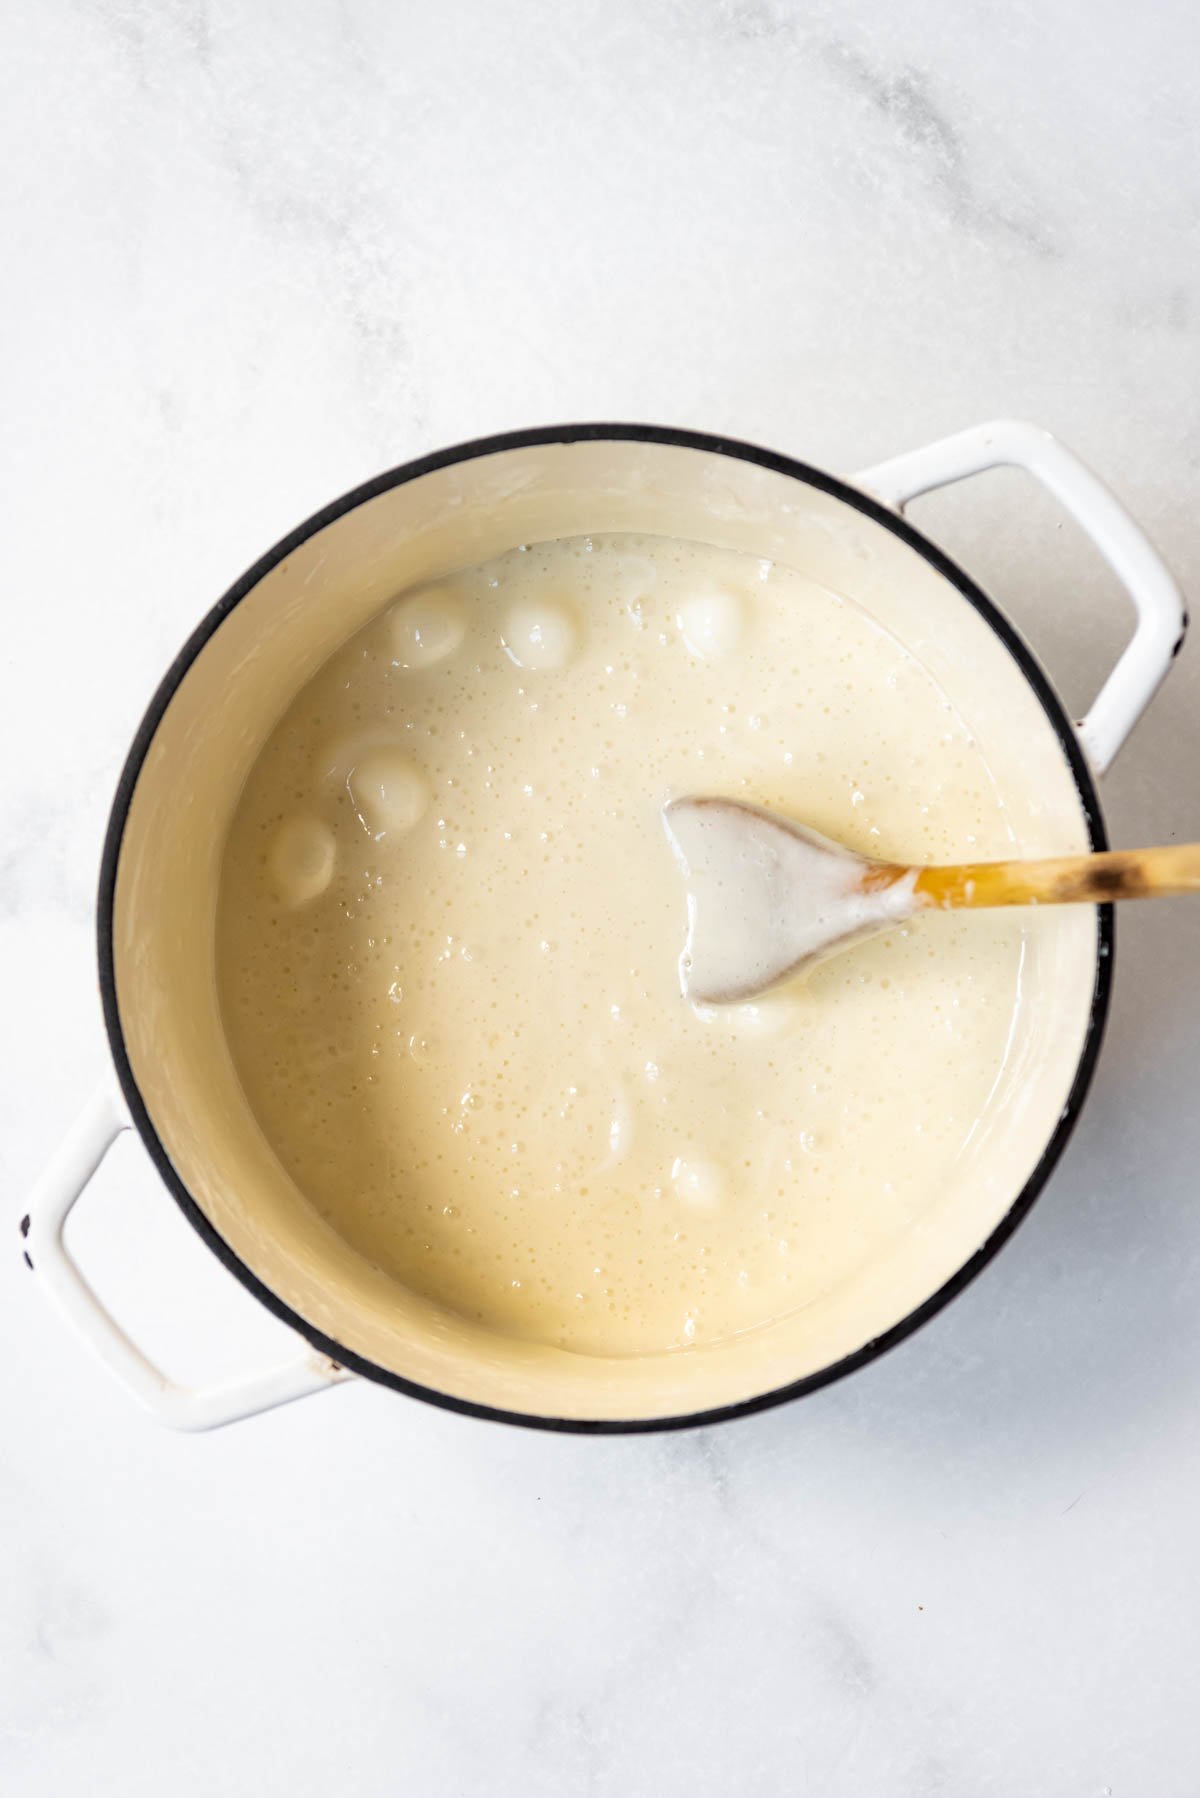
Melt. Cook and stir over medium heat until the marshmallows are completely melted.
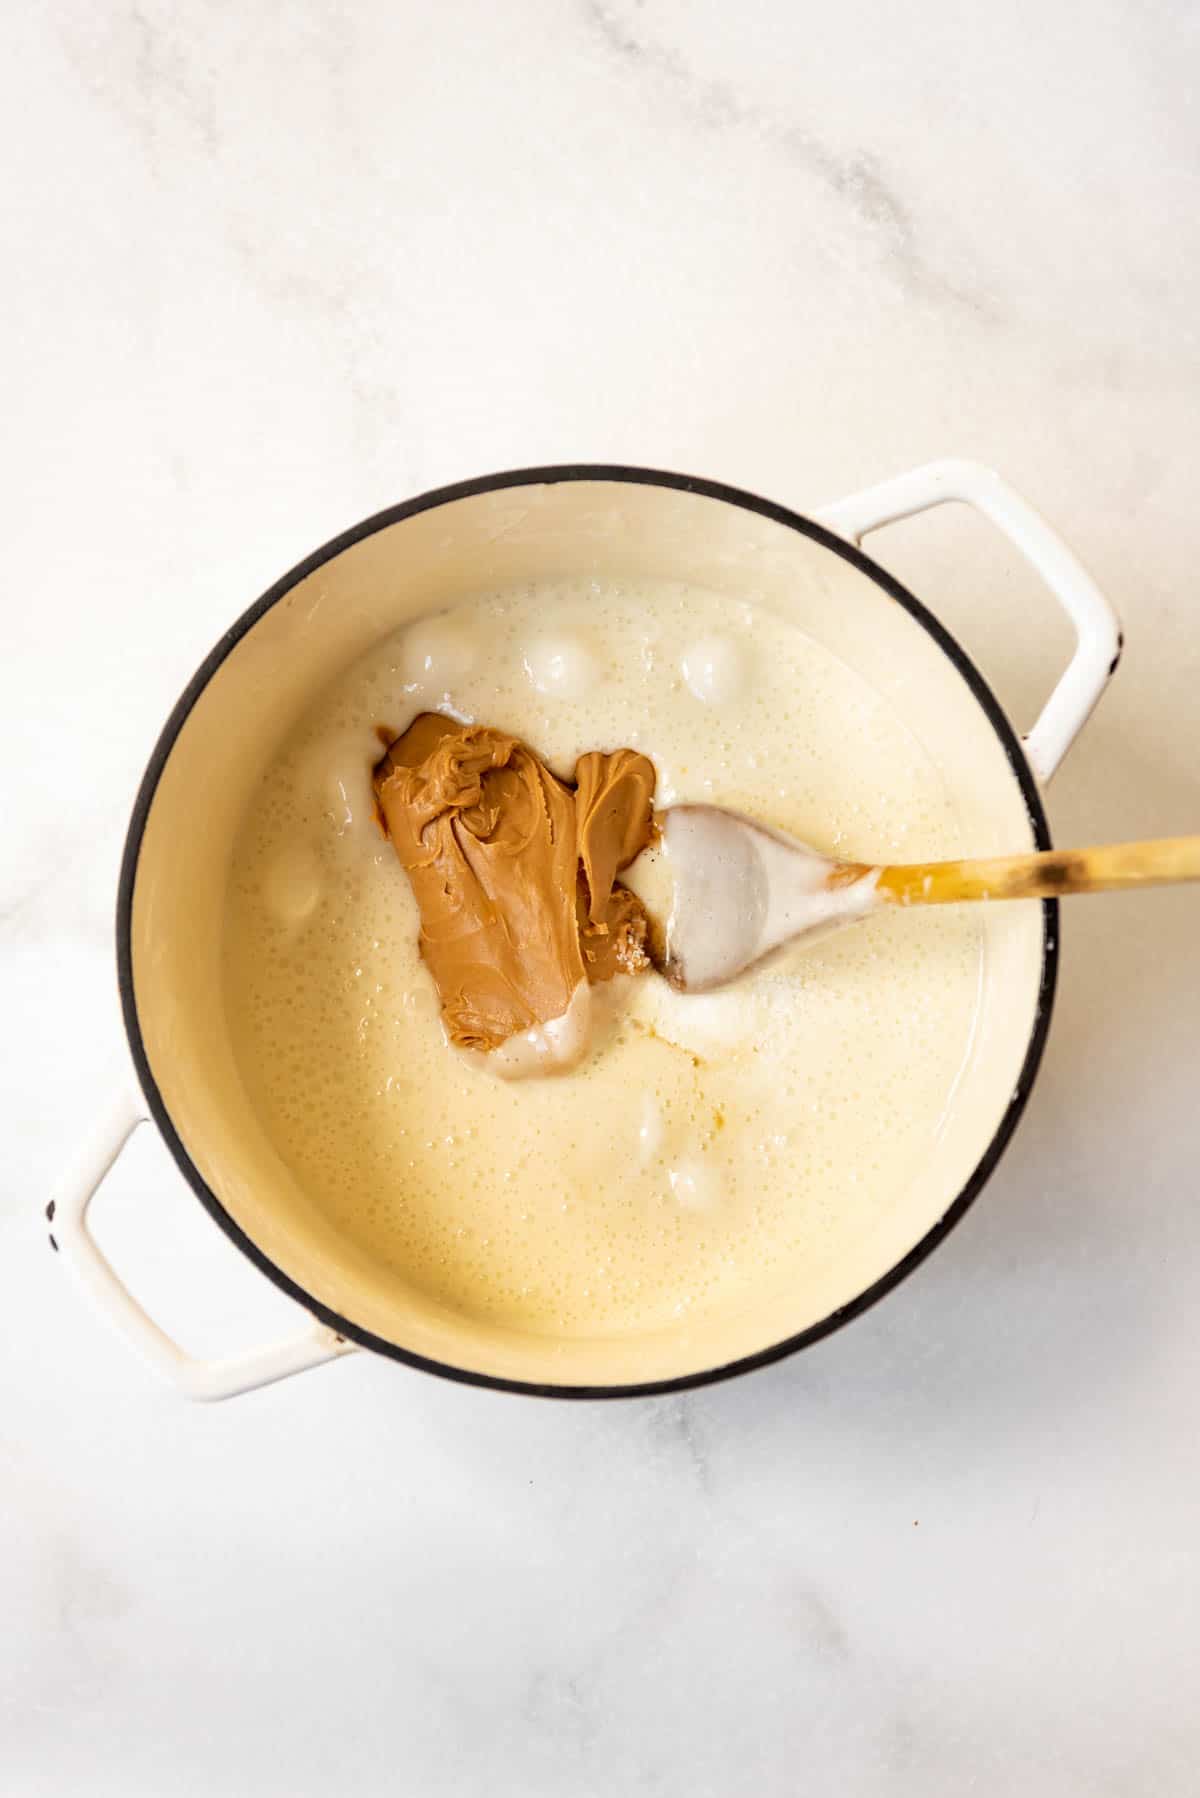
Add peanut butter. Remove from heat and stir in the peanut butter, vanilla extract, and salt until the peanut butter is melted and smooth.
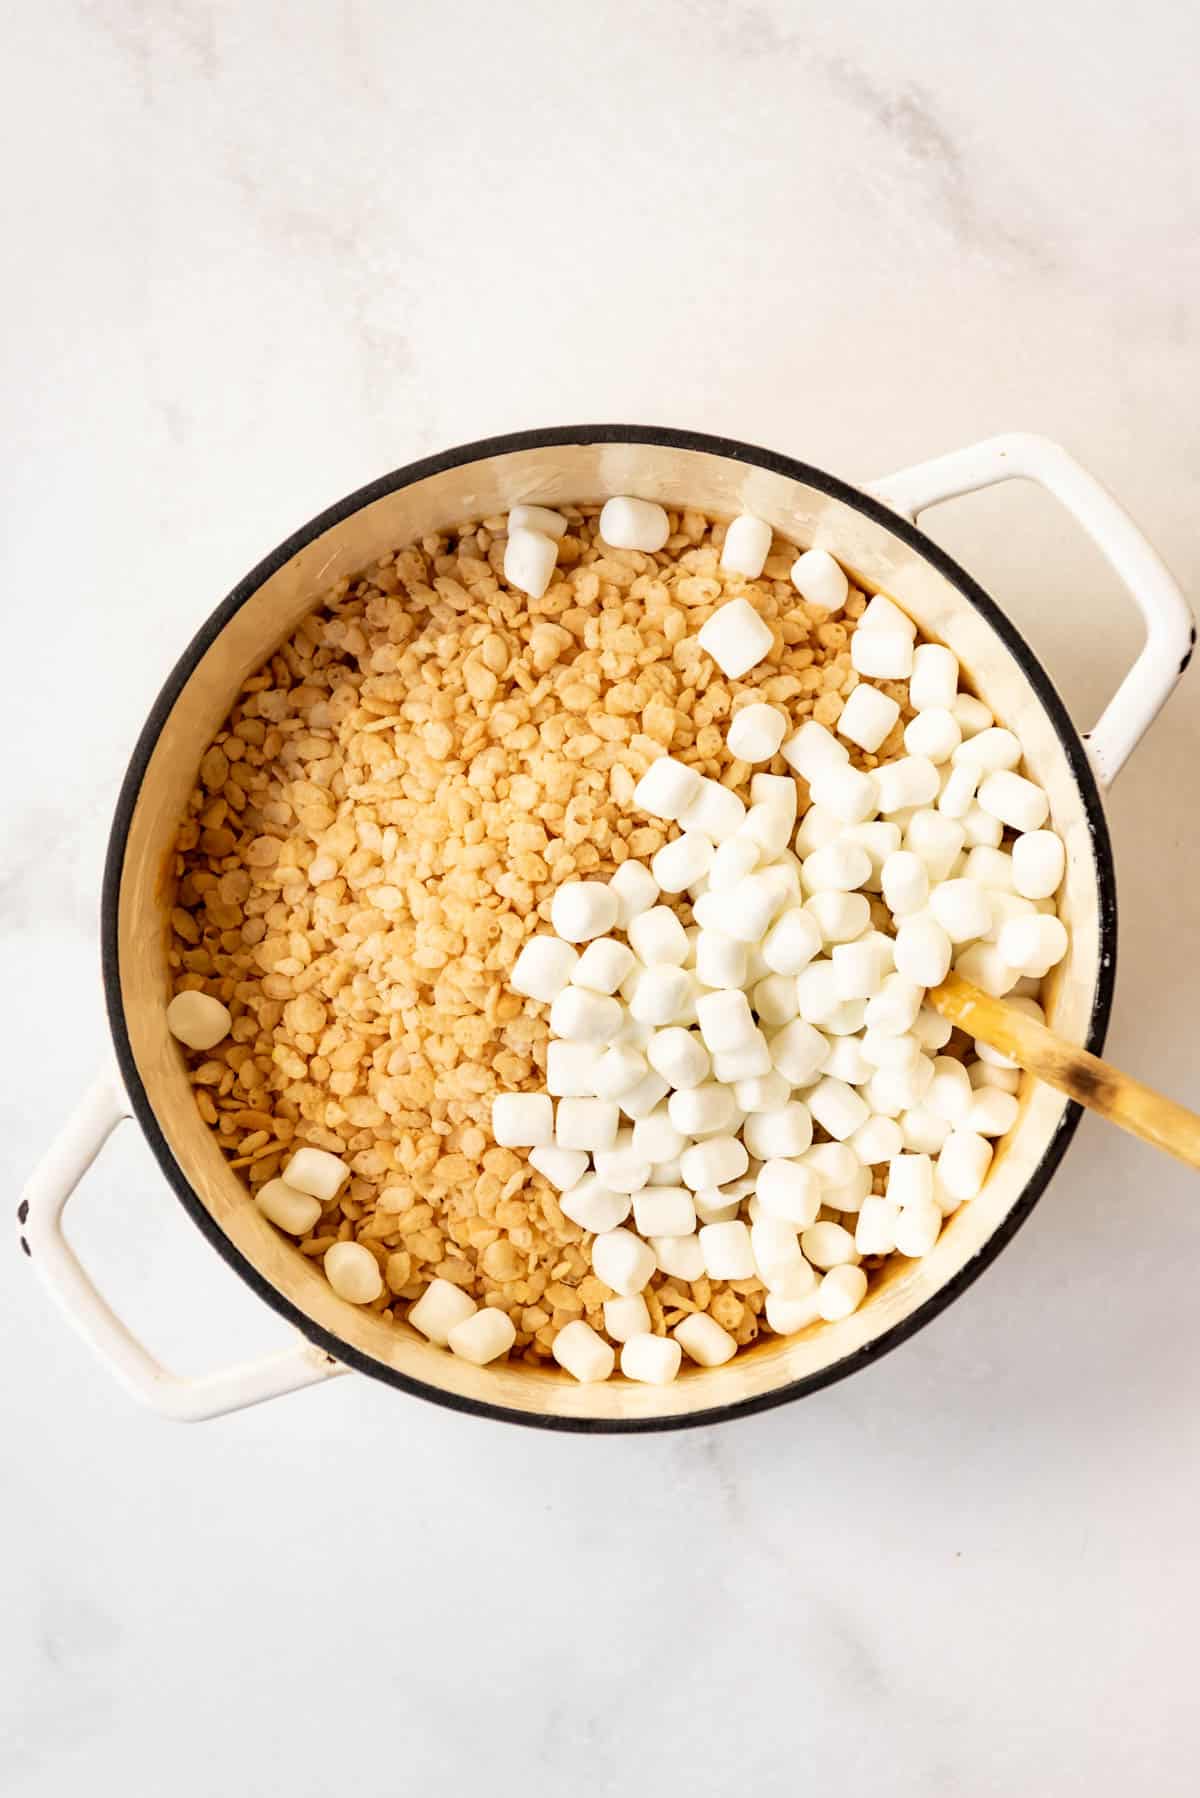
Add cereal. Add the Rice Krispies cereal and all reserved marshmallows.
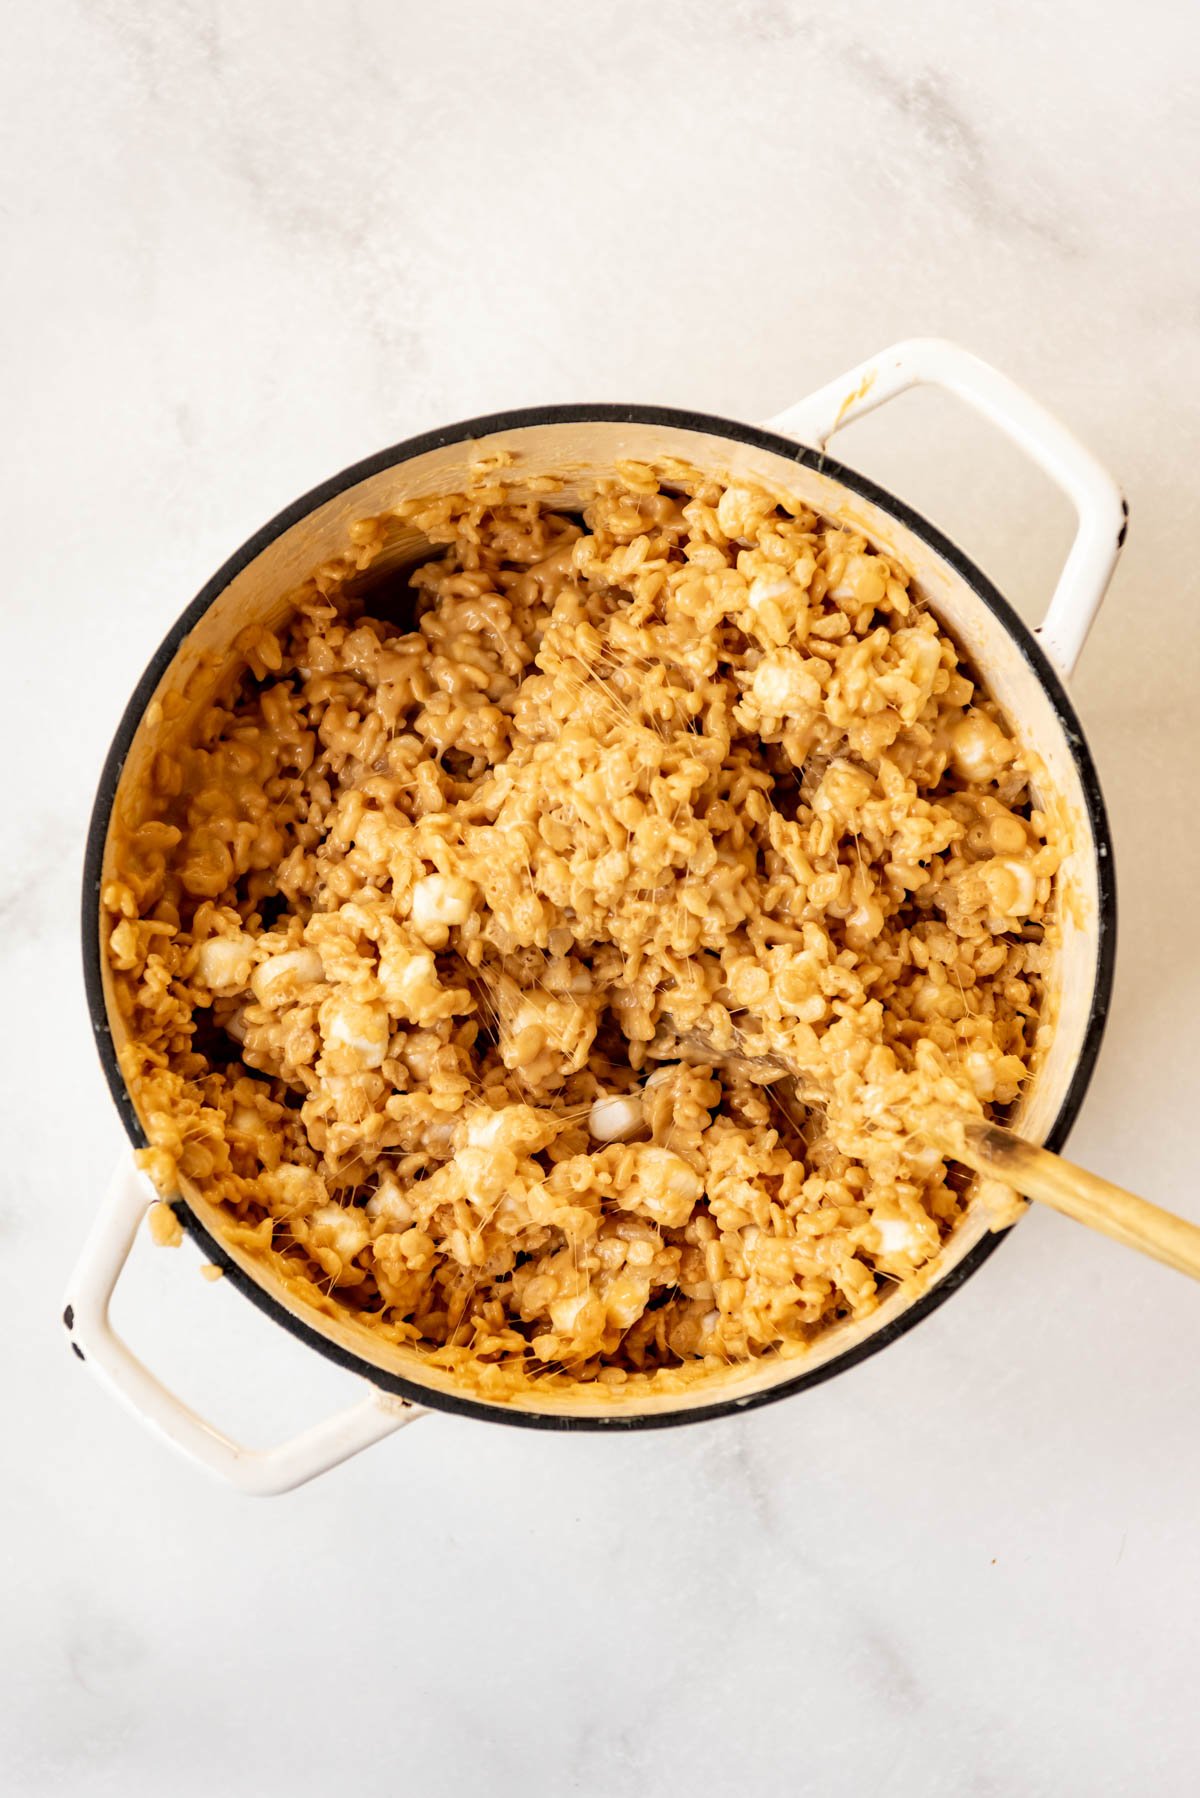
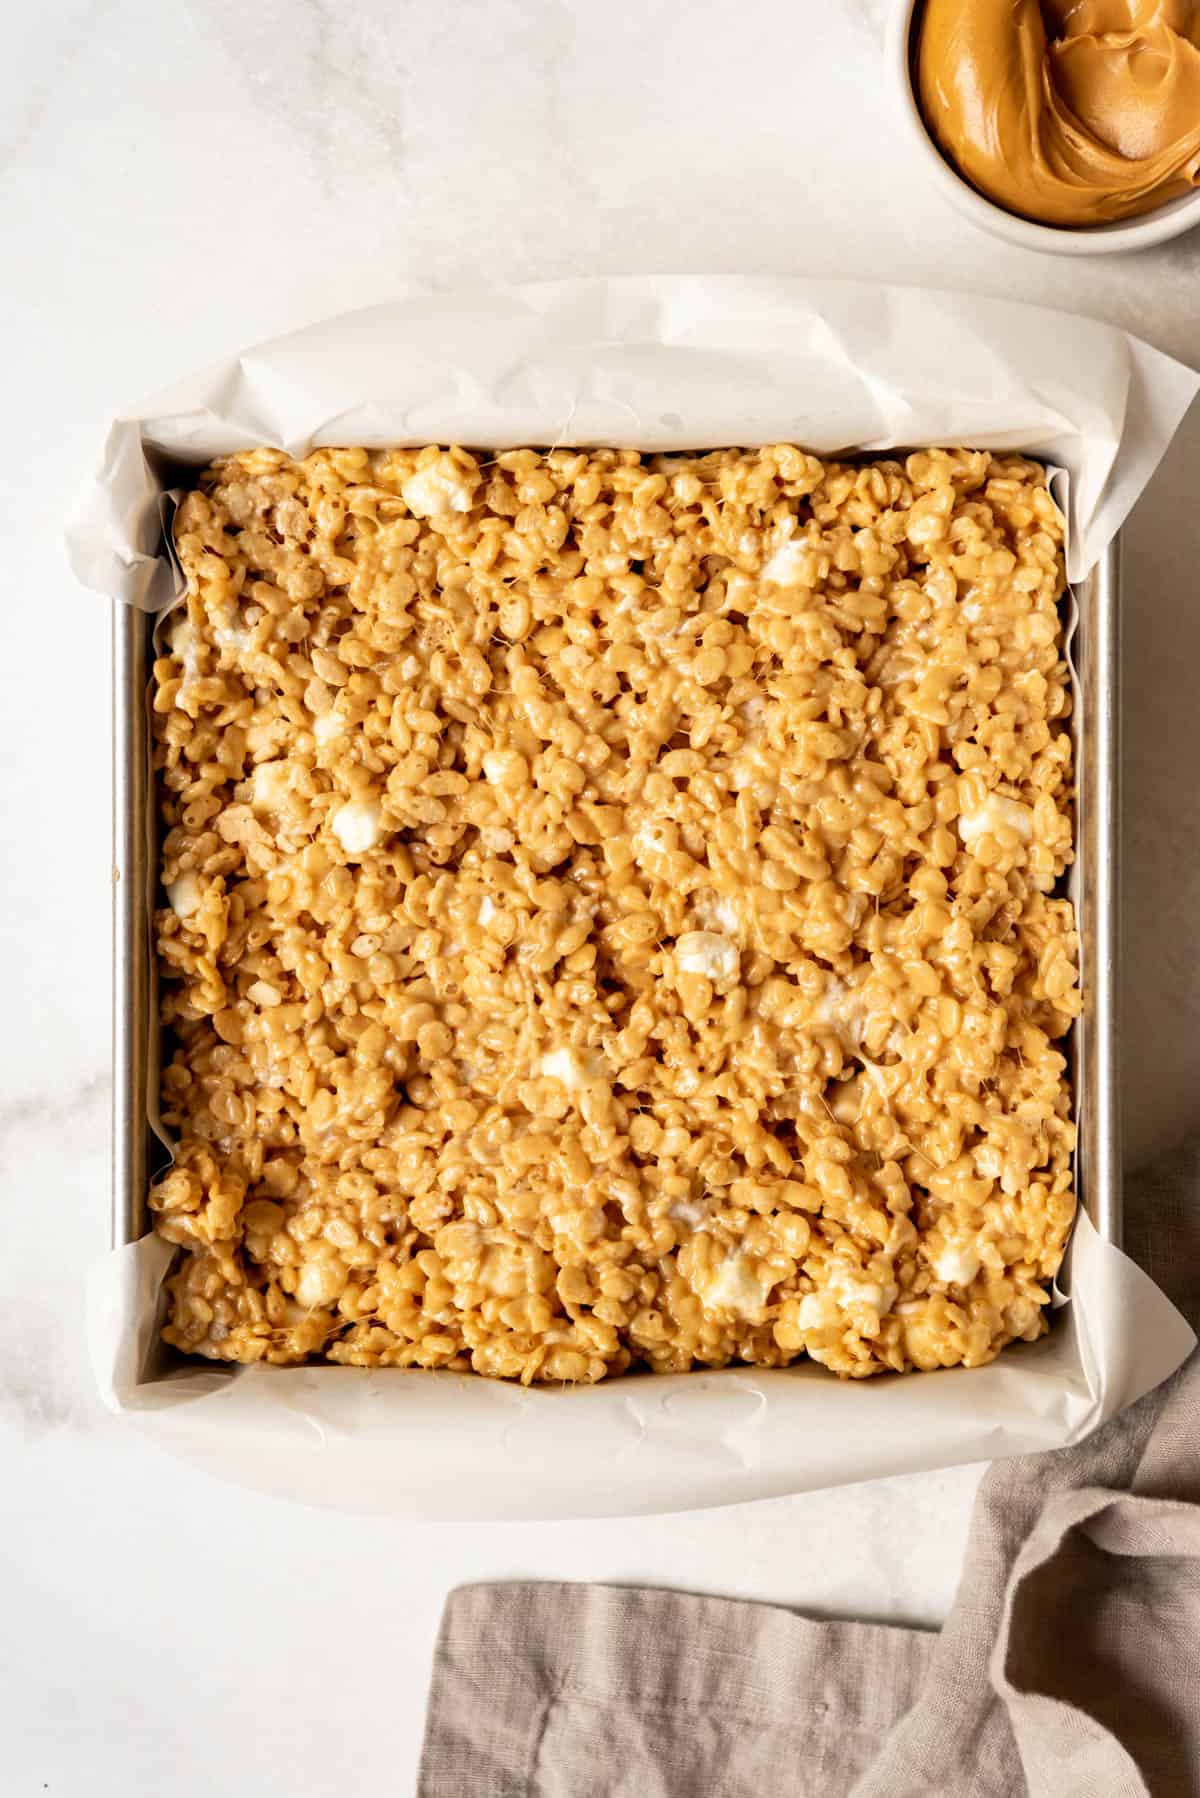
Mix. Stir until the cereal is evenly coated, then pour the Rice Krispie treat mixture into the prepared pan. Gently press the Rice Krispie and marshmallow mixture into the square pan and flatten evenly with the buttered side of the butter wrapper.
Set. Let the mixture sit in the pan undisturbed at room temperature until completely set. This may take up to 2 hours, depending on the temperature conditions of your kitchen.
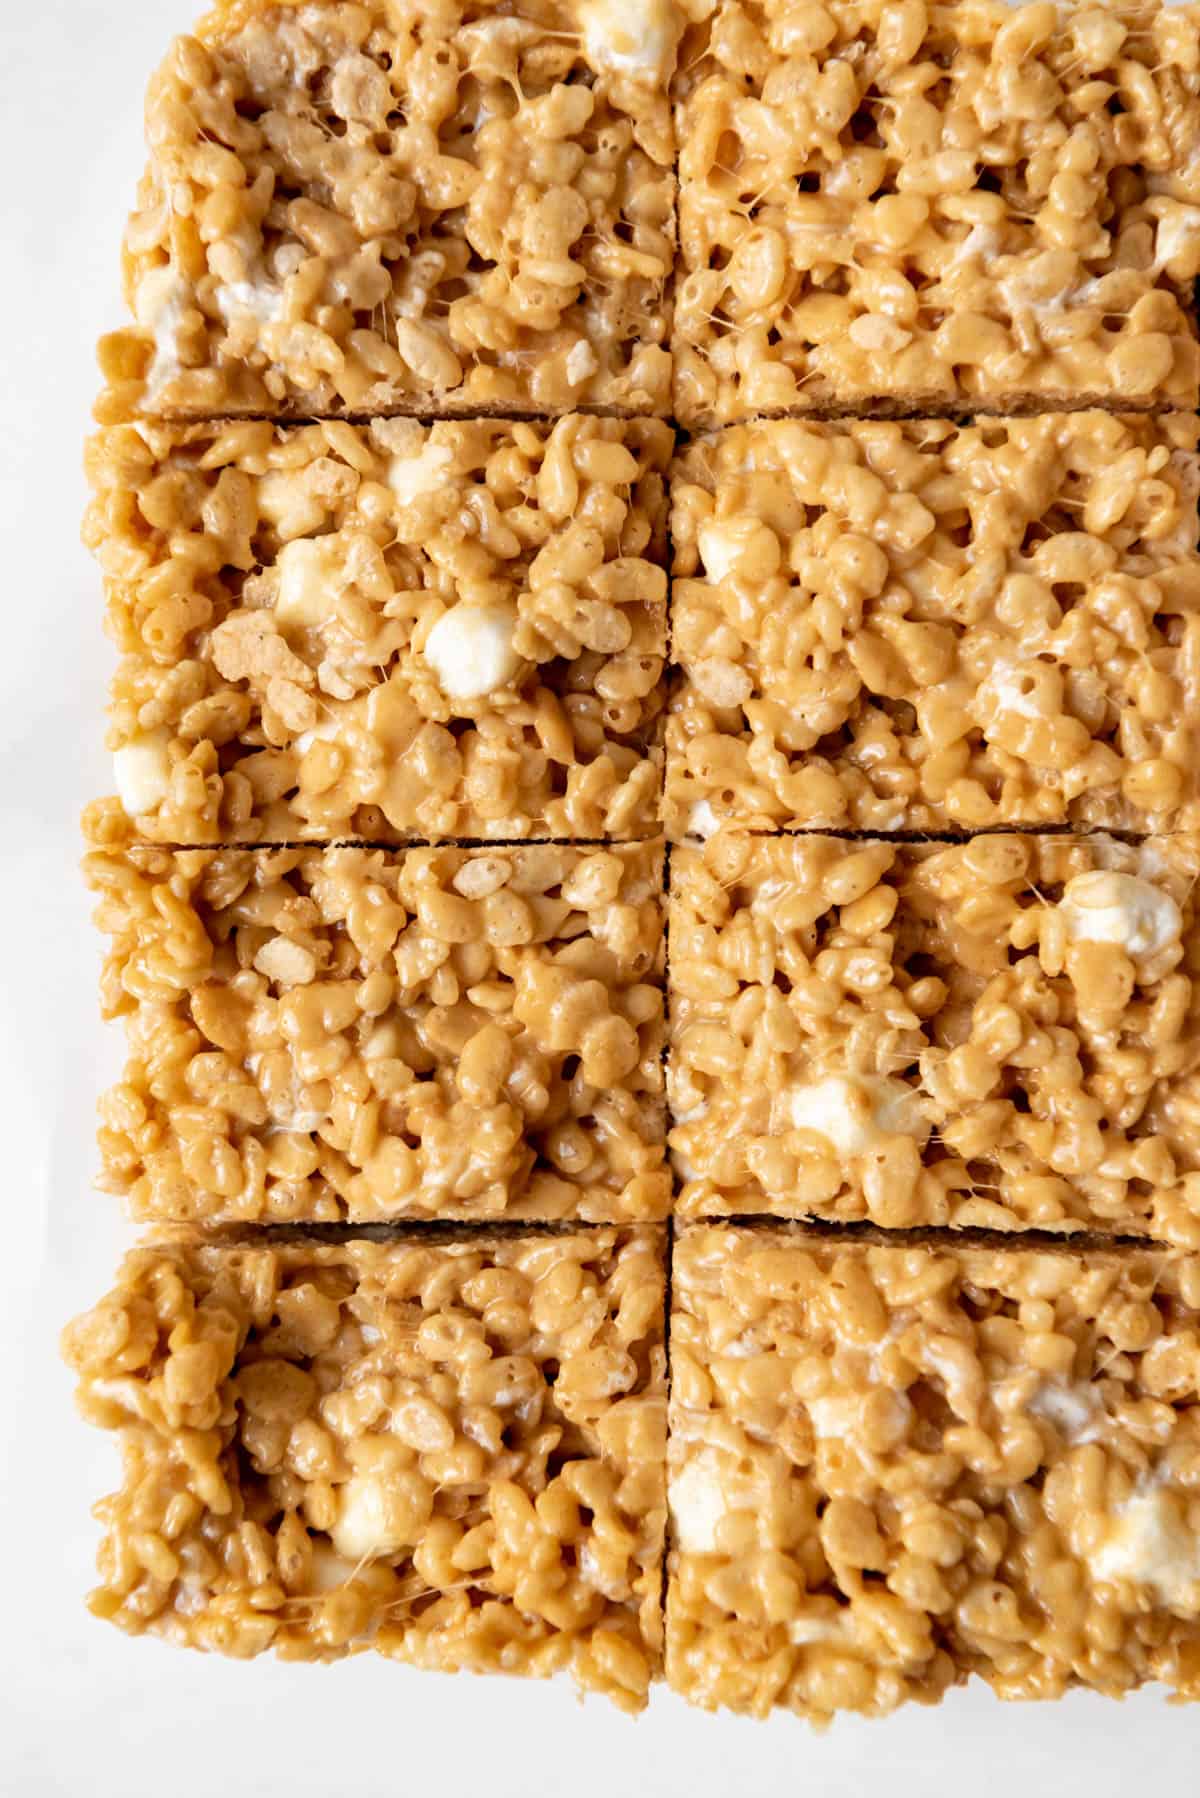
Serve. Cut into squares and serve.

Recipe FAQ’s
You can use a combination of almond butter and maple syrup instead of marshmallows to make the sticky mixture that holds together the Rice Krispies for treats.
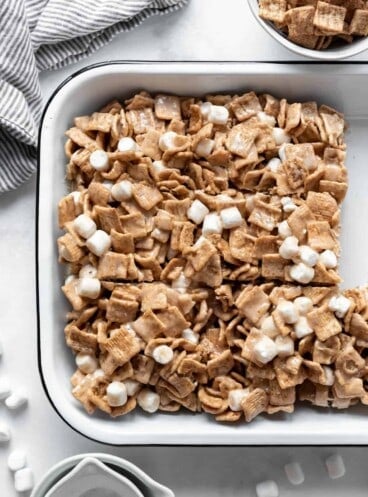
You can make other cereal treats by using Kix or Chex with this recipe. You can also make similar versions with Lucky Charms or Cap’n Crunch.
Store these treats in an airtight container or covered in plastic wrap at room temperature for up to 3 days. If you store these treats in the fridge, they will last for up to 7 days, but they will go hard and be difficult to bite into—bring them to room temperature before serving!
Yes! These Rice Krispie Treats will actually freeze quite well. Simply store them in a freezer-safe container, or in a Ziploc bag with a piece of parchment paper in between each layer of squares. Freeze for up to 2 months. Defrost them in the fridge, then bring them to room temperature to serve.
Tips for Success
- Use a large saucepan or a dutch oven, as I have used in the pictures.
- Use the back of a metal spoon to lightly press the cereal mixture into an even layer in the pan if you don’t have a butter wrapper to use.
- Use fresh marshmallows for the best texture and flavor. Opened marshmallows can harden and lose flavor over time.
- If you use unsalted butter, add a dash more salt to the mixture.
Use smooth peanut butter or even crunchy peanut butter, but don’t use natural peanut butter, as this tends to separate and won’t set properly.
Substitutions and Variations
- Add mini peanut butter cups to the top of the treat mixture before it sets so that they melt into the top slightly for added peanut butter and chocolate flavor.
- Use butterscotch chips instead of peanut butter for Butterscotch Rice Krispie treats.
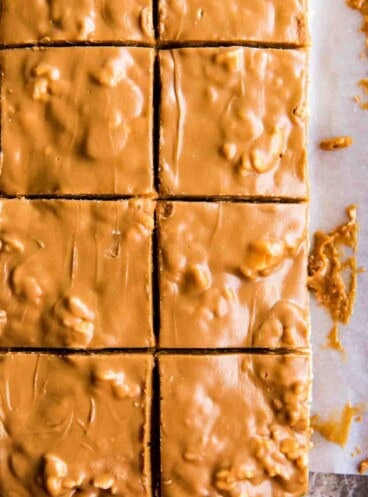
- Make Chocolate Peanut Butter Rice Krispie Treats by adding a thick layer of chocolate over the treats after they have cooled – use freshly melted chocolate so that it seeps into the Rice Krispies a bit. Leave at room temperature to cool and set before cutting the bars. Alternatively, add semi-sweet chocolate chips to the mix to get a chocolate sweetness throughout the bars.
- I prefer to use smooth peanut butter, but you can use chunky peanut butter if you’d like an extra peanut butter crunch.
- Top with a light sprinkling of sea salt for an added salty flavor.
More Sweet Treat Recipes
- Mississippi Mud Brownies
- Frosted Coconut Sugar Cookie Bars
- Peanut Butter Blondies
- Cherry Pie Bars
- S’mores Rice Krispies Treats
Did you make this recipe?
Let me know what you thought with a comment and rating below. You can also take a picture and tag me on Instagram @houseofnasheats or share it on the Pinterest pin so I can see.
Peanut Butter Rice Krispie Treats
Equipment
Ingredients
- ½ cup salted butter
- 2 (10-ounce) bags miniature marshmallows
- ¾ cup creamy peanut butter
- 1 teaspoon pure vanilla extract
- ¼ teaspoon kosher salt
- 8 cups Rice Krispies cereal
Instructions
- Line a 9×9-inch baking dish with parchment paper or butter. Set aside.
- Melt butter in a large pot over medium heat. Save the butter wrapper for later.½ cup salted butter
- Set aside 2 cups of the marshmallows (about ½ of one bag), then add the remaining marshmallows to the melted butter. Cook and stir over medium heat until the marshmallows are completely melted.2 (10-ounce) bags miniature marshmallows
- Remove from heat and stir in the peanut butter, vanilla extract, and salt until the peanut butter is melted and smooth.¾ cup creamy peanut butter, 1 teaspoon pure vanilla extract, ¼ teaspoon kosher salt
- Add Rice Krispies cereal and reserved marshmallows. Stir until the cereal is evenly coated, then pour the Rice Krispie treat mixture into the prepared pan. Gently press the Rice Krispie treat mixture into the pan with the buttered side of the butter wrapper.8 cups Rice Krispies cereal
- Cut into squares and serve.
Notes
- Store: Store these treats in an airtight container or covered in plastic wrap at room temperature for up to 3 days. If you store these treats in the fridge, they will last for up to 7 days, but they will go hard and be difficult to bite into—bring them to room temperature before serving!
- Freeze: Store them in a freezer-safe container, or in a Ziploc bag with a piece of parchment paper in between each layer of squares. Freeze for up to 2 months. Defrost them in the fridge, then bring them to room temperature to serve.