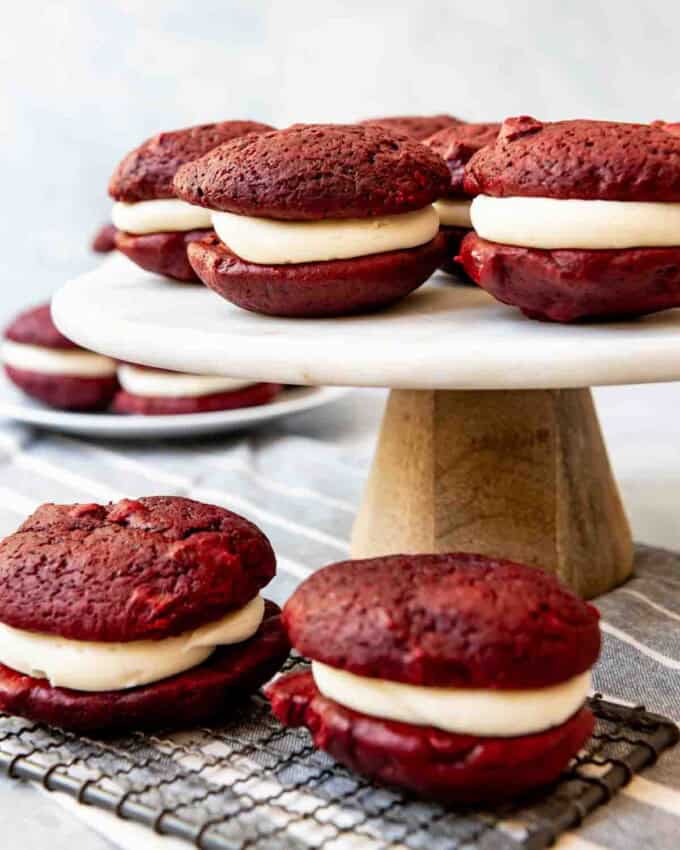
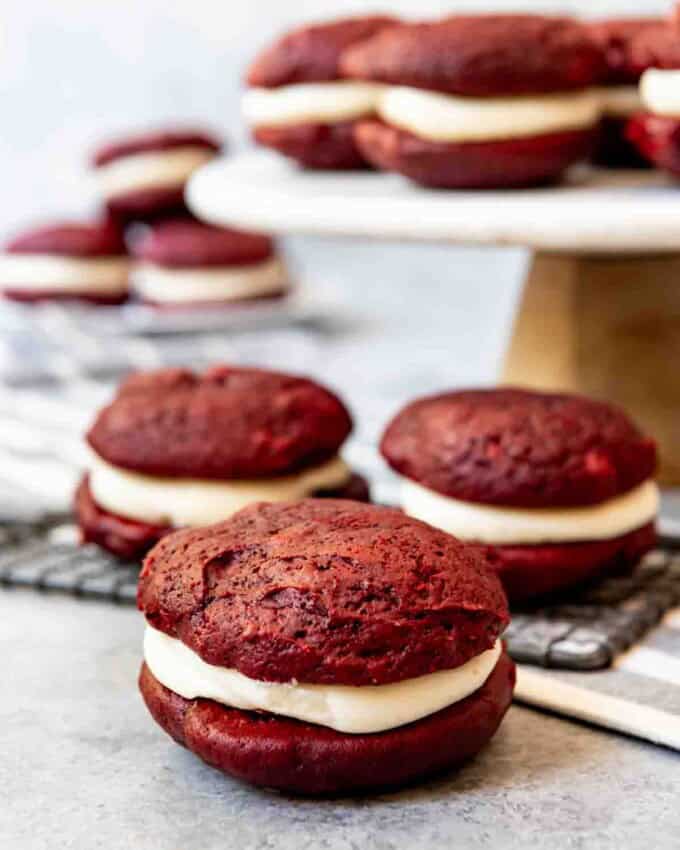

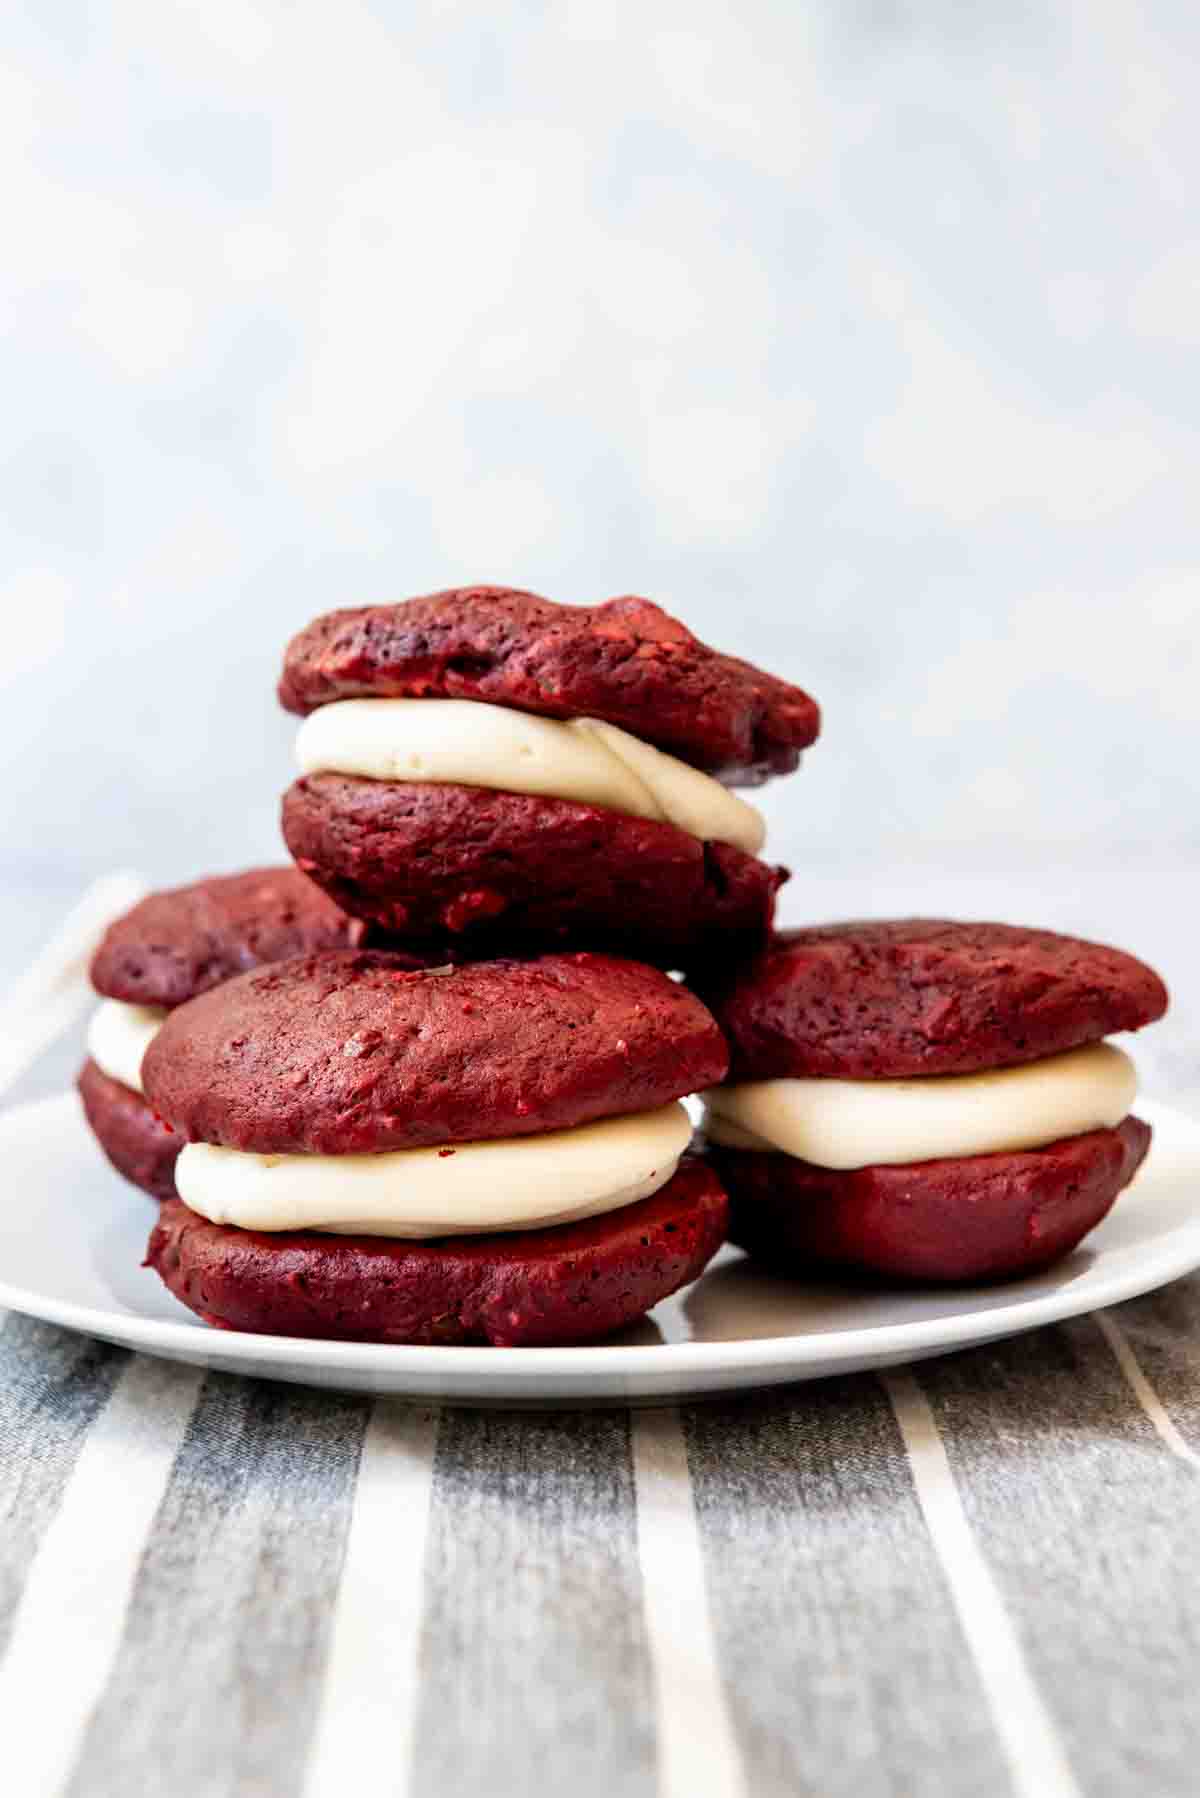
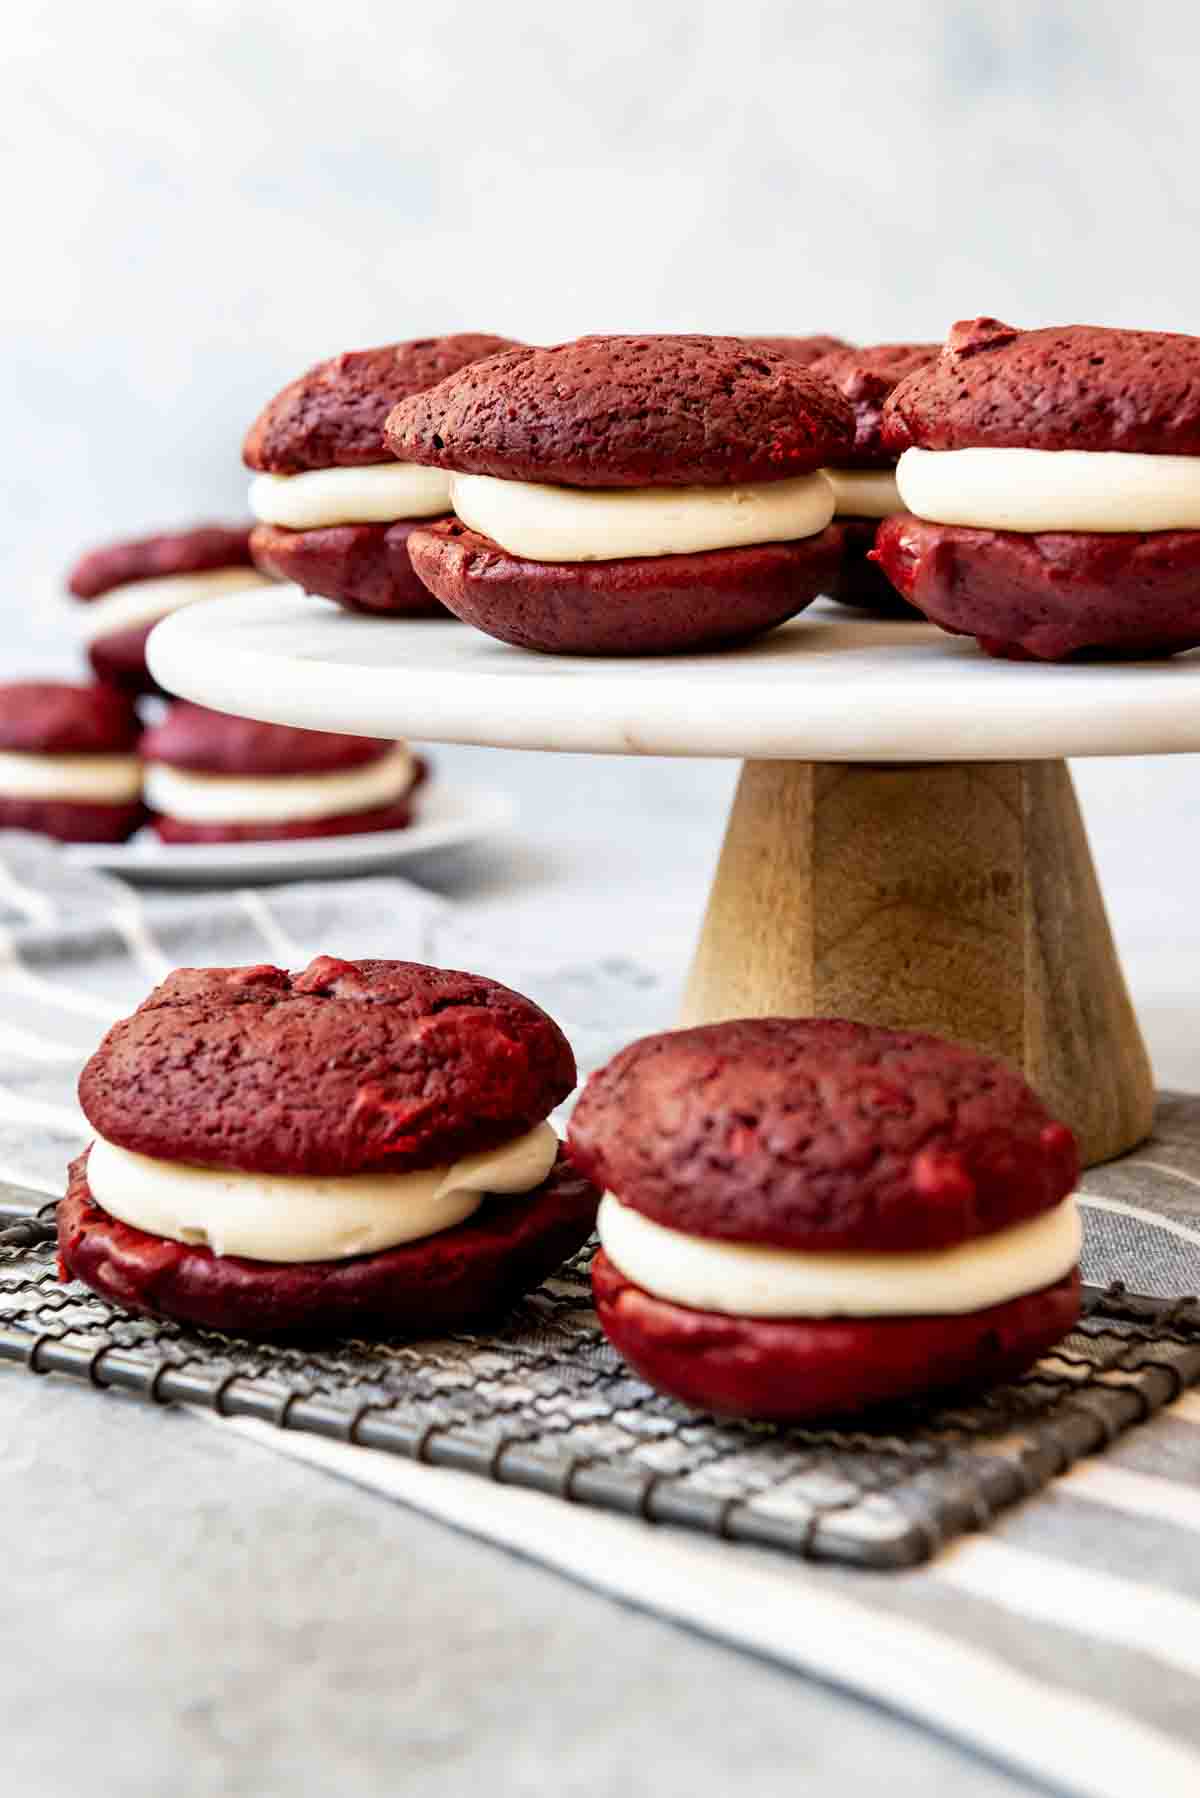
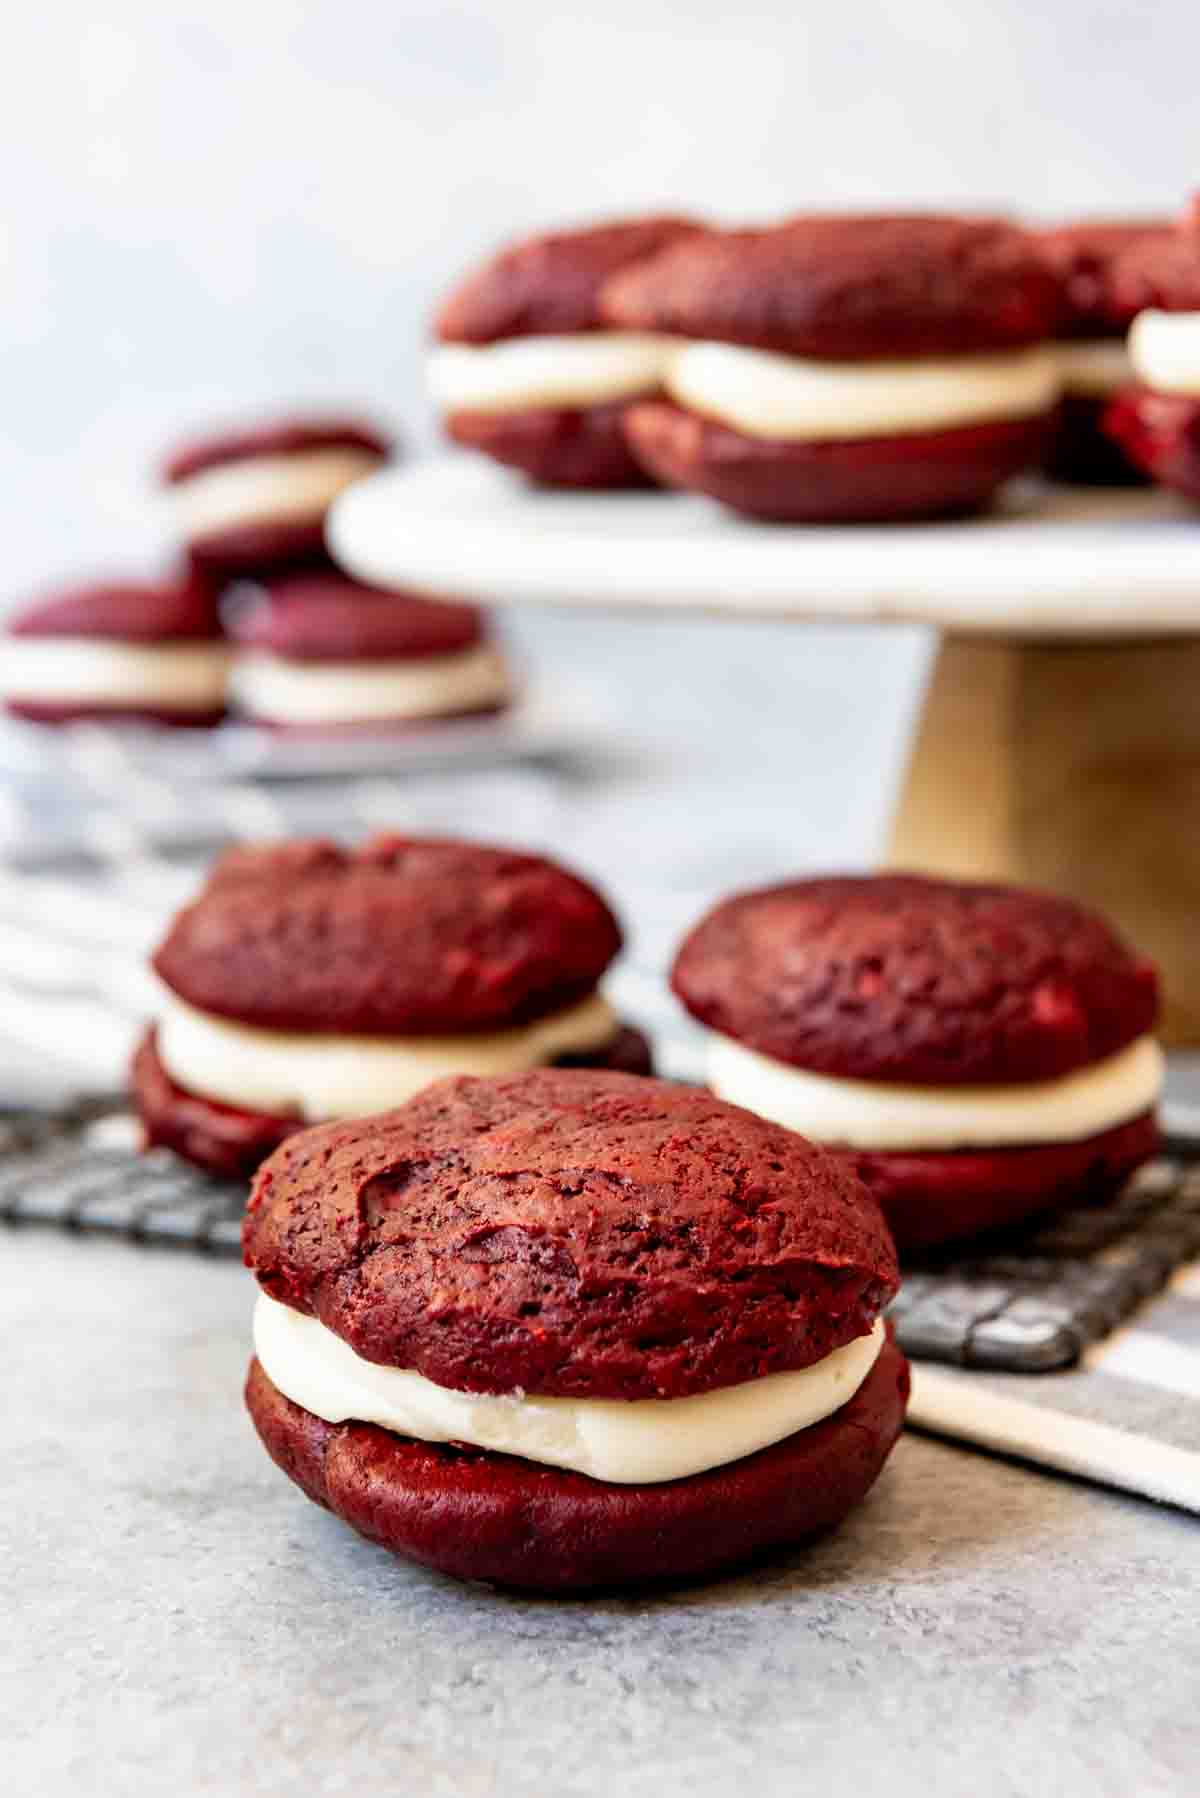
Part cookie sandwich, part cupcake, these Red Velvet Whoopie Pies are a tasty handheld treat for anyone who loves red velvet cake! Their light cocoa flavor and cream cheese frosting centers make for a uniquely delicious dessert!
I know red velvet can be a divisive flavor for some, but I love it! Some of our other favorite recipes featuring the same flavor profile are Red Velvet Chocolate Chip Cookies and of course, Red Velvet Cupcakes with Cream Cheese Frosting.
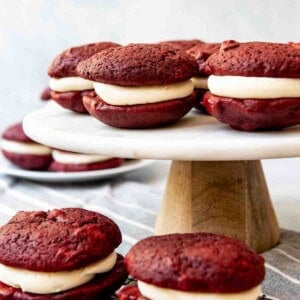
A whoopie pie is as fun to say as it is to make and eat. A red velvet whoopie pie is even better. It’s like a portable mini cake that you can take with you on the go, pack in a lunch bag, or enjoy from the comfort of your couch without needing to dirty a cake plate and fork.
This past summer, I was in charge of making dessert for 200 teenage girls and their adult leaders at our annual church girls’ camp one night. While brainstorming ideas for a dessert that we could make ahead and freeze to take with us to the lake in the mountains, my friend Jana suggested whoopie pies and the rest was history.
Between me and a few friends who also work with the youth program at church, we made 10 different varieties of whoopie pies, including s’mores whoopie pies, funfetti whoopie pies, salted caramel whoopie pies, classic chocolate marshmallow, lemon, and more.
They turned out so well and were such a hit that I’ve had moms messaging me asking for the recipes ever since and I’m finally getting around to sharing some of my favorites!
What is a whoopie pie?
A whoopie pie is like a cross between the top portion of a cupcake and a really soft cookie and then transformed into a sandwich. We all know that the top portion of a cupcake is the best part and that soft cookies are amazing. So it’s not hard to imagine that this red velvet whoopie pie recipe is going to turn out just as great as you imagine.
With the cream cheese filling nestled safely between the two pillow-like red velvet buns, you create the most amazing, rich, and flavorful cookie sandwich ever. If red velvet isn’t your thing, but you love whoopie pies, be sure to check out my other whoopie pie recipes like my funfetti whoopie pies.
How to make red velvet whoopie pies.
- Prep baking sheets and the oven: Preheat your oven to 375°F and line two baking sheets with parchment paper. This makes cleaning so much easier later!
- Mix dry ingredients: In a medium-sized bowl, whisk your flour, cocoa powder, baking soda, and salt until they are combined.
- Cream butter and brown sugar: In the bowl of a stand mixer, beat the butter and the brown sugar for 2 minutes using the paddle attachment until it is light and then add in the egg, and continue beating.
- Add wet and dry ingredients: Alternate adding the flour mixture with the buttermilk, vanilla, and red gel food coloring (affiliate link). Make sure to beat after each addition and to scrape down the sides of the bowl.
- Stir in chocolate chips: After everything else is combined, stir in the chocolate chips for extra chocolate flavor!
- Scoop and bake: Use a small scoop to drop the batter onto the parchment paper, spacing them about 2-3 inches apart. You should get 24 cookies which will sandwich together to make 12 whoopie pies. Bake for 10-12 minutes until they are just done around the edges and the tops bounce back when you touch them.
- Cool completely: Cool on a baking sheet for 5 minutes before transferring the cookies to a wire cooling rack to cool completely. (Giving them the few minutes to rest helps them to retain their shape and not break during the transport from the cooking sheet to a cooling rack.)
- Make cream cheese frosting: Place the cream cheese and butter in a bowl and beat with an electric mixer until smooth. Add in the powdered sugar 1 cup at a time and mix until combined. Add in the vanilla and beat until smooth. Transfer the filling to a piping bag with a fitted round tip.
- Assemble: To assemble the red velvet whoopie pies, pipe a layer of cream cheese filling onto the flat side of one of the cookies and then top with another, creating a cookie sandwich (aka whoopie pie). Store in an airtight container in the fridge for up to 1 week.
Can whoopie pies be frozen?
Whoopie pies can be frozen for a longer-term storage solution! Perfect for when you want to enjoy them later! It is a great way to make lunch box treats for the kids in advance. In the morning, all you need to do is toss a frozen one in the bag so that it’s thawed and ready to enjoy by lunchtime.
To freeze a whoopie pie, simply place the filled whoopie pies on a parchment-lined baking sheet and then freeze solid. Then wrap the red velvet whoopie pies individually. This step keeps them from all freezing together and becoming a giant (albeit delicious) mess.
They will keep well for up to 3 months in the freezer.
Do whoopie pies need to be refrigerated?
Yes, you should refrigerate these whoopie pies. There is cream cheese and butter in the frosting, so you should store them in the fridge if they aren’t going to be eaten in less than a couple of hours. They will last longer this way, and you don’t have to worry about your filling melting out of the whoopie pie if your house gets too warm.
Not only that but if you’re enjoying your red velvet whoopie pie on a hot summer’s day, eating them a little chilled from the fridge is a super delicious treat!
More Unique Dessert Ideas
- Key Lime Cupcakes
- S’mores Cupcakes with Graham Cracker Frosting
- Old-Fashioned Sour Cream Doughnuts
- No-Bake Chocolate Eclair Cake
- Homemade Banana Pudding
- Cookie Butter Rice Krispie Treats
- Irresistible Mississippi Mud Brownies
- Red Velvet Brownies
Did you make this recipe?
Let me know what you thought with a comment and rating below. You can also take a picture and tag me on Instagram @houseofnasheats or share it on the Pinterest pin so I can see.
Red Velvet Whoopie Pies
Ingredients
Cookie
- 2 1/4 cups all-purpose flour
- 3 Tablespoons unsweetened cocoa powder
- 1 1/4 teaspoons baking soda
- 1/2 teaspoon salt
- 1/2 cup salted butter room temperature
- 1 cup light brown sugar
- 1 large egg room temperature
- 3/4 cup buttermilk room temperature
- 2 teaspoons vanilla extract
- 1 teaspoon red gel food coloring (affiliate link)
- 1/2 cup semisweet chocolate chips
Cream Cheese Filling
- 4 ounces cream cheese room temperature
- 1/4 cup salted butter room temperature
- 3 1/2 cups powdered sugar
- 1 teaspoon vanilla extract
- Pinch of salt
Instructions
- Preheat oven to 375°F. Line two baking sheets with parchment paper.
- In a medium bowl, whisk the flour, cocoa powder, baking soda, and salt until combined.2 ¼ cups all-purpose flour, 3 Tablespoons unsweetened cocoa powder, 1 ¼ teaspoons baking soda, ½ teaspoon salt
- In the bowl of a stand mixer, beat the butter and brown sugar for 2 minutes using the paddle attachment until light. Add egg and beat again.½ cup salted butter, 1 cup light brown sugar, 1 large egg
- Alternate adding the flour mixture with the buttermilk, vanilla, and red gel food coloring (affiliate link), beating after each addition and scraping the sides of the bowl, just until combined. Stir in chocolate chips.¾ cup buttermilk, 2 teaspoons vanilla extract, 1 teaspoon red gel food coloring (affiliate link), ½ cup semisweet chocolate chips
- Use a small scoop to drop batter onto the parchment-lined baking sheets, spacing them 2-3 inches apart.
- Bake for 10 to 12 minutes, until just done around the edges and the tops bounce back when lightly touched. Cool on the baking sheet for 5 minutes before transferring the cookies to a wire cooling rack to cool completely.
Prepare the Cream Cheese Filling:
- Combine the cream cheese and butter in a bowl and beat using an electric mixer until smooth. Add the powdered sugar, 1 cup at a time, mixing until combined. Add vanilla and salt and beat until smooth. Transfer to a piping bag fitted with a round tip.4 ounces cream cheese, ¼ cup salted butter, 3 ½ cups powdered sugar, 1 teaspoon vanilla extract, Pinch of salt
Assembly:
- Pipe a layer of cream cheese filling onto the flat side of one cookie, then top with another cookie to make a whoopie pie.
- Store in an airtight container for up to 1 week.