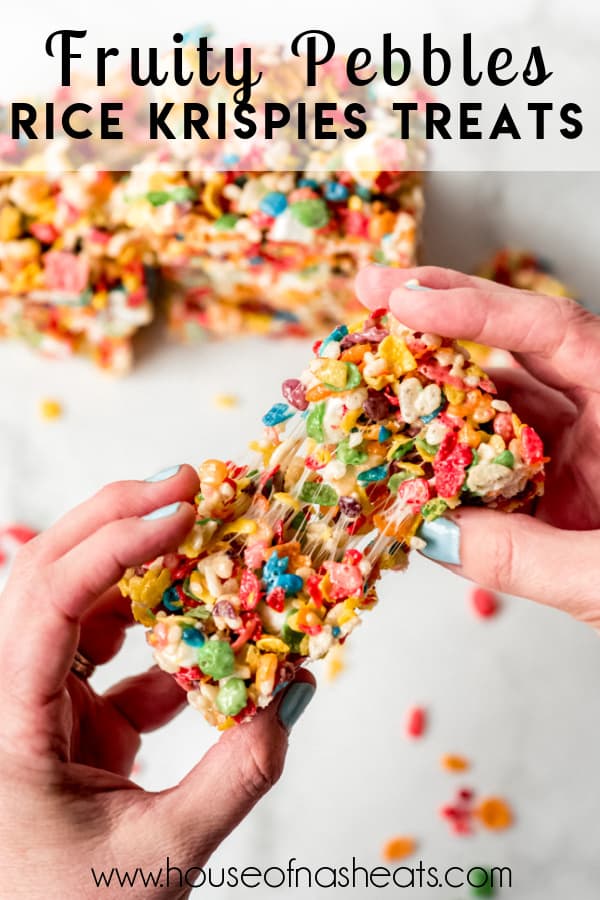
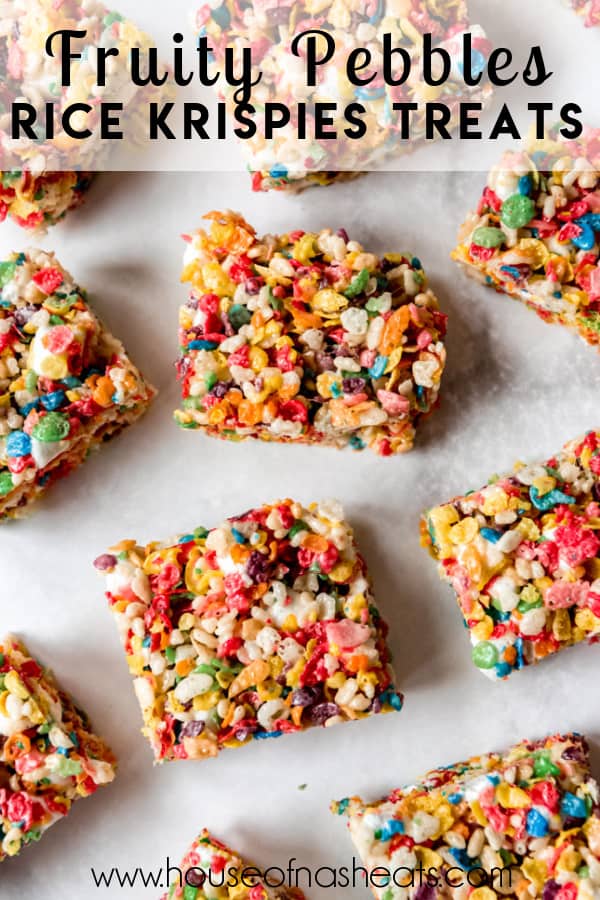
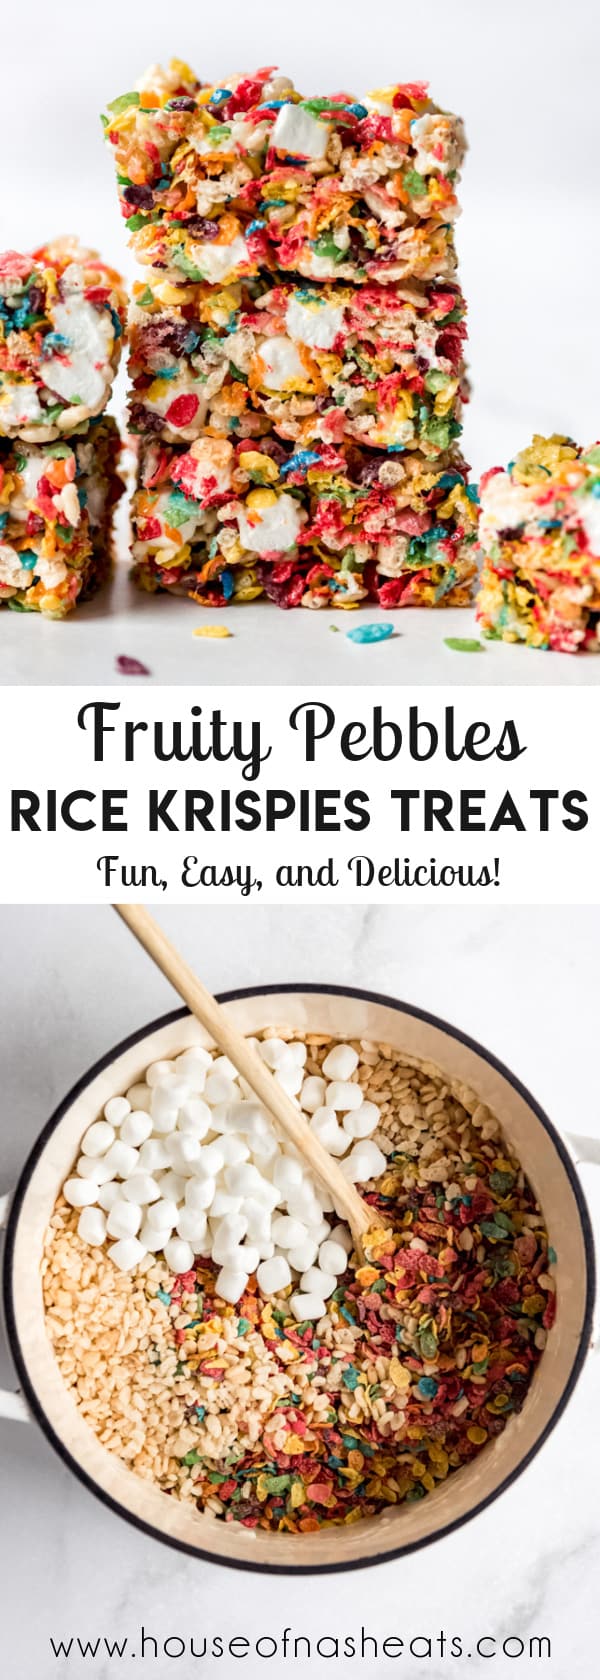
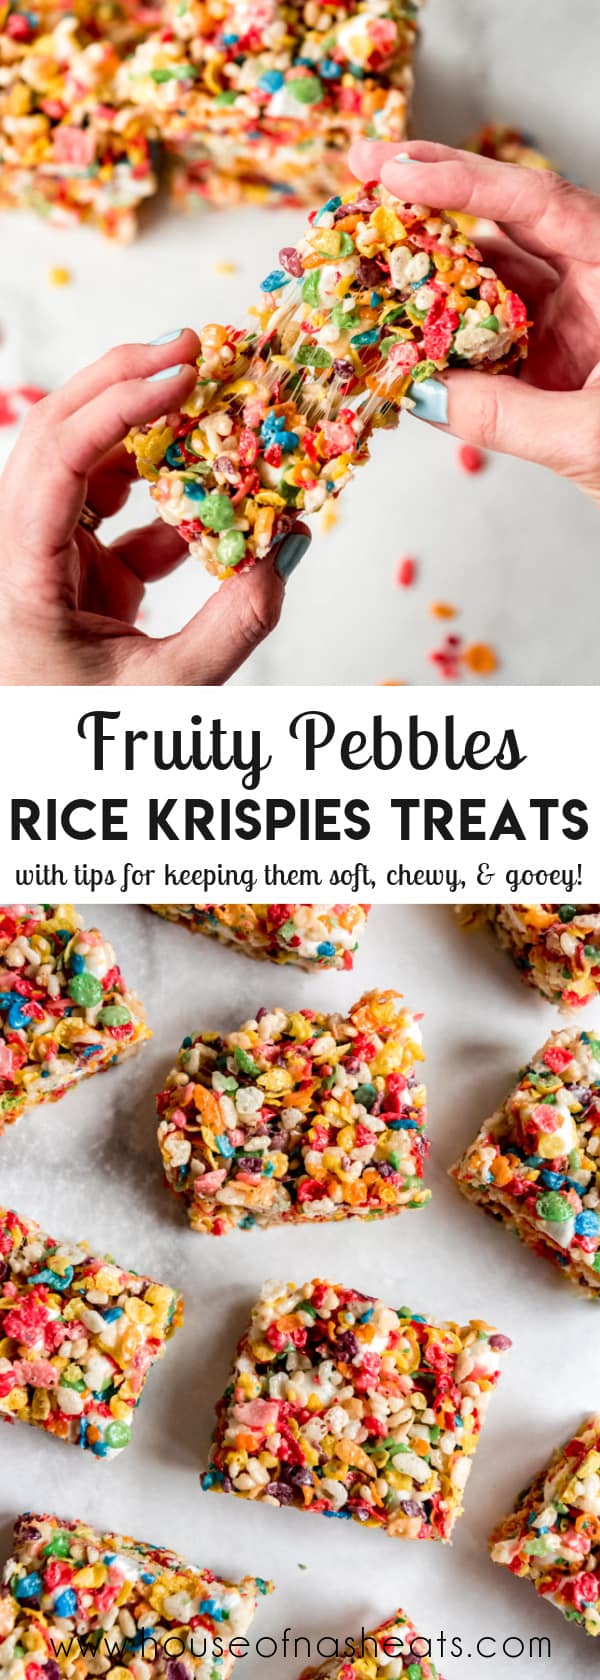
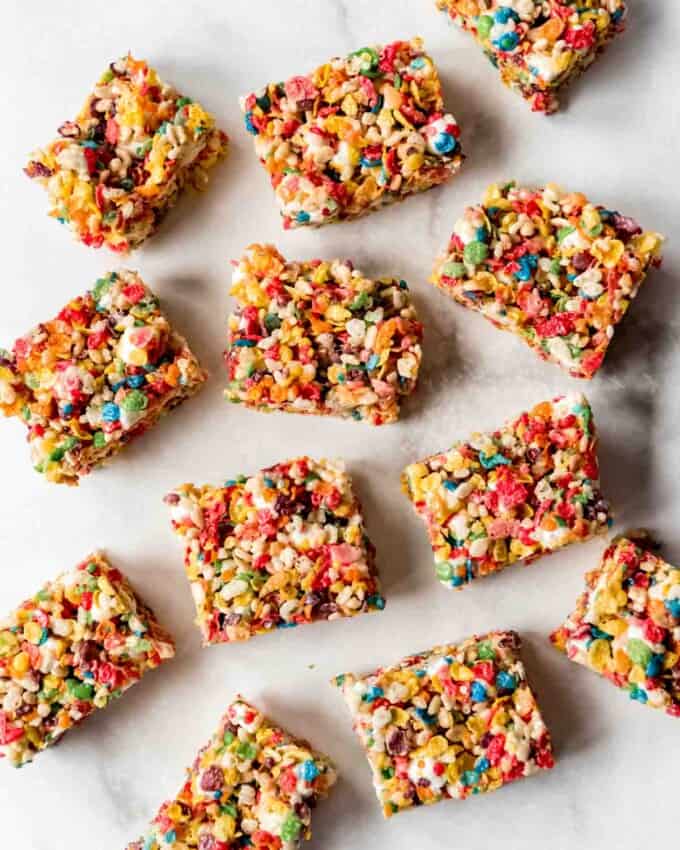
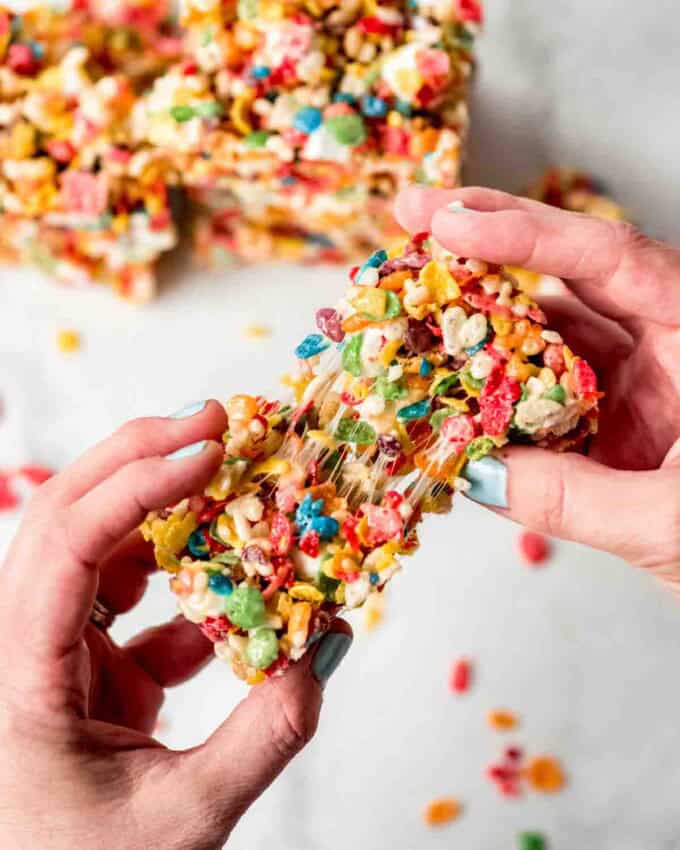
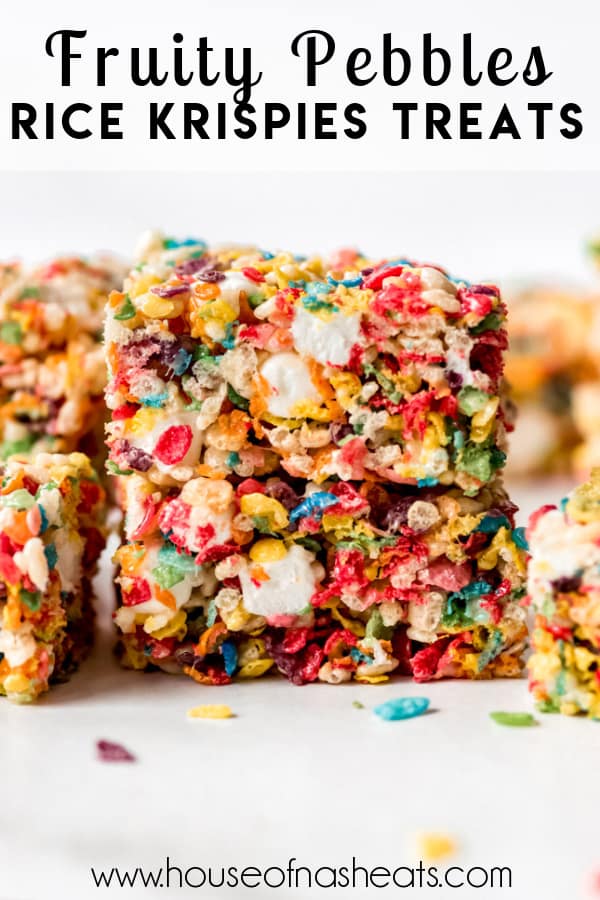
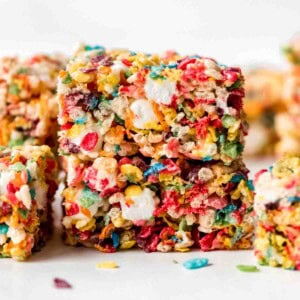
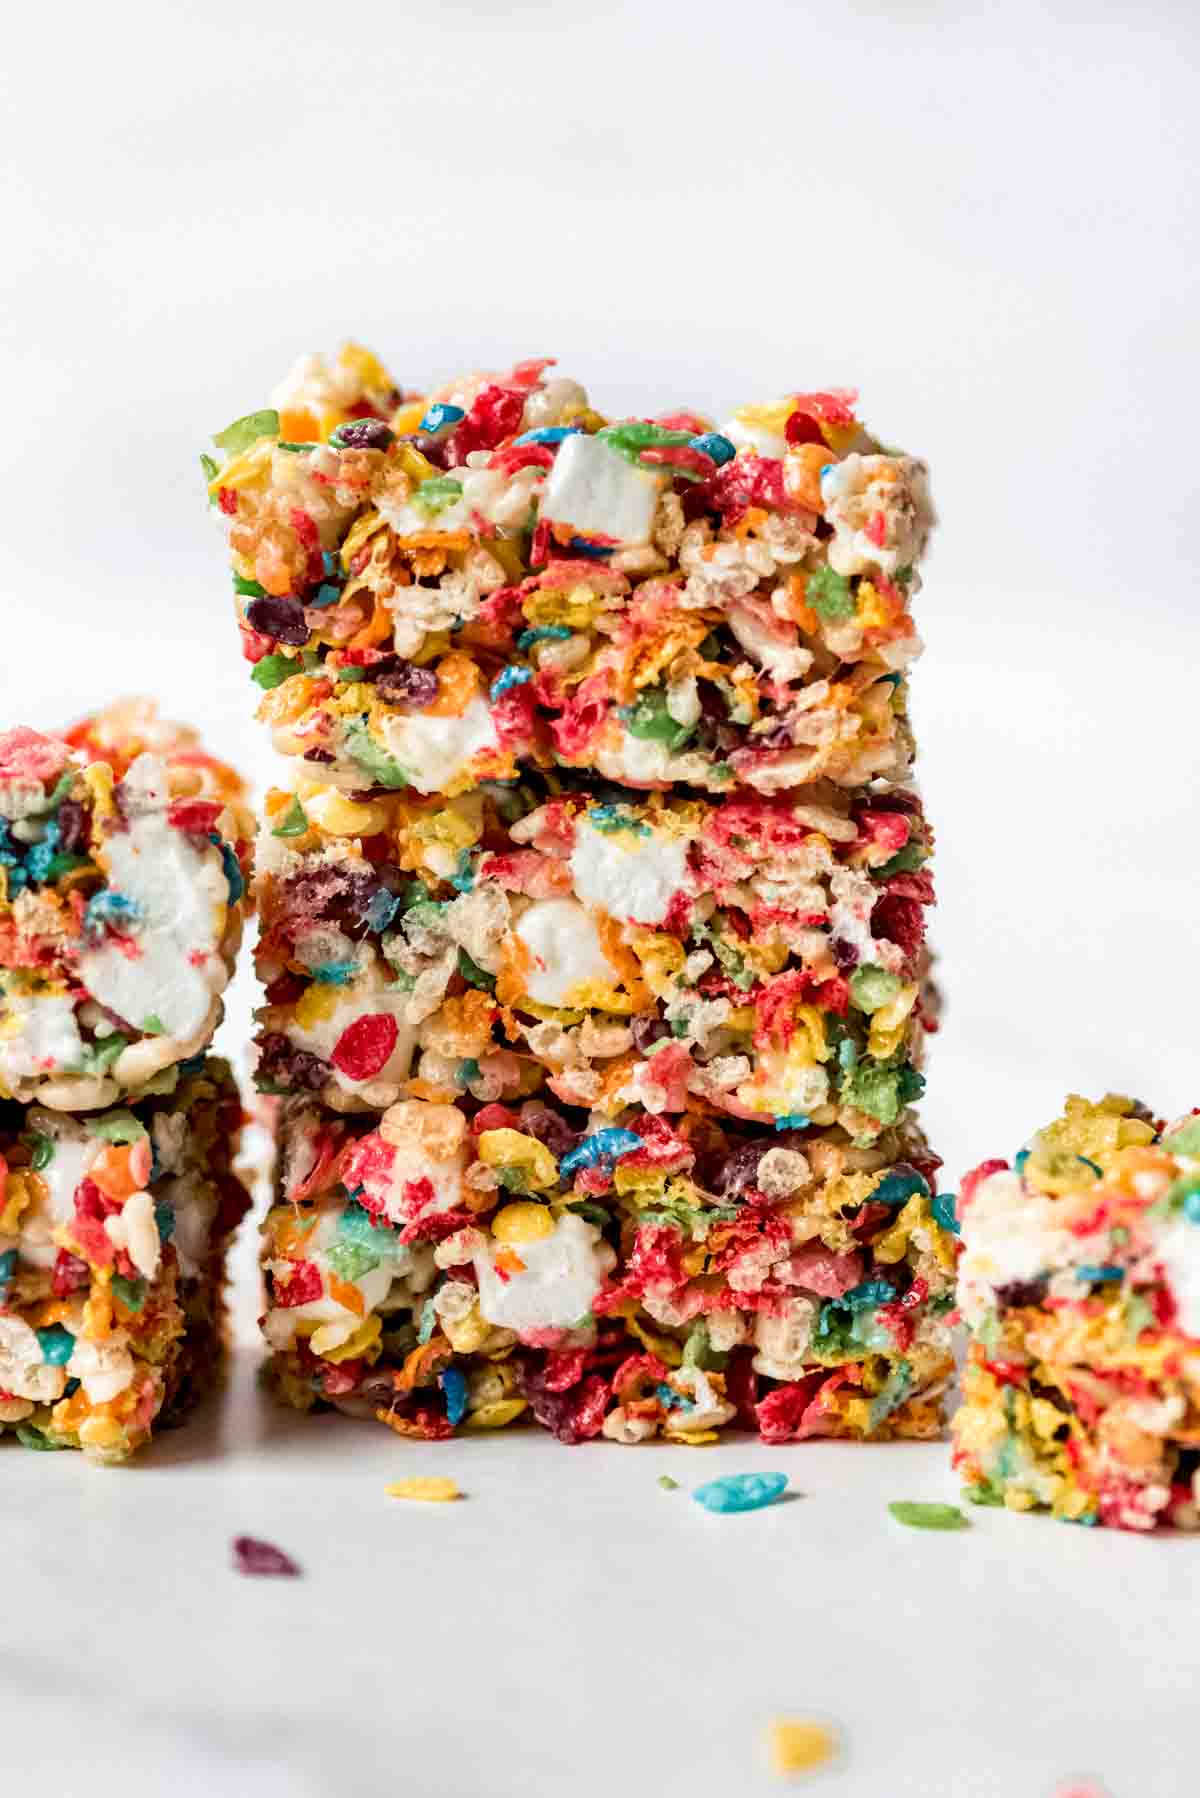
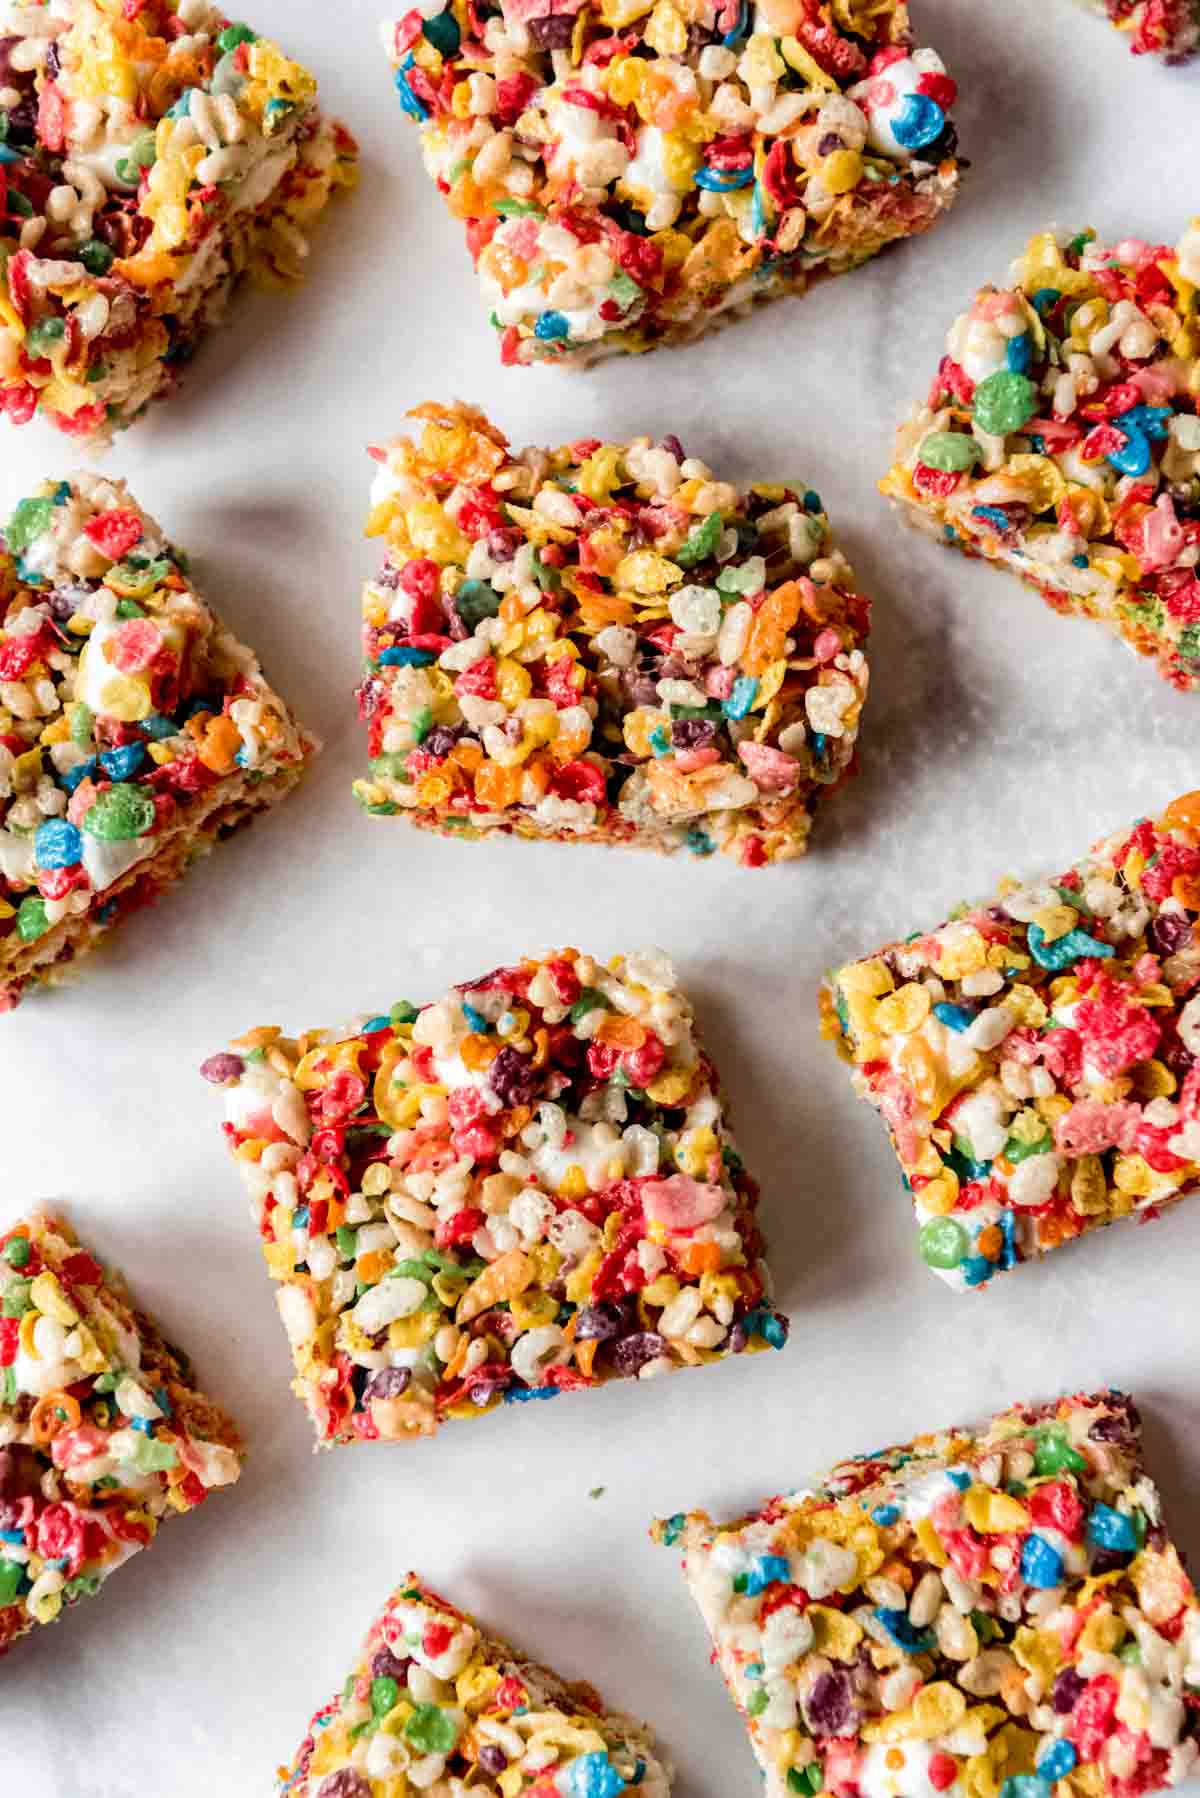
Fruity Pebbles Rice Krispies Treats are a fun and fruity twist on classic rice krispie treat squares! Quick and easy to make, these rainbow colored, extra gooey and delicious squares are guaranteed to bring a smile to kid and adult faces alike!
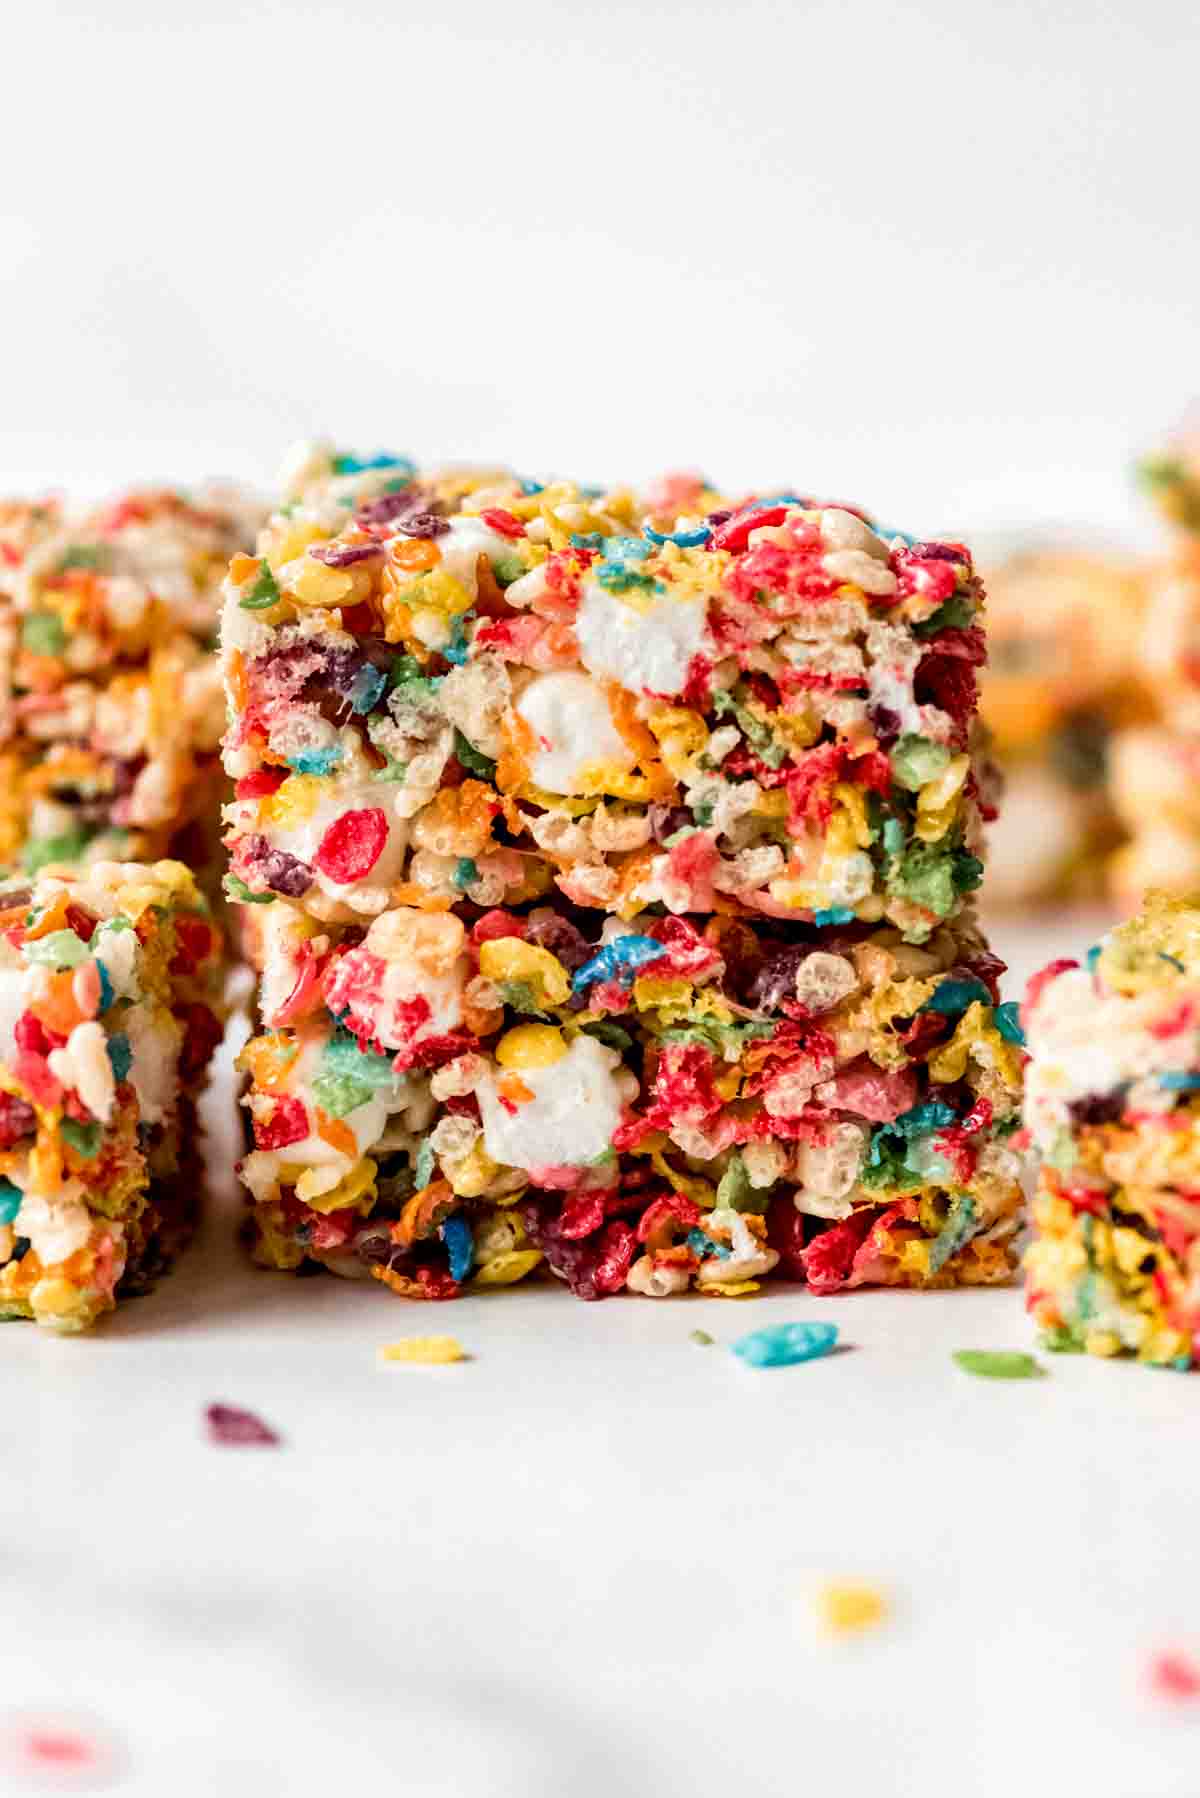
Table of Contents
With it being St. Patrick’s Day next week, I thought I would share a fun 10 minute treat that is rainbow themed and easy enough that my kids can make! They love when we make layered rainbow jello and rainbow marshmallow popcorn balls, but these Fruity Pebbles® Rice Krispies® Treats are the easiest treat of the bunch!
Cereal bars are perfect for parties and holidays, and you can really make them with pretty much any kind of cereal you like best. Prefer chocolate? Make this recipe with Cocoa Pebbles instead!
Our love for rice krispie treats runs deep and I always have the ingredients on hand to whip up a batch when the craving strikes! If you love them too, be sure not to miss some of our other gourmet rice krispie treat flavors like Salted Brown Butter Rice Krispie Treats, Scotcheroos, or Cookie Butter Rice Krispie Treats!
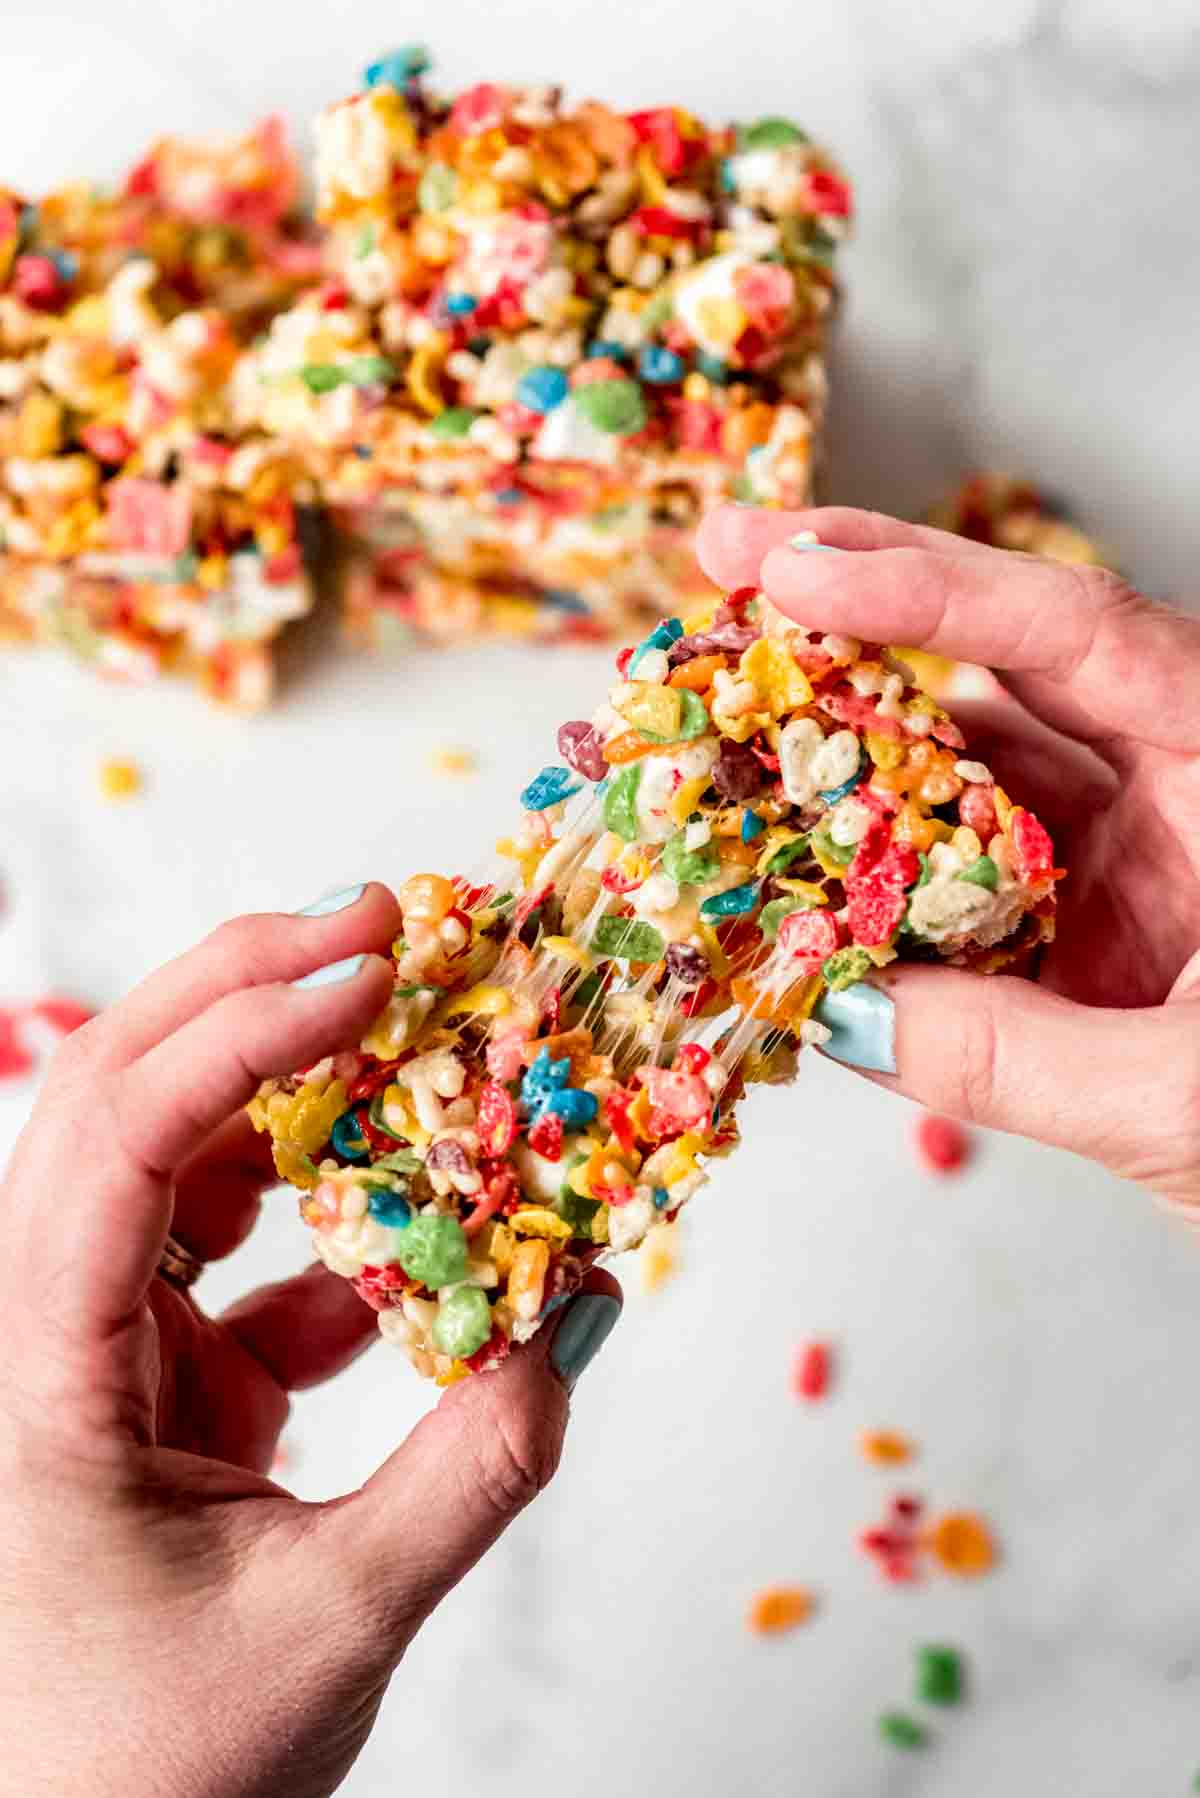
Rice Krispie Treats are one of the most basic, no-bake recipes around. That’s why so many people make them and they are such a classic! I mean, that, as well as the fact that they are just so darn YUMMY!
The best thing about my high school was the giant (and I mean seriously humungous-sized) rice krispie treats that the lunch ladies made and wrapped in plastic wrap. They were always super gooey and soft and perfect. I literally ate one almost every single day for lunch!
I probably had something besides just rice krispie treats for lunch every day of high school, but honestly, I don’t remember anything else. That was probably the extent of my rebelliousness as a teenager to eat straight sugar and call it a meal. Parents wonder why teenagers are always starving and I’m guessing this is probably why. Poor decision making about lunch choices in the cafeteria.
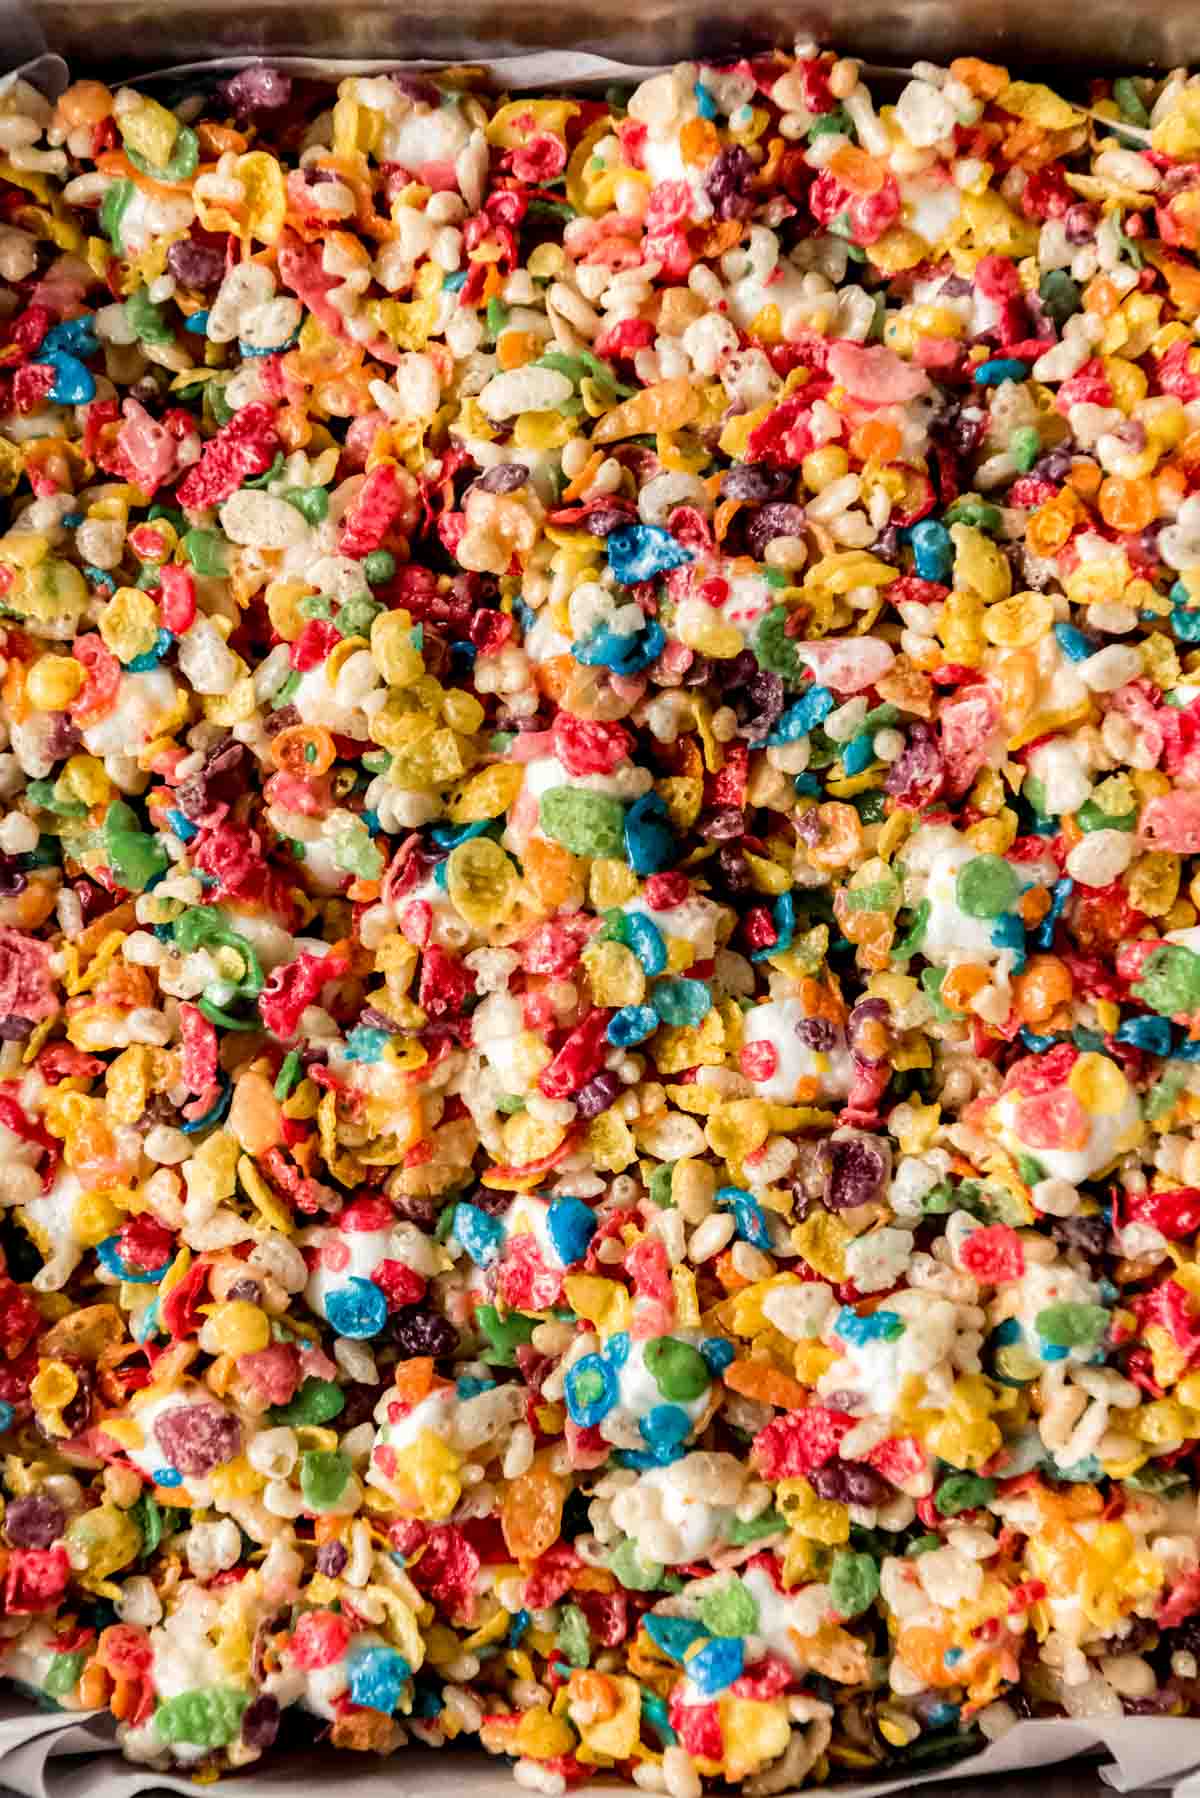
I know what you’re thinking: get to the recipe, right? I mean, all there is to making rice krispie treats is to melt butter, add marshmallows until melted, stir in cereal and done, right? Welllll, yes, technically.
But if you have ever had a dry, hard styrofoam block that cuts the roof of your mouth that someone is trying to pass off as a rice krispie treat you’ll know there is actually a little bit of technique involved in keeping them nice and soft so they stay perfectly chewy and delicious!
What you’ll need
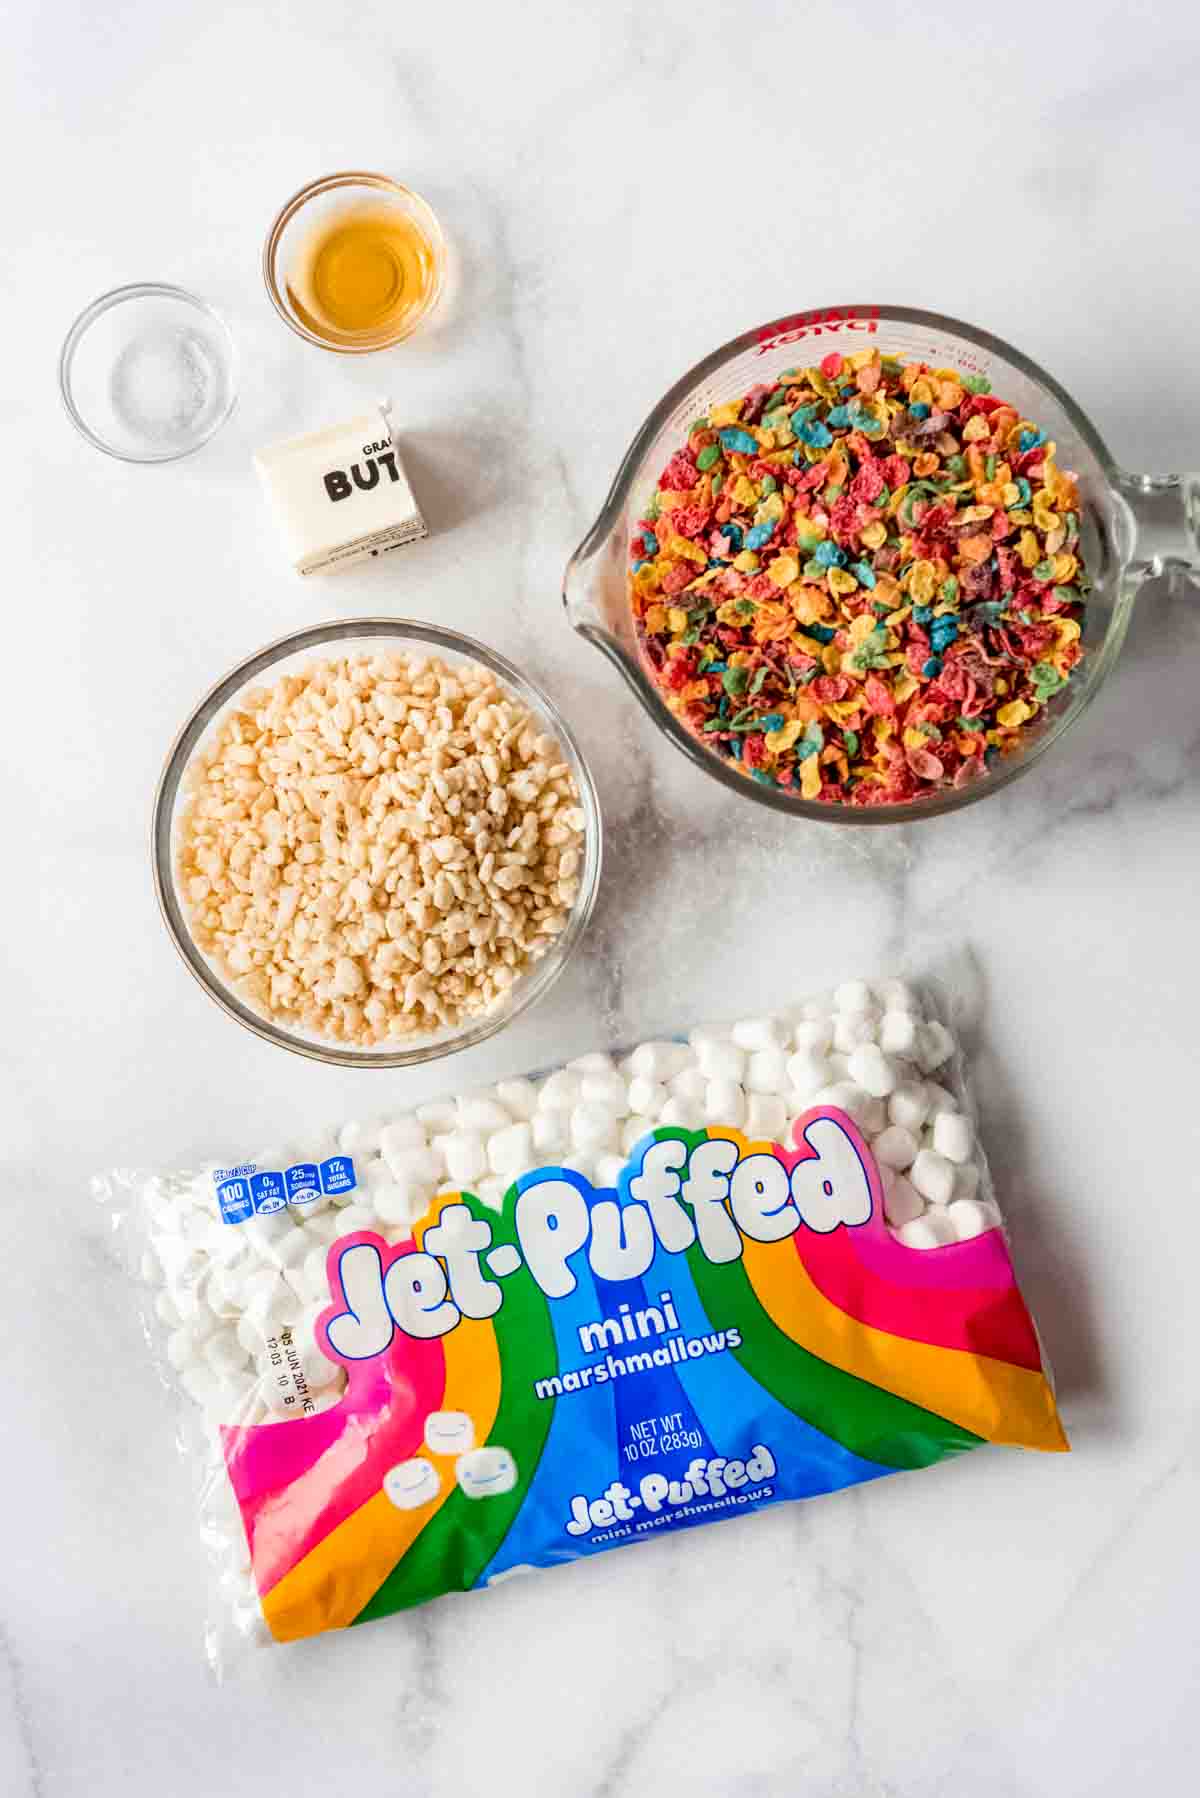
- Fruity Pebbles Cereal: I straight up love this stuff. Never for breakfast though. It has always been strictly for treats for me.
- Plain Rice Krispies: You can for sure make these bars without opening two different boxes of cereal if you want to use all Fruity Pebbles, but I find that I like the flavor better using both kinds since plain Rice Krispies are a lot less sweet which helps balance out the other ingredients.
- Marshmallows: Obviously! I’m definitely partial to Kraft Jet-Puffed marshmallows. Did anybody else notice that they recently updated their packaging?
- Butter: I always use salted butter in my baking. I know the reasons why people use unsalted butter for recipes, but I guess I’m stuck in my ways.
- Vanilla Extract: You didn’t realize these rice krispie treats were so extra, did you? But yes, a little vanilla definitely makes rice krispie treats better.
- Salt: Just a pinch really helps tone down the sweetness and bring balance to the force. I mean, bars.
How to Make Fruity Pebbles Rice Krispie Treats
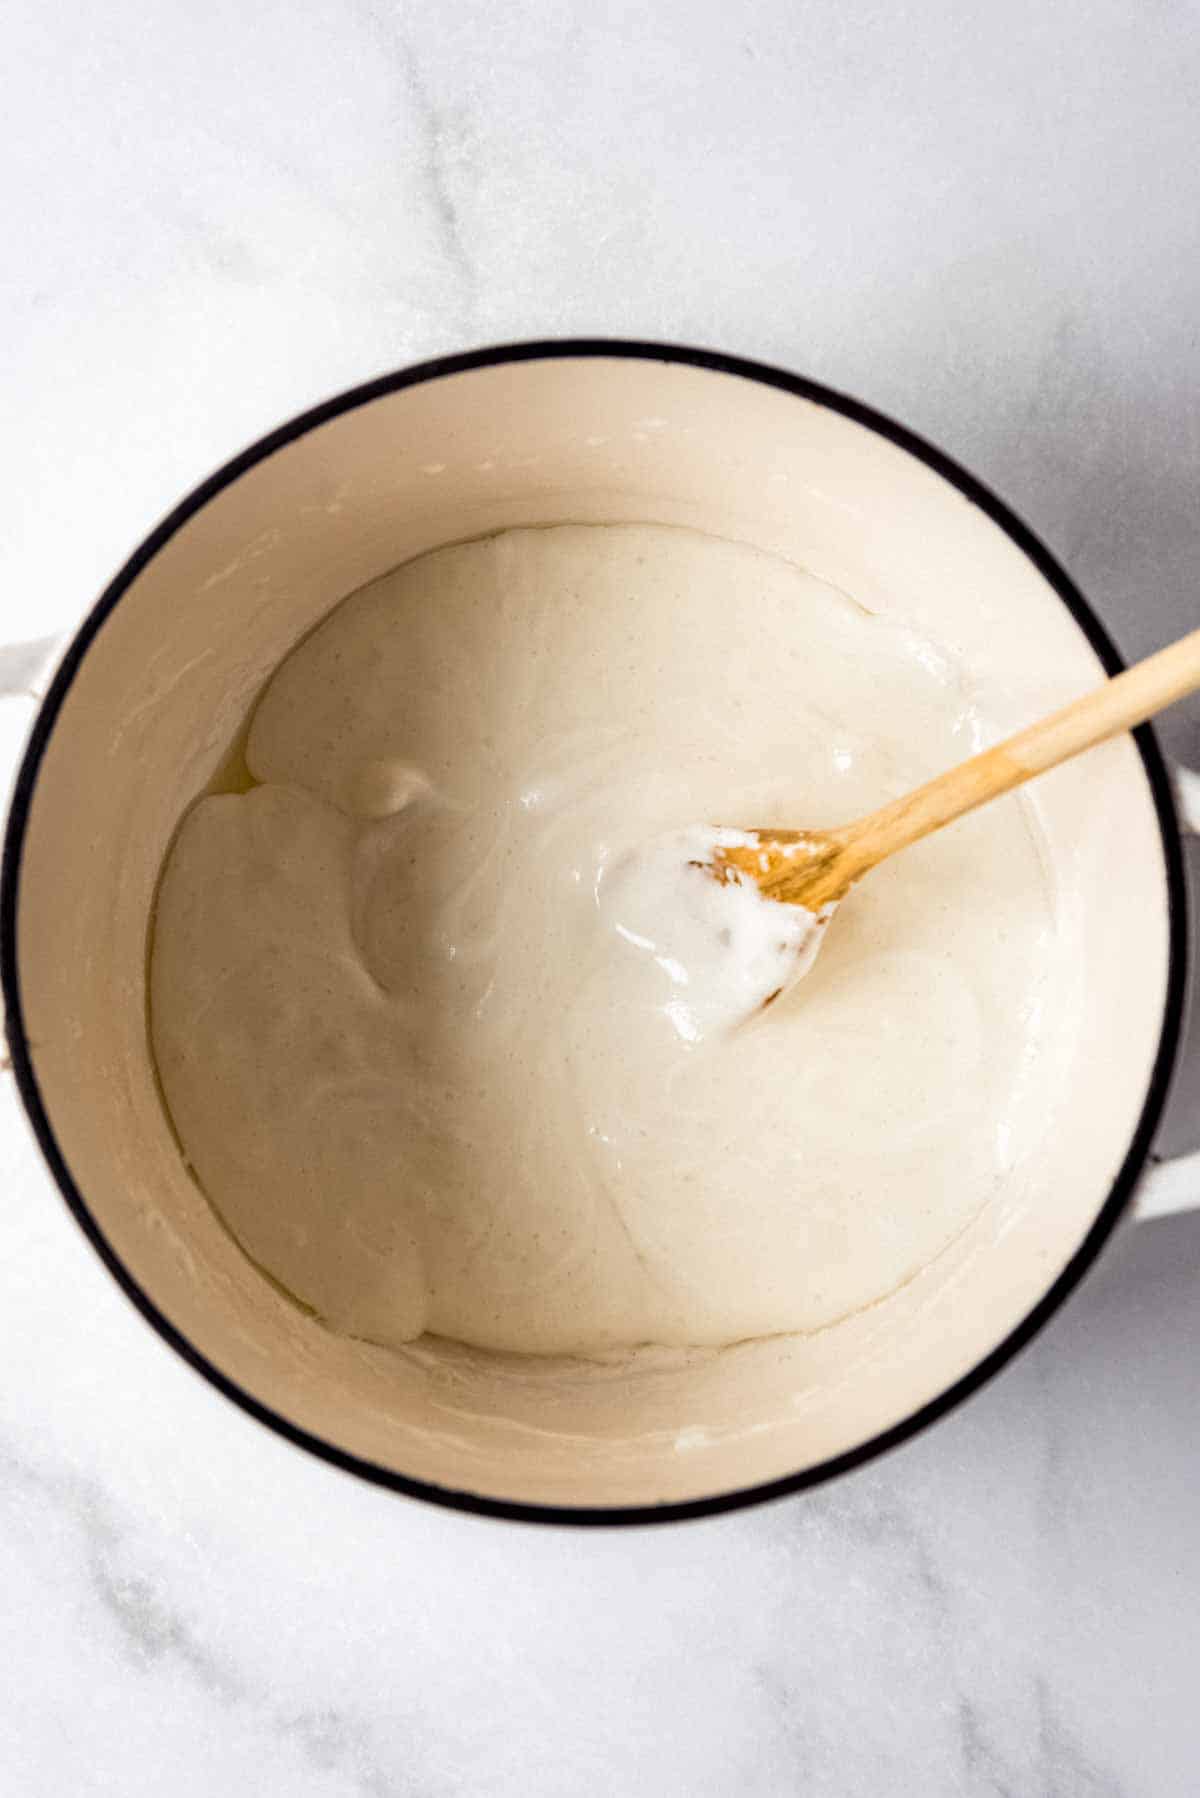
Melt the butter & marshmallows: Heat the butter over low heat in a large pot. Once it’s melted, add 2/3 of the marshmallows. Continue to cook and stir over low heat just until the marshmallows have melted, then remove from the heat and stir in the vanilla extract.
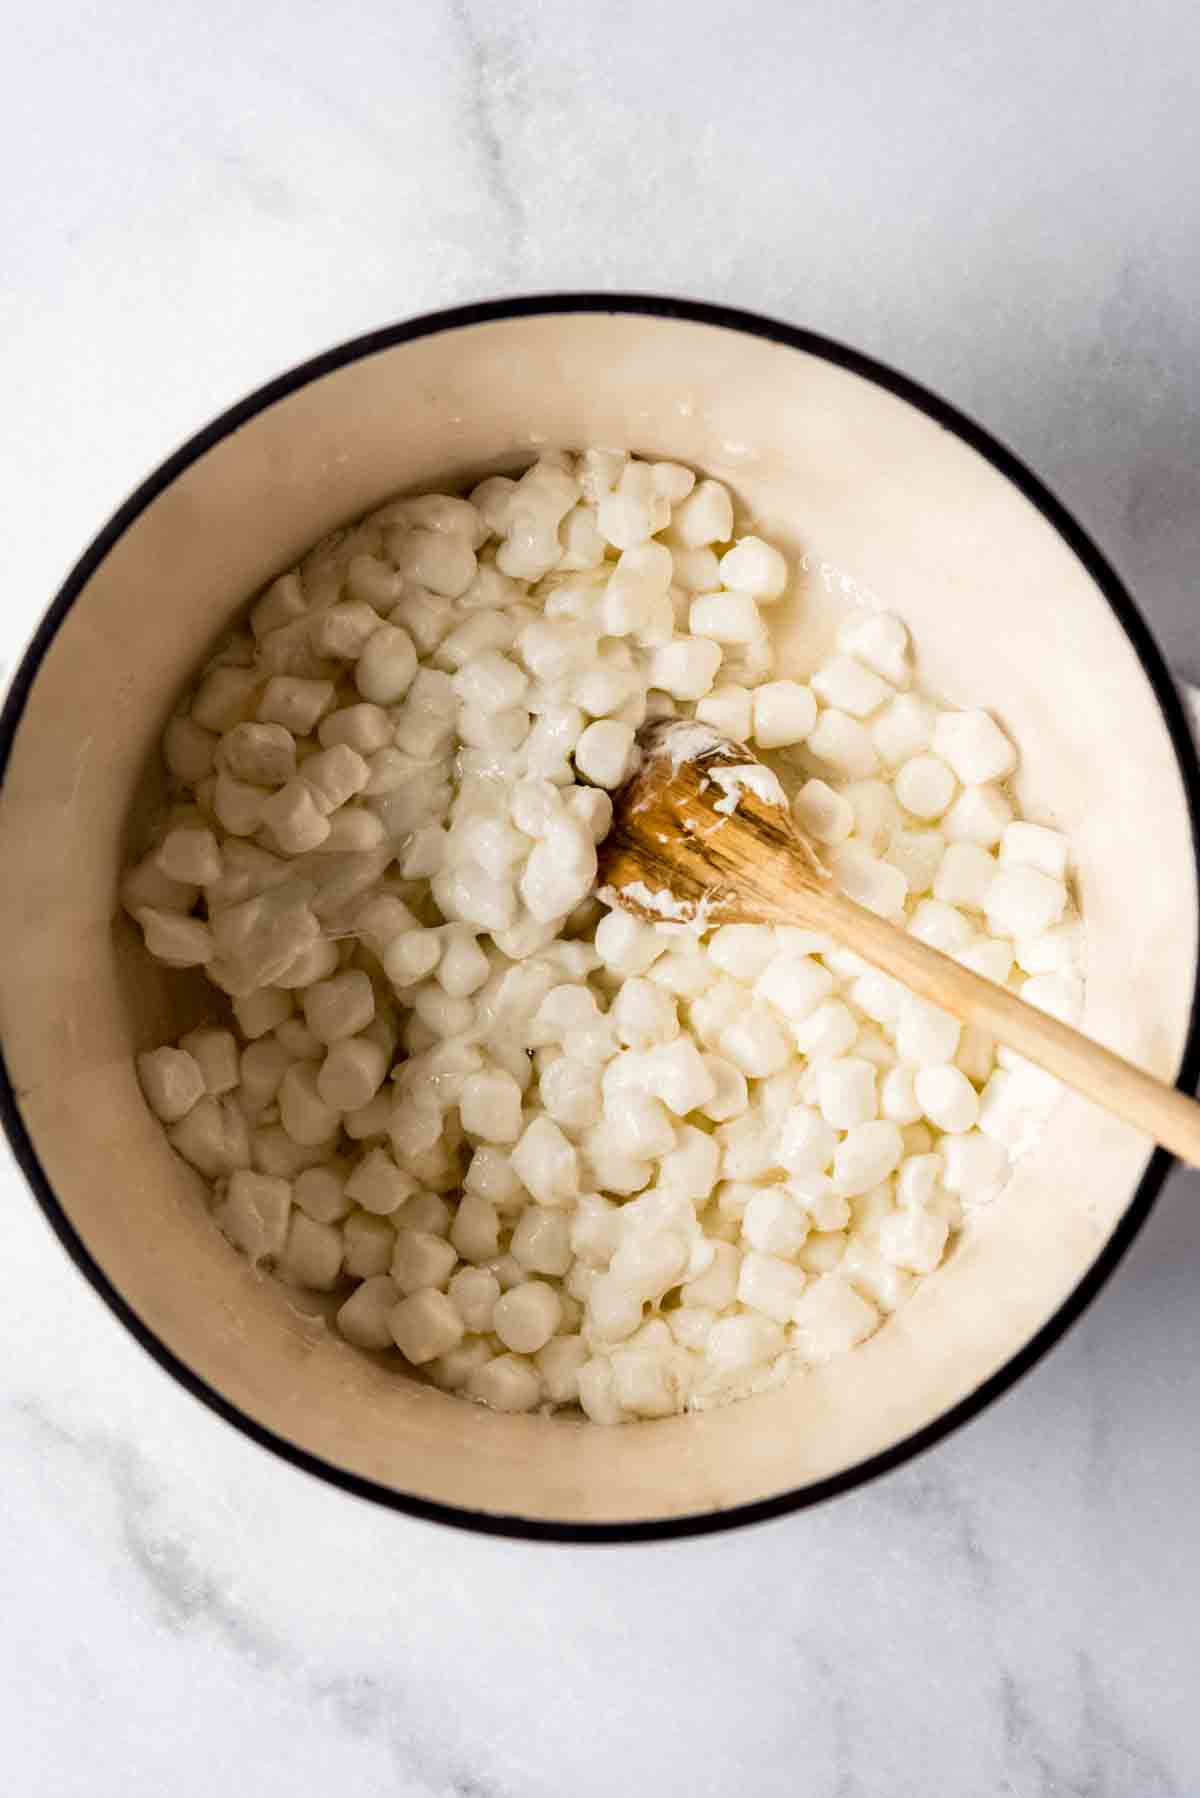
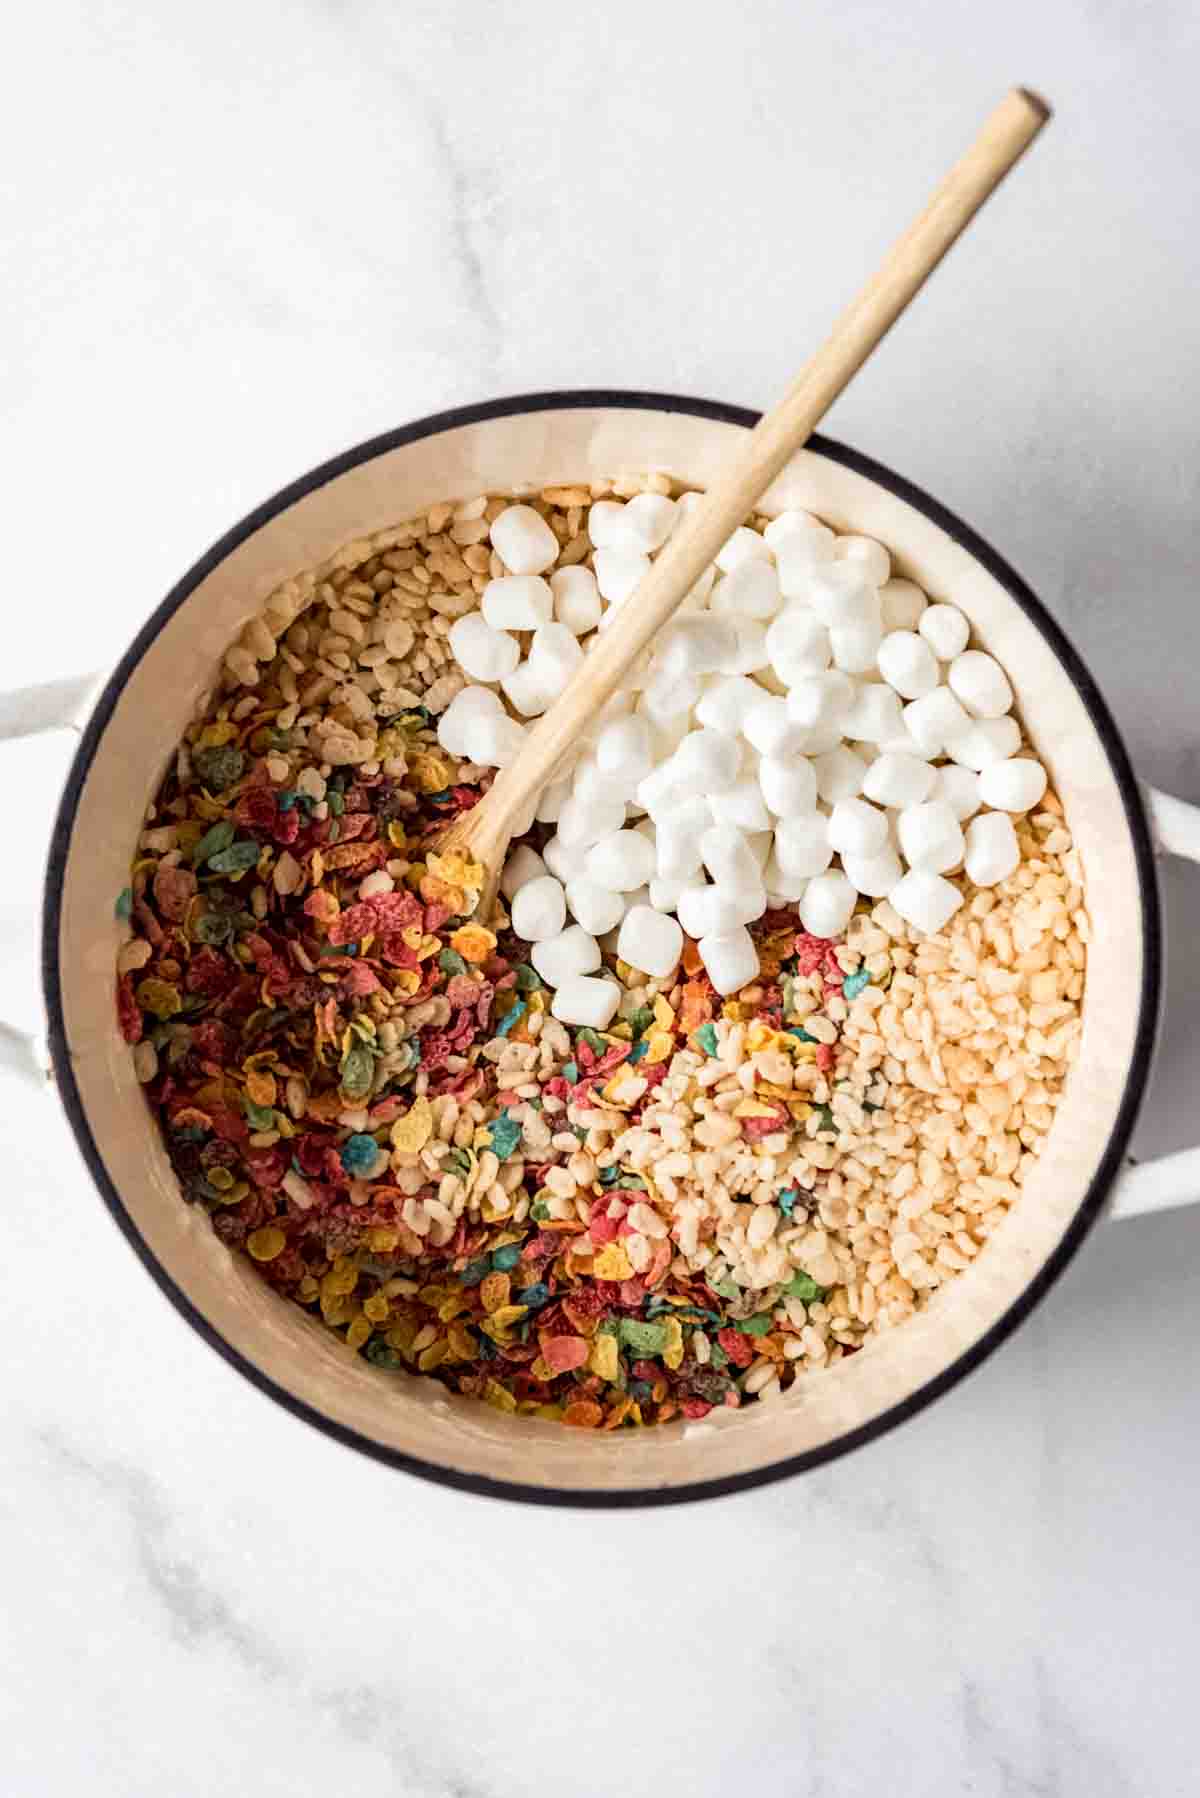
Add cereal, remaining marshmallows, and salt: Stir gently with a wooden spoon until the cereal is coated. I use a lifting motion to turn over the cereal from the bottom of the pot to make sure all that melted marshmallow goodness gets on the cereal without crushing the fruity pebbles into dust.
I have found that using only Fruity Pebbles makes the bars a little too sweet for my taste (blasphemy, I know). The combination of plain Rice Krispies and Fruity Pebbles produces a much better balance, in my opinion.
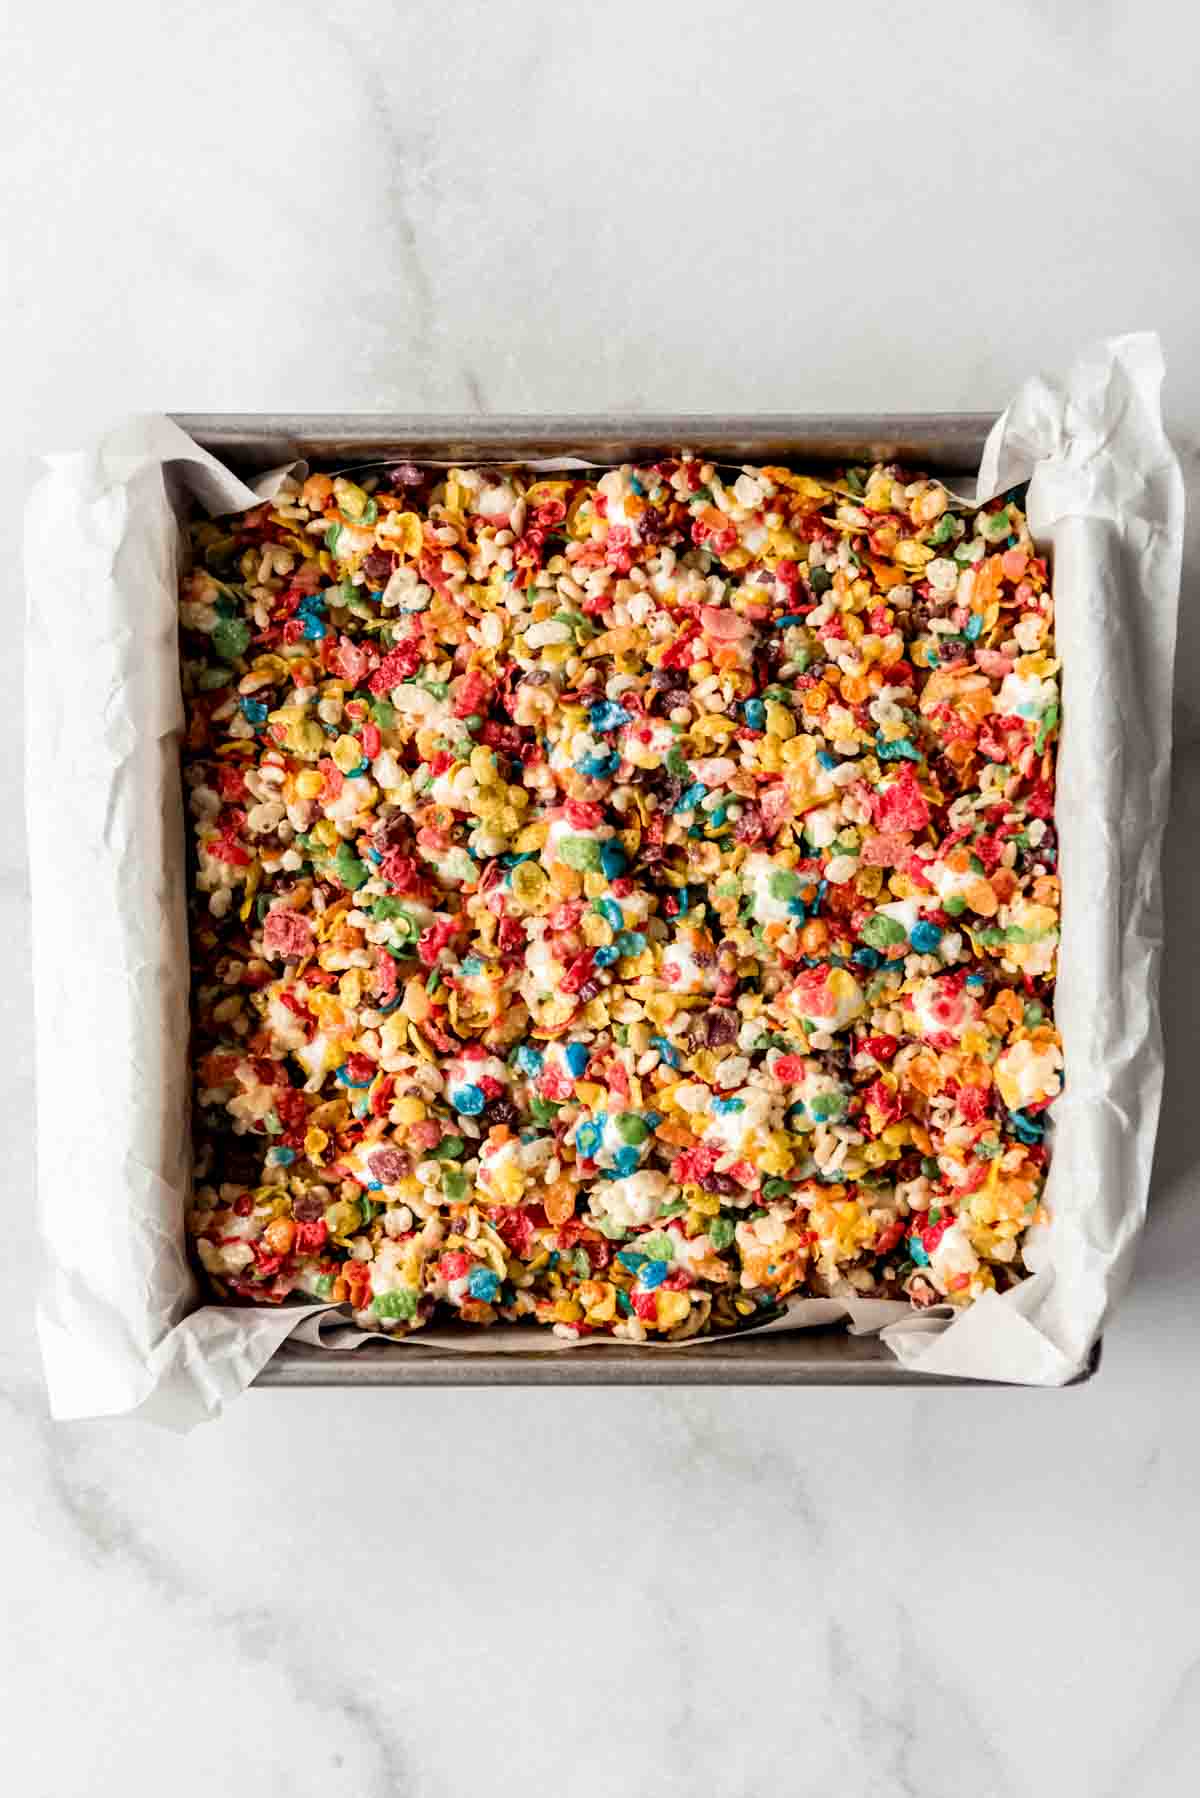
Press into a square pan: I use a 9-inch square pan lined with a parchment paper sling so it’s easy to lift the bars out and cut them into squares, but you could also just butter the pan instead.
Be sure not to press down too hard when putting the fruity pebbles rice krispie treats into the pan or they will get compacted and hard. I like to reserve my butter wrapper and use the buttered side to press them in, but you can also just spray your hand with a little cooking spray to keep it from sticking.
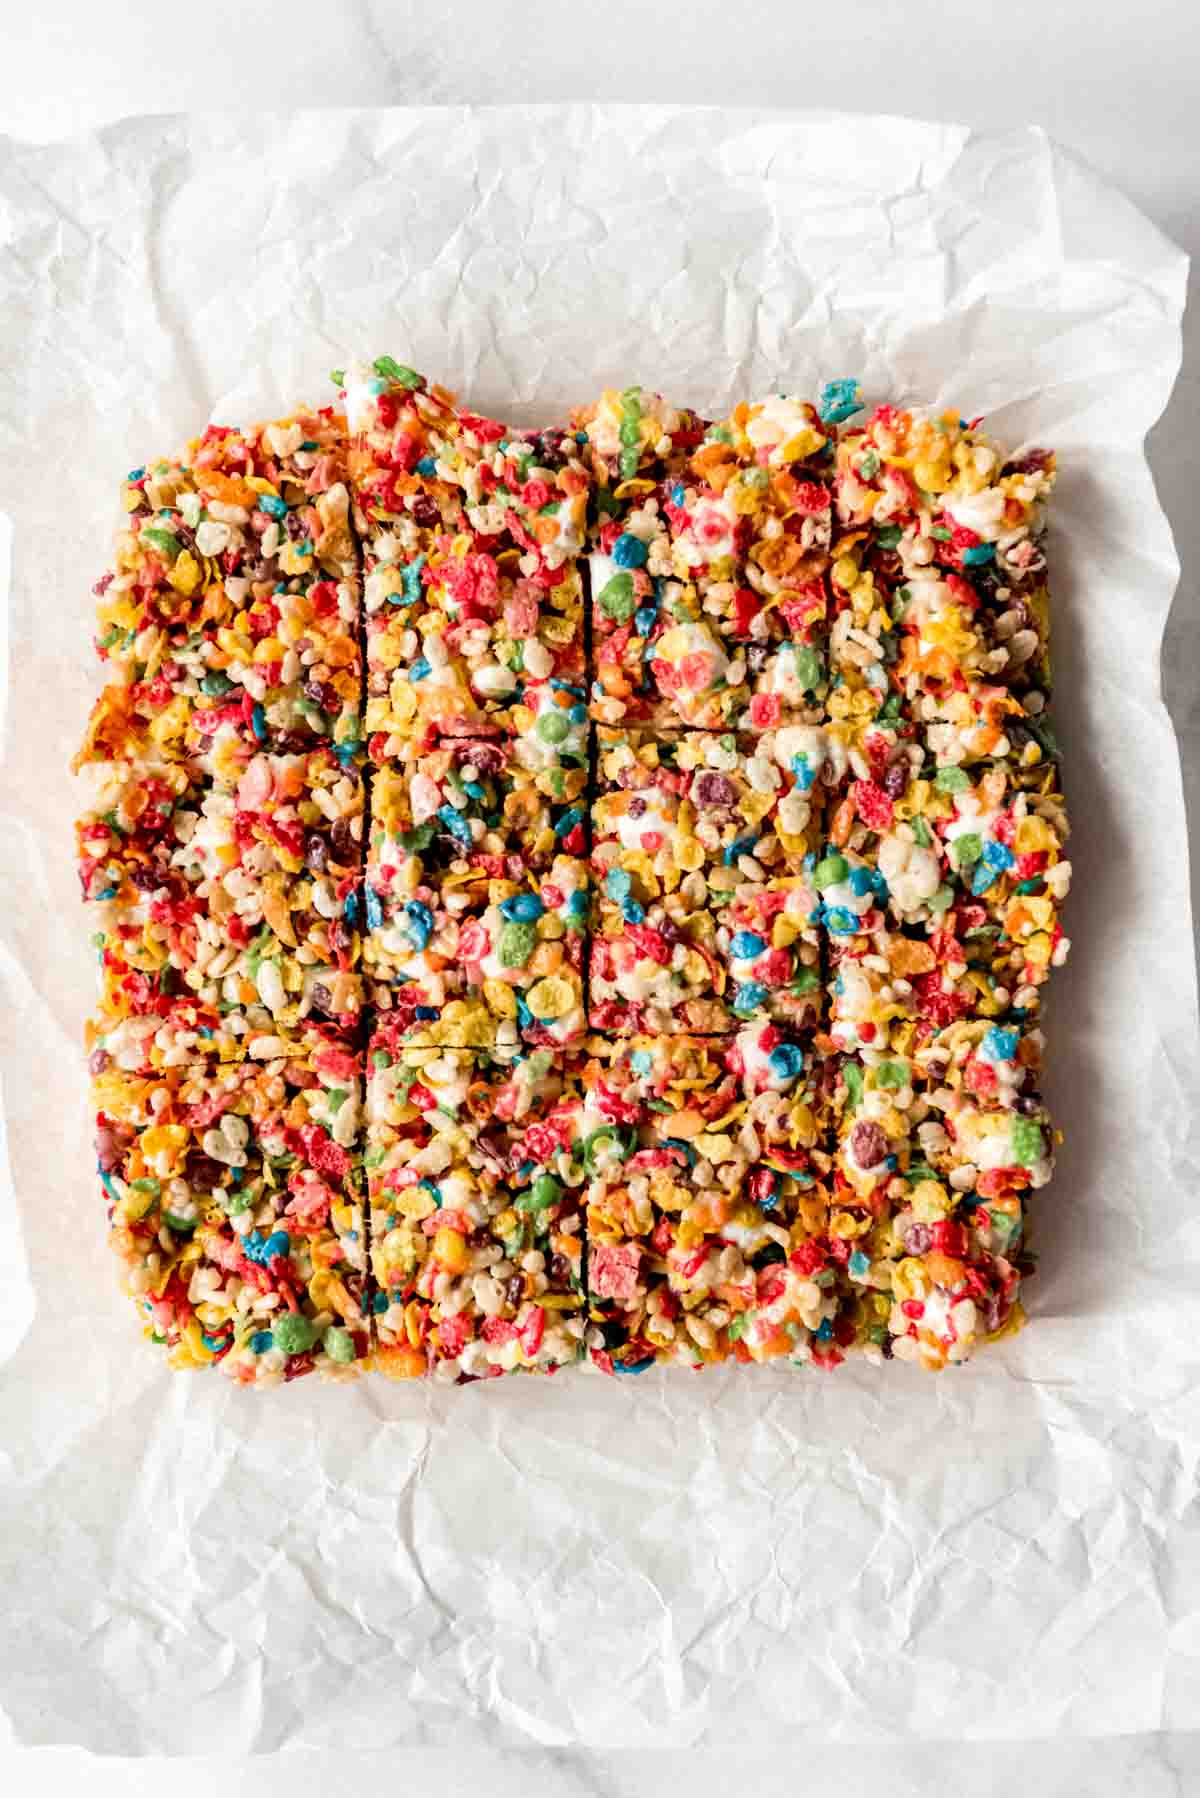
Let them cool a bit, then cut into squares: The hardest part is waiting 10-15 minutes to give the bars a chance to set up just a bit so that you can cut them into squares!
Tips for the best Rice Krispie Treats
- Use fresh ingredients: Stale cereal and hard marshmallows will give less than desirable results. If you want soft, gooey fruity pebble rice krispie treats, you need to start with soft marshmallows and a fresh bag of fruity pebbles.
- Hold marshmallows in reserve: I like to hold back about ⅓ of the bag of marshmallows and add them with the cereal. They soften from the residual heat of the melted marshmallows but also result in nice pockets of soft marshmallow in the finished rice crispy treats, which I love.
- Don’t compact them into the pan: You need to press the cereal and marshmallow mixture into the pan so they will actually hold a bar shape, but if you are too heavy handed and press too much you run the risk of turning the rice krispie treats into bricks.
- Only use LOW heat: If you have ever had dry, crunchy (not in a good way) rice krispie treats, chances are the marshmallows were heated too quickly and/or too much. Only melt them on low heat, then turn the heat off as soon as they are almost melted.
- Save your butter wrapper: I like to hold on to my butter wrapper and use the buttered side to press the cereal mixture into the pan. Alternatively, you can just grab some cooking spray and spritz your hand or a rubber spatula and use that.
Microwave Approach
I prefer making my rice krispie treats on the stovetop, but you can also use your microwave if that’s easier. Just add the butter and marshmallows to a large microwave-safe bowl and heat for 1 minute. Stir until the marshmallows start to melt. If needed, continue to heat in 15-second bursts, stirring well between each burst of heat until the marshmallows are all the way melted.
Then stir in the vanilla and salt and pour over the cereal and reserved marshmallows in a larger bowl, stirring to combine.
More Recipes Like This
- Chocolate Peanut Butter No Bake Cookies
- No-Bake Cheesecake (+ 8 Simple Homemade Toppings!)
- Mint Chocolate Chip Cut Out Cookies
- Puppy Chow (aka Chex Mix Muddy Buddies)
- Candy Coated Crispix Mix
Brownies and bars
Cinnamon Toast Crunch Bars
Brownies and bars
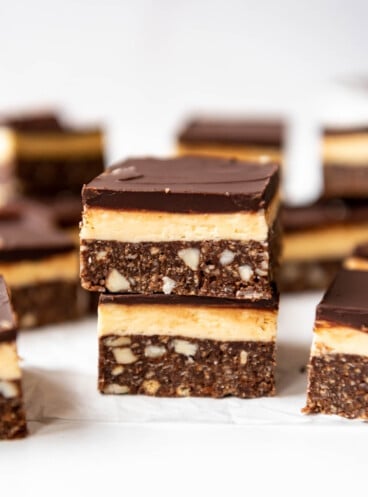
Classic Nanaimo Bars
Brownies and bars
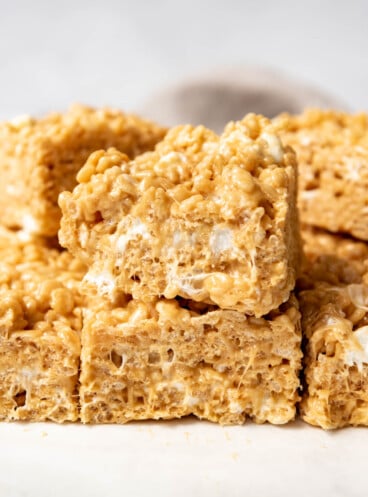
Peanut Butter Rice Krispie Treats
Did you make this recipe?
Let me know what you thought with a comment and rating below. You can also take a picture and tag me on Instagram @houseofnasheats or share it on the Pinterest pin so I can see.
Fruity Pebbles Rice Krispies Treats
Ingredients
- 4 Tablespoons salted butter
- 10 ounces mini marshmallows divided
- 1 teaspoon vanilla extract
- Pinch of salt
- 4 cups Fruity Pebbles cereal
- 2 cups Rice Krispies cereal
Instructions
- Line a 9-inch square baking dish with parchment paper. Set aside.
- In a large pot or dutch oven, melt butter over low heat. Add 2/3 of the marshmallows, stirring constantly over low heat until marshmallows are completely melted.10 ounces mini marshmallows, 4 Tablespoons salted butter
- Remove the pot from the heat and immediately stir in the vanilla and salt. Add the Fruity Pebbles Rice Krispies, and remaining marshmallows, stirring gently to combine.1 teaspoon vanilla extract, Pinch of salt, 4 cups Fruity Pebbles cereal, 2 cups Rice Krispies cereal
- Pour the mixture into the prepared pan. Lightly spray your hands or a piece of plastic wrap with cooking spray or use the buttered side of the buttered wrapper to gently press the rice krispies treats into the pan. Don’t compact them or press too hard. Just evenly press them into the corners and edges so the bars will hold their shape when cut.
- Let cool for 20 minutes to room temperature before lifting them out of the pan using the parchment paper sling and cutting into squares.
Notes
- These Fruity Pebble Rice Krispies Treats are best enjoyed fresh, the day they are made, but can be kept in an airtight container or wrapped in plastic wrap for a day or two on the counter.
- You can use all Fruity Pebbles rather than a combination of Fruity Pebbles and plain Rice Krispies, but I find it tooth-achingly sweet that way.
