
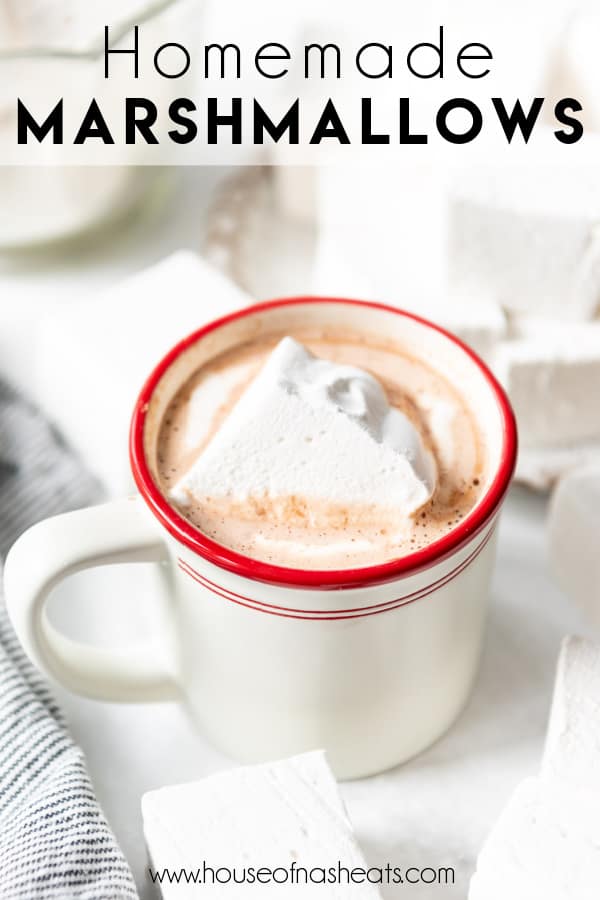
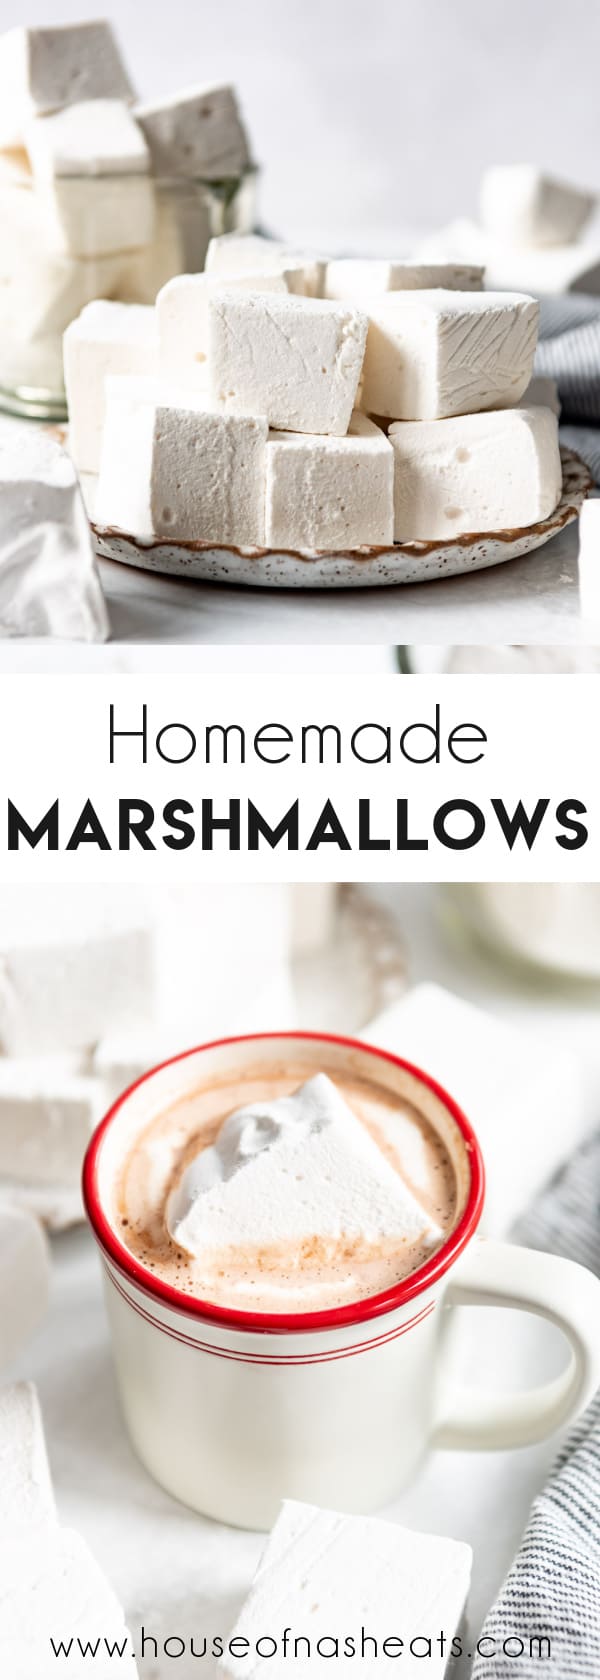

Homemade marshmallows are soft, fluffy, and filled with rich vanilla flavor that makes every piece melt perfectly into a mug of hot chocolate. With simple ingredients like sugar, gelatin, and corn syrup, this easy marshmallow recipe creates pillowy treats that stay fresh for weeks and taste so much better than anything store-bought.
I avoided making homemade marshmallows for the longest time because I thought they’d be too tricky or turn into a sticky mess. Oh boy, was I wrong! Once I finally tried them, I realized how simple they really are, and I’ve been hooked ever since. Watching that glossy sugar syrup whip up into soft, pillowy clouds feels like magic every single time. They taste incredible, have the best chewy texture, and they keep beautifully for weeks.
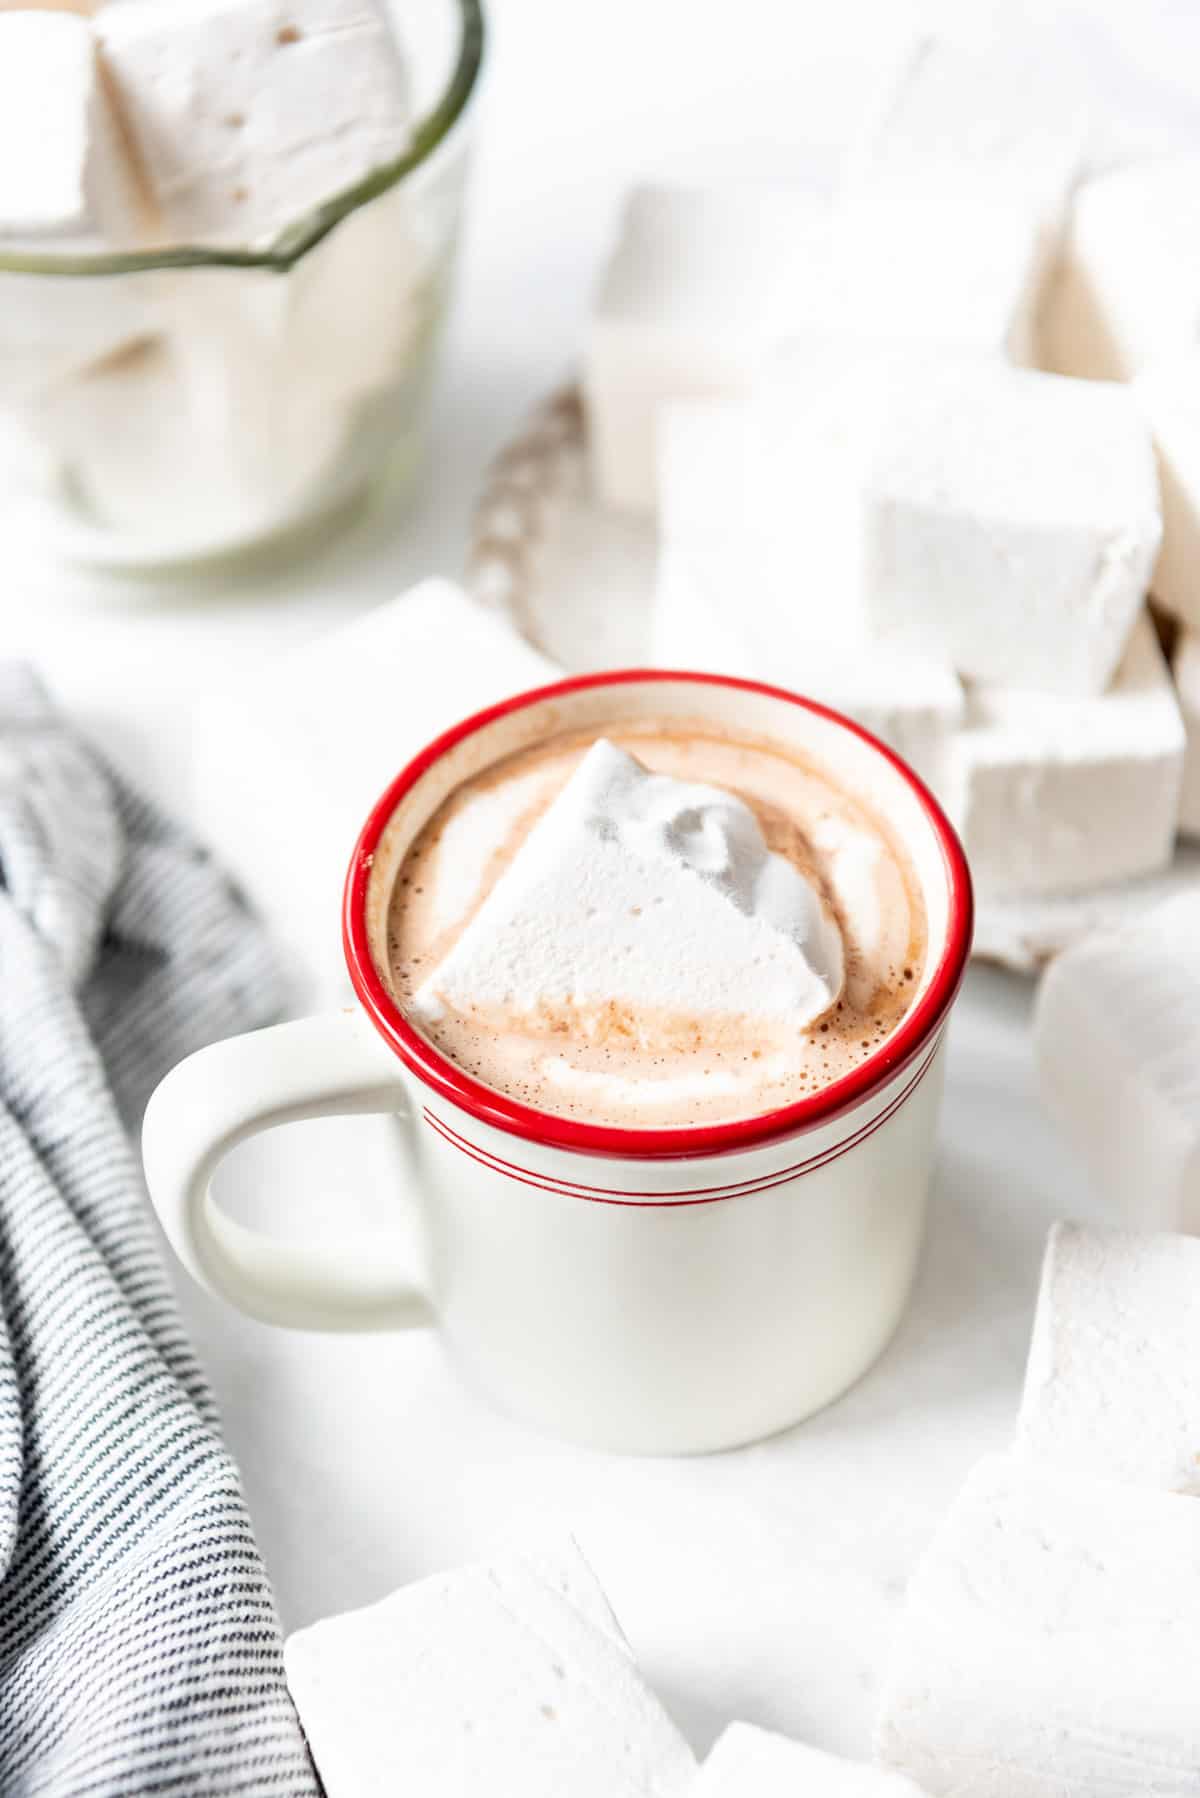
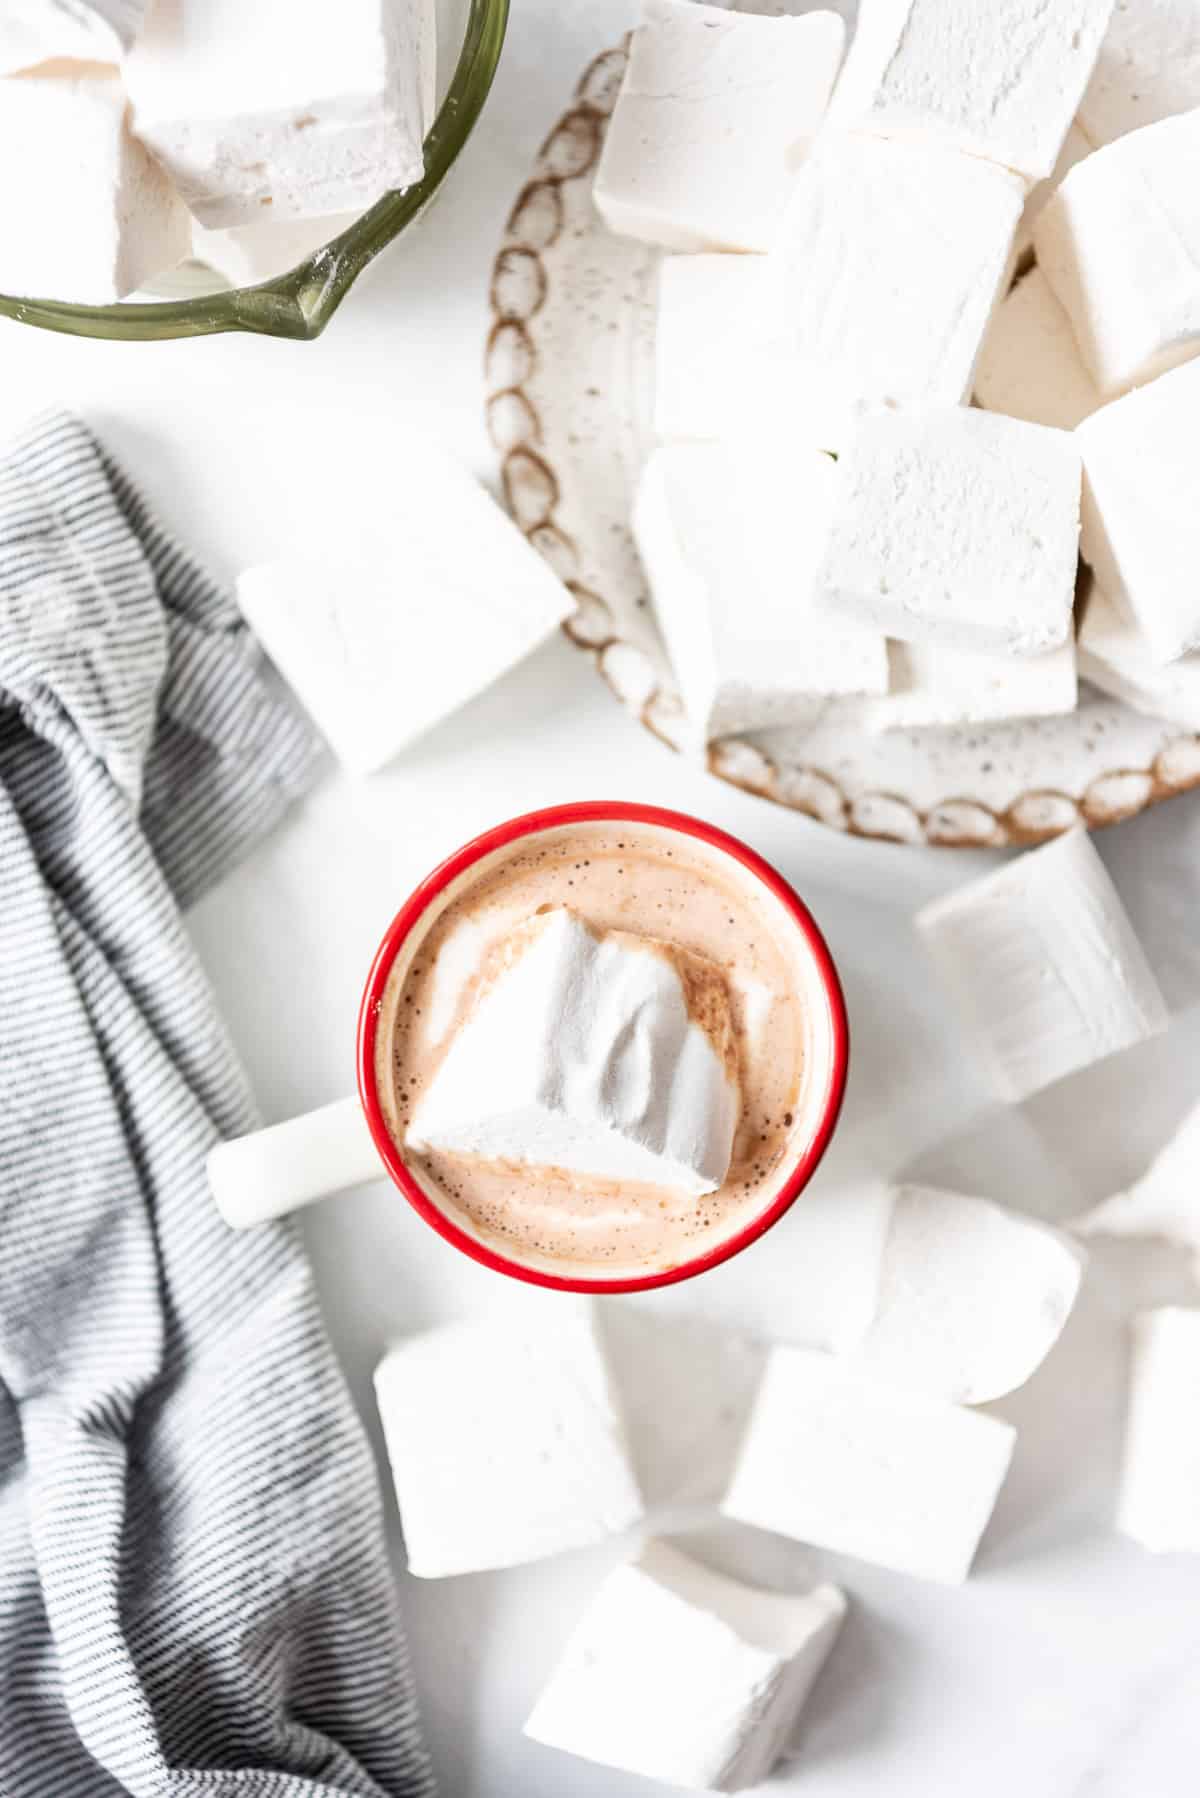
Homemade marshmallows have become a year-round staple in our house. In the winter, I love dropping them into mugs of hot chocolate or packaging them with my homemade cocoa mix or peppermint hot chooclate bombs for easy gifts. And in the summer, they make the best s’mores treats. However you enjoy them, these fluffy marshmallows bring a touch of cozy, homemade comfort that always makes people smile.
I used to only enjoy marshmallows when they were part of something else (like S’mores Bars, Rocky Road Cookies, and S’mores Cake), but now I’ll happily snack on one (or two) all by themselves. I even made a peppermint version once, and they were so good I couldn’t stop eating them!
If you love making edible gifts for friends, neighbors, or teachers, try adding a few more homemade favorites to your list. Consider a jar of Homemade Vanilla Extract or Homemade Salted Caramel Sauce, or boxes of Homemade Caramels and Peppermint Patties!
Why you’ll love this family favorite recipe!

- It’s much easier than it looks! With just a few pantry staples and about five minutes of actual cook time, the rest is simply letting the marshmallows set until soft and springy.
- Homemade marshmallows taste so much better than store-bought. They’re fresher, fluffier, and made without preservatives or artificial flavors.
- This recipe is endlessly adaptable. You can change up the extract, add a swirl of color, or cut them into fun shapes to match any season or celebration.
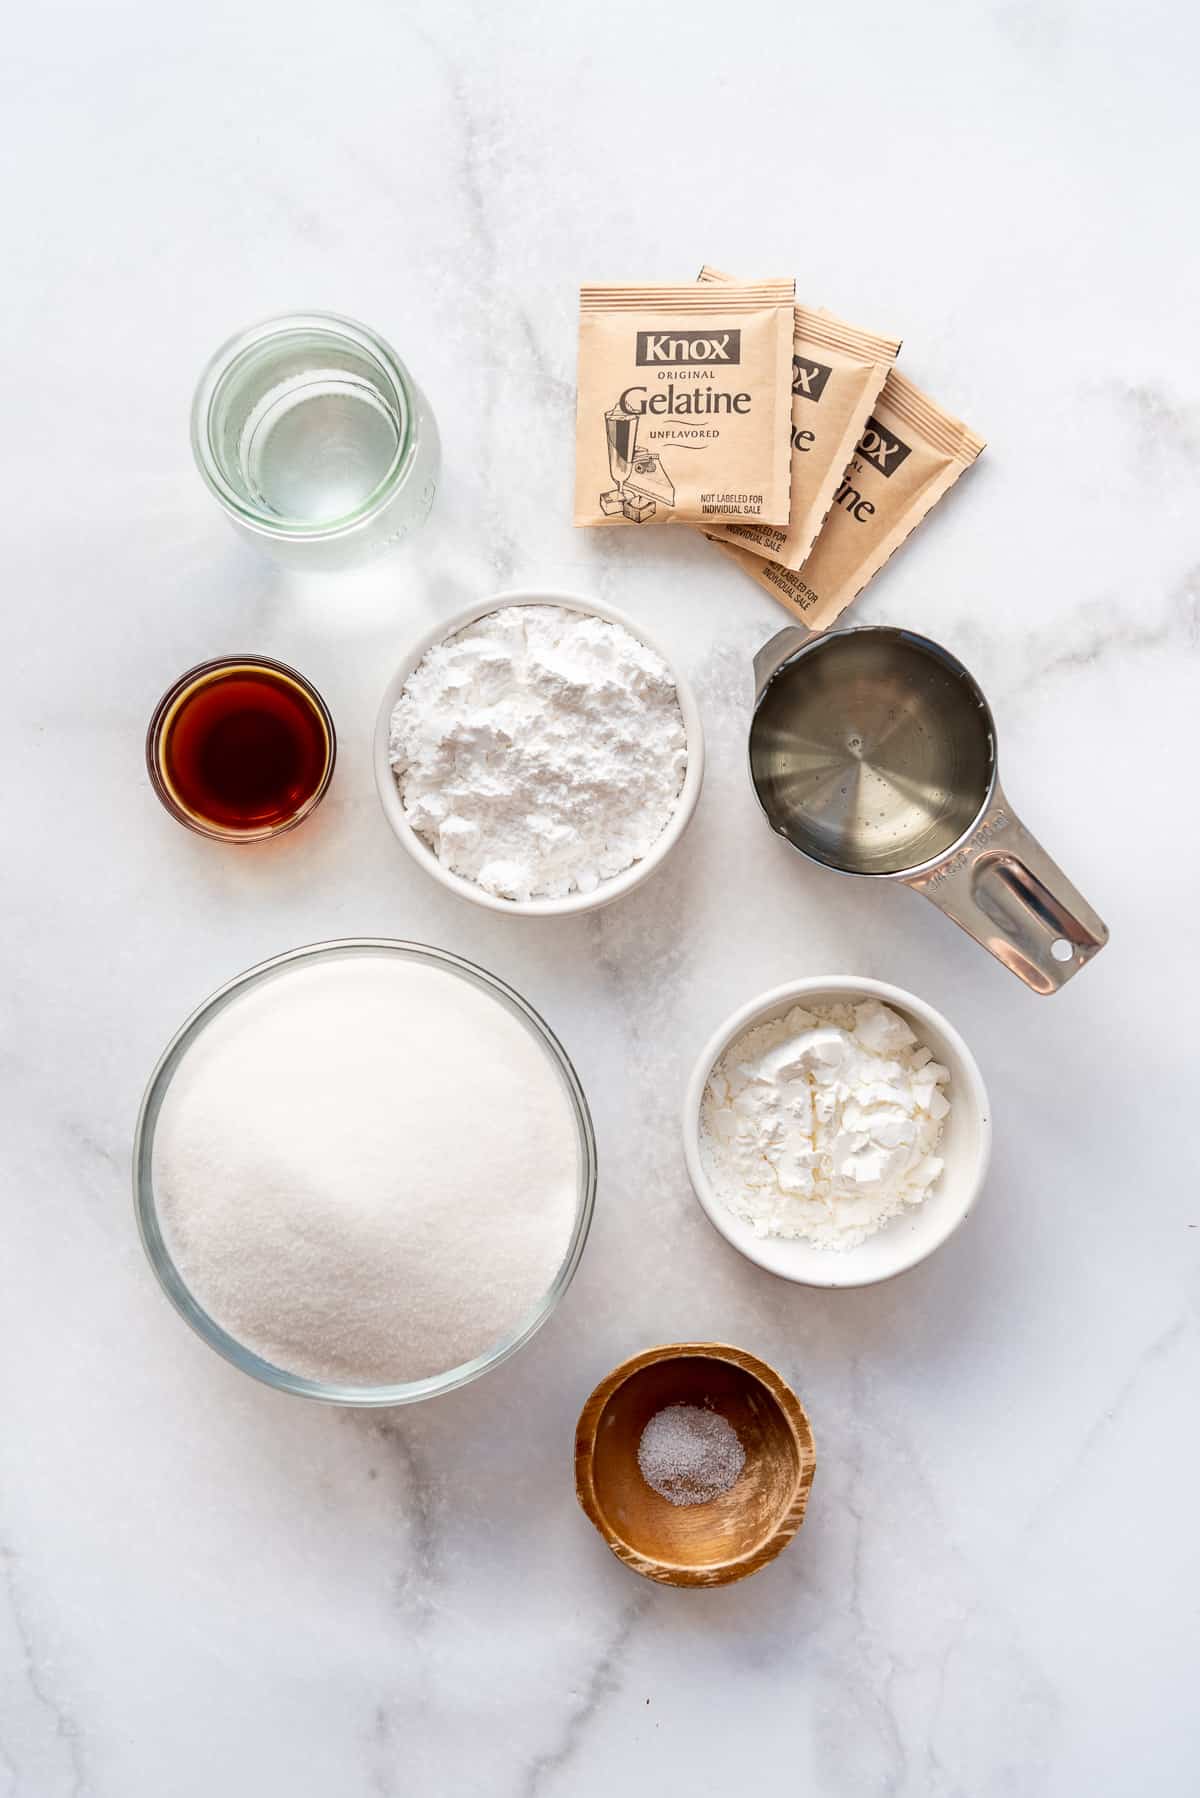
What You’ll Need
Scroll down to the recipe card below this post for ingredient quantities and full instructions.
- Unflavored Powdered Gelatin – Gives the marshmallows their soft, springy structure.Use about 2 ½ tablespoons, or three standard unflavored gelatin packets (like Knox).
- Granulated Sugar – The base of the syrup that sweetens and stabilizes the marshmallows. Regular white sugar works best for both flavor and color.
- Light Corn Syrup – Prevents crystallization and keeps the texture silky smooth. Be sure to use light corn syrup for that classic white color.
- Salt – A small pinch enhances the vanilla flavor and keeps the sweetness in balance.
- Vanilla Extract – The key flavor in these marshmallows. A good-quality pure vanilla extract makes all the difference, or try Mexican vanilla for a slightly deeper, warmer flavor.
- Powdered Sugar – Used to coat the finished marshmallows so they stay soft and don’t stick together.
- Cornstarch – Mixed with powdered sugar to create a dusting blend that keeps everything light and easy to handle.
How to Make Homemade Marshmallows
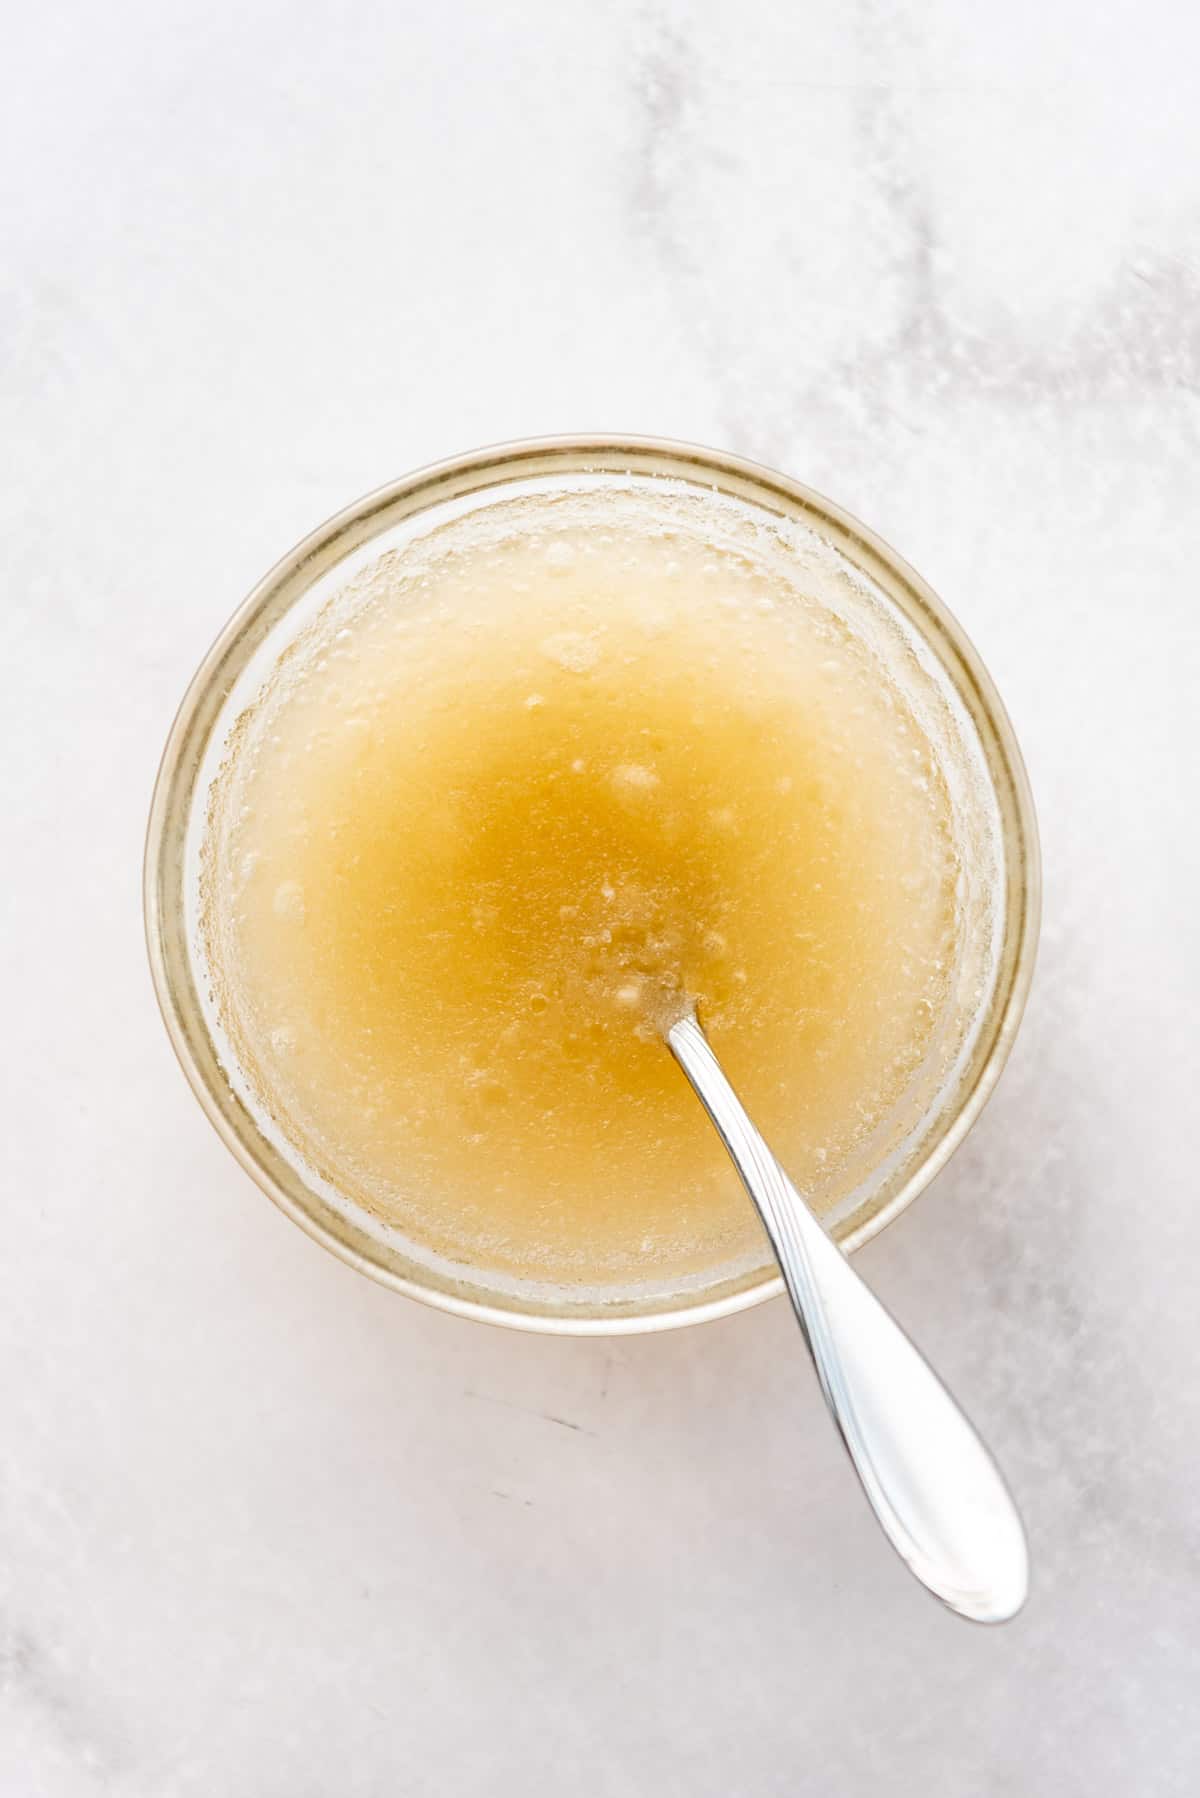
- Bloom gelatin. Stir the unflavored gelatin powder into a bowl of cold water, then let it sit for about 5 minutes until it firms up into a rubbery puck. It may not look exciting yet, but this step gives the marshmallows their soft, bouncy texture.
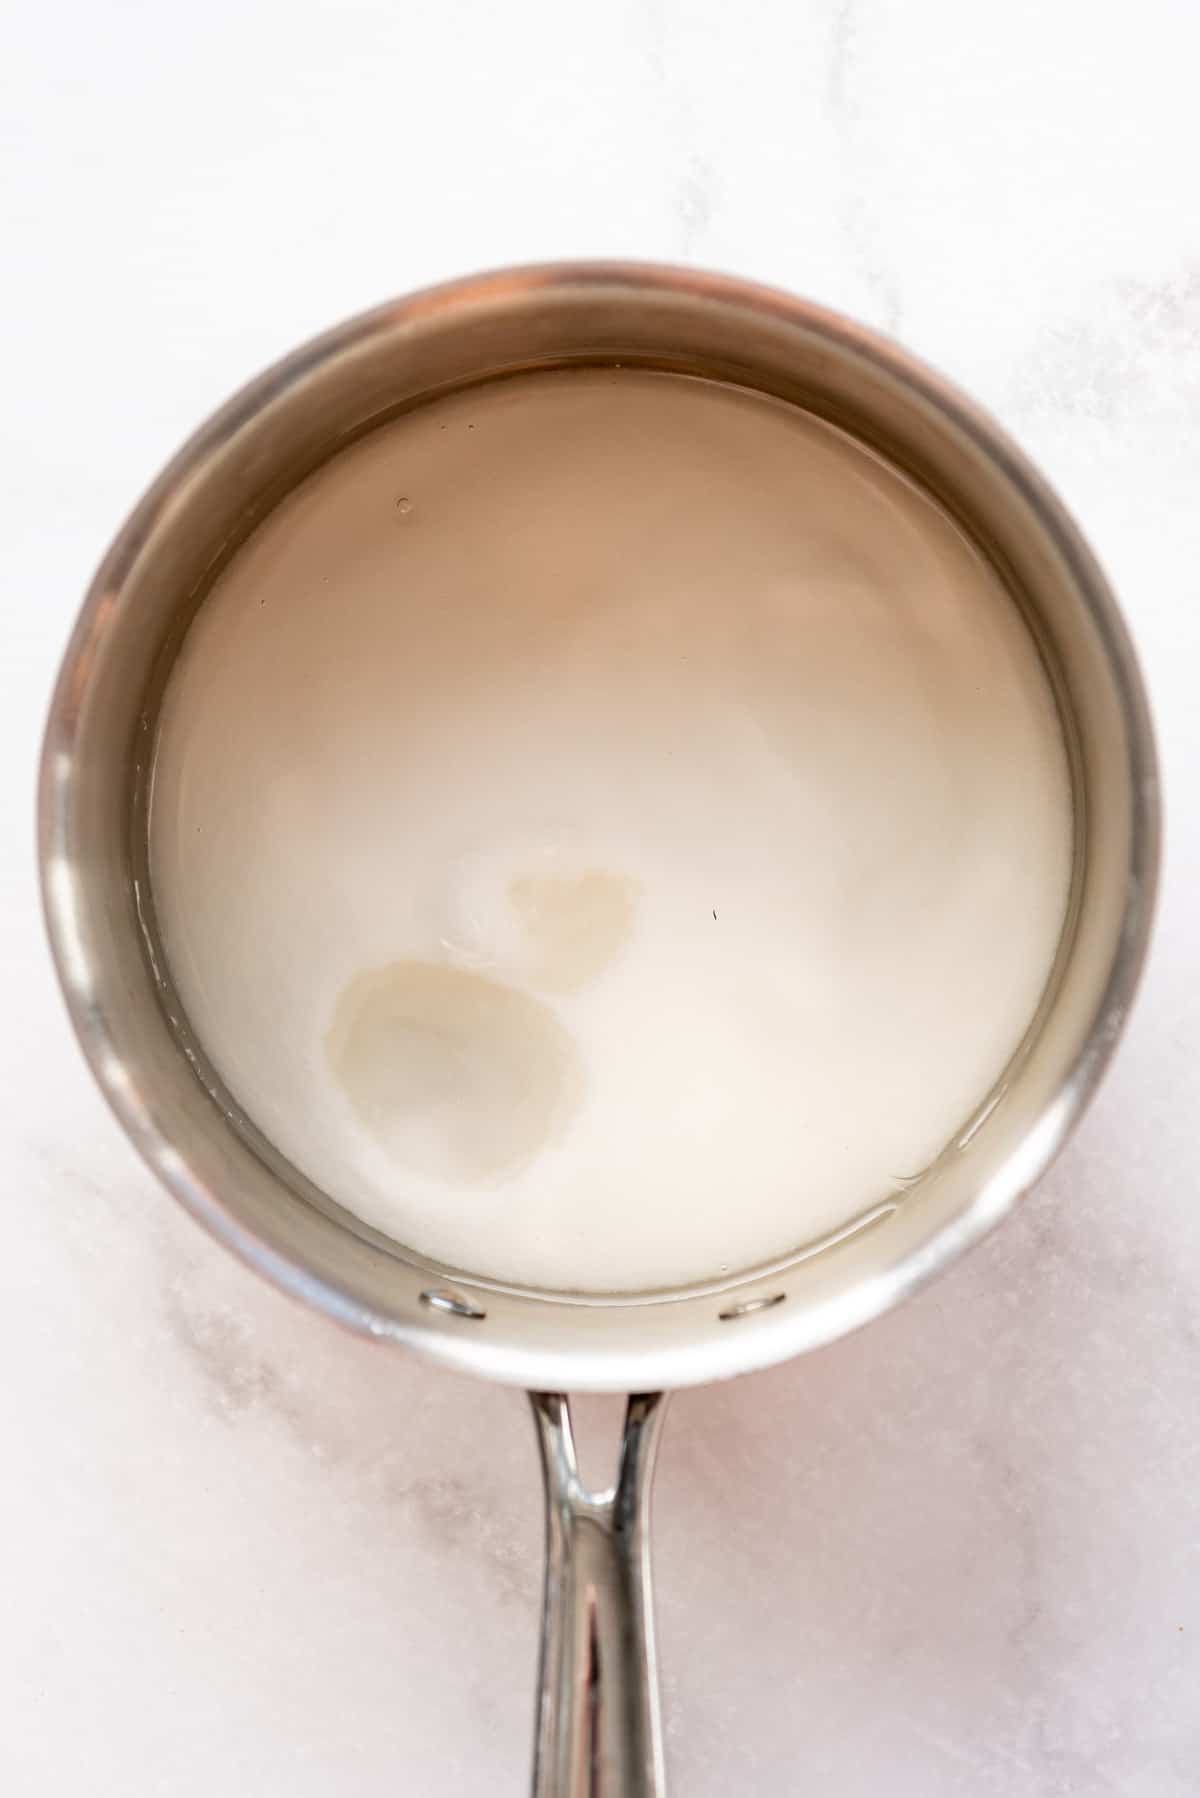
- Heat the syrup. In a medium saucepan over medium heat, combine the granulated sugar, water, light corn syrup, and a pinch of salt.
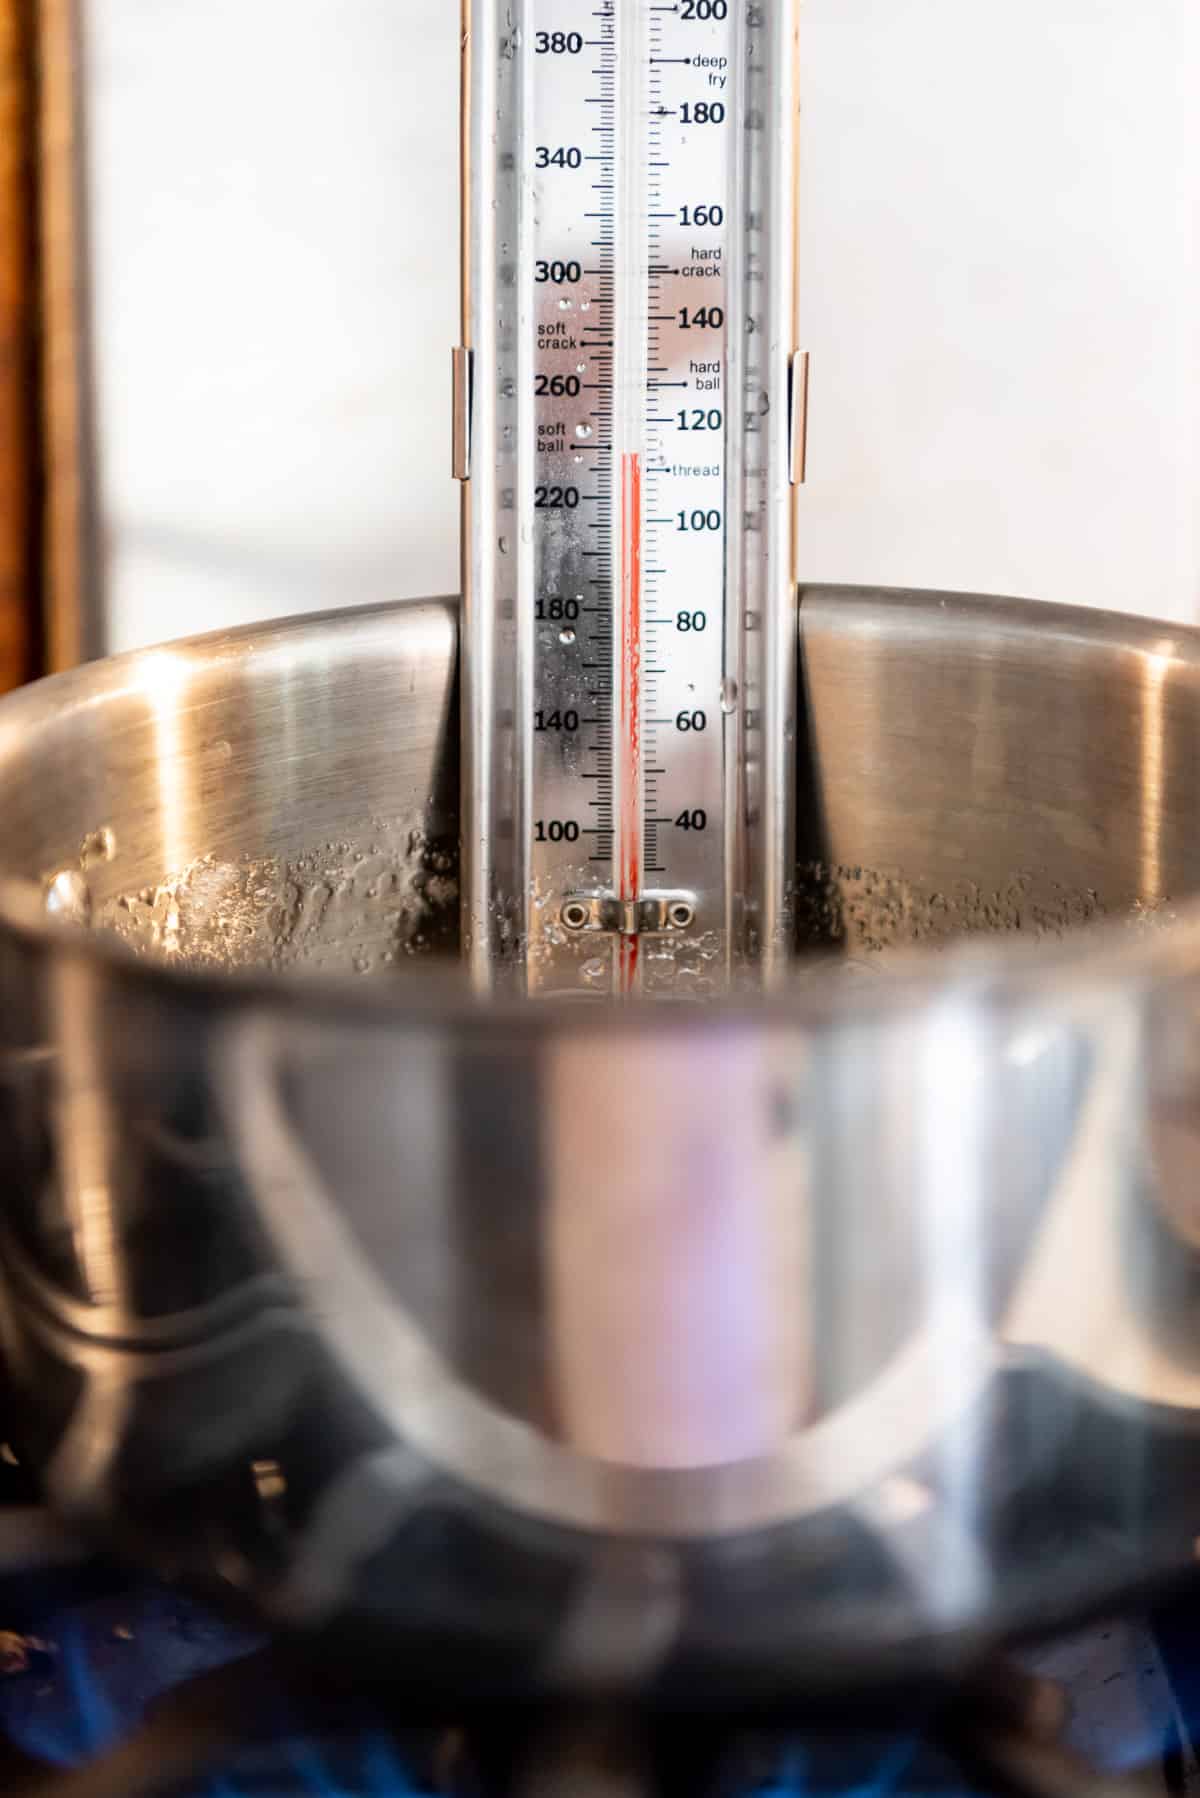
- Cook the mixture. Stir occasionally until the syrup reaches 235 to 240°F on a candy thermometer (affiliate link) clipped to the side of the pan.
Tip: If you live at high altitudes, decrease the target temperature by 2 degrees for every 1,000 feet above sea level.
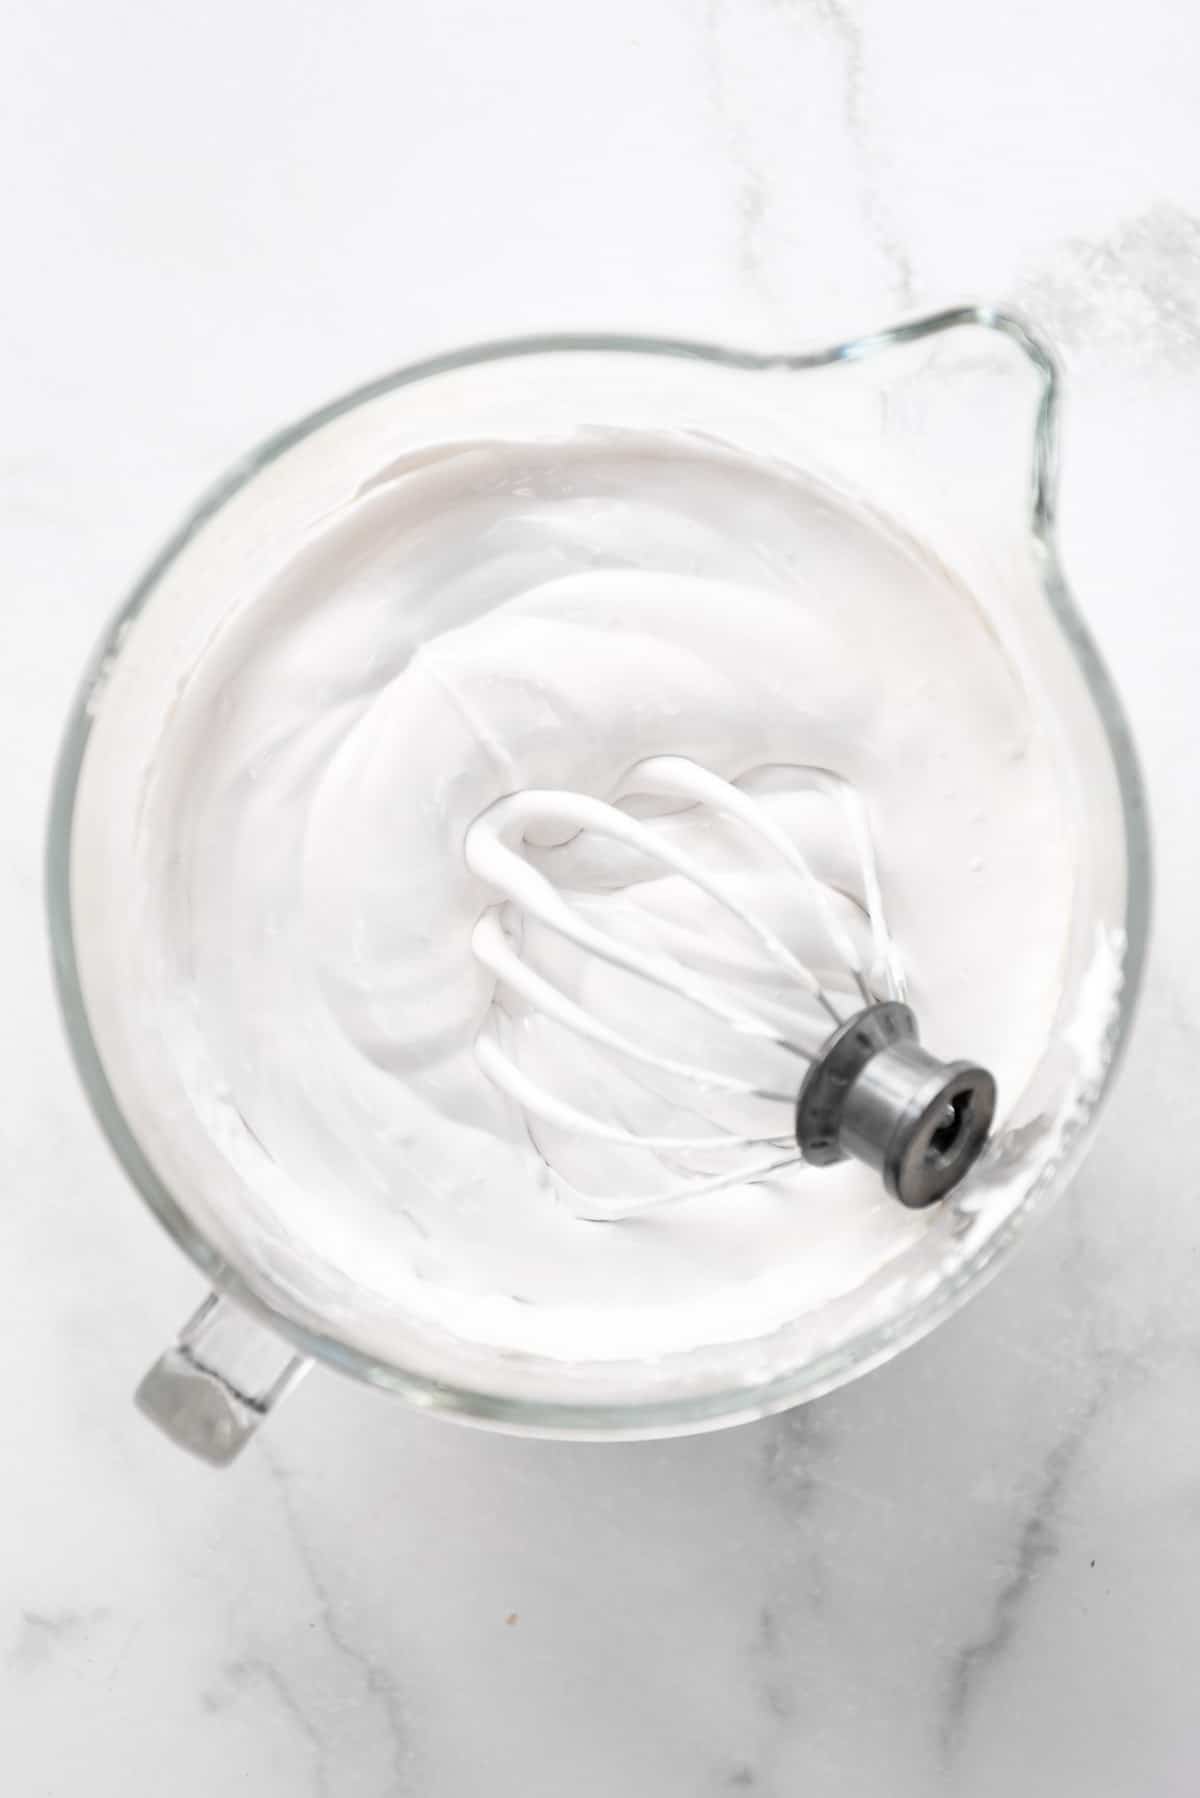
- Whip the mixture. Transfer the bloomed gelatin to the bowl of a stand mixer fitted with a whisk attachment. With the mixer running on medium speed, slowly pour in the hot sugar syrup in a thin, steady stream over 1 to 2 minutes. Once all the syrup is added, increase the speed to high and beat for about 10 minutes until the mixture is thick, fluffy, and more than doubled in volume.
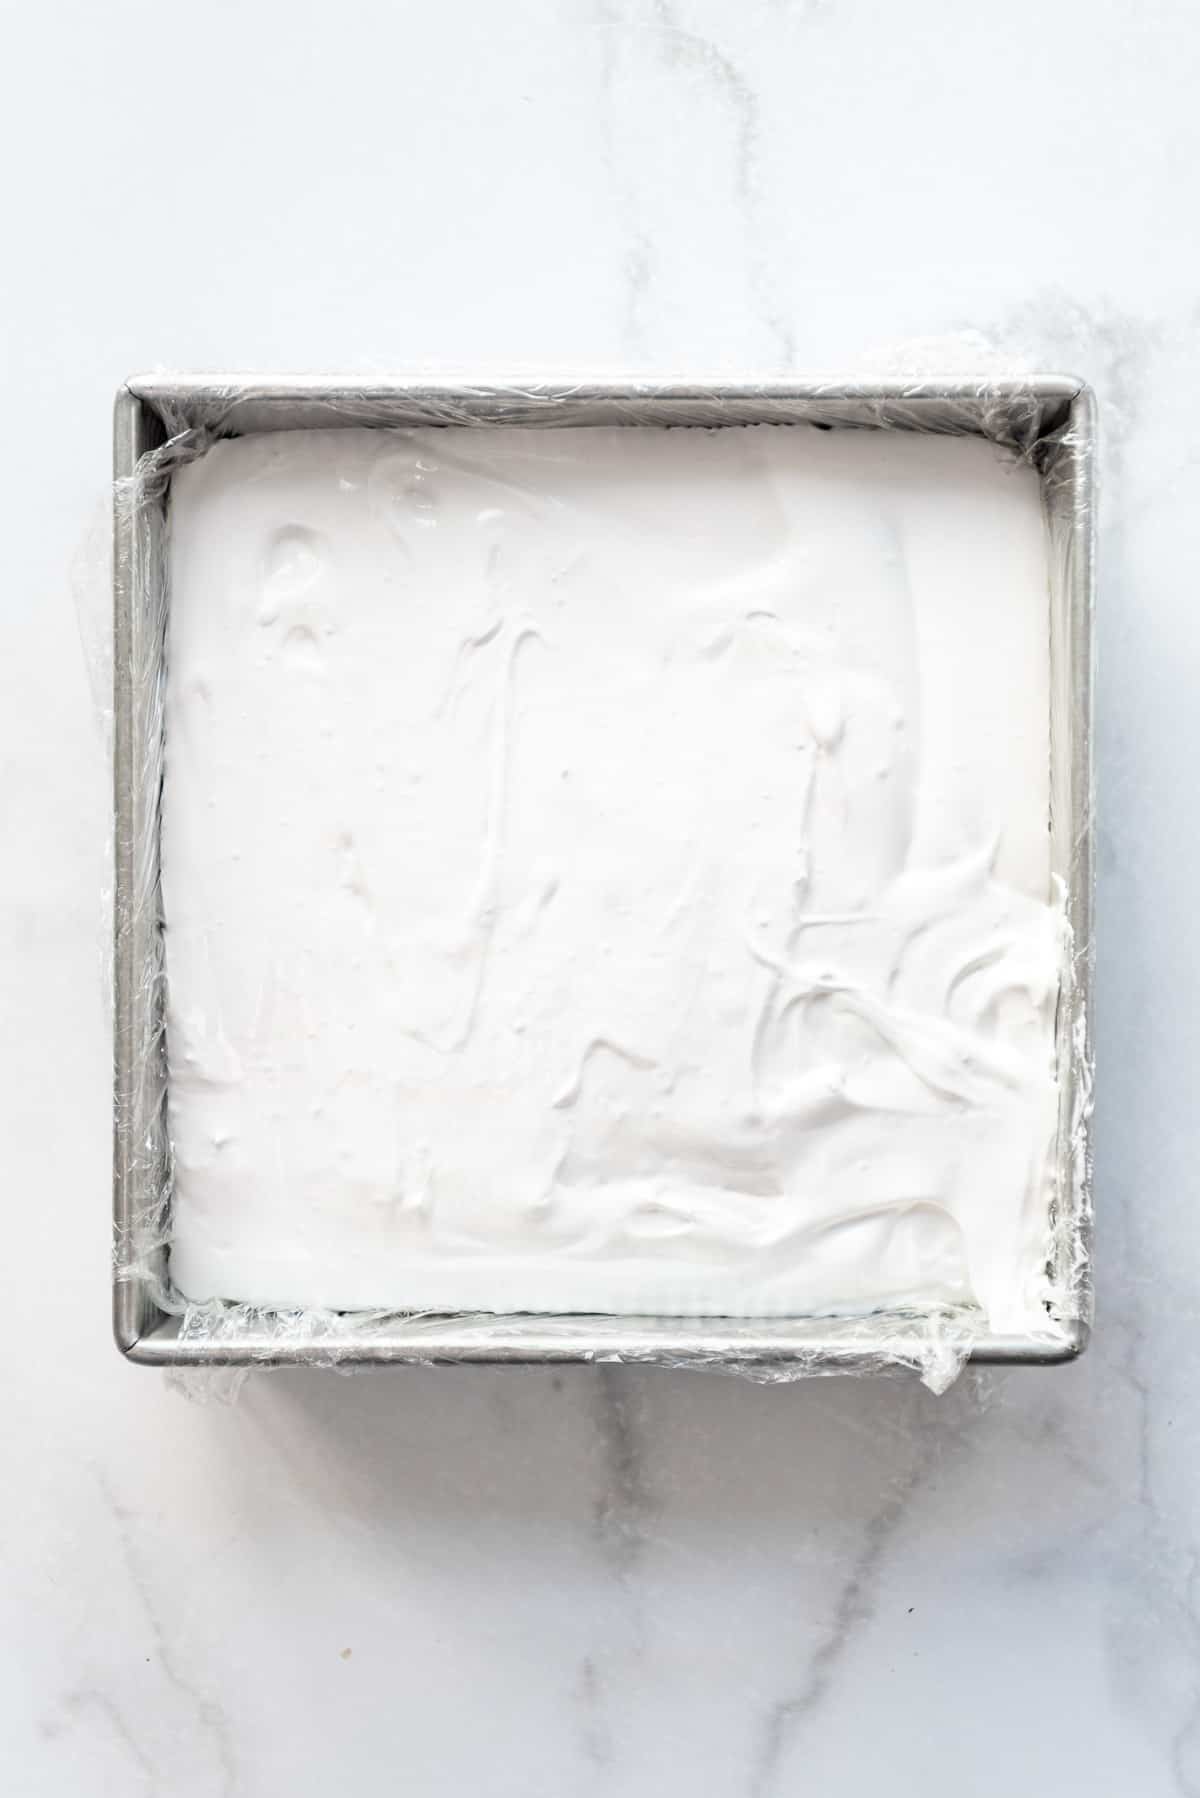
- Pour and set. Scrape the marshmallow mixture into a 9×9-inch baking dish lined with plastic wrap and sprayed with cooking spray. Use a greased rubber spatula to spread it evenly into the corners. In a separate bowl, whisk together powdered sugar and cornstarch, then sift a few tablespoons over the top of the marshmallow. Let it rest for at least 4 hours, or overnight, to set completely.
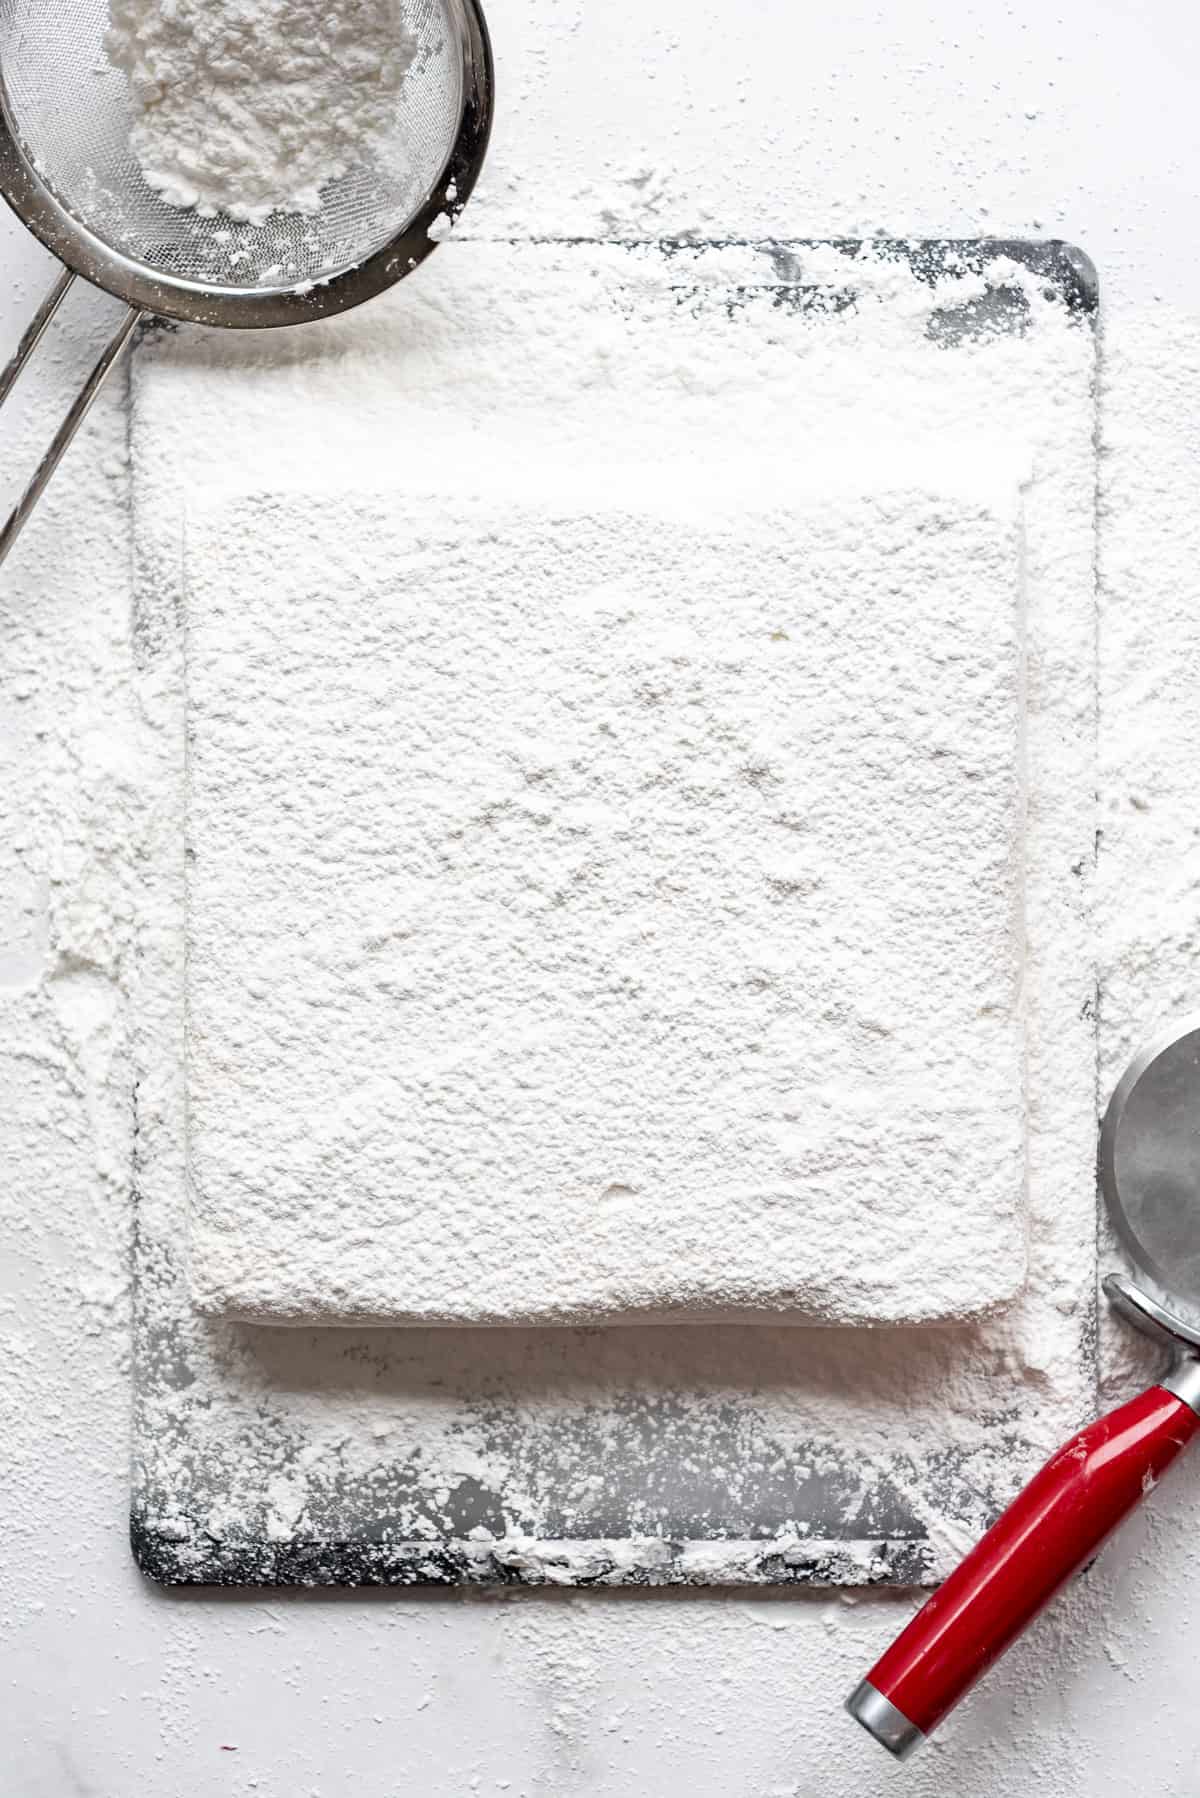
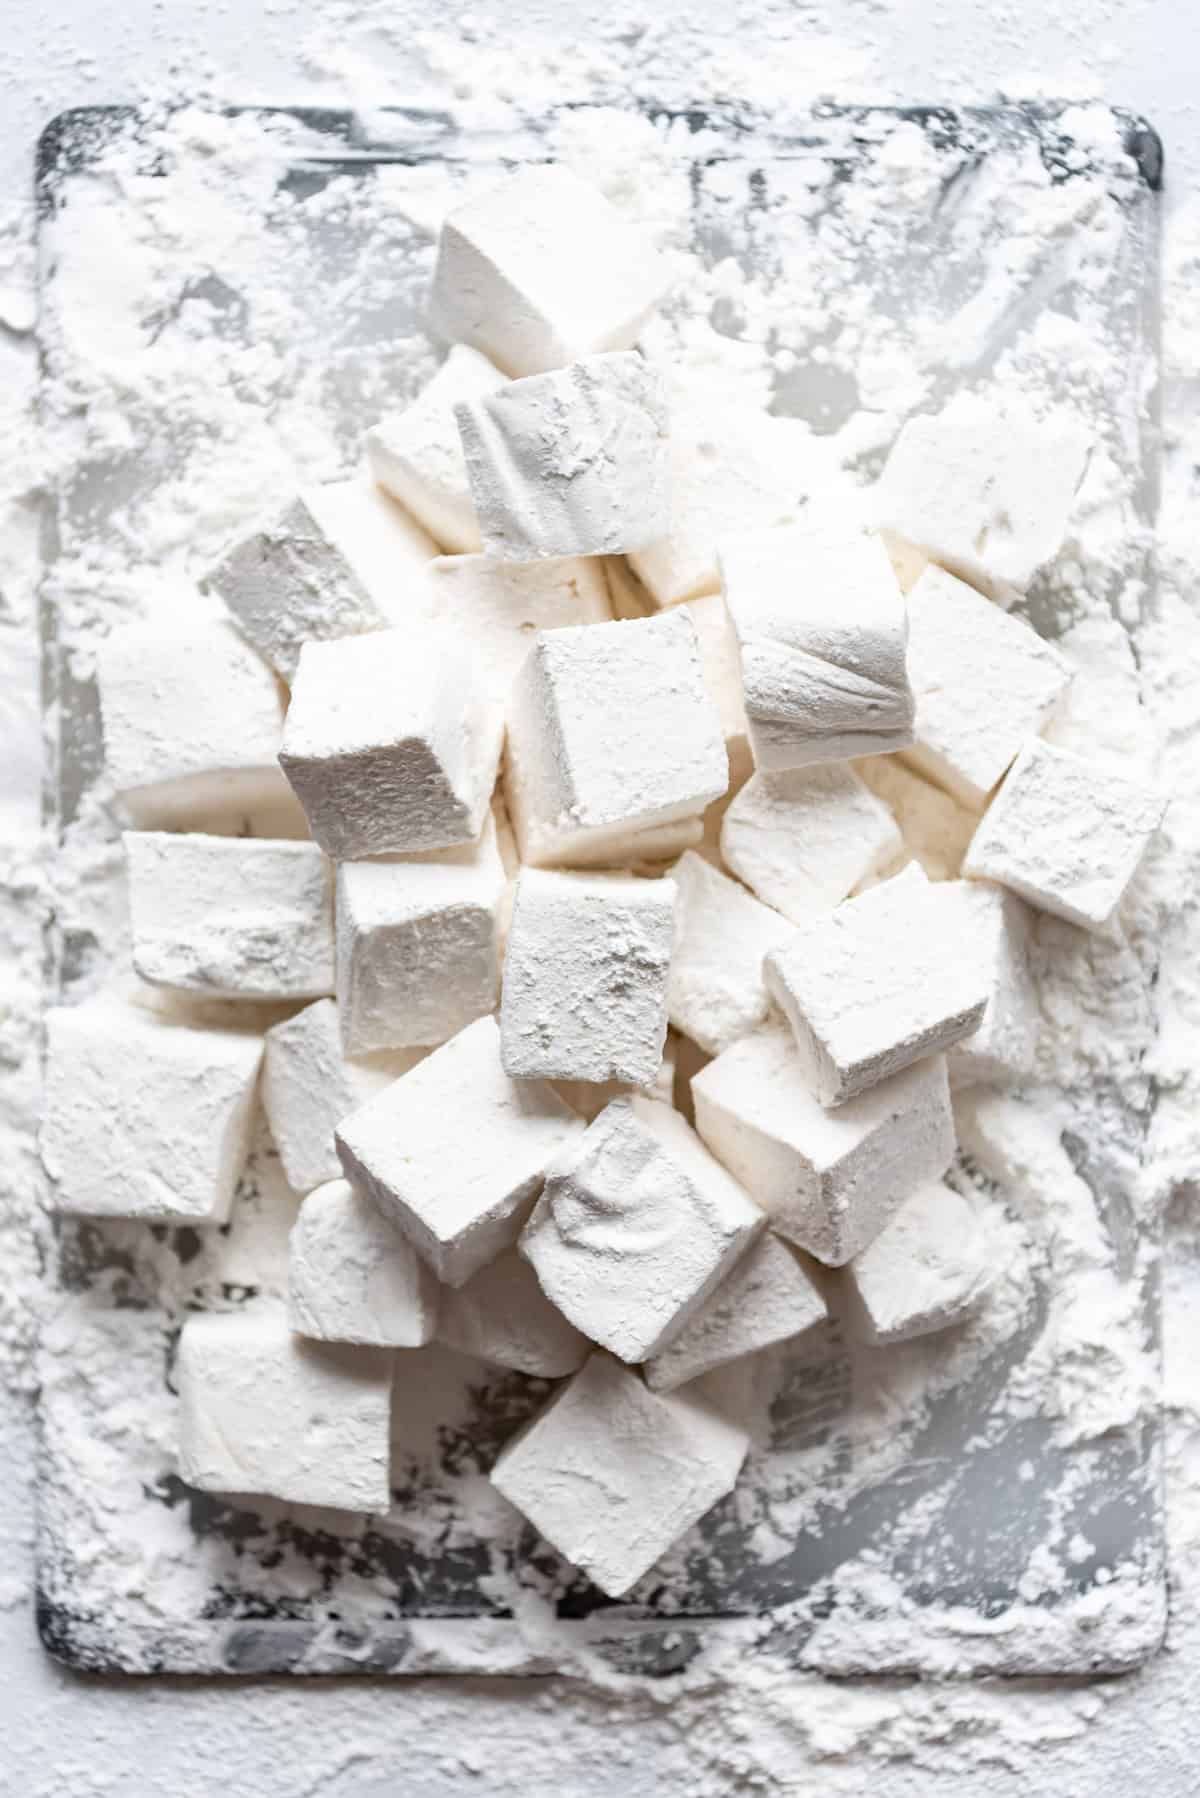
- Release from the pan. Once set, turn the marshmallow slab out onto a clean surface and peel away the plastic wrap. Dust the sticky side generously with more of the powdered sugar mixture.
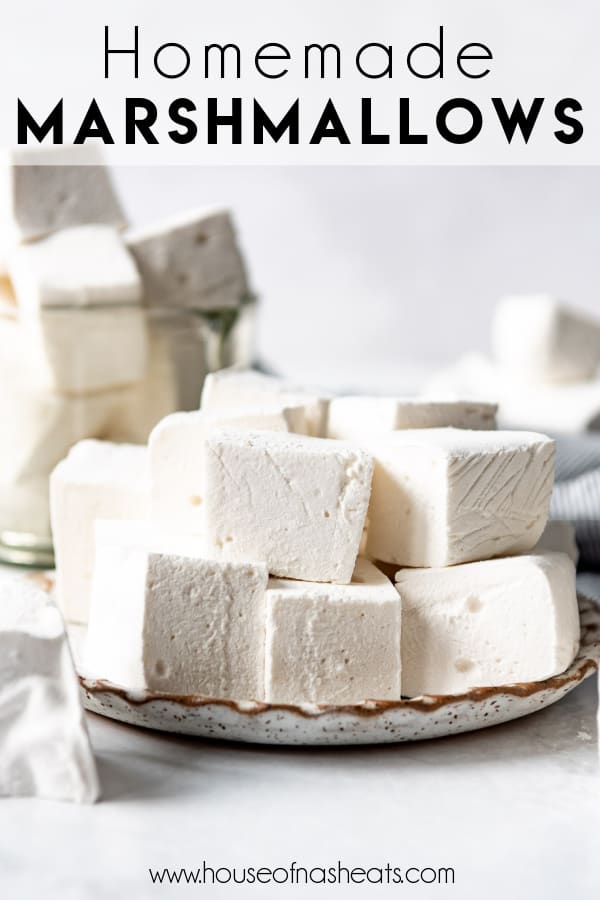
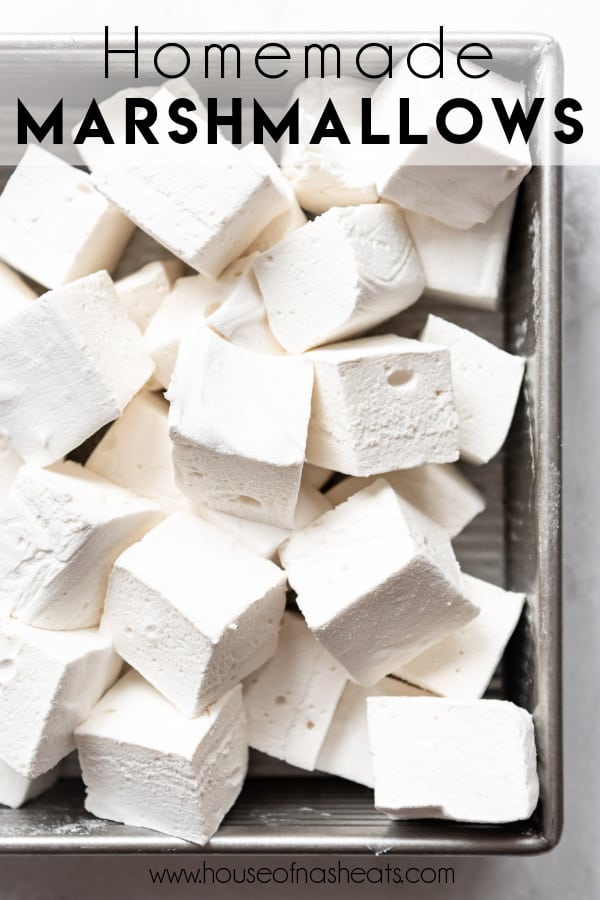
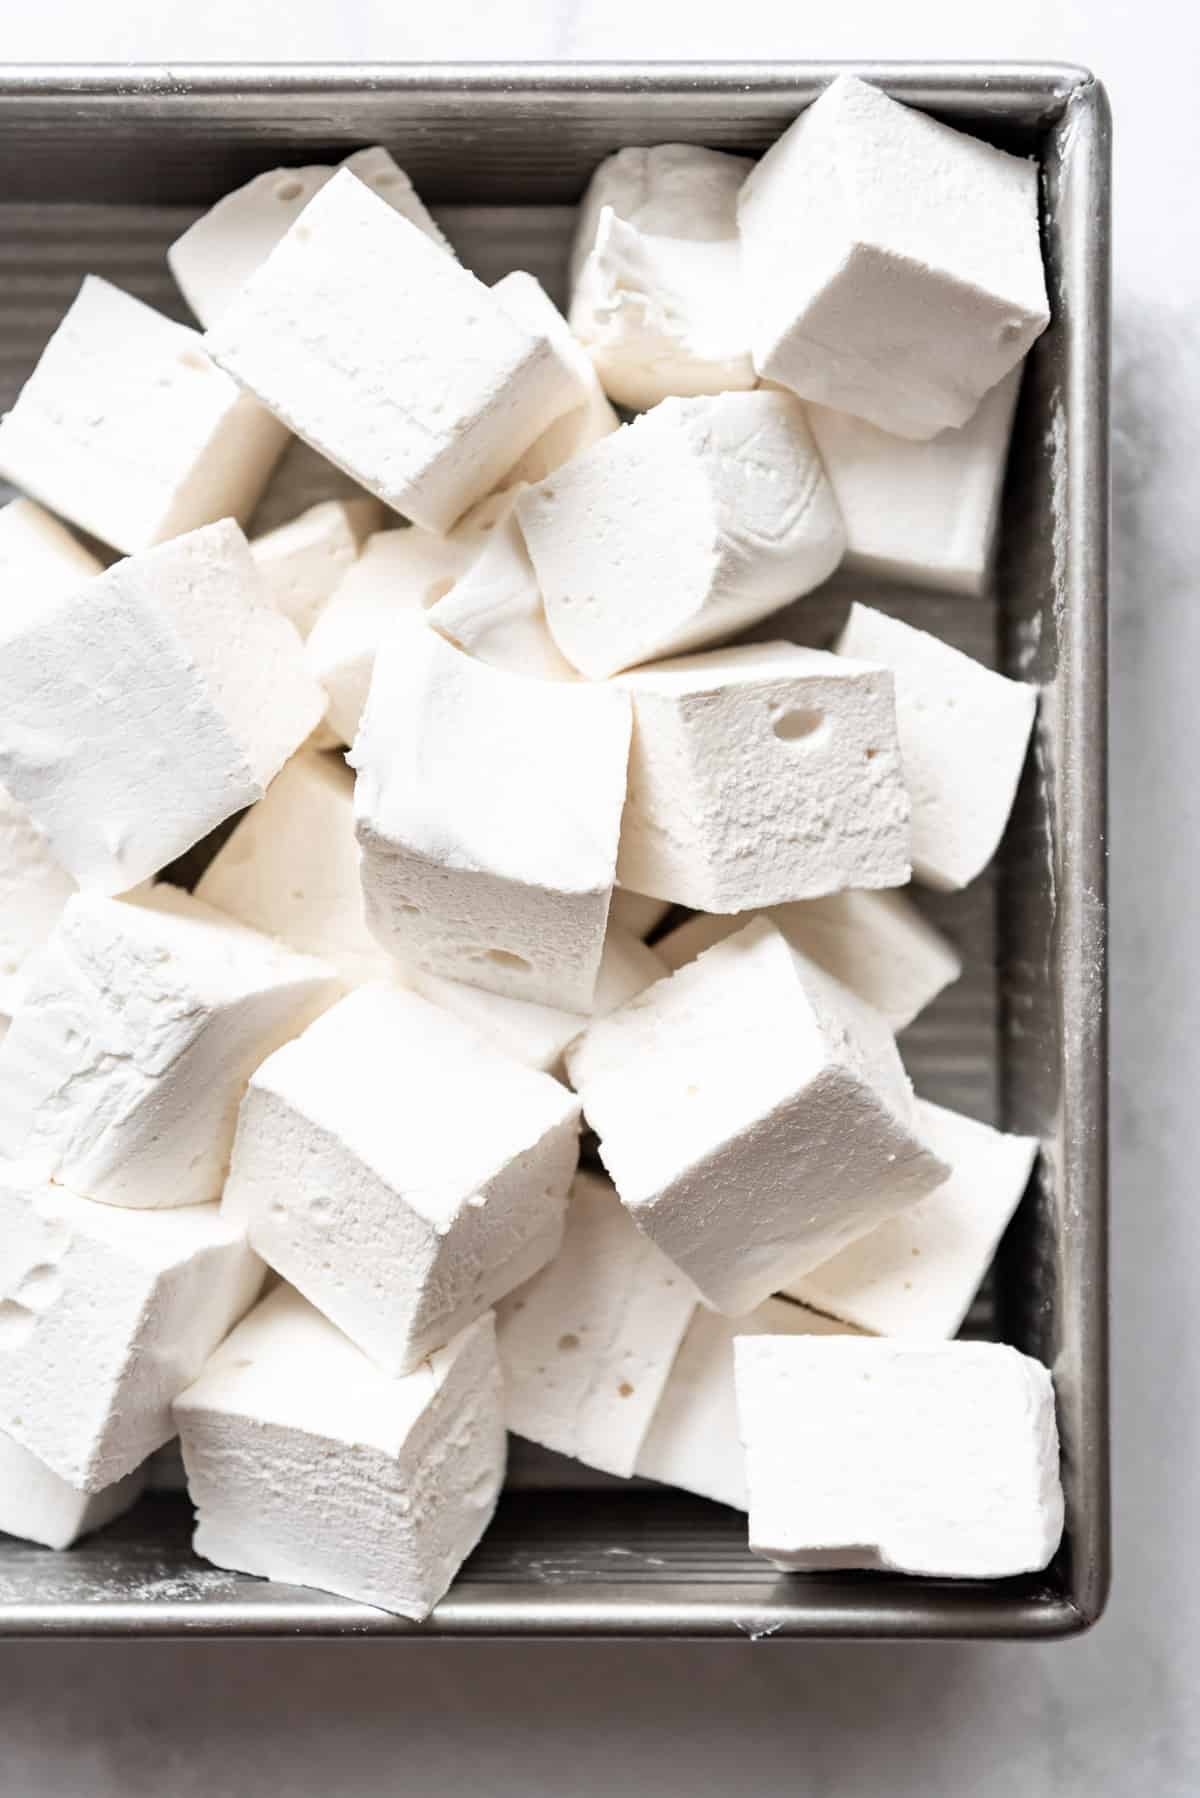
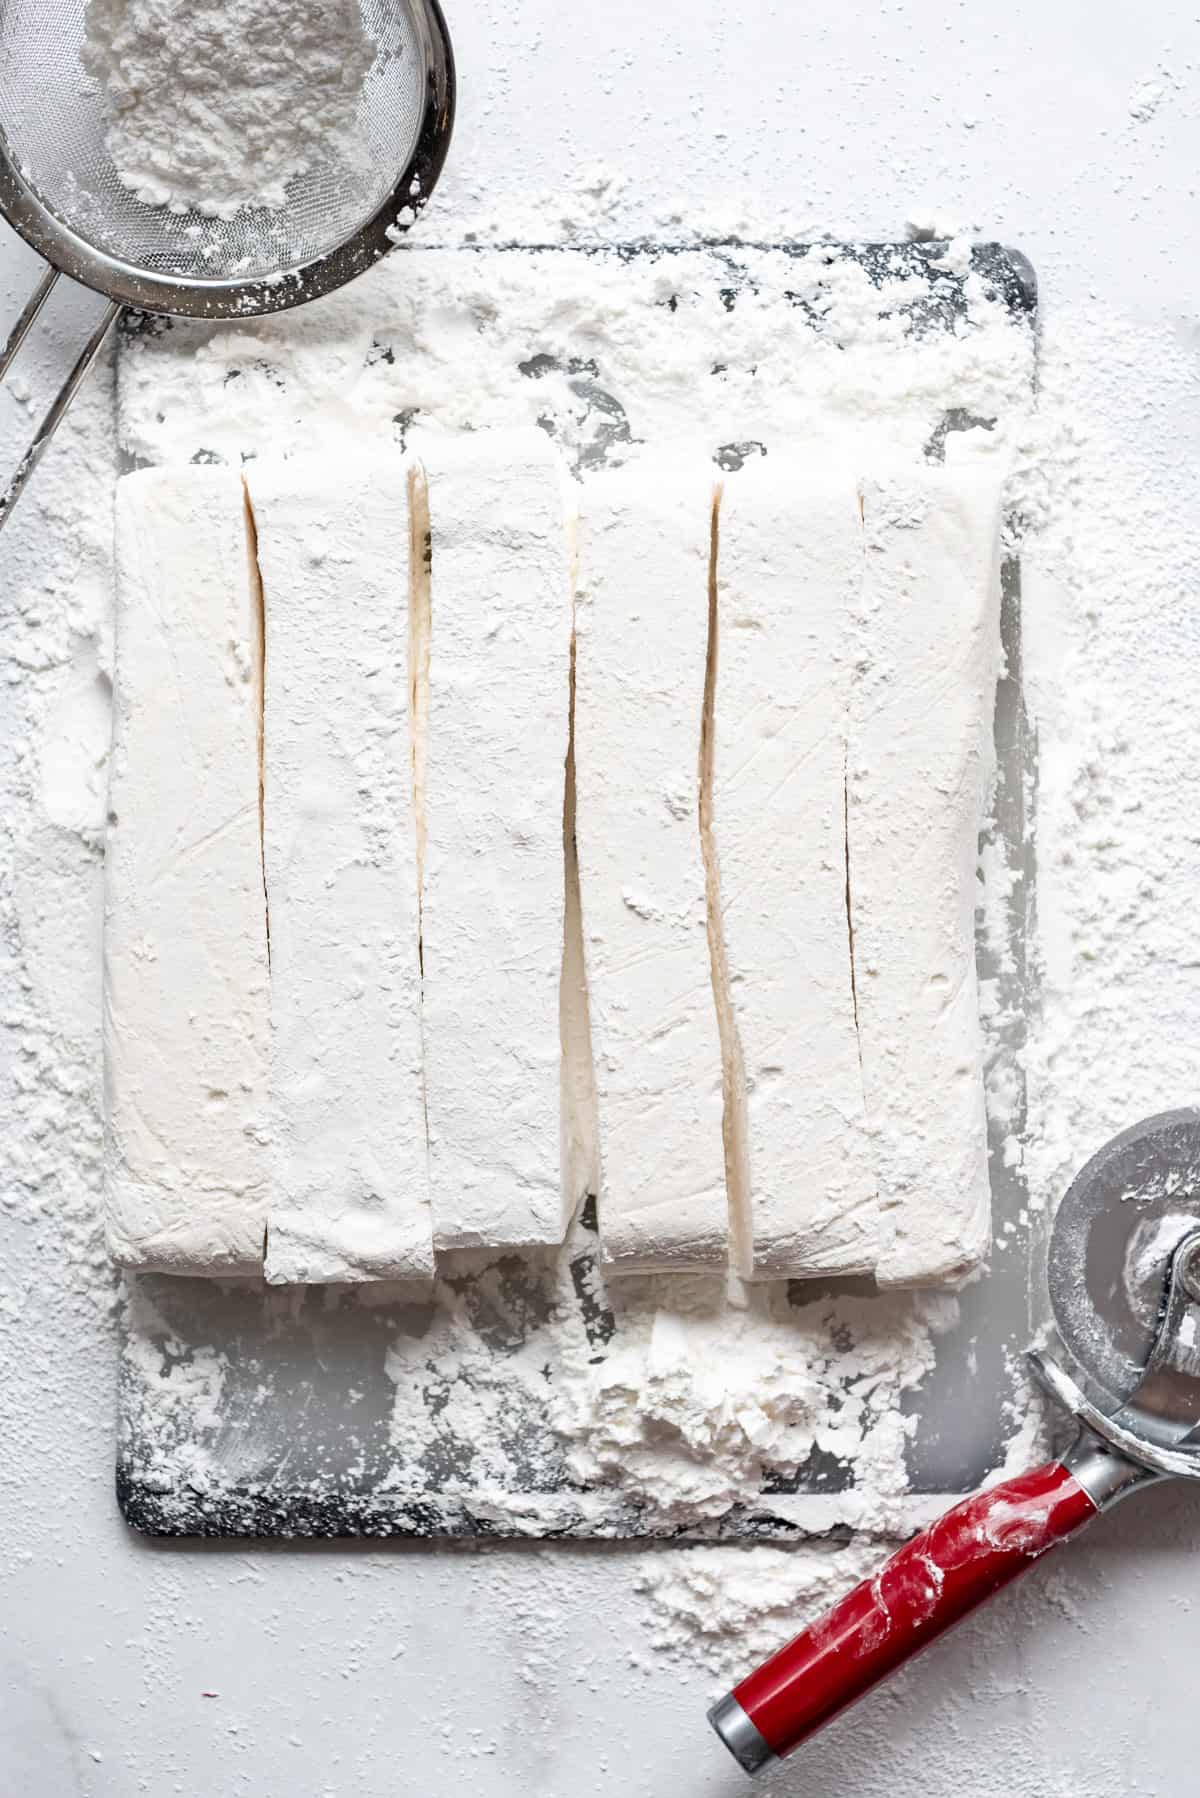
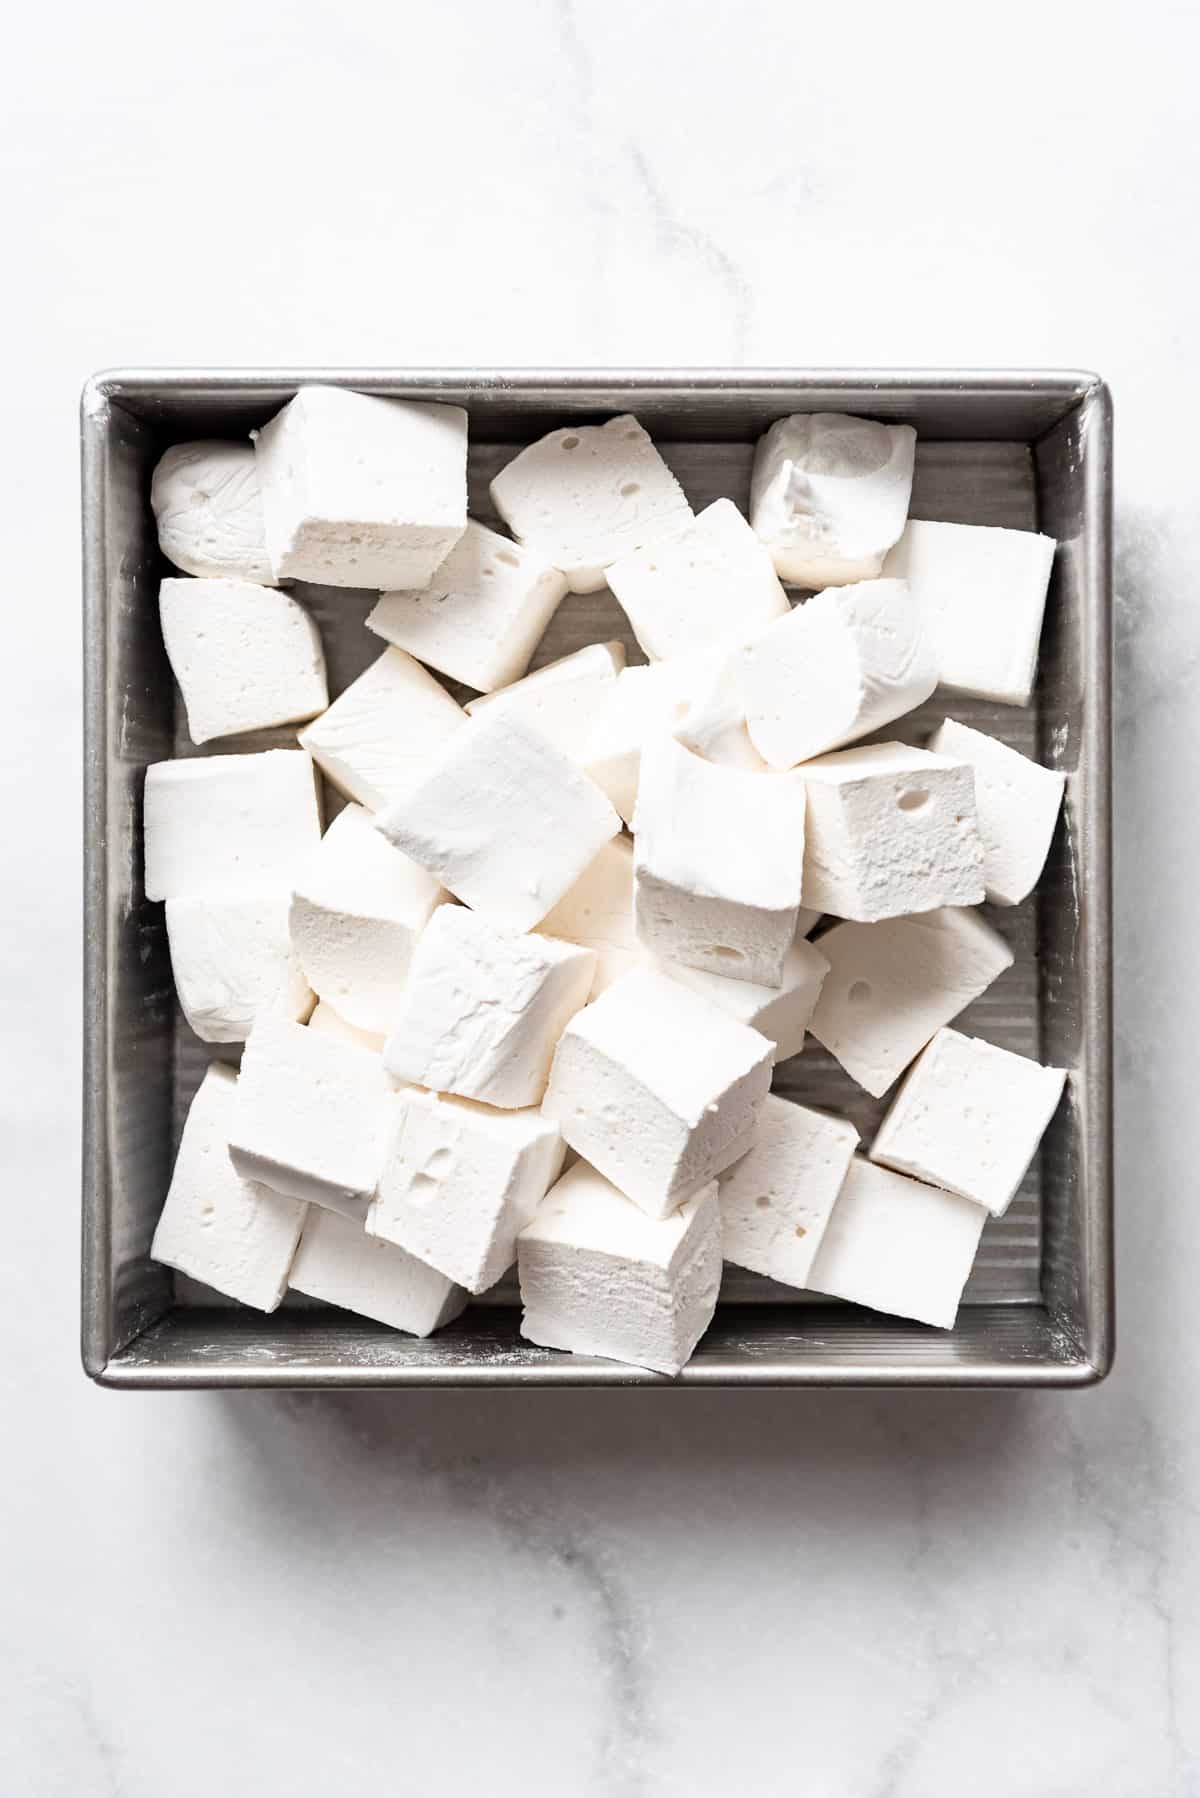
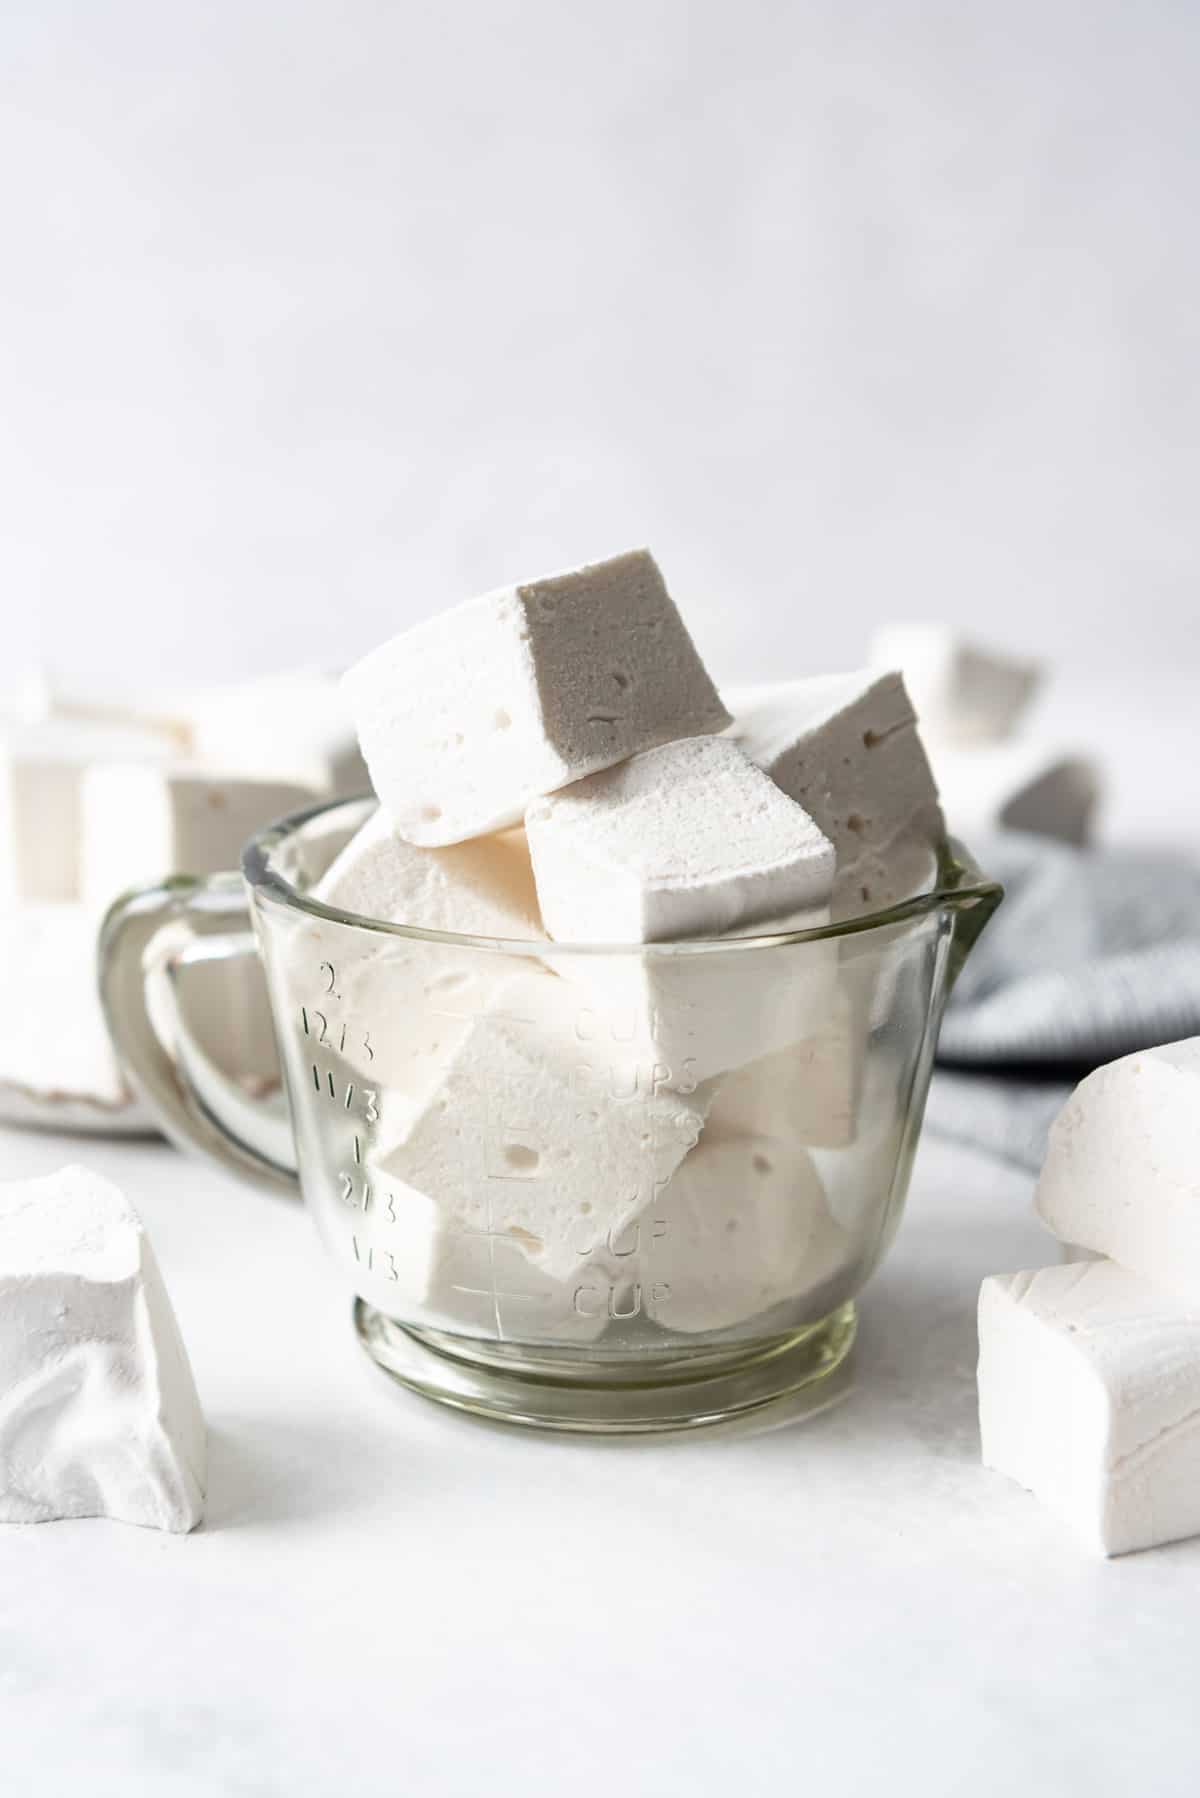
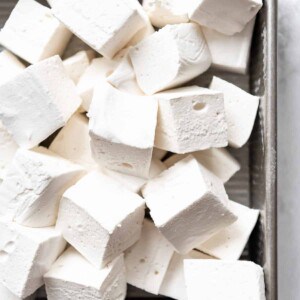
- Cut and coat. Use a greased pizza cutter or kitchen scissors to cut the slab into six columns, then across into 1½-inch cubes for about 36 marshmallows.
- Coat in dusting mixture. Toss the marshmallow pieces in the remaining powdered sugar and cornstarch mixture until they’re fully coated. Freshly cut marshmallows are naturally sticky, so dust generously and separate the pieces as you go to keep them from sticking together.
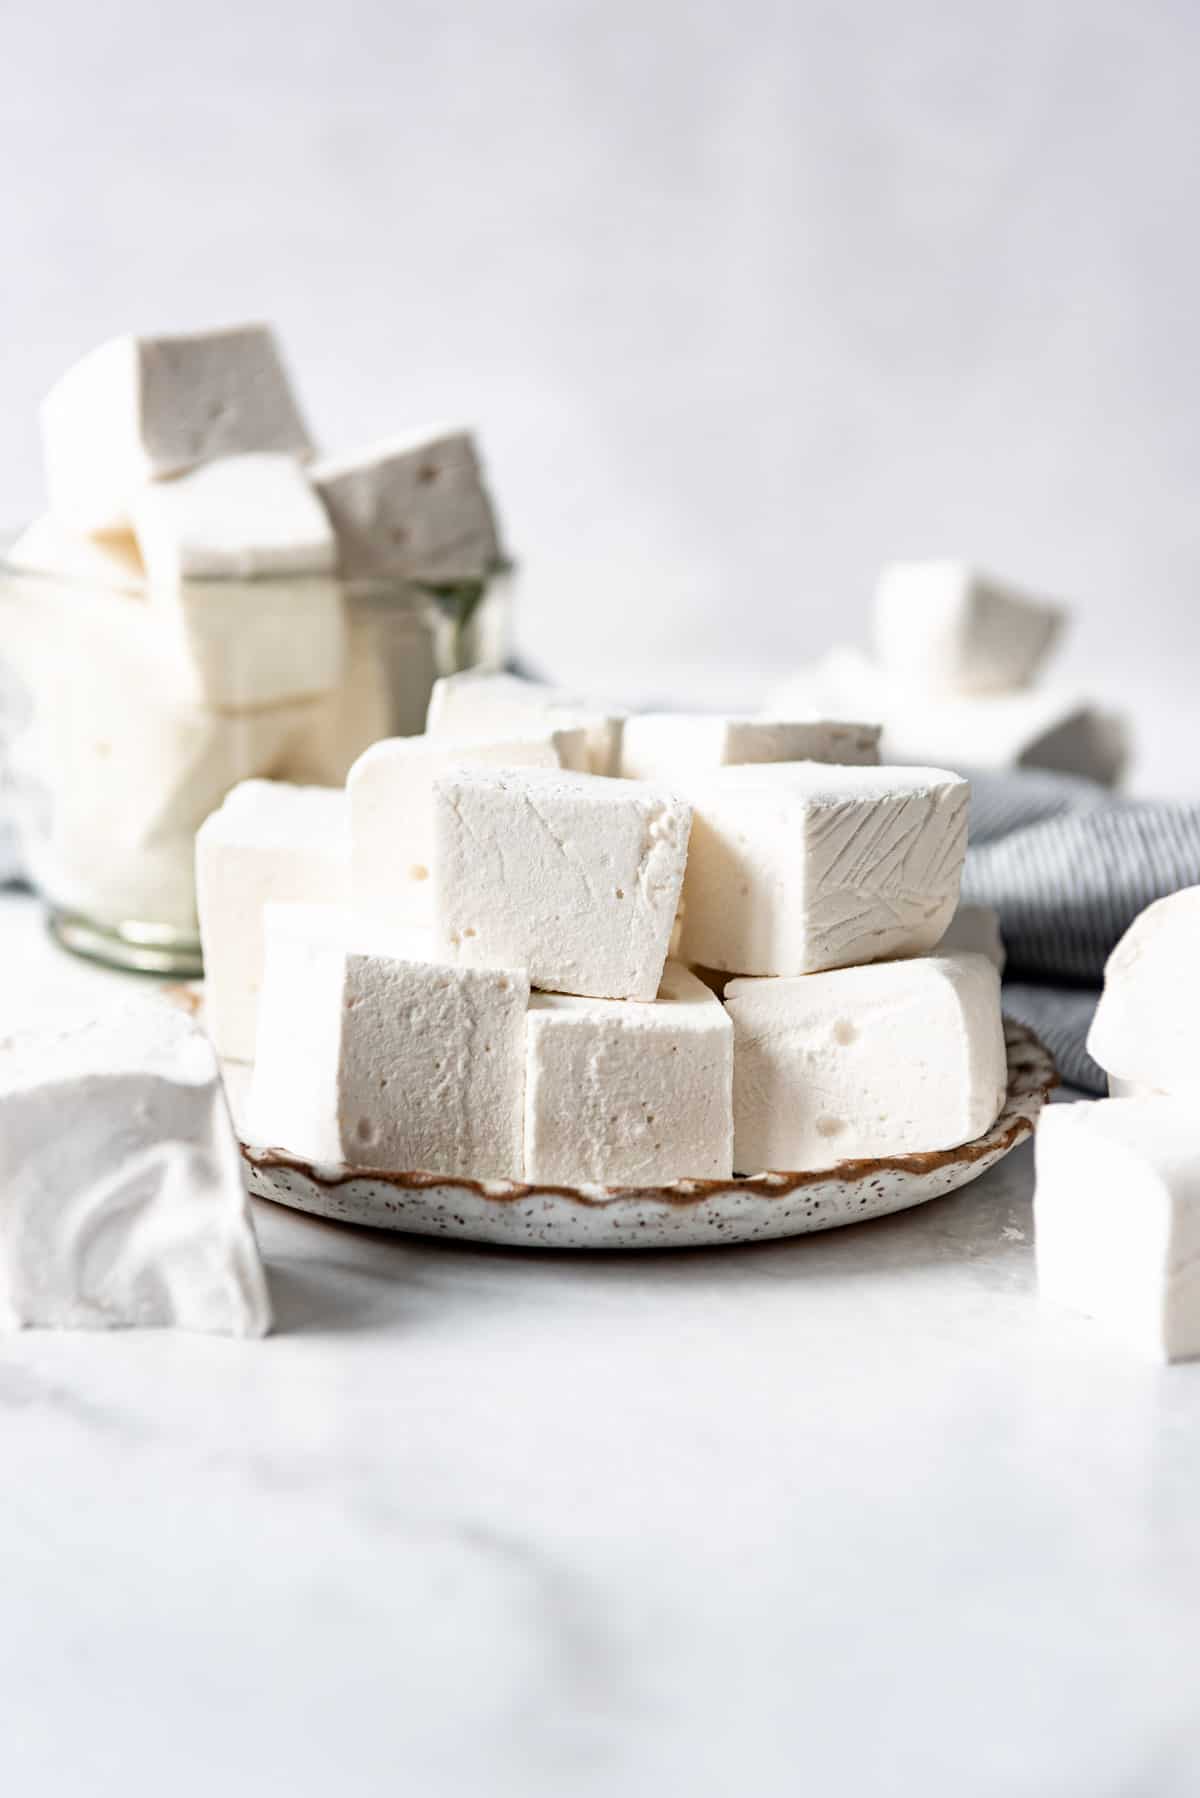
- Store. Shake off any excess powder, then transfer the marshmallows to an airtight container. They’ll stay soft, fluffy, and fresh at room temperature for up to two weeks.
Recipe FAQ’s
Some do, but this recipe does not. I think these are even better than the ones made with egg whites, and they are easier too. But if you want an egg white version, you will just neec to beat 2 egg whites to stiff peaks in your mixing bowl before adding the bloomed gelatin and hot sugar syrup.
Yes, although the marshmallows will be thinner and not as tall. But it would be easier for cutting out shapes with cookie cutters than the thicker ‘mallows.
They may not have set long enough or weren’t coated thoroughly with the powdered sugar + cornstarch mix. Also, high humidity can prevent them from firming up properly.
Store them in an airtight container at room temperature, they’ll stay fresh for at least two weeks.
Yes, you can freeze them in a sealed bag or container (dusting them first) for up to 2 months. Thaw at room temperature before using.
Tips for Success
- Tools: Use a sturdy stand mixer, as hand mixers can’t handle the thick marshmallow mixture. A simple, inexpensive candy thermometer (affiliate link) works best for accuracy.
- Set time: Let the marshmallows rest at least 4 hours (or overnight) so they firm up properly before cutting.
- Cooking spray: Coat your tools, spatula, and pan generously with cooking spray, and dust well with the powdered sugar mixture to prevent sticking.
More Candy Recipes
- Easy Homemade Peppermint Bark
- Chocolate Covered Pretzel Rods
- Creamy Easy Chocolate Fudge
- Homemade Peanut Brittle
- Chocolate Caramel Pretzel Bark
- 25+ Christmas Candy Recipes
Homemade Marshmallows
Equipment
Ingredients
- ¾ cup water divided
- 3 (.25-ounce) packages unflavored powdered gelatin (2½ Tablespoons)
- 2 cups granulated sugar (400g)
- ¾ cup light corn syrup
- Pinch of salt
- 2 teaspoons vanilla extract
- ½ cup powdered sugar
- ¼ cup cornstarch
Instructions
- Line a 9×9-inch square pan with plastic wrap, then spray the plastic wrap with cooking spray. Spray a rubber spatula with cooking spray as well to use later. Set aside.
- Stir all of the powdered gelatin into ½ cup of the water in a small bowl, then let it sit for 5 minutes to bloom. Once the gelatin is a firm lump, dump it in the bowl of a stand mixer fitted with a whisk attachment.¾ cup water, 3 (.25-ounce) packages unflavored powdered gelatin
- Combine the remaining ¼ cup of water, sugar, corn syrup, and salt in a heavy duty medium saucepan over medium heat. Bring to a boil, stirring occasionally, until the mixture reaches 235 to 240°F on a candy thermometer (affiliate link) stuck on the side of the pan.2 cups granulated sugar, ¾ cup light corn syrup, Pinch of salt
- Slowly pour the hot sugar syrup in a thin stream over the gelatin in the mixer while it is running on medium speed over the course of 1-2 minutes. Once all of the liquid has been added, increase the speed to high and beat for 10 minutes, until fluffy and the marshmallow mixture has more than doubled in volume. Add the vanilla extract during the last minute of mixing to flavor the marshmallows.2 teaspoons vanilla extract
- Pour the marshmallow mixture into the prepared baking dish using the rubber spatula sprayed with cooking spray to scrape it all out of the ball and to smooth it into the corners of the pan as needed.
- Whisk the powdered sugar and cornstarch together in a medium bowl, then sift about 2-3 tablespoons of this mixture over the marshmallow in the pan to cover the top. Reserve the rest for later.½ cup powdered sugar, ¼ cup cornstarch
- Let the pan of marshmallow rest for at least 4 hours or overnight.
- Turn out the pan of marshmallow onto a clean surface. Peel off the plastic wrap, then dust generously with more of the powdered sugar mixture. Spray a pizza cutter or pair of kitchen scissors with cooking spray and cut the slab of marshmallow into six columns, then across in six rows to create 36 large marshmallows. Dust generously with the remaining powdered sugar mixture while cutting to prevent the fresh marshmallows from sticking to each other.
- Shake off excess powder before storing in an airtight container. I find it easiest to throw a handful of the marshmallows into a fine mesh sieve and shake them around in it to get the excess powder off. Enjoy!
Notes
- Storage: These will stay fresh and delicious in an airtight container on the counter at room temperature for about 2 weeks.
- Freeze: Freeze in a sealed bag or container (dusting them first) for up to 2 months. Thaw at room temperature before using.
- Mini marshmallows: If you want smaller marshmallows, just cut each of these cubes into 8 mini marshmallows.
Flavor Variations
- Strawberry or Raspberry Marshmallows: Add ½ ounce of freeze-dried strawberries or raspberries (that have been ground into a fine powder) during the last minute of mixing. This flavors the marshmallows themselves, or you can add the powder to the powdered sugar and cornstarch mixture to flavor the outside only.
- Chocolate Marshmallows: Add ¼ cup unsweetened cocoa powder to the marshmallow base with the vanilla extract, plus another 2 tablespoons of cocoa powder to the powdered sugar and cornstarch dusting mixture.
- Lemon Marshmallows: Add 1 tablespoon grated lemon zest and ½ teaspoon lemon extract along with the vanilla extract.
- Eggnog Marshmallows: Add ½ to 1 teaspoon rum extract (depending on how strong you want the flavor) and a pinch each of nutmeg and cinnamon to the marshmallow base with the vanilla extract.
- Peanut Butter Marshmallows: Add ¼ cup creamy peanut butter during the last minute of mixing, or dollop 2–4 tablespoons of peanut butter on top of the mixture after pouring it into the pan and swirl it in.
- Churro Marshmallows: Add 1 teaspoon cinnamon and ¼ cup granulated sugar to your powdered sugar and cornstarch mixture to coat the outsides of the marshmallows.


Are we becoming too impatient as a society, always looking to skip straight to the end result without appreciating the process and effort that goes into creating something homemade?”,
“refusal
Is it possible to make this recipe with honey instead of corn syrup?
No you will want to use corn syrup. You want light corn syrup here for bright white marshmallows. Corn syrup prevents crystallization of the granulated sugar.
Honey will prevent crystallization as well as corn syrup. It will also add a bit of color and flavor to your marshmallows. Agave syrup would work as well and it’s clear and has a more neutral flavor.