
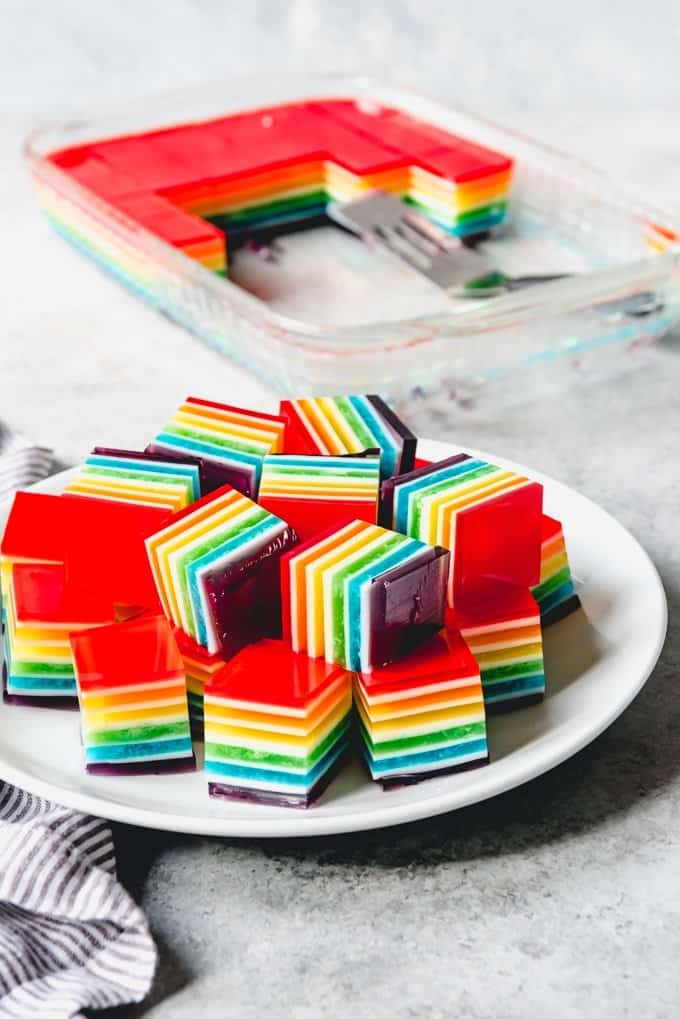
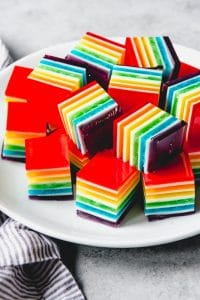
The jiggliest, most colorful and whimsical treat of all, this Layered Rainbow Jello is the perfect finger food for parties. This finger jello a total crowd-pleaser and it’s fun and easy to make.
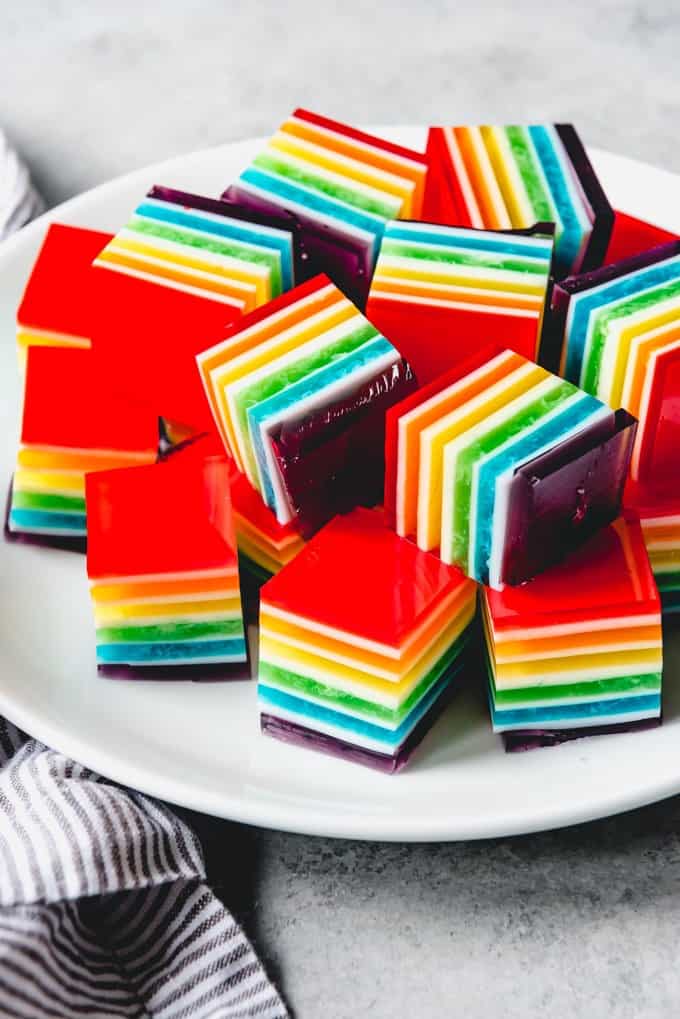
Every time I make rainbow jello and take it somewhere, kids and adults alike go crazy for it. It’s basically impossible to resist these sweet, fruity, jiggly little cubes of color.
I was thinking that these would be fun for St. Patrick’s Day, even though I’ve made them more often for school parties or birthday parties with a rainbow party theme and that sort of occasion. They set up like Jello Jigglers (remember those?!) so they are the perfect finger jello to pick up and pop in your mouth.
We make this every year around St. Patrick’s Day, even though it’s not Irish in any way. Some of our other favorite fun St. Patrick’s Day recipes are Lucky Charms Snack Mix and these Fudgy Frosted Chocolate Mint Brownies!
Is making layered Jello hard?
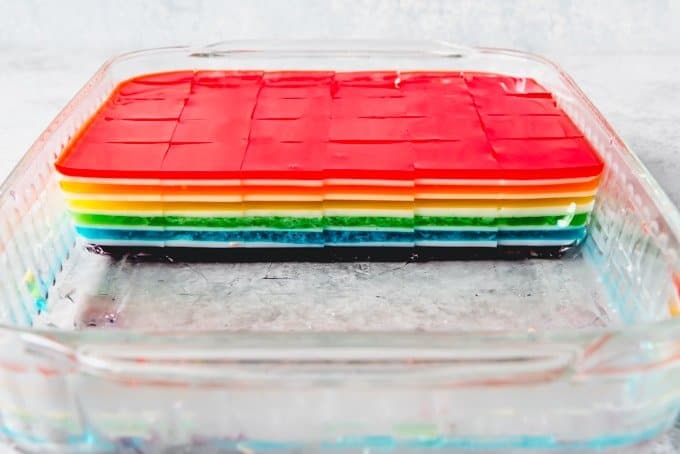
It’s not difficult to make rainbow jello, but it is a little bit time consuming. Each layer needs to set before adding the next, and you need to let the jello cool so hot jello isn’t poured on top of the previous layer, which will cause it to melt and make the layers cloudy. If you look closely in these pictures, you might notice that I rushed the blue and green layers just a little bit too much this time around. They aren’t terrible, but not totally perfect. Either way the jello tastes awesome though.
How to Make Layered Rainbow Jello
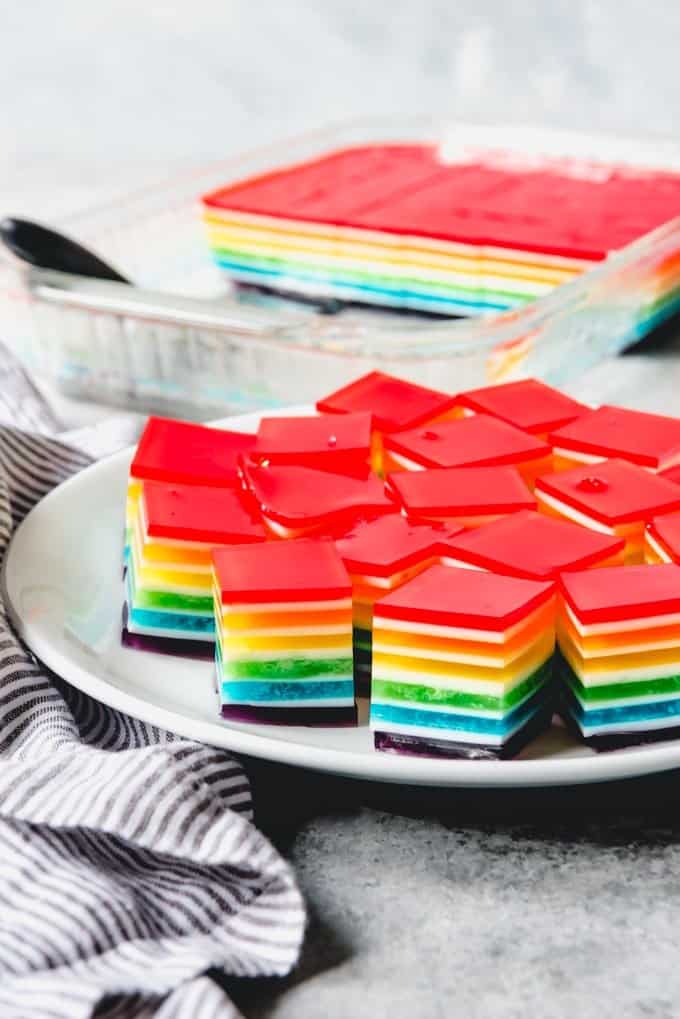
When making rainbow jello, remember ROY-G-BIV for the order of rainbow colors – red, orange, yellow, green, blue, indigo, violet. Except we are skipping indigo since the only good blue option I know of for jello is the “berry blue” flavor. Also, be sure to watch the video in the recipe card where I walk you through how to make the recipe!
- Start with a colored bottom layer by stirring a 3-ounce package of flavored jello (I started with the purple grape flavor) with 1 teaspoon of unflavored gelatin into 1 cup of boiling water until completely dissolved. This is the only layer that you can go ahead and pour right into a 9×13-inch pan while it is still hot. Transfer to the fridge, making sure that the dish is sitting completely flat, and chill until completely set, about 30 minutes.
- Make the next layer (the white layer) as soon as you put the first layer in the fridge. This will give it time to cool to room temperature so you aren’t pour hot liquid over the first set layer.
- To make the white layer, dissolve 2 teaspoons (1 envelope) of Knox unflavored gelatin in 1 cup of boiling water. Add ½ can of sweetened condensed milk and stir to combine.
- When the first colored layer has set, pour ¾ cup of the white jello mixture (½ of the white gelatin mix, which will need to be made a couple of times to complete the jello) over the previous layer. Return the jello to the fridge so the white layer can set. I find the white layer sets really quickly – in about 20 minutes. So go ahead and make the next colored layer at this point as well to give it time to cool.
- Continue to make layers, alternating flavored colorful layers with the creamy white layers, letting the jello set between each addition until all of the jello has been used up. If you find the white layer is setting up on the counter in between waiting for colored layers to cool, you can set it into a bowl of hot water and stir it a few times and it will liquify again as it warms and can then be used like normal. Because this layer is used 5 times, you will need to make 2 ½ batches of the white layer to finish the jello.
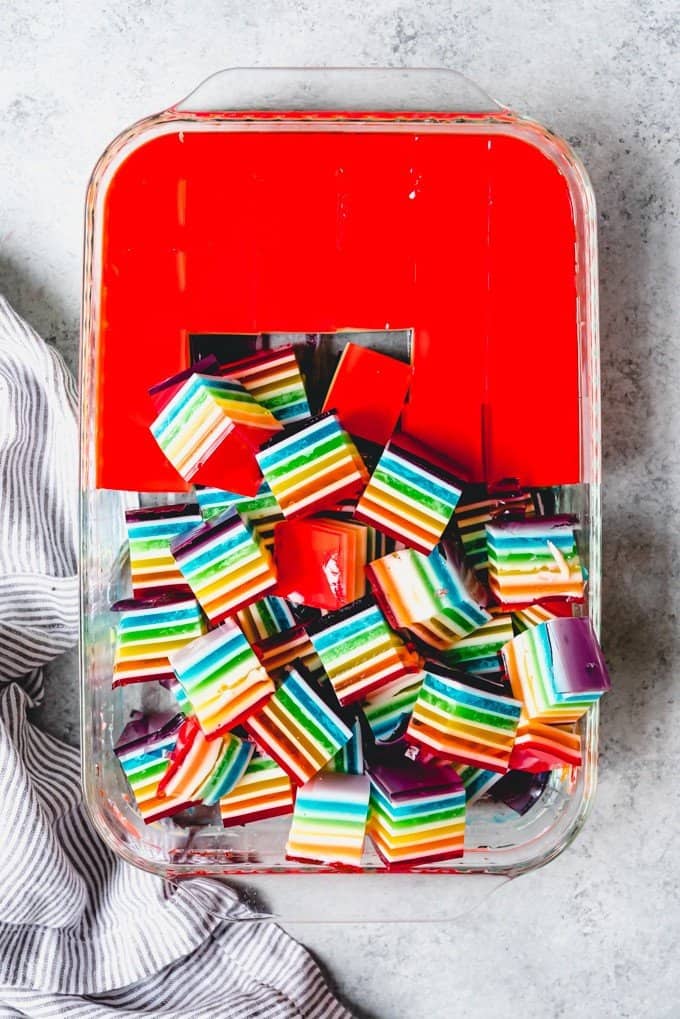
- Once the jello is completely set, slice into 1-inch squares and serve. Be sure to use a paring knife, rather than a serrated knife, if you want to have clean cuts and edges on your jello cubes.
- Use a small spatula to remove the jello from the pan. The first couple of cubes are always the hardest to get out cleanly, but after that it’s smooth sailing.
Variations
Customize these rainbow jello jiggler cubes with any flavors or colors you like for other holidays.
- Valentine’s Day – alternate layers of watermelon (pink) and cherry, raspberry, or strawberry jello.
- Fourth of July – alternate layers of berry blue and cherry, raspberry, or strawberry jello.
- Halloween – alternate layers of orange jello with grape or black cherry jello mixed with black food coloring (affiliate link).
- Christmas – alternate layers of lime jello with cherry, raspberry, or strawberry jello, and maybe even a layer of pink watermelon jello.
Love Jello like I do? Here are some more of my favorite jello recipes!
- Lemon Pineapple Jello
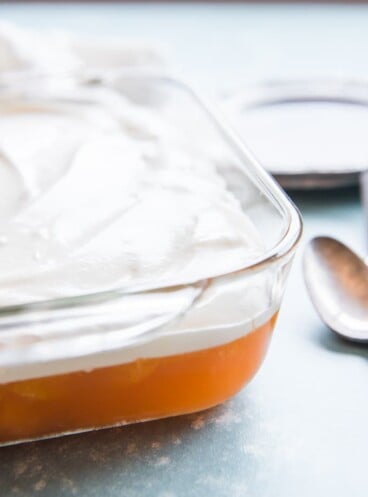
- Orange Jello Salad
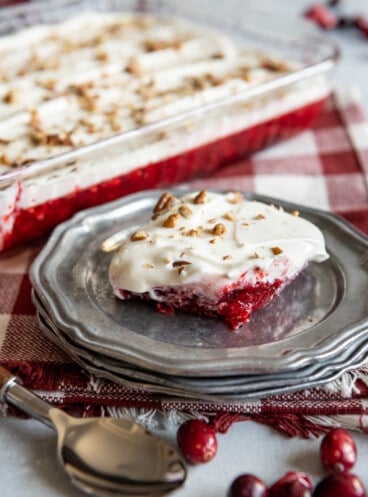
- Cranberry Jello Salad
- Cottage Cheese Jello Salad
- Coca-Cola Jello Salad
- Orange Jello Salad with Pudding Whipped Cream
Did you make this recipe?
Let me know what you thought with a comment and rating below. You can also take a picture and tag me on Instagram @houseofnasheats or share it on the Pinterest pin so I can see.
Layered Rainbow Jello
Ingredients
- 6 different Jello flavors (Berry Blue, Lime, Lemon, Orange, Grape, and Raspberry, Cherry or Strawberry for red) 3 ounce packages
- 5 1/2 (1-ounce) packages unflavored gelatin
- 1 1/2 (14-ounce) cans sweetened condensed milk
- 8 1/2 cups water

Instructions
- Bottom (purple) layer: Dissolve a 3-ounce package of grape flavored jello with 1 teaspoon of unflavored gelatin (½ envelope of Knox unflavored gelatin) in 1 cup of boiling water by stirring until completely dissolved. Pour into a 9×13-inch pan and transfer to the refrigerator. Make sure the pan is sitting completely flat. Chill until completely set, about 30 minutes.
- Second (white) layer: Make this layer at the same time as the bottom layer. Stir 2 teaspoons (1 envelope) of Knox unflavored gelatin in 1 cup of boiling water until dissolved. Add ½ can of sweetened condensed milk and stir until combined. Let this sit out on the counter until cooled to room temperature, but not yet set while the previous layer sets up in the fridge.
- Once the first colored layer has set, make the next colored layer (berry blue) following the directions in Step 1 so it can start to cool. Then pour ¾ cup of the white jello mixture over the colored layer and gently tilt the pan side to side for even distribution. Return jello to the refrigerator to set up, which takes about 20 minutes.
- Continue to make layers following steps 1 & 2, alternating flavored colorful layers (the next colors in rainbow order are green, yellow, orange, and red) with the creamy white layers, letting the jello set between each addition until all of the jello has been used up. You will need to make the white layer a couple of times because even without refrigeration it will set up on the counter if you make it all at once.
- Once the jello is completely set, slice into 1-inch squares using a paring knife (not a serrated blade which leaves marks in the jello) and serve. A small spatula will help you get the jello cubes out of the pan.


5 stars 2 times
Thanks!
I’m having a lot of fun making this, but there is a flaw in the gelatin measurement. 1/2 pack per color = 3 packs and 1 pack per 2 white layers = 2 1/2 packs. The total amount needed is 5 1/2 packs. I’m lucky I found extra buried in my cabinet.
Thanks for the heads up about that extra 1/2 pack. I updated the ingredient list to include it.
I haven’t made this yet but this looks exactly like the recipe I’ve been searching for. I had a friend that made this for Halloween parties that we would bring our kids to and this was probably 23 years ago. I just happened to search for it today and this looks like the exact same recipe. I’m pretty excited to make it for parties over the summer
Hmm, interesting. I’ve had a similar recipe that I’ve made for years, but instead of the sweetened condensed milk, it would use sour cream (and you would mix a little bit of the Jell-O with it to make light opaque colors alternating with brighter clear colors) and didn’t use Knox. Sour cream sounds gross, but it really was good. But I’m curious how much better this will be.
I have my Gay Pride book club on Wednesday and decided to make rainbow Jell-O and saw your different directions and I think I’m going to make a test layer and see if I like it enough to change over to it. Crossing my fingers.
I have used sour cream before as well and it works, although I personally like the added sweetness of the sweetened condensed milk. Enjoy! What a great idea for your book club!
I have come back to use this several times over the years. I am hosting a goodbye party for one of my teen’s best friends this weekend. They requested this as it has become a core memory treat at parties. Thank you for it
Great Kelly! I love that it has become a part of your family! It is a fun one to make and eat!
An amazing recipe. Looks great. Tastes great. So easy to make. Ingredients easy to convert to grams too. I can’t recommend this recipe enough!
Thank you so much Matthew! This one is such a fun one to make!
Love you Harriet…
Looked so pretty in the tray, but when I cut them and tried to scoop them out the layers all started sliding apart. How on earth did yours stay together to nicely????
Oh no! Sometimes if you wait too long to pour the next layer, the layer will set a little too much and won’t have as much “grip” or stickiness for the next layer. The layers become too firm and will just slide off. Or if it is too warm and melts the layer beneath and may not set as well. Timing is key with making this. But if you’re worried about the layers setting right, you can also make it in individual clear plastic cups so they are individually portioned and you don’t need to worry about cutting into the jello. Just hand them the cup and they can scoop it out on their own. 🙂
I would love to make an 8×8 version of this recipe. I have made the 9×13 many times but can’t figure out the measurements for an 8×8!
Can you help?