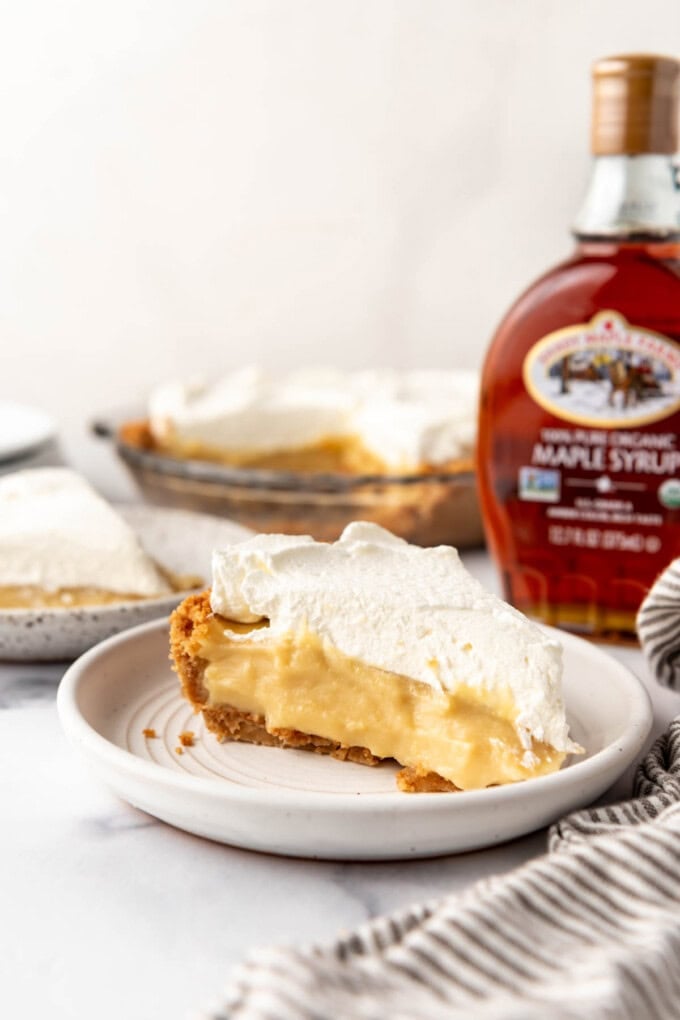
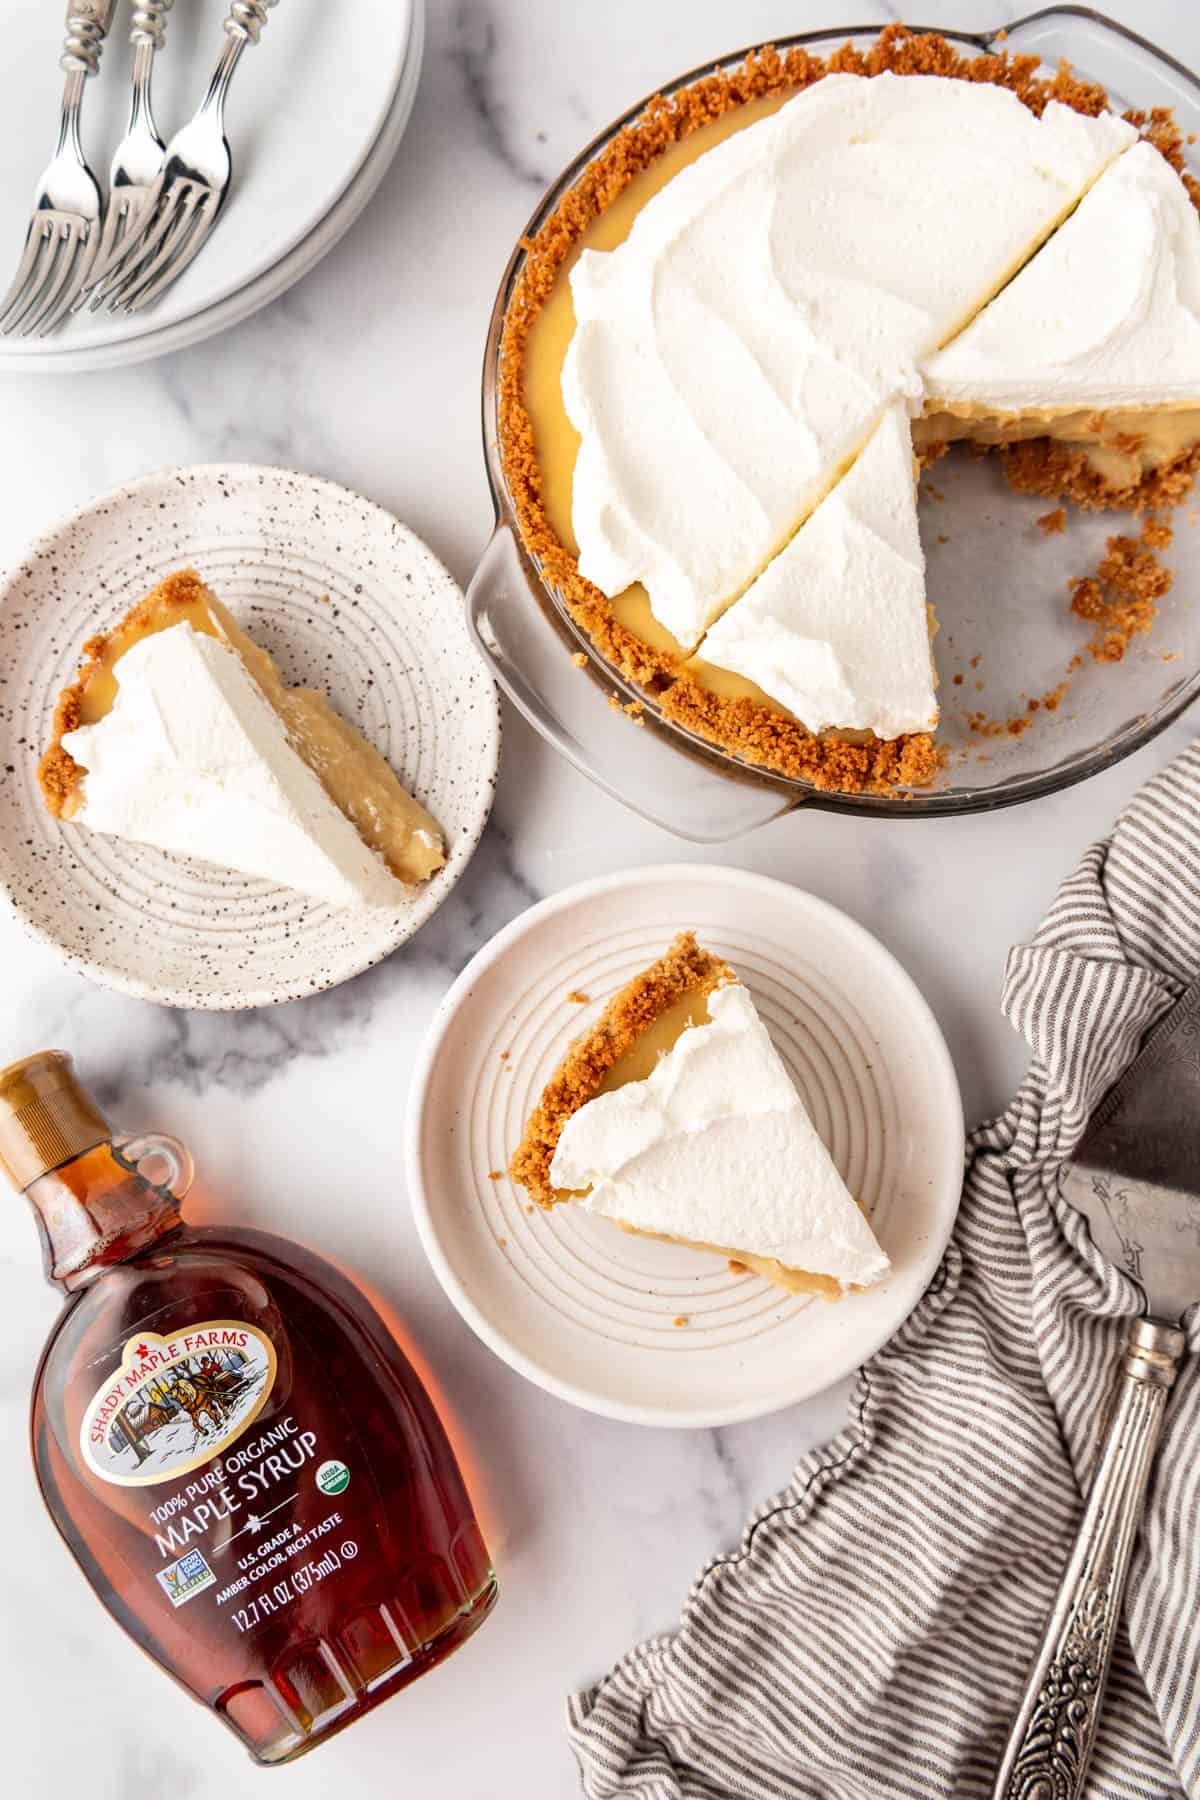
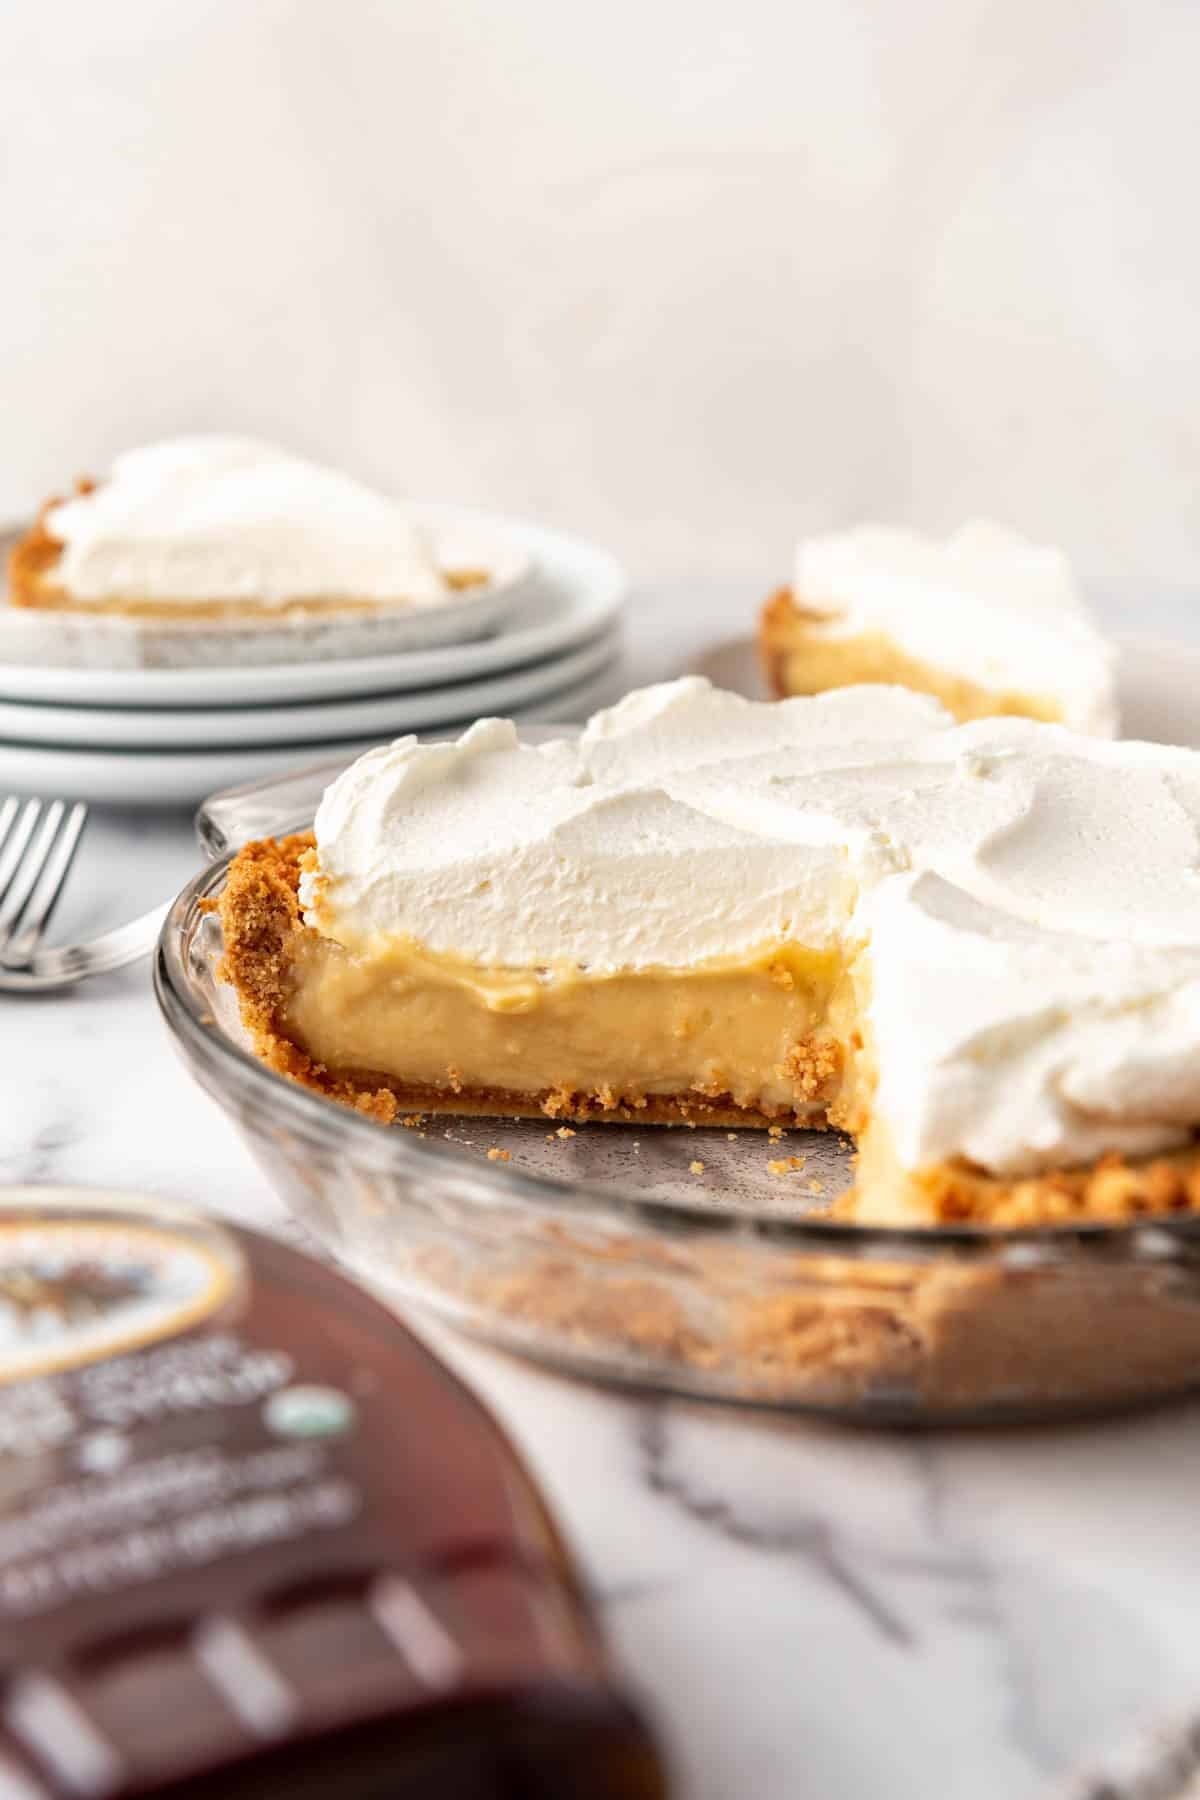
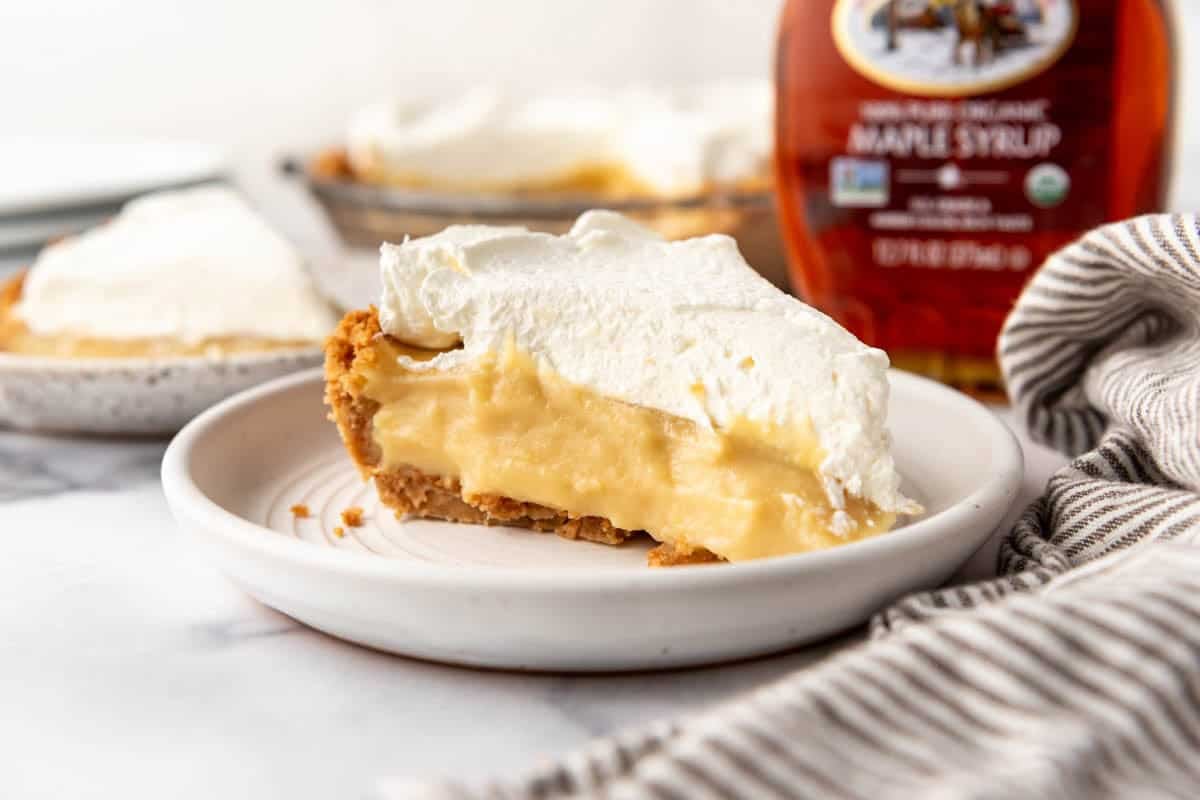
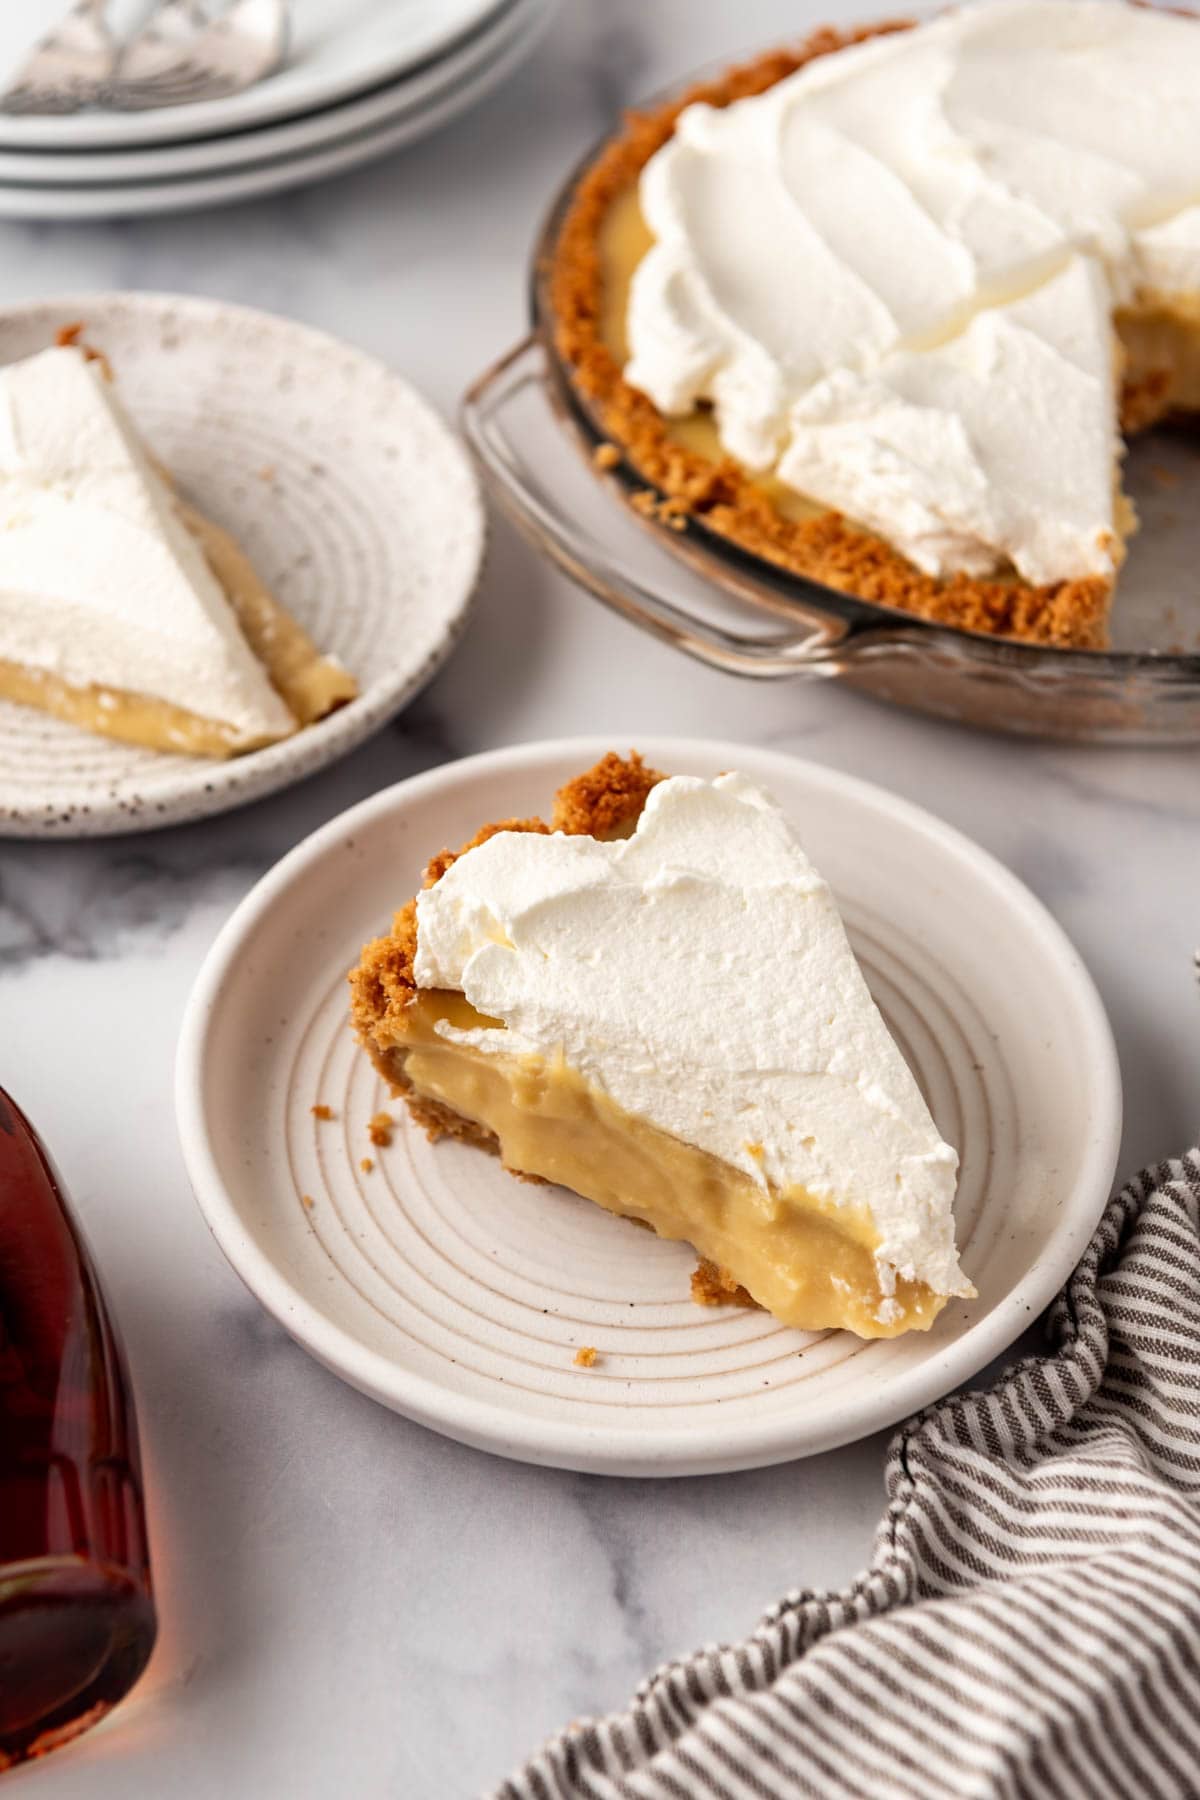
This Maple Cream Pie has the silkiest maple custard that practically melts in your mouth. It’s nestled in a graham cracker crust, then finished with a generous swirl of sweetened whipped cream that makes every bite completely irresistible.
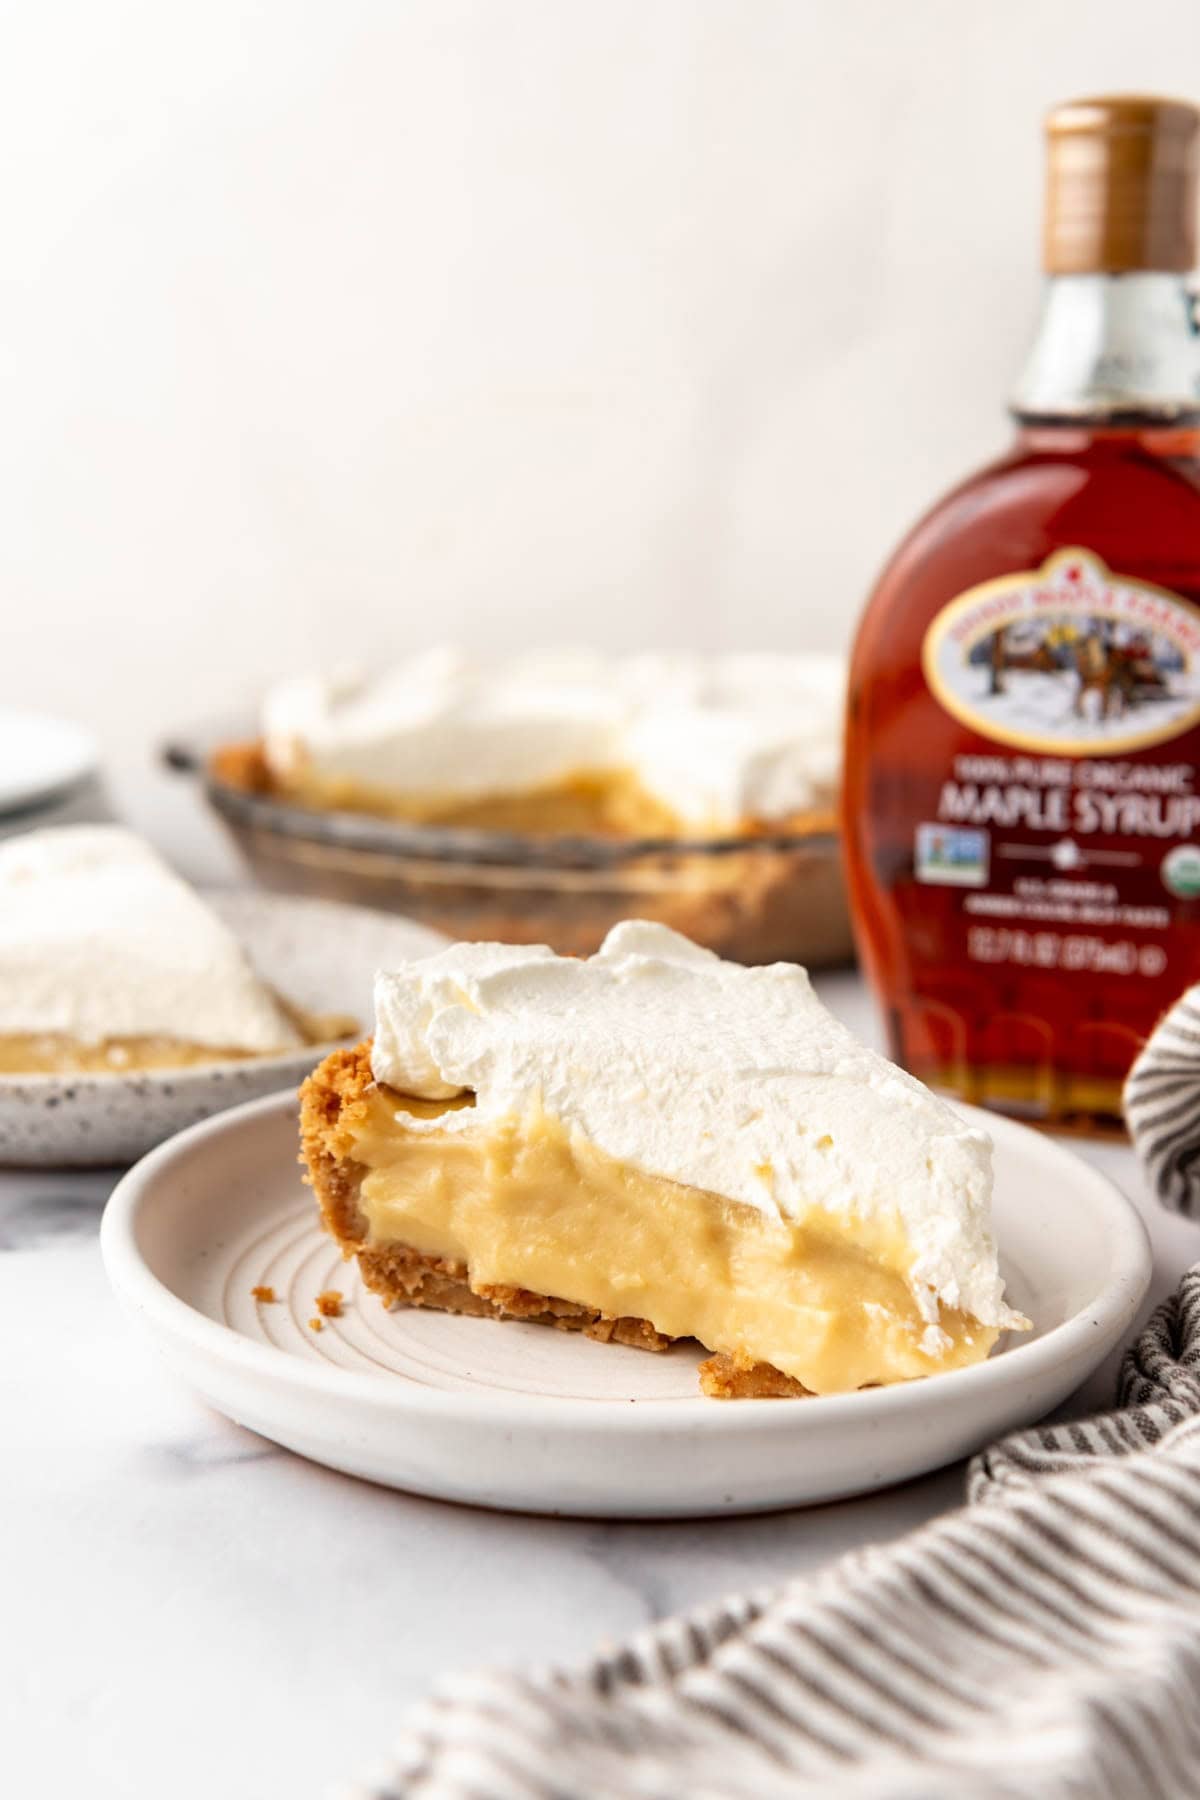
Maple is one of my favorite flavors and it makes the most ethereal cream pie you’ve ever tasted! If you love real maple syrup, maple bars, or maple walnut ice cream, this is the pie for you. I made it for our annual Pi(e) Day party in March and it was a huge hit.
By gently reducing the maple syrup to concentrate its caramel-like depth and stirring it into a rich custard made with egg yolks, cornstarch, whole milk, and heavy cream, you get that deep, warm maple flavor in every bite that’s indulgent and perfectly sweet.
I made this to highlight Vermont’s most famous ingredient as part of my American Eats series where I share some of the most iconic recipes and flavors of each state.
For more creamy, comforting custard pies and salted maple pie-inspired treats, check out my Old-Fashioned Banana Cream Pie, Classic Southern Pecan Pie, Easy Coconut Cream Pie, Indiana Sugar Cream Pie, and this Light & Airy Pumpkin Chiffon Pie!
Why maple cream is the pie flavor you have been missing:

- Naturally sweetened. Real maple syrup is an incredible natural sweetener.
- It’s easy to make with straightforward steps, great for both beginners and anyone craving a quick yet impressive maple flavor dessert.
- It’s a pie few have heard of. Everybody knows banana cream and coconut cream, but not many people have tried maple cream. It’s unexpected and delicious!
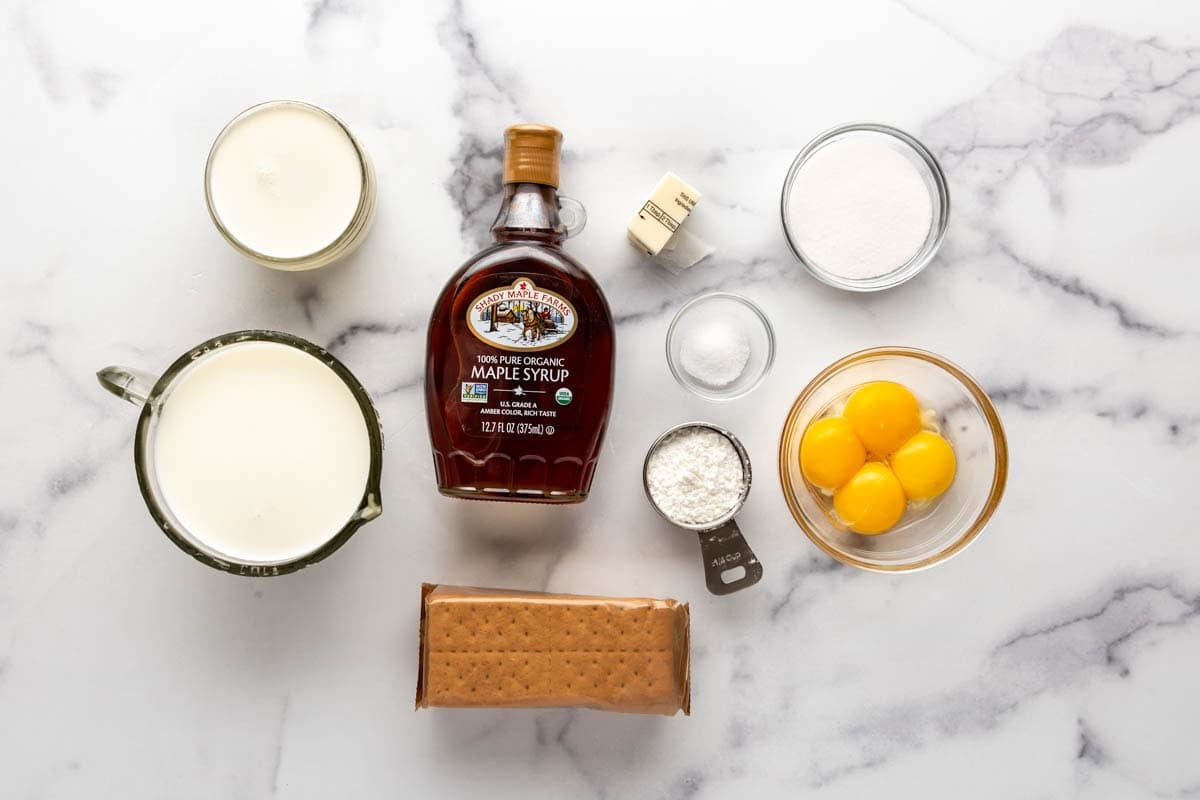
What You’ll Need
Scroll down to the recipe card below this post for ingredient quantities and full instructions.
- Unbaked Pie Crust – I’ve made a Graham Cracker Crust here, but you can use my homemade flaky pie crust for a great buttery texture, or a good store-bought refrigerated crust works great too if you’re short on time. Just be sure to blind bake it as directed so it stays crisp under the creamy maple filling.
- Salted Butter – Adds rich flavor and helps balance the sweetness in the filling.
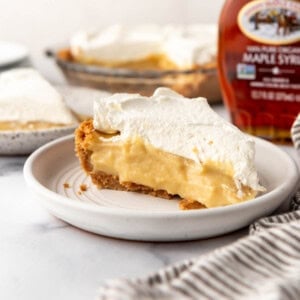
- Pure Maple Syrup – The star of the show; use a good-quality real maple syrup for deep, authentic flavor in the filling.
- Whole Milk – Adds body and creaminess to the filling.
- Heavy Cream – Makes the custard rich and smooth in the filling.
- Kosher Salt – Enhances the flavors and helps to balance out the sweetness.
- Maple Extract – This is optional but a small amount boosts the maple flavor in the filling. It’s totally great without it though, so don’t fret if you don’t already have it on hand.
- Large Eggs and Egg Yolk – Provide structure and create the silky, luxurious texture of the maple cream filling.
- Powdered Sugar – Sweetens and stabilizes the whipped cream topping.
- Pure Vanilla Extract – Rounds out the warm flavor in the whipped cream topping.
How to Make Maple Cream Pie
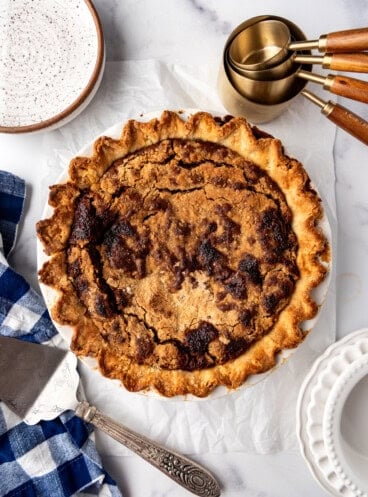
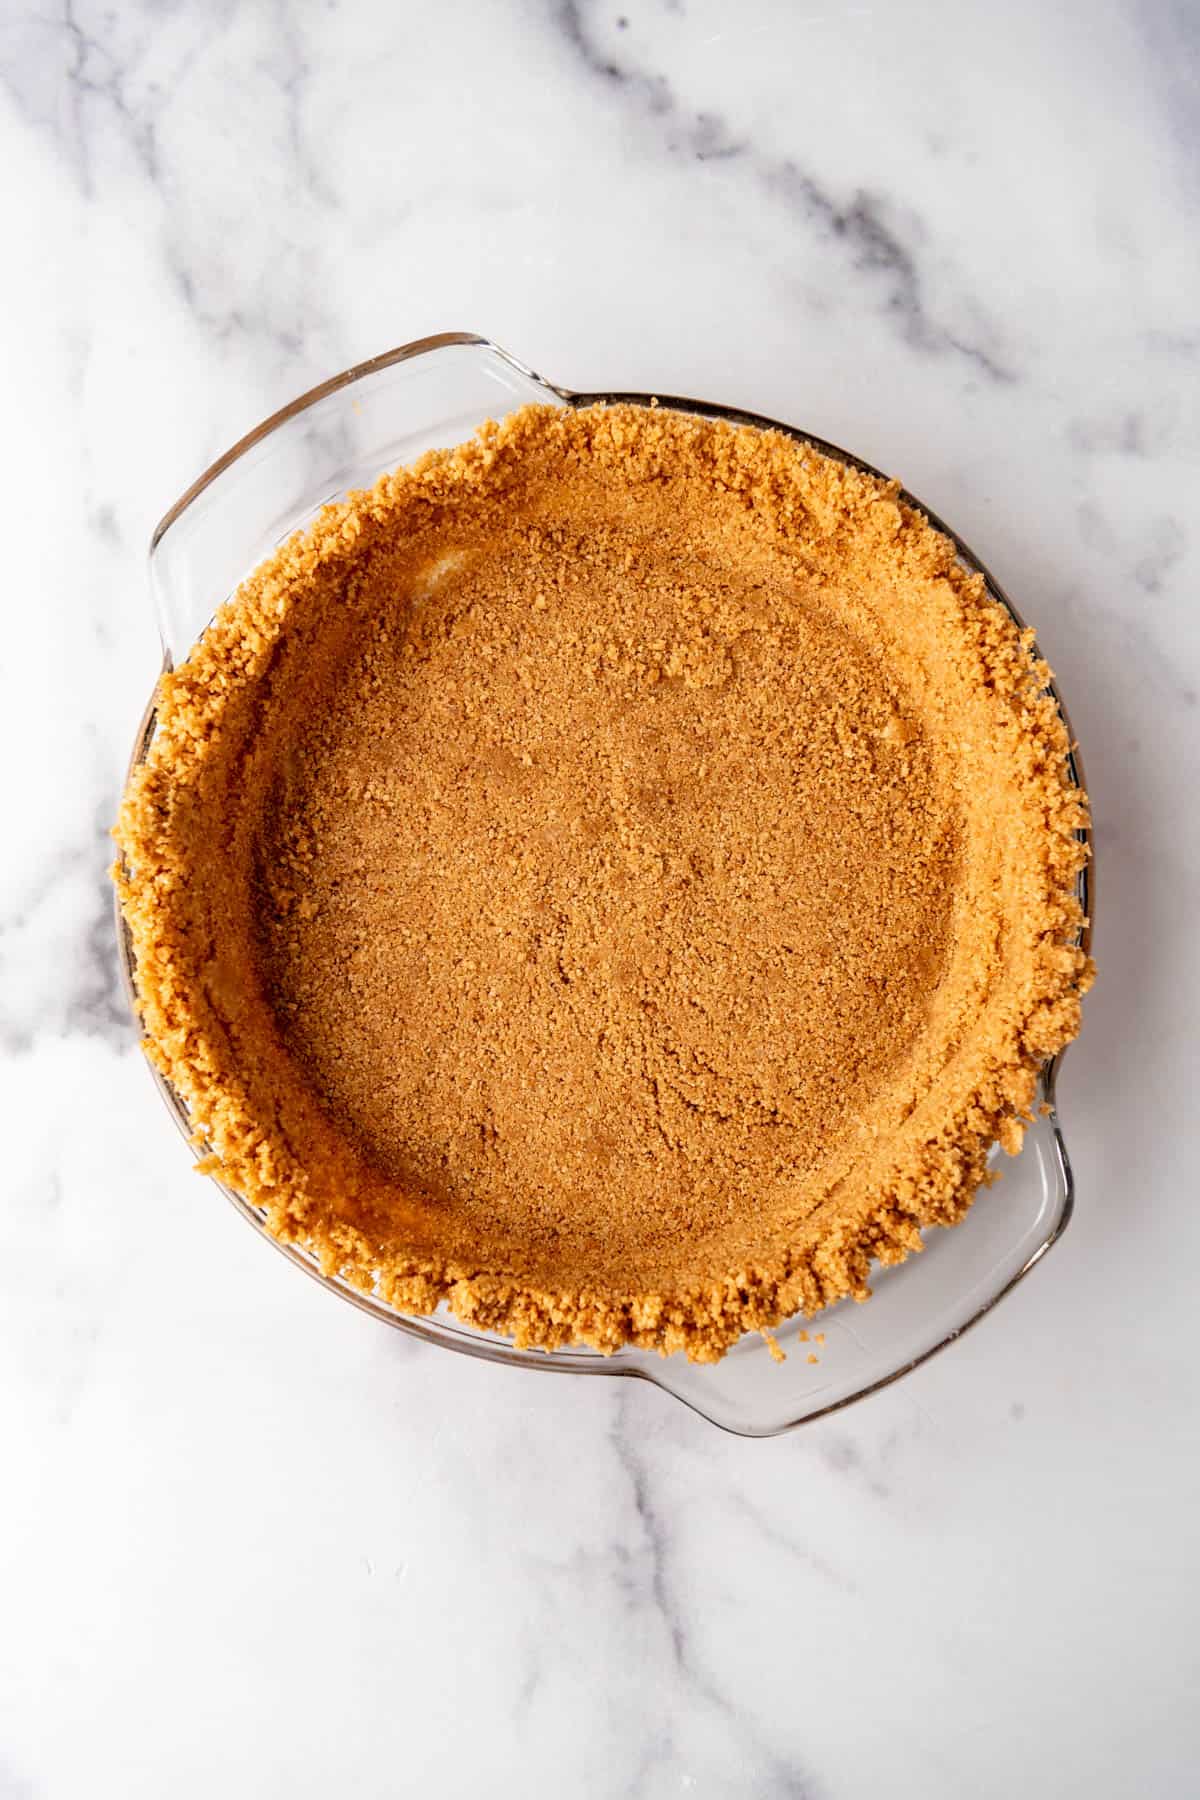
- Prepare the Crust. Using a Graham Cracker Crust: Crush the graham crackers into fine crumbs (a food processor (affiliate link) makes this quick and easy, but a zip-top bag and rolling pin work just as well). Mix the crumbs with the sugar in a large bowl, then drizzle in the melted salted butter and stir until everything is evenly moistened. Press the mixture firmly into the bottom and up the sides of a 9-inch pie plate (affiliate link) using your hands or the bottom of a glass. Bake at 350°F for 10 minutes, then cool completely before filling with the maple cream custard.
- Reduce the maple syrup to concentrate the flavor. In a small saucepan, bring the pure maple syrup to a boil over high heat, then reduce to a gentle simmer. Cook until it reduces by about half, roughly 12 minutes.
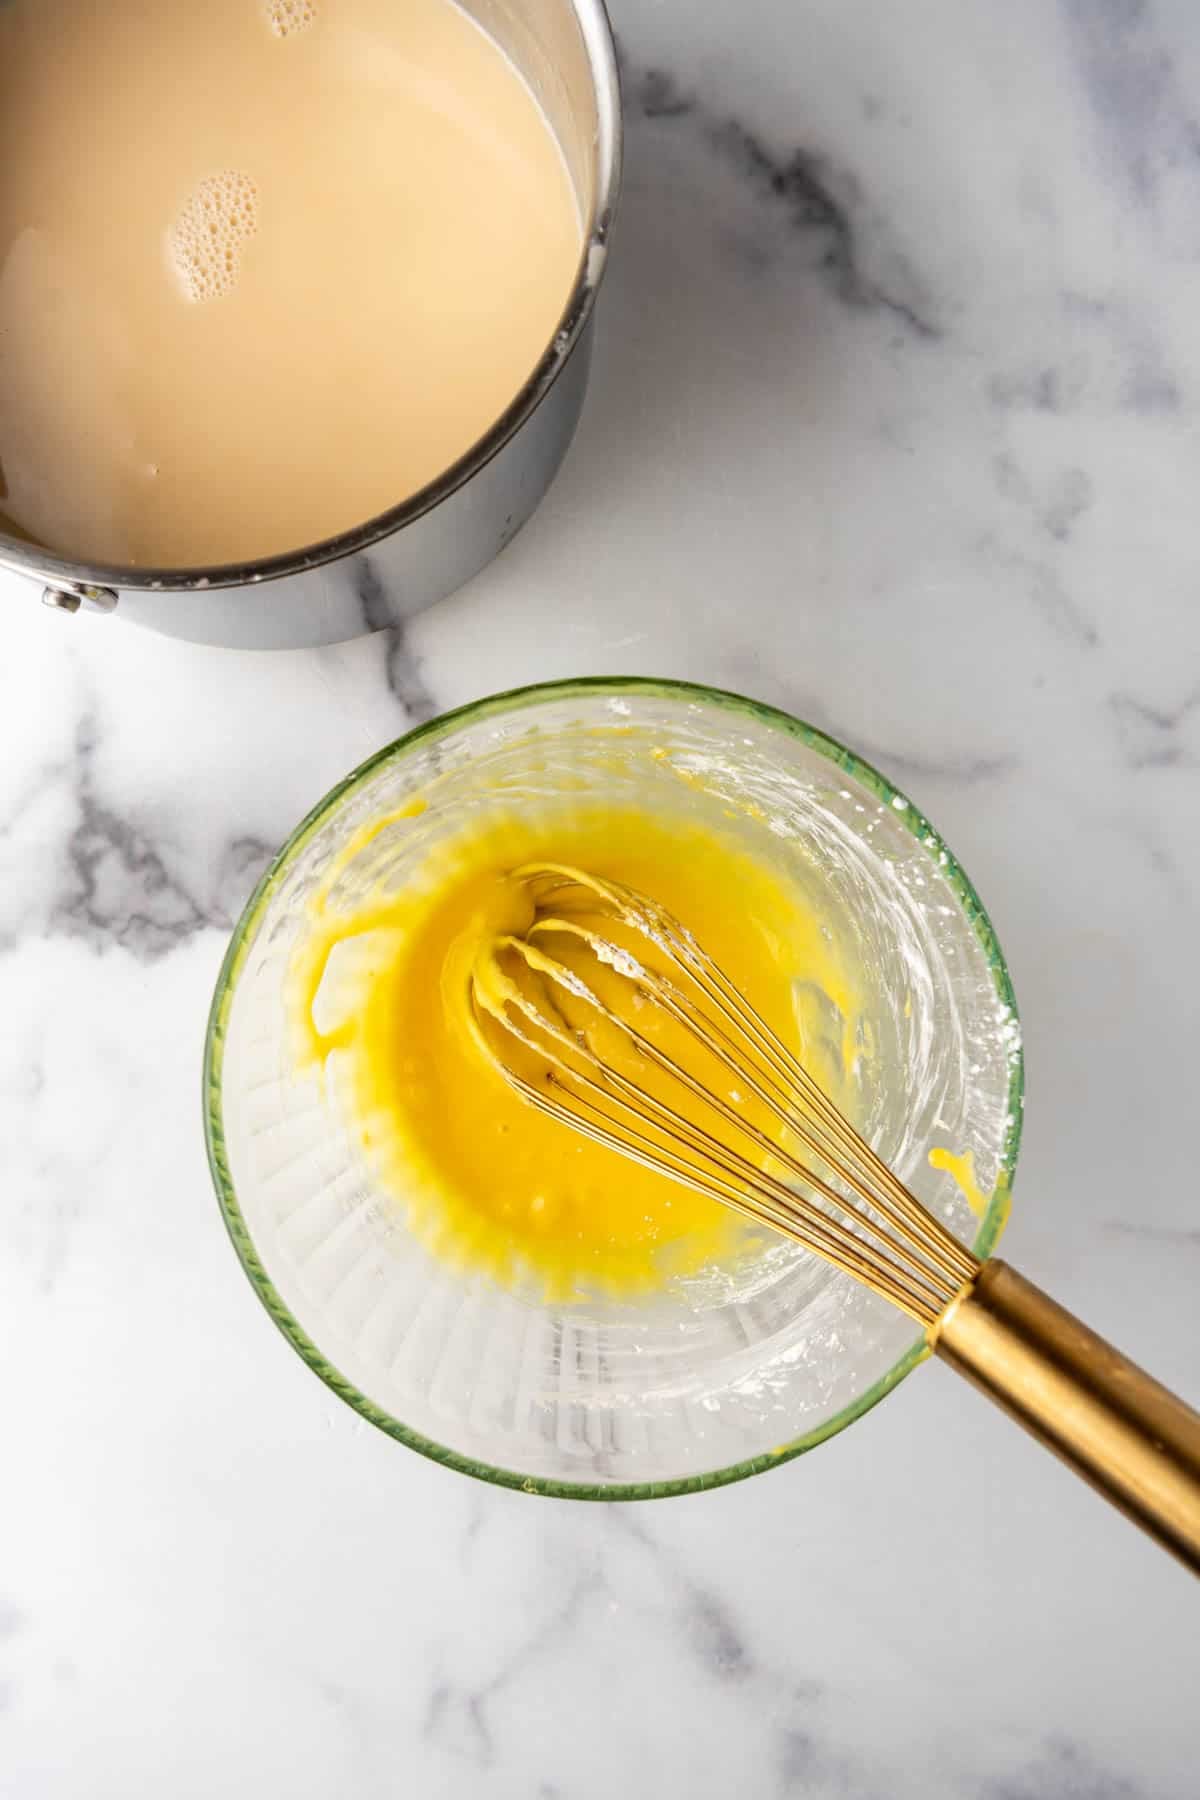
- Make the Maple Cream Filling. In a medium saucepan off the heat, whisk the egg yolks with the cornstarch until smooth. Add the whole milk and heavy cream, whisking well, then stir in the salt, butter, and reduced maple syrup. Cook over medium heat, stirring constantly with a wooden spoon, until the mixture thickens and reaches a low boil, about 7 minutes. Cook 1 minute more, then strain through a fine sieve, pressing it through to make sure there are no cooked egg pieces in the custard.
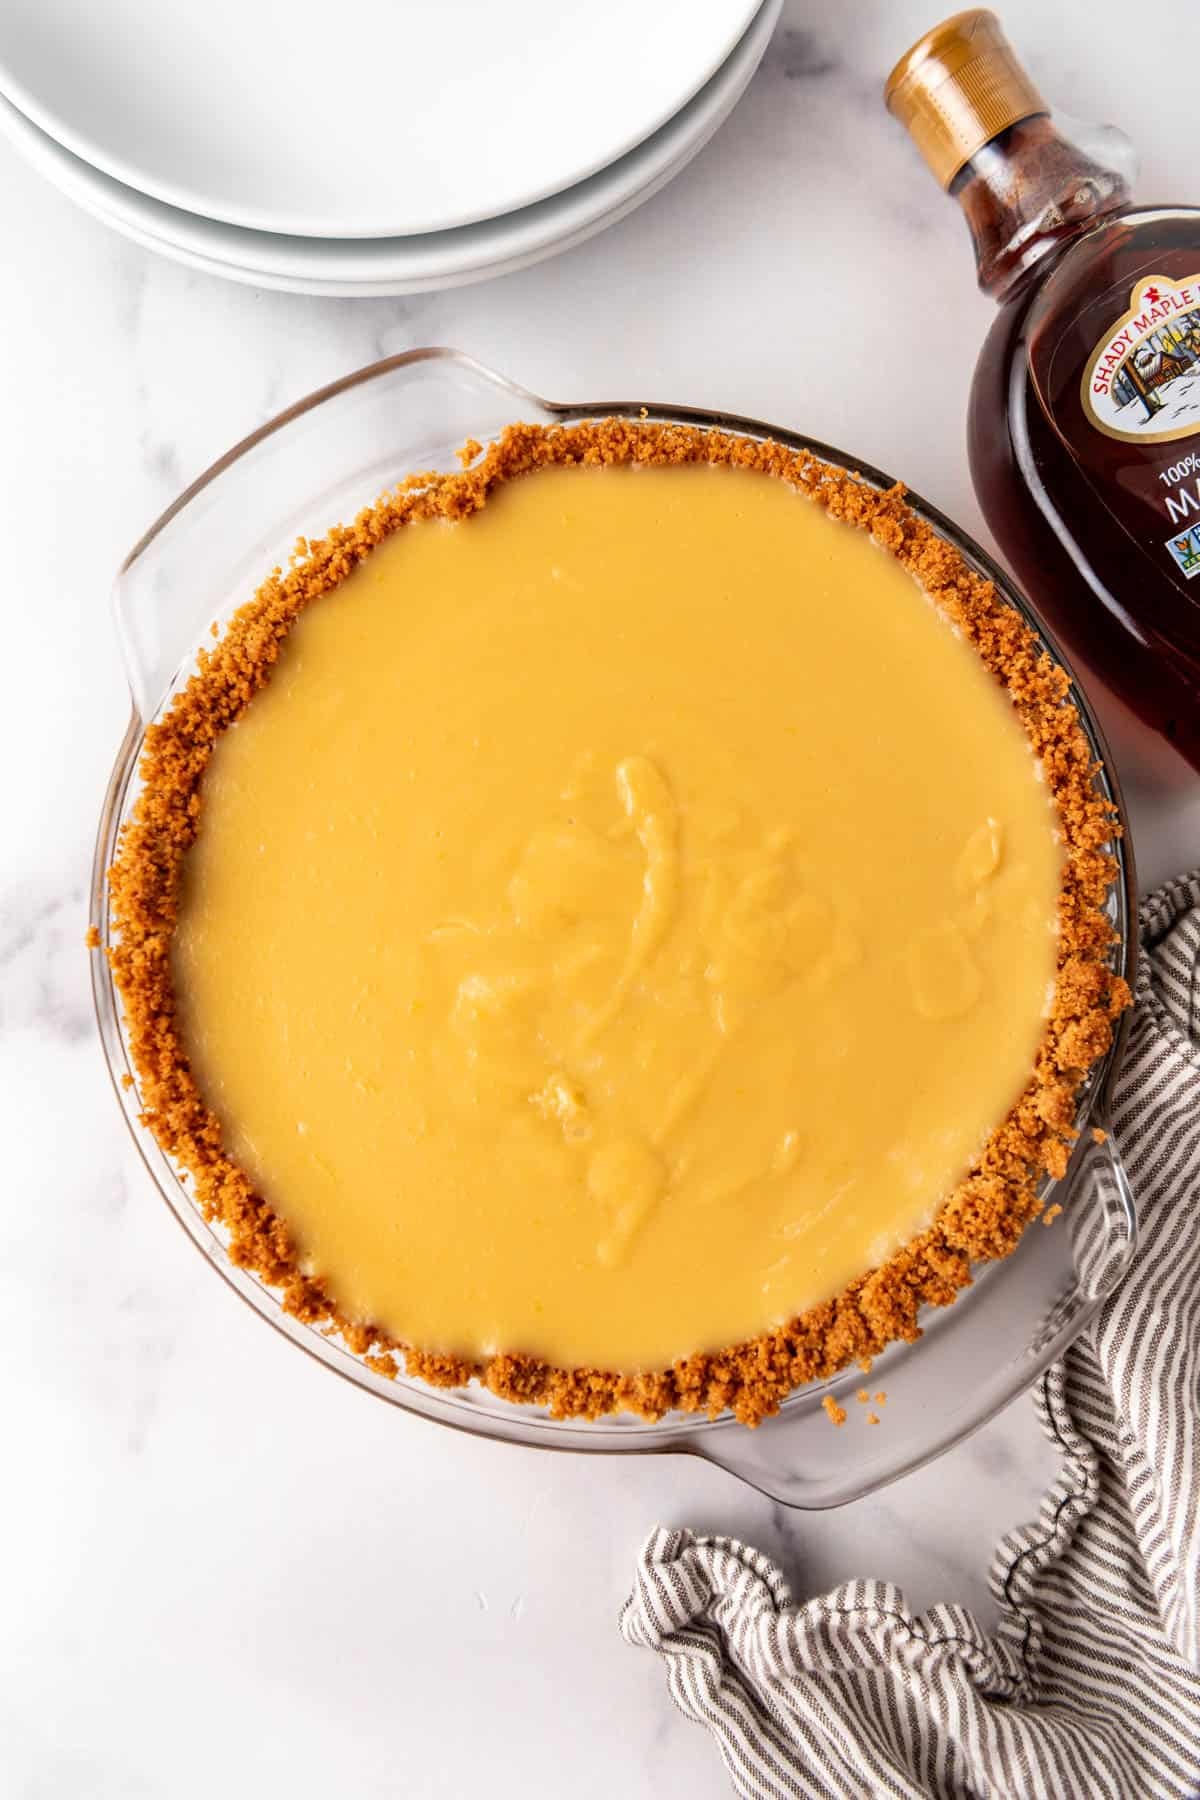
- Fill and Chill. Pour the warm maple cream filling into the cooled crust and spread it evenly. Let the pie cool to room temperature, then refrigerate for at least 4 hours (or overnight) until fully set and sliceable.
- Add the Topping. Just before serving, whip the heavy cream with powdered sugar and pure vanilla extract until soft peaks form. Spread or pipe the whipped cream over the chilled pie.
Tips for Success
- Use real maple syrup (not pancake syrup) for that deep, authentic maple flavor.
- Stir the custard constantly as it cooks and strain it through a fine sieve before pouring it into the crust. This guarantees an ultra-smooth, lump-free texture.
- Don’t skip the full chilling time of at least 4 hours (or overnight if you can). It allows the filling to set properly for beautiful, clean slices.
- While you could get away with topping this pie with Cool Whip, nothing compares to homemade whipped cream.
Substitutions and Variations
- You can use a store-bought graham cracker crust to save time, or swap the graham cracker crust for my favorite homemade flaky pie crust or a refrigerated store-bought pastry crust if you prefer a more traditional, buttery, flaky base.
- For a fun nutty twist, sprinkle toasted pecans, walnuts, or crumbled candied pecans over the whipped cream topping just before serving. The crunch pairs beautifully with the silky filling.
- You can also make individual mini Maple Cream Pies in tartlet shells, they’re adorable and perfect for parties or holiday gatherings.
More Pie Recipes You’ll Love
- Blueberry Sour Cream Custard Pie
- Strawberry Rhubarb Pie
- Strawberry Cream Cheese Pie
- Atlantic Beach Pie
- Southern Chess Pie
- Blueberry Pie
Maple Cream Pie
Ingredients
Crust
- 1 1/2 cups graham cracker crumbs (9-11 full graham cracker sheets)
- 1/3 cup granulated sugar
- 6 Tablespoons salted butter melted
Maple Cream
- 1 ¼ cups pure maple syrup
- 4 large egg yolks
- ¼ cup cornstarch
- 2 cups whole milk
- 1 cup heavy cream
- ½ teaspoon kosher salt
- 2 Tablespoons butter
- ½ teaspoon maple extract (optional)
Topping
- 1 cup heavy cream
- 3 Tablespoons powdered sugar
- pure vanilla extract

Instructions
- Preheat oven to 350℉ (177℃).
- Pulse the graham crackers in a food processor (affiliate link) or crush in a ziploc bag until they are fine crumbs. Add the sugar and butter, then mix until evenly moistened. Press into the bottom and sides of a 9-inch pie pan. Bake for 10 minutes to set the crust.1 ½ cups graham cracker crumbs, ⅓ cup granulated sugar, 6 Tablespoons salted butter
- Meanwhile, in a small saucepan over medium-high heat, bring the maple syrup to a boil, then reduce the heat to medium-low or low to maintain a gentle simmer. Continue to cook the syrup until it has reduced by half to about 2/3 cup (around 10-15 minutes). It is okay to occasionally pour the syrup into a heat-safe glass measuring cup to see how much more it needs to be reduced. Set aside to cool slightly.1 ¼ cups pure maple syrup
- In a medium pan, combine the egg yolks and cornstarch. Whisk well. Add the milk and cream, whisking well until combined. Transfer to the stovetop over medium heat and whisk in the salt, butter, the reduced maple syrup, and maple extract, if using. The syrup will likely seize and clump up, but just continue to cook over medium heat, stirring constantly, until the mixture has thickened and starts to bubble at a low boil, around 7 minutes. Cook for 1 minute more at a low boil, then pour the custard through a fine-mesh sieve to remove any cooked egg bits.4 large egg yolks, ¼ cup cornstarch, 2 cups whole milk, 1 cup heavy cream, ½ teaspoon kosher salt, 2 Tablespoons butter, ½ teaspoon maple extract
- Pour the custard into the prepared pie crust and spread in an even layer. Transfer to the fridge to chill for at least 3-4 hours.
- When ready to serve, beat the heavy cream, powdered sugar, and vanilla in a bowl until medium-stiff peaks form. Spread over the maple custard layer, then slice and serve.3 Tablespoons powdered sugar, pure vanilla extract, 1 cup heavy cream
Notes
- Store: Keep leftover Maple Cream Pie covered in the refrigerator for up to 4 days.
- Freeze: Freeze the fully cooled pie without the whipped cream topping. Wrap it tightly in plastic wrap followed by aluminum foil and freeze for up to 2 months. Thaw overnight in the refrigerator before serving.
- Make Ahead: Make the pie without topping up to 2 days in advance, cover and refrigerate. Add the fresh whipped cream just before serving.