
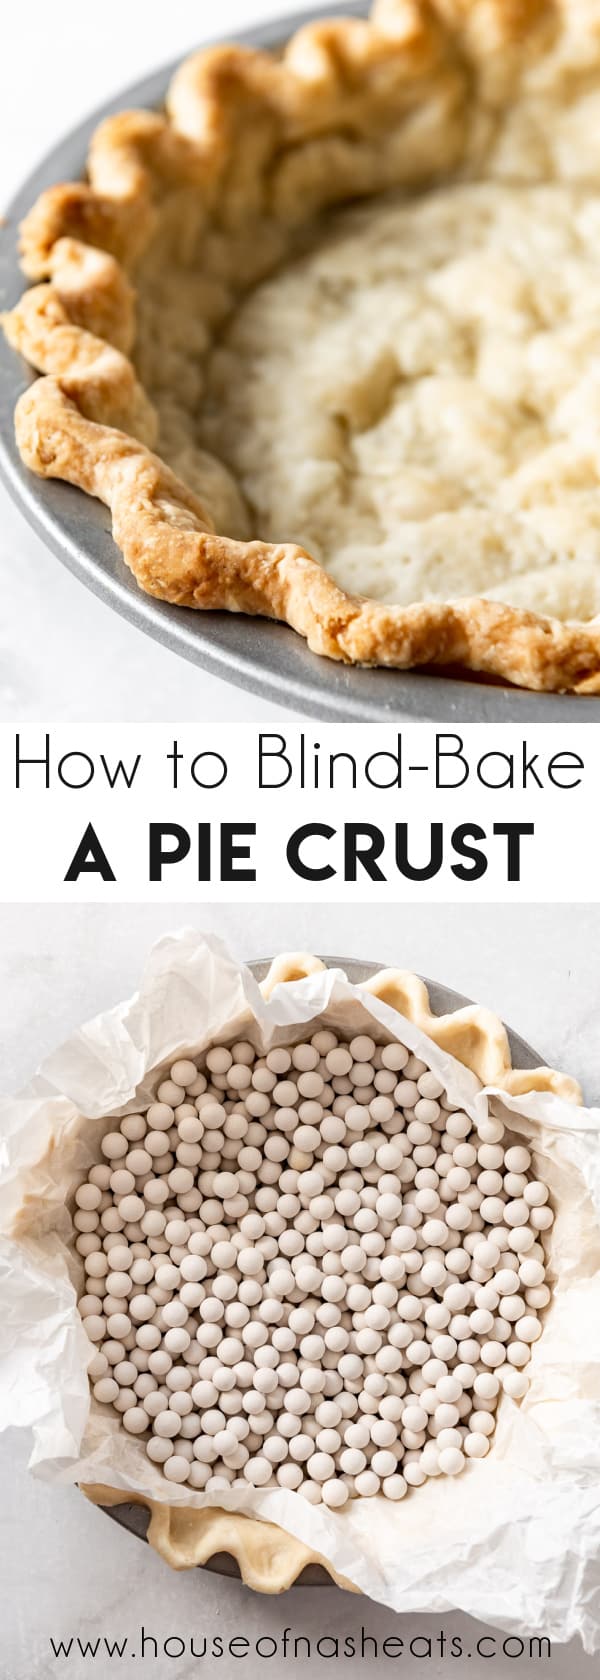
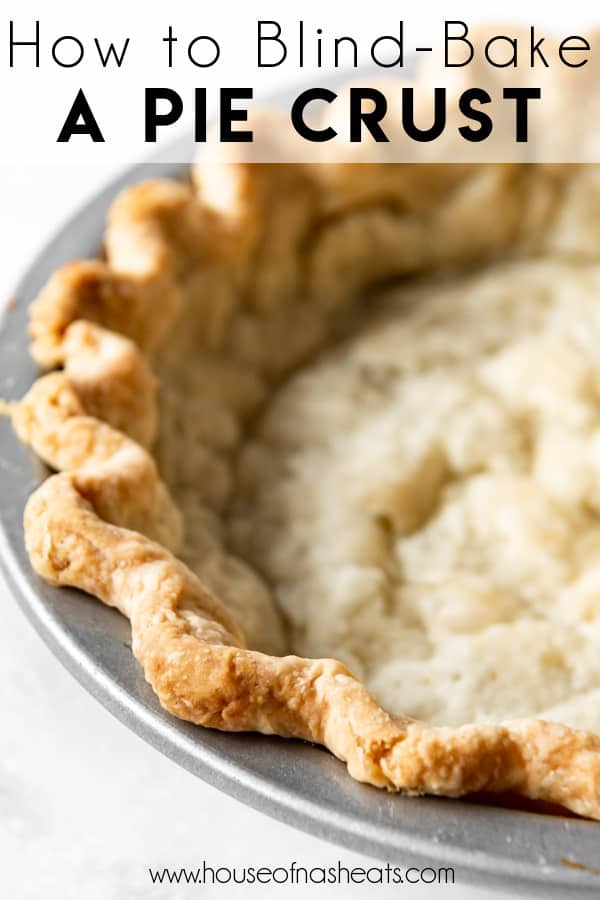
Knowing how to blind bake a pie crust is so helpful if you love to make all kinds of pies! Use my favorite pie crust recipe for a perfectly flaky, buttery crust every time!
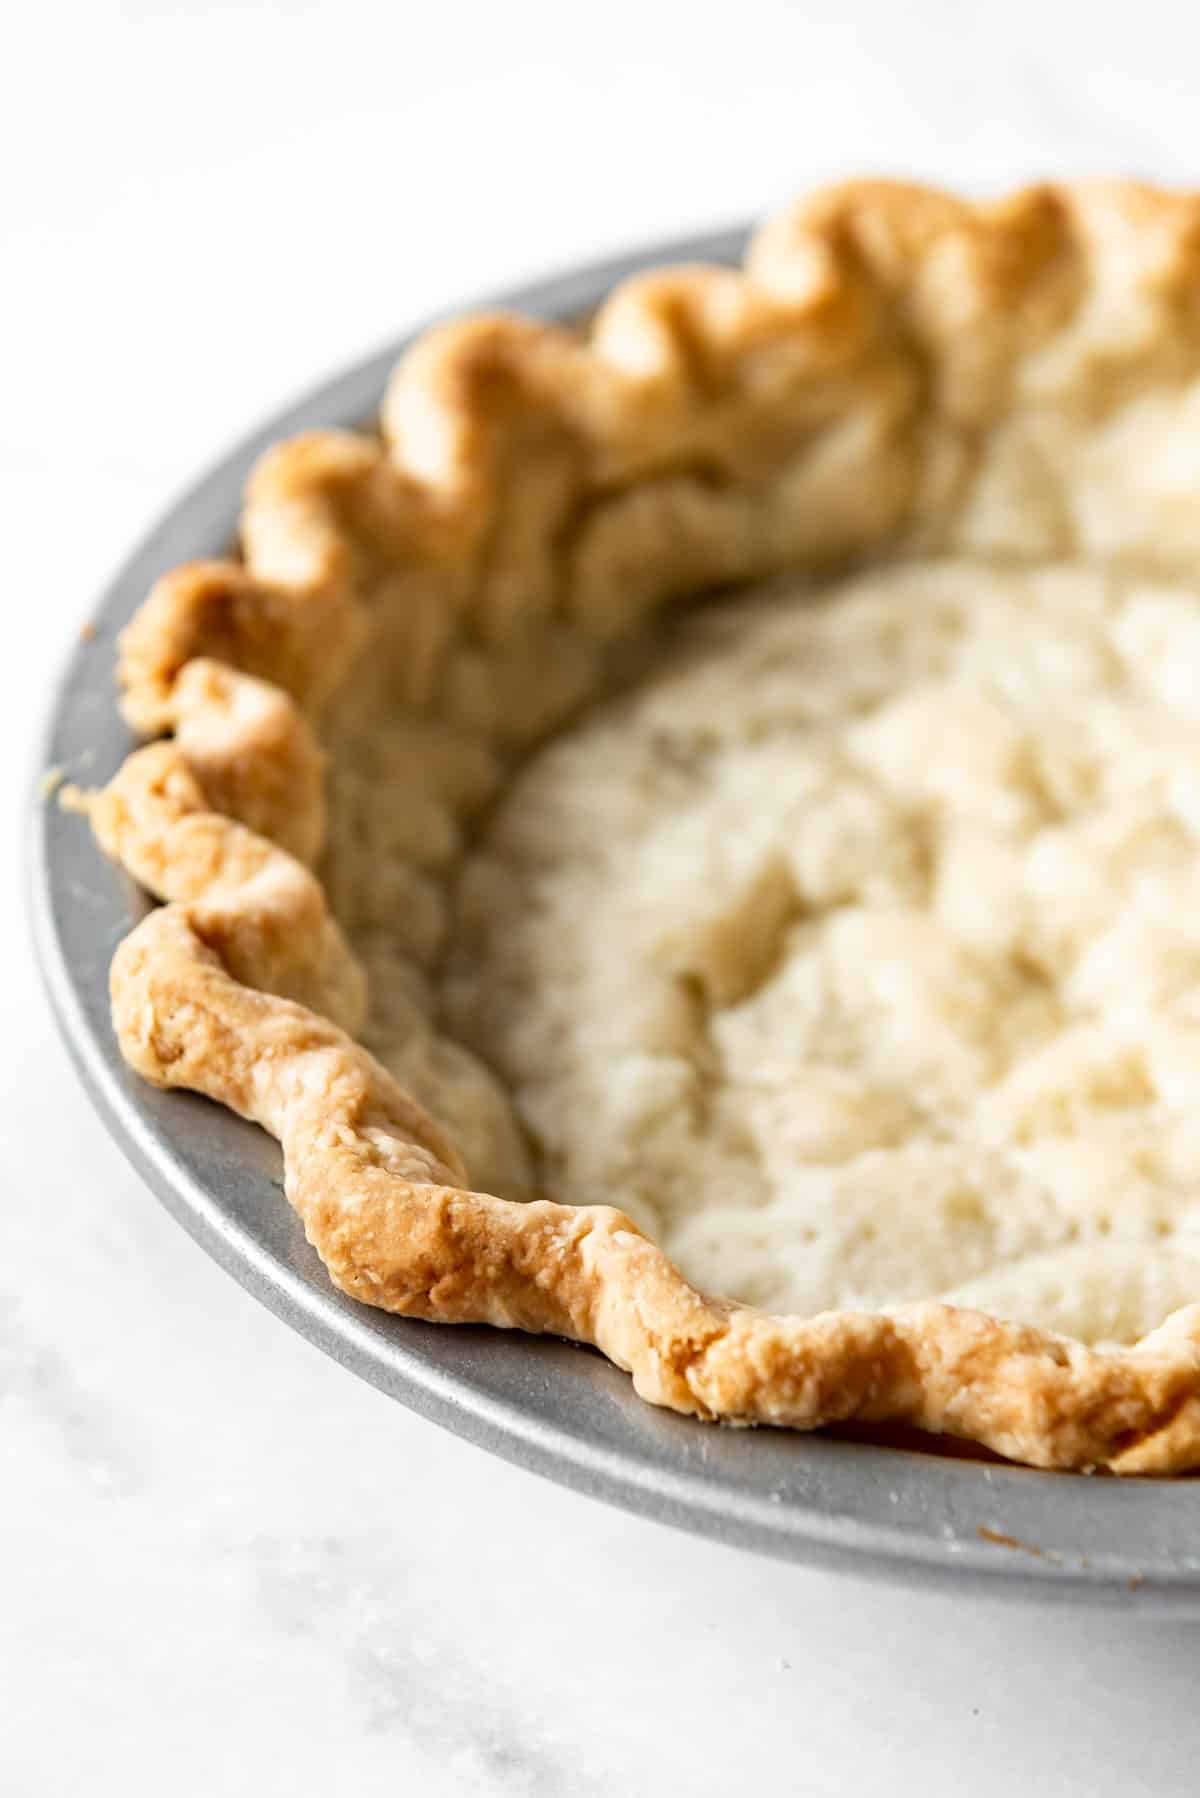
Table of Contents
Blind baking (also called par-baking) a pie crust is easier than it seems, although many people are intimidated by it. There are just a few trips, tricks, and techniques to know that will help you have pie crust success always!
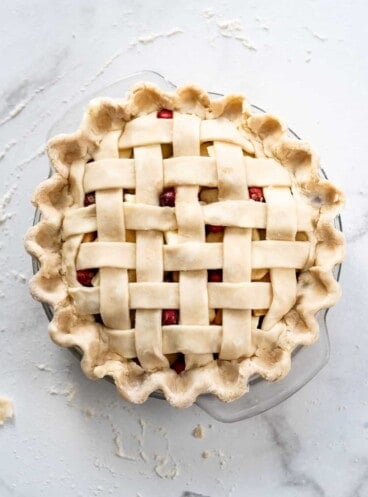
One of the things I love about pies is how fun it is to mix and match fillings and crusts! You might also want to know how to make a graham cracker crust as well.
Why Blind-Bake?
Most bakers run into trouble baking an unfilled pie crust because it will shrink in the oven unless steps are taking to prevent that from happening so it can better hold its shape. As the butter or shortening in a pie crust melts, it creates steam which is what makes those coveted flakey pie crusts that a good American pie is known for. However, that steam can also cause the crust to both shrink and puff up when there is no filling to weigh it down.
The solution is to weigh down the pie crust with some sort of heavy filling or weight that can be removed after baking and replaced with your cream or custard filling.
Best Pie Weight Options
I have used each of these over the years and they all work well. You might find one you like best and stick with it or just use whatever is on hand.
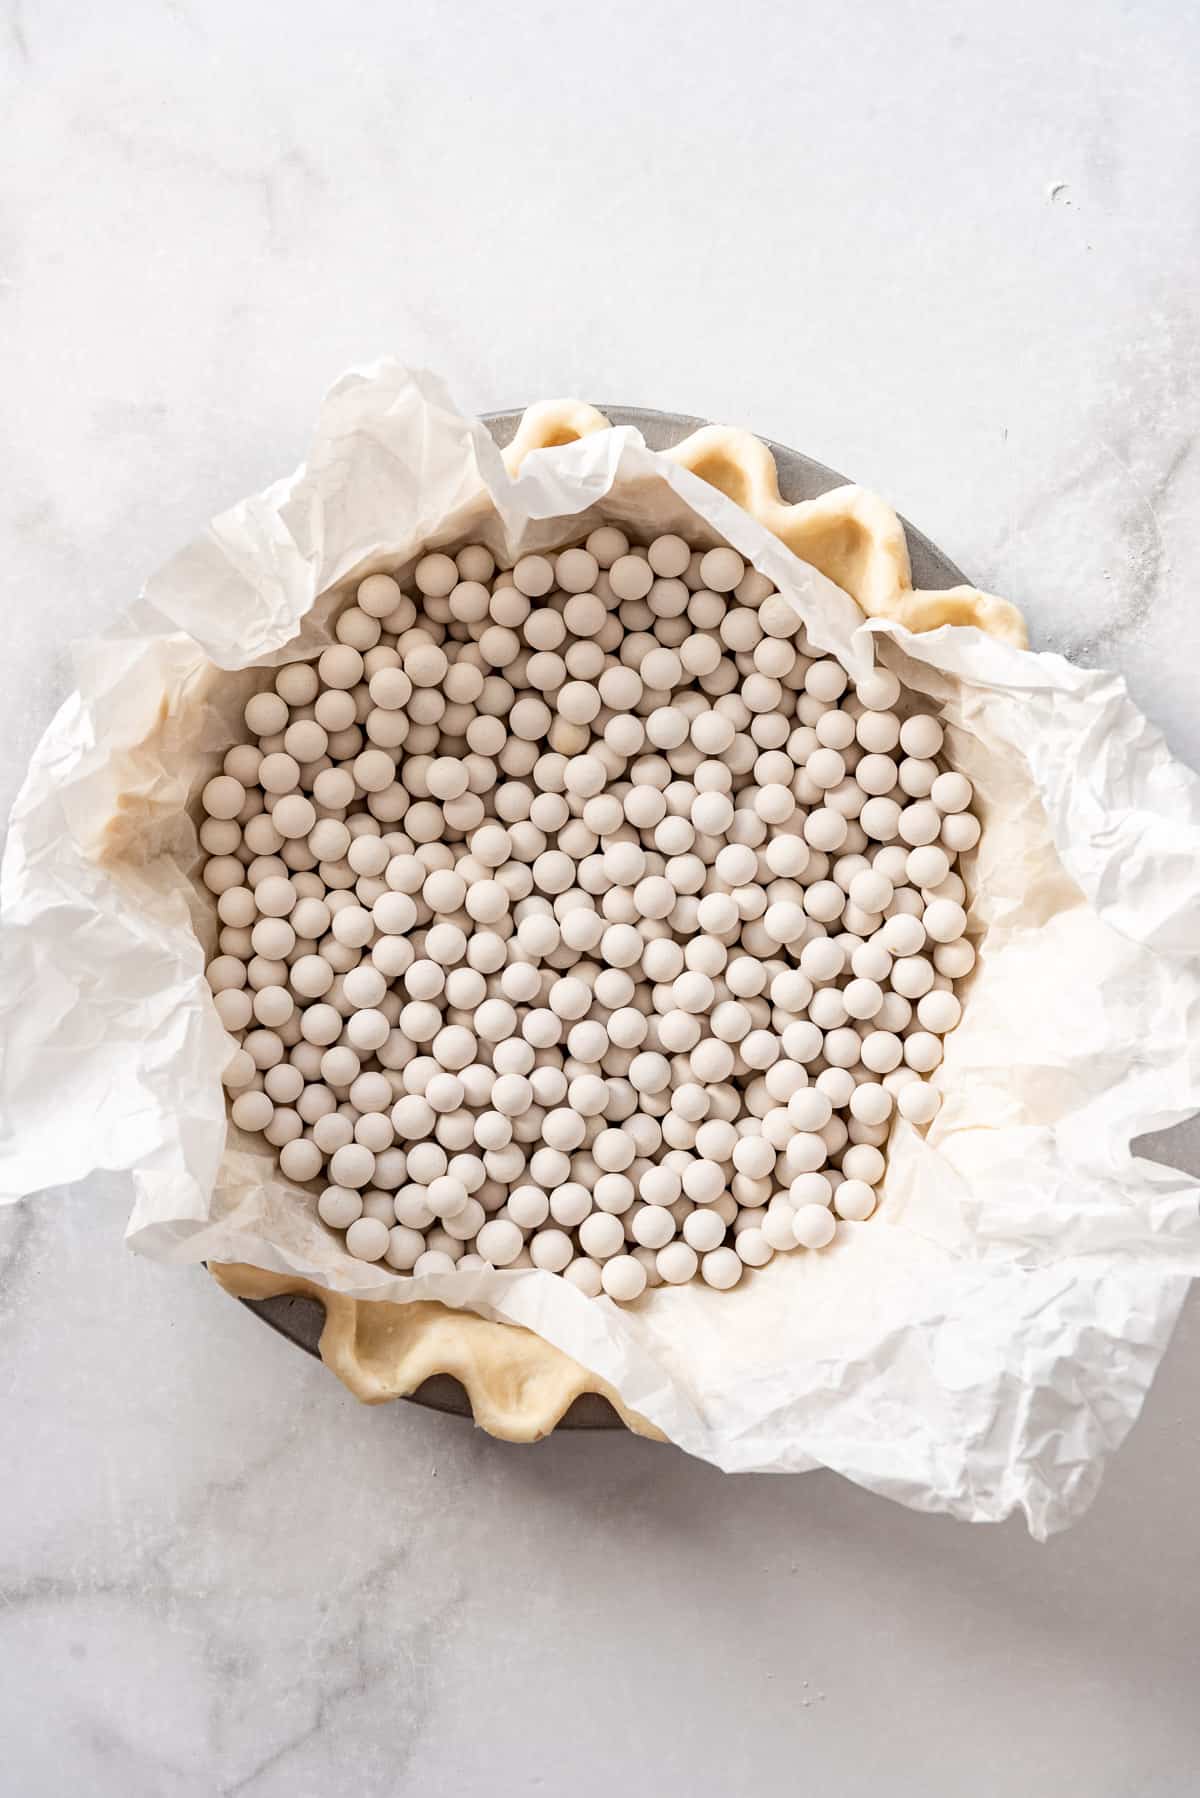
- Pie weights: These are small ceramic beads made specifically for weighing down pie crusts while blind-baking. I bought mine at a kitchen specialty store, but you can find them almost anywhere or order them online. You will probably need two packages of them to fill the pie crust completely.
- Dried beans: These are handy because they are so cheap and can be used over and over. I don’t recommend trying to cook with dried beans after using them as pie weights.
- Rice: This too is another inexpensive and convenient option. I don’t recommend trying to cook the rice after using it as a pie weight.
- Sugar: I actually like using sugar for my pie weight because I always have it on hand. Once the sugar cools, it can be reused in any recipe!
- Pennies: I’ve never actually tried this one but if you have a bunch of pennies in a jar somewhere might as well put them to good use.
How to Par-Bake Pie Crust
Many pie recipes call for a partially-baked or fully-baked pie crust, especially things like quiche, cream pies, pumpkin pies, or no-bake pies. If the filling either doesn’t need to be cooked or won’t take as long to cook through as the pie crust, chances are you will need to blind-bake your crust.
The only difference between a full-baked pie crust and a partially-baked pie crust is the amount of time that you cook it to achieve a certain degree of doneness.
Par-baking pie crust is used when you fill the pie crust and but return it to the oven to finish baking. I like it for my Indiana Sugar Cream Pie but you might also use it in quiche, pumpkin pie, or a pecan pie recipe where the filling is poured into an unbaked crust in order to ensure the crust fully cooks on the bottom, especially if you have had trouble with your bottom crust not cooking all the way in the past.
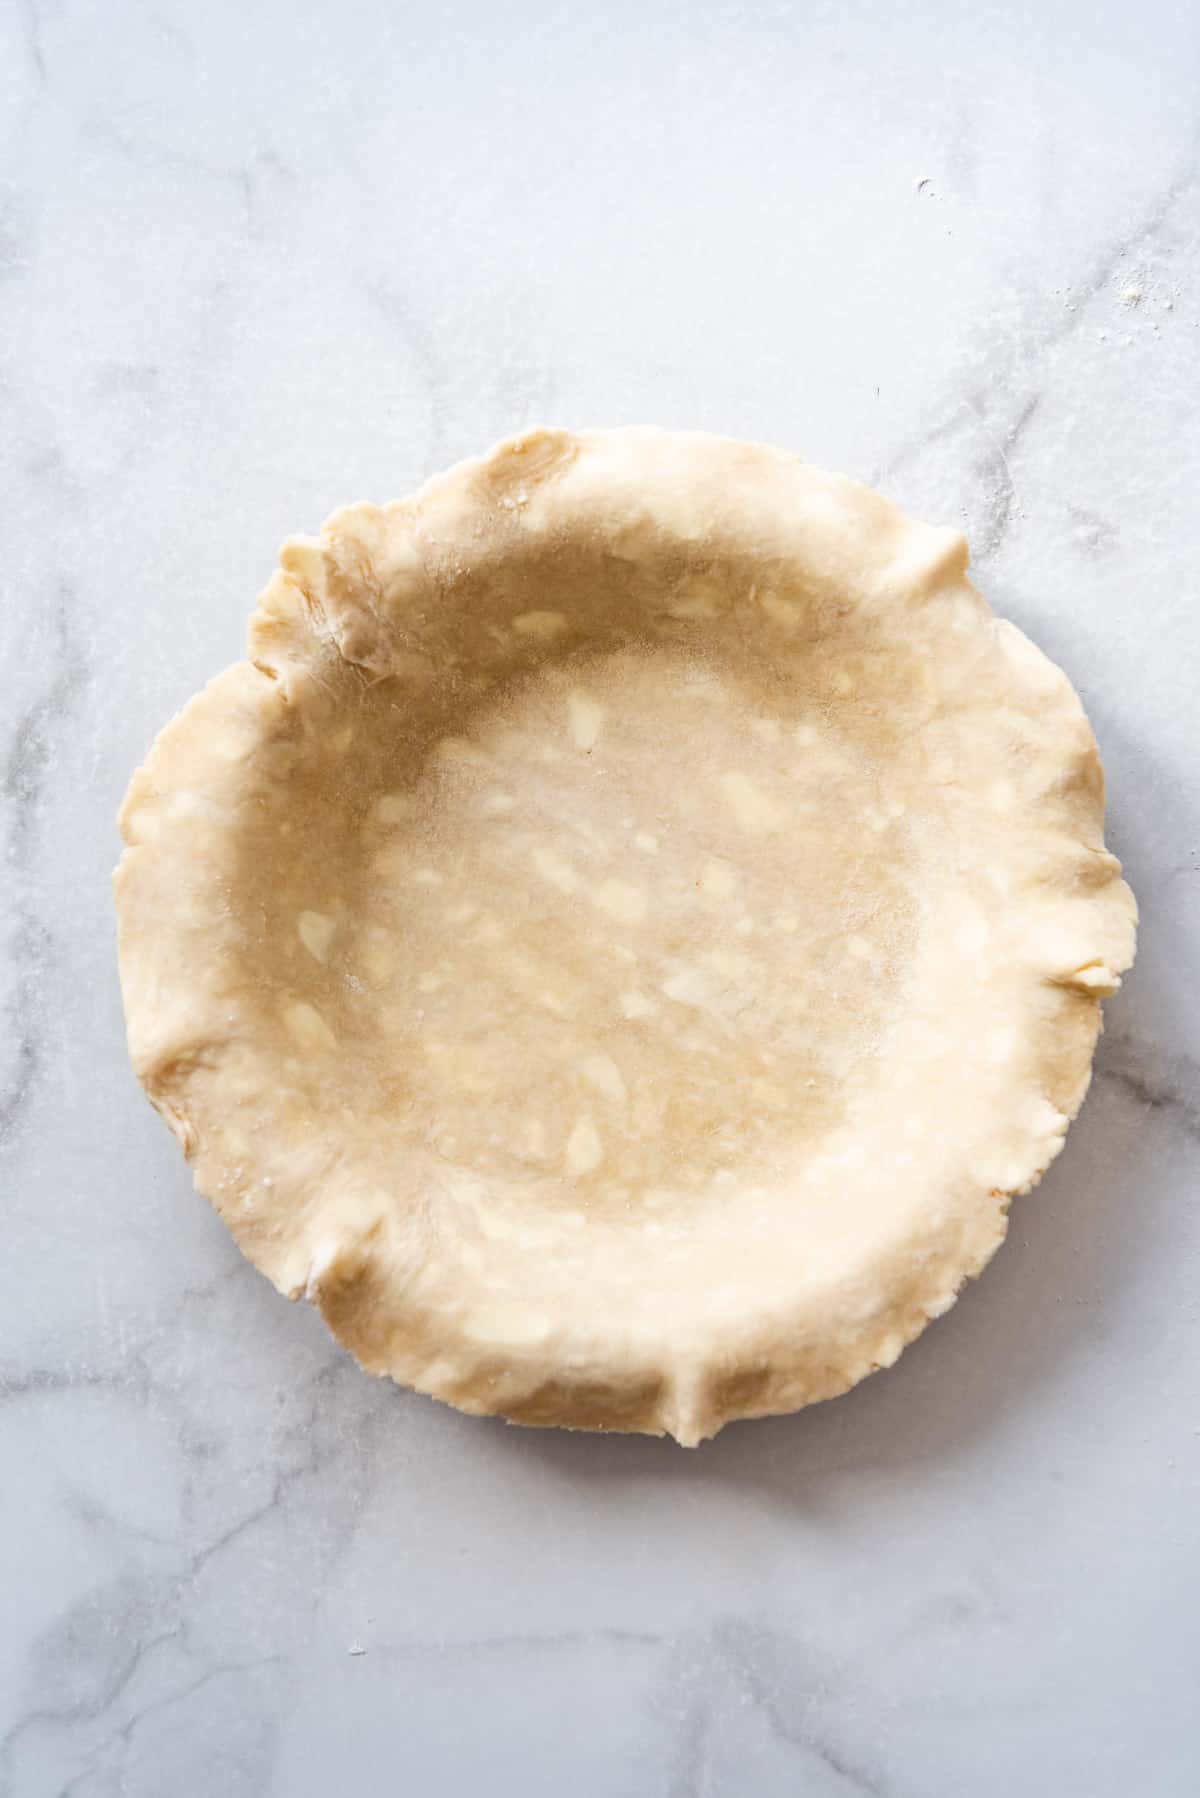
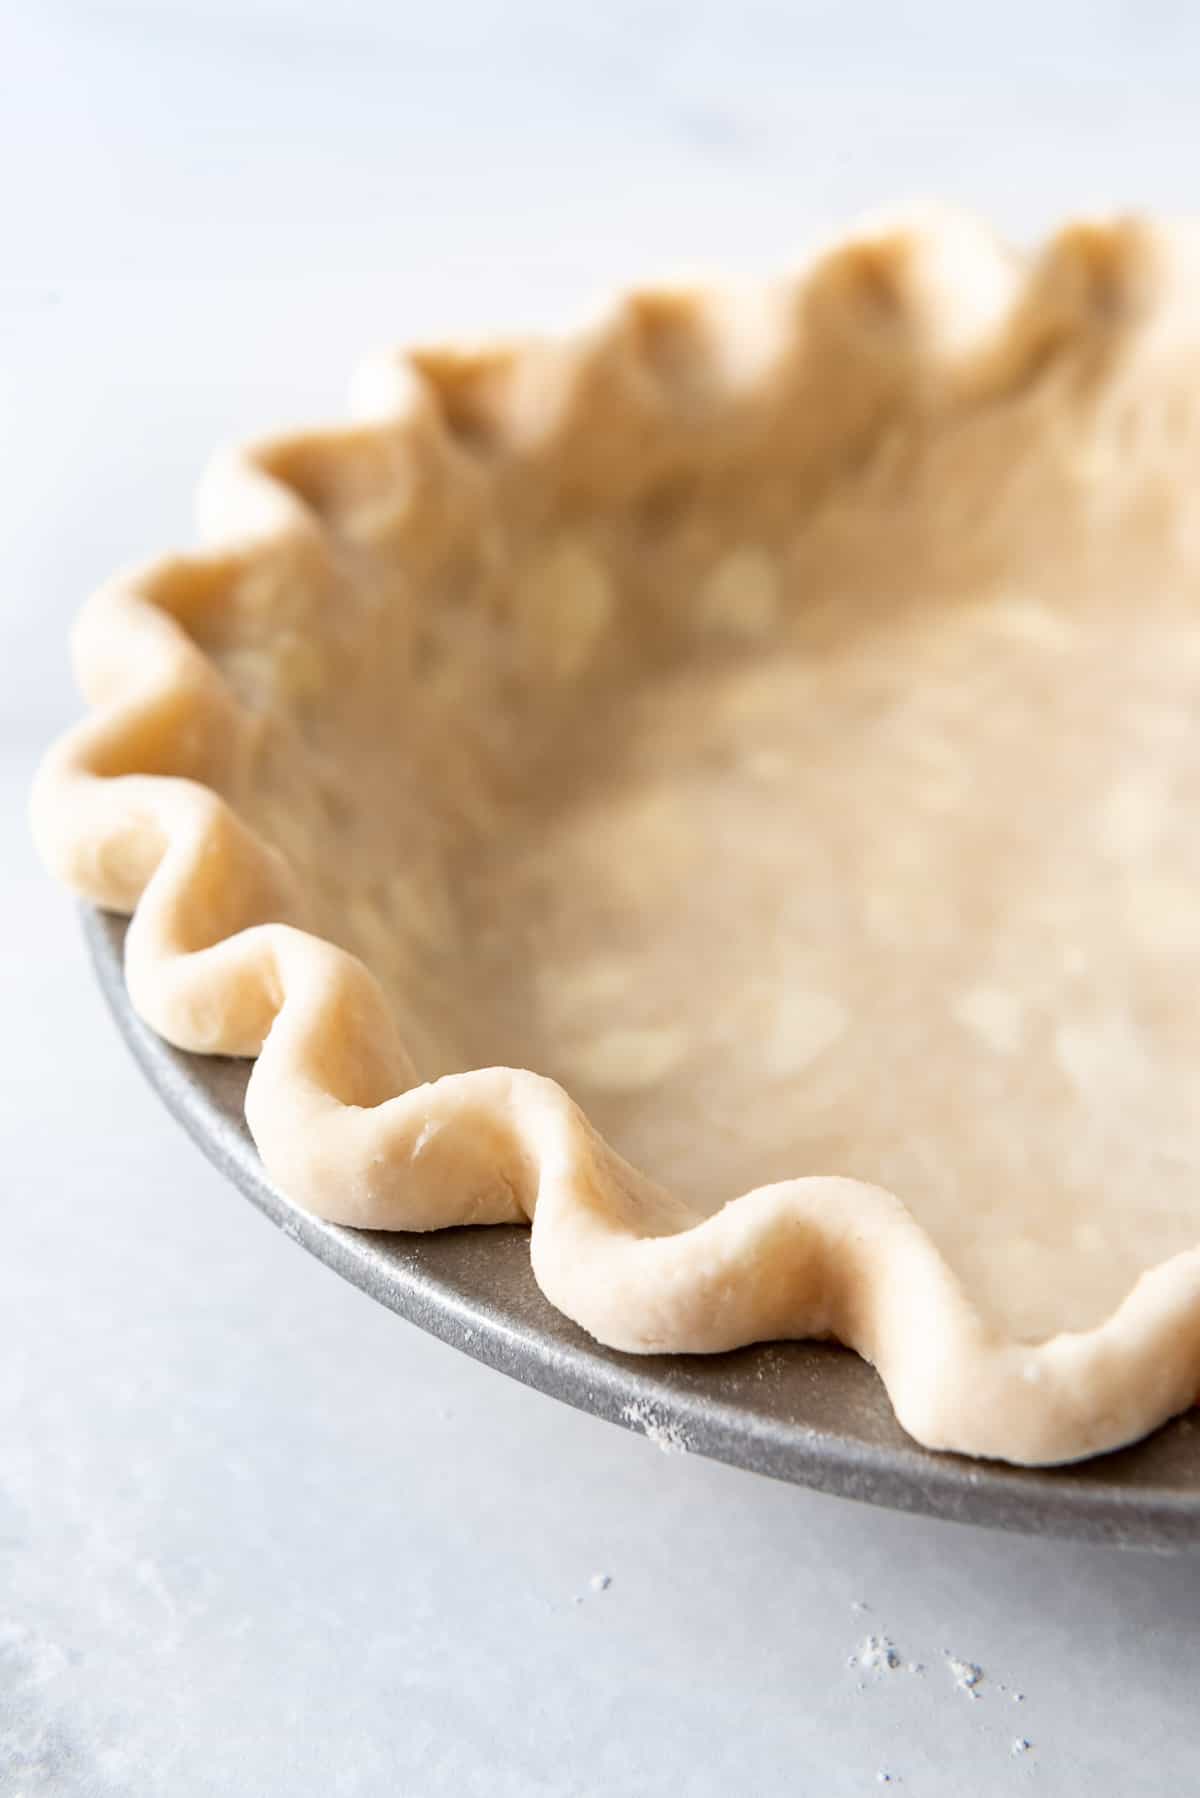
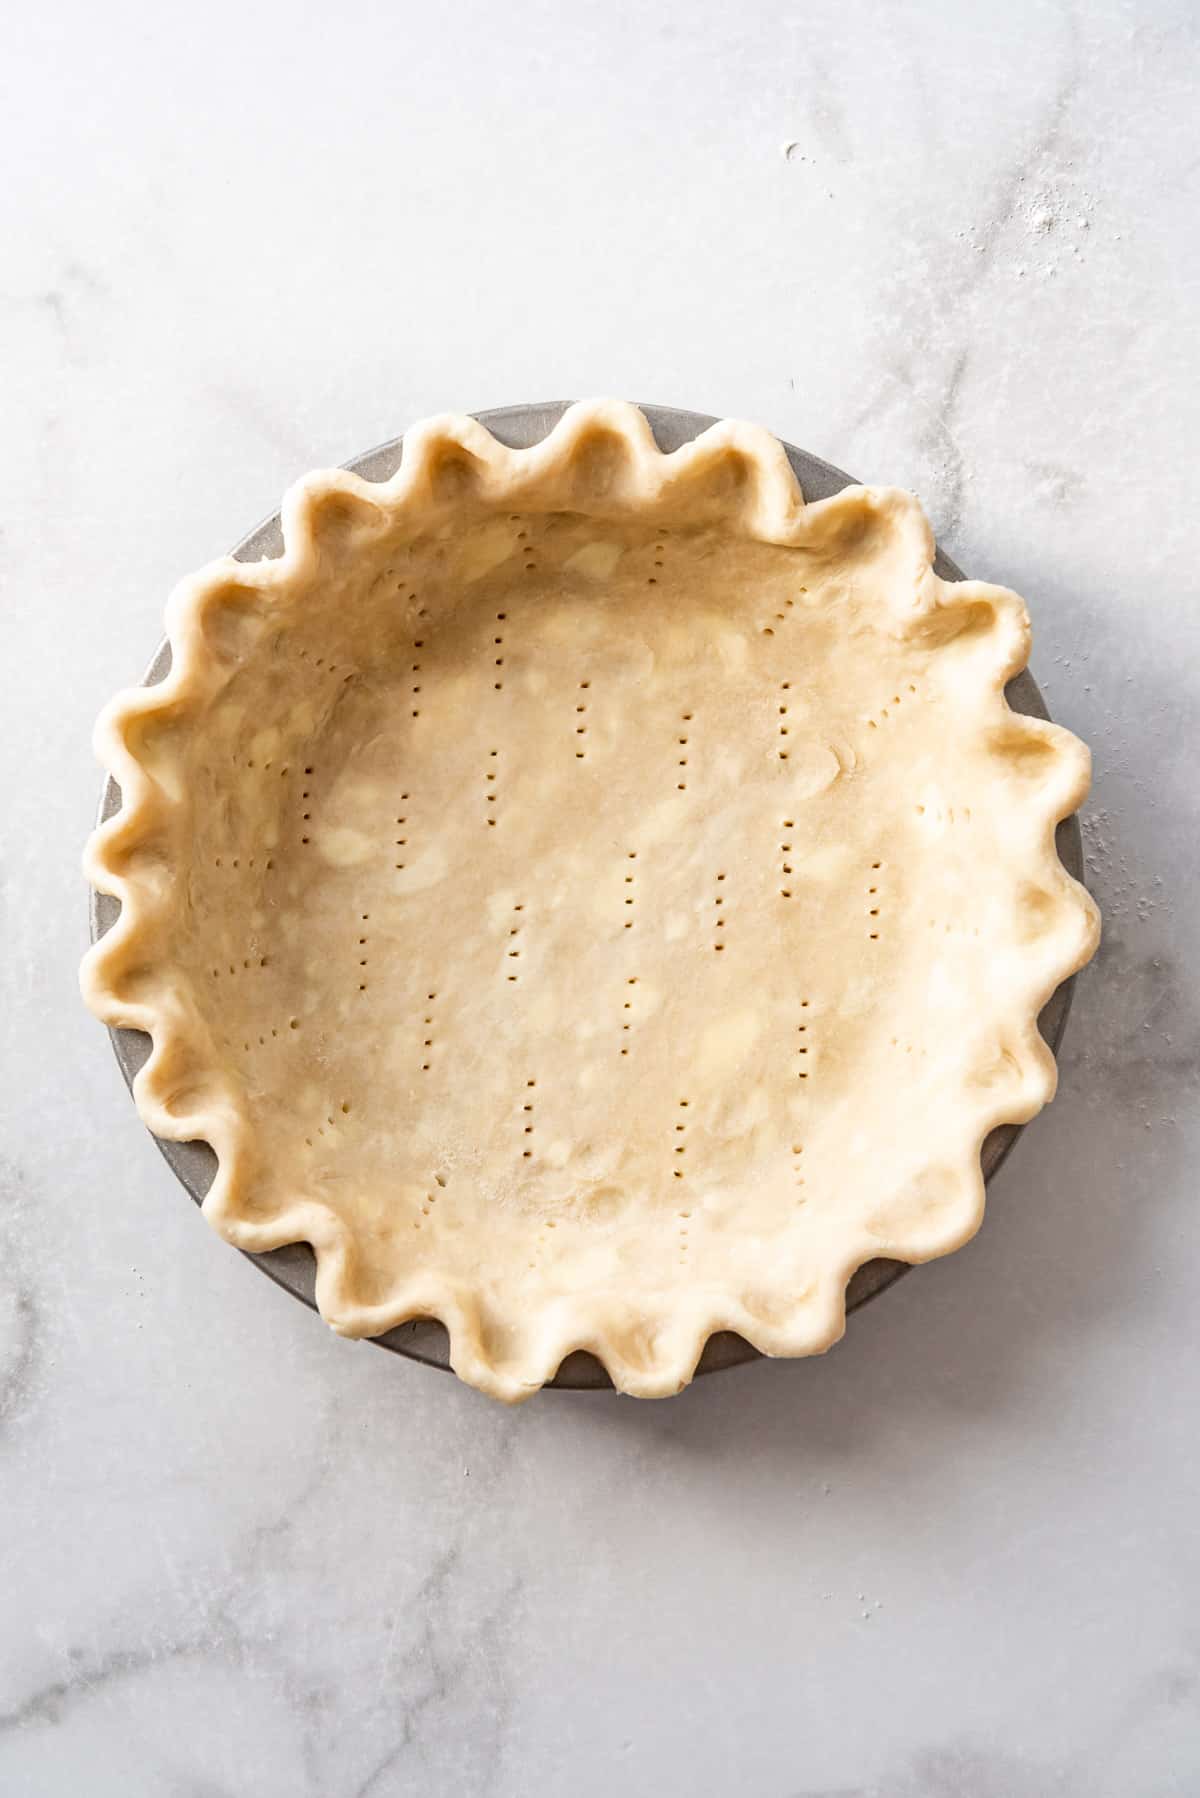
First, preheat your oven to 400 degrees F. Make your pie crust, roll it out, and transfer to your pie plate (affiliate link). Instead of trimming the edges, fold them under and crimp the edges for a decorative finish. I like to chill my pie in the freezer for 15-20 minutes before baking.
Next, crumple up a piece of parchment paper, then smooth it out and use it to line the pie crust. I’ve also hard that large coffee filters also work well to line the pie crust. Fill with pie weights spread into an even layer to cover the bottom and partway up the sides.
Bake for 15-17 minutes until the pie crust is starting to brown lightly around the edges. Remove it from the oven and carefully lift out the parchment paper lining with the pie weights. You will notice that the bottom of the crust is hardly baked at all since it has been weighed down.
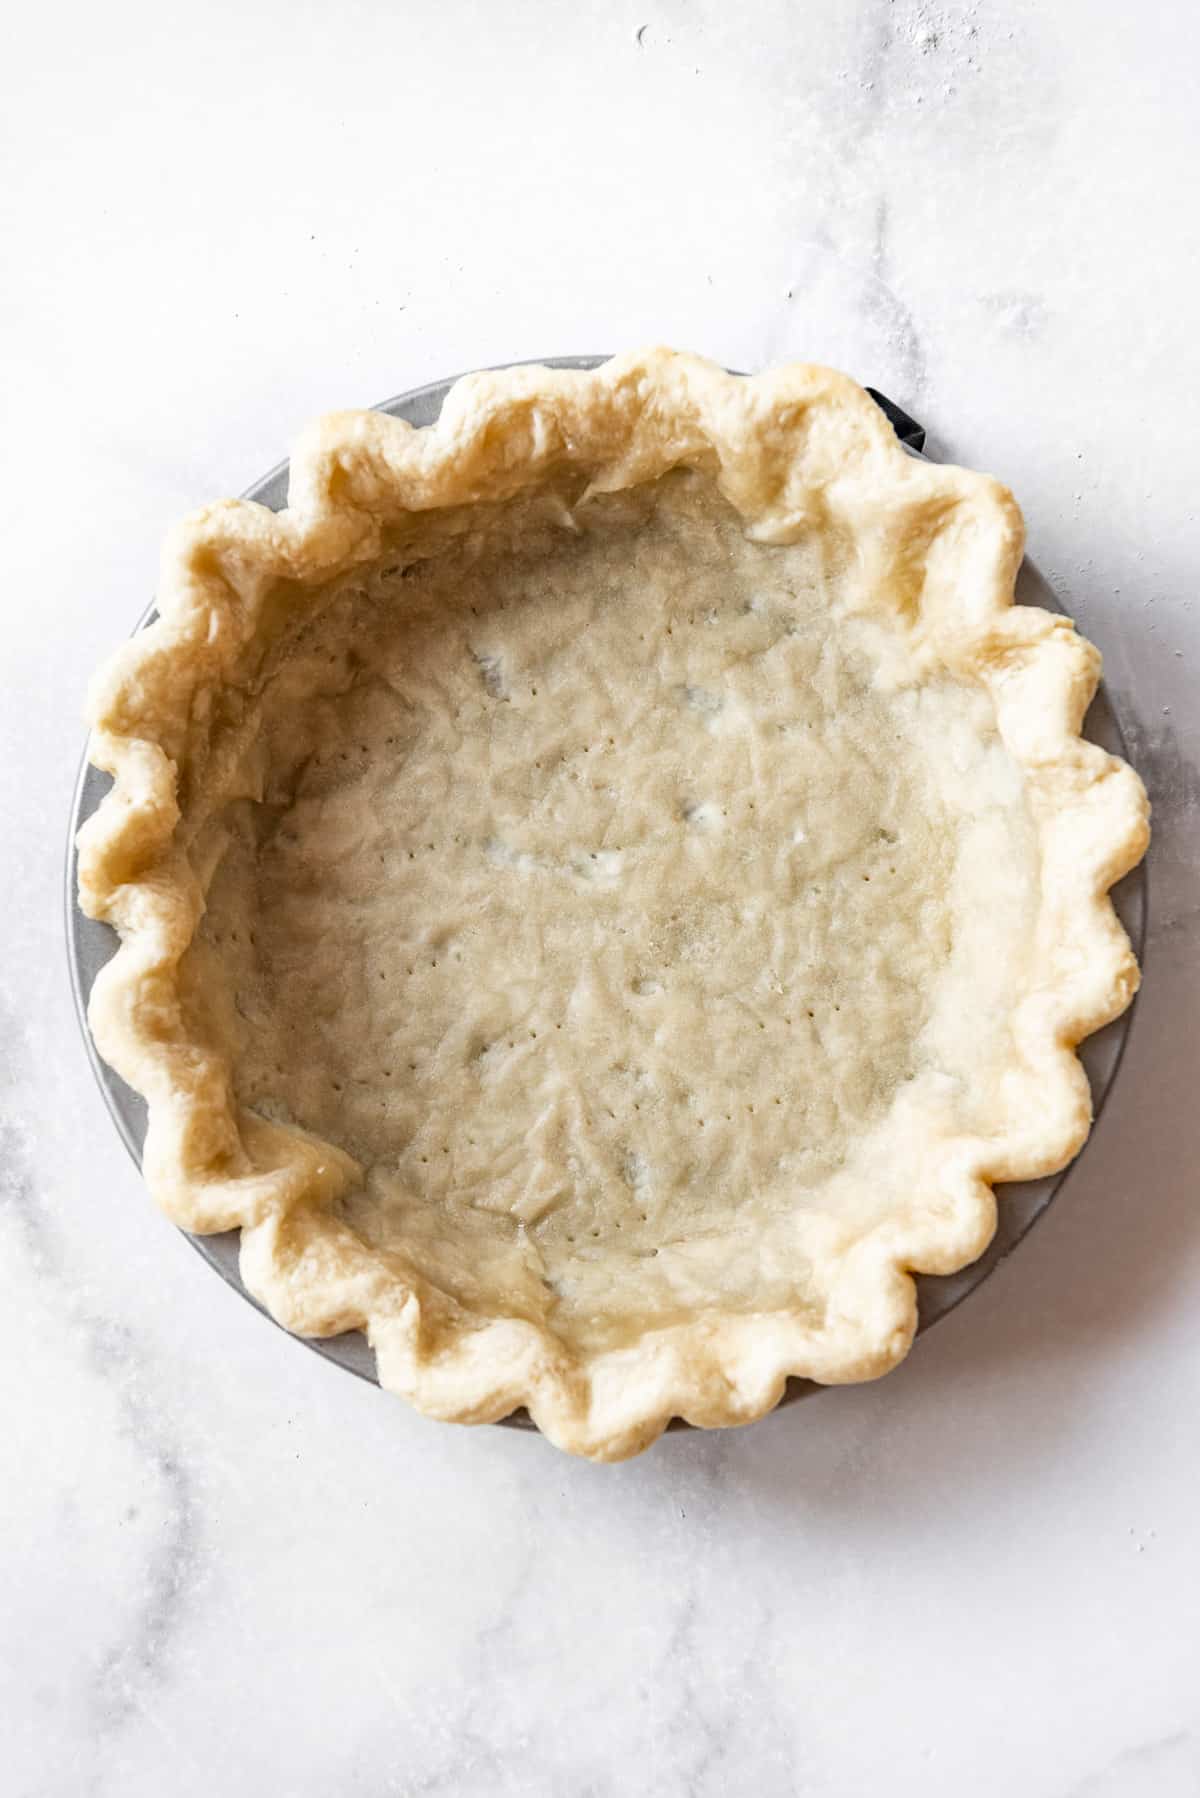
Dock the pie crust by poking it all over with a fork, then return it to the oven for another 7-8 minutes for a partially baked pie crust.
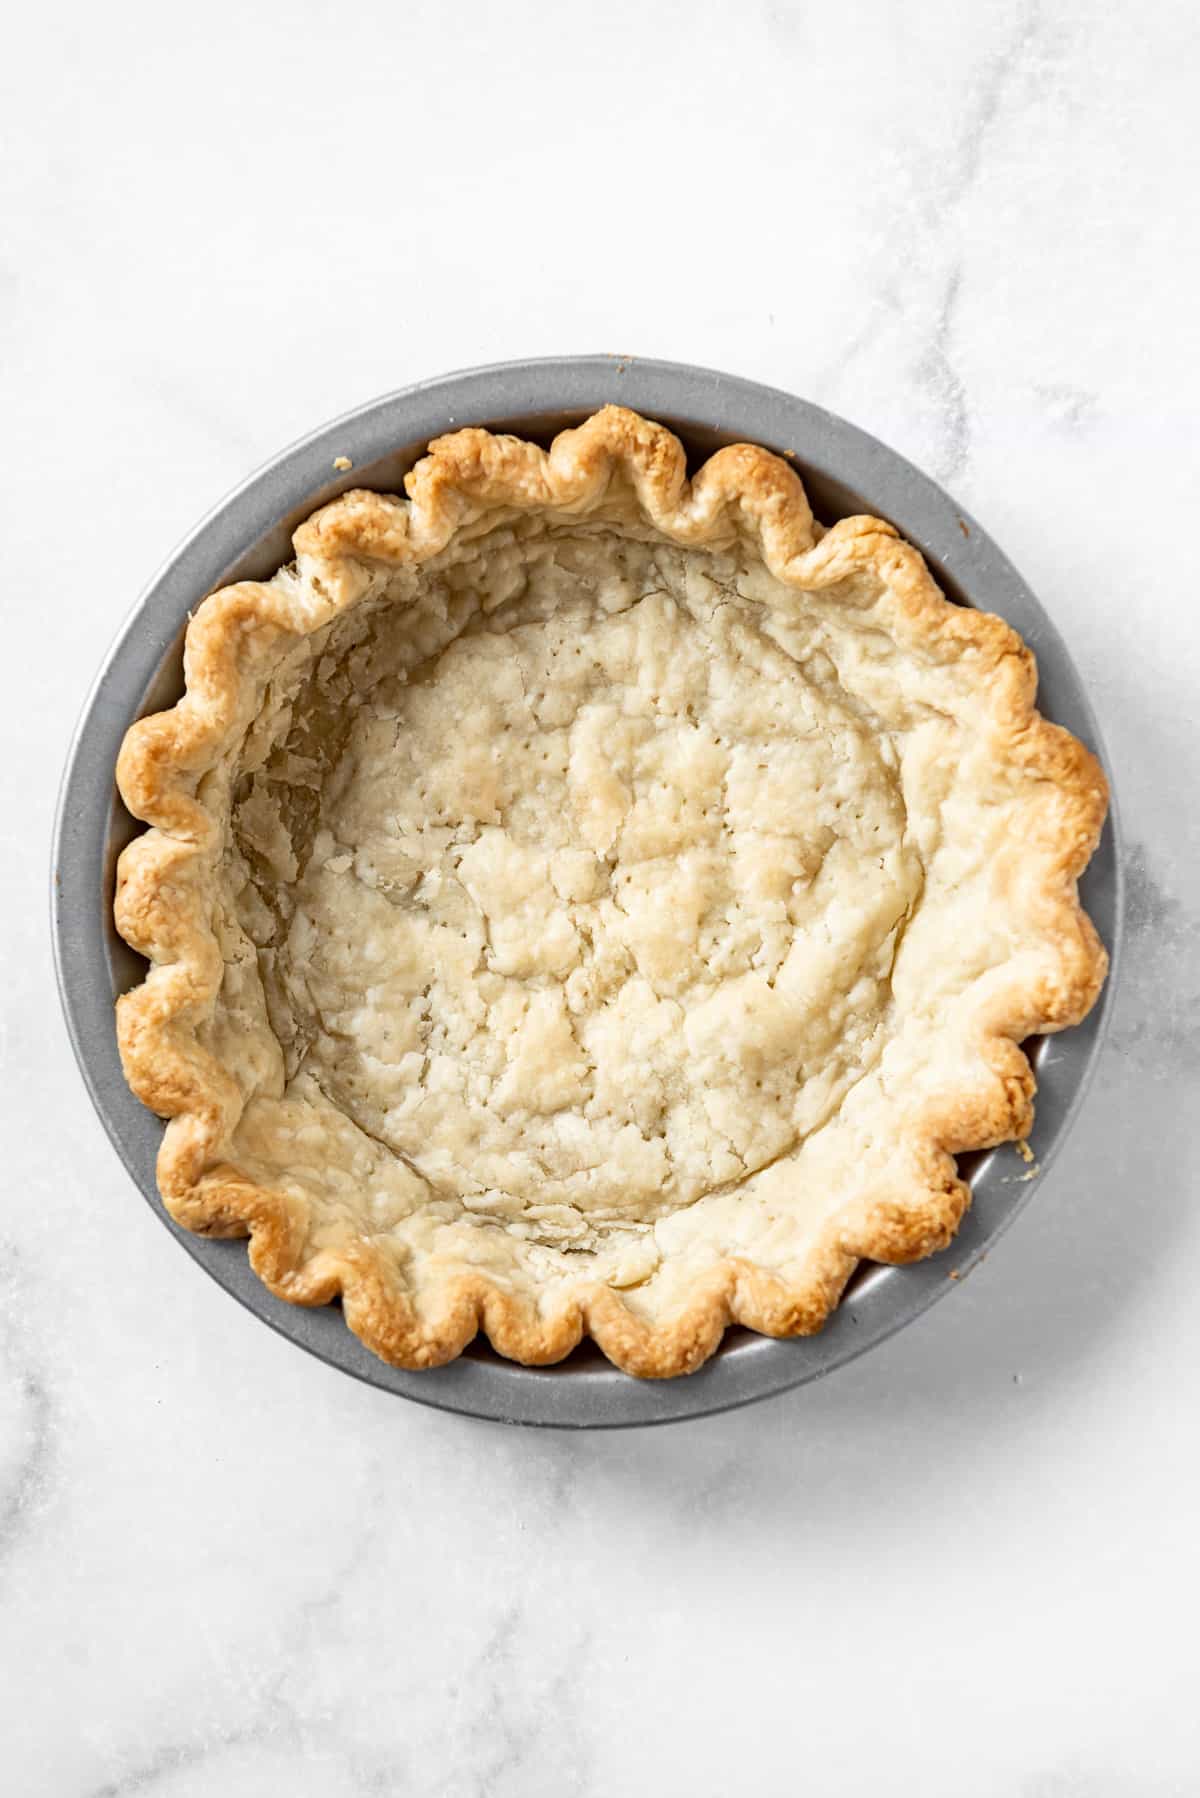
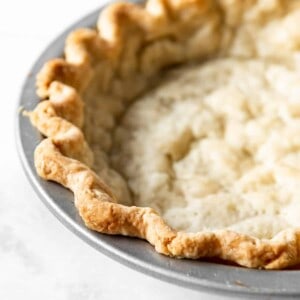
How to Make a Fully-Baked Pie Crust Shell
Everything is the same with this approach except you will want to bake your pie crust for another 15 minutes after docking and returning it to the oven until it is cooked through, golden brown, and crisp on the bottom. Just be careful not to overbake the crust, which can lead it to taking on a burned taste.
You will need a full-baked pie crust when you have a filling that doesn’t require baking like cream, custard, or no-bake pies. Pie recipes that call for a fully-baked crust include reader favorites like our Old-Fashioned Banana Cream Pie, Easy Coconut Cream Pie, French Silk Pie, and Lemon Meringue Pie.
How to Keep Pie Crust from Shrinking
Using pie weights and docking the pie crust will definitely help prevent your pie crust from puffing up or shrinking. But the other thing you can do is to chill your pie crust first by sticking it in the freezer for 15-20 minutes.
Also, make sure not to remove the pie weights too early. If the crust hasn’t baked long enough, it will still shrink once you remove the pie weights, even with docking the crust. In this case, I recommend baking it a little longer on the initial bake before removing the weights.
My last suggestion is to make sure that your edge crust isn’t too thin. Instead of trimming the edges, I always roll my pie crust a bit larger than the pie plate (affiliate link) and tuck the edges under, creating a double-thickness around the edge of the shell. This helps the crust hold it’s shape better while baking and cuts down on a lot of the shrinking.
How to Dock Pie Crust
“Docking” a pie crust is just a fancy term for pricking it all over with a fork. The idea behind it is that it allows some of the steam to escape without the crust puffing up as much.
I always dock my pie crust when blind-baking and I usually do it before adding the pie weights. But if you prefer, you can wait to dock the crust until after the initial bake once you remove the pie weights.
Recipe FAQ’s
I frequently will bake my pie crust the day before I plan to fill them. It can be stored on the counter overnight before filling the next day.
Pie crust dough freezes really well. You can freeze it as a disc, then thaw and roll out as needed. Or you can roll it out, line your pie plate, and freeze so it’s ready to go whenever you need one. Wrap the unbaked pie crust in plastic wrap after it has frozen for 60 minutes to protect it, then thaw in the fridge for overnight or on the counter for 45-60 minutes before baking like normal.
More Pie Recipes


Did you make this recipe?
Let me know what you thought with a comment and rating below. You can also take a picture and tag me on Instagram @houseofnasheats or share it on the Pinterest pin so I can see.
How to Blind Bake Pie Crust
Ingredients
- 1 Homemade Pie Crust (recipe makes 2 crusts)
Instructions
- Make the pie crust recipe. Divide into two discs and chill or freeze until ready to use.1 Homemade Pie Crust
- Roll out the chilled pie crust on a floured surface. Carefully transfer it to a 9-inch pie plate (affiliate link). Tuck edges under and crimp using your thumb and forefinger or other preferred method.
- Chill for 15-20 minutes in the freezer. This helps set the crust and prevents it from shrinking as much. Preheat oven to 375 degrees F while the crust is chilling.
- Line the chilled pie crust with parchment paper that you first crumple up then smooth out. Fill with pie weights, then bake for 15-17 minutes until the edges are starting to brown.
- Remove the pie from the oven and carefully lift out the pie weights using the parchment paper as a sling. Dock the crust by pricking it several times on the bottom and sides.
- Return the crust to the oven and bake for another 7-8 minutes for a partially baked crust or for 15 minutes until golden brown for a fully-baked crust.
- Cool completely before filling.
Notes
- Freezing: You can freeze an unbaked pie crust for 30-60 minutes, then wrap the crust in plastic wrap and freeze for up to 3 months to always have a crust on hand that is ready to bake. Let the crust thaw for a few hours in the fridge before baking.
- Make-ahead: I frequently will bake my pie crust the day before I plan to fill them. It can be stored on the counter overnight before filling the next day.


This tutorial was so helpful! I was looking for instructions par-baked pie crust, so glad you have this post!
I am so bad about baking crust. Thanks for this tutorial. I used it with a pie I made for Thanksgiving, and for once, I thought the crust came out perfectly!
I loved reading this information. I’d never heard docking, and your fluting is perfect!
Sooo helpful! Did this for Thanksgiving and my pies came out great!