
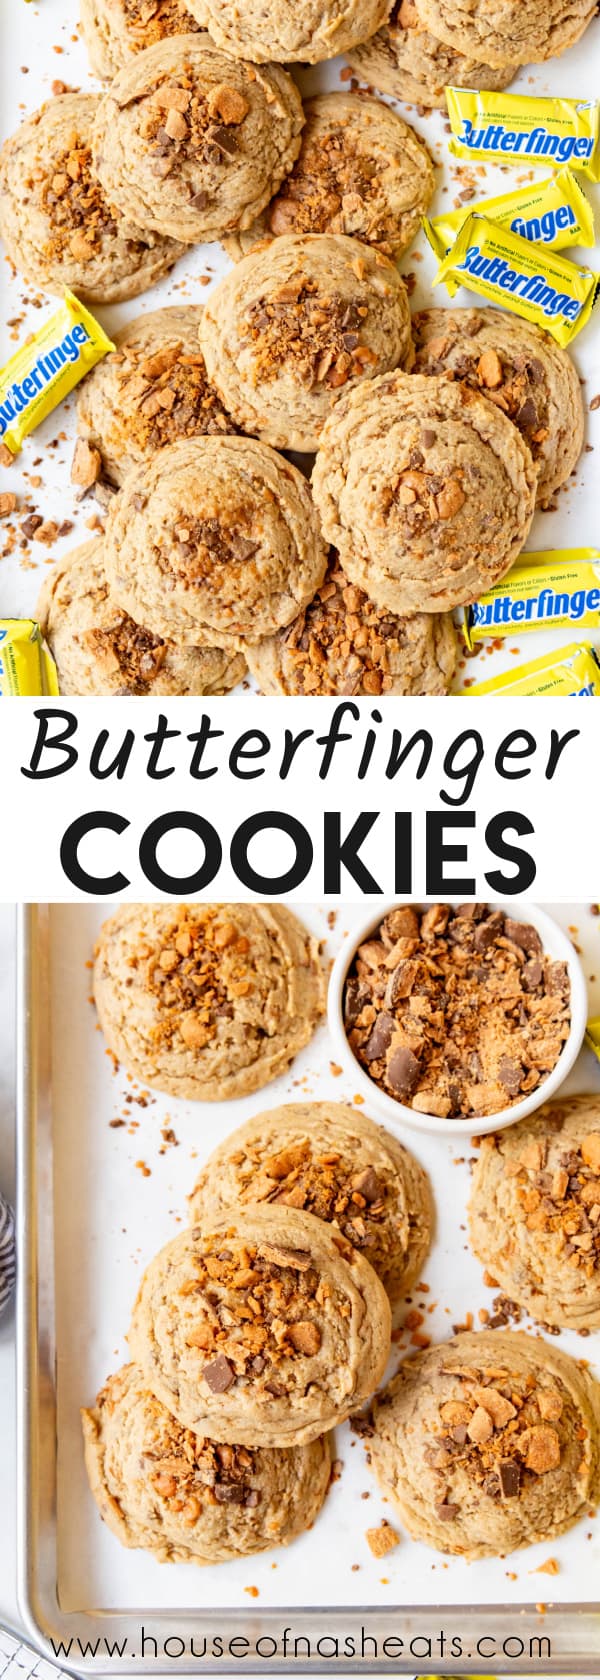
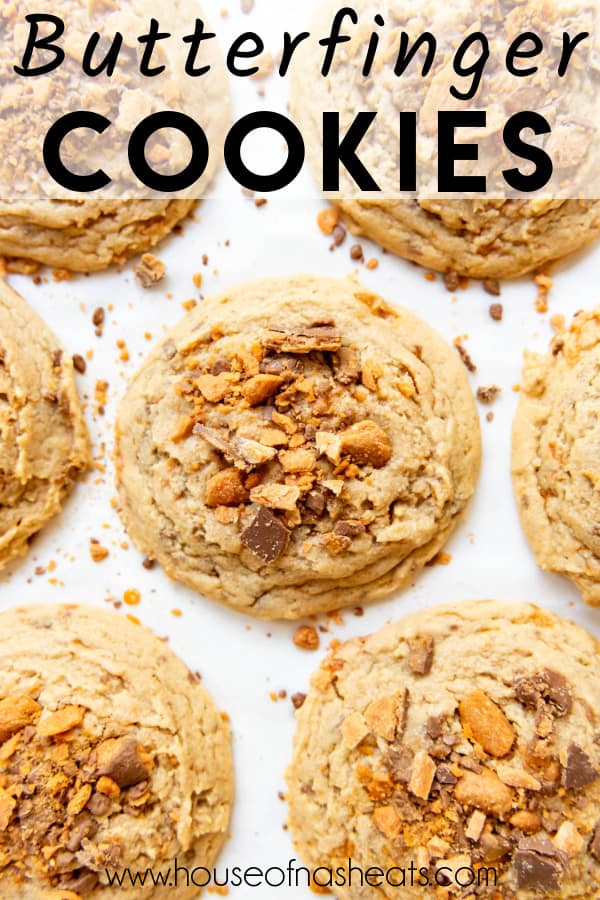
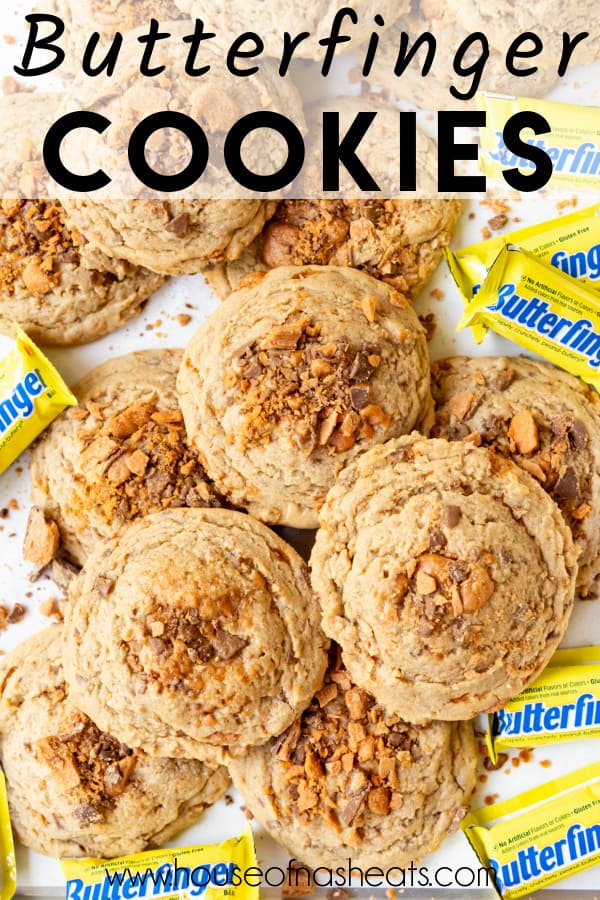
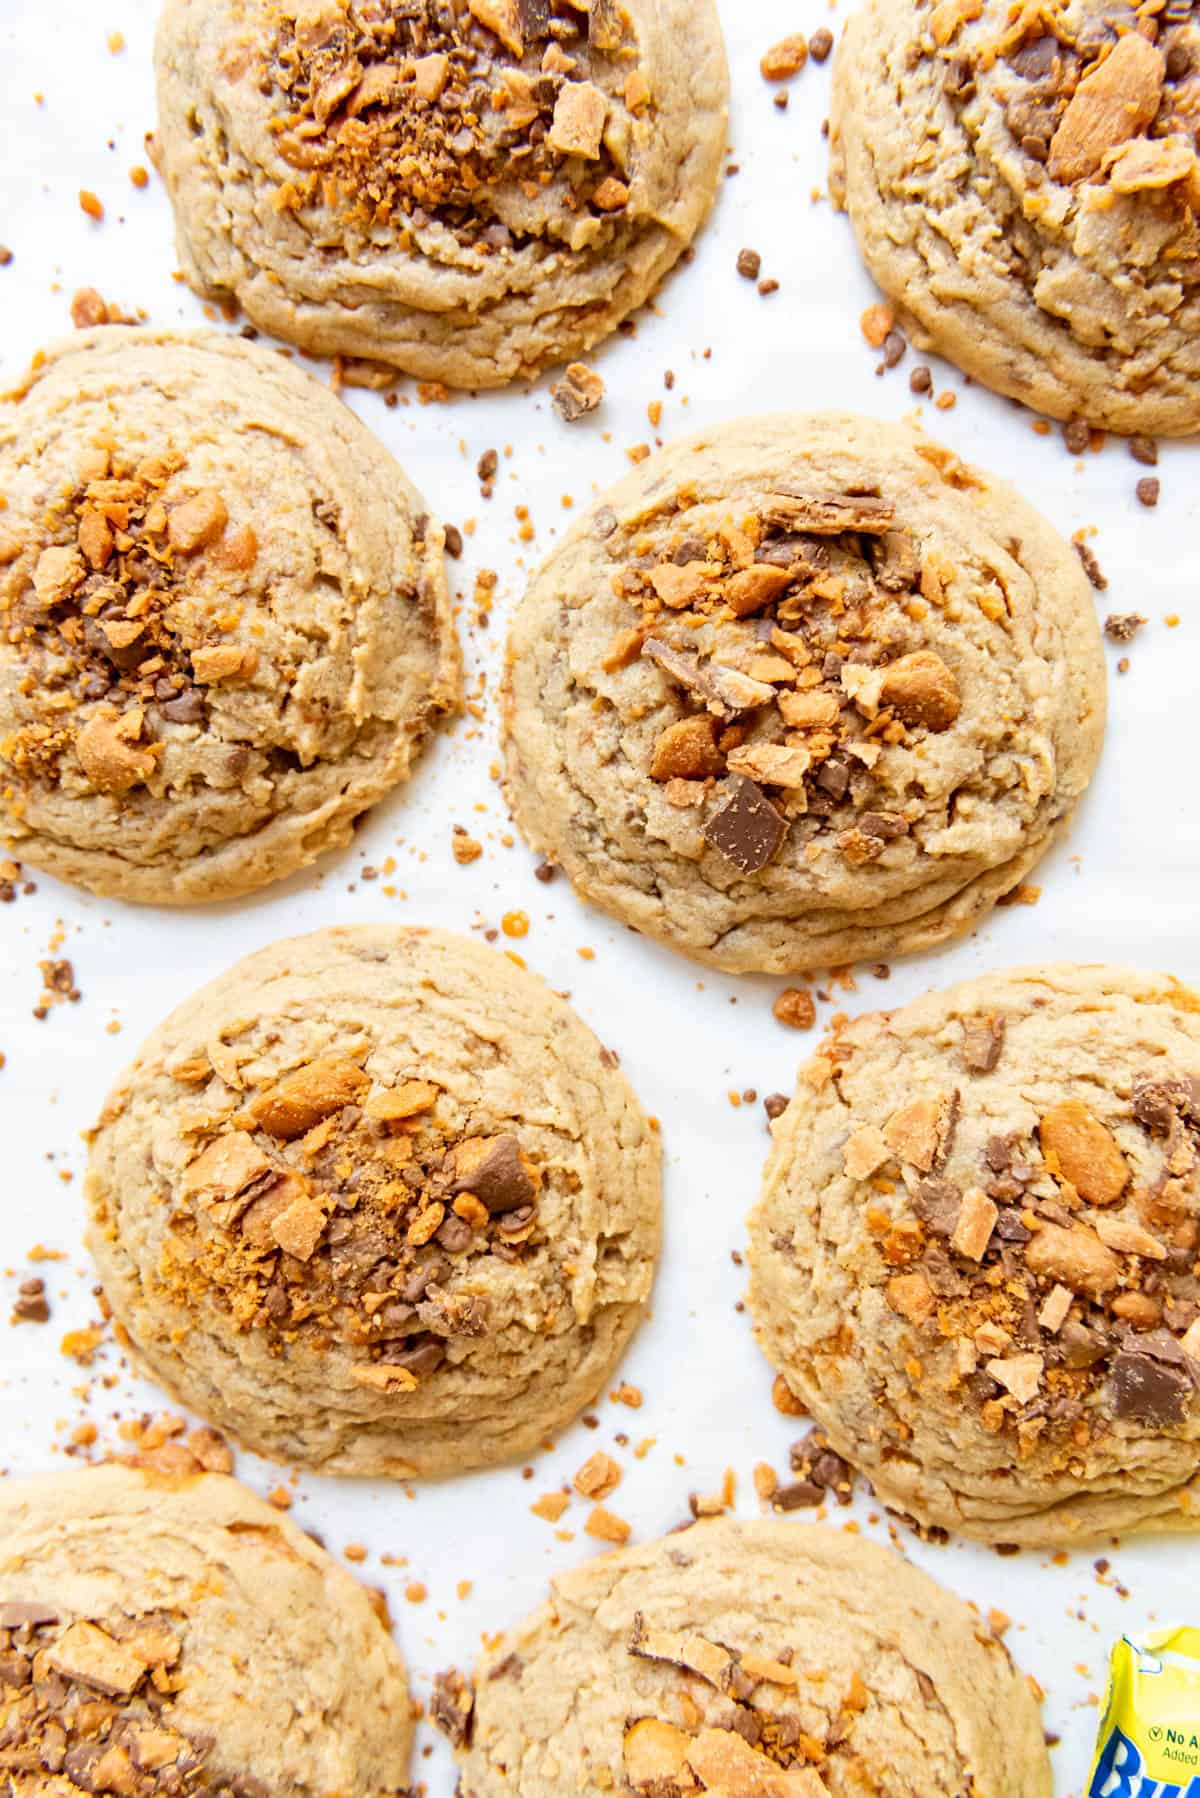
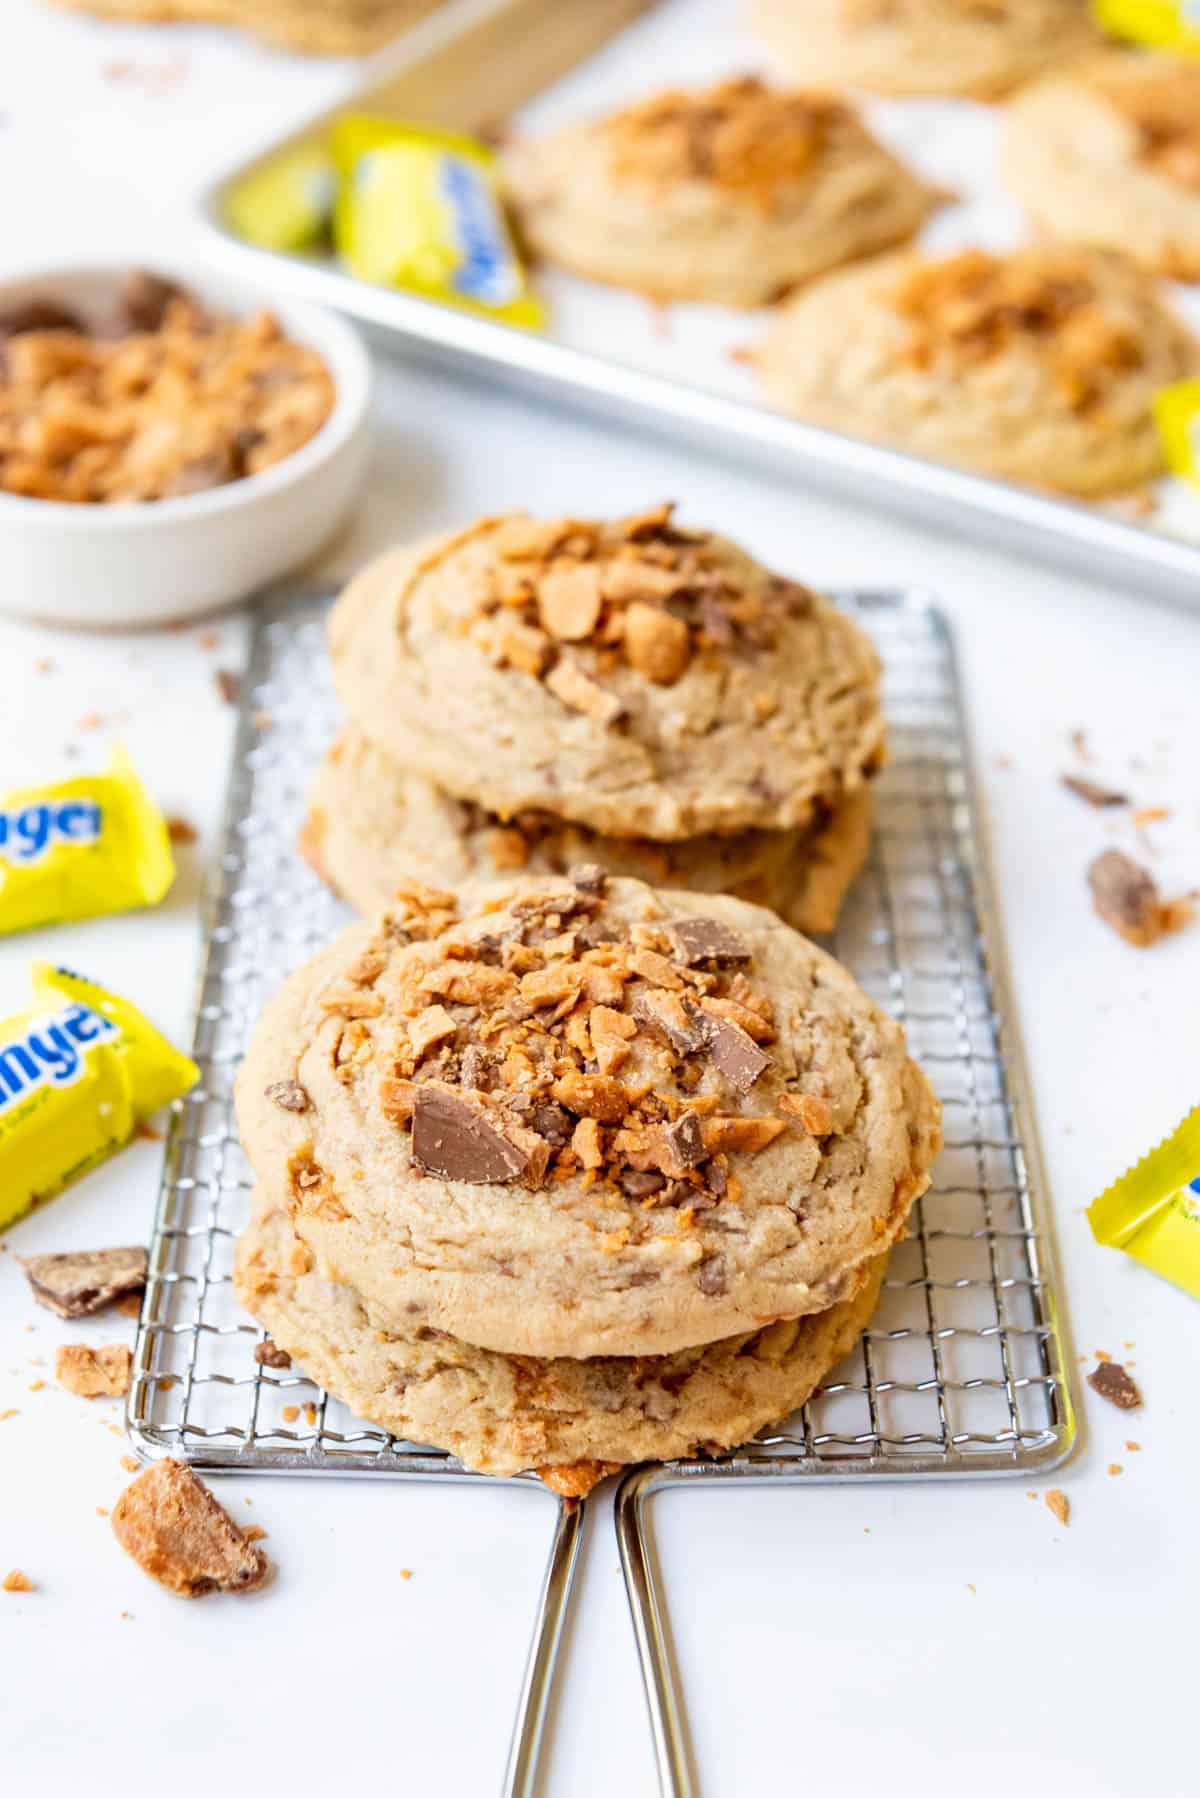
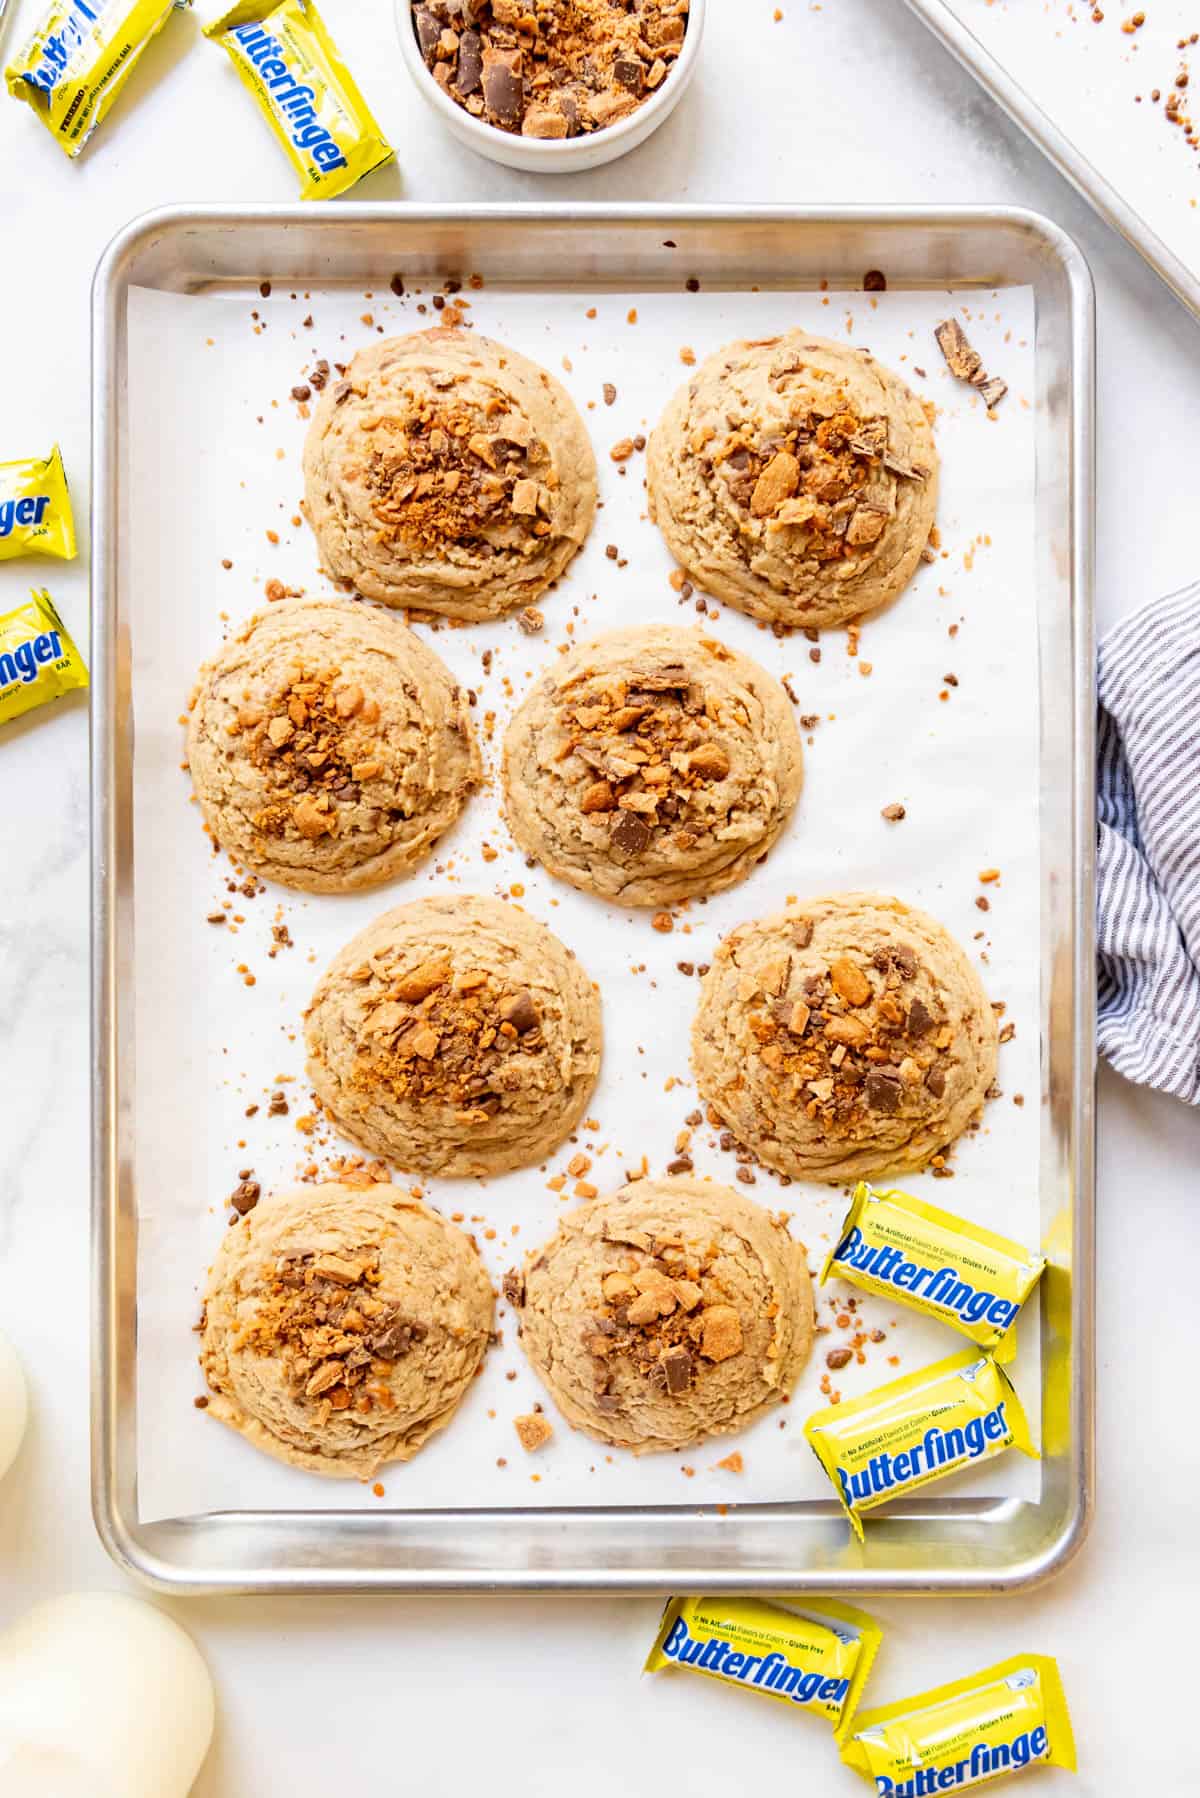
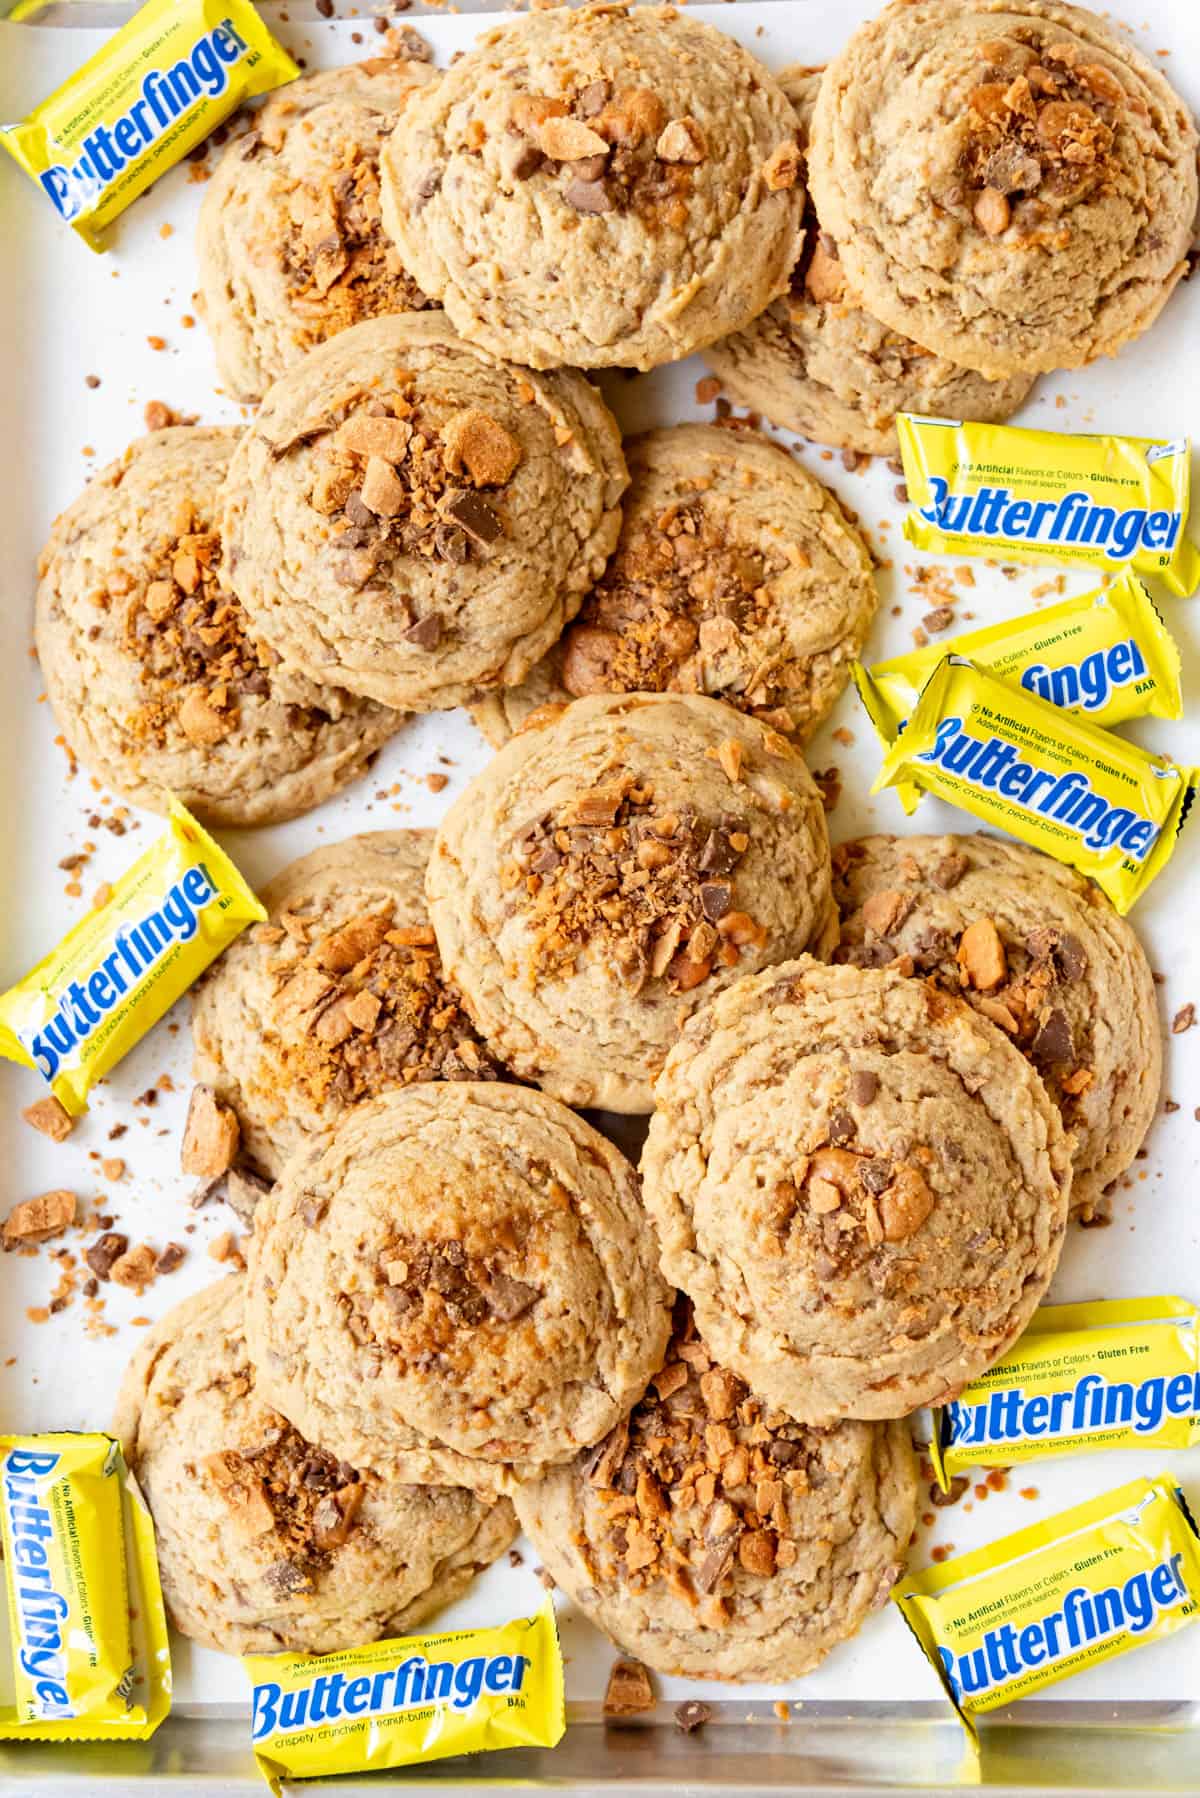
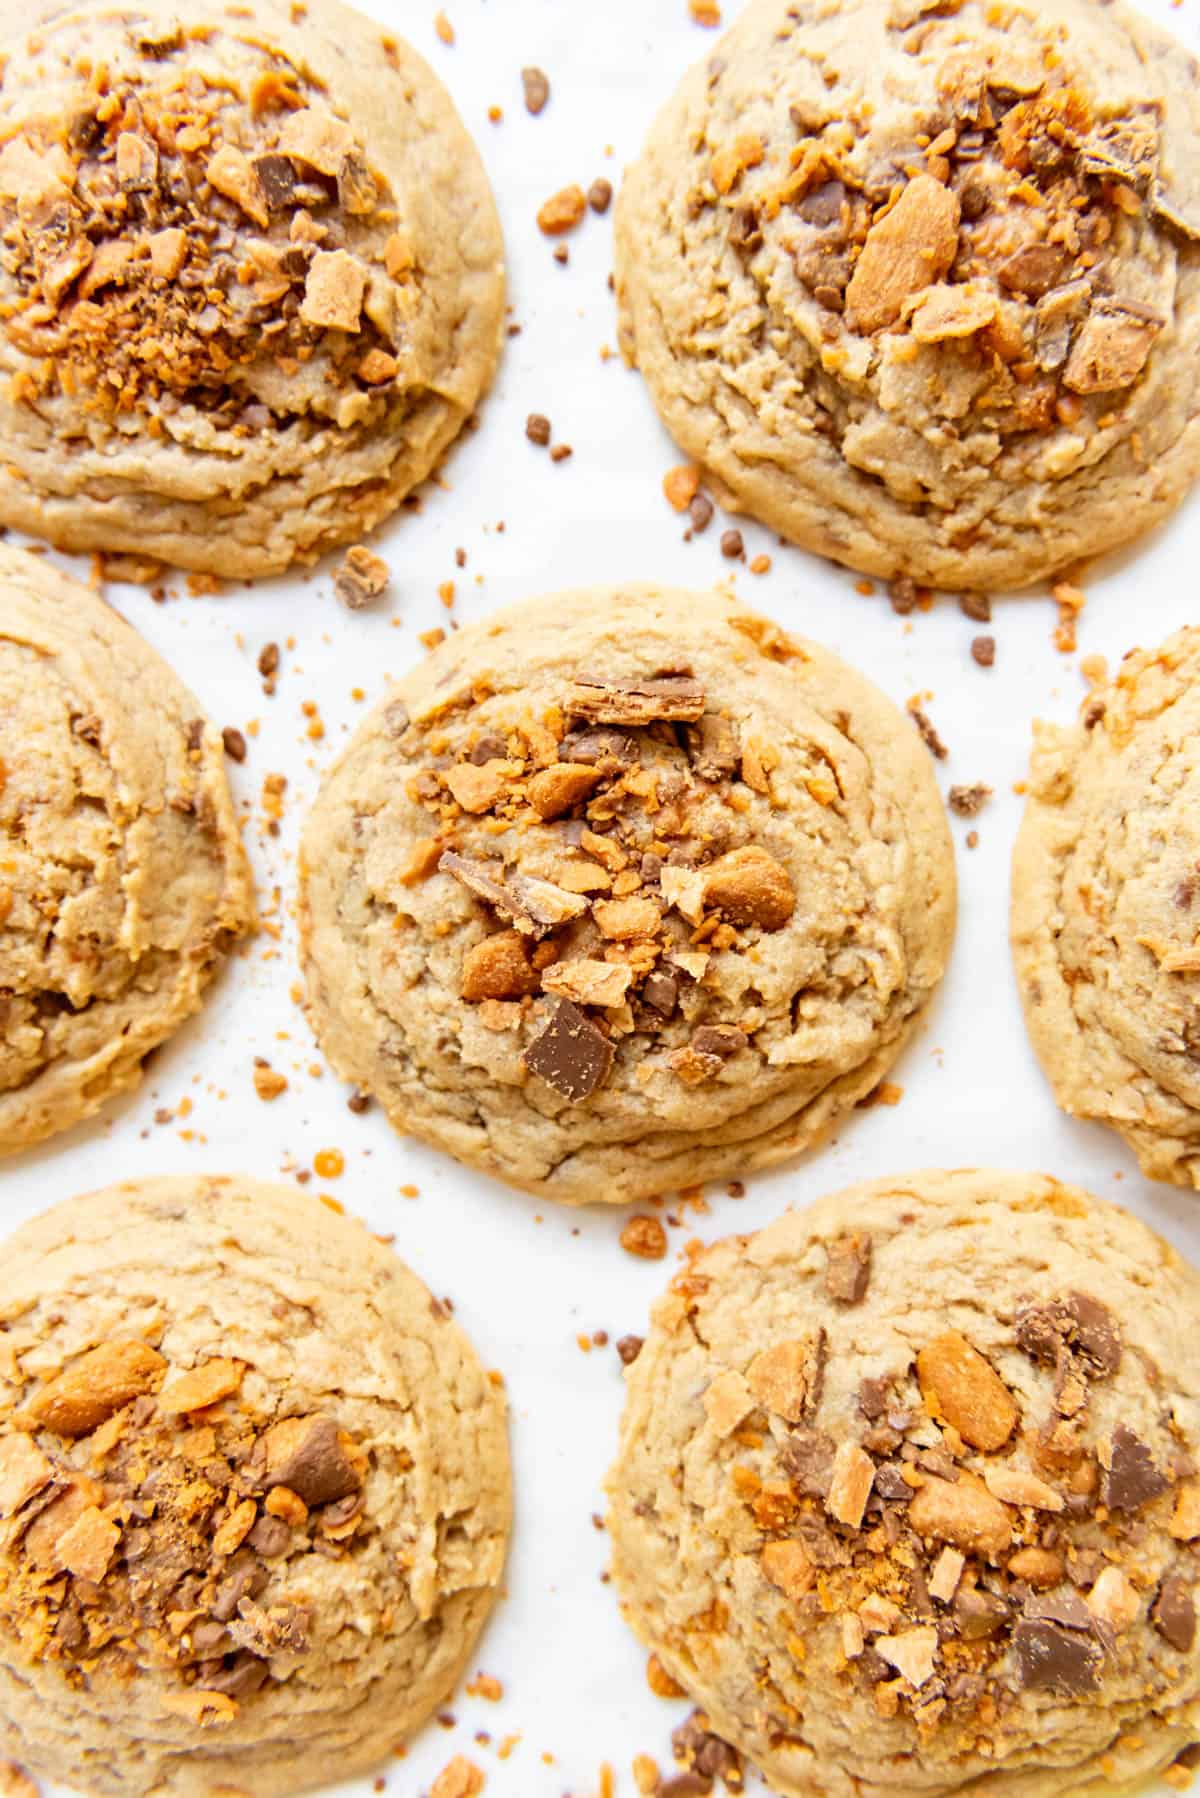
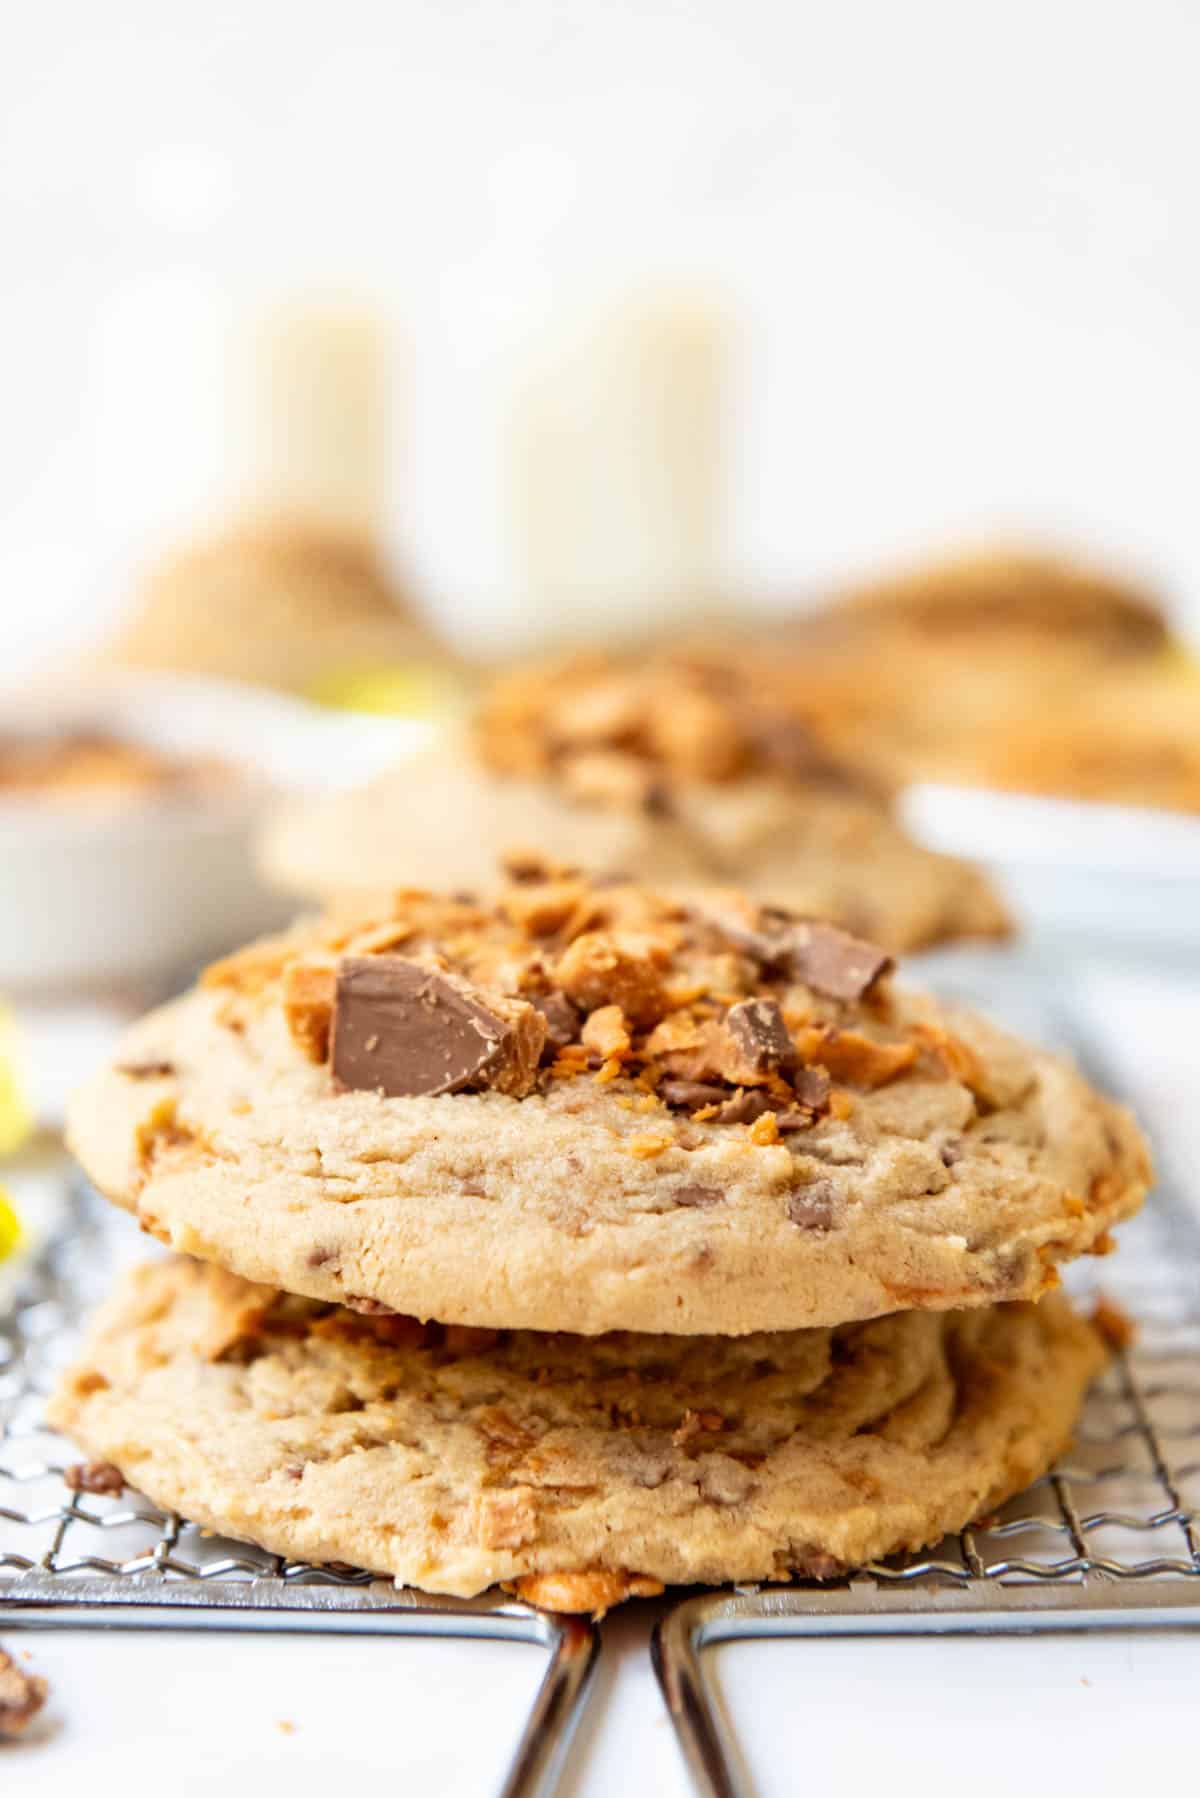
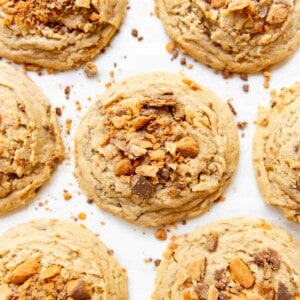
Packed and topped with the infamous, delicious, crispety, crunchety, peanut-buttery candy bars, these chewy Butterfinger Cookies are always a huge hit whenever we make them! They are the perfect sweet treat for any occasion, from birthday parties to movie nights or just some after-school snacking!
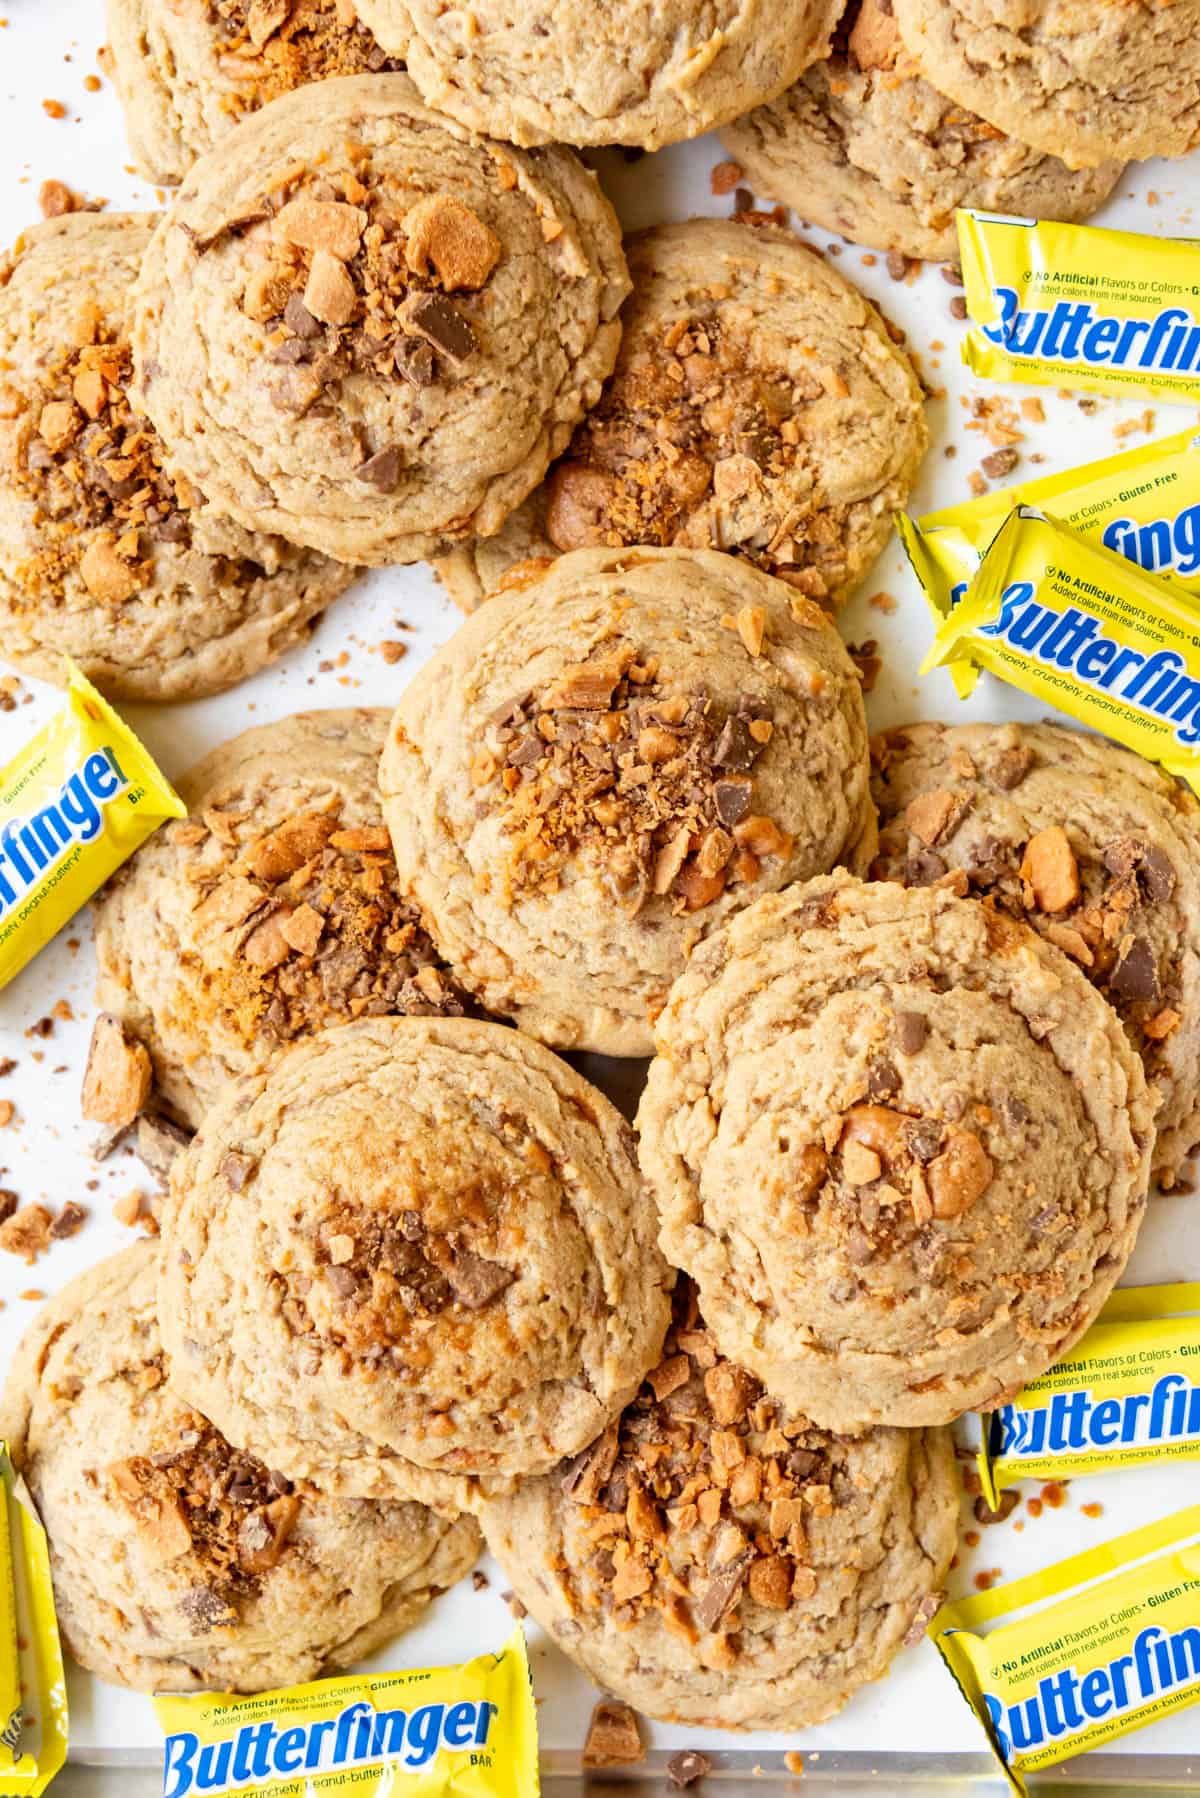
Table of Contents
These peanut butter Butterfinger Cookies are the best thing to happen to Butterfinger Bars since they were first created in 1923! High praise, I know, but 100 years on, I’m so glad these cookies are in my life.
We also love to use butterfingers in Butterfinger Brownies and Butterfinger Poke Cake.
My family loves them, I love them, and I dare you to just eat one once you’ve made a batch! They have the perfect combination of sweet and salty, chewy and crunchy, as well as chocolate and caramel.
These cookies are great for making ahead and freezing, so you can have some cookie dough balls to bake fresh in cookie emergencies.
Try them as part of your holiday cookie trays or the classic cookie exchange, and your recipients will not be disappointed!
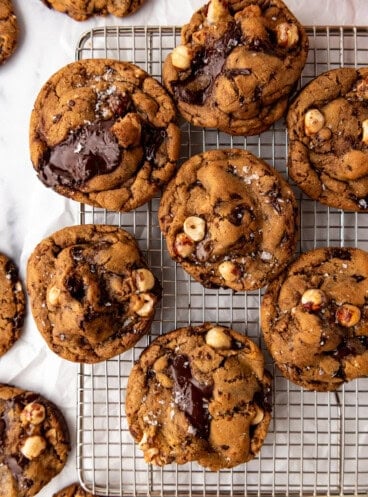
Try some of my other candy-inspired cookie recipes, like these Soft Baked Peanut Butter M&M Cookies, Frosted Fruity Pebbles Cookies, Chocolate Andes Mint Cookies, and my Peanut Butter Cup Cookies!
What You’ll Need
Scroll down to the recipe card below this post for ingredient quantities and full instructions.
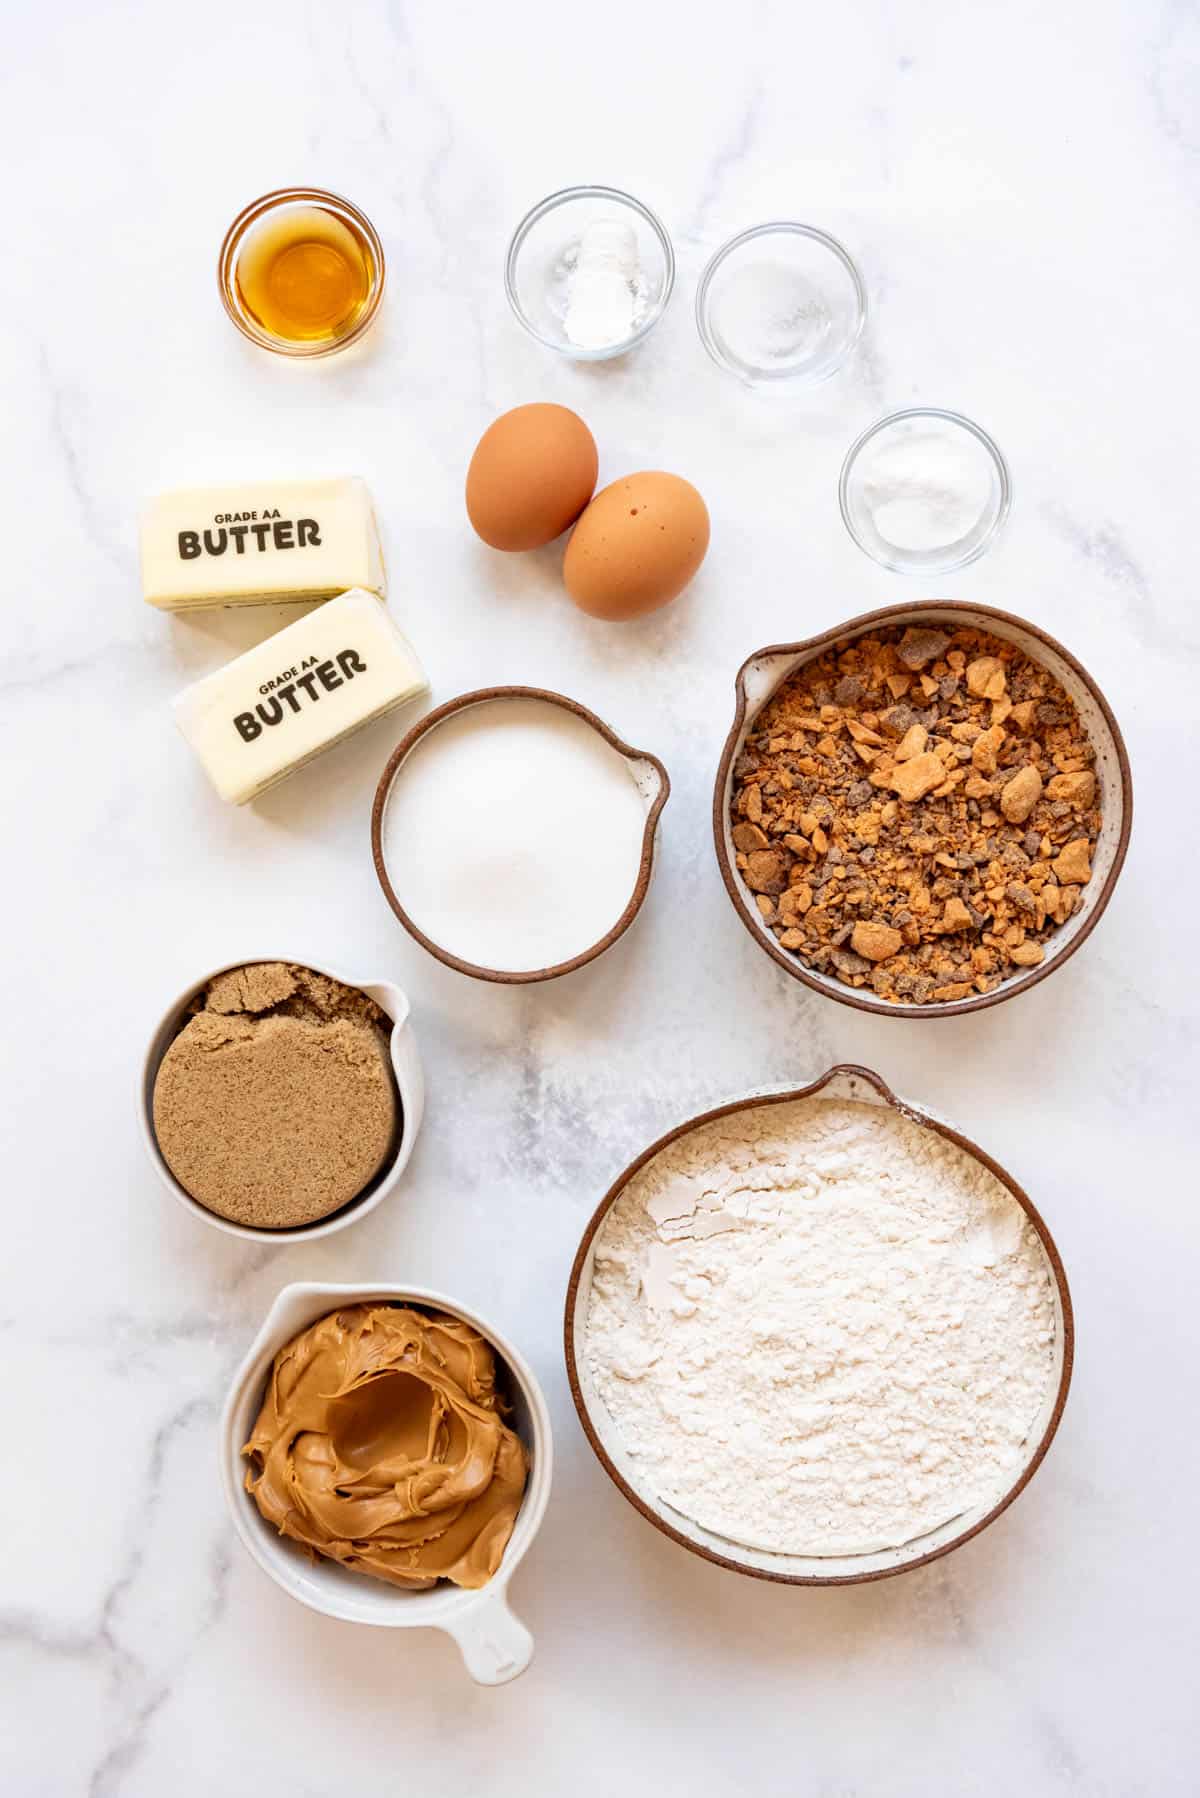
- Butter – Salted butter works best to enhance the flavors in these cookies.
- Sugar – Use brown sugar and white granulated sugar to sweeten your cookies, give them a slightly caramelized flavor, and keep them nice and soft!
- Eggs – To bind ingredients and help the cookies stay light and chewy.
- Peanut Butter – Creamy peanut butter works best here as it mixes into the cookie dough better than natural peanut butter, which tends to separate.
- Vanilla Extract – Store-bought vanilla extract works well, but you can use my Homemade Vanilla Extract recipe to keep a supply on hand!
- Flour – All-purpose flour is perfect for this recipe. I’m pretty sure a good 1-to-1 gluten-free flour would work well as a substitute if you need to, but I haven’t tried this myself.
- Baking Soda – Helps the cookies rise slightly.
- Salt – Enhances and balances out all the flavors.
- Cornstarch – Keeps the cookies chewy and helps prevent excess spreading as the cookies bake, keeping them nice and thick too!
- Butterfinger Candies – I’ve used fun-size bars that I chopped up (anyone else go through your kids’ Halloween candy after a couple days and siphon off the good stuff?), but you can use full-size or mini Butterfinger Bars, or pre-chopped Butterfinger Pieces if you can find them at the store (it’s hit-or-miss for me in California – I have better luck finding them in Utah when we visit family and will stock up while I’m there!).
How to Make This Recipe
- Cream butter and sugar, then add flavorings. Beat the butter, brown sugar, and white sugar in a large bowl until creamy and light. Use a hand mixer or stand mixer fitted with a paddle attachment for the best results. Add peanut butter and vanilla extract. Beat well, stopping to scrape the bottom and sides of the bowl.
- Add eggs. Incorporate the eggs into the mixture by beating again until combined.
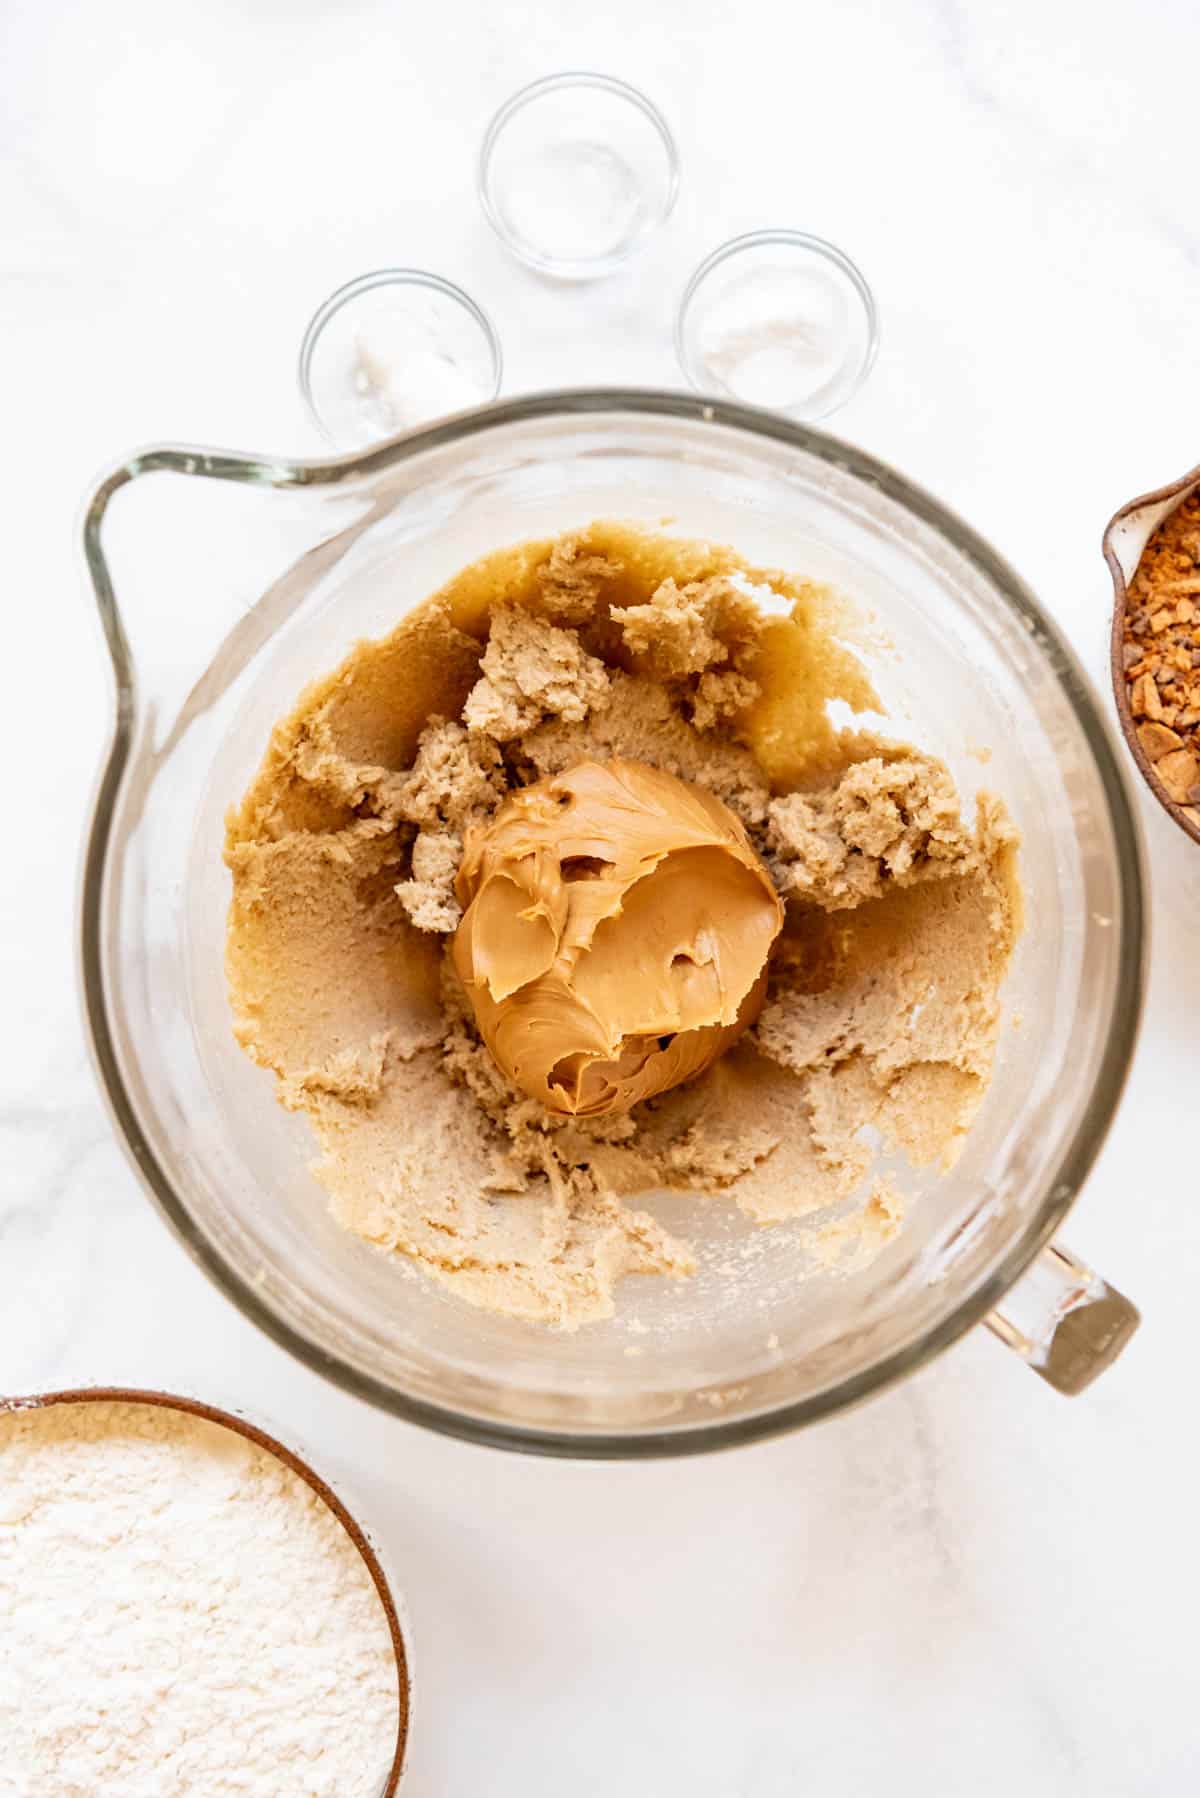
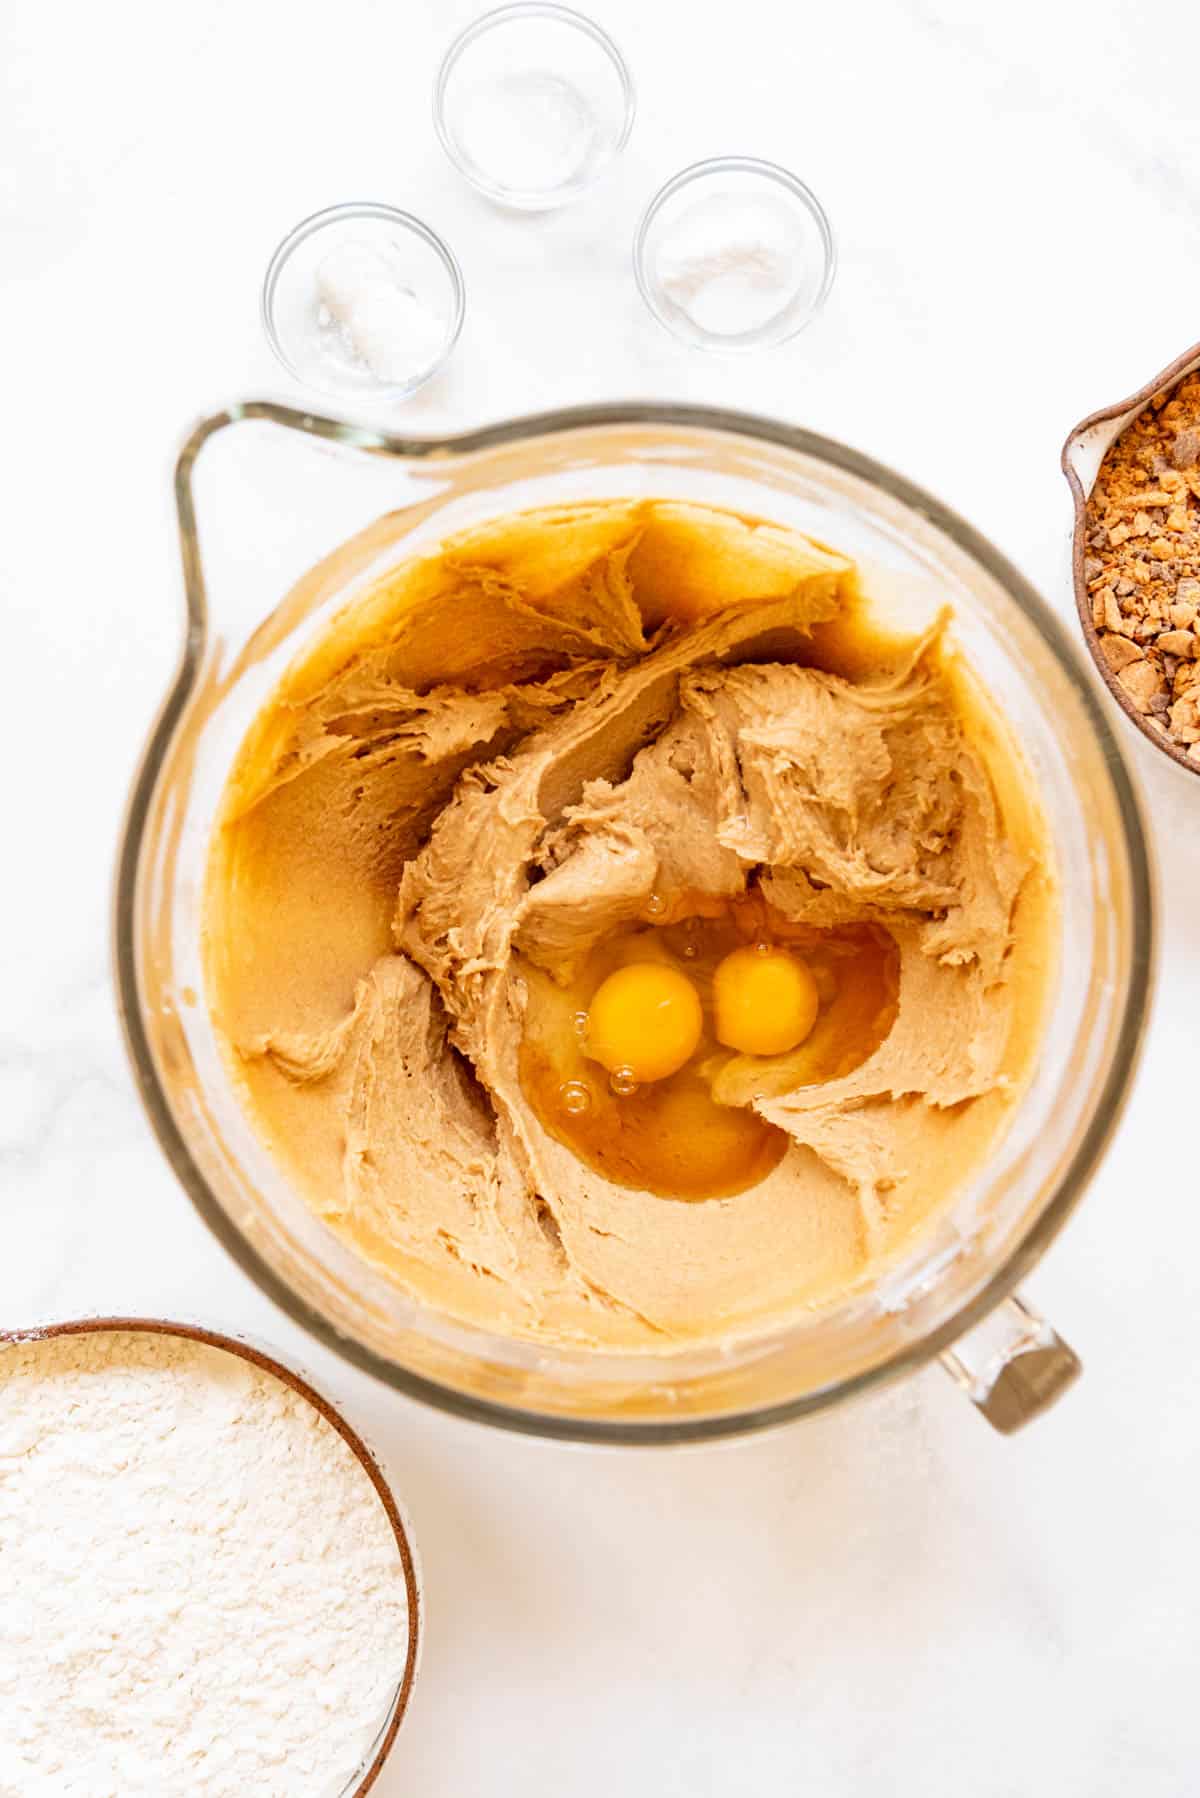
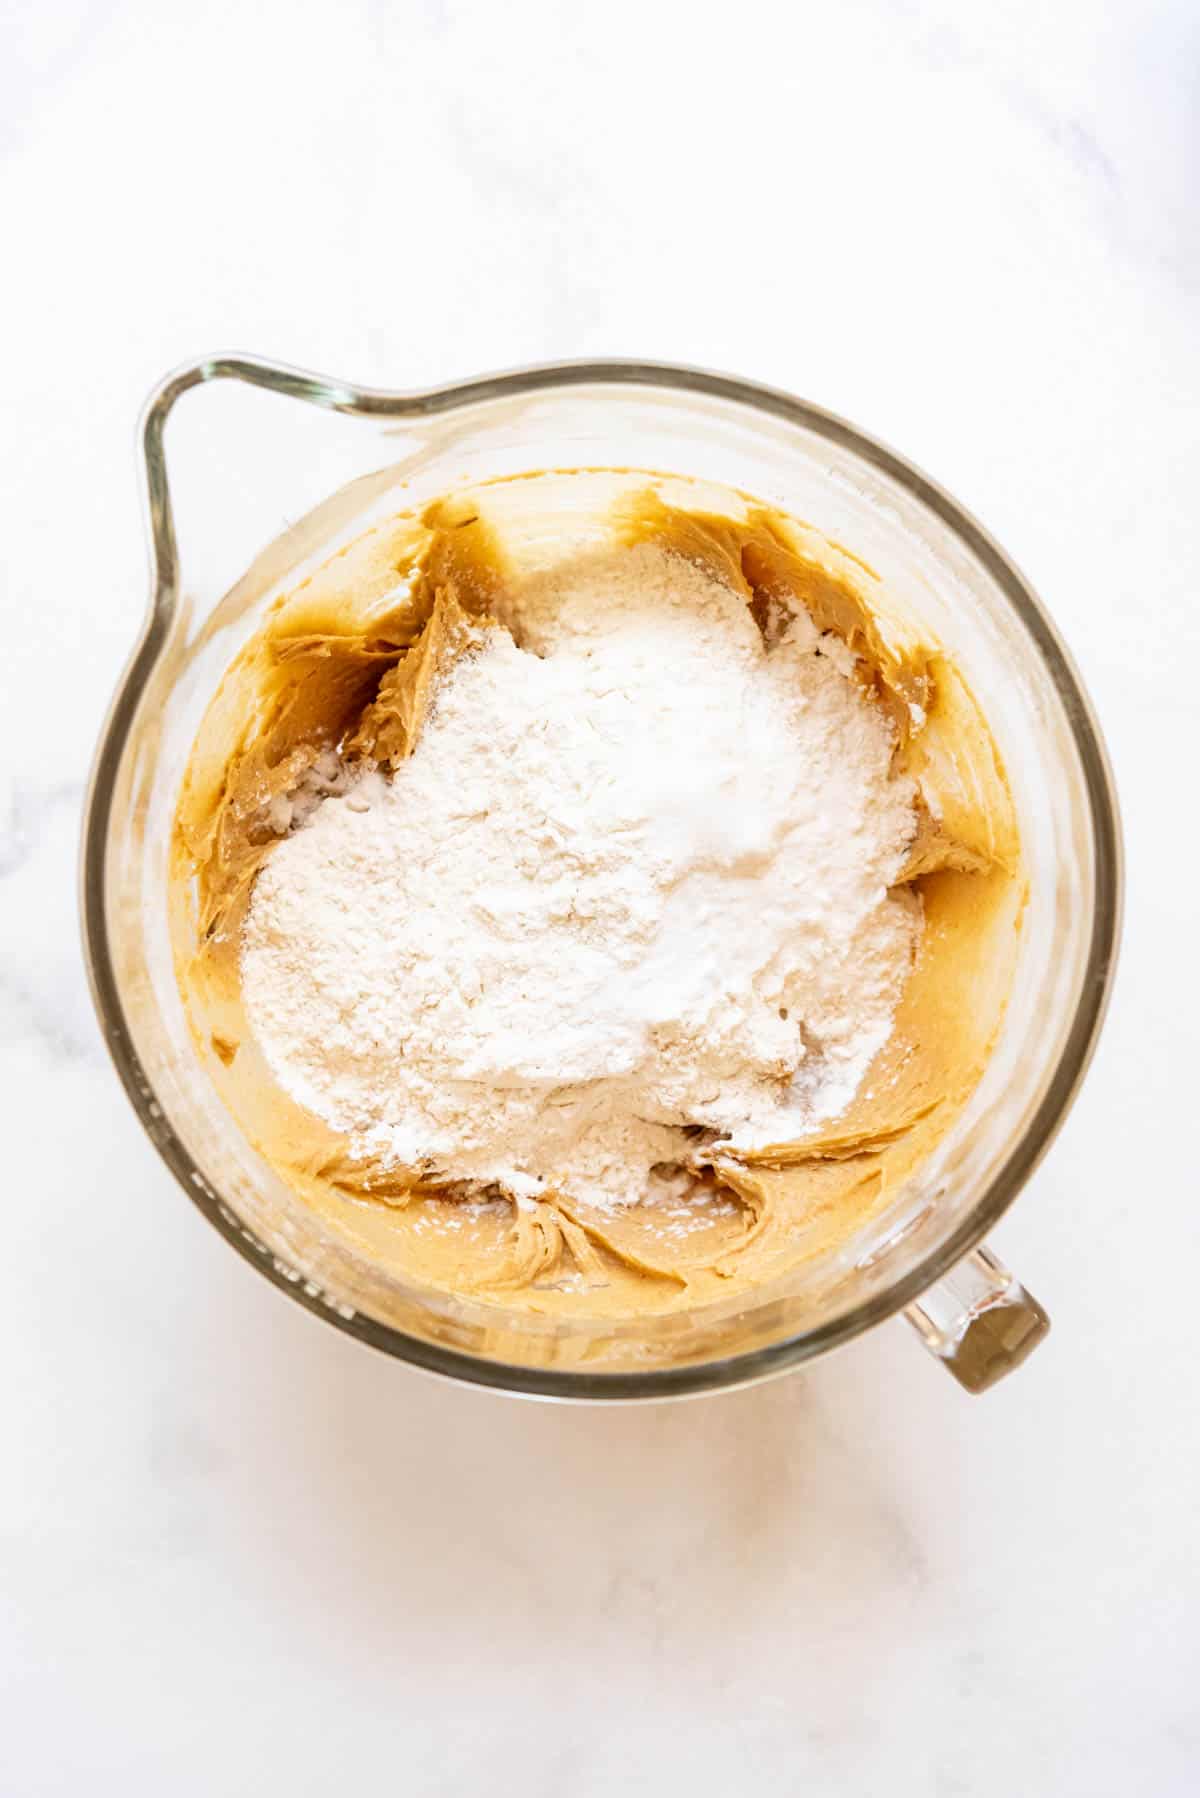
- Add dry ingredients. Combine flour, baking soda, cornstarch, and salt, and add the mixture to the bowl. Mix just until combined.
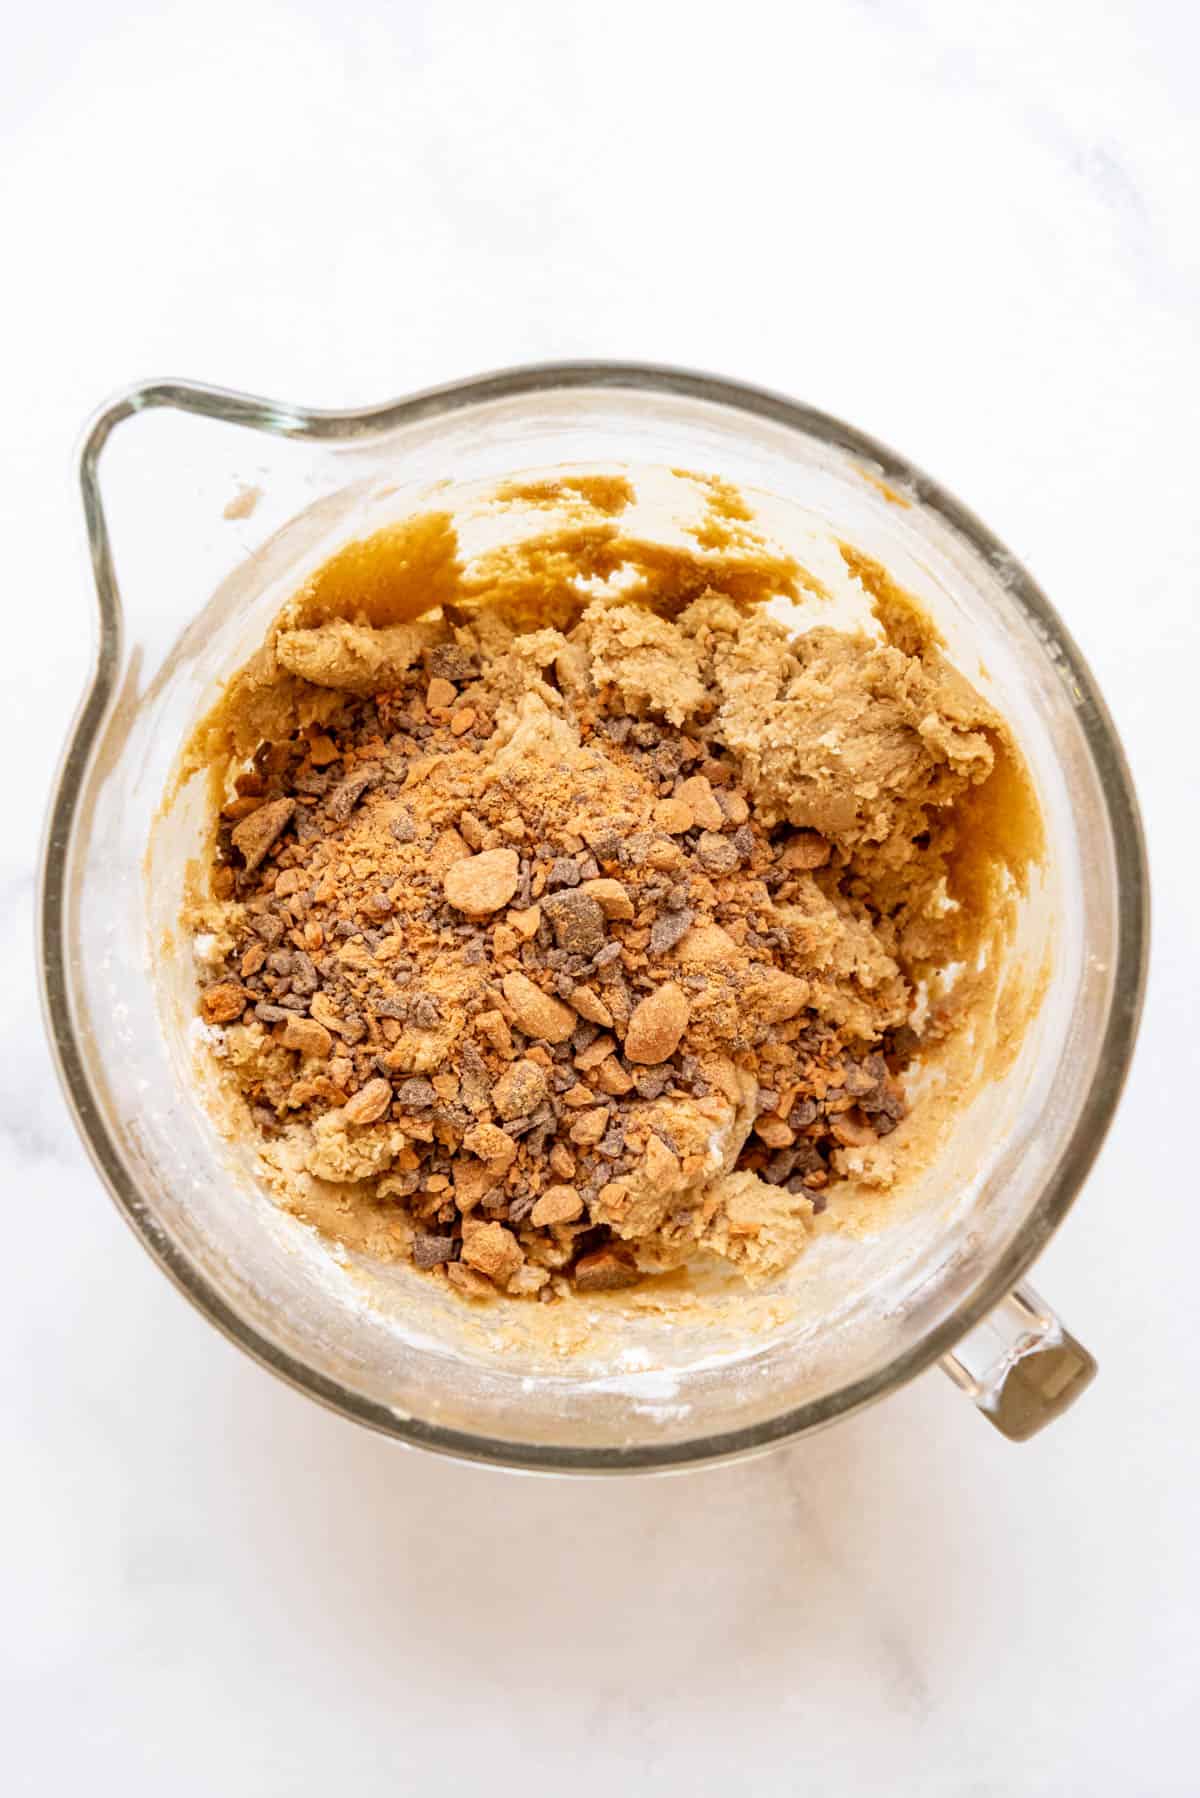
- Mix in Butterfinger bits. Stir in 1½ cups of chopped butterfingers into the cookie dough, reserving the remaining chopped candy bars for the tops of the cookies.
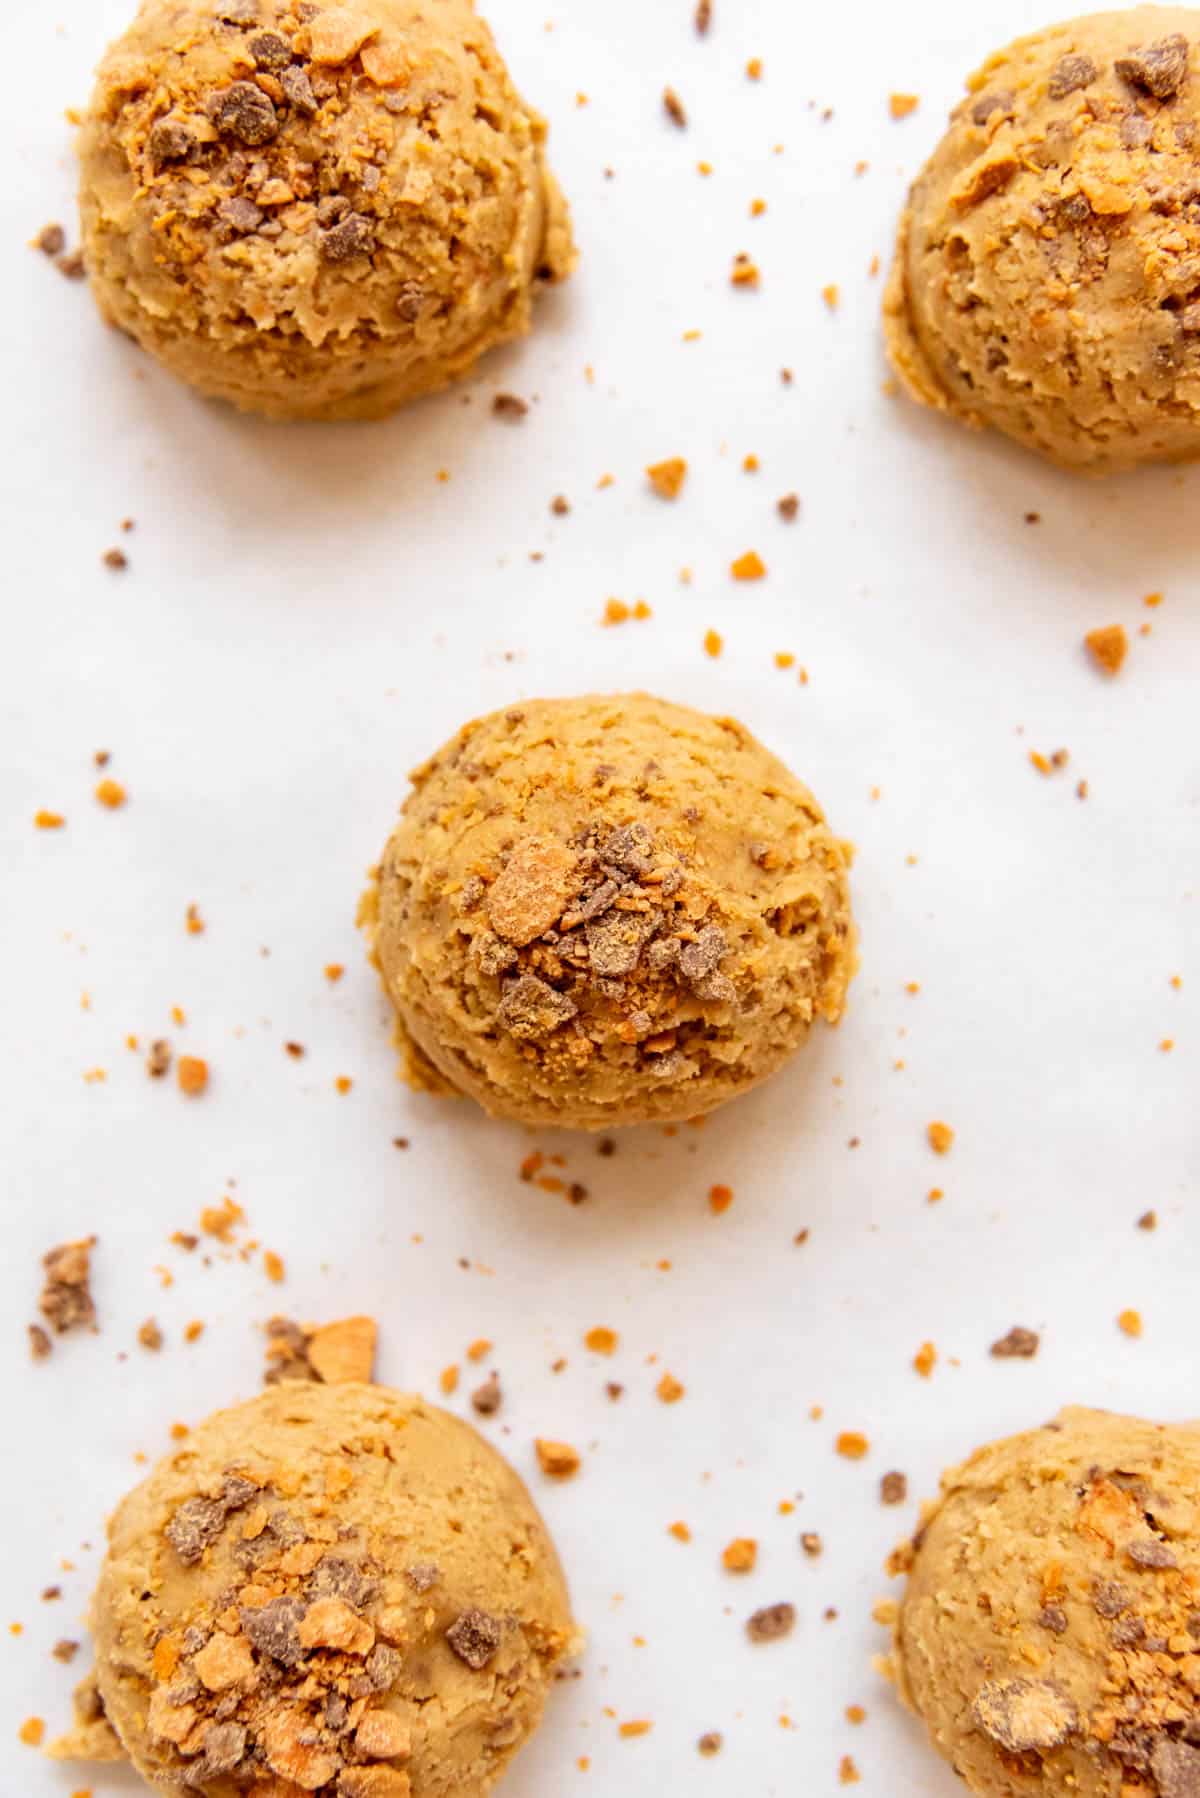
- Make cookie dough balls and bake. Scoop large balls of cookie dough onto a baking sheet lined with parchment paper, spacing them a couple of inches apart so they have room to spread. Top each cookie with additional crushed butterfingers, pressing them in so they don’t fall off while baking. Bake at 350 degrees F for 10–12 minutes until cookies are set around the edges and slightly underbaked through the middles.
- Cool. Cool on the pan for 10–15 minutes before transferring to a wire rack to cool completely.
Recipe FAQ’s
First, roll the cookie dough into balls and place them on a baking tray. Flash-freeze the tray, then transfer the frozen dough balls into a Ziploc bag and store them in the freezer. The cookie dough will stay fresh for up to 3 months.
For best results, enjoy cookies within 2-3 days and store any leftovers in an airtight container or covered in plastic wrap for up to 7 days.
Baked cookies can be frozen for up to 3 months. Place parchment paper between each cookie before storing them in a sealed container or freezer bag to prevent sticking.
Tips for Success
- Ingredient temperature. Keep your butter cold until you’re ready to mix it in. Cut it into cubes to make it easier to mix. You can leave the eggs at room temperature before mixing them in though.
- Use a cookie scoop. Using a cookie scoop is the easiest way to ensure your cookies are all the same size and shape.

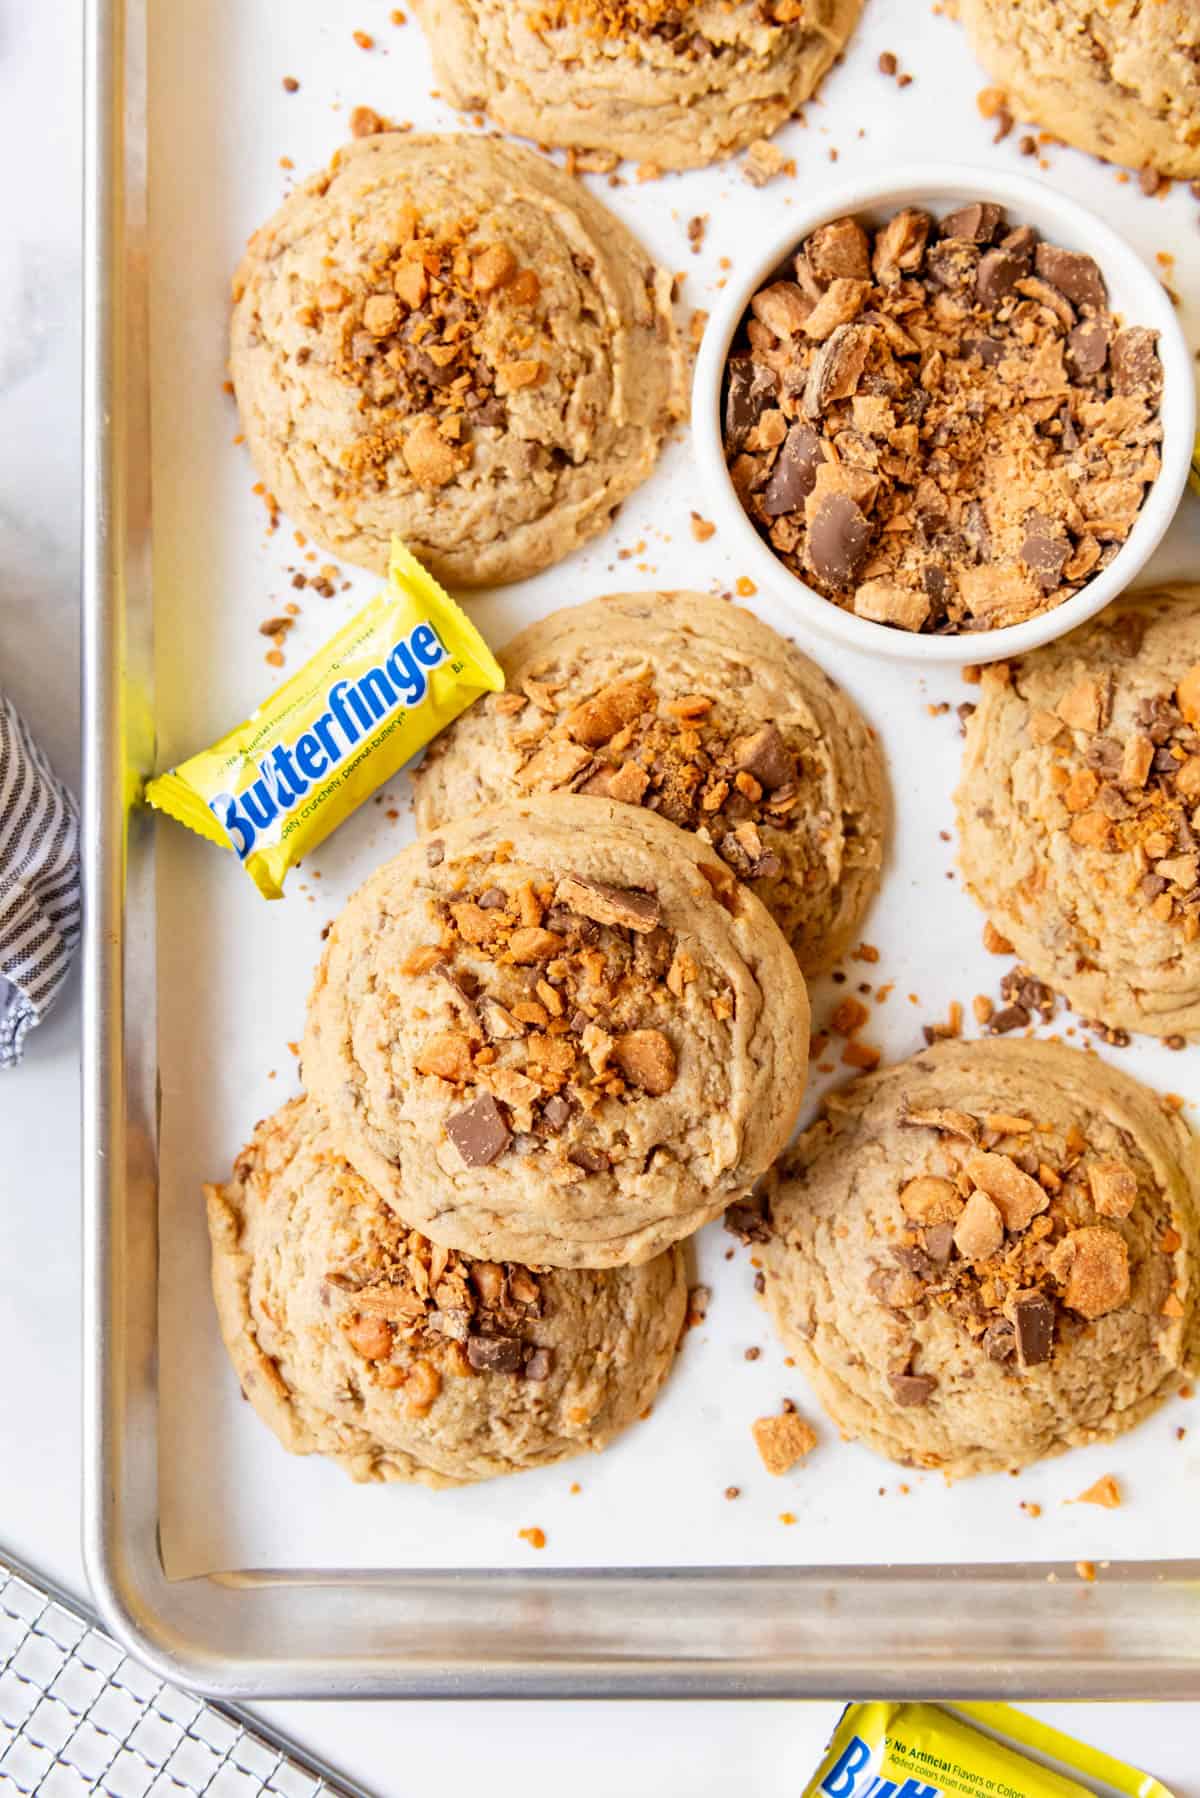
I add extra bits of Butterfinger bars on top of the cookie dough balls before baking them, but you can add some on top of the cookies as they come out of the oven, or even add a large chunk of mini Butterfinger bar on top for decoration and extra crunch.
Variations and Substitutions
- Use other kinds of candy. You can use any kind of candy for these cookies. Try some of your other favorite candy bar combinations or leftover Halloween candy for different flavors! Reese’s Pieces, Snickers, and Mini M&M’s can be used as well and go great with the peanut butter cookie base.
- Add some nuts. Crushed peanuts, chopped walnuts, or chopped pecans would add extra flavor and texture.
- Add chocolate chips. Chocolate chips are a great addition to these cookies. You can use milk chocolate, semi-sweet chocolate, or white chocolate chips, depending on how much sweetness you want to add.
- Butter. I use salted butter for these cookies, but if you only have unsalted butter on hand, you can always add in an extra ¼ teaspoon of salt to enhance the flavors.
- Gourmet version. If you want to amp up your gourmet cookie game, I recommend drizzling some melted chocolate over the finished cookies, then sprinkle with some flaky salt. It’s not an every day approach for me, but it definitely elevates the flavor game even more.
More Delicious Cookie Recipes You’ll Love
- Chocolate Marshmallow Almond Rocky Road Cookies
- Monster Cookies
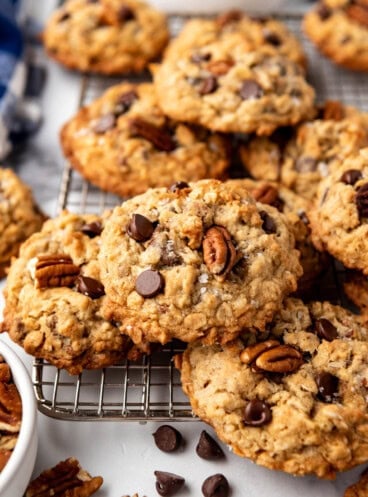
- Pecan Chocolate Chip Cookies
- Peanut Butter Cookies with White Chocolate Chips
- Andes Mint Cookies

Did you make this recipe?
Let me know what you thought with a comment and rating below. You can also take a picture and tag me on Instagram @houseofnasheats or share it on the Pinterest pin so I can see.
Peanut Butter Butterfinger Cookies Recipe
Ingredients
- 1 cup salted butter (227g)
- 1 cup brown sugar (200g)
- ¾ cup granulated sugar (150g)
- 2 large eggs
- 1 cup creamy peanut butter (240g)
- 2 teaspoons vanilla extract
- 3 cups all-purpose flour (375g)
- 1 teaspoon baking soda
- ¼ teaspoon salt
- 1 teaspoon cornstarch
- 2½ cups chopped butterfinger candy bars about 12–14 fun-size bars (use 1½ in the dough and reserve the rest for the tops)
Instructions
- Preheat oven to 350°F. Line two baking sheets with parchment paper.
- Beat butter and sugar in a large bowl until creamy and light, using a hand mixer or stand mixer fitted with a paddle attachment.1 cup salted butter, 1 cup brown sugar, ¾ cup granulated sugar
- Add peanut butter and vanilla extract. Beat well, stopping to scrape the bottom and sides of the bowl.1 cup creamy peanut butter, 2 teaspoons vanilla extract
- Add the eggs and beat again until combined.2 large eggs
- Add flour, baking soda, cornstarch, and salt. Mix just until combined. Stir in 1½ cups of chopped butterfingers into the cookie dough, reserving the remaining chopped candy bars for the tops of the cookies.3 cups all-purpose flour, 1 teaspoon baking soda, ¼ teaspoon salt, 1 teaspoon cornstarch, 2½ cups chopped butterfinger candy bars
- Scoop large balls of cookie dough onto a baking sheet lined with parchment paper, spacing them a couple of inches apart so they have room to spread. Top each cookie with additional crushed butterfingers, pressing them in so they don’t fall off while baking.
- Bake in a preheated oven at 350°F for 10–12 minutes until cookies are set around the edges and slightly underbaked through the middles. Cool on the pan for 10–15 minutes before transferring to a wire rack to cool completely.
Notes
- Make-Ahead: First, roll the cookie dough into balls and place them on a baking tray. Flash freeze the tray, then transfer the frozen dough balls into a Ziploc bag and store them in the freezer. The cookie dough will stay fresh for up to 3 months.
- Storage: For best results, enjoy cookies within 2-3 days and store any leftovers in an airtight container or covered in plastic wrap for up to 7 days.
- Freezing: Baked cookies can be frozen for up to 3 months. Place parchment paper between each cookie before storing them in a sealed container or freezer bag to prevent sticking.


DELICIOUS! I made these and everyone loved them. Thank you so much. Love this website.
Thanks Christy! I am happy to hear everyone loved the cookies!