
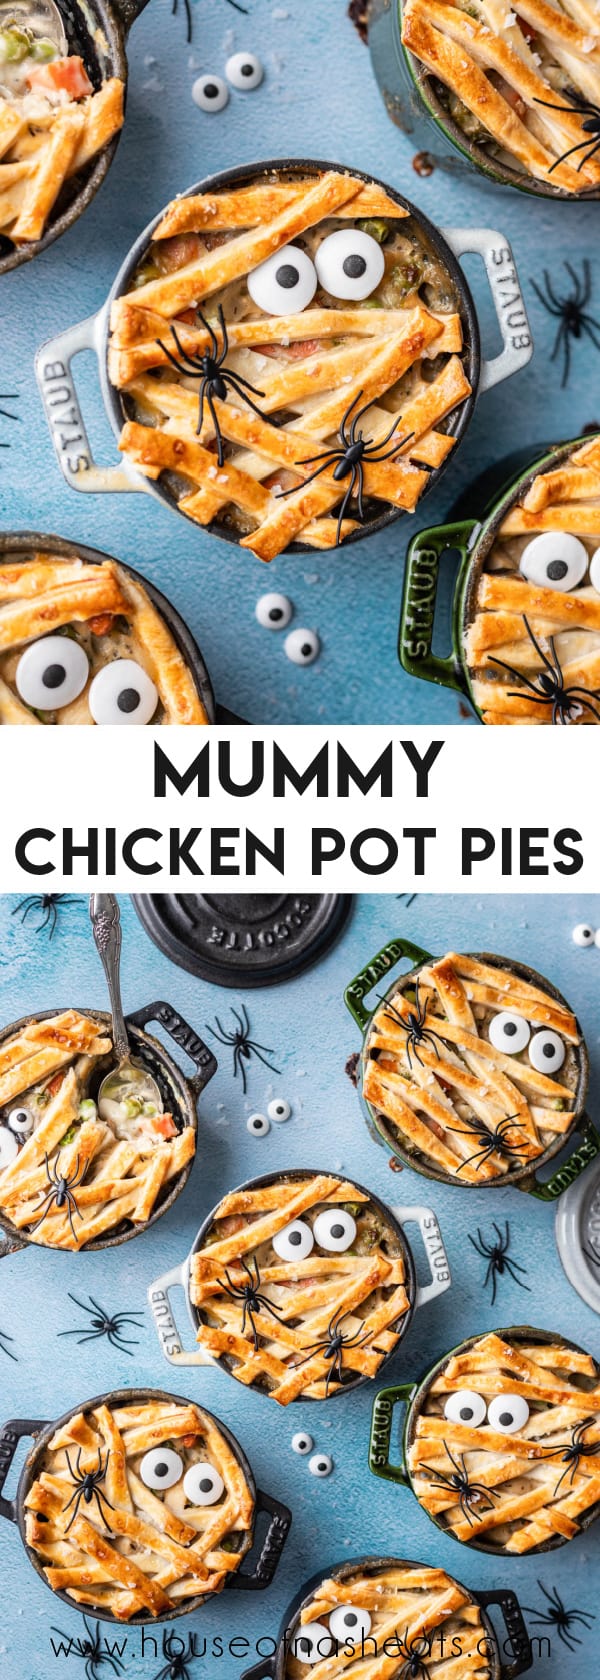
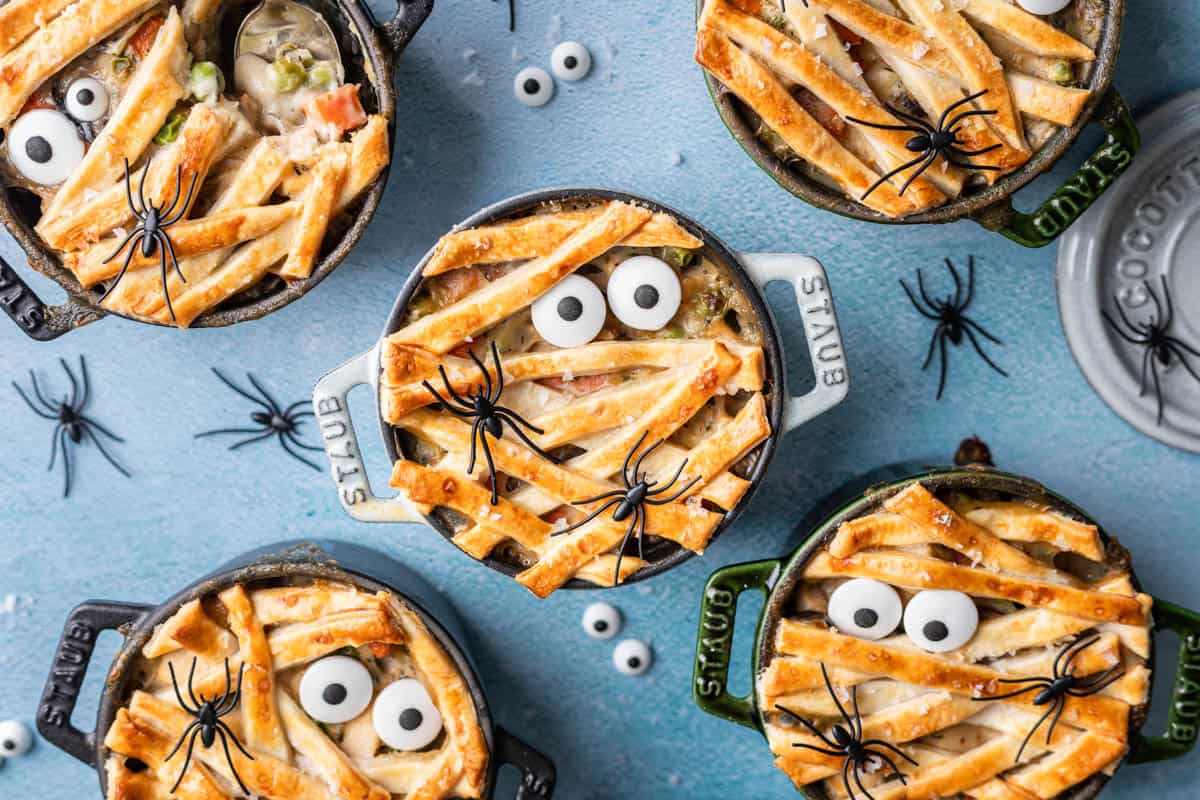
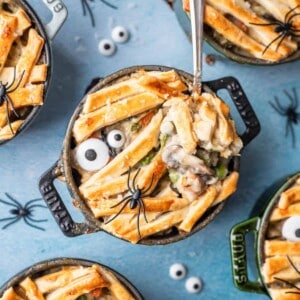
These Mummy Chicken Pot Pies are the perfect Halloween dinner recipe to feed your trick-or-treaters before they overload on candy! Kid-friendly and fun but also substantial and comforting, these easy individual pot pies are guaranteed to please ghoulies, ghosties, and goblins alike!
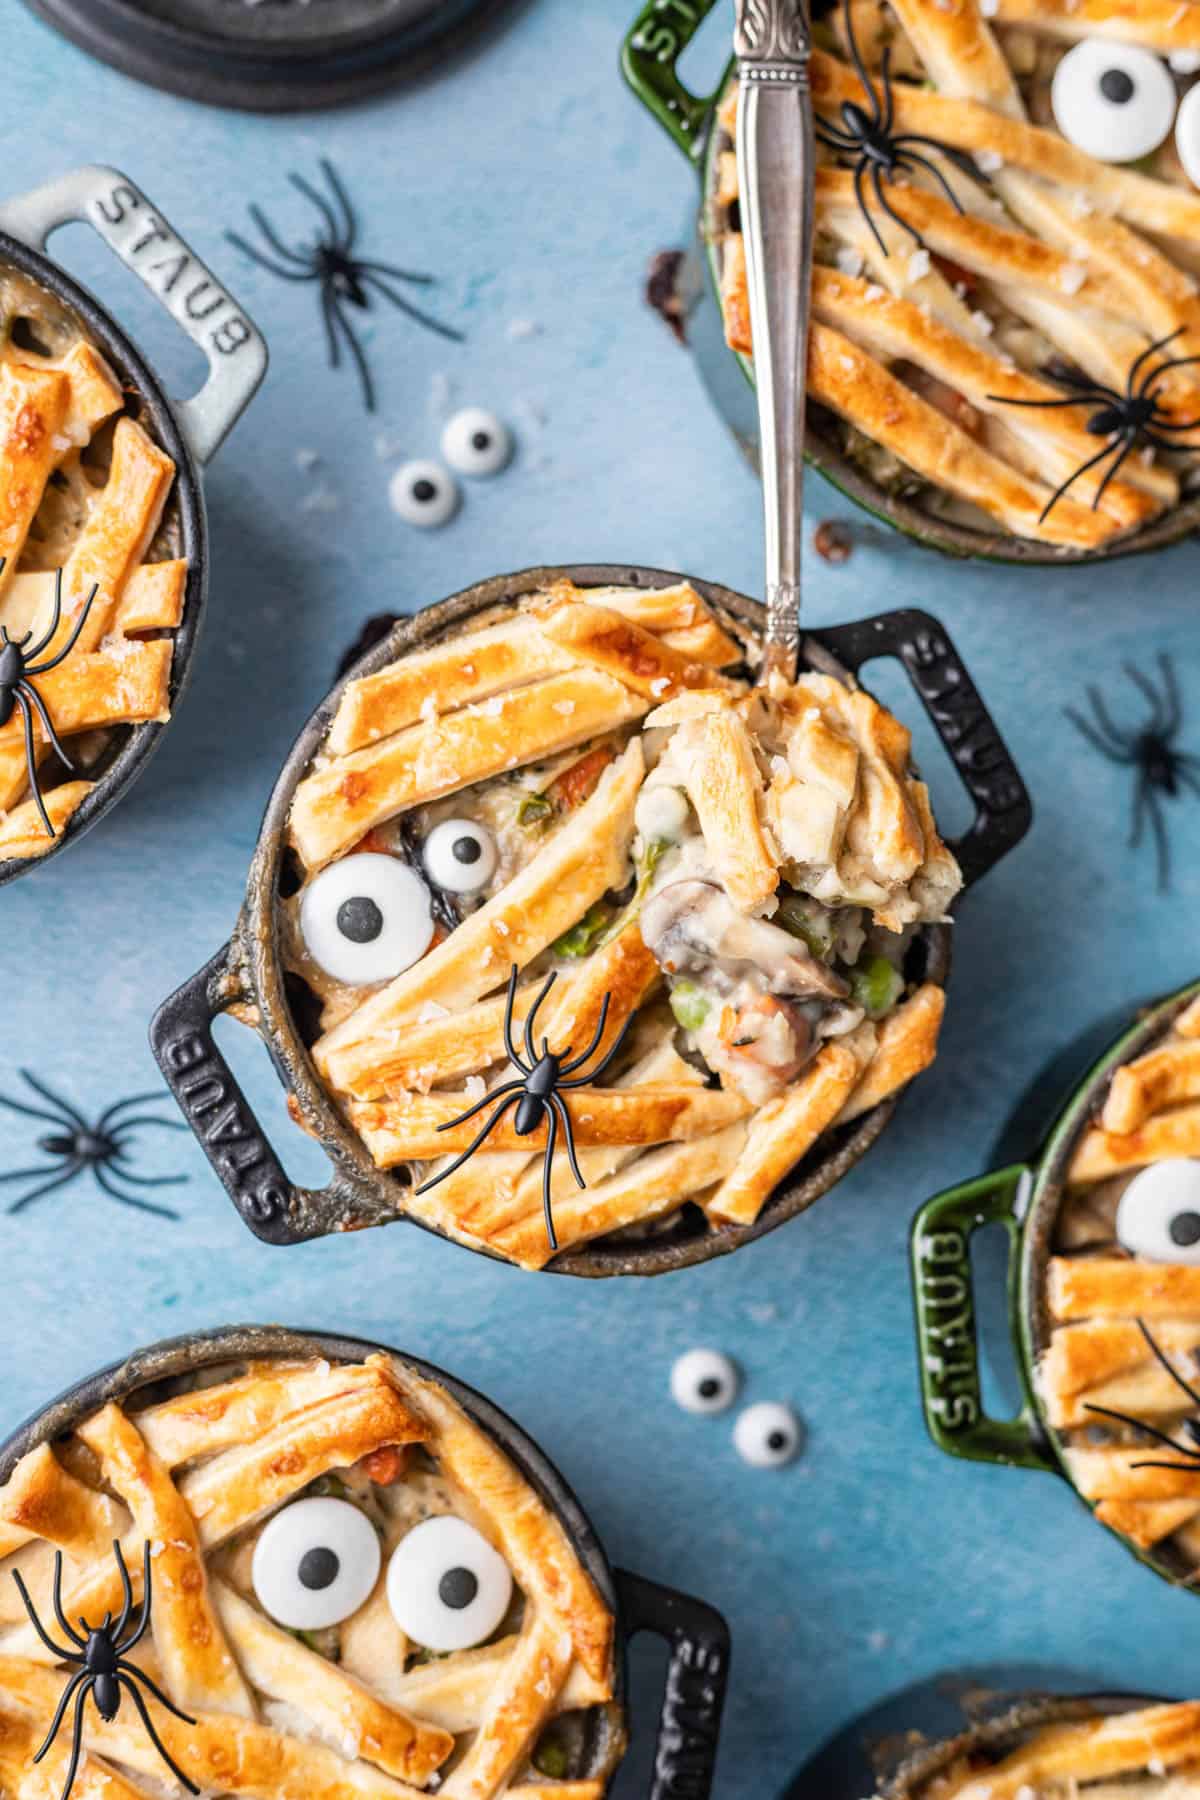
Table of Contents
Long-time readers of this site will know of my love of all things Halloween! It’s my favorite holiday and we have thrown an annual Halloween party for well over a decade now where we invite friends and neighbors over to engage in all kinds of Halloween fun.
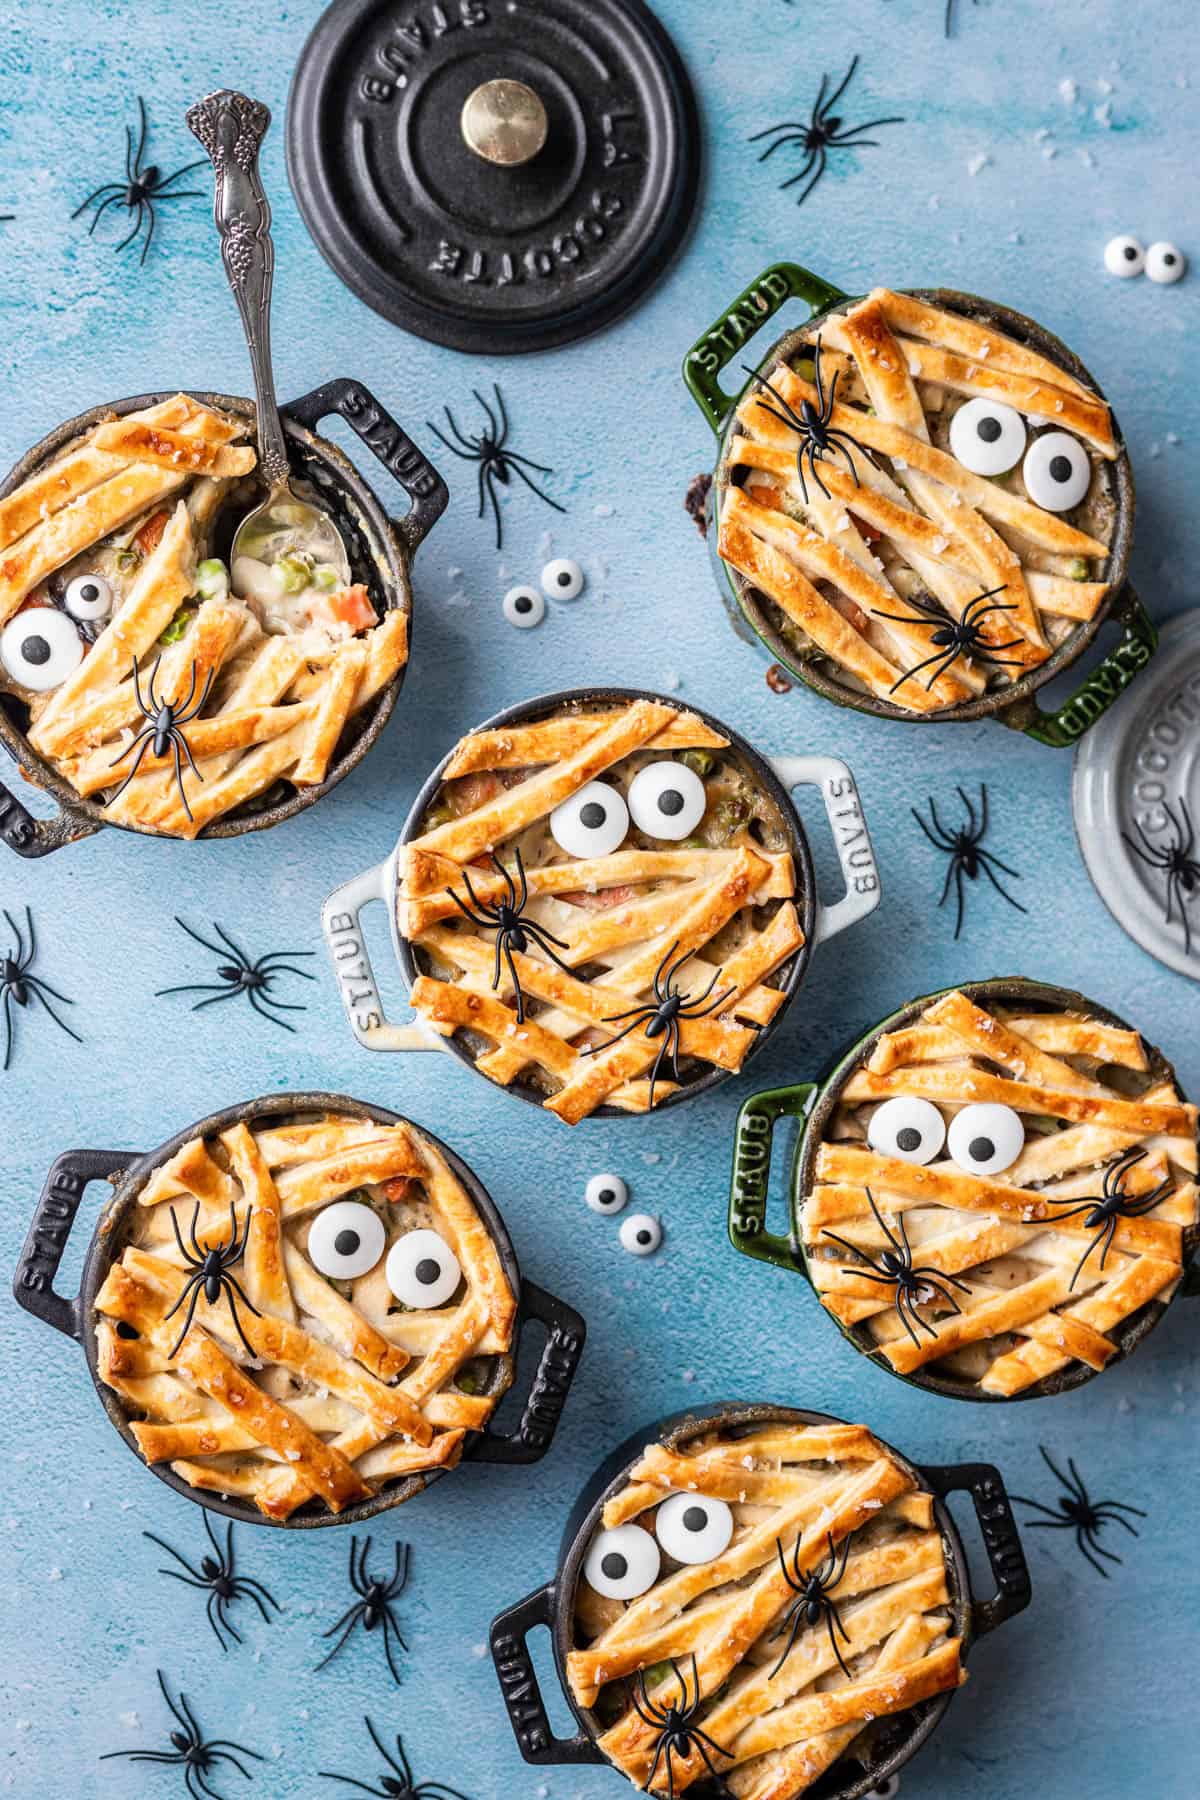
One of my favorite approaches to Halloween recipes is to take something we already know and love like chicken pot pie and spook-ify it with those fun candy eyeball sprinkles that you can find in any craft store and most grocery stores during October. Kids especially love to help with these by arranging pie crust strips to resemble mummy bandages and placing the large eyeball sprinkles on top before serving!
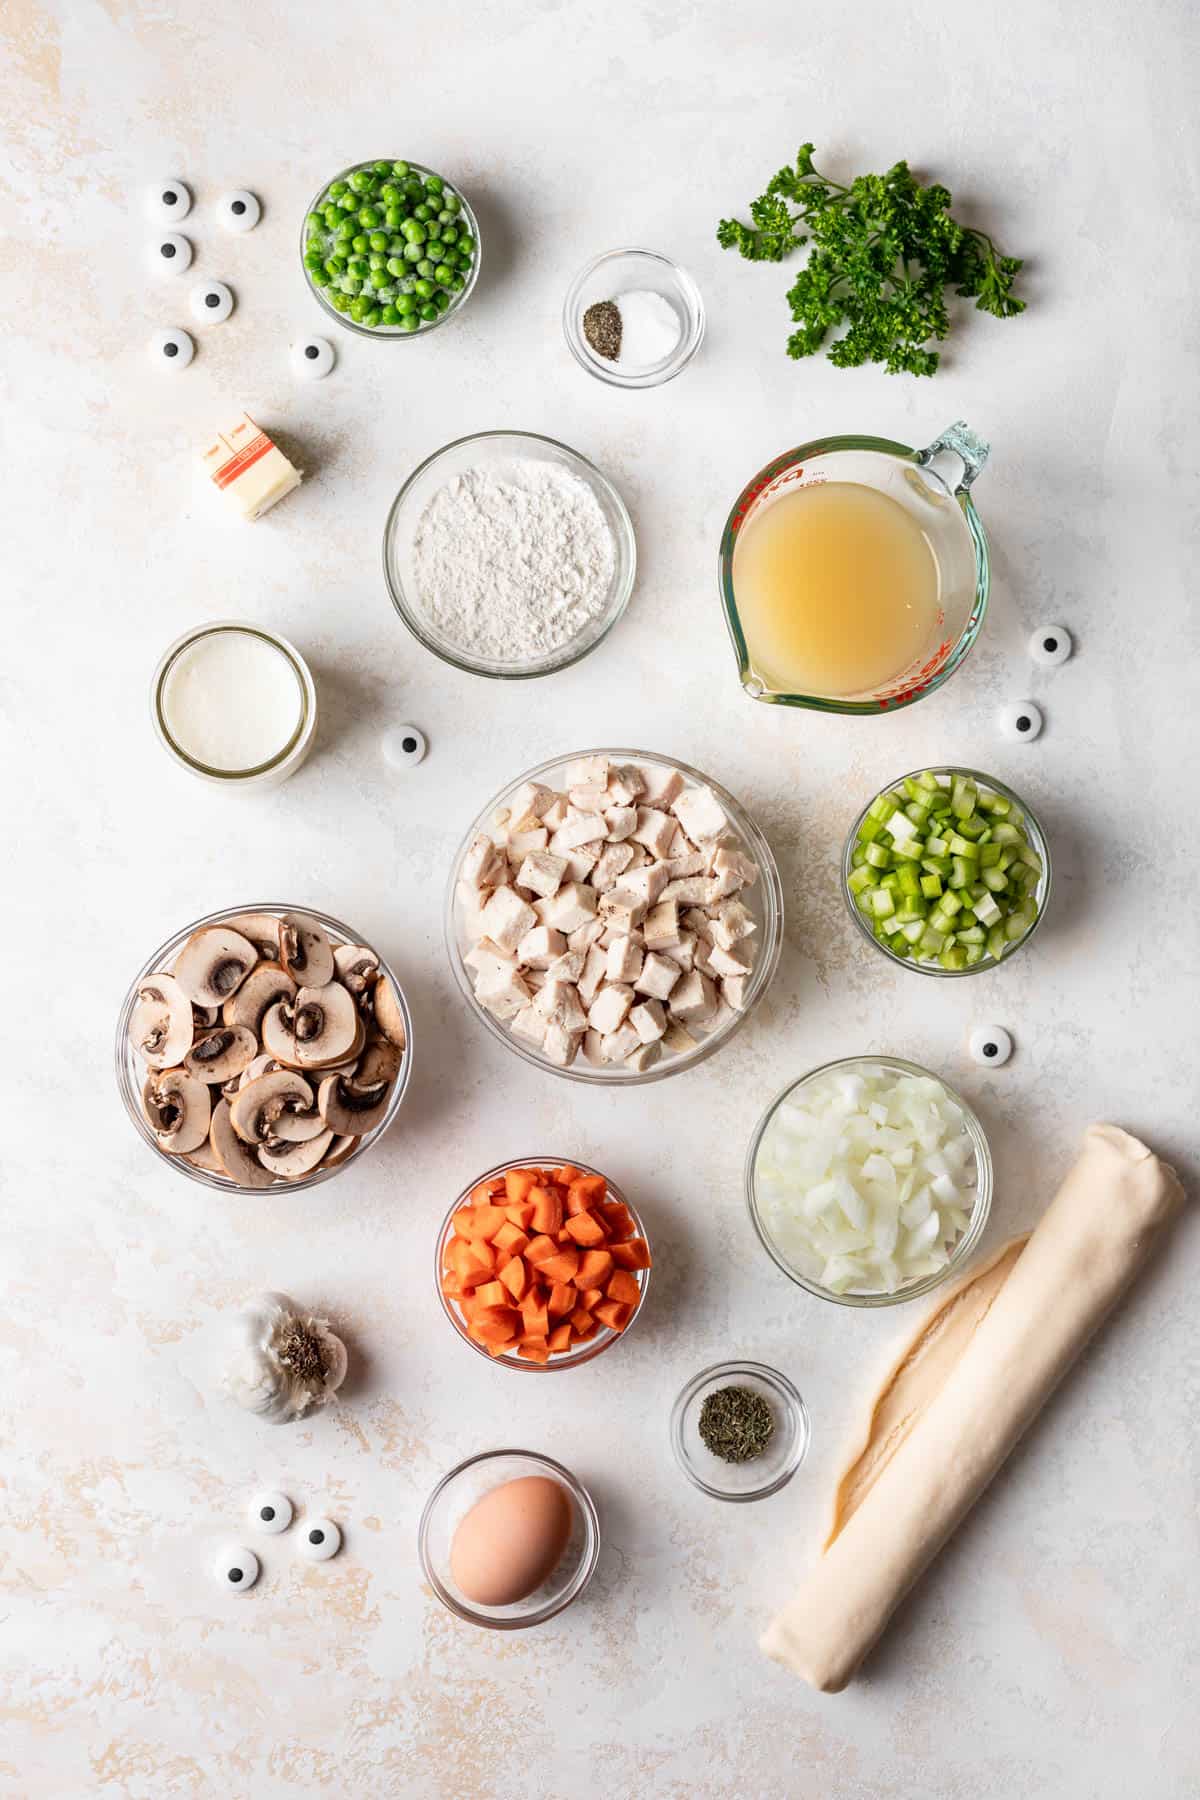
What You’ll Need
Scroll down to the recipe card below this post for ingredient quantities and full instructions.
- Pie crust – Feel free to use storebought crusts or make your own homemade pie crust.
- Chicken – This recipe is great for using leftover chicken or using a rotisserie chicken from the store.
- Butter
- Onion
- Carrots
- Celery
- Mushrooms
- Frozen peas
- Garlic
- All-purpose flour
- Chicken broth
- Heavy cream
- Parsley & thyme
- Salt & pepper
- Egg – For an egg wash to get the golden color on the top crust.
- Candy eye sprinkles
How to Make Mummy Chicken Pot Pies
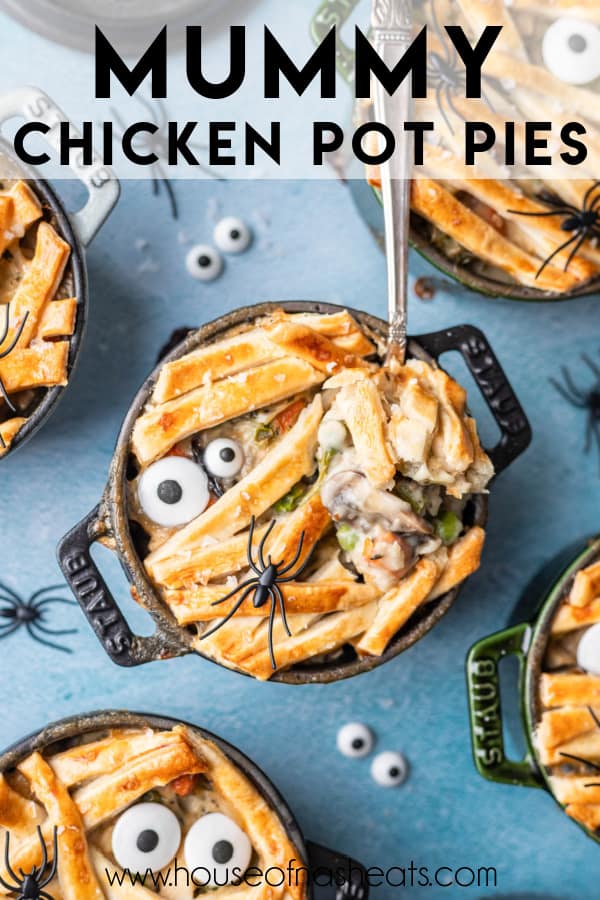
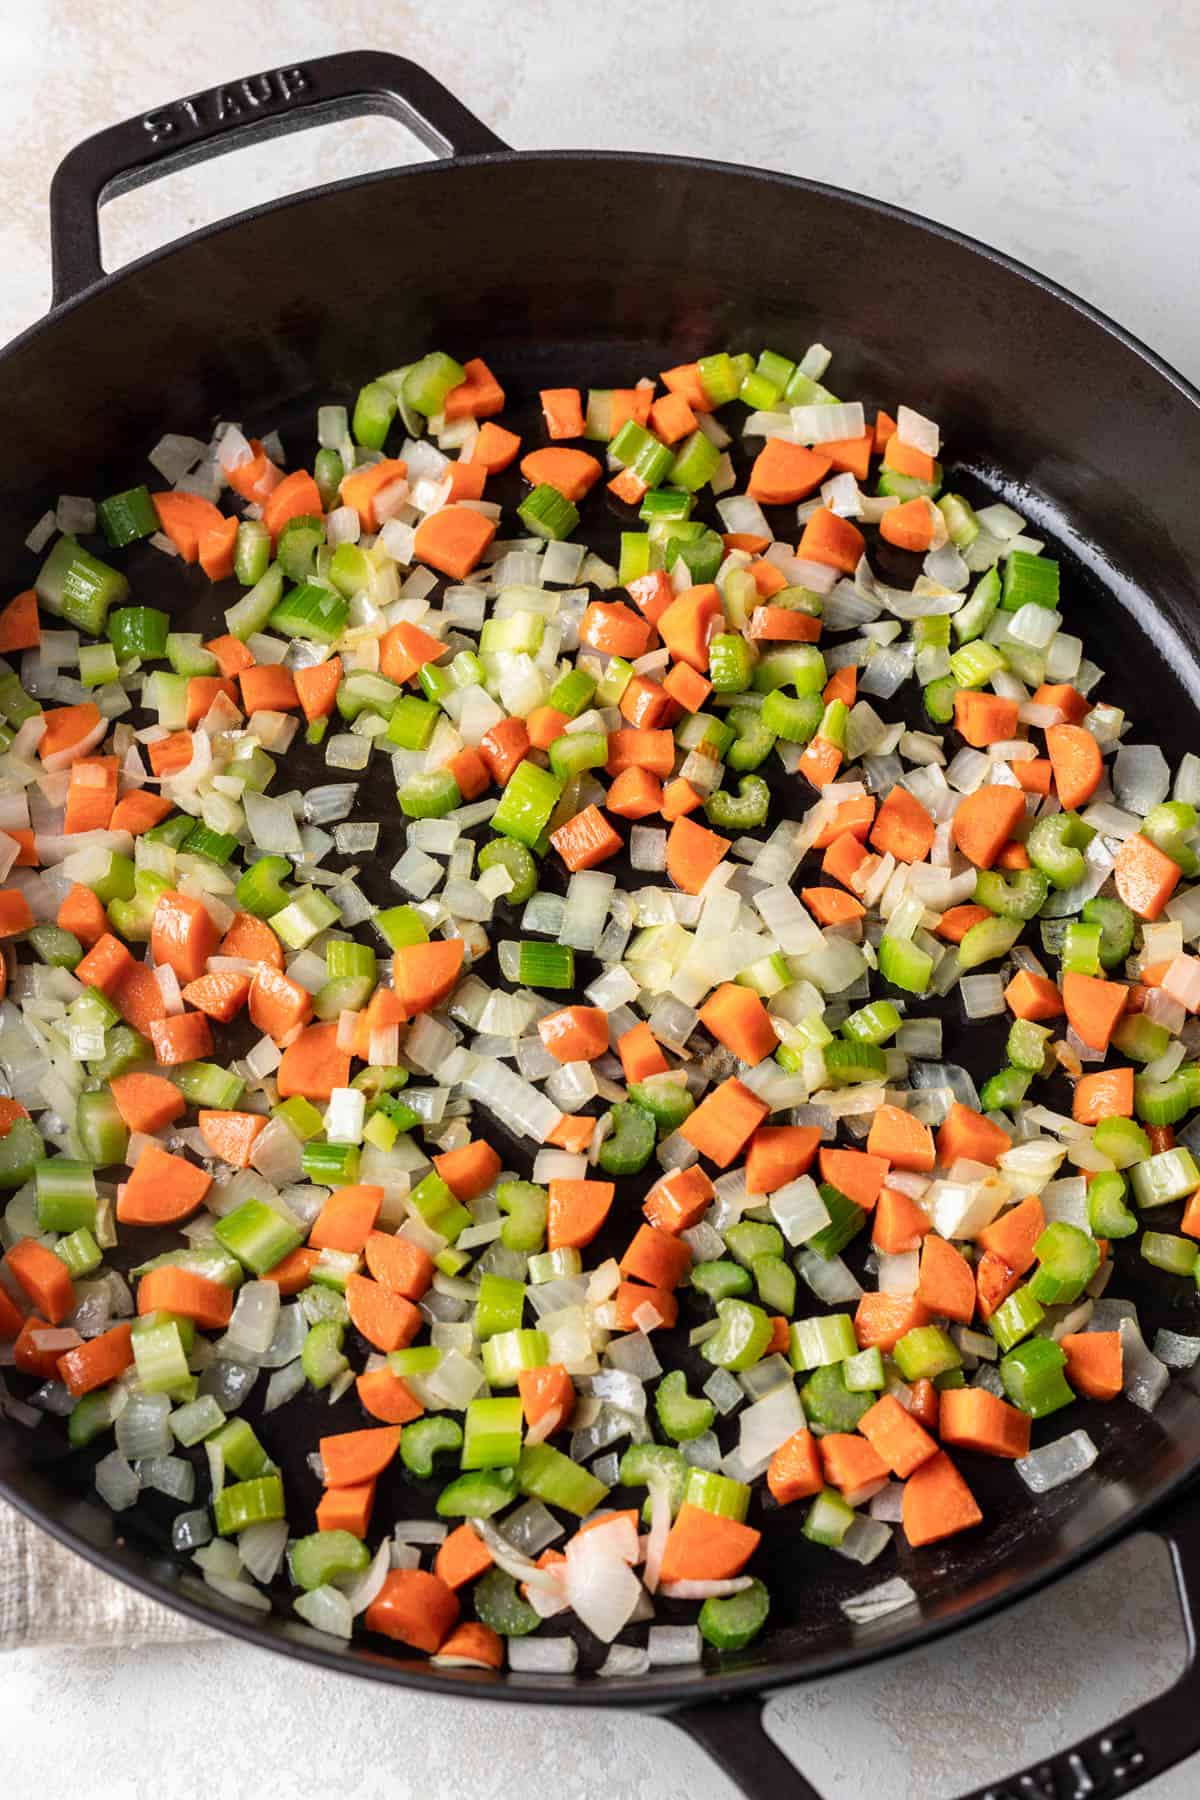
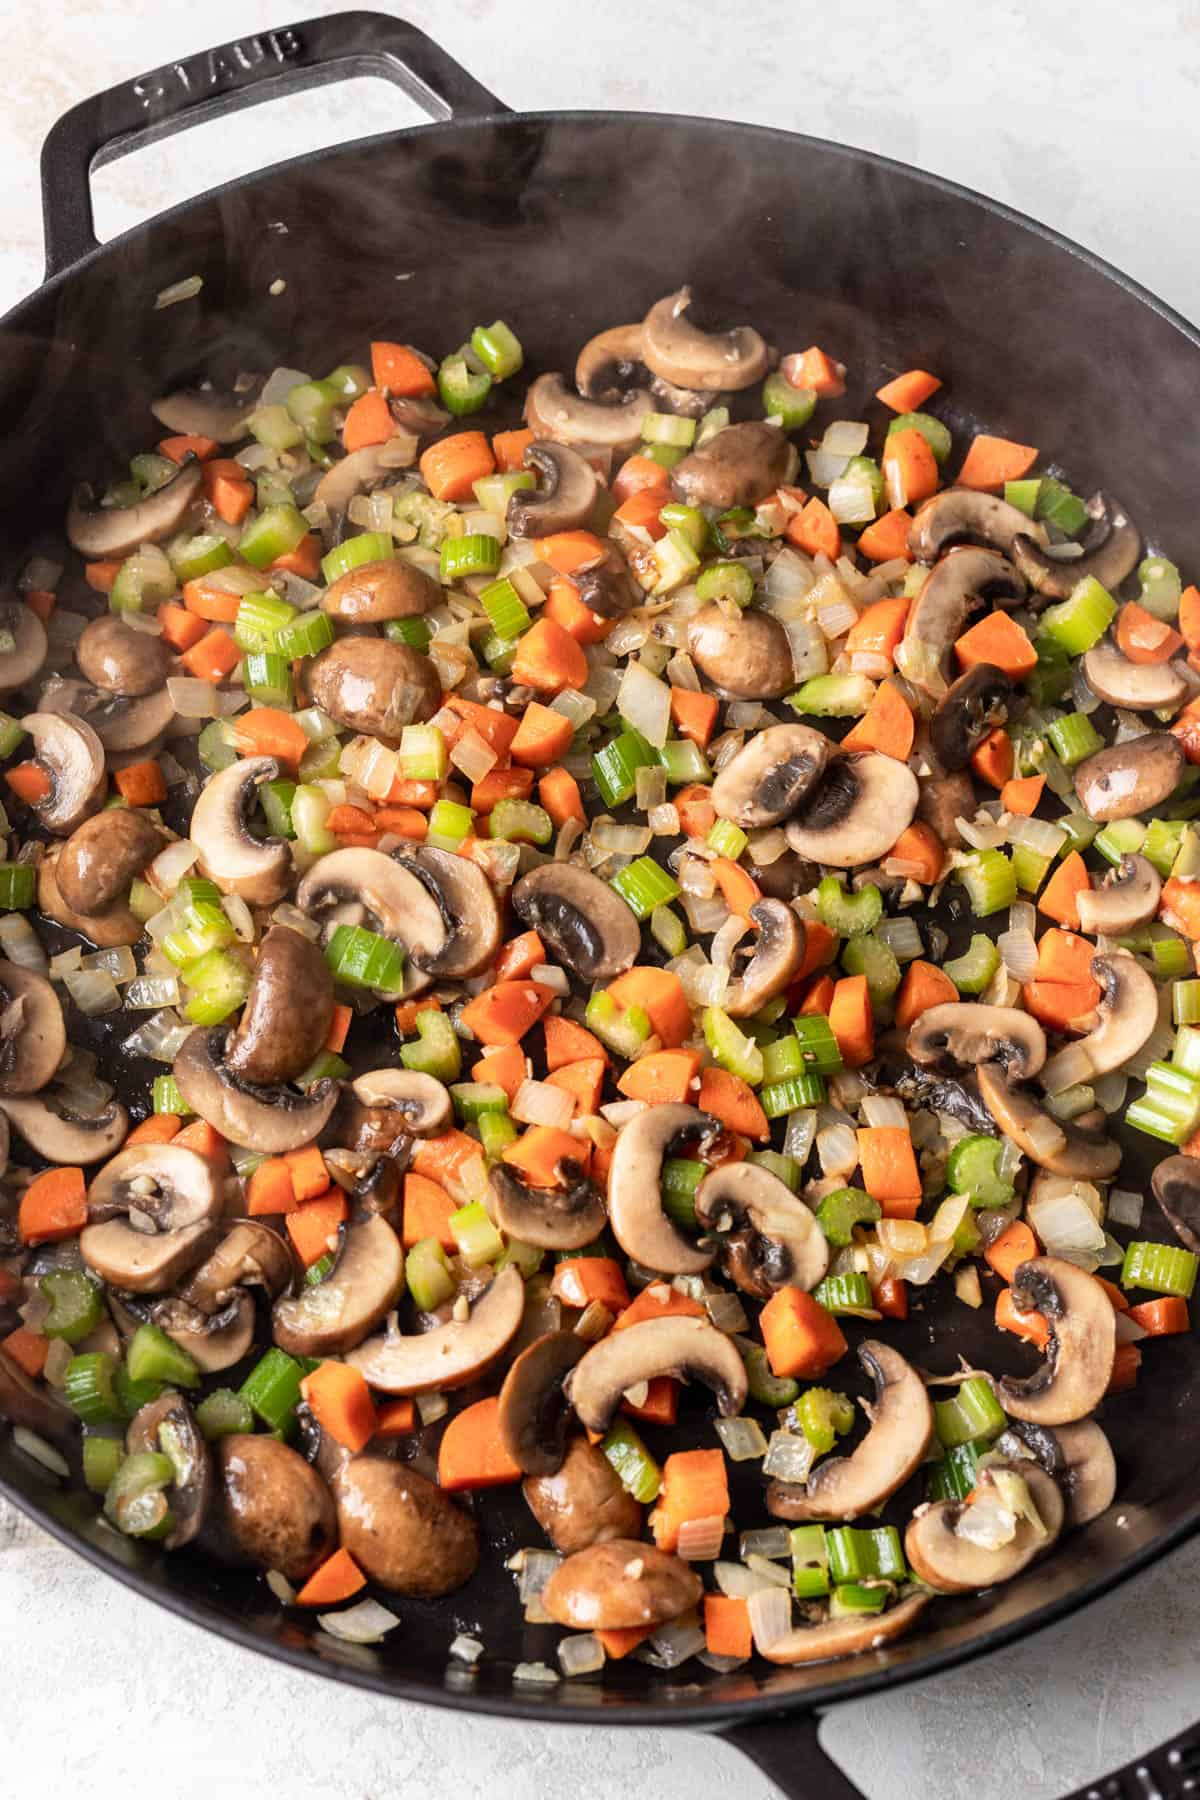
Sautee the veggies. Cook chopped onion, carrots, and celery in a little melted butter for about 5 minutes until the vegetables start to soften and the onion turns translucent. Add the mushrooms and garlic, continuing to cook and stir occasionally for 3 more minutes.
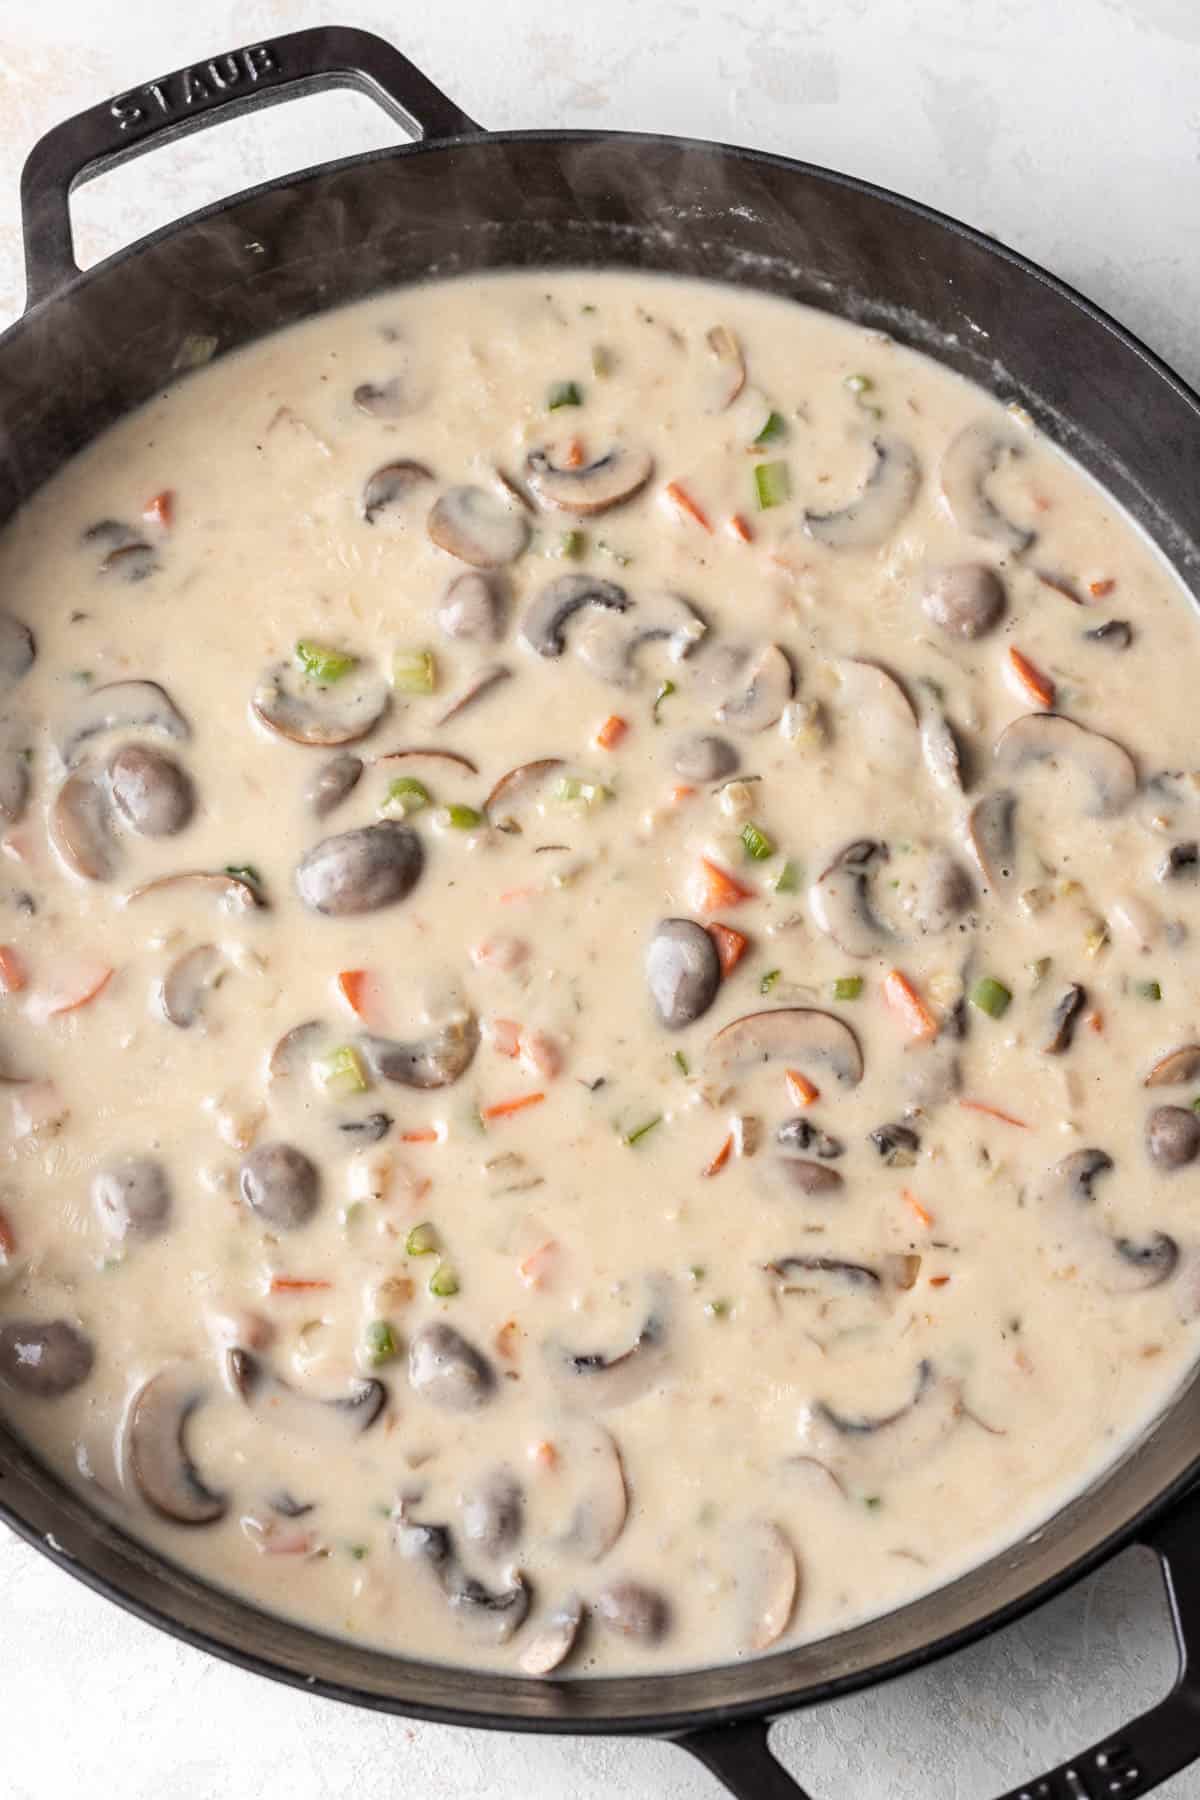
Make filling. Sprinkle the flour over the cooked vegetables, stirring to evenly coat. This will help prevent the flour from clumping and getting lumpy when you add the liquid. Stir in the chicken broth and heavy cream, then bring to a simmer for 3 to 4 minutes until thickened slightly.
Season and stir in remaining ingredients. Add the salt, pepper, and thyme to season the filling, then stir in the cooked chicken, frozen peas, and fresh parsley. Remove from heat and set aside to cool.

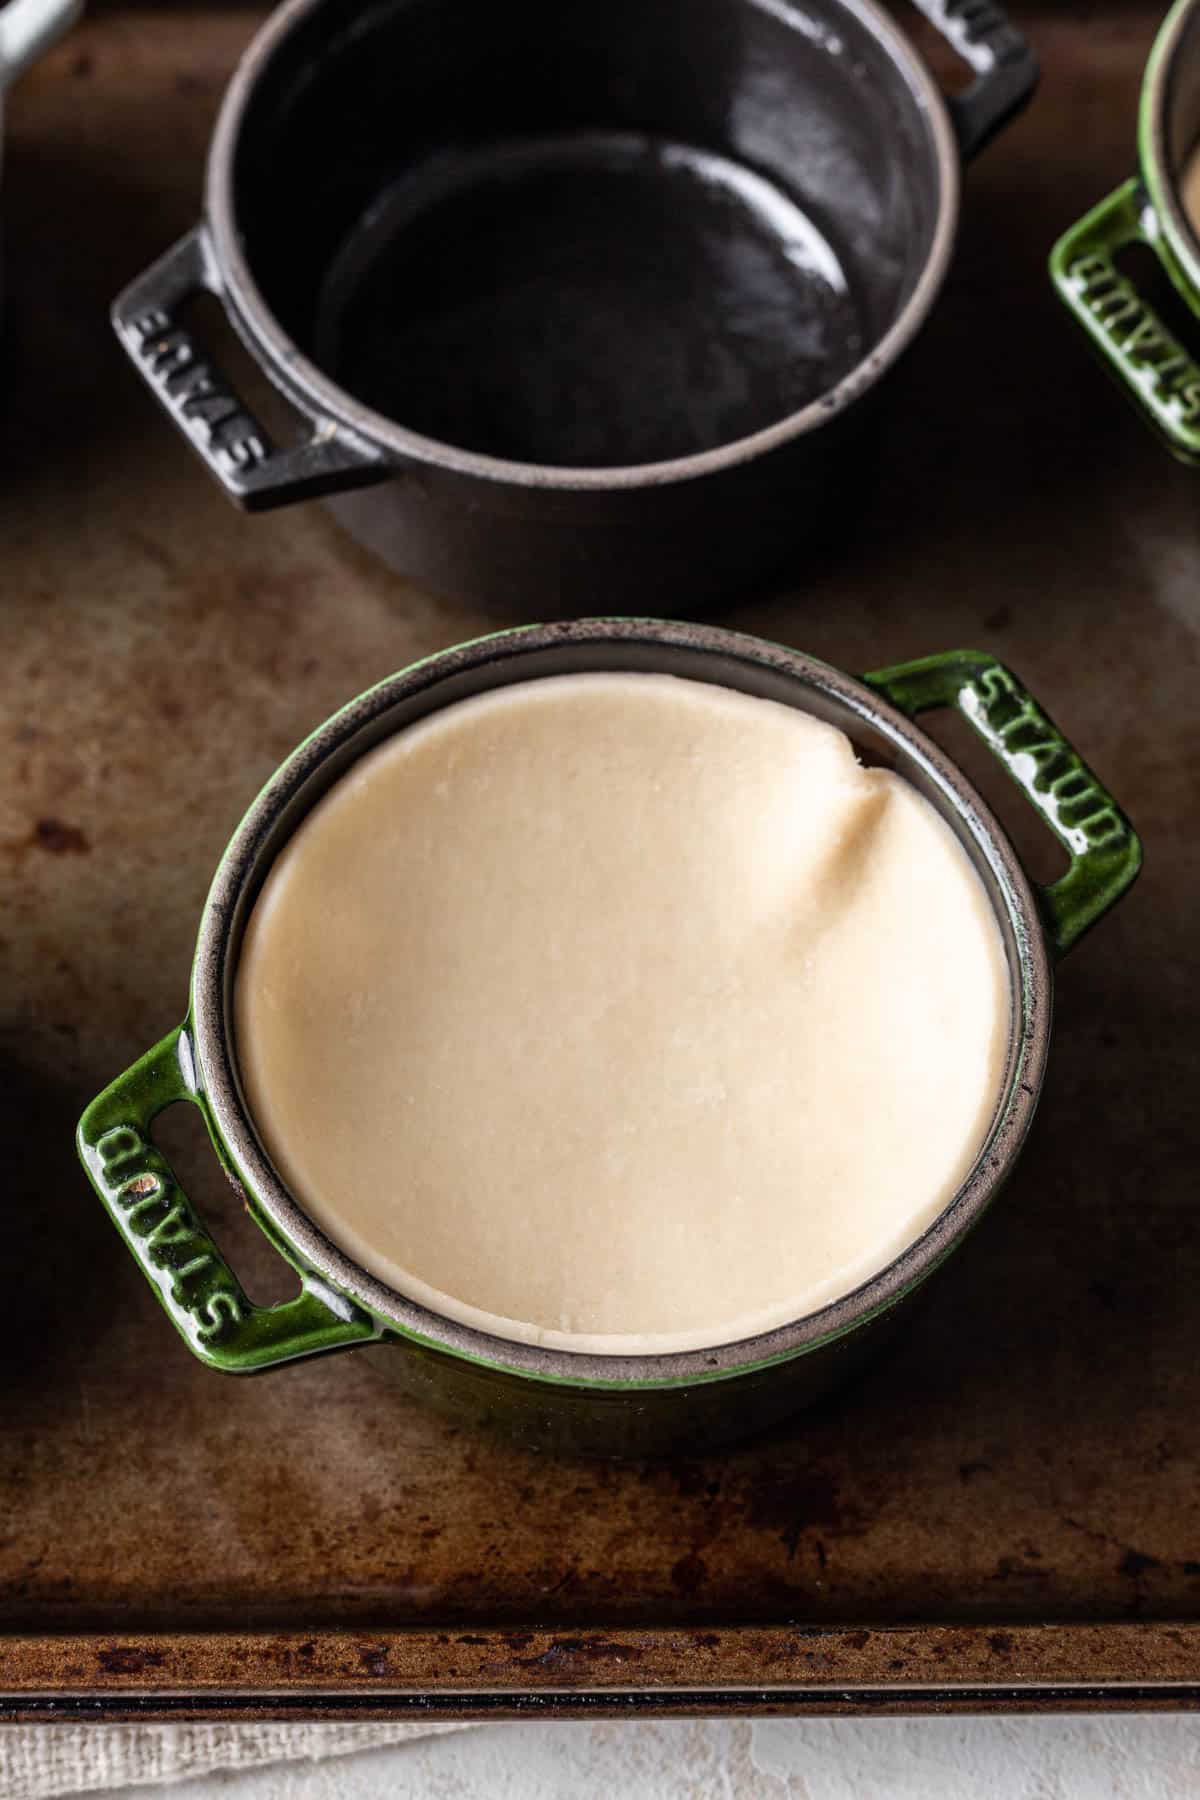
Prepare crusts. Make the pie crust if using homemade. Roll it out and cut out six 4 1/4-inch circles for the bottom pie crusts. Line the bottoms of six ramekins with the pie crust circles, then use the remaining dough scraps to cut out 4-inch strips for the top crusts.
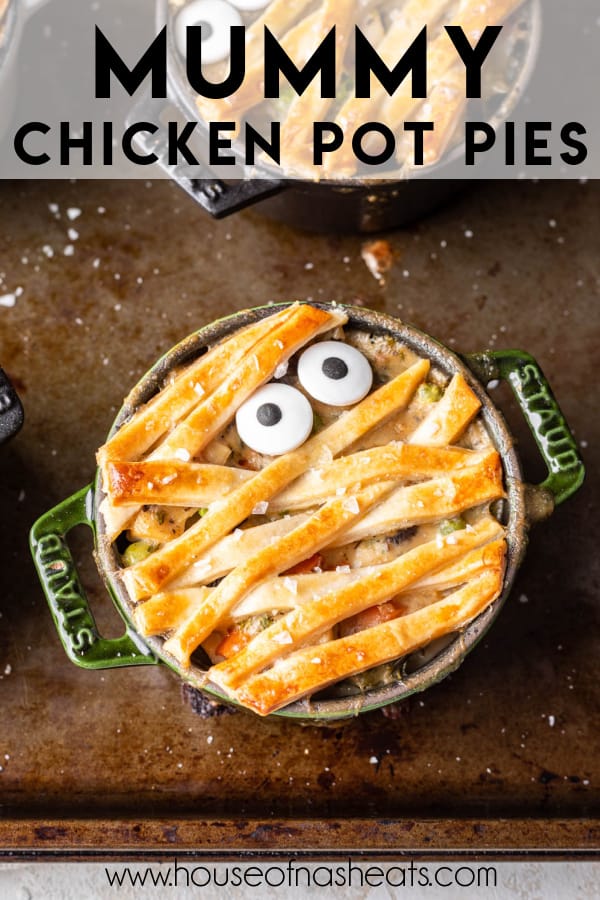
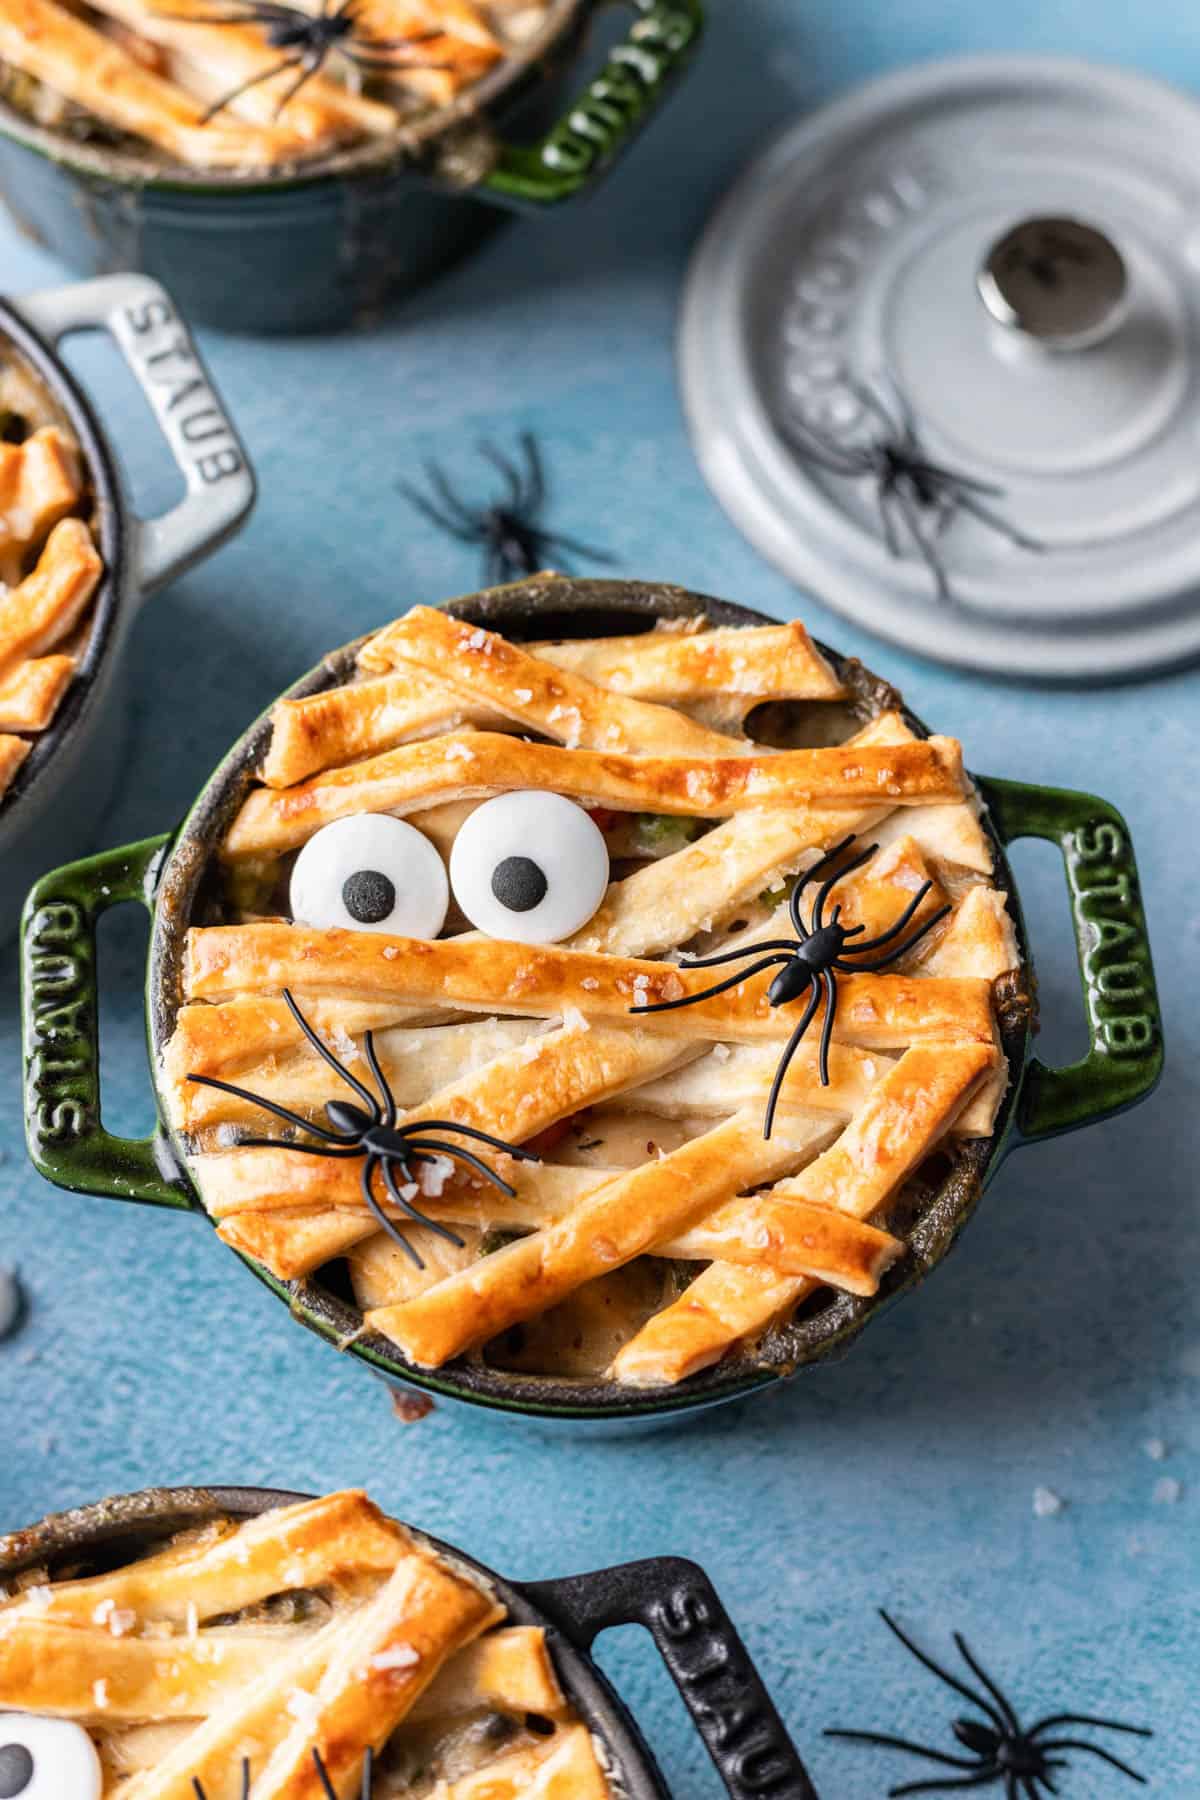
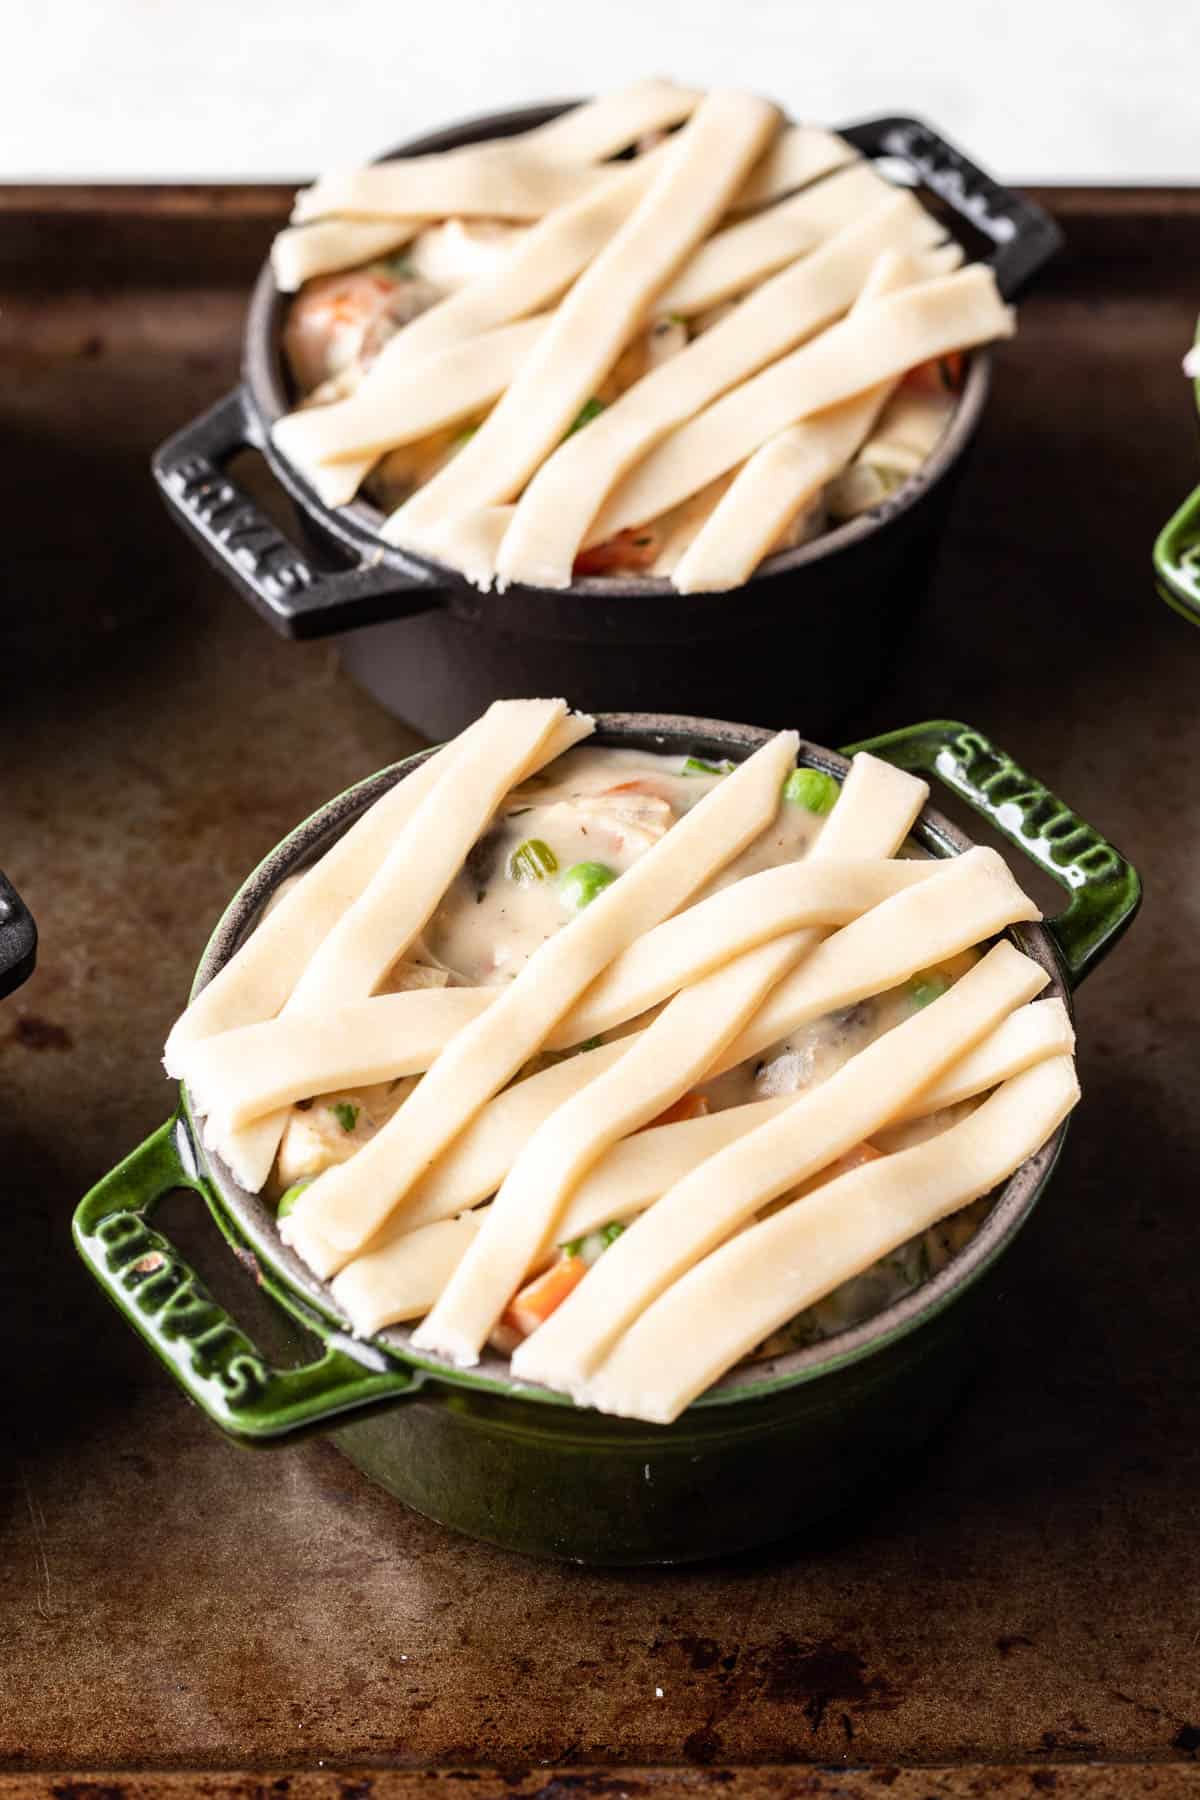
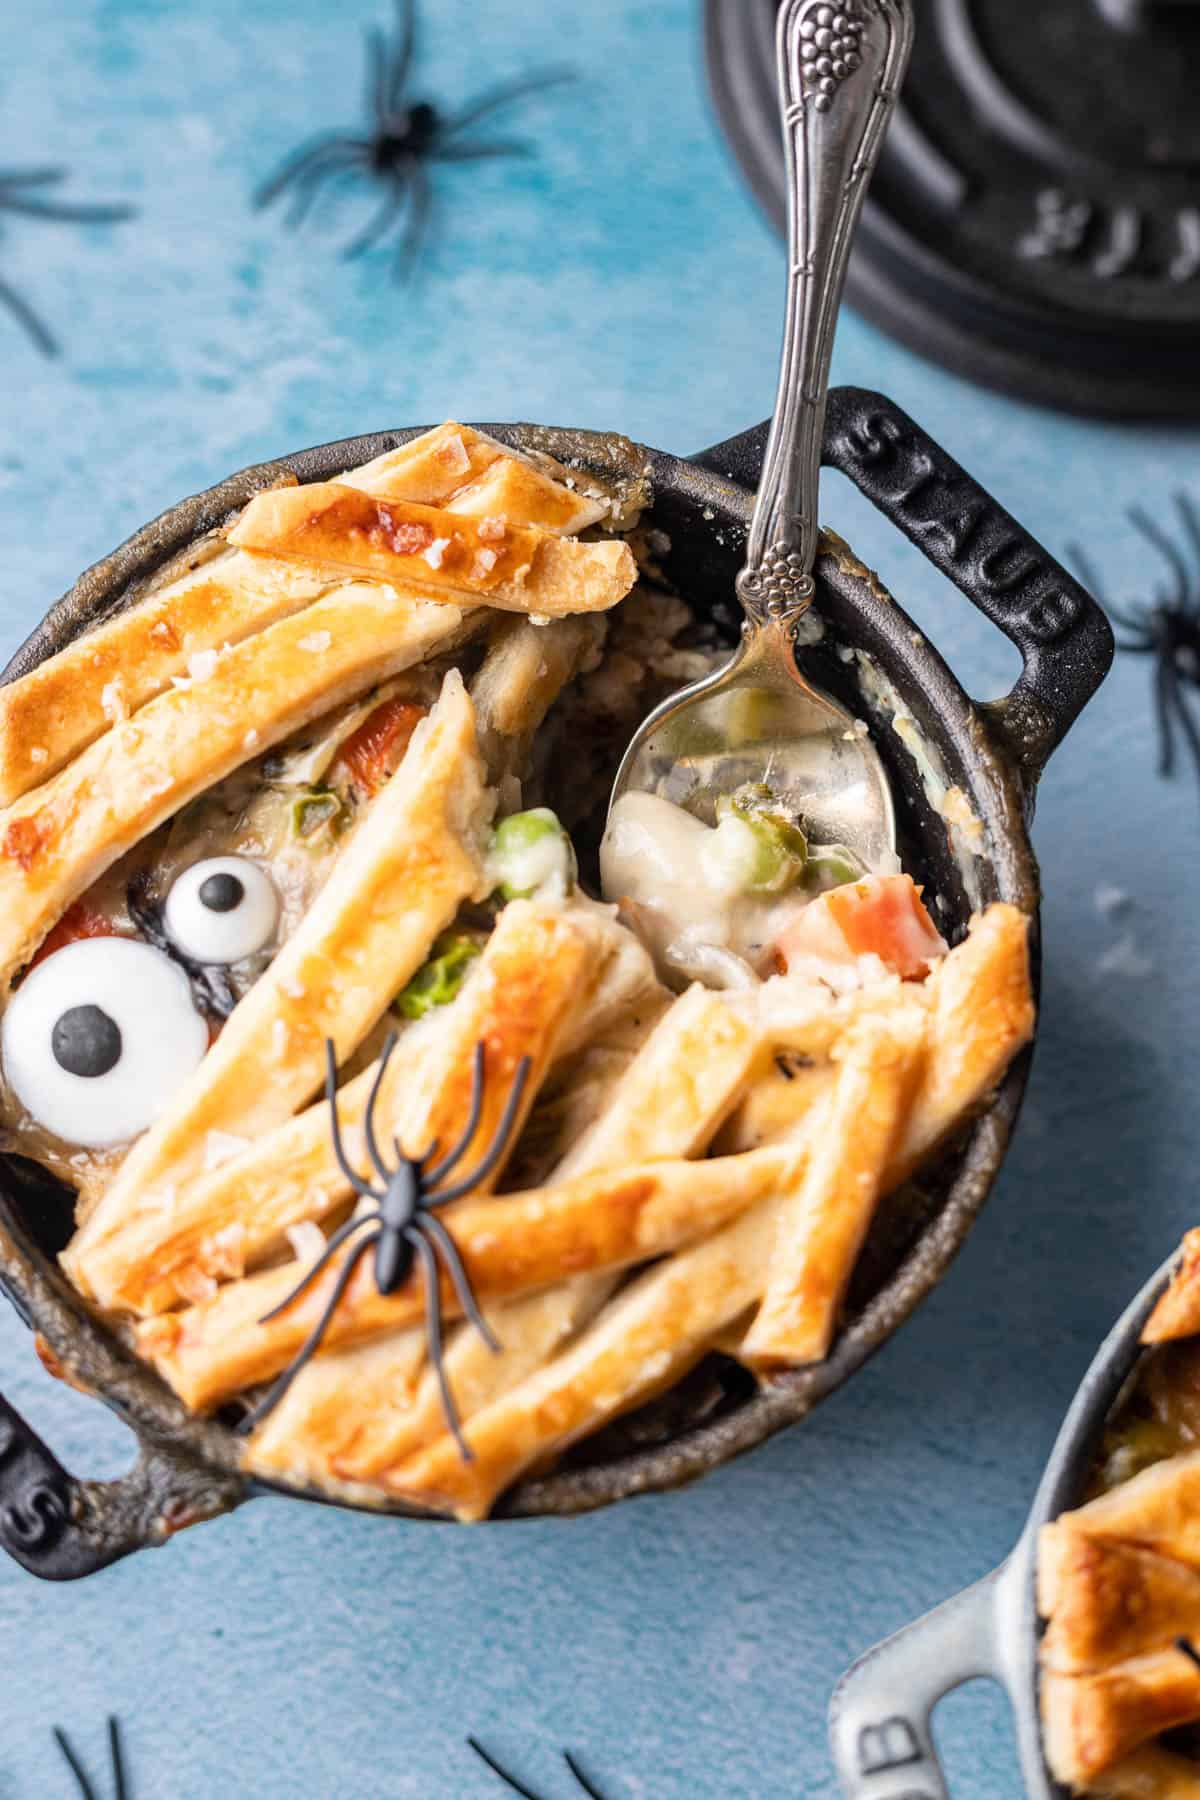
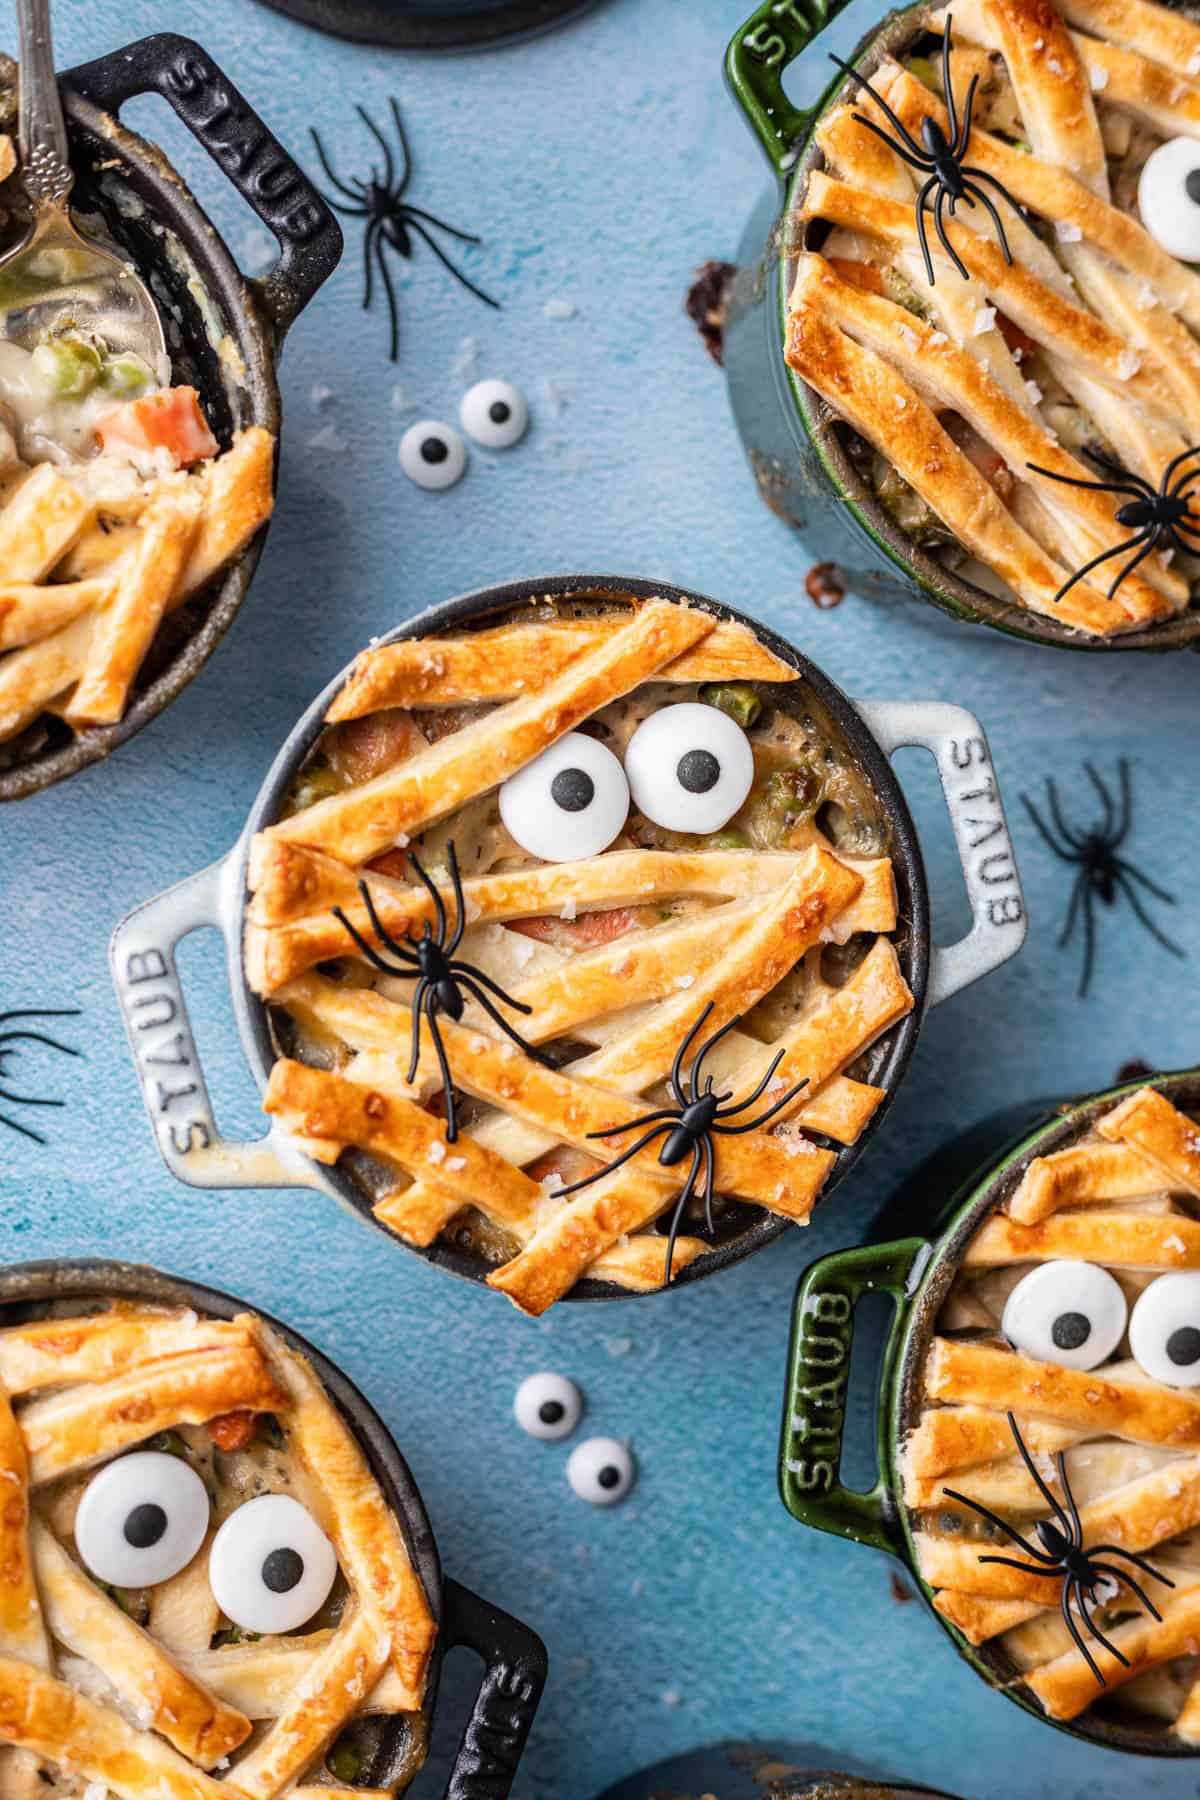
Assemble. Fill each ramekin with the cooled chicken pot pie filling. Arrange the dough strips on top, overlapping some of them a bit in random patterns to create a mummy-looking bandage appearance on top. Be sure to leave a space slightly open between some strips for the eyes.
Egg wash. Whisk an egg with 1 teaspoon of cold water in a bowl and brush over the pie dough on top. You might want to sprinkle the tops of the crusts with some coarse salt for extra flavor.
Bake. Bake for 20 to 25 minutes until the mummy pot pies are golden brown on top and the filling is bubbling. Remove from the oven to cool slightly before decorating with candy eyes peeking through the bandages and serving.

FAQ’s
Sure! If you prefer not to do individual pot pies you can use a large 9-inch pie plate and make one mummy pot pie for sharing instead. You might want to use something different for eyes like slices of pepperoni or mozzarella cheese with olives to represent the mummy’s “eyes”.
Yes! You can make the pot pie filling a day or two in advance and store in the fridge until you are ready to assemble and bake the pot pies.
Tips for Success
- If you prefer not to use candy sprinkles you could use black olives for eyes instead.
- The buttery, sauteed vegetables will soak up the flour if you sprinkle it over them and stir it in first before adding the chicken broth. Whisk in the liquid to be sure you don’t end up with a lumpy gravy.
- Set the ramekins on a baking sheet before putting them in the oven to bake to catch any filling that might spill over and make a mess while the pot pies bake.
Storage
Leftover chicken pot pies can be stored in the fridge for 3-4 days. Reheat in the oven or microwave until hot before serving.
Can these be frozen?
You can assemble and freeze the pot pies up to 1 month in advance, then bake directly from frozen. You will just need to add additional baking time to cook the filling and crust all the way through, more like 30-35 minutes total.
You can also freeze and reheat the leftovers if they have already been baked, although the crust usually doesn’t reheat as well and loses some of it’s texture when reheating from frozen.
What to Serve With Mummy Chicken Pot Pies
Pot pie is a pretty complete meal with all the protein and veggies in one dish, but we love serving our mummy pot pies with Layered Halloween Jello or Homemade Butterbeer for a treat! It’s also great with a delicious salad with homemade Olive Garden dressing.
More Halloween Recipes
Halloween
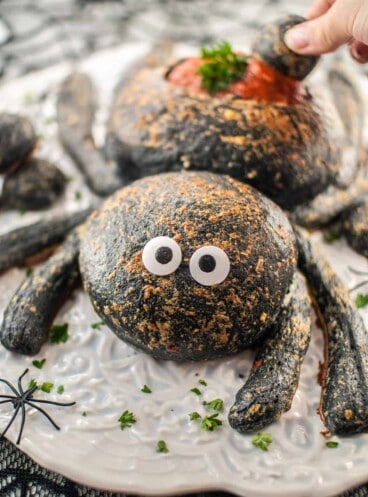
Black Spider Bread Bowl

Halloween
Mummy Jalapeño Poppers

Halloween
Haunted Halloween Gingerbread House
Did you make this recipe?
Let me know what you thought with a comment and rating below. You can also take a picture and tag me on Instagram @houseofnasheats or share it on the Pinterest pin so I can see.
Mummy Chicken Pot Pies
Ingredients
- 1 [double pie crust recipe] or one 15-ounce box refrigerated pie crusts with two 9-inch crusts
- 2 cups cubed, cooked chicken (we like using rotisserie chicken)
- 2 Tablespoons salted butter
- 1 medium yellow onion chopped (about 1 cup)
- 2 medium carrots diced (about ¾ cup)
- 3-4 celery ribs chopped (about ¾ cup)
- 8 ounces cremini mushrooms sliced (about 2 cups)
- 3-4 garlic cloves minced (about 1 Tablespoon)
- 1/3 cup all-purpose flour
- 2 cups chicken broth
- 1/2 cup heavy cream
- 1 teaspoon dried thyme
- 1/2 teaspoon kosher salt
- 1/4 teaspoon black pepper
- 1/2 cup frozen peas
- 1/4 cup fresh parsley chopped
- 1 large egg beaten
- 12 large candy eyes for decorating

Instructions
- Preheat oven to 425°F. Spray 4-inch ramekins or oven-safe small pots with nonstick spray.
- Place a large skillet on the stove over medium heat. Melt the butter.2 Tablespoons salted butter
- Once butter has melted, add the onion, carrots, and celery. Cook for 5 minutes, or until the onion starts to turn translucent.1 medium yellow onion, 2 medium carrots, 3-4 celery ribs
- Add in cremini mushrooms and garlic, stirring occasionally so the garlic does not burn. Cook 3 more minutes, until mushrooms are tender and any liquid they give off evaporates.8 ounces cremini mushrooms, 3-4 garlic cloves
- Stir in flour until all vegetables are coated. Carefully pour in chicken broth and heavy cream. Whisk together until combined. Simmer for 3 to 4 minutes, until thick.⅓ cup all-purpose flour, 2 cups chicken broth, ½ cup heavy cream
- Season with thyme, salt, and pepper. Stir in cooked chicken, frozen peas, and parsley.2 cups cubed, cooked chicken, 1 teaspoon dried thyme, ½ teaspoon kosher salt, ¼ teaspoon black pepper, ½ cup frozen peas, ¼ cup fresh parsley
- Remove skillet from the heat and allow to cool slightly while you prepare the pie crust. Cut six 4¼-inch circles out of the pie crust and stick them into the bottom of the prepared ramekins. Then, cut 4-inch strips out of the remaining pie dough.1 [double pie crust recipe]
- Fill ramekins with the filling until it just reaches the top. Use the dough strips to create a mummy-like weave on top of the filling, overlapping pieces every so often. Press the sides down so they stick.
- Whisk the egg in a small bowl with 1 teaspoon of water. Brush egg over top of the dough. OPTIONAL: Add coarse sea salt on top of the egg for additional texture and flavor.1 large egg
- Place ramekins in the oven and bake for 20 to 25 minutes, or until the dough is golden brown and the filling is thick and bubbly.
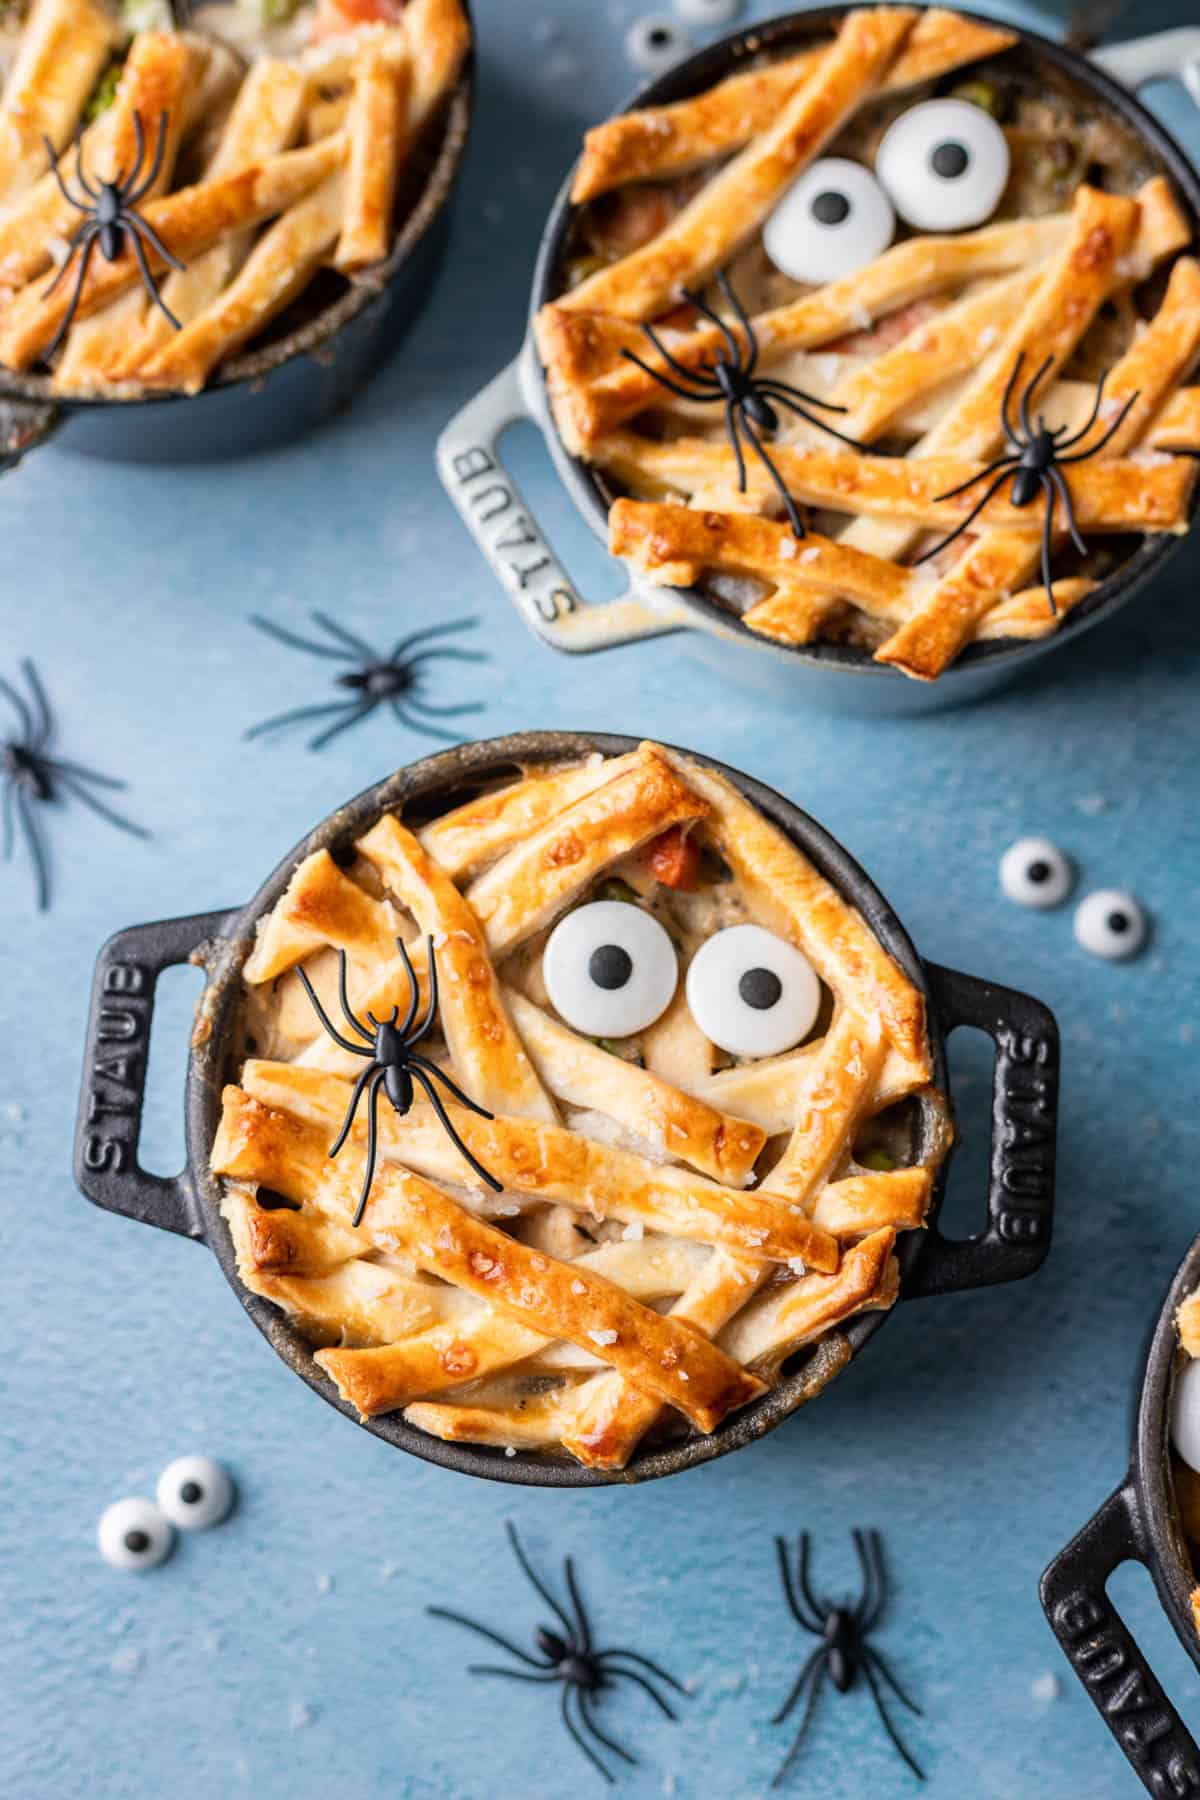
- Allow pot pies to cool slightly before adding candy eyes on top to look like a mummy peeking through the dough.12 large candy eyes
Notes
- Storage: Leftover chicken pot pies can be stored in the fridge for 3-4 days. Reheat in the oven or microwave until hot before serving.
- Freezing: You can assemble and freeze the pot pies up to 1 month in advance, then bake directly from frozen. You will just need to add additional baking time to cook the filling and crust all the way through, more like 30-35 minutes total.
- Making 1 large mummy pot pie: If you don’t have ramekins or just want to make 1 large pot pie, just line the bottom of a 9-inch pie plate with a bottom crust, then fill with the filling. Cut remaining pie dough into 9-inch strips and weave them on top of the pie. Bake for 30-35 minutes until the crust is golden brown, then add eyes on top. You may want to use larger eyes using something like pepperoni slices and circles cut from a mozzarella cheese stick instead of candy eyeballs, which might be too small for this size of a pot pie.


These are so adorable!! What a fun meal for kids!