Don’t be intimidated by a Homemade Pie Crust! This easy buttery, flaky pie crust recipe turns out great every time and is the perfect starting place for all your favorite pies.
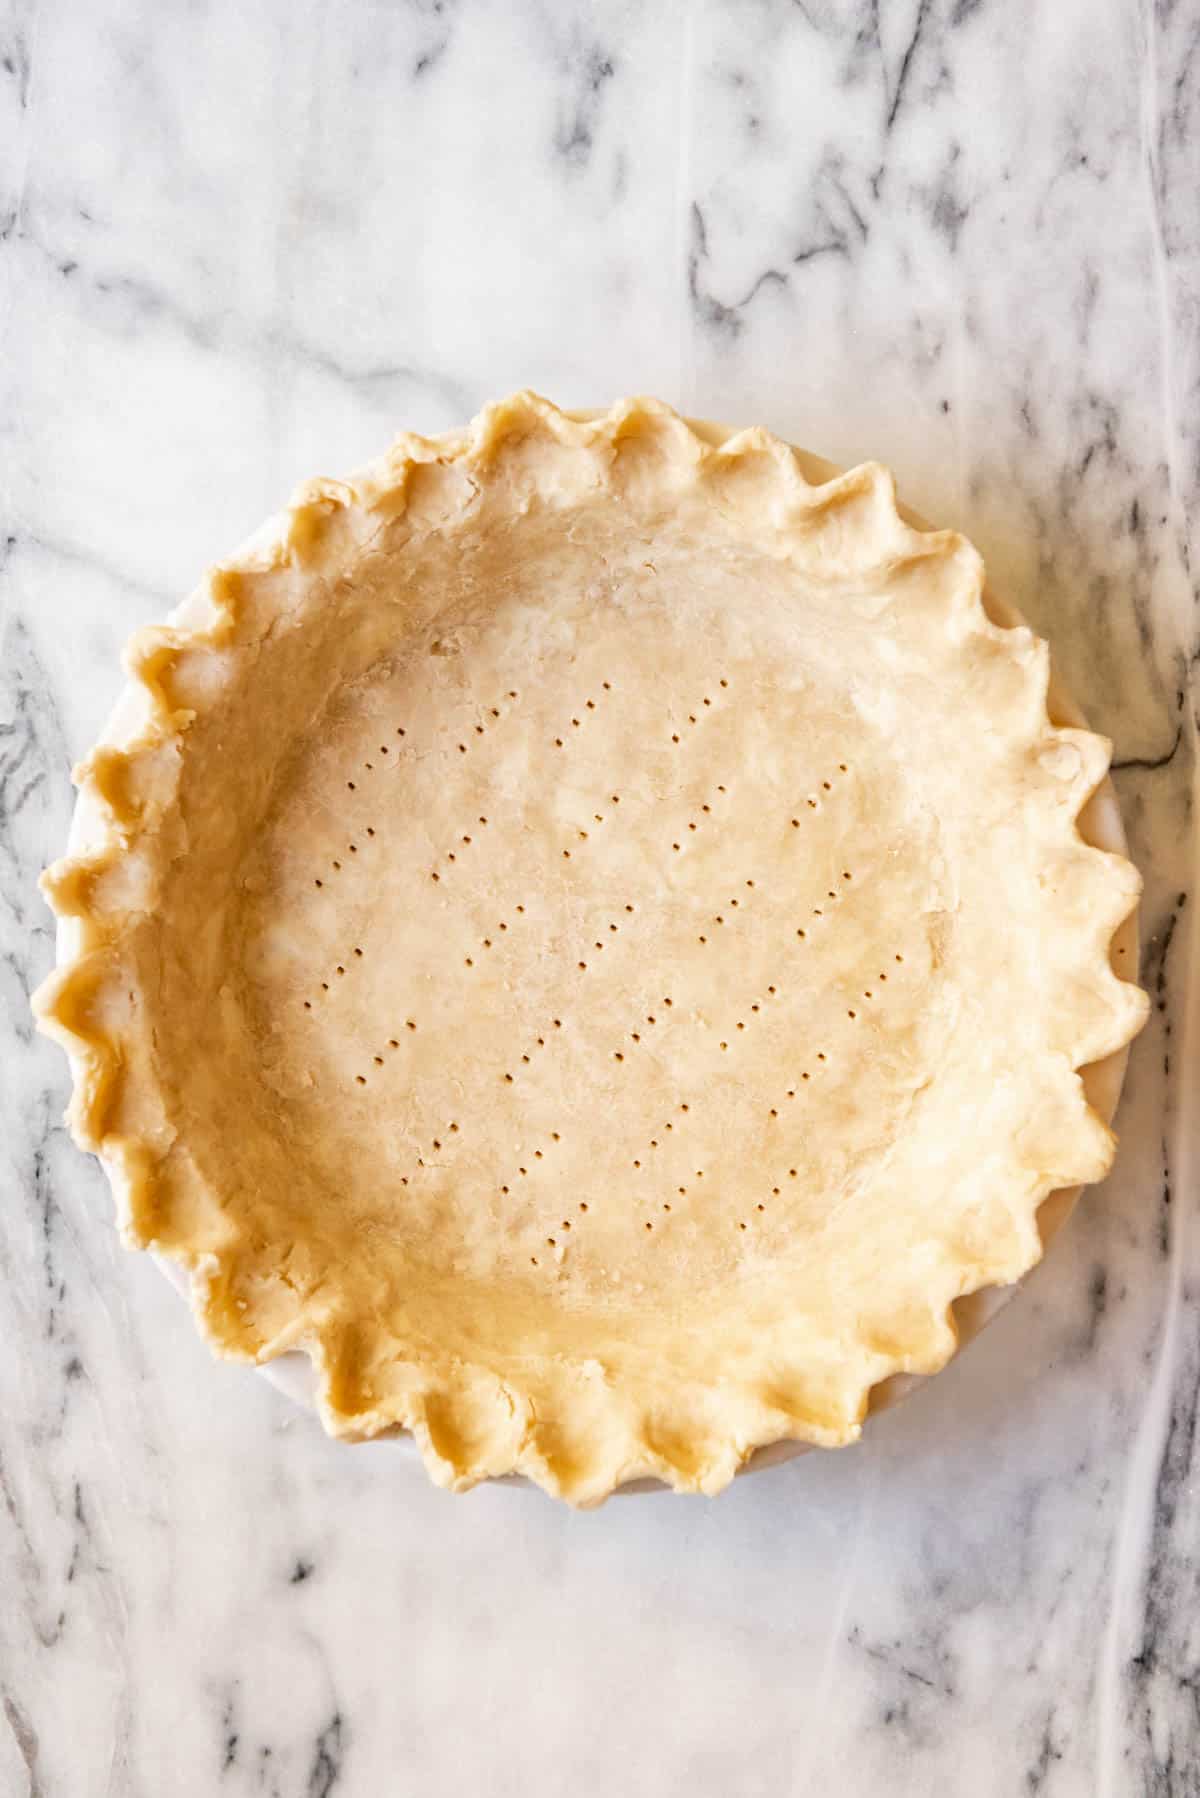
Table of Contents
- This recipe for Pie Crust = buttery, flaky perfection!
- Best Pie Crust Recipe ingredients
- Tools for making Homemade Pie Crust
- How to make Homemade Pie Crust
- How to Blind Bake a Pie Crust
- Homemade Pie Crust Recipe storage
- Perfect Pie Crust FAQs
- Favorite ways to use this Best Pie Crust recipe
- Best Pie Crust Recipe Recipe
This recipe for Pie Crust = buttery, flaky perfection!
Every year we hold a Pi Day pie party and every Thanksgiving I’m always in charge of making pies. Pie is my favorite, really it is. I just love a good, flaky, buttery pie crust filled with wonderful seasonal fruit. I am one of those people who would take pie over cake, any day of the week.
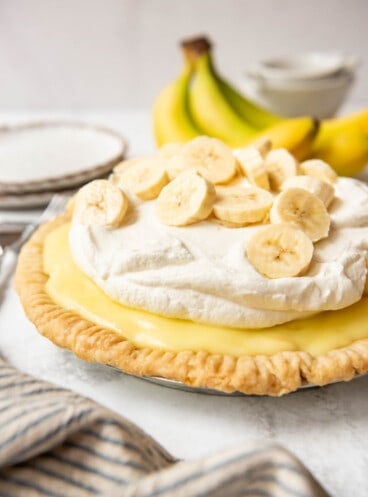
My husband Paul is the opposite. He has started to come around to pie, but when we were first married he was just not a fan of anything other than banana cream pie, and even then he almost never ate any of the pie crust. So basically, he was a fan of banana pudding.
My handsome fella has come far in the years we have been married and now will fairly enthusiastically devour a slice of apple pie, or peach pie, or strawberry rhubarb pie, although he still usually leaves part of his crust on his plate like a 4-year old (love you anyway sweetie!). But an old-fashioned banana cream pie is still his favorite.
Lots of people tell me that they are afraid to make pie though because they don’t know how to make a pie crust. But the perfect pie crust is easier to make than you think! I’ve included measurements below for both double-crust and single-crust pies so you don’t have to do the calculations on your own!
If a classic pastry pie crust isn’t what you want, be sure to also check out my post on How to Make a Graham Cracker Crust.
Best Pie Crust Recipe ingredients
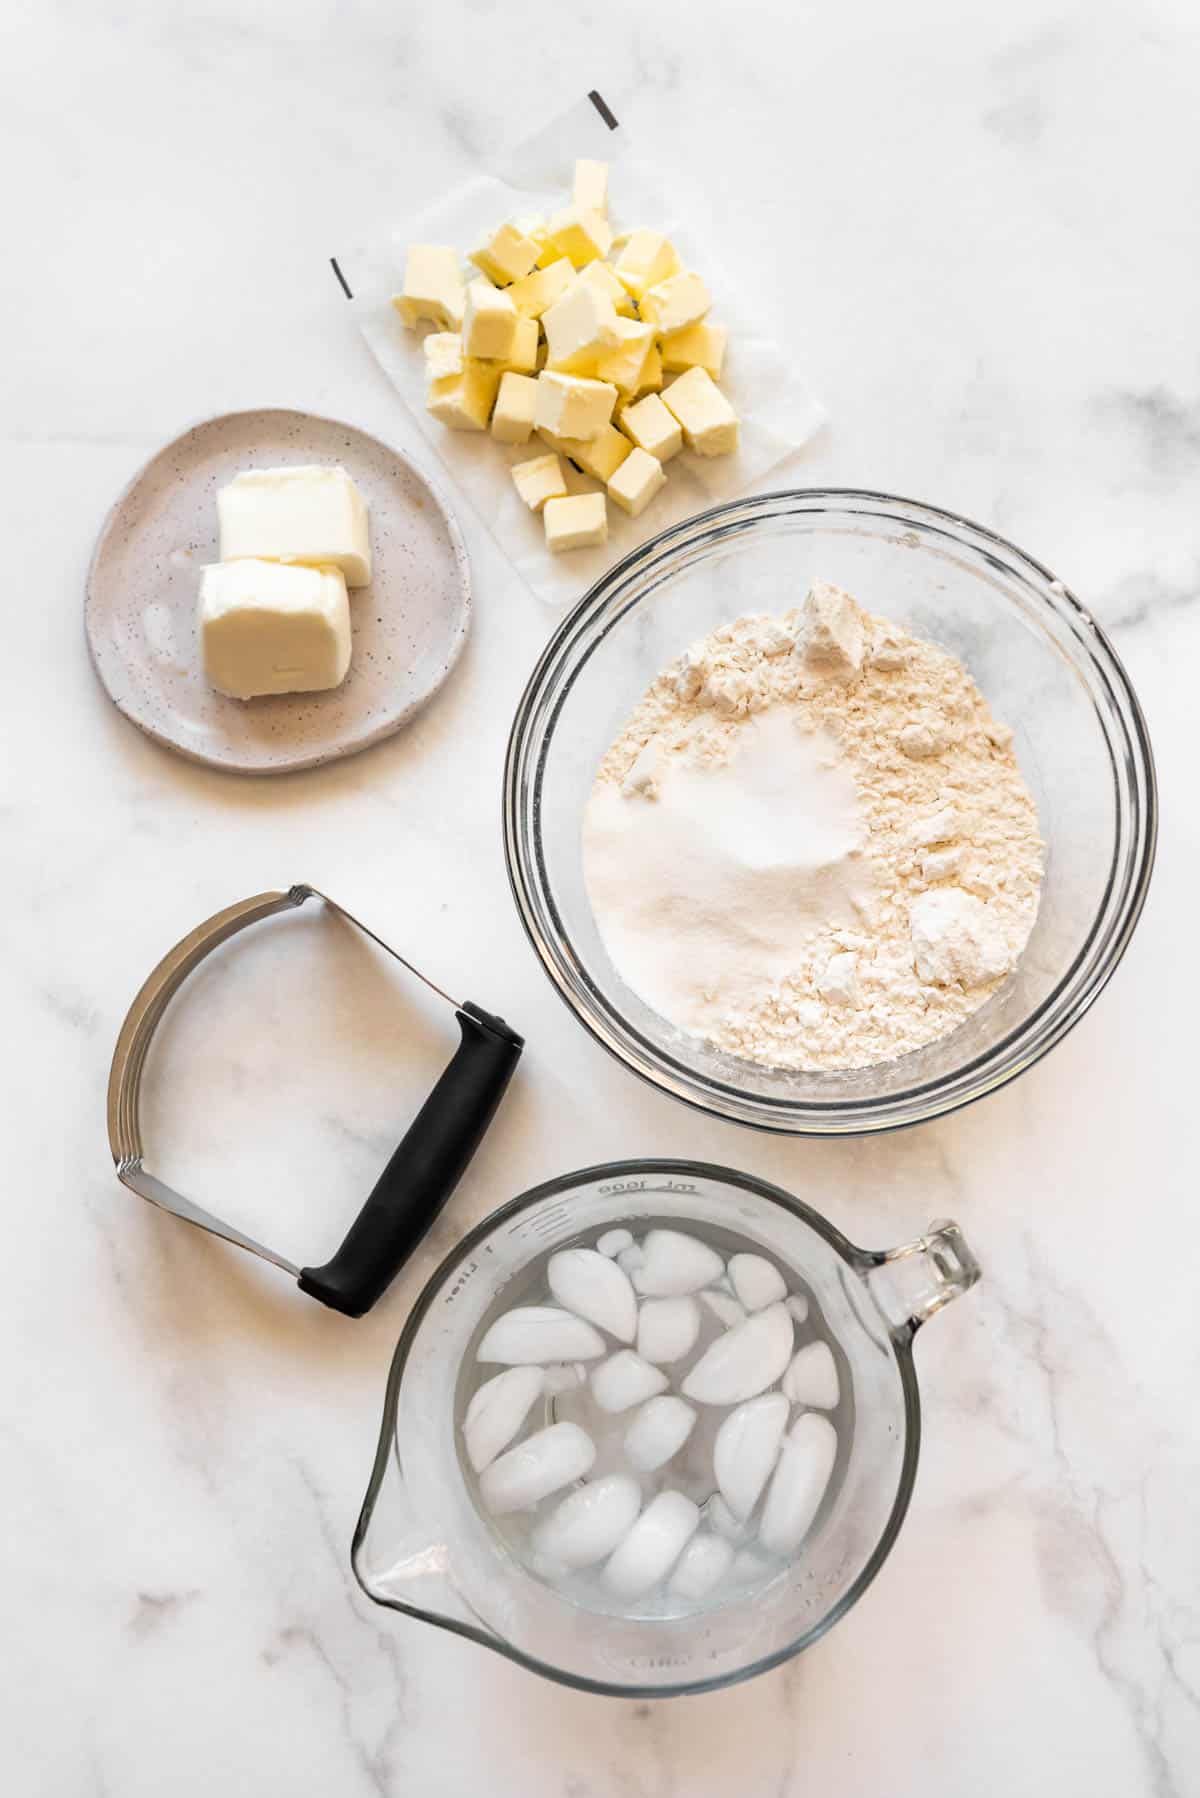
- Flour – I use unbleached regular all-purpose flour in my pie crusts. You will need some additional flour for dusting and rolling out your pie crusts.
- Butter – I use cold, salted butter in almost all my baking. If you only have unsalted butter, just add an extra pinch of salt to your pie crust dough.
- Shortening – The Crisco shortening sticks are handy because you can just slice off however much you need and store the rest in the refrigerator.
- Sugar – This adds just a hint of sweetness to the pie crust so it isn’t bland and pairs better with whatever pie filling you choose.
- Salt – Regular table salt also helps flavor a good pie crust so it doesn’t taste boring.
- Cold water – It’s important to keep your pie crust ingredients cold for the flakiest pie crust to bake up. I fill a large liquid measuring cup with ice and water, then pour out as much as I need just before adding it to the pie dough.
Pie crust ratio
After decades of making pie crusts and much testing, I have found that I highly prefer a pie crust made with both butter and shortening for the best of both worlds in terms of texture and flavor. A Crisco shortening crust is the gold standard in terms of flakiness, but it lacks some of the richness and flavor of an all-butter pie crust. Combining the two results in the flavor and flaky pie crust texture that is so coveted among pie bakers.
Is pie crust better with butter or Crisco?
People cannot agree on whether butter or shortening makes the best pie crust. Shortening makes a flakier crust but it doesn’t have the flavor that butter does. An all butter crust has better flavor, but it’s not as delicate and flaky as the shortening crust. So it only makes sense that the best pie crust is a combination of the two approaches!
Tools for making Homemade Pie Crust
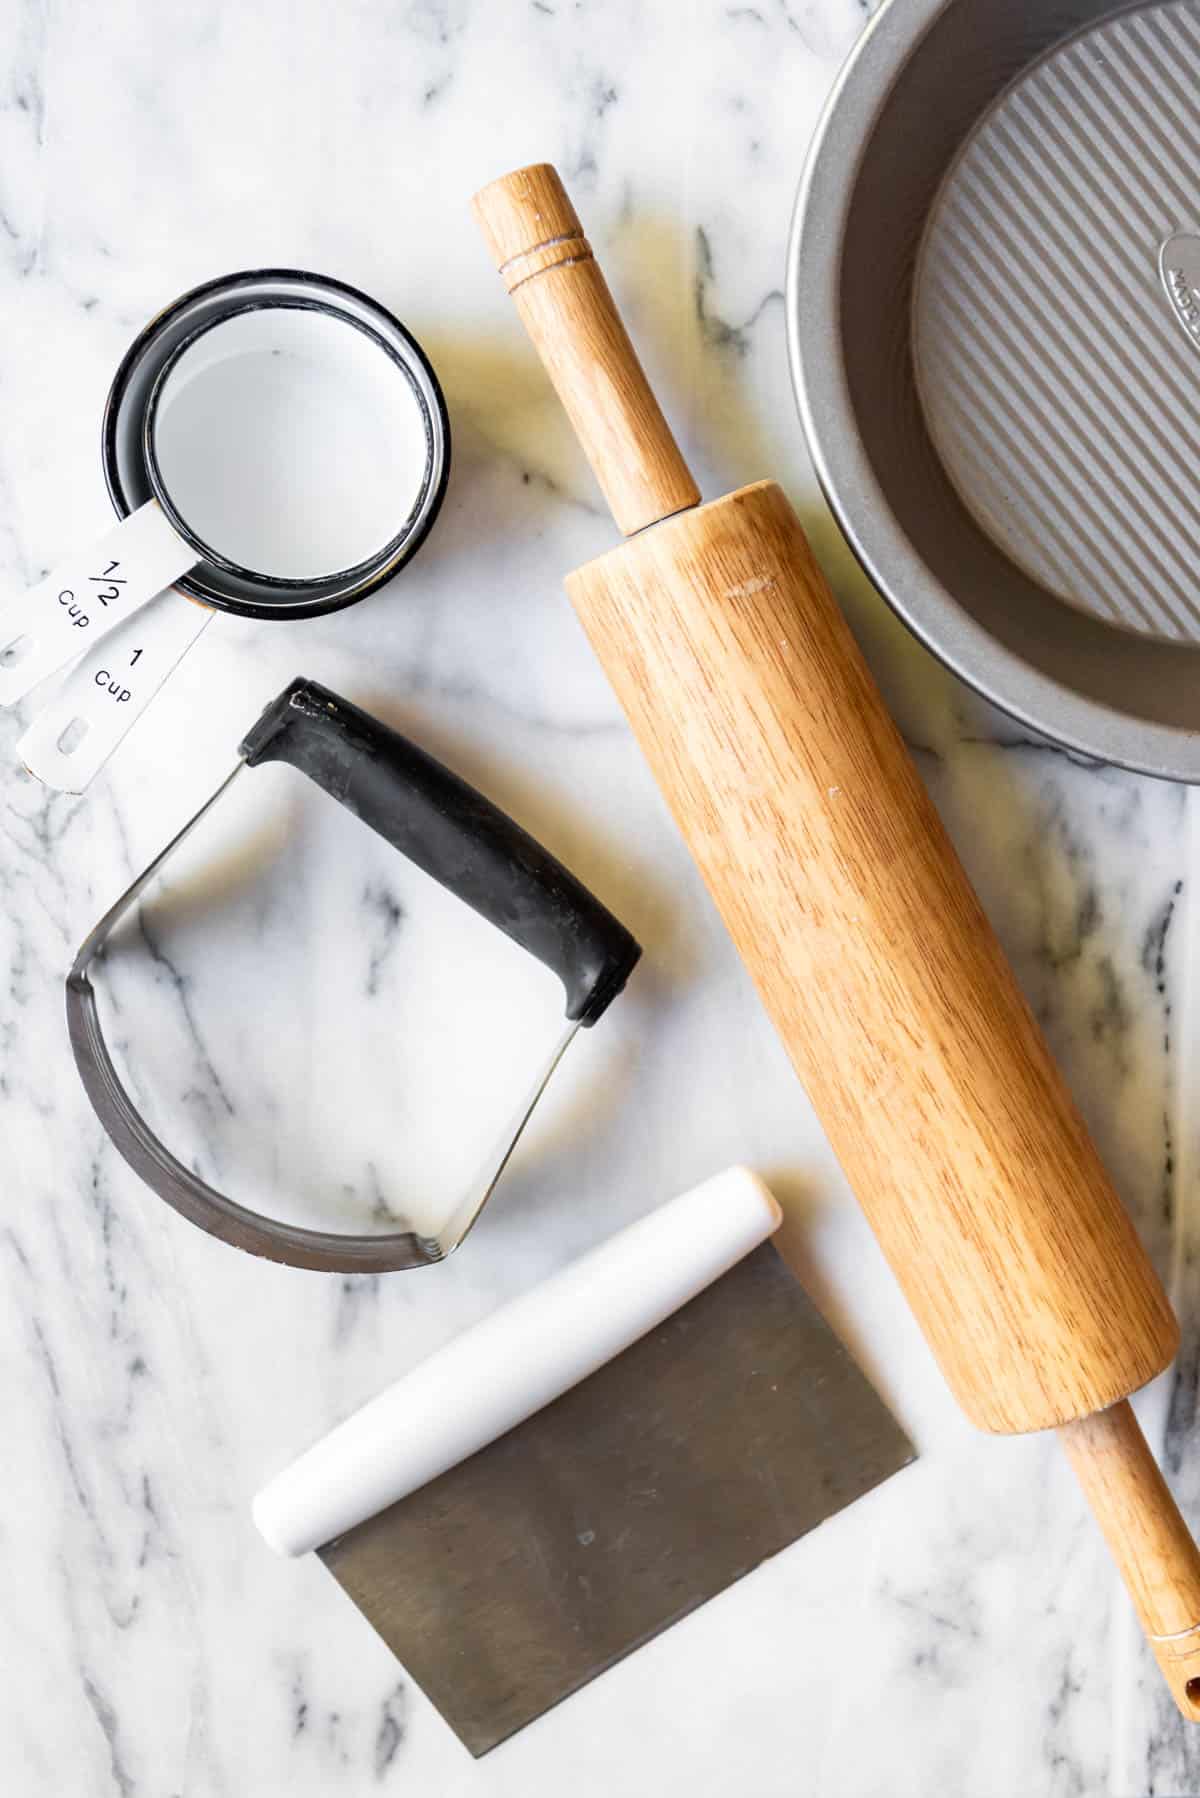
These are all pretty basic tools, but you will want them on hand to make making a pie crust easy as, well, pie.
- rolling pin (affiliate link)
- pie plate (affiliate link)
- bench scraper or thin metal spatula
- pastry cutter or food processor (affiliate link)
- measuring cups
- measuring spoons
- plastic wrap
- large bowl
How to make Homemade Pie Crust
If you have ever felt intimidated not knowing how to make pie crust from scratch, this perfect pie crust recipe will solve your pie crust woes. You can make it easier with a food processor by just pulsing flour, salt, a little sugar, and fat, then adding a little ice water. Or do it the old-fashioned way and make this easy pie crust recipe by hand using a pastry cutter.
This perfect pie crust recipe originally comes from the America’s Test Kitchen cookbook where they call it their “Basic Crust”. They experimented with a variety of combinations of the butter and shortening, and decided that 3 parts butter to 2 parts shortening is “optimal for both flavor and texture” and that a ratio of 2 parts flour to 1 part fat produces a pie dough that is easier to work with and results in a tender and flavorful baked crust. I’m not going to argue with that.
Using Chilled Butter
It really is important to use chilled butter in your pie crust. And if you are using those Crisco shortening sticks, go ahead and keep those in the fridge as well.
Cold fats makes for a flakier, better pie crust because when the pie bakes in the oven, the fats melt creating flaky, tender layers. If the fats get too warm before baking, you won’t have the same flaky result. When you aren’t working with the pie pastry dough, I recommend sticking it in the fridge to keep things nice and cold.
Cutting in the fat
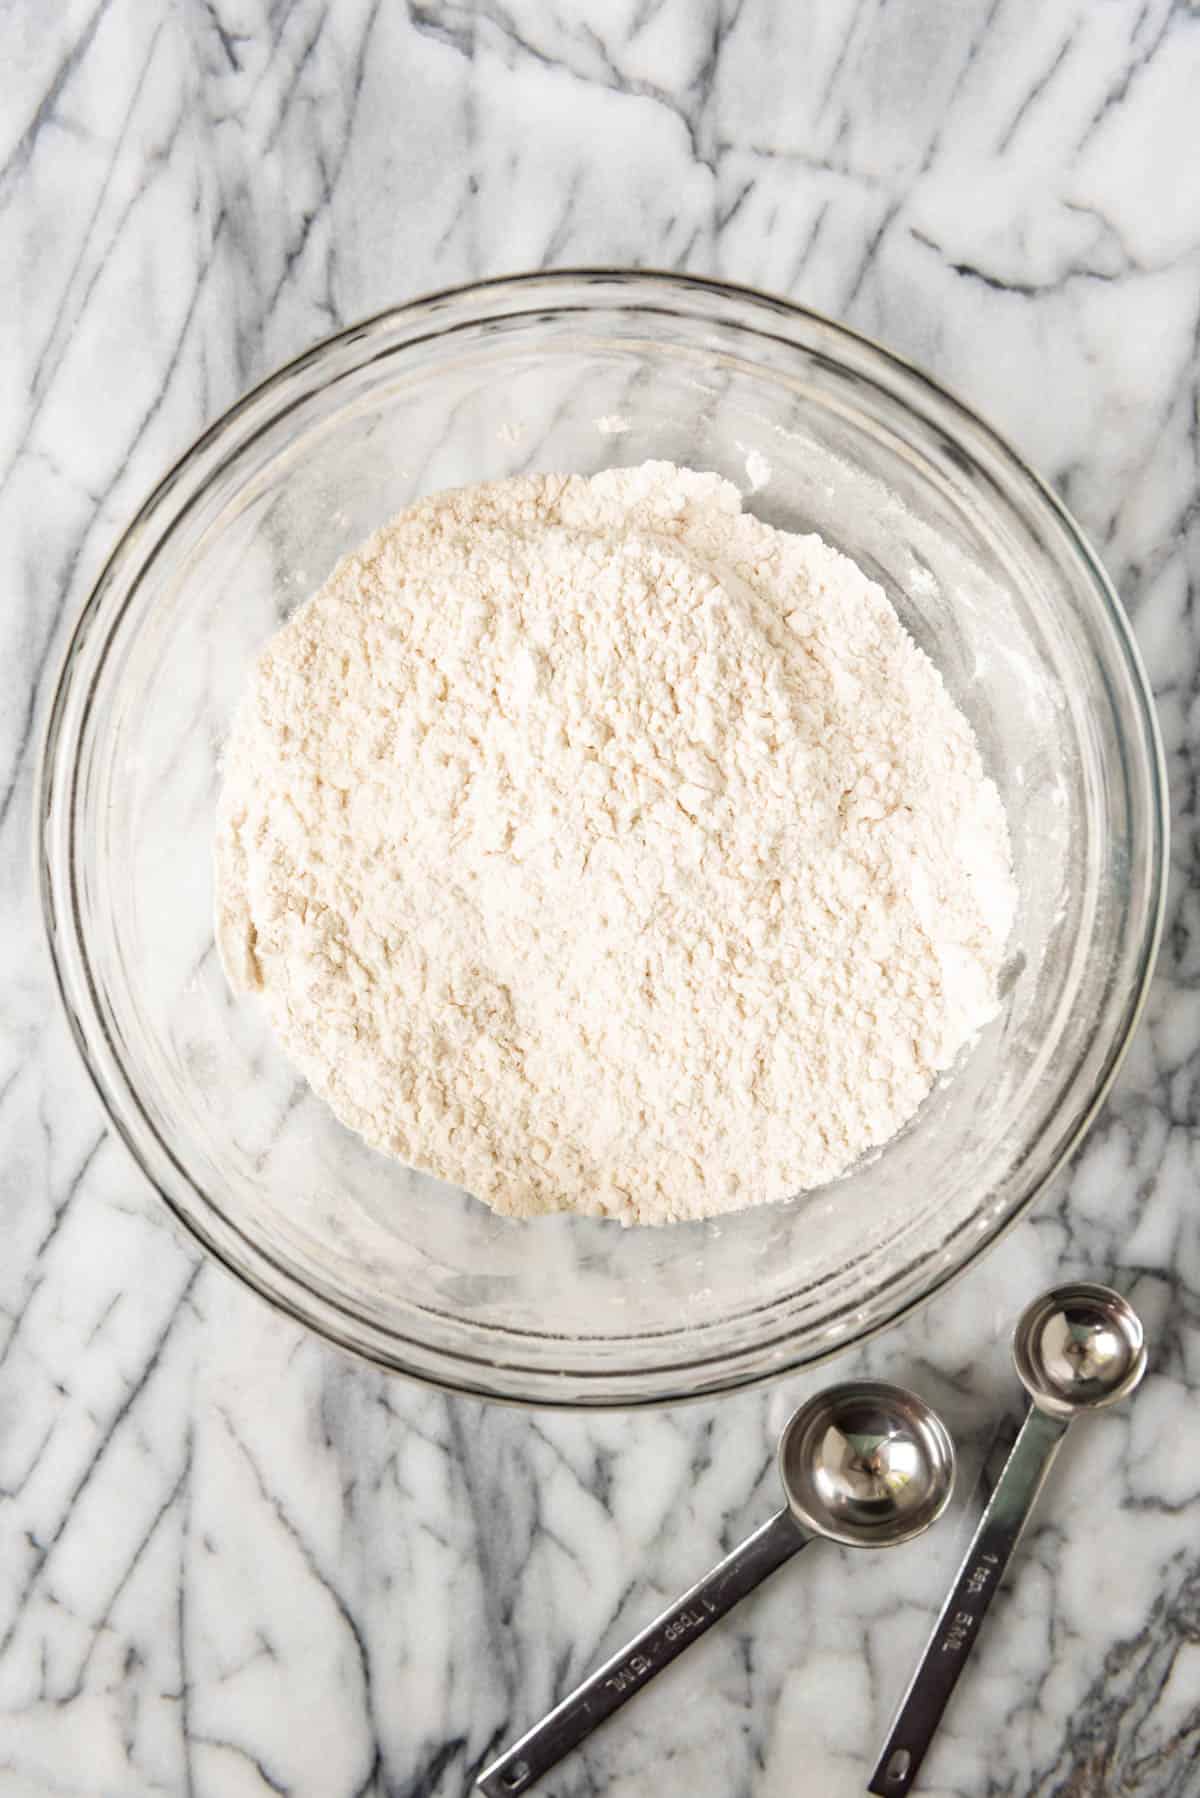
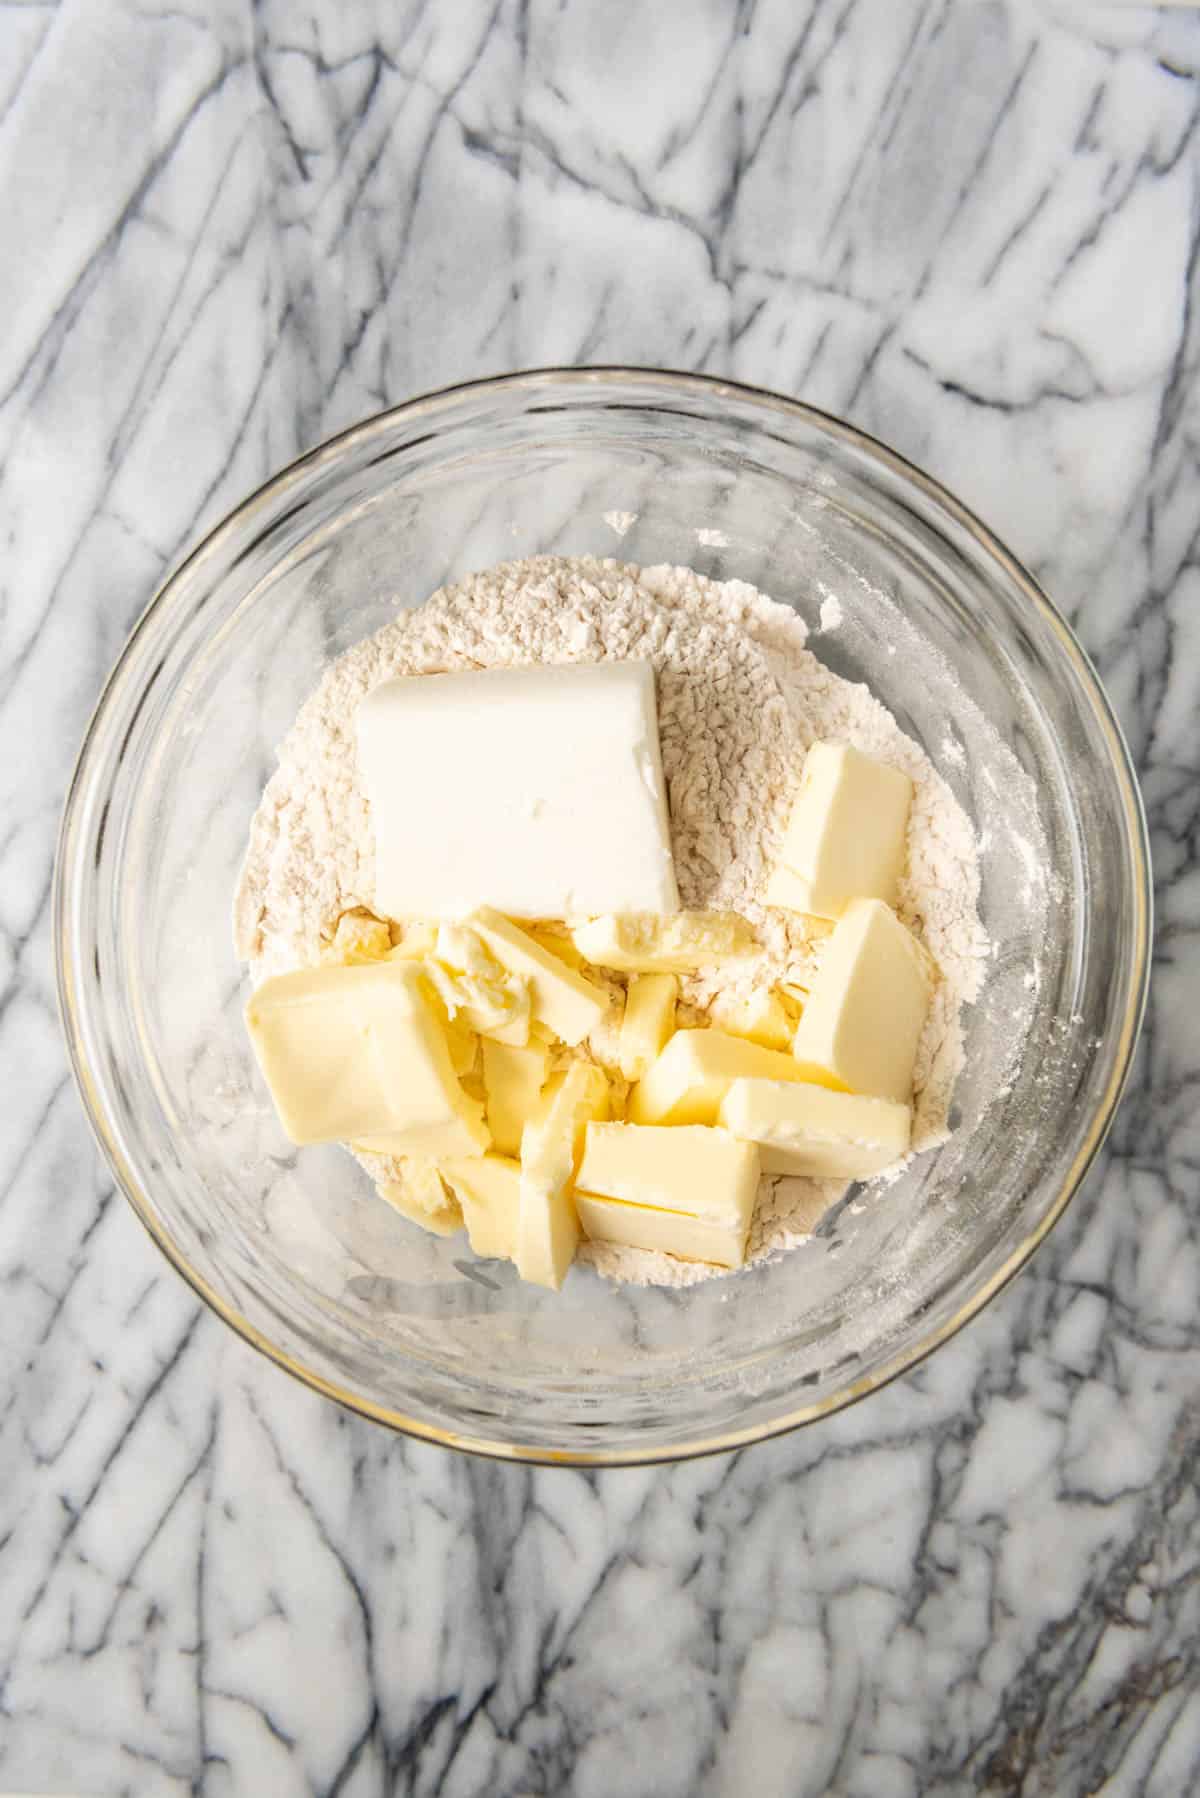
To make the pie crust, first combine flour, salt, and sugar in a large bowl or food processor and give it a quick whisk to evenly distribute the ingredients. Then, take your butter and shortening out of the fridge and cut the butter into small cubes.
Now you are going to cut in the fat, which is a term that means chopping up the butter and shortening into small pieces so they are evenly distributed throughout the flour and other ingredients. The idea is to cut up the fats until they are no bigger than the size of small peas. You can either do this with a pastry cutter, which I’ve shown in the photo below, or using a large food processor.
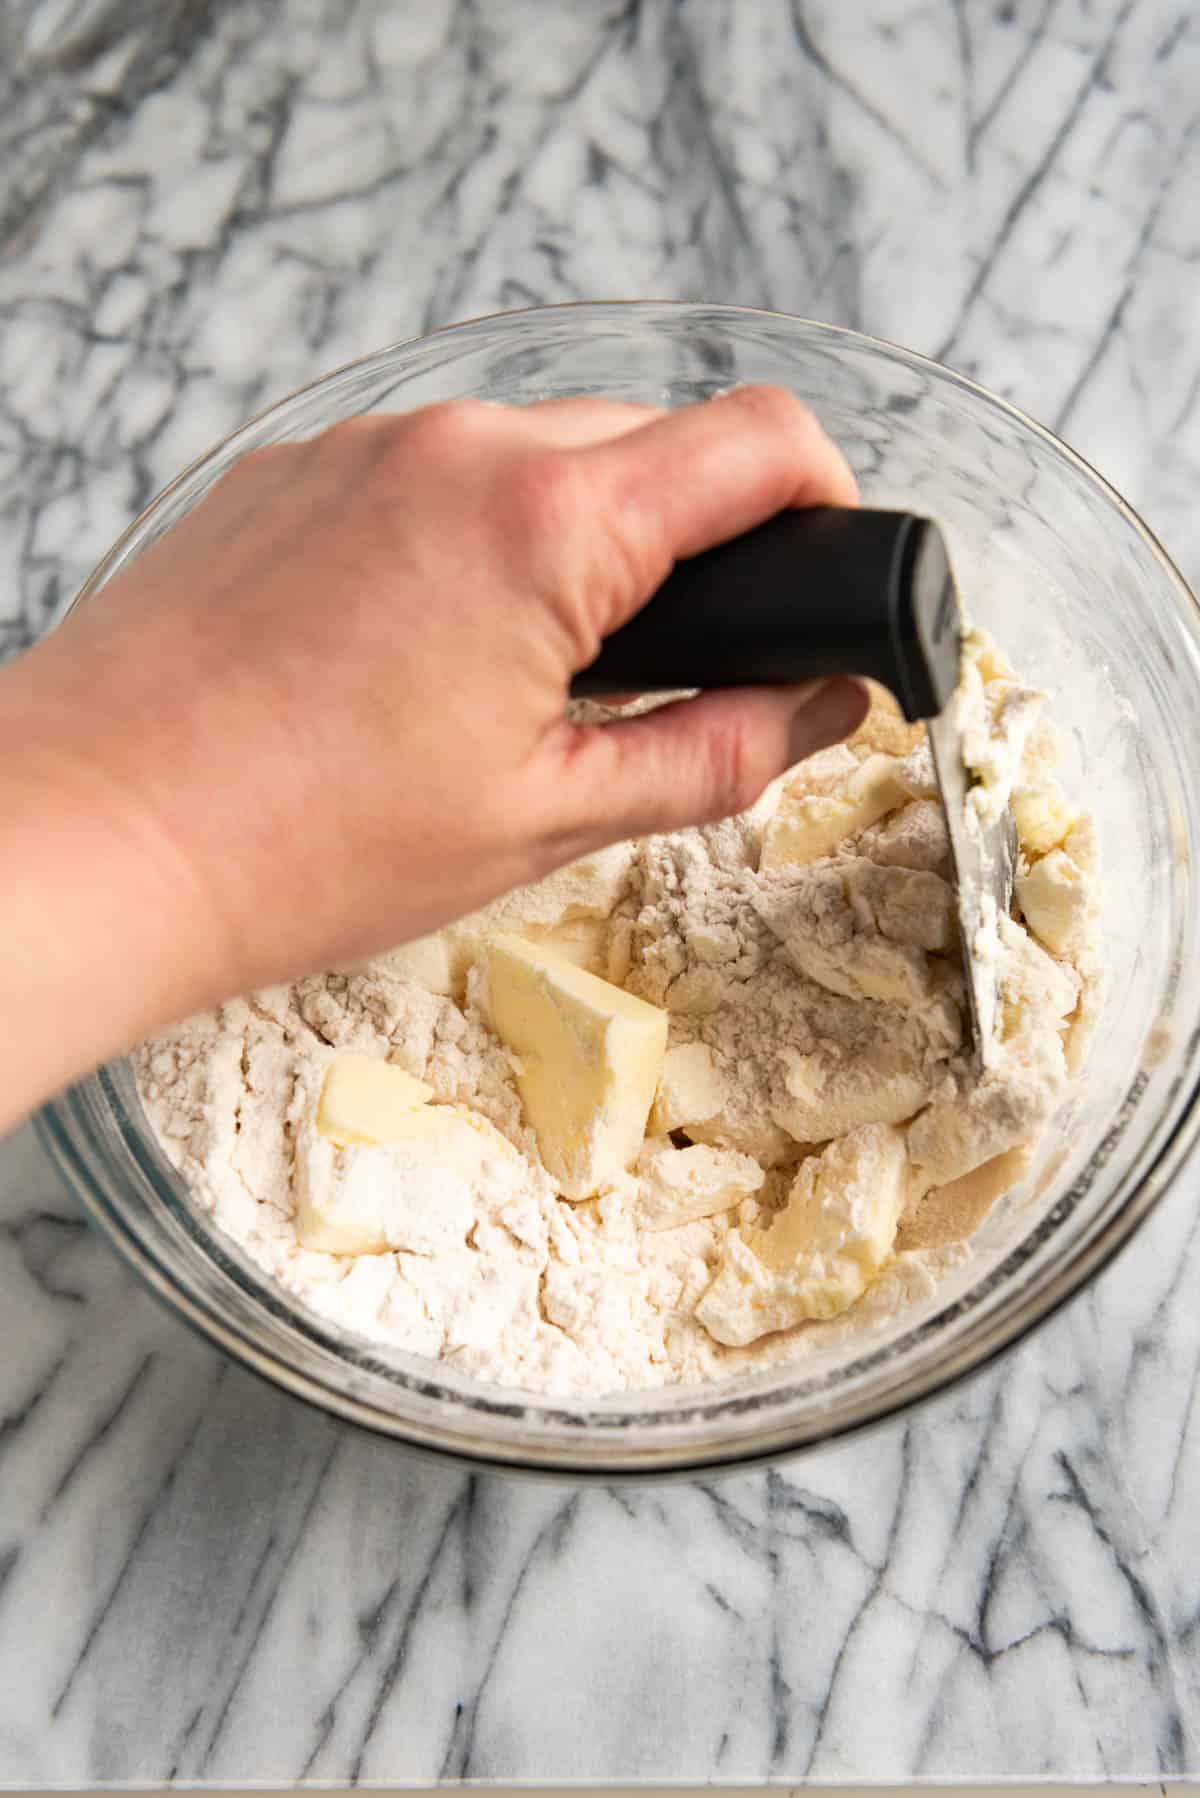
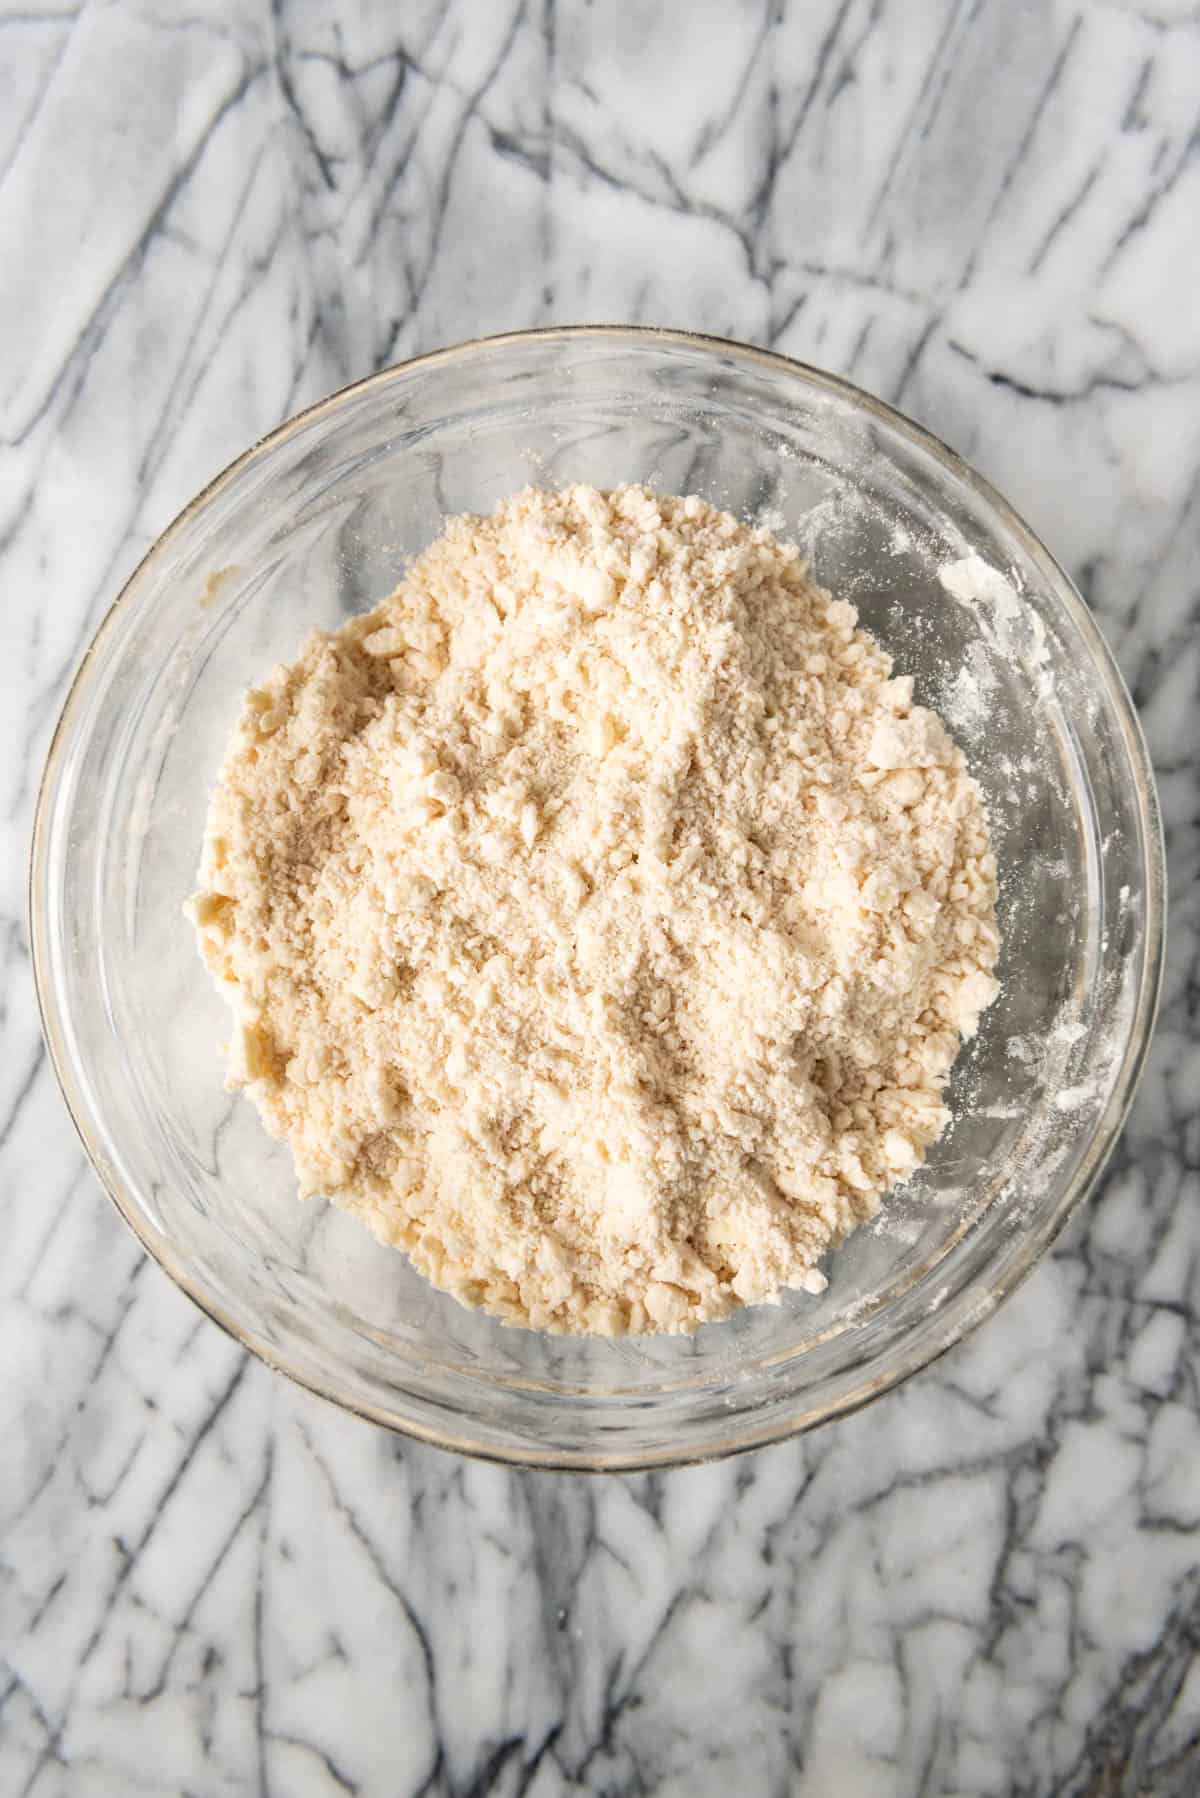
Using a pastry cutter: If you have a pastry cutter, you’re going to cut the fat in by hand. It takes a little more work, especially since the butter is very cold, but really it’s not too bad. And honestly, it’s my preferred method after years of making pie crusts.
The blades at the bottom of the pastry cutter, will chop the butter and shortening into the flour as you press it down. I will also use the shape of the pastry cutter to scoop flour from the bottom of the bowl to the top, then keep cutting to make sure the fat gets evenly dispersed in the crust.
Using a food processor: A good food processor makes the job easier, but you run the risk of overworking the dough. Just add the flour, salt, and sugar to the food processor, then pulse in the butter and shortening, watching until you see that the fats are reaching the “small pea” size.
You really do want to be able to see dots of butter in the crust later when you are rolling it out and over-processing the pie dough now will result in a tougher crust.
Adding ice water to the pie crust dough
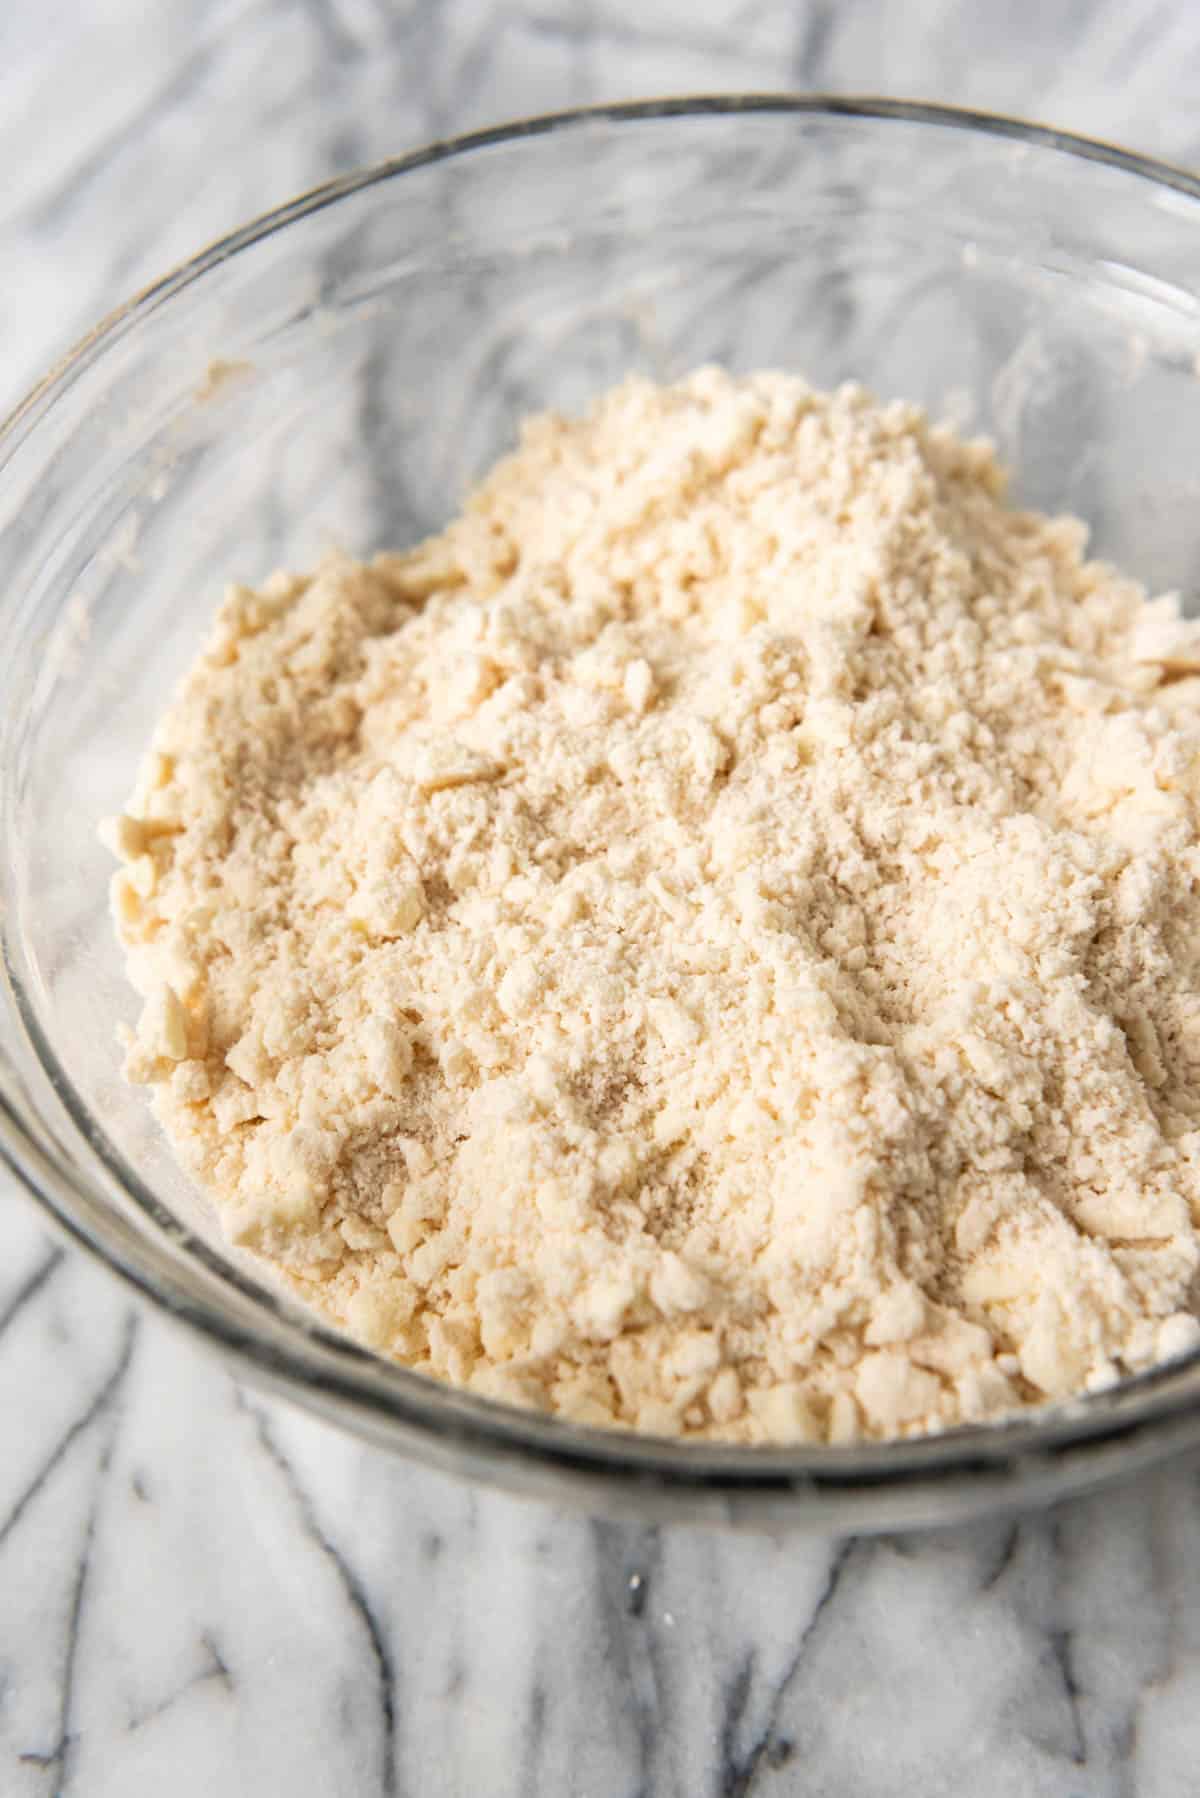
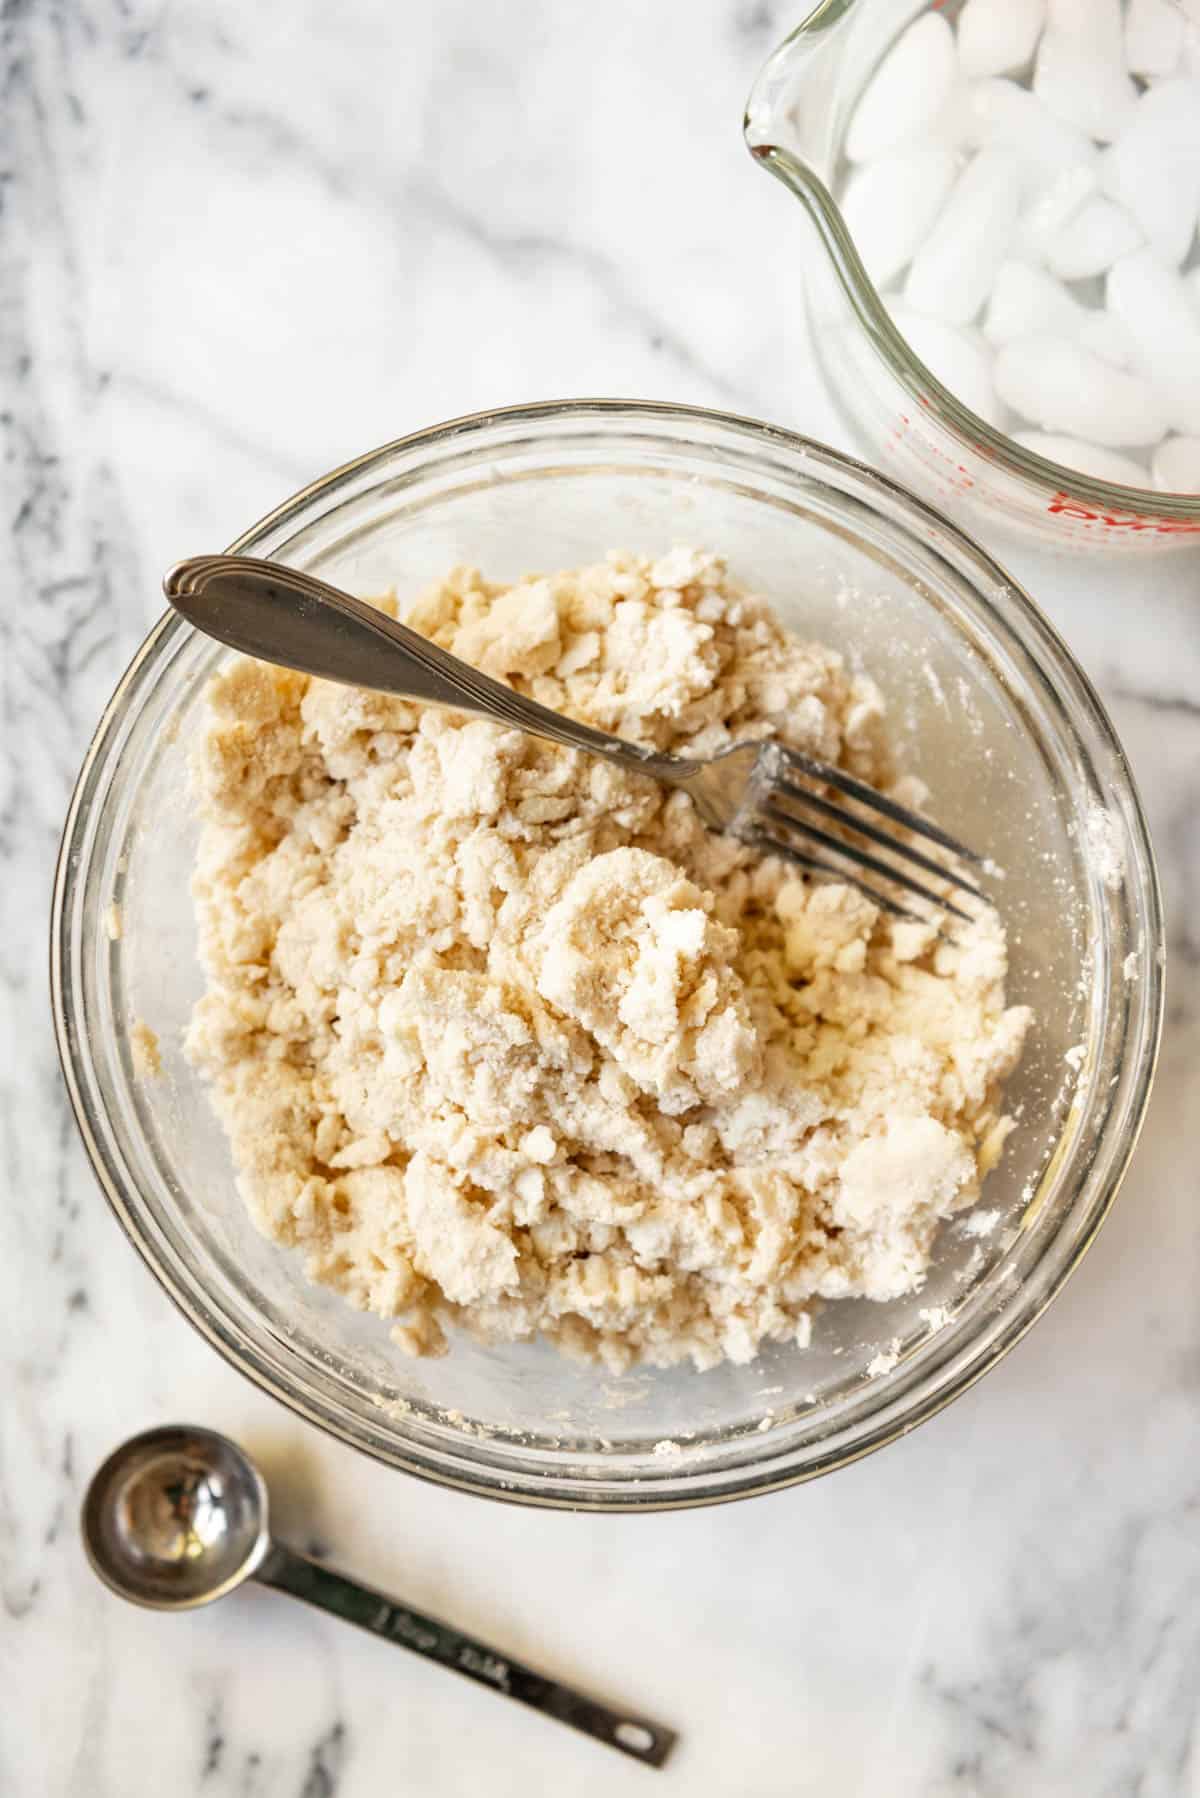
Once the fats are cut into the flour, it’s time to ice water 1-2 tablespoons at a time just until the crust starts to come together. Using ice water helps keep the crust ingredients nice and cold while you are working with them.
I find that I like using a fork to mix the ice water into the crust. As each tablespoon of water is added, I lift and stir to make sure that the dry flour on the bottom of the bowl gets evenly moistened so there aren’t wet areas of the dough and dry sandy areas, but it all comes together. You may not need all of the water!
The dough should not be sticky and doesn’t actually have to form a ball, but if you were to grab a handful of it and squeeze, it would all stick together in a clump without falling apart.
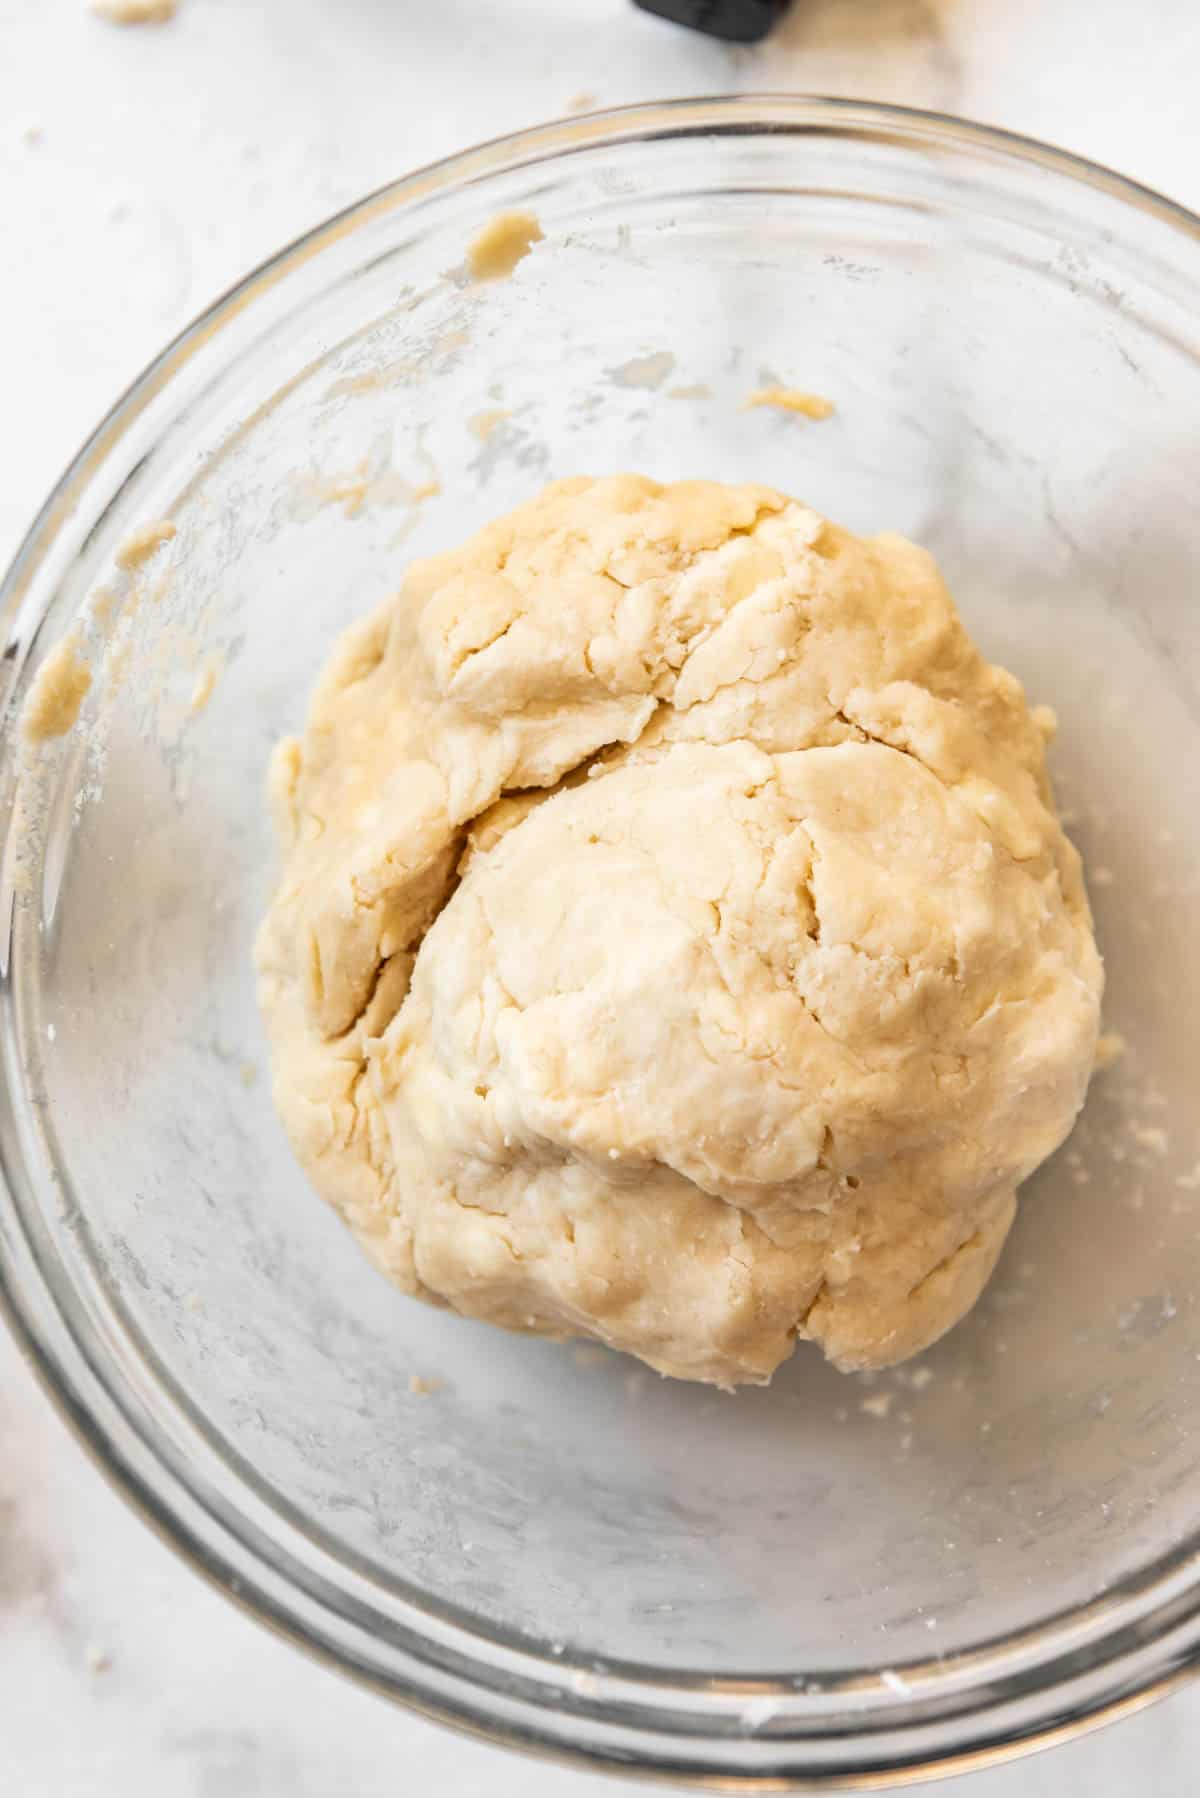
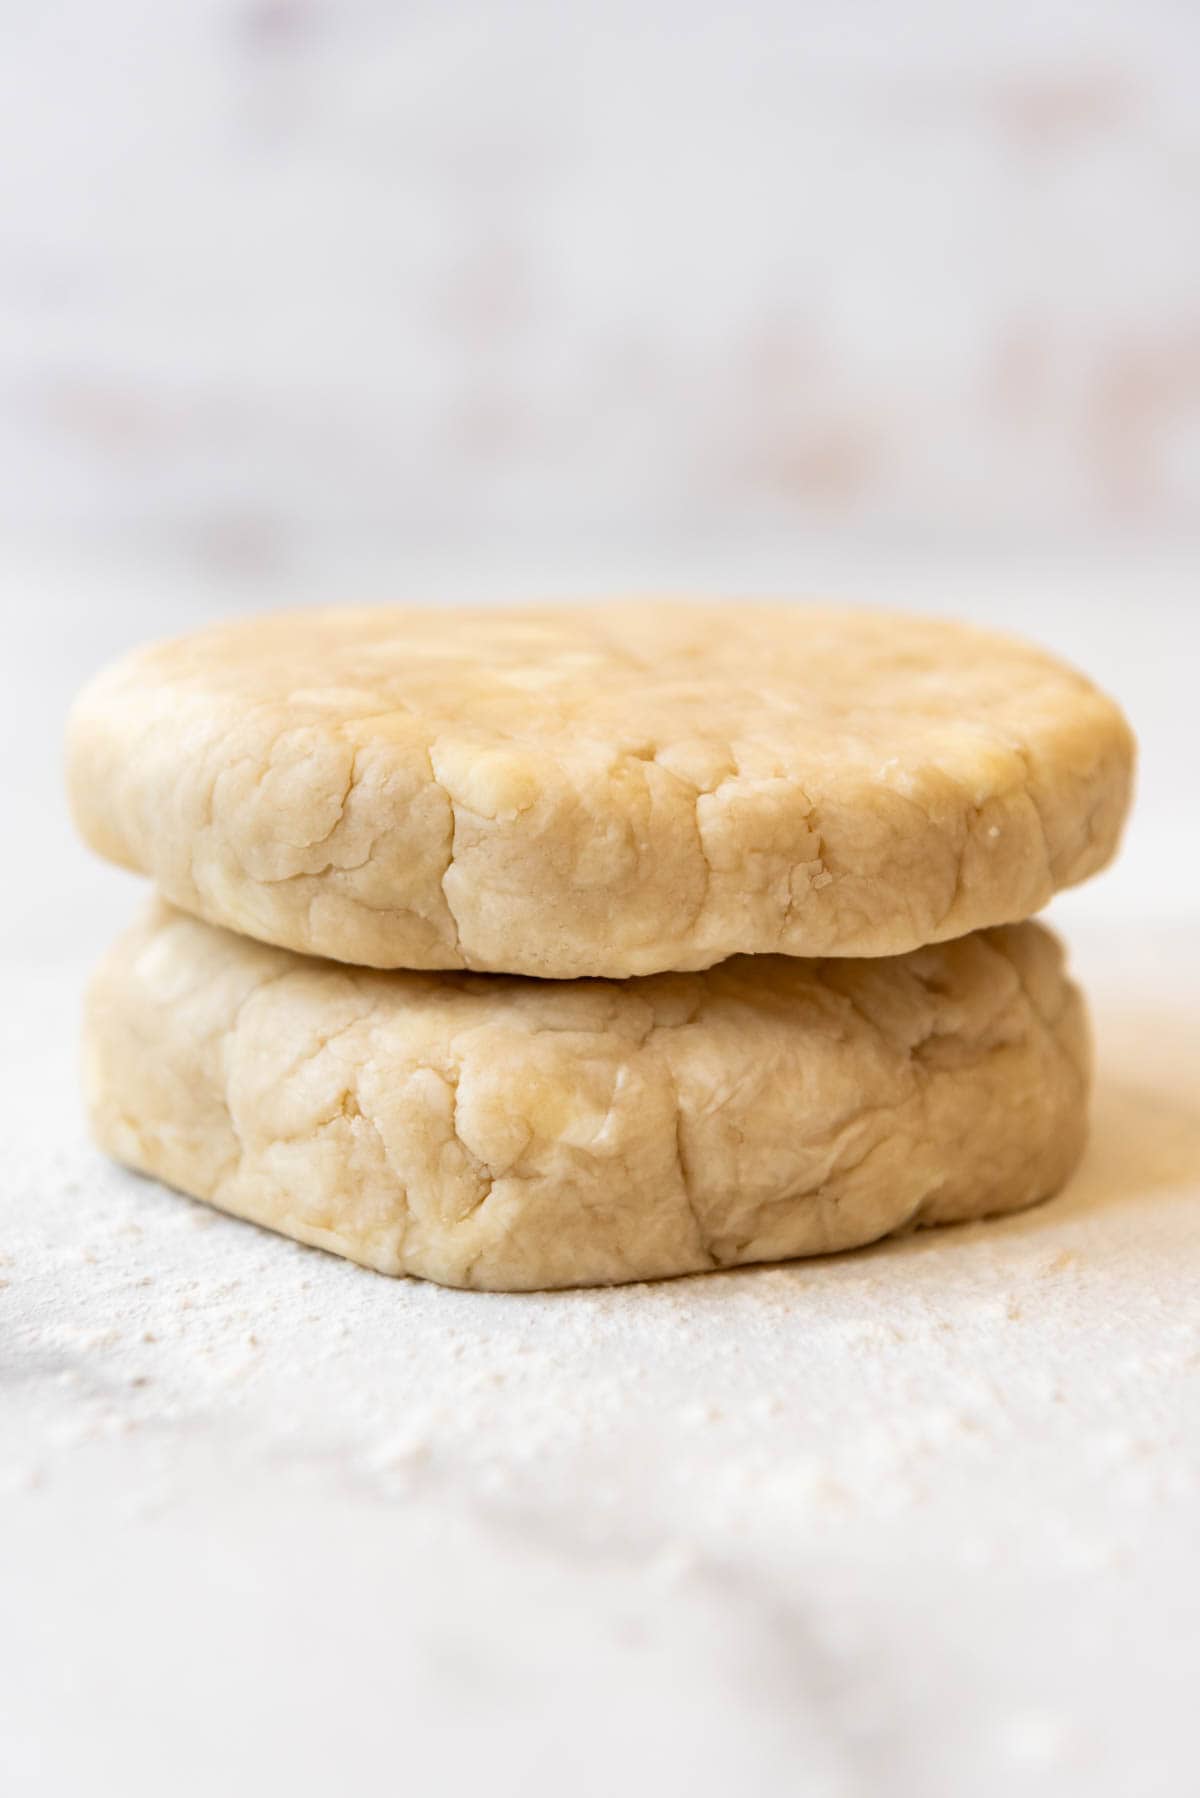
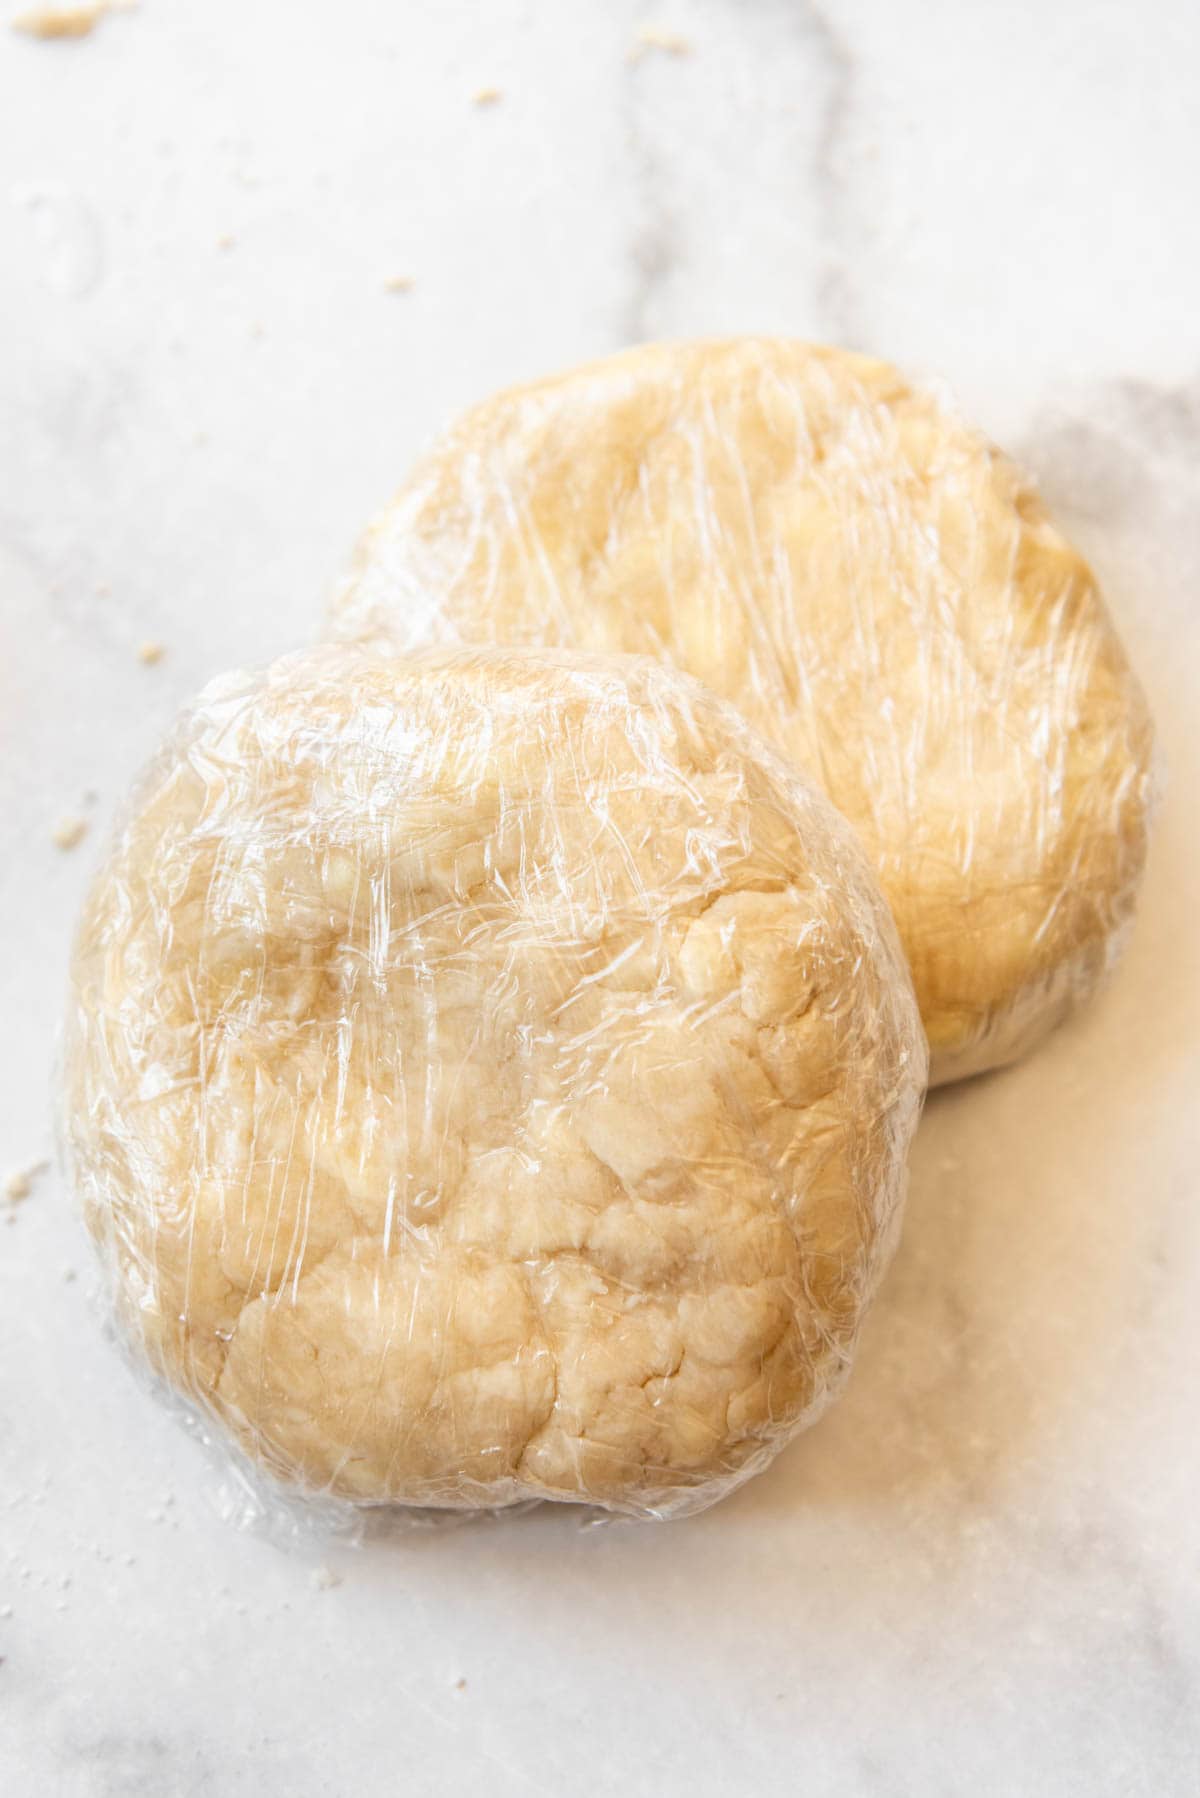
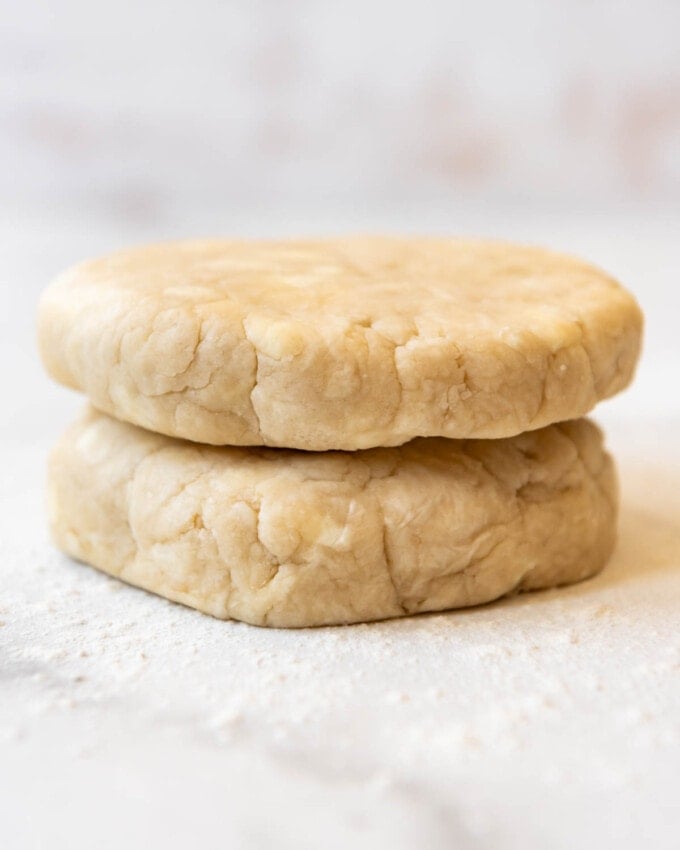
Once the pie crust dough starts coming together with the water, you can divide it into two (if making the double-crust recipe) and shape it into flat discs. Go ahead and press the pie crust dough to help it come together, but try not to knead it over overwork the dough. Wrap each disc in plastic wrap and stick the pie crusts in the fridge.
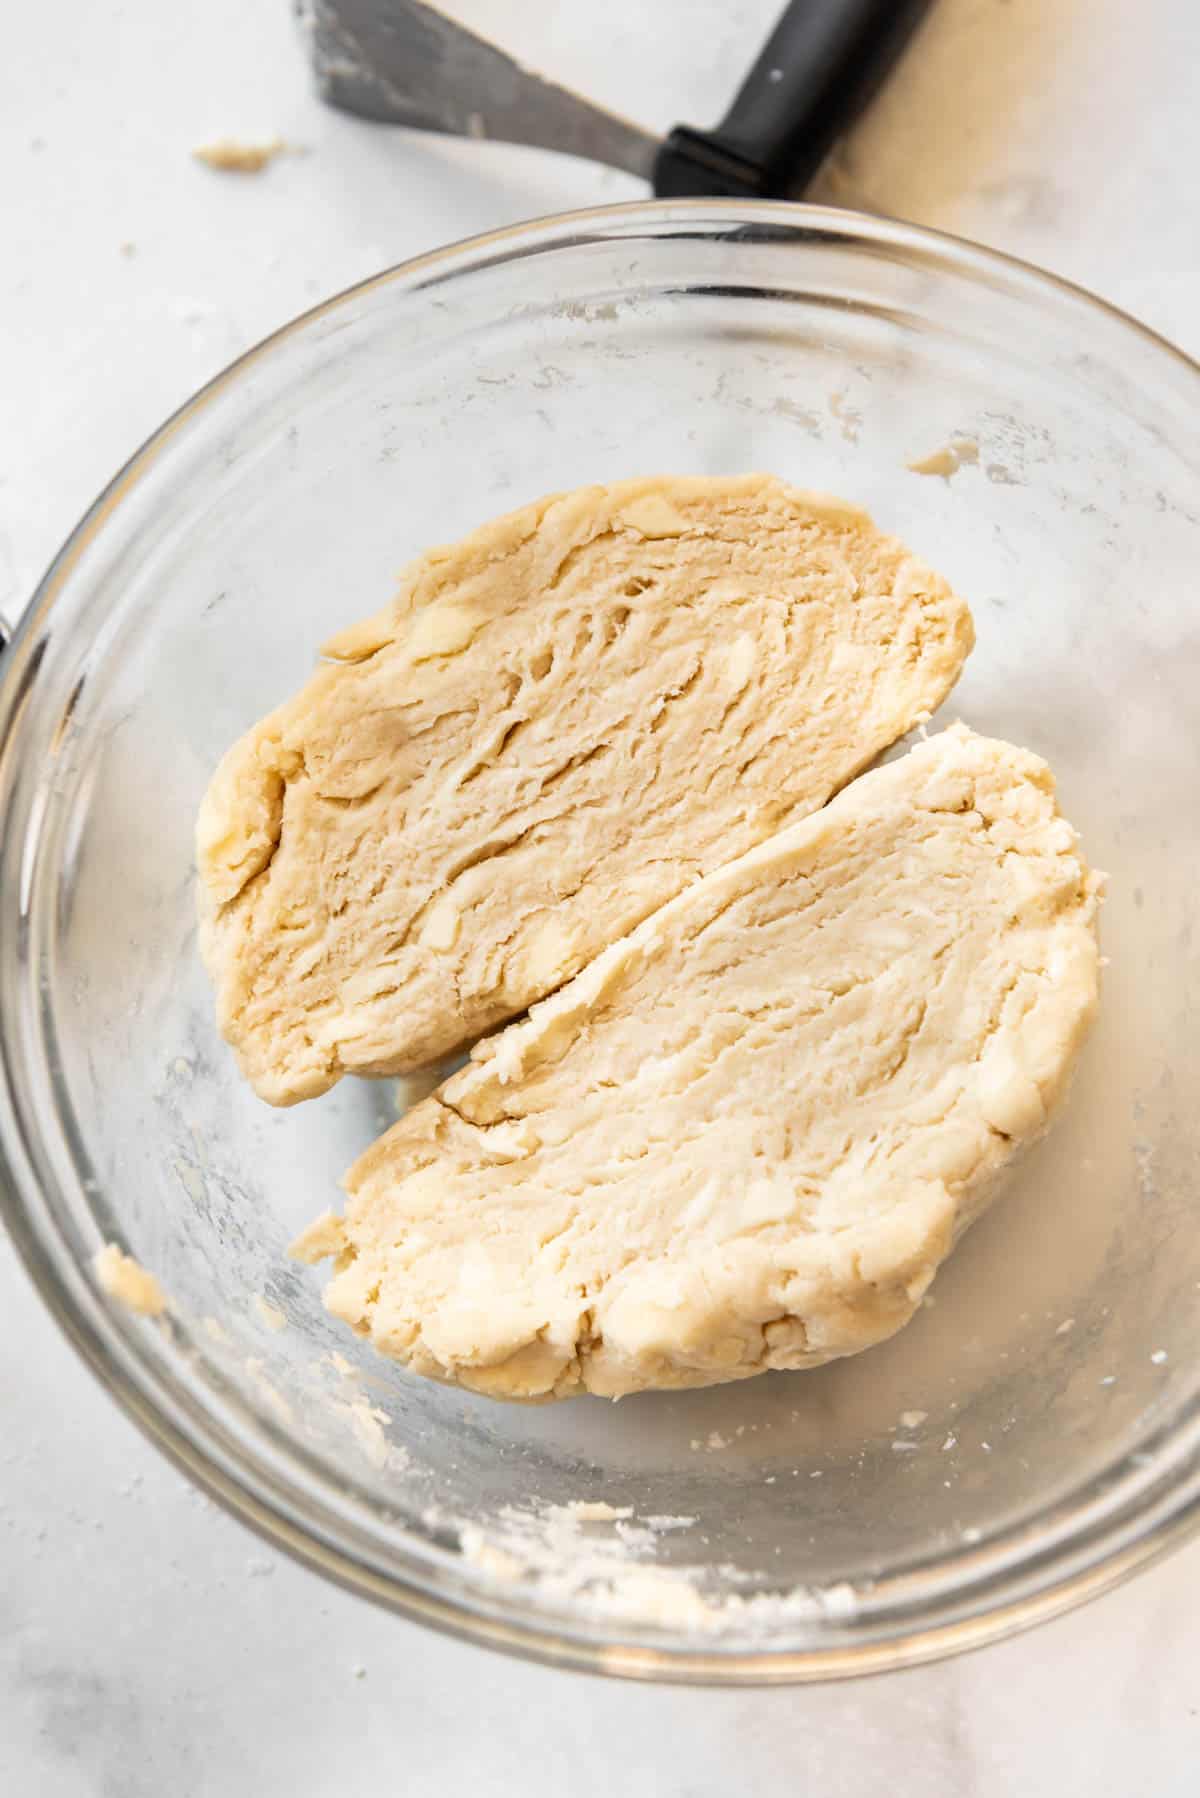
The pie crust dough really needs to chill for an hour, which really does make it easier to work with when you go to roll it out. Chilling also gives the fats a chance to get really cold again after some time spent out at room temperature as you combined everything to make the dough.
You can ever freeze the pie crusts as this point to have on hand, which is a great make-ahead step going into holidays like Thanksgiving where there are so many other things you might be preparing. Just store the wrapped discs in a freezer-safe ziploc bag for up to 3 months and thaw in the fridge overnight before you plan to use them.
How to Roll Out Pie Crust
When it comes to rolling out the dough, make sure to flour your surfaces. Rub a little flour on the rolling pin (affiliate link) and sprinkle on top of the crust, as well as generously dusting the surface you will be rolling the crust out on.
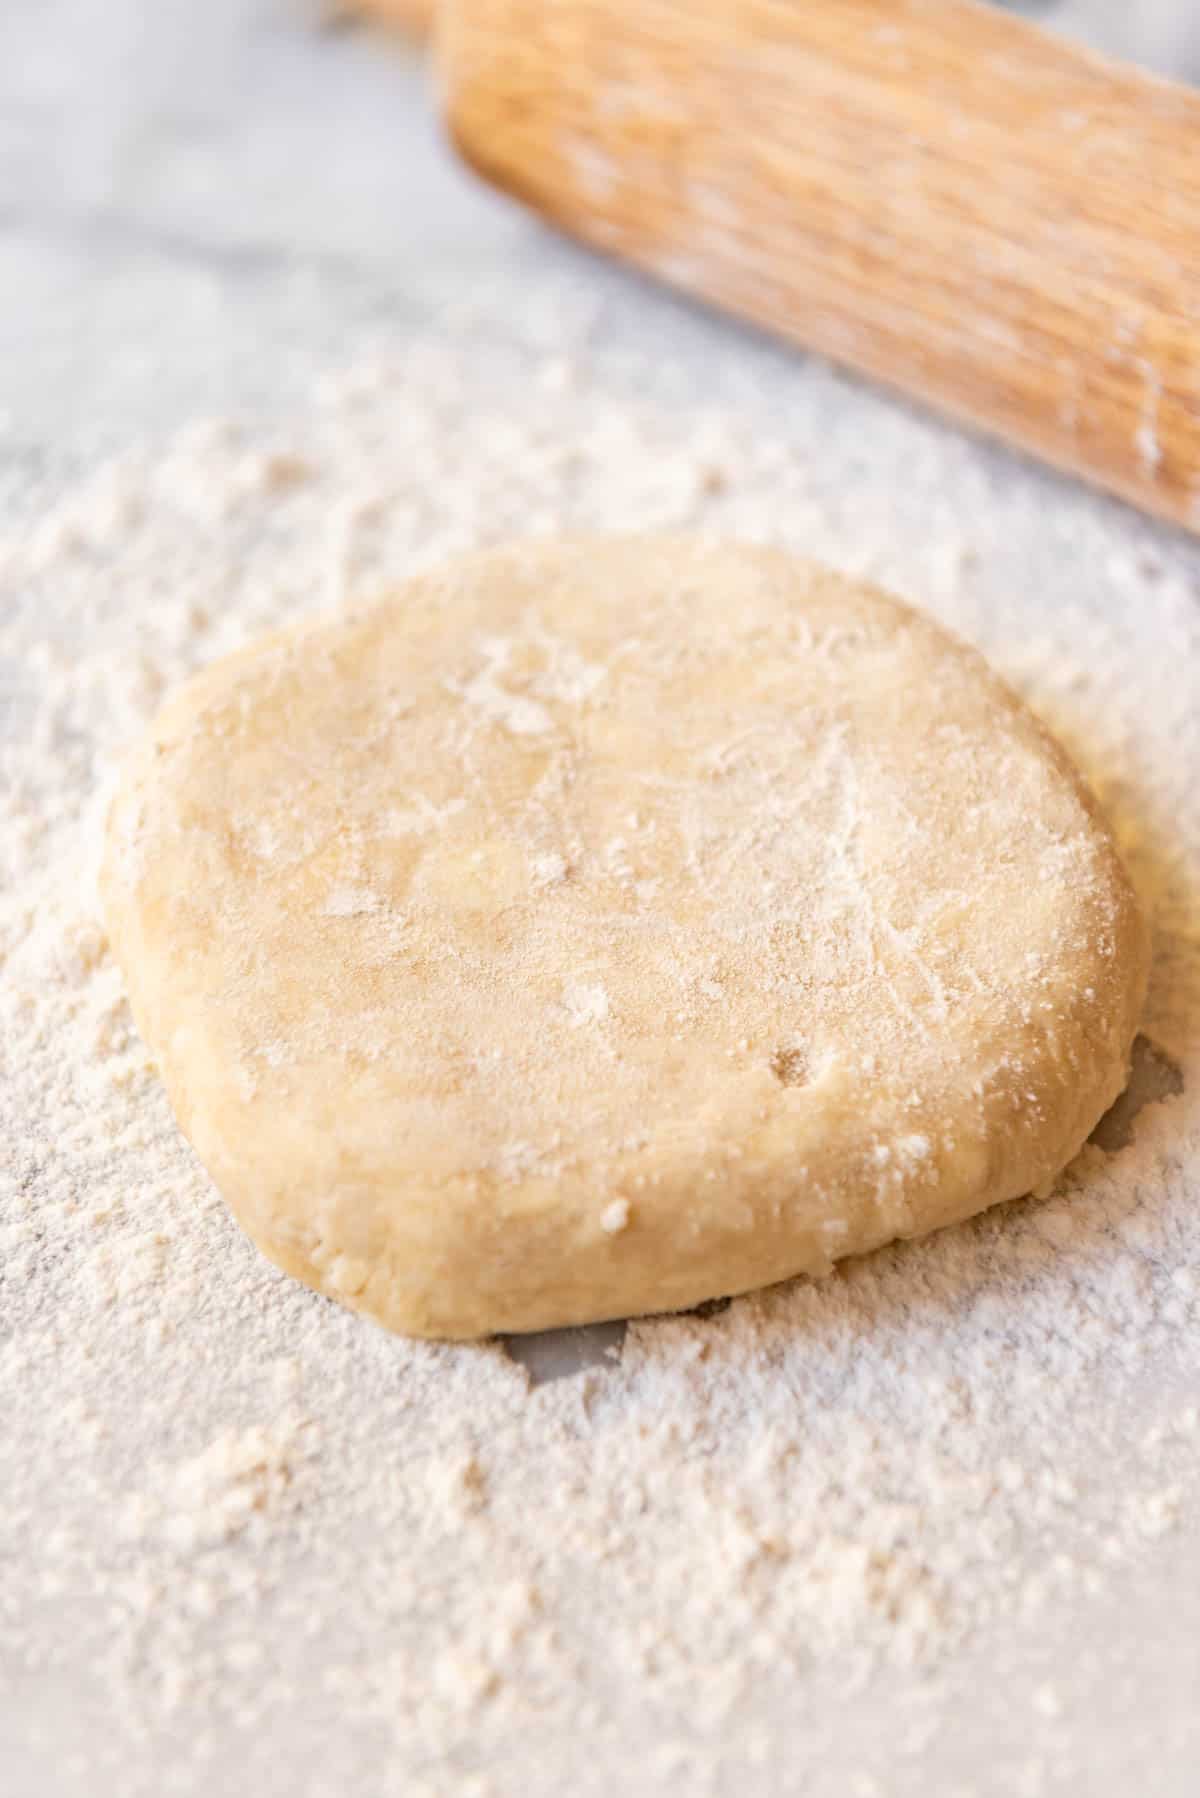
Start by pressing the rolling pin into the center of the disc one direction, then the other, then use long strokes with your rolling pin to roll it out into a circle. I usually pause after a few strokes and use a thin metal spatula or bench scraper to lift the crust up and add a little extra flour underneath to keep it from sticking.
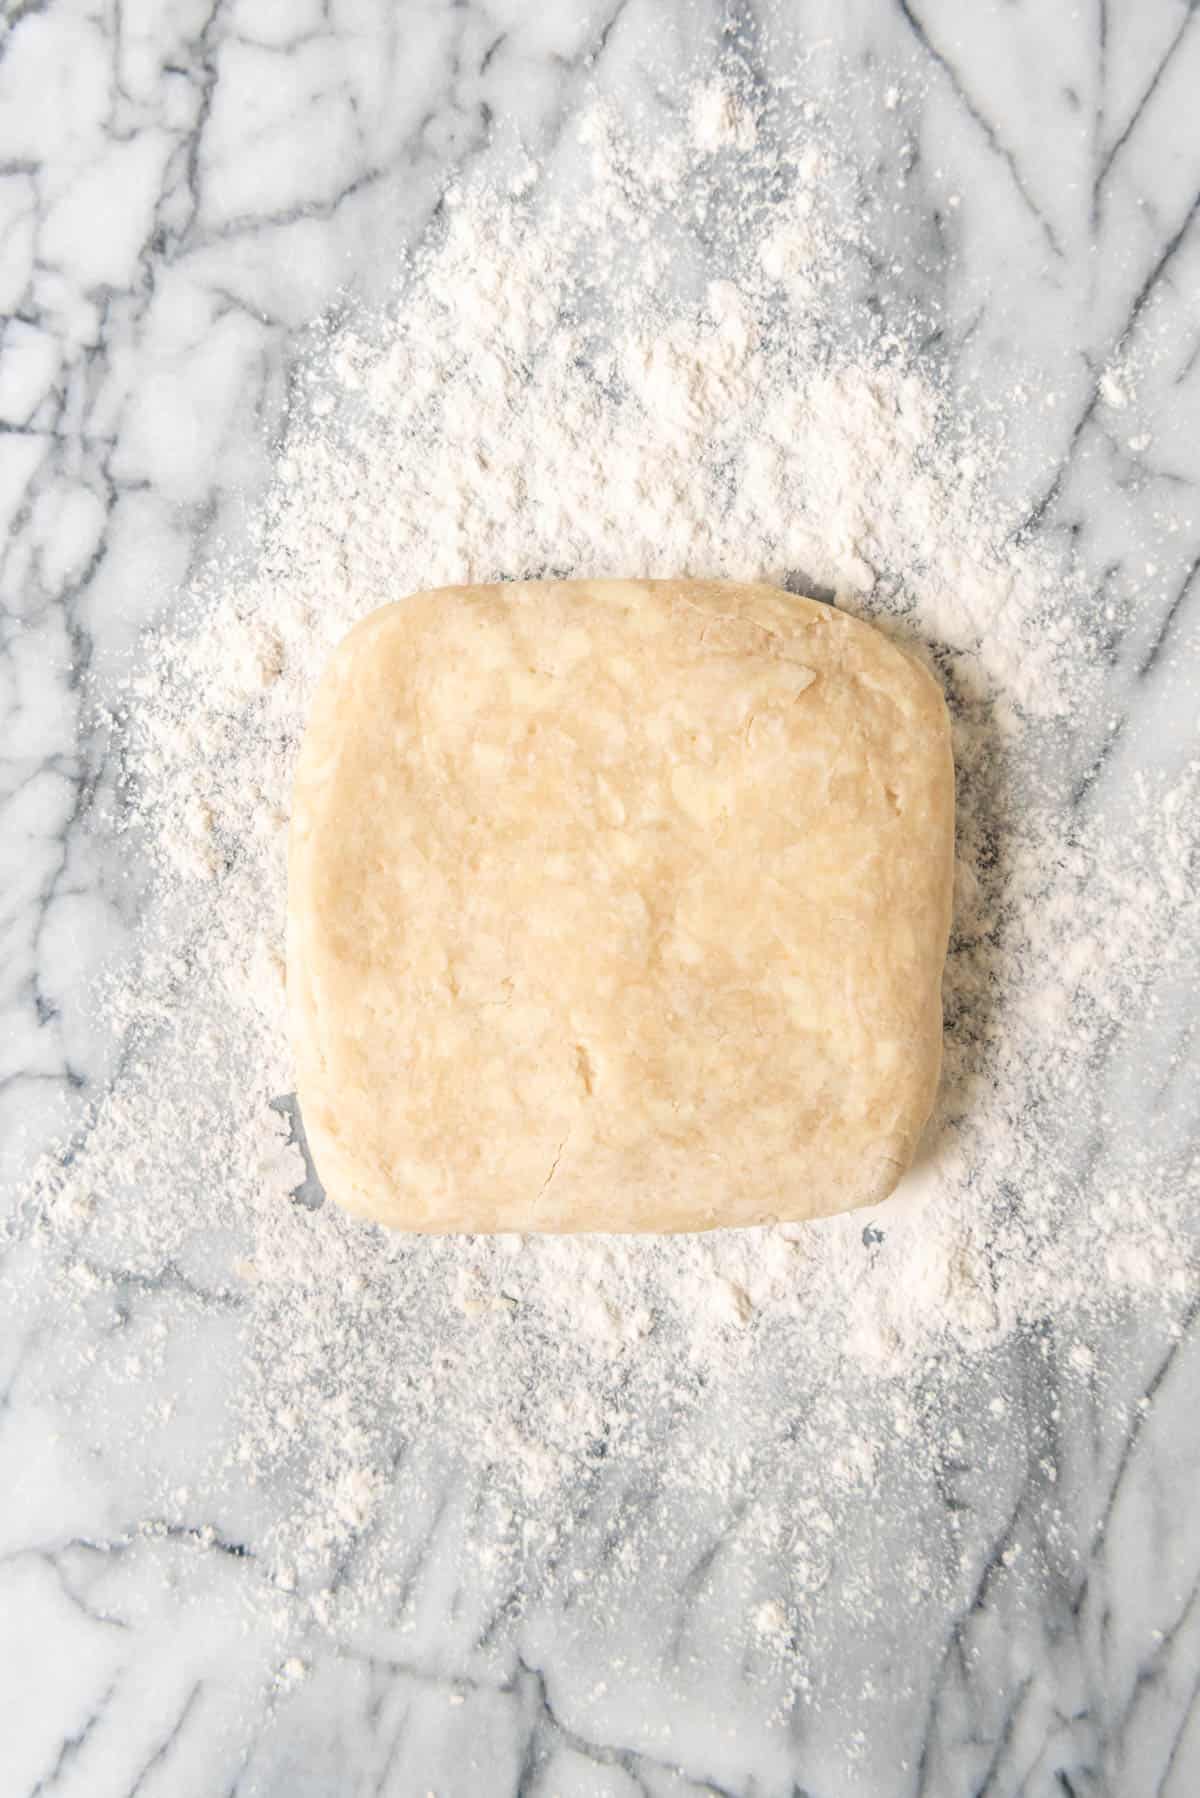
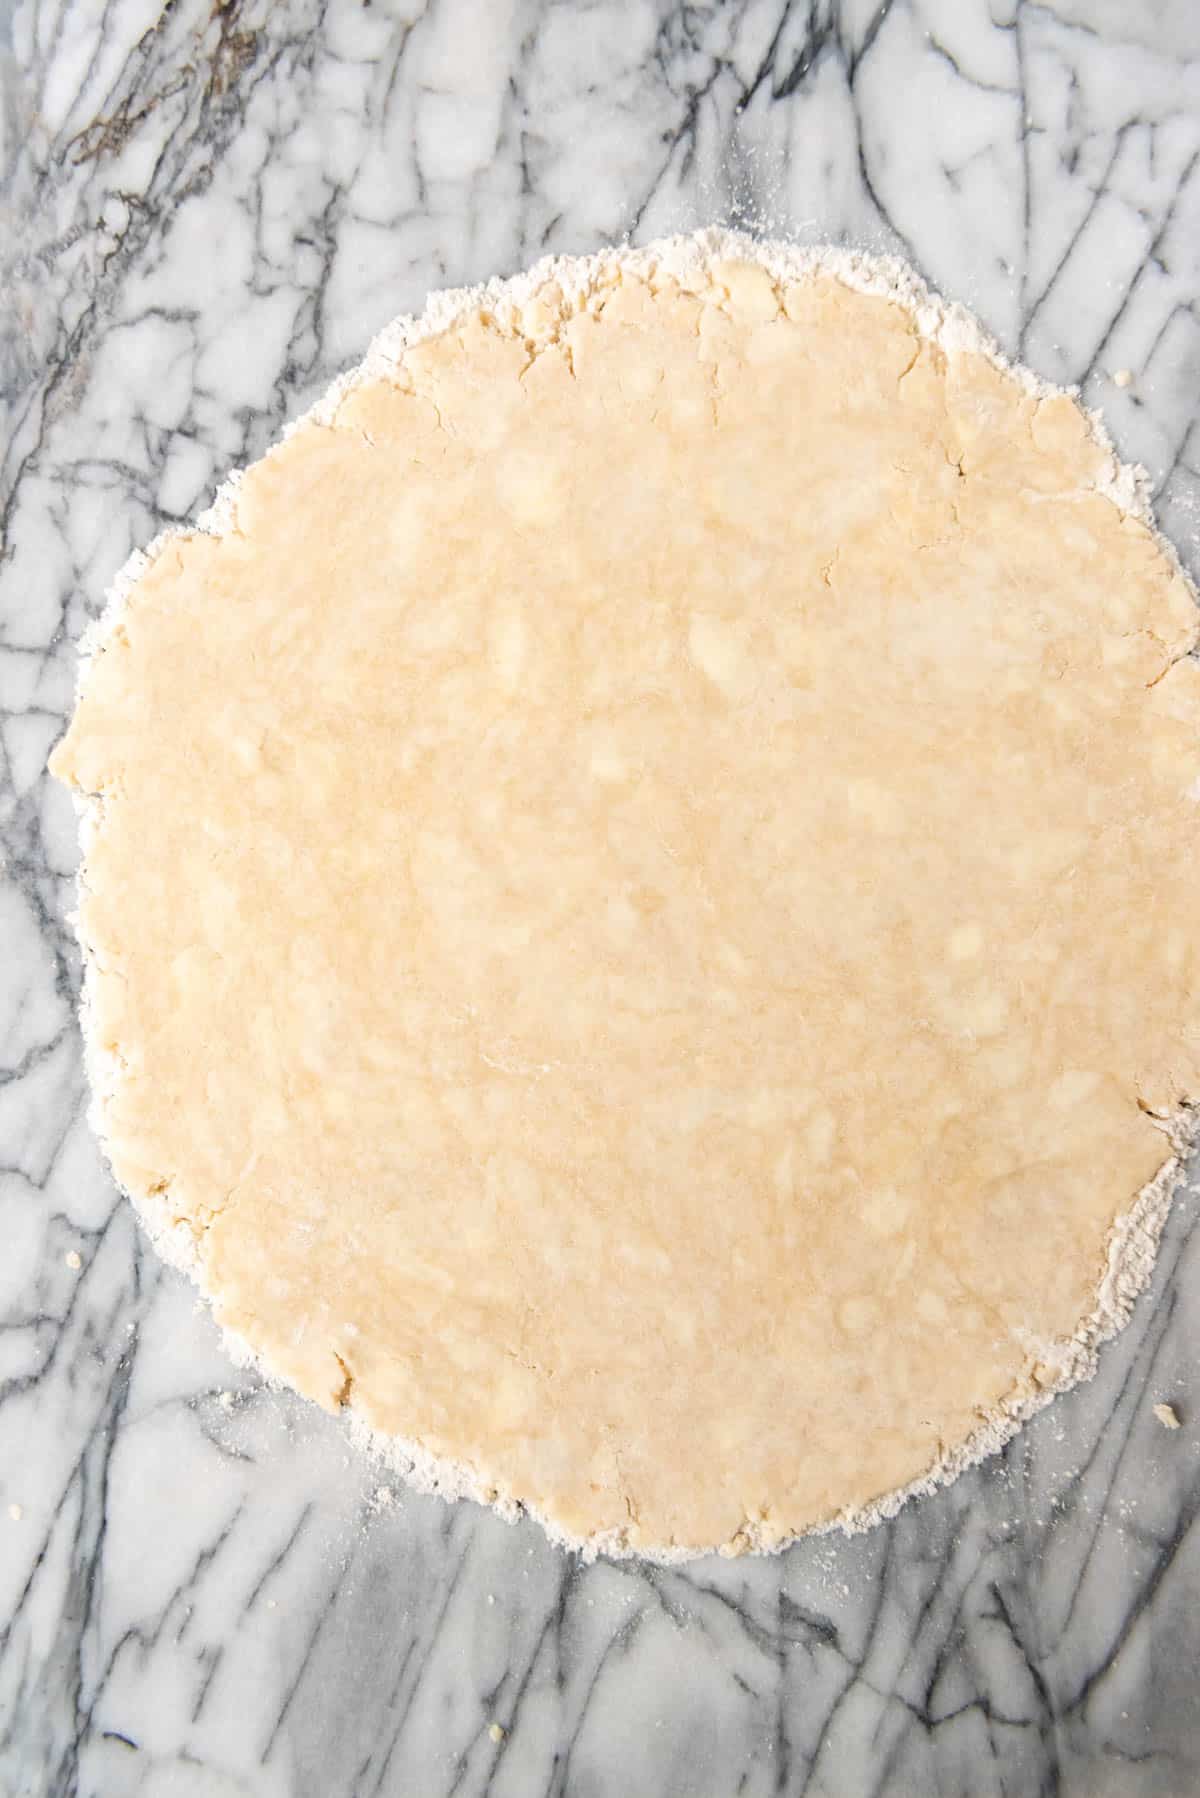
Roll from the center of the crust outwards, working in different directions, rather than just rolling from the bottom up. The crust should be thin and slightly larger than your pie plate, but not so thin that it tears when you try to transfer it.
I know pie crust connoisseurs will recoil in horror when I say this, but if you are new to making pie crust from scratch and your crust is falling to pieces, go ahead and squash it back into a ball and re-roll it. I know it won’t be as tender, but it’s still going to turn out fine and you will be proud of what you accomplished! And the next time it will be even easier, I promise. Build a little confidence and with practice, you will learn to roll your pastry dough out so that it doesn’t fall apart on you. Truthfully, this easy pie crust recipe is such a good one that I doubt you will need to go that far, even on your first attempt.
If you look closely, you even see how the crust below is marbled with butter. That’s the mark of an excellent pie crust!
Transferring the pie crust to a pie plate
This is where I find a bench scraper really comes in handy. Set the rolling pin aside and use a bench scraper or thin metal spatula to scrape underneath all around the edges of the pie crust to loosen it from the rolling surface. You don’t have to go all the way under the whole thing – just the edges for now.
Then set the rolling pin along one edge and lift the loosened crust onto the barrel of the rolling pin. Continue to use the bench scraper or metal spatula to loosen the rest of the pie crust as you gently roll the crust onto the rolling pin.
Once the crust is on the rolling pin, slide the pie plate right next to it and unroll the crust onto the pie dish, adjusting it to fit. There should be some overhang around the edges which you can trim off later.
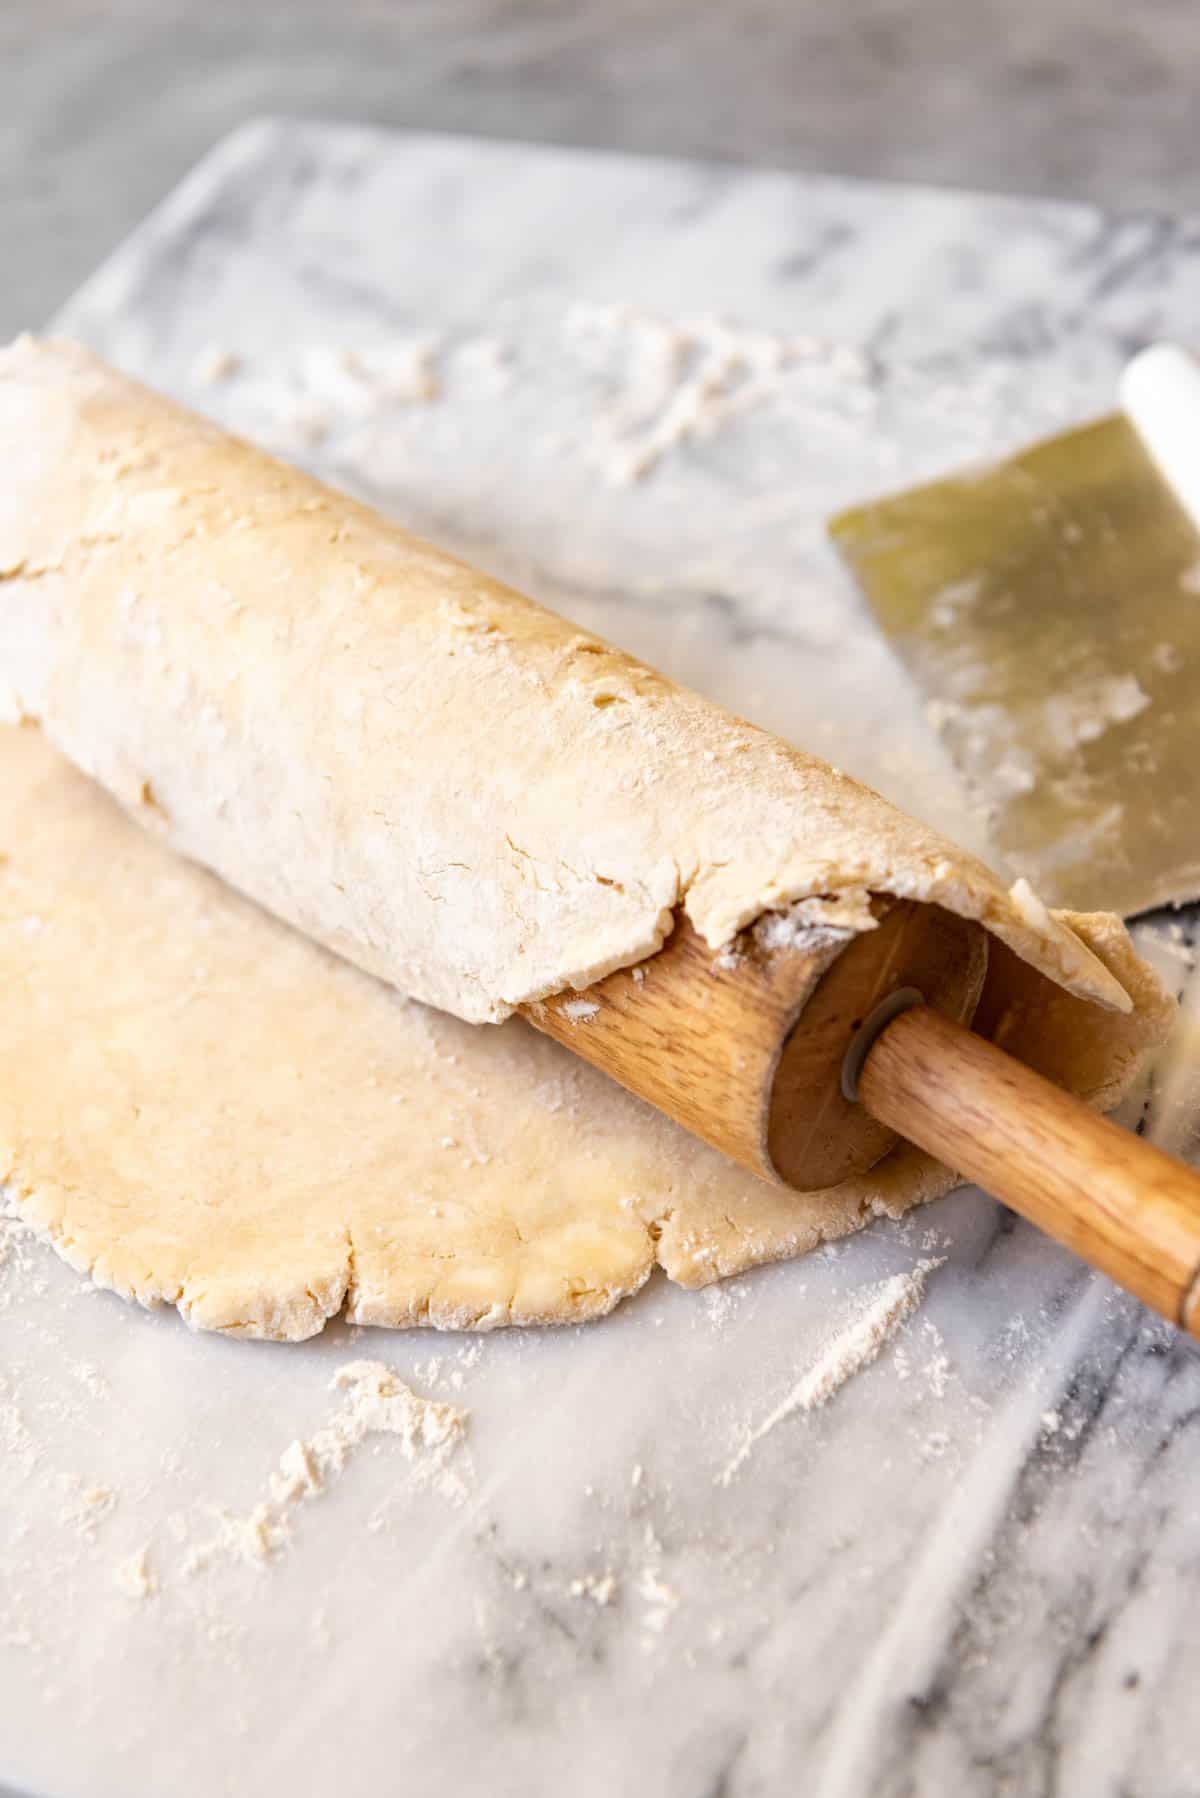
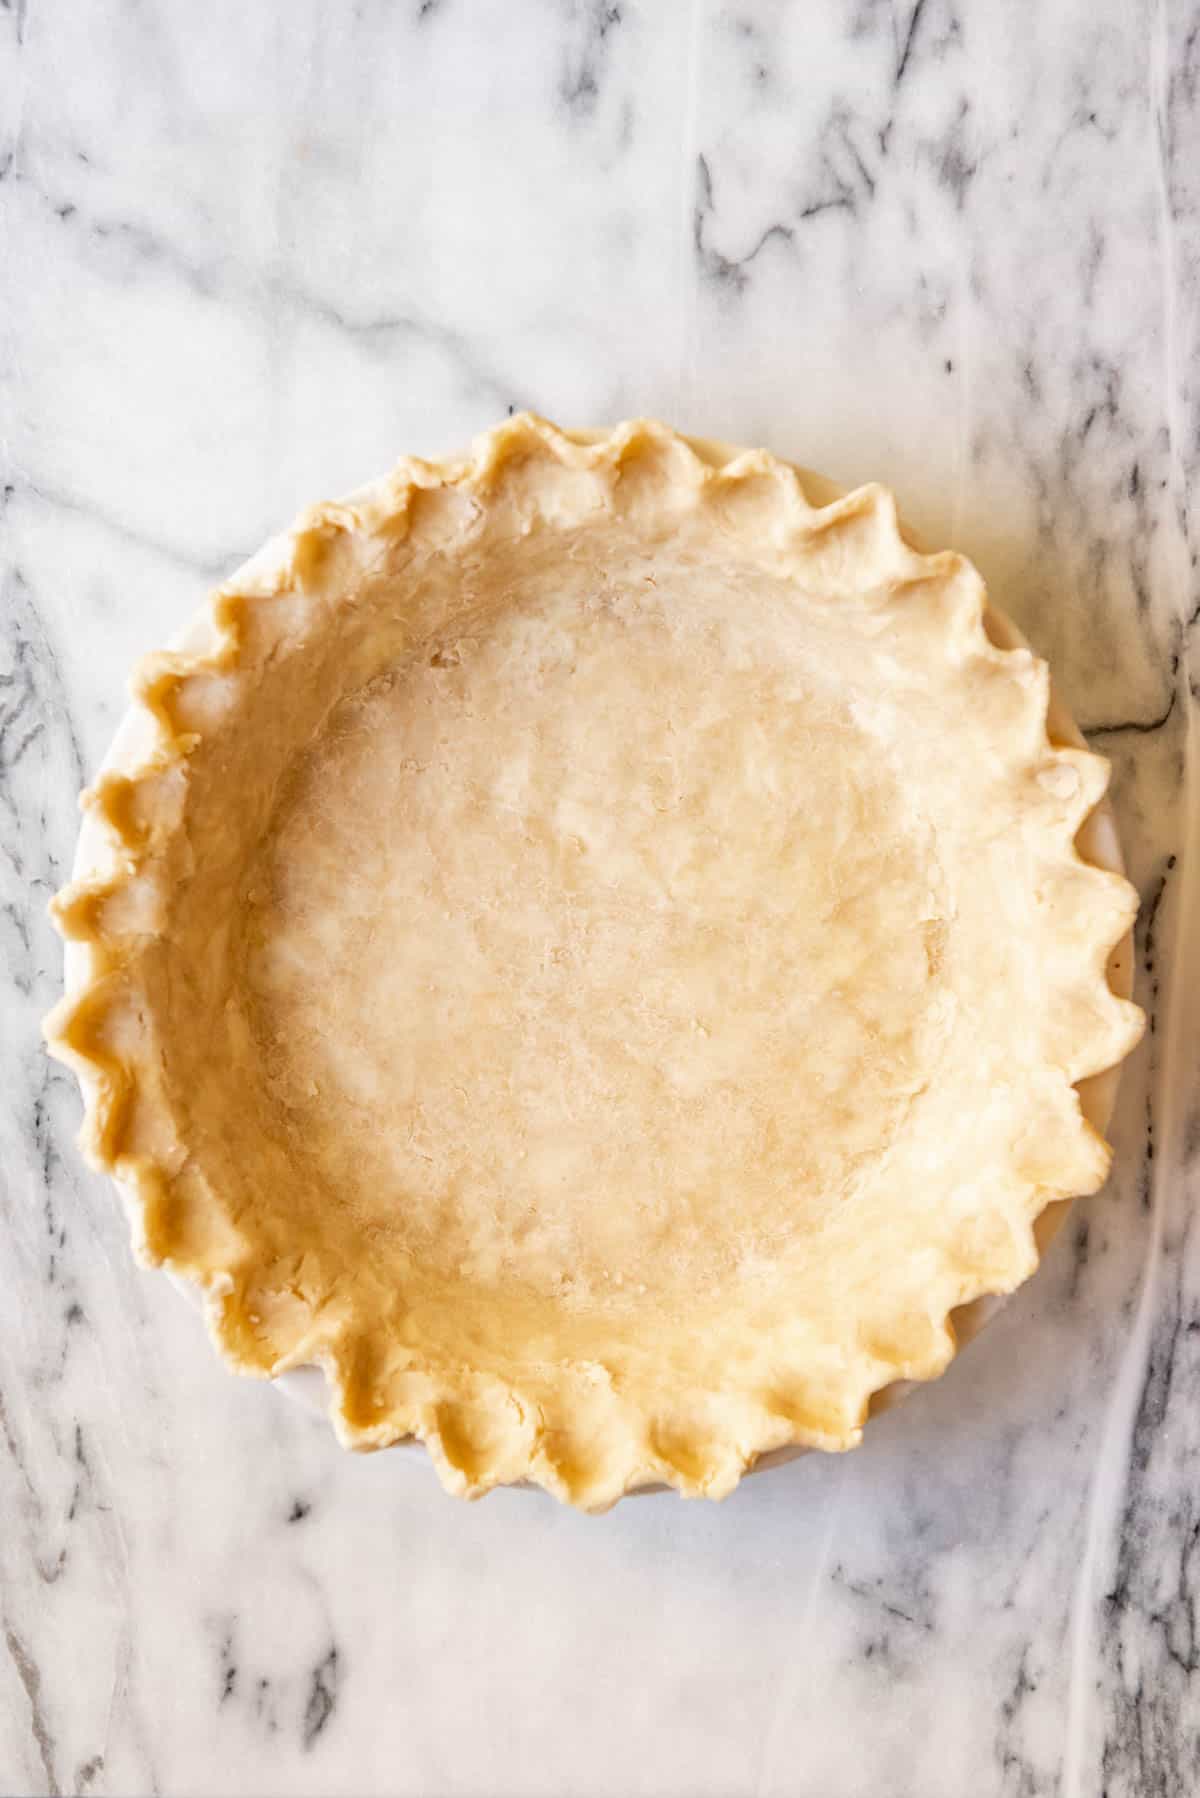
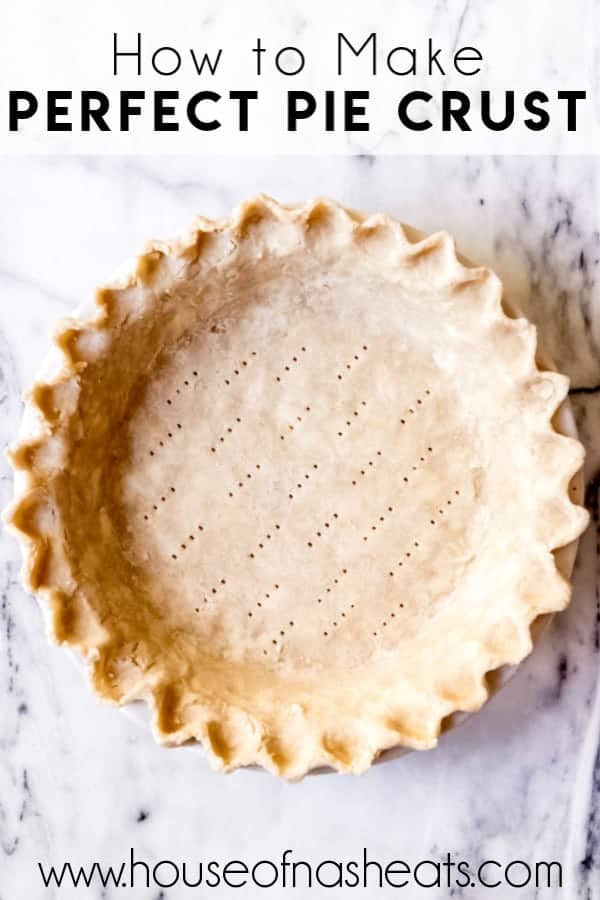
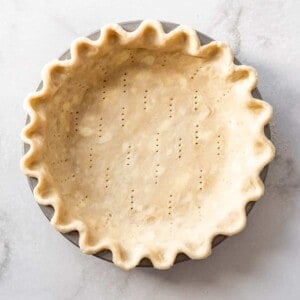
Now you are ready to fill the bottom crust with your favorite pie filling, or trim and crimp the edges so you can blind-bake the crust for a cream filled pie!

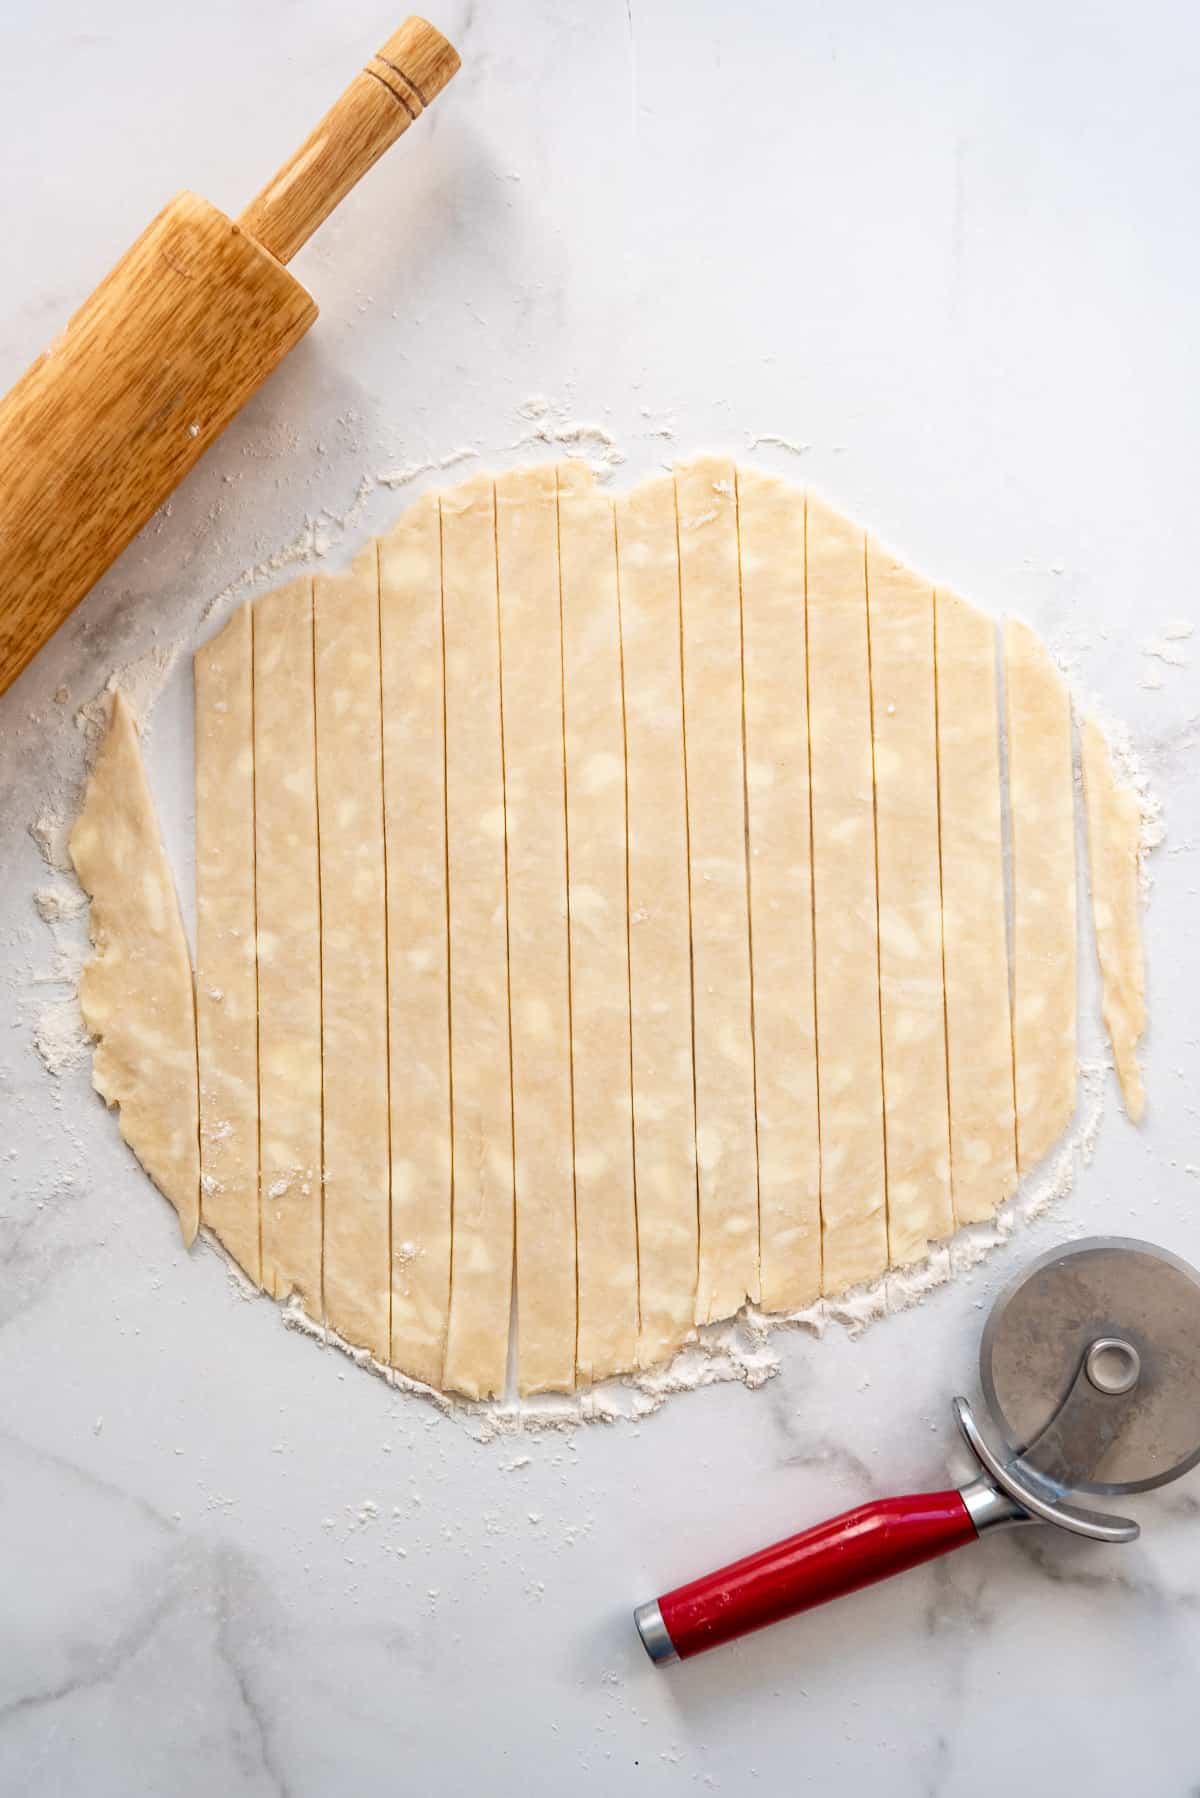
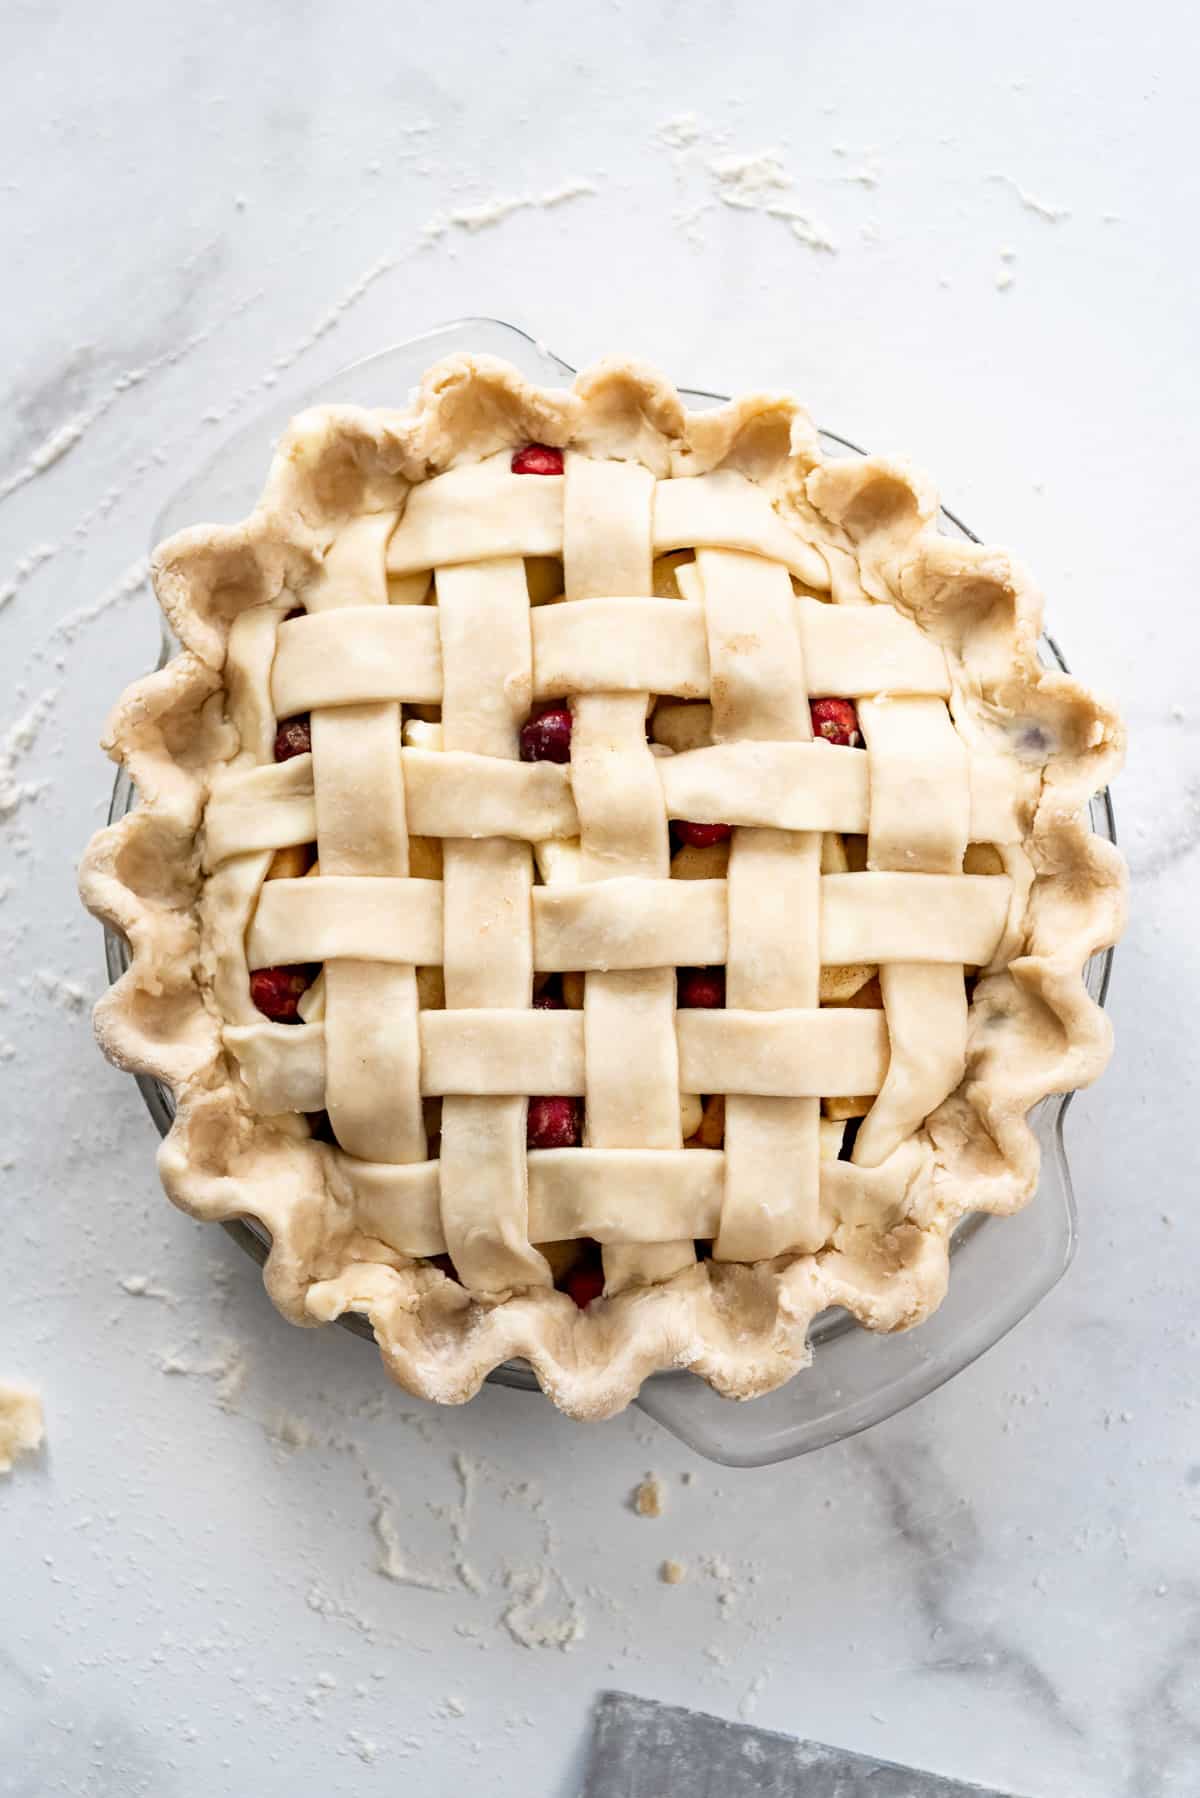
If you are making a double-crust pie crust, go ahead and fill the bottom crust, then roll out the top crust and lay it on top with slits cut in the top crust for venting. Or cut out strips to make a fancy lattice pie crust!
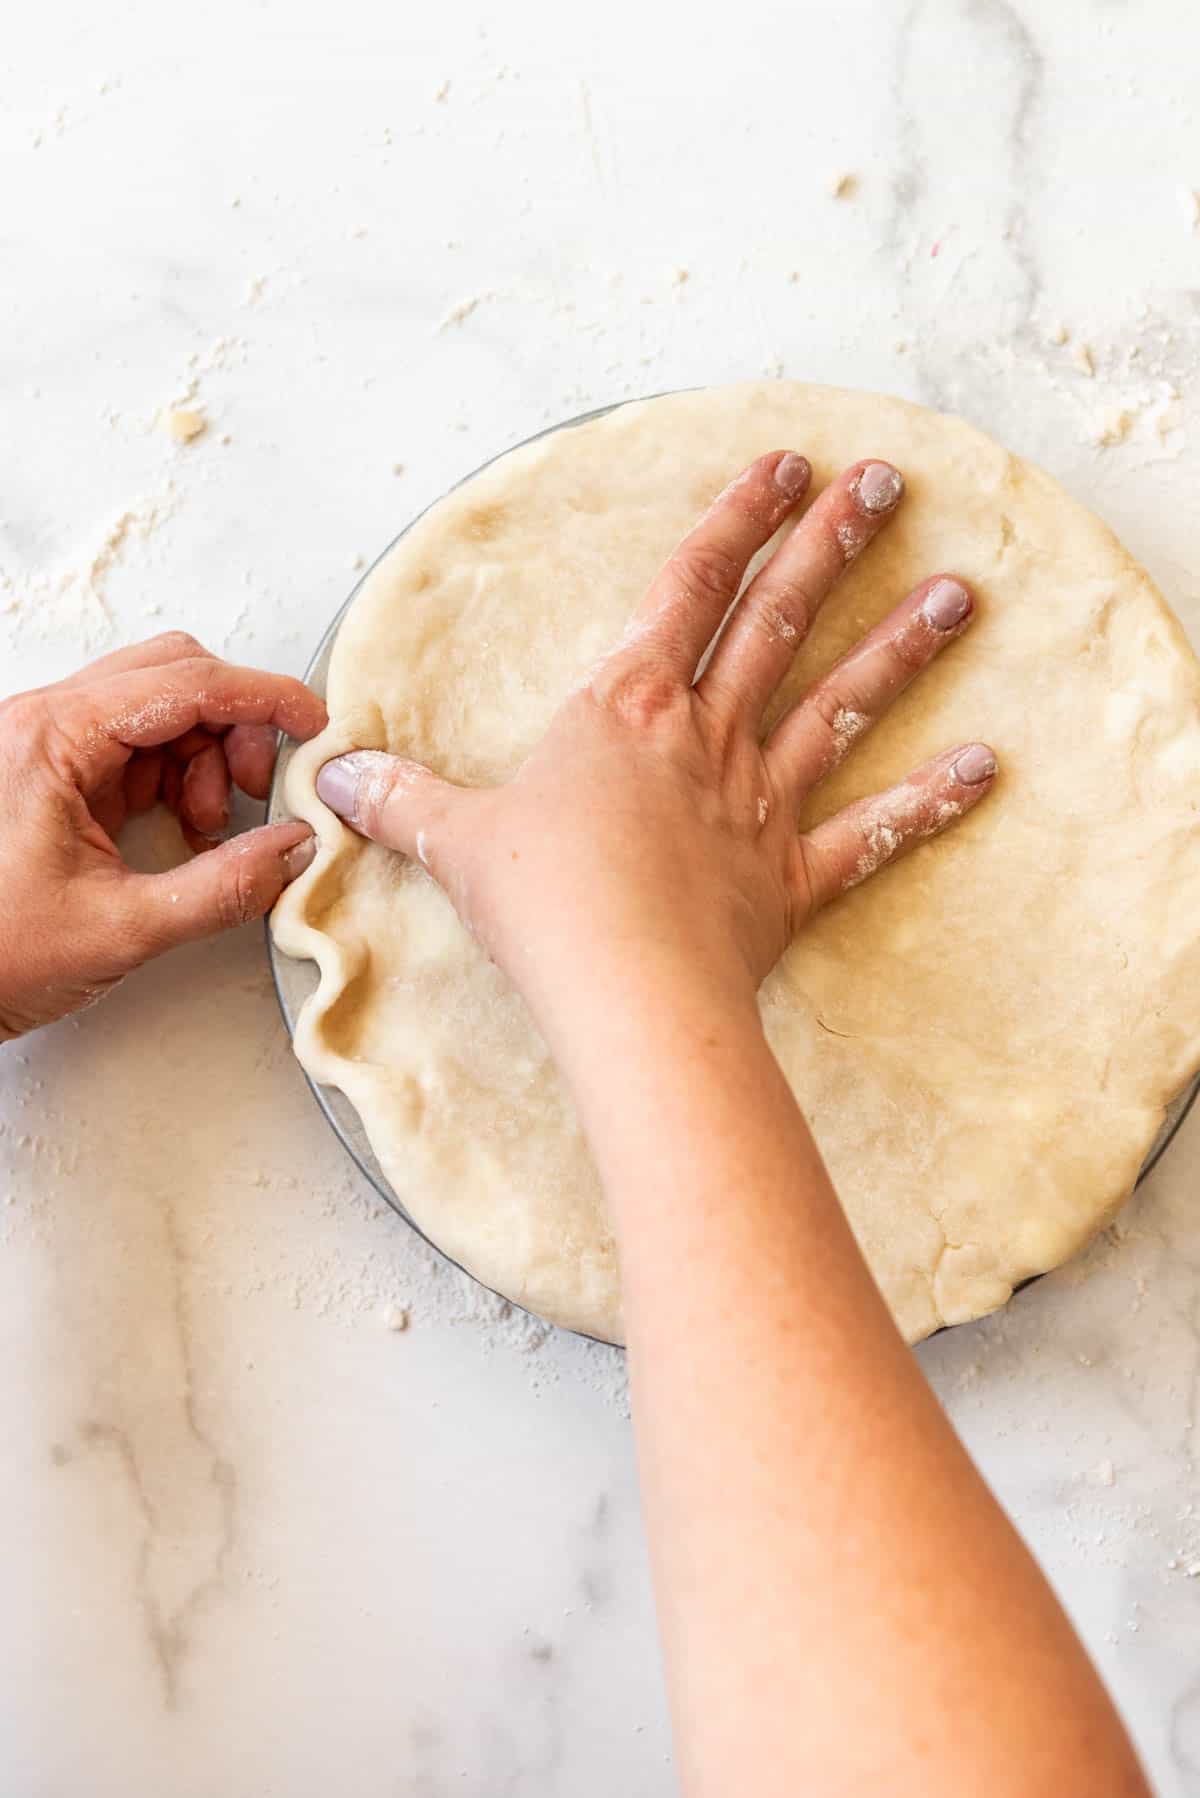
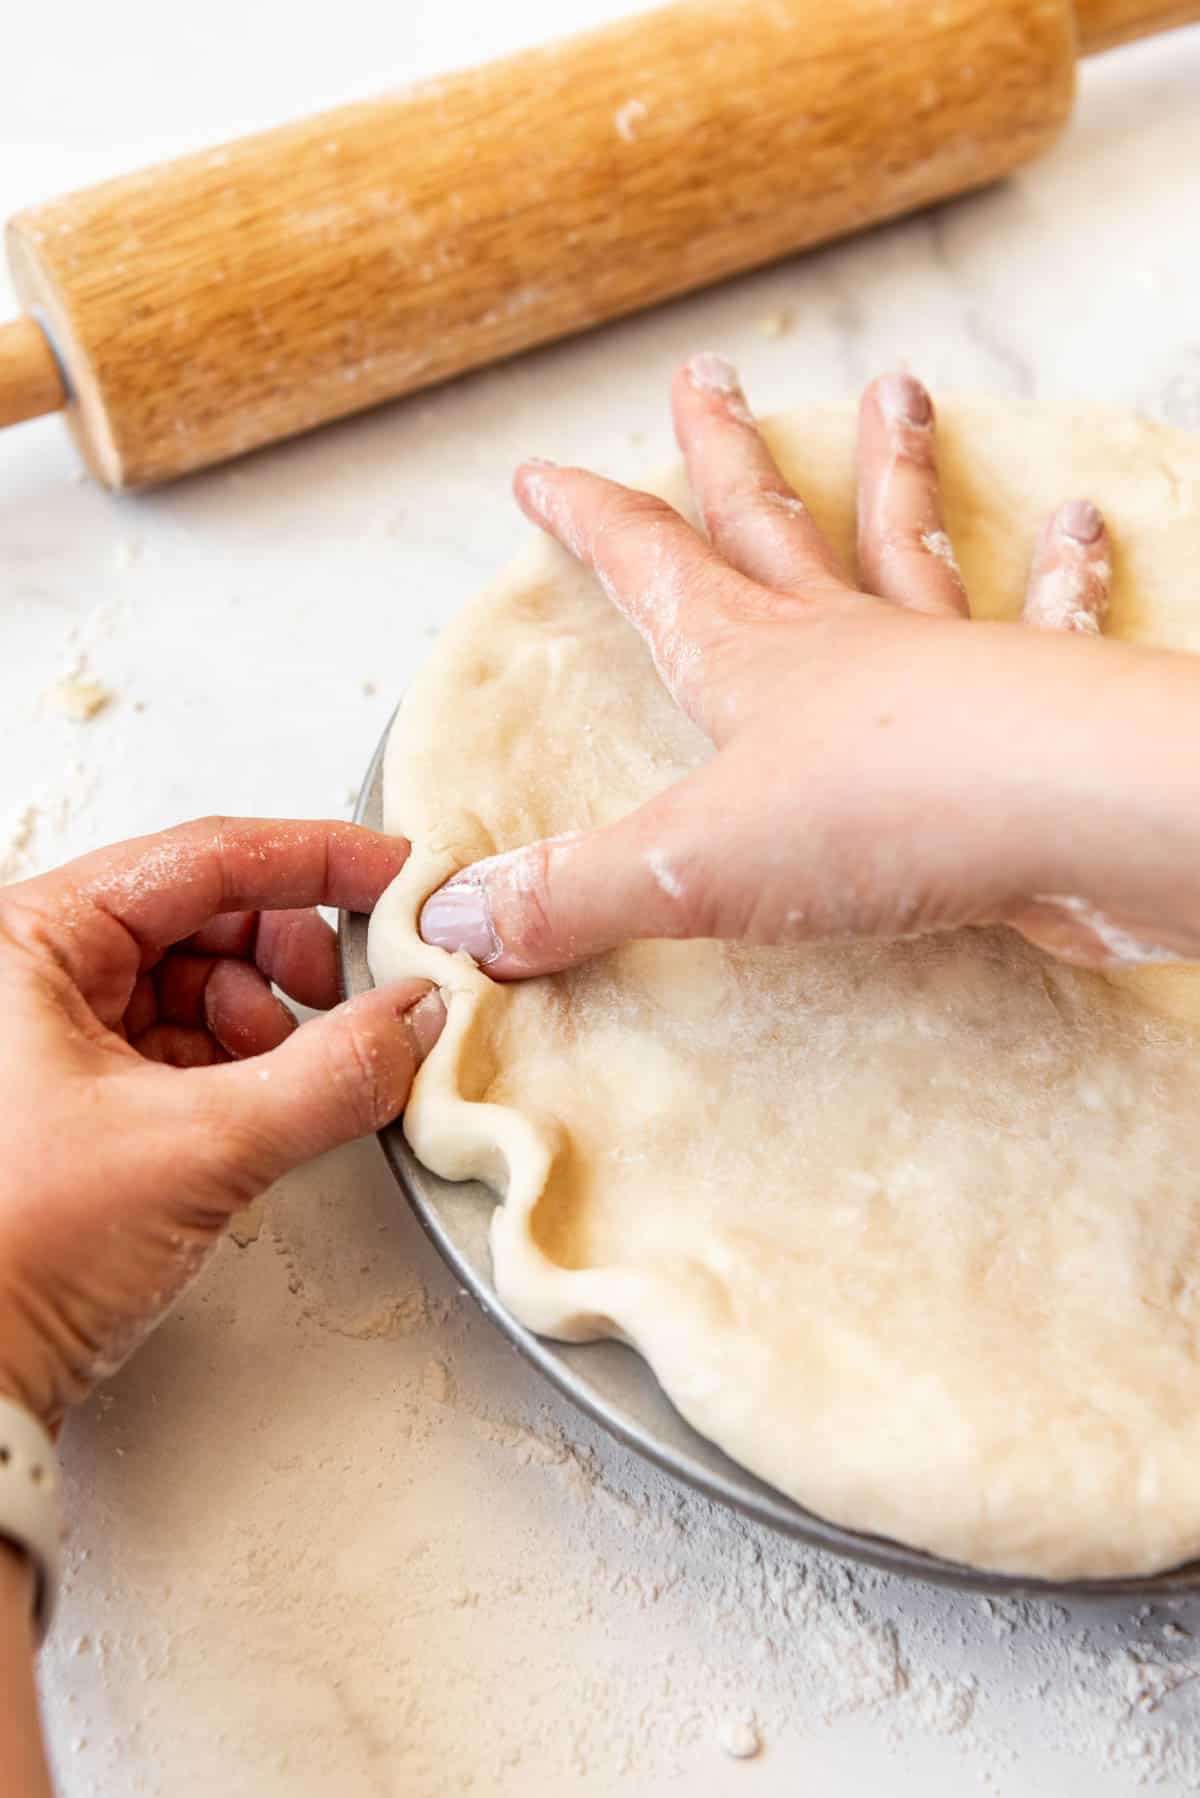
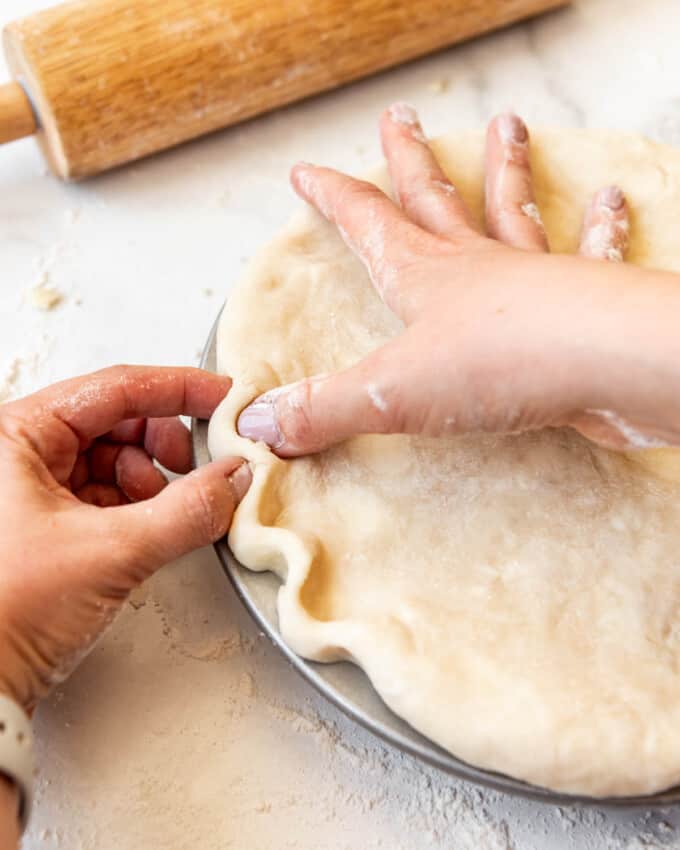
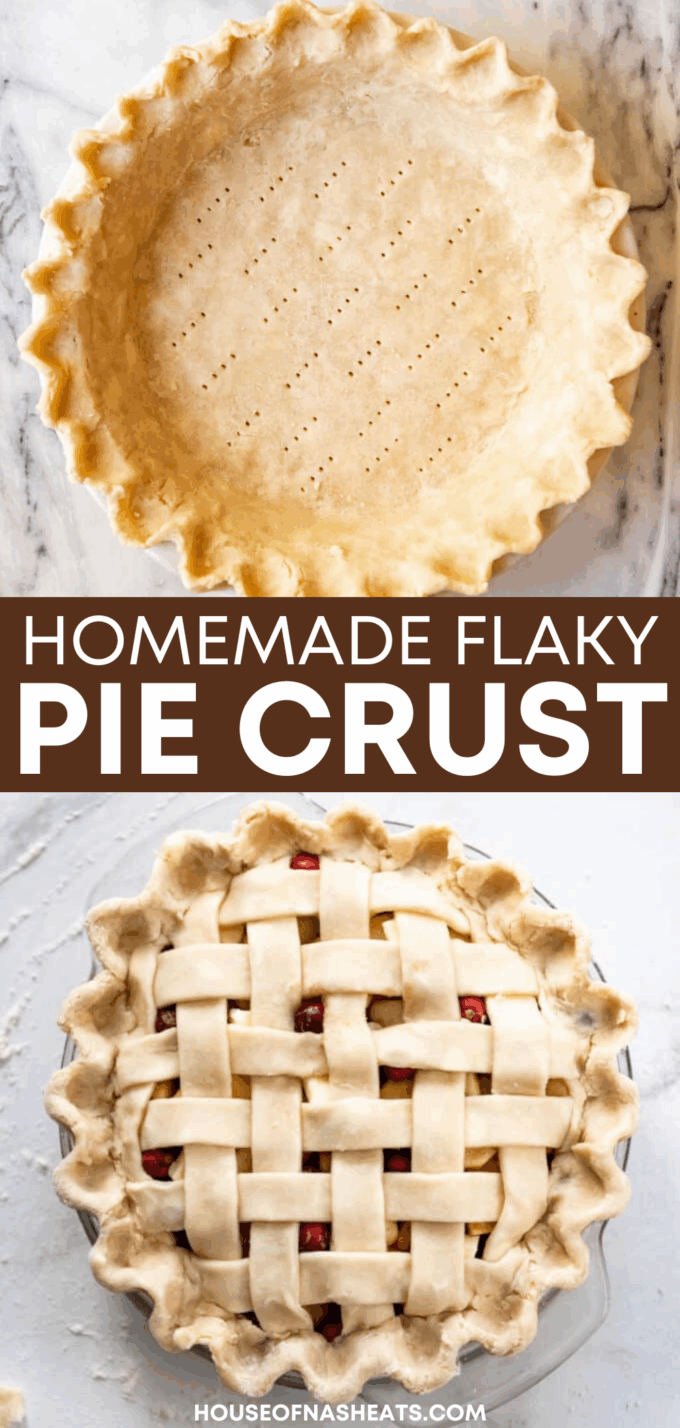
Trim and crimp the edges using your fingers to create a scallop design (traditional and my favorite) or a fork (fun and easy!). And always be sure to brush the top crust with an egg wash so it bakes up a beautiful golden brown!
How to Blind Bake a Pie Crust
If you need to blind bake a pie crust, say for a Coconut Cream Pie, no-bake pie, custard or other cream pie, I have an entire post where I share all my best tips & tricks for how to blind bake pie crust while avoiding too much shrinkage or having it puff up.
But in short, you should preheat the oven to 400 degrees F. Line your pie crust with a crumpled piece of parchment paper, then fill with pie weights, dried beans, or some other heavy filling that can be easily removed.
Bake for 15-18 minutes, just until the crust is starting to brown a bit around the edges. Then remove the crust from the oven and carefully lift out the parchment paper to pour the pie weights into a heat safe bowl to cool down.
Return the crust to the oven without the weights now and bake another 7-8 minutes for a partially baked crust or 14-16 minutes until golden brown for a fully baked crust.
Homemade Pie Crust Recipe storage
If you need to make your pie crust in advance, you can refrigerate or freeze the pie crust dough before rolling out and baking. Or you can roll out the crust, line your pie plate (affiliate link), and freeze it that way so it is ready to fill and bake.
If you blind bake your pie crust but don’t want to fill it yet because it will get soggy, you can store it at room temperature for about 2 days before it starts to get stale.
How far ahead can I make pie crust?
You can make and refrigerate your pie crust up to 3 days in advance. Or if you want to make and freeze your pie crusts, they do well in the freezer for up to 3 months. Just thaw overnight in the fridge before rolling out the next day. If you previously rolled out and froze the pie crust, you can bake the pie crust direct from frozen.
Does pie crust go bad?
Eventually an unbaked pie crust will start to turn greyish in the fridge if left too long. And a baked pie crust will go stale after a few days. I don’t recommend making them more than 2-3 days in advance unless you plan to freeze your crusts.
Perfect Pie Crust FAQs
If your pie dough is overly sticky, then it’s likely one of two issues. Either there was too much water or not enough flour added (happens to the best of us where we lose track of how many tablespoons or cups have gone into a recipe), or the pie dough got too warm and some of the butter started melting.
To remedy the first issue, you need to either add more cold water or more flour, as needed. The crust might be a little more tough and not quite as flaky as it might have been if all the ingredients were measured correctly to start, but it should still work for most occasions.
To fix the problem of the pie dough getting too warm, you can try sticking it back in the fridge or freezer to resolidify the butter in the crust. This will help make it more manageable to work with, but you will have lost some of the flakiness. If the day is hot, you might want to plan ahead and work with your crust while the kitchen is still cool and keep the dough in the fridge as long as possible so it stays cold.
The trick to making a good pie crust, besides starting with a great pie crust recipe like the one here, is practice. Although some folks complain about making pie crusts, I have found that a little practice makes a big difference! Using the right ratios of fat to flour to liquid and keeping things cold will get you 90% of the way to a decent pie crust. The rest is just experience as you practice rolling out the dough.
I like to blind bake my pie crusts at 400 degrees Fahrenheit. This helps melt the butter and shortening quickly to set the crust before it shrinks too much.
Favorite ways to use this Best Pie Crust recipe
- Homemade Blackberry Pie
- Dutch Pear & Nutmeg Pie
- Strawberry Rhubarb Pie
- Classic Southern Pecan Pie
- Blueberry Sour Cream Custard Pie
Did you make this recipe?
Let me know what you thought with a comment and rating below. You can also take a picture and tag me on Instagram @houseofnasheats or share it on the Pinterest pin so I can see.
Best Pie Crust Recipe
Equipment
Ingredients
- 2 1/2 cups (353g) unbleached all-purpose flour spooned & leveled + extra for the work surface
- 2 Tablespoons granulated sugar
- 1 teaspoon table salt
- 12 Tablespoons salted butter cut into 1/4-inch pieces and chilled
- 1/2 cup vegetable shortening chilled
- 6-8 Tablespoons ice water

Instructions
- Stir together the flour, sugar, and salt. Using a pastry cutter or a food processor (affiliate link) (if I had one I would use it!), cut the shortening and butter into the flour until the mixture resembles coarse crumbs. It is only about 10 pulses with a food processor (affiliate link) but a bit more work by hand. One trick to make the process a little easier is to freeze your butter beforehand, then grate it into the flour mixture before cutting it in with the pastry cutter if not using a food processor (affiliate link).2 ½ cups (353g) unbleached all-purpose flour, 2 Tablespoons granulated sugar, 1 teaspoon table salt, 12 Tablespoons salted butter, ½ cup vegetable shortening
- Sprinkle 2 tablespoons of the ice water over the mixture. Using a fork, gently stir the water in to the flour mixture, then repeat with the remaining water, adding only 2 tablespoons at a time, just until the dough starts to come together.6-8 Tablespoons ice water
- Divide the dough into two even pieces (if making a double-crust recipe). Turn each piece of dough onto a sheet of plastic wrap and flatten each into a disc and wrap tightly in plastic wrap. Refrigerate for 1 hour, then allow the chilled dough to sit on the counter to soften slightly for 10 minutes before rolling out.
Video
Notes
- This recipe is on page 208 of my cookbook, House of Nash Eats Everyday!



I have a dear friend who swears by America’s Test Kitchen pie crust. This stuff is the real deal and your pie looks beautiful!
Thanks, Kate! I know, people are insanely loyal to certain ATK recipes. A lot of them can be overly fussy, but the research behind them is sound. I love them!
I cannot wait to try this! Thanks for splitting it up into single and double- less work for me hahaha.
Lol – I know! It’s not like it’s hard to halve measurements or anything, but it is nice to have it done for you!
Why is the oven temp. and length of time to bake not included in the above recipe? I need help.
Thank you.
I didn’t include an oven temperature and bake time because that varies so much between different types of pies. If you use this crust in any of my pie recipes, you will find the exact temperature and bake time specified there.
Can you freeze this for later instead of chilling in the fridge or will that affect the gluten in some way?
Yes you can freeze it! I will freeze my crusts all the time and save it for another time.
I used this recipe to bake Apple Hand pies and oh my…they were amazing! This made the perfect pie crust! Thank you!
You’re welcome! So glad you loved this pie crust as much as we do!
I don’t have a food processor or pastry cutter. Could a blender work in place of a food processor?
I don’t think a blender would work well for pie crust. But you could use two knife to literally cut the fat into the flour until it starts to turn into smaller chunks, then get in there with your fingers to finish up the last bit until it resembles small crumbs!
Have you ever froze your pie dough or crust to have ahead of time?
Absolutely! You can freeze the pie dough for up to 2 months, then thaw and roll out when you are ready to make your pie.
Fantastic recipe! It comes out perfect everytime!
Best pie crust! I made it with your Pumpkin Chiffon recipe and it was delicious. Yum!
I want your banana cream pudding
Does this recipe make “deep dish” pie crust?
Yes!
I made this as directed the first time and it was perfect. Then I wondered why you need cold ingredients, since it’s going to get cold in the refrigerator. So I’ve made this several times now with room temperature butter, Crisco and tap water and it still comes out perfect every time! It just makes it easier to use this recipe when you don’t have to worry about chilling every thing first.
Salted or unsalted butter?
Salted butter.
I don’t see a separate recipe for the double pie crust. Is this “perfect pie recipe” already converted for a double crust or do I need to double it?
I’m sorry! The recipe is for two crusts as written (so a top and a bottom crust).
Thank you for the pie crust recipe. I would like to know if you pour the filling directly into the pie crust or
must you piece the crust with a fork before adding the filling? Also, I have read some recipes where they brush the pie crust with egg white before adding the filling.Please let me know. My family loves apple pie
but I have never succeeded in making a good pie crust.
P.S. What do you add to the top pie crust before baking.?
It depends on what type of pie you are making. But if it is a baked fruit pie, you should not pierce the crust before filling it. Yes, brushing the bottom of the crust with an egg wash can help seal it if you have had problems with pie crusts leaking in the past. And I like to finish my top crust by brushing it with egg wash and sprinkling with sugar!
When I tried to transfer rolled crust to pie it fell apart. I had to piece it together Shoukd I have used more water?
Yes, it sounds like the crust was too dry. A little additional water should fix this.
I simply add different flavorings/herbs lightly to the wet flour mixture, less any water, and especially to my turkey and chicken pot pies, the summer’s strawberry, apple & many fruit pies….and WOW!, what a great tasting pie crust to whatever you’re making.
Just made this crust feels really good making a blue berry pie can’t wait to see how it turns out
I would love to hear what you thought of how the pie turned out!
You have turned me into a pie lover with your recipes! Every one I make has been a huge hit. I have run into an issue with blind baking my crust with parchment paper and pie weights – when I take it out of the half baked crust it sticks and pulls off chunks of crust with it. What am I doing wrong?
This was easy. Turned out great. Great buttery taste with flaky crust!
So easy a plumber just made it!
Ha ha Thank you! Anyone can do it! Good job!
Hi Amy. I loved watching your video on baking a pie crust using both butter and shortening. I had been wanting to try that combination and found your recipe. In my usual recipe using only Crisco, it calls for 2 c. flour and 3/4 c. shortening. Although your recipe adds an additional 1/2 cup of flour, the butter/shortening combination adds up to 1 1/4 cups. I could see the pie dough was already too wet, so I only used 4 Tbsp of ice water. You recommended 6-8 Tbsp. When I rolled out the crust, it kept tearing. Are your measurements incorrect or did I do something terribly wrong. Help! Thank you. Lynn
Hi Lynn! The measurements in the recipe card are correct and it definitely shouldn’t be too wet. It is a higher fat ratio than it sounds like you are used to working with, but not so much that the crust should be wet-wet, sticky, or tearing. Sounds like a possible accidental mismeasuring of either the flour (not enough) or butter or shortening (too much). Comparing my measurements to the ones your mentioned having used in the past, it’s 2 cups flour vs. 2 1/2 cups flour (so an additional 1/2 cup) and 3/4 cup shortening vs. 3/4 cup butter + 1/2 cup shortening. That’s certainly an increase in fat-to-flour ratio, but actually not a huge one. I hope that helps troubleshoot things for you!
I suspect that problems like the one Lynn is having often stem from measuring ingredients, particularly the flour in this recipe, by volume rather than by weight.
When I first made this pie crust recipe, I was as little worried because with all the butter and shortening, the dough felt like every time I touched it or kneaded it I was touching butter with a little flour! I thought it was going to completely melt in the oven but it turned out great! My finished (not rolled out) dough was not as dry as yours looked. Mine literally looked like a pat of butter. Any tips or thoughts as to why?
Hi! Sometimes when the dough gets too warm it starts to feel greasy. You can either refrigerate the dough (which you should chill the dough anyways) or just add a little more flour. But You definitely want to see the flecks of butter in the crust. I love a butter and shortening ratio for the flakiness and flavor!
Can you use lard & butter
Yes! Just use lard the way you would use shortening in the recipe. I prefer a pie crust with a mix of butter and shortening/lard!
Hi there. Thank you for this recipe. The ratios are spot-on. I do like to use pastry flour though, so I subbed that in and only used about a 1/2 cup of AP flour, for sturdiness. The crust came out so tender and crispy.
Camilla
I’m so glad it works well for you! Pastry flour is great if you have it!
Can you use in place of shortening for a pie crust?
I assume you mean all butter? Yes, you can make an all butter pie crust and I’m pretty sure you can just replace the shortening with butter here, however I haven’t tried it myself simply because all-butter crusts aren’t my favorite.
This pie crust turned out rather salty. It might be good for a savory pie.
Thank you Amy, I enjoy your site, love your notes, I have learned a lot from them, one question , when making your own pastry do you always add the two tablespoons of sugar, even when making a savory pie or Quiche?
Hi! Yes I usually always add the sugar. It is still a very savory crust with the shortening and butter. Sometimes I use butter flavored shortening for an even richer taste.
Wondering if I could sub vegan butter and coconut oil for the butter and shortening? Any thoughts? I have a ton of green tomatoes and wanting to try the green tomato pie, but I don’t do dairy.
I have never tried vegan butter or coconut oil for butter or shortening. I know you could do an all shortening crust though, and that would be dairy-free, right?
Thank you for the recipe! But I think the amount of water it calls for is way too much. Since it calls for a range between 6-8 tablespoons, I used 6 tablespoons, and the dough was still suuuper gooey and sticky. I added some extra flour to dry it out a bit, and the dough is resting in the fridge now. I’m really hoping it turns out. Maybe instead of indicating a range, the recipe should simply say “Ice water” and leave it to our discretion! Thanks again 😊
This pie crust is extremely forgiving. You can overwork it to hell and back and it will still turn out light, flaky and delicious. My only issue is that the pie crust is also very hard to work with, you can chill it all you want but it warms up very quickly and is so soft that I can barely get the crust into the pie plate, but I’ve been able to get around the issue thus far by rolling the crust out on some parchment paper, sliding a baking sheet or other large flat thing beneath it and inverting the crust onto the pie plate. Other than that its a great recipe, and everyone loves it.
This is the best crust I’ve made – and was finally able to make the lattice top!! 🙌🏻 Thsnk you so much! I made the “best cherry pie” and will be making a peach pie this weekend.
Way to go! Sounds like you will be a pro pie maker in no time!
Can this crust be used for savory pies as well?
Yes, absolutely. You could decrease (or completely omit) the sugar if you are making a savory pie, but I use this all the time for my pot pies.
I have made this crust twice now. Once with the House of Nash Eats strawberry rhubarb and then with a blueberry rhubarb I made based off that recipe. I’ve made about a dozen pies in my life. And with the two I made with this crust recipe, I have received more compliments than I had on the rest combined. This crust is simple to make and consistently great. I highly recommend using this recipe.
It’s the way my mom made pie crust except she used lard. It is the best! Don’t you poke a few holes in the bottom? Thank you.
I’m so glad you love this recipe! Yes, it used to be popular to make pie crusts with lard and some folks still do. You only poke holes in the bottom if you are blind baking the pie crust, usually for cream pies.
I haven’t made piecrust in years.
This recipe was easy to follow and it turned out so flaky. Thanks. I will make it again
Great! Thank you for making it! What pie did you make?
Can I refrigerate the dough overnight? Or should I freeze it?
Yep, you can refrigerate it for a couple of days or freeze it. I freeze my dough all the time and thaw it out when I need to use it. It works great.
I’m new to this site, having come for a peach ice cream recipe which turned out to be perfectly grand. This pie crust recipe is not only word-for-word exactly what my mom passed on to me, but the photos are an exact match … right down to the fact that I have exactly the same rolling pin and I was taught to flute the pie crust edge in exactly the same way! That’s quite a coincidence.
Welcome Donna! What a fun coincidence! Your mom must have made some amazing pies!
Too much water! 4T would have been sufficient. I had to add more flour. I made it in the food processor.
Too much water. I haven’t baked it yet. So perhaps there’s too much fat. I add 1/2 cup of flour.
Sounds like perhaps you are undermeasuring your flour. I use 141 grams per cup and give the total measurement by weight in the recipe card.
Will this double crust, a 9 inch or 10 inch pan
Yes, it will.
Will this pie crust be able to be used in a 10″ pie pan?
Yes, This recipe makes two pie crusts so you will have plenty of pie crust dough to work with to fit a variety of pans.
I can’t waaaaaait to fill this crust!!
Yay! You will love it!! Let me know what you decide to make with it!
Definitely will try this, ty,
When you do a fruit pie, like apple, how do you keep the bottom from getting soggy?
Yes, you should try this crust! There are a couple of things you can do to avoid a soggy bottom crust. Blind-baking the crust for ten minutes can create a barrier to prevent it from getting soggy. I also like cooking my fruit pie in a metal pan so the bottom will cook thoroughly. You can also brush the bottom crust with an egg wash and a bit of sugar to create a “crust”. Make sure your fruit filling isn’t too watery and you have a good thickener like flour, cornstarch, tapioca to thicken the filling. Also, you can cook the fruit filling before baking to thicken the filling. I always make sure my pies are baked until bubbly in the center and the filling has thickened in the oven. This will ensure the bottom crust has baked well.
I am curious what size pie pan and do you double the ingredient to make pie with lid?
Typically I use a 9-inch pan.
This is the best recipe – it’s my go to for pie crust. I’m out of salted butter – can I use unsalted? If so, are there other adjustments?
Yes, you can add an extra 1/4 teaspoon of table salt for every 1/2 cup of salt. So for this recipe it would be 1/4 teaspoon + an extra pinch of salt.
Best flaky pie crust !!!
Thank you Amy! P.S. I like your name 😉
Amy, I have a recipe I love but your photos are convincing me to try yours!
You should try this one! I may be biased but it’s the best crust. Flaky and buttery and delicious. Let me know if you try it!