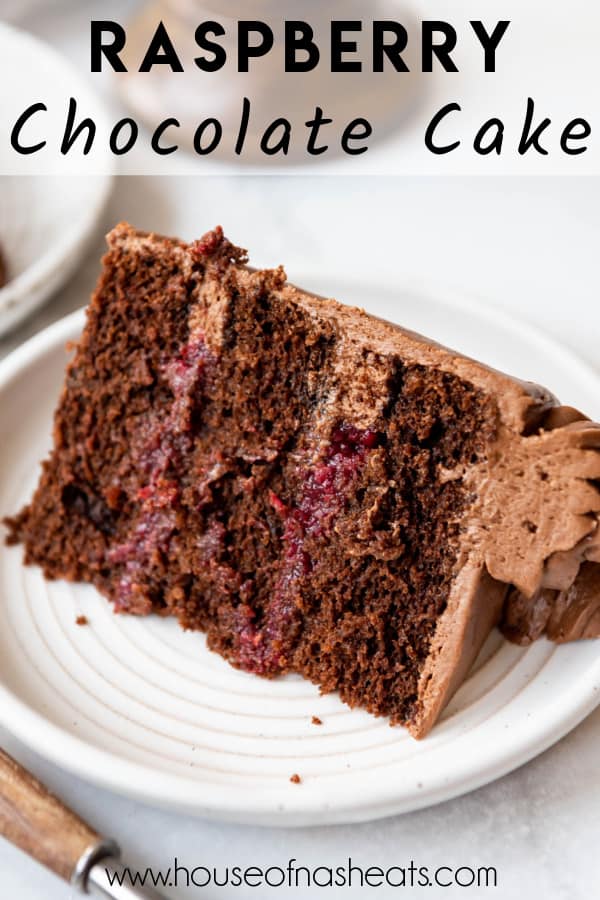
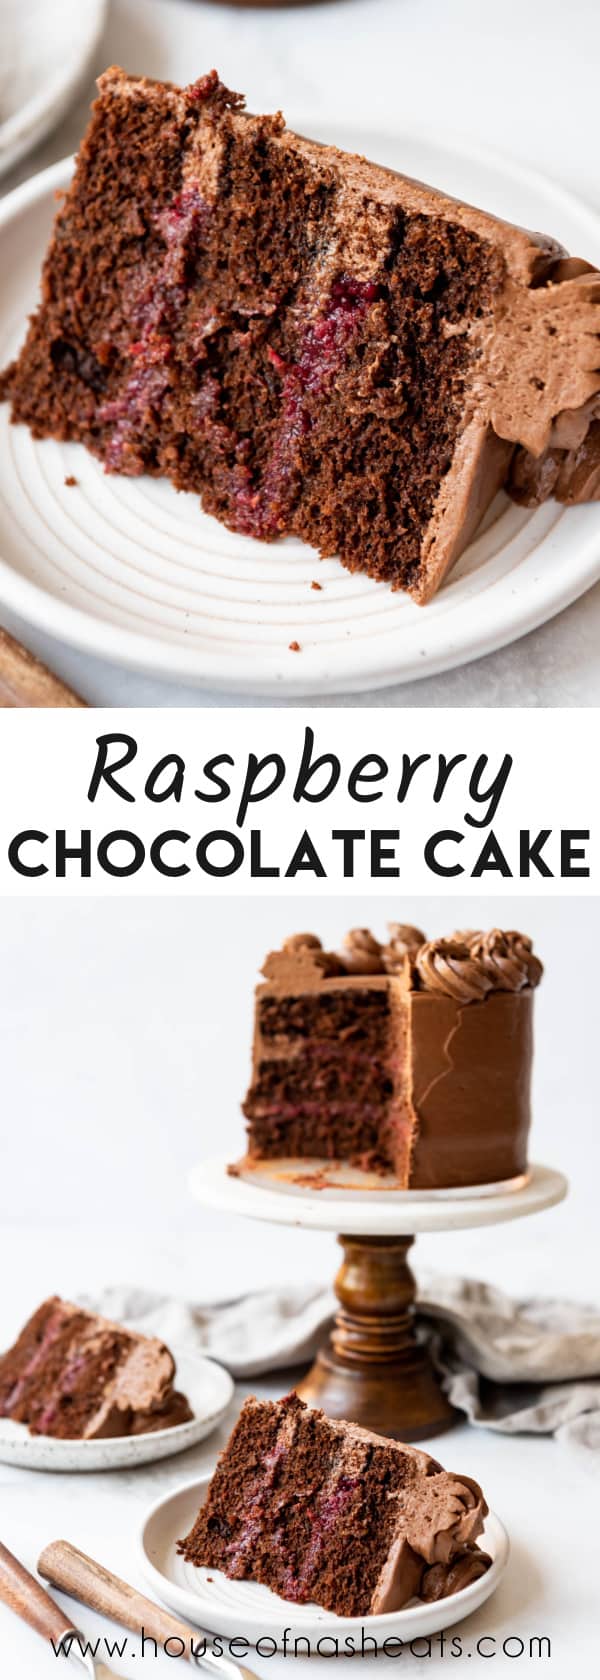
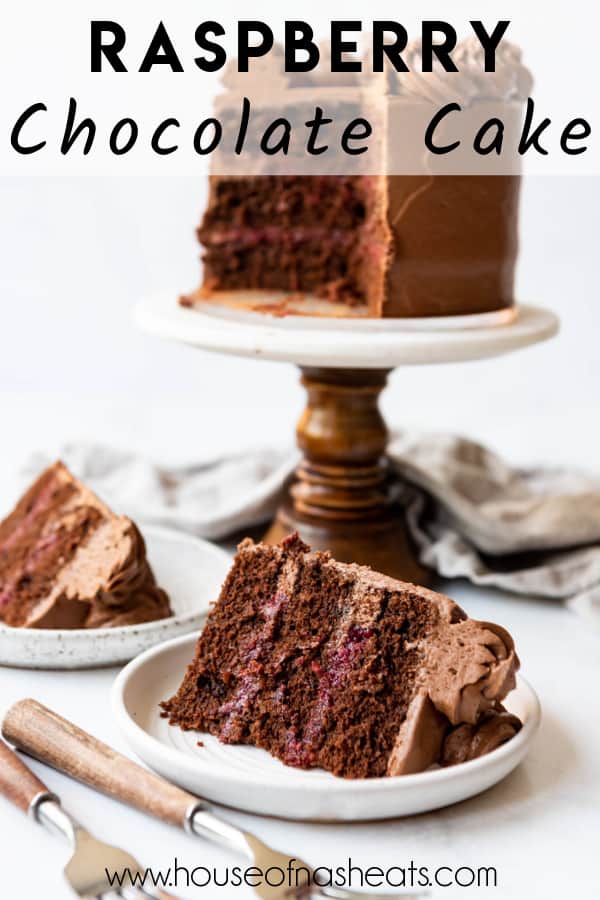
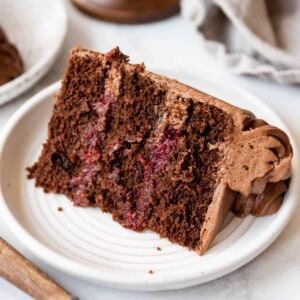
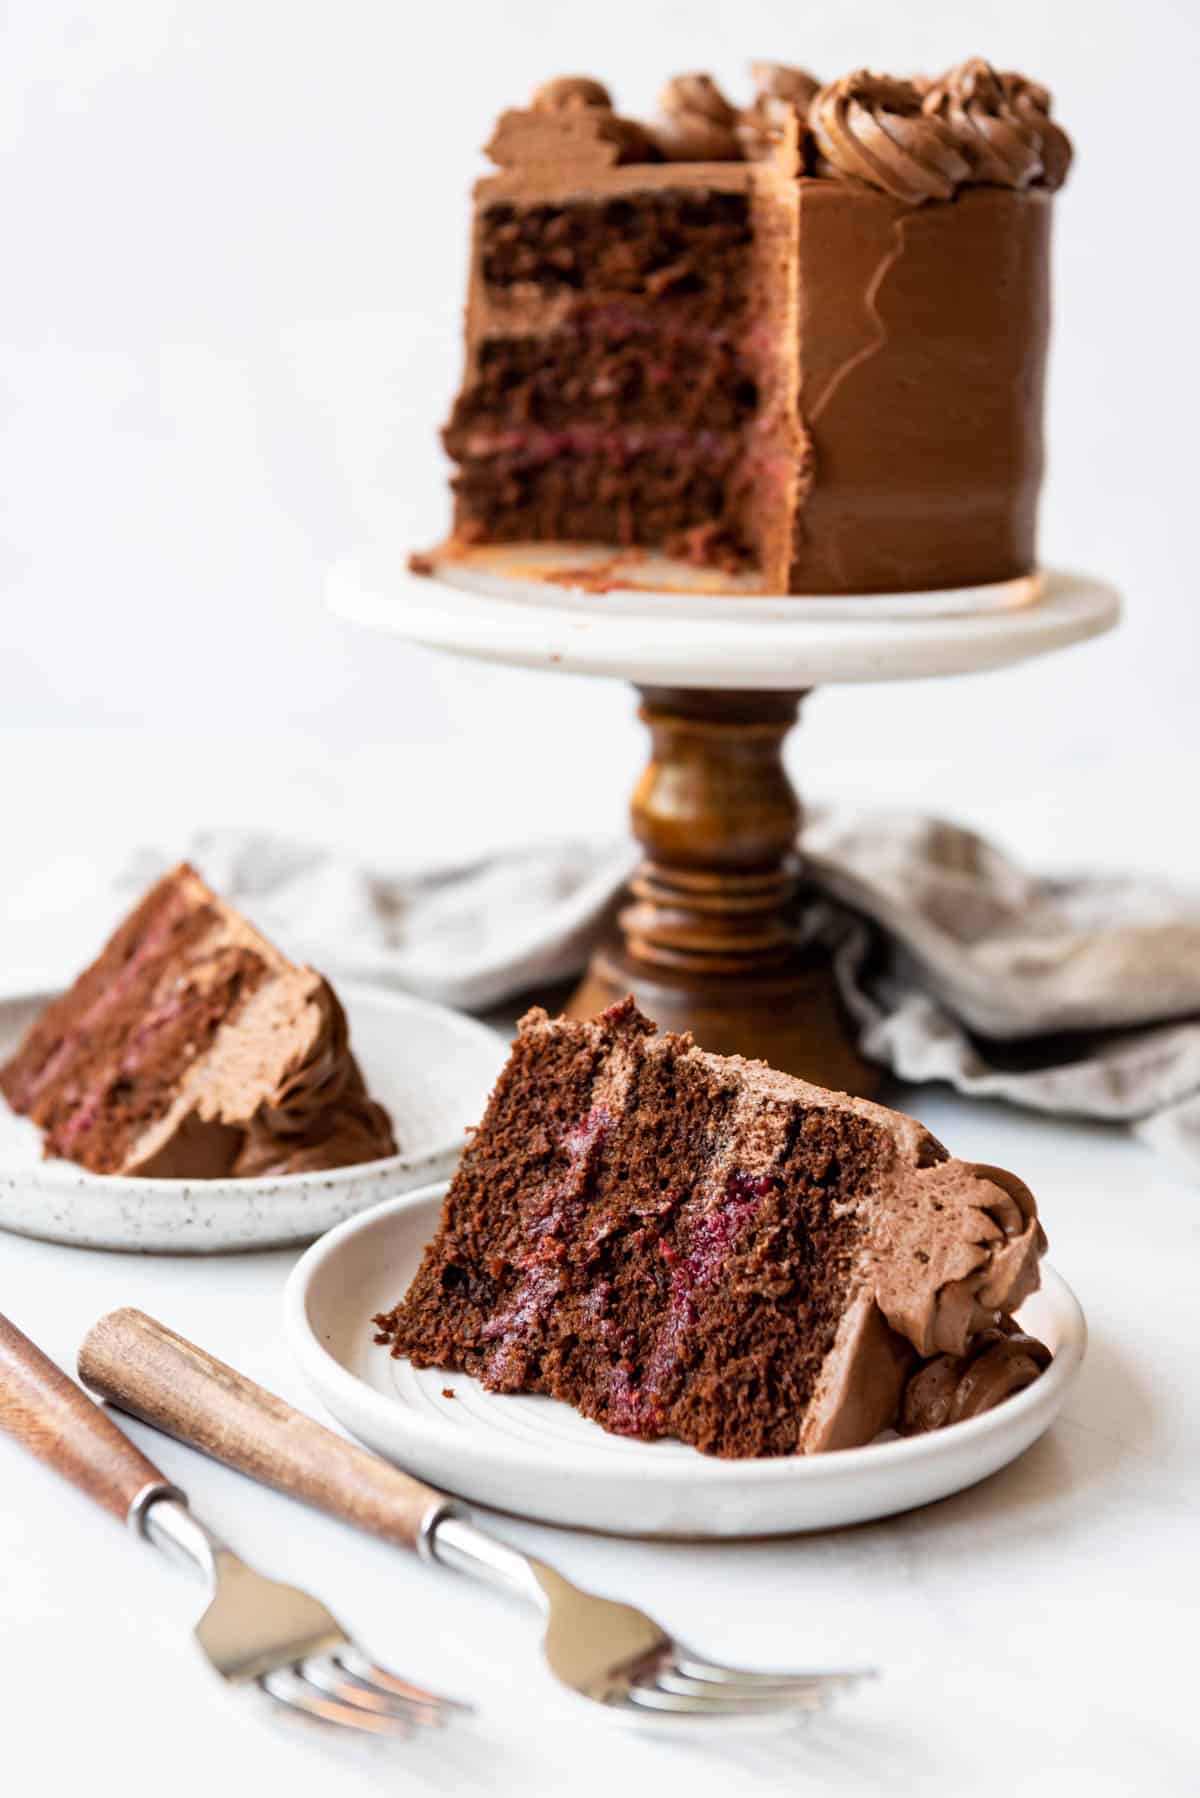
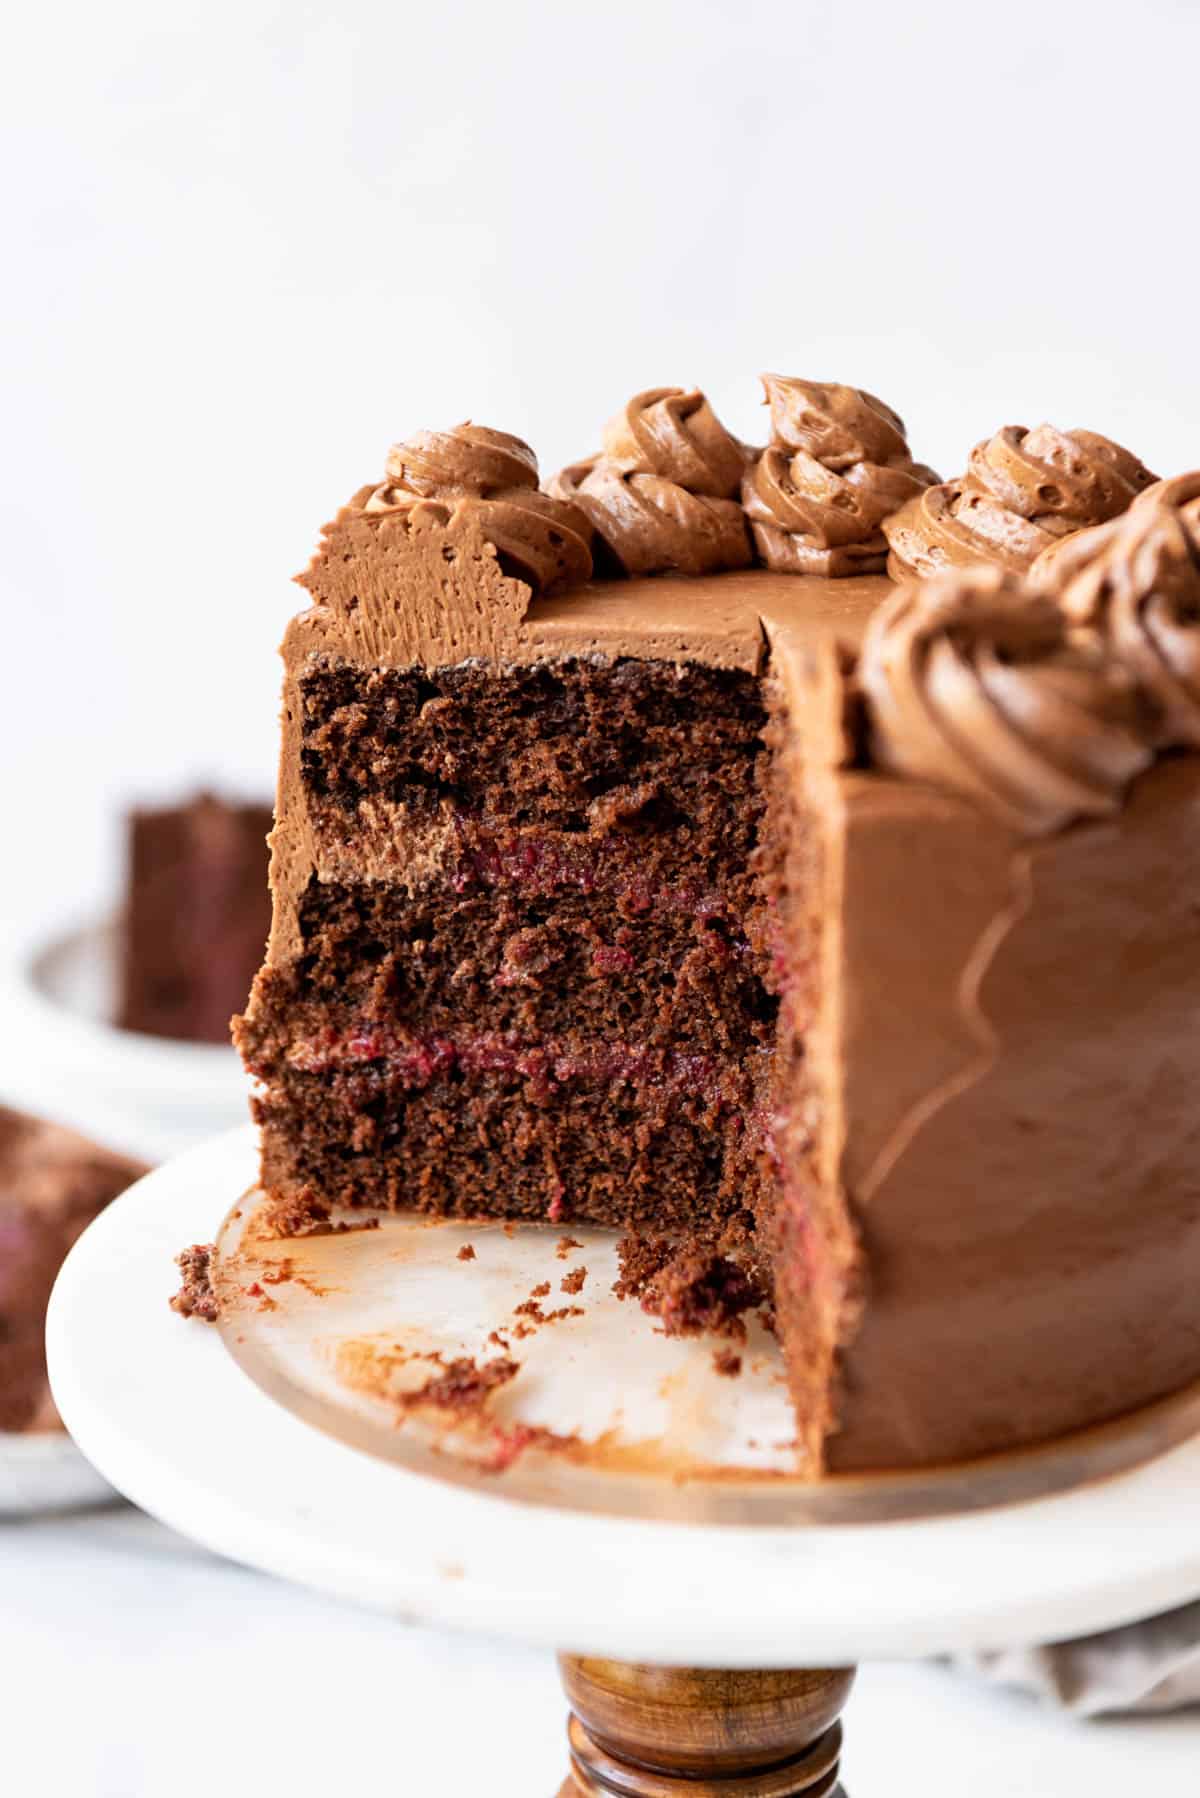
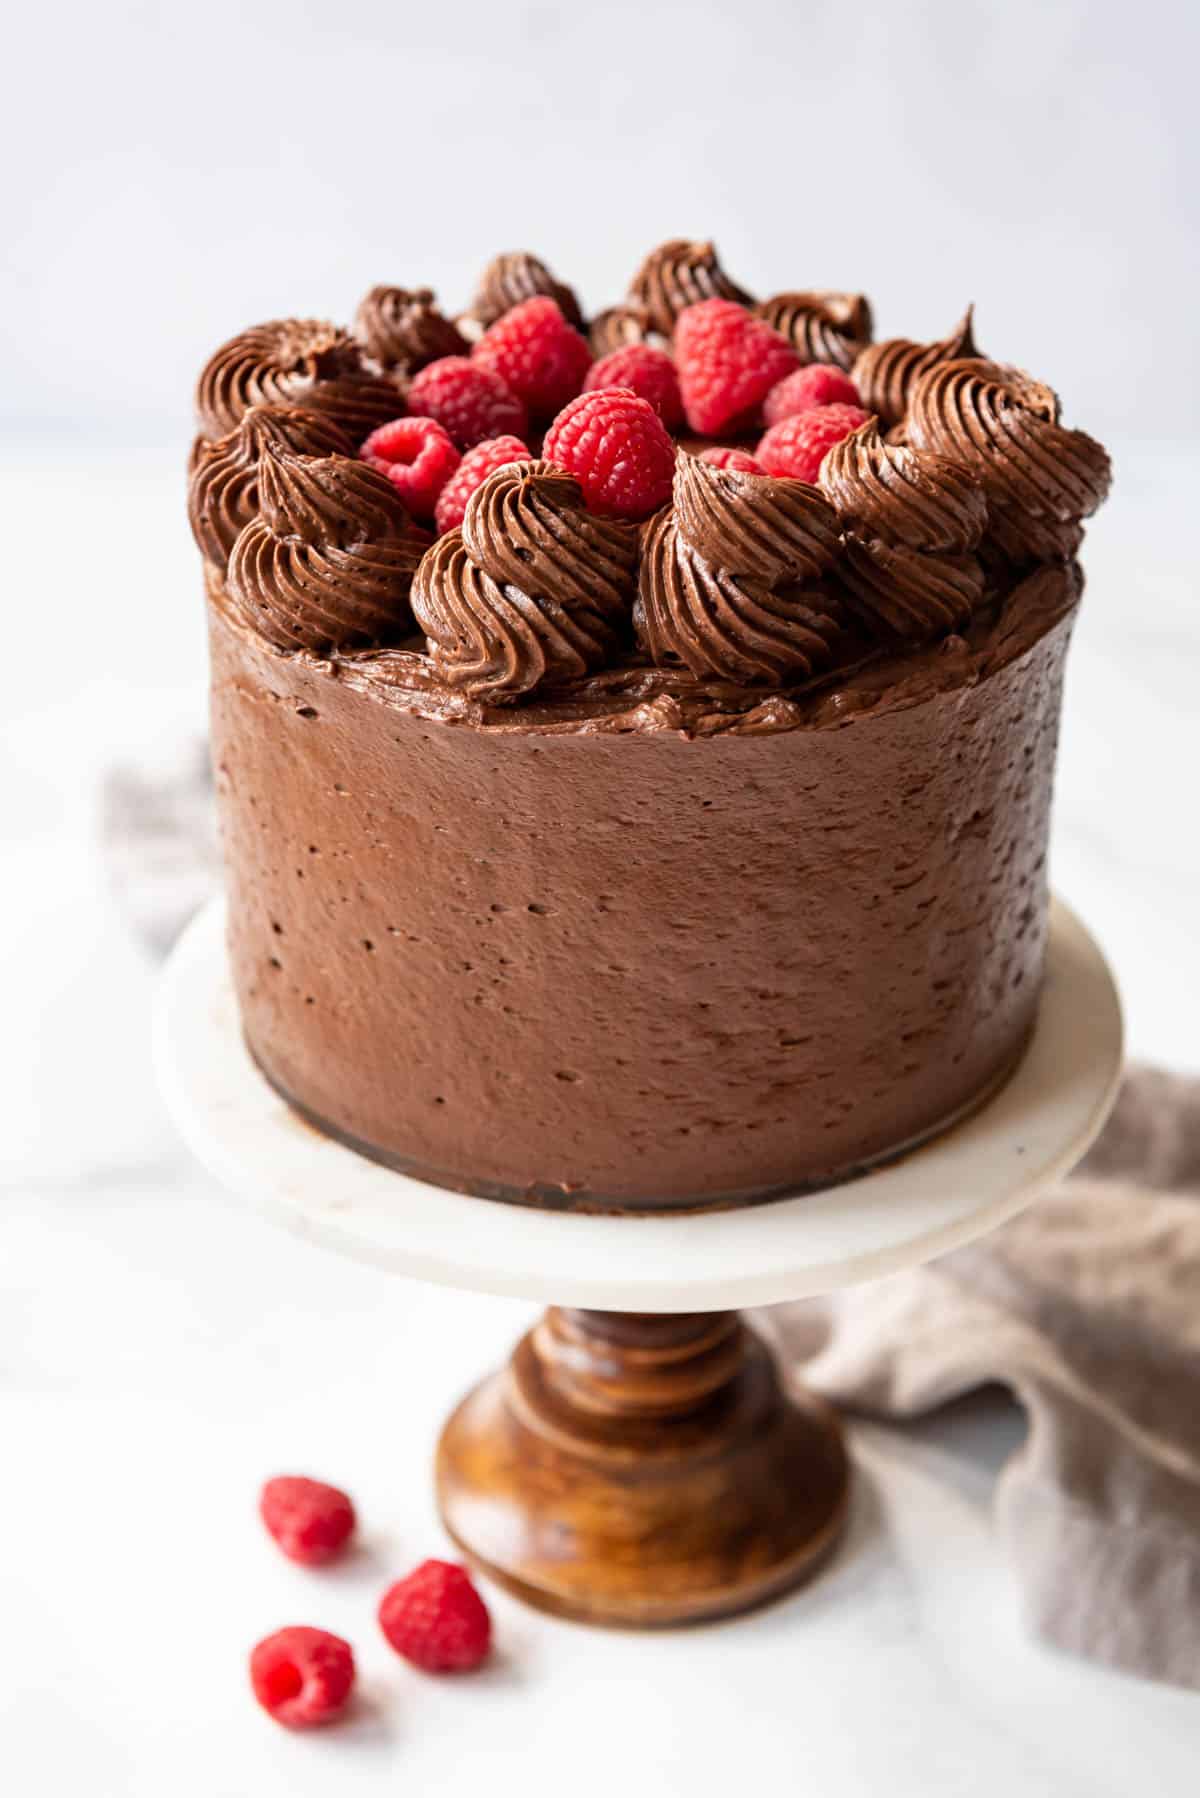
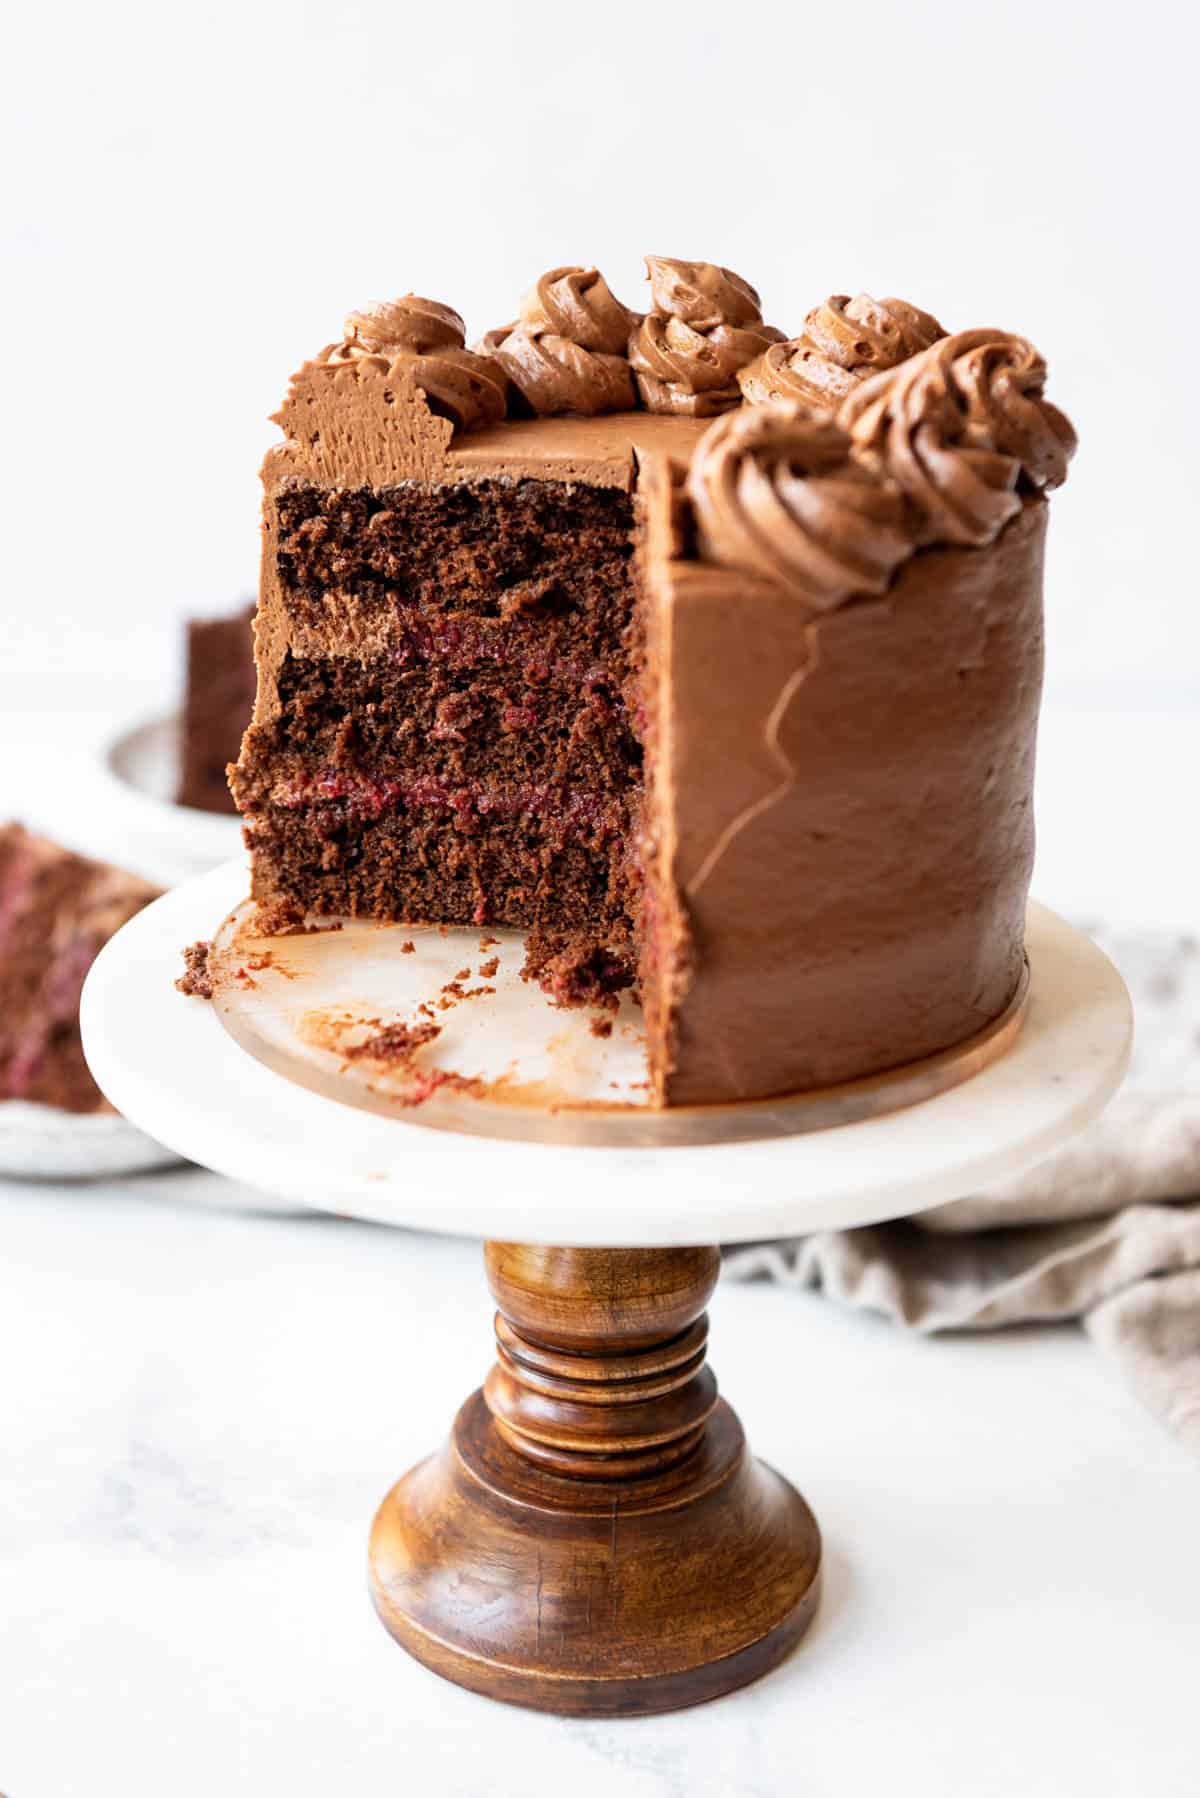
A tall and decadent Raspberry Chocolate Cake combines two of our favorite flavors for a wonderfully rich celebration cake that is perfect for all occasions! Made with homemade raspberry filling, layers of from-scratch devil’s food chocolate cake, and a fantastic chocolate buttercream frosting, this cake is a showstopper that will have everyone raving!
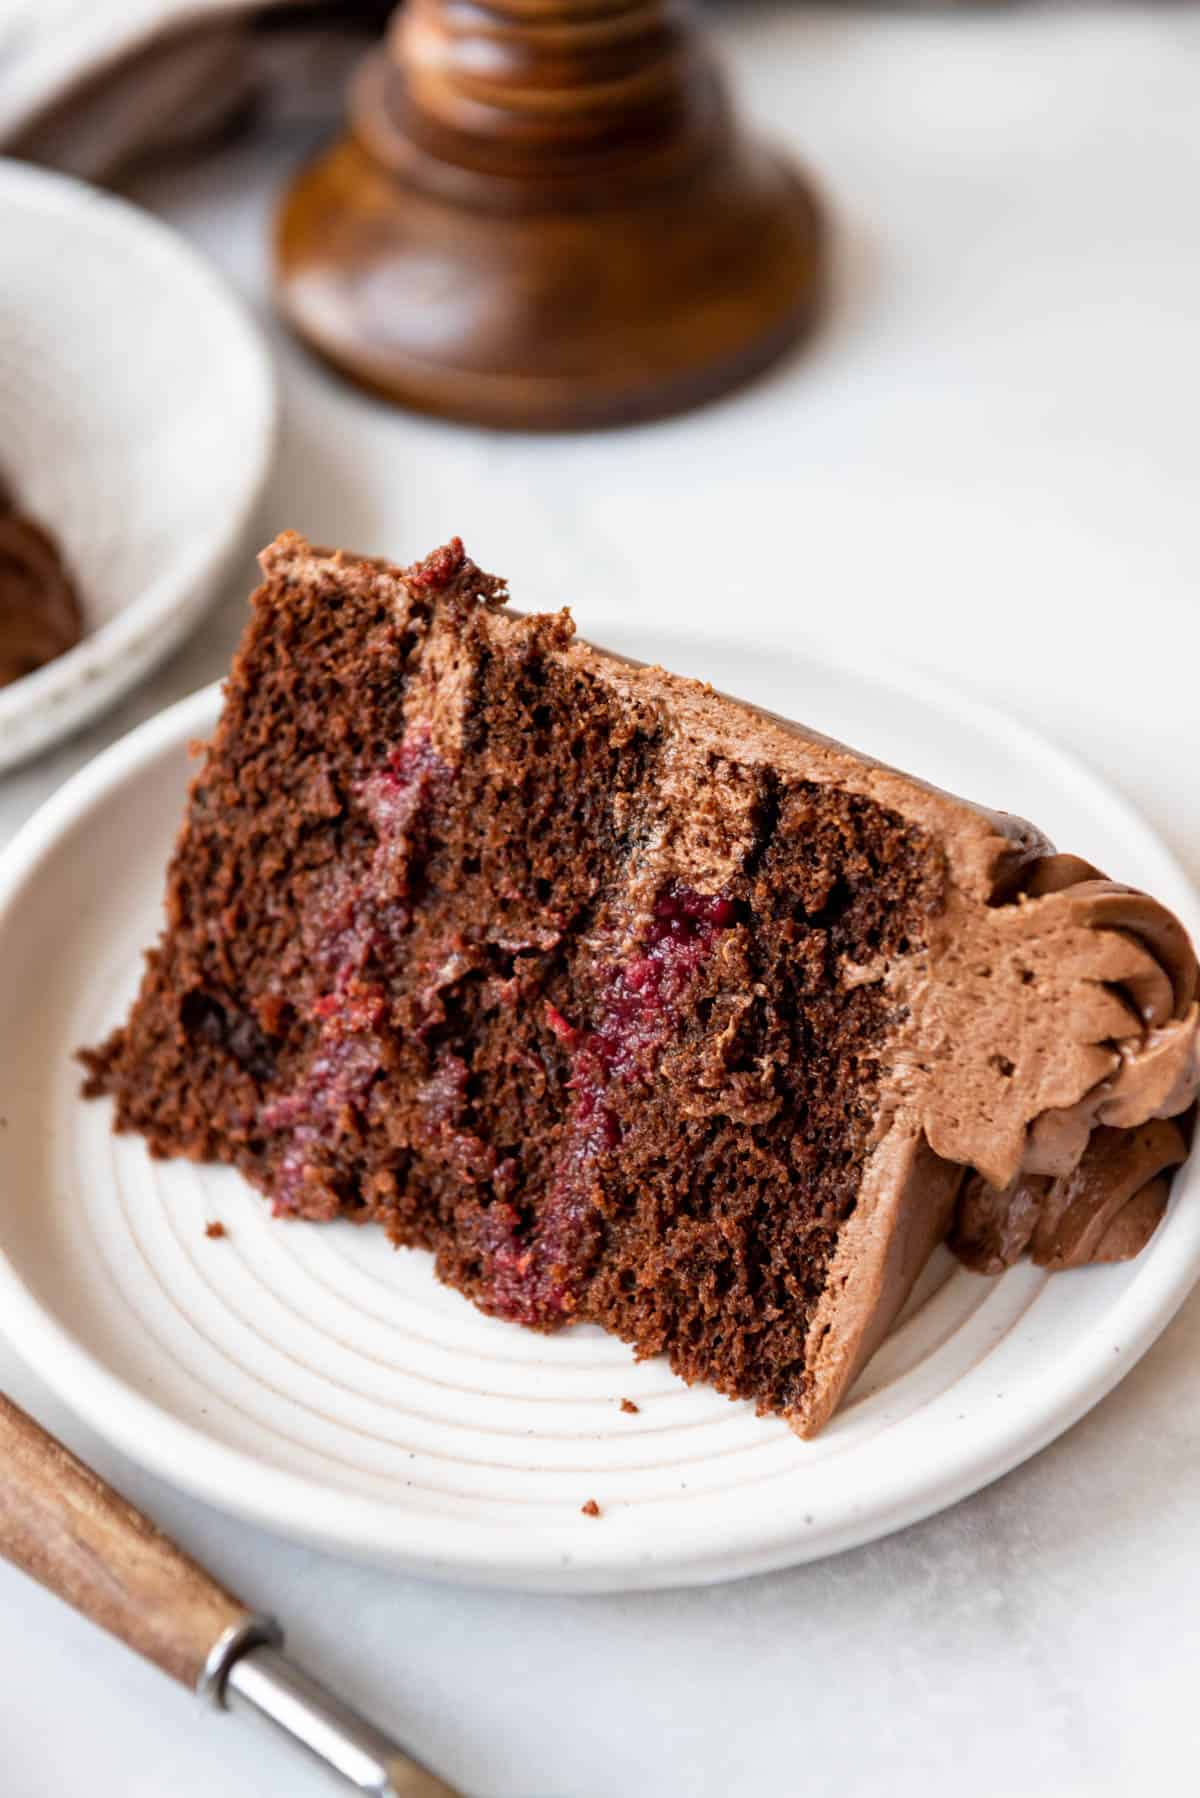
Table of Contents
Our oldest daughter just turned 12 and this cake was her request for her birthday dessert. She couldn’t have picked a better one!
I have made this chocolate raspberry cake many times over the years by combining my favorite chocolate cake recipe with my raspberry cake filling. I finally decided to memorialize this combo for the blog because it’s such a good one and I always get requests for the recipe!
The main changes are baking the cake layers in three 8-inch pans instead of two 9-inch pans so there are more layers of raspberry filling throughout. I also doubled the amount of frosting to account for the extra layers as well as having enough to pipe swirls of frosting for decoration around the top.
If you don’t need all the frosting, you can freeze it for a future use or just frost some graham crackers with it for a delicious little treat! Or we will even pipe a dollop of frosting on fresh raspberries and enjoy them that way as well.
What You’ll Need
Scroll down to the recipe card below this post for ingredient quantities and full instructions.
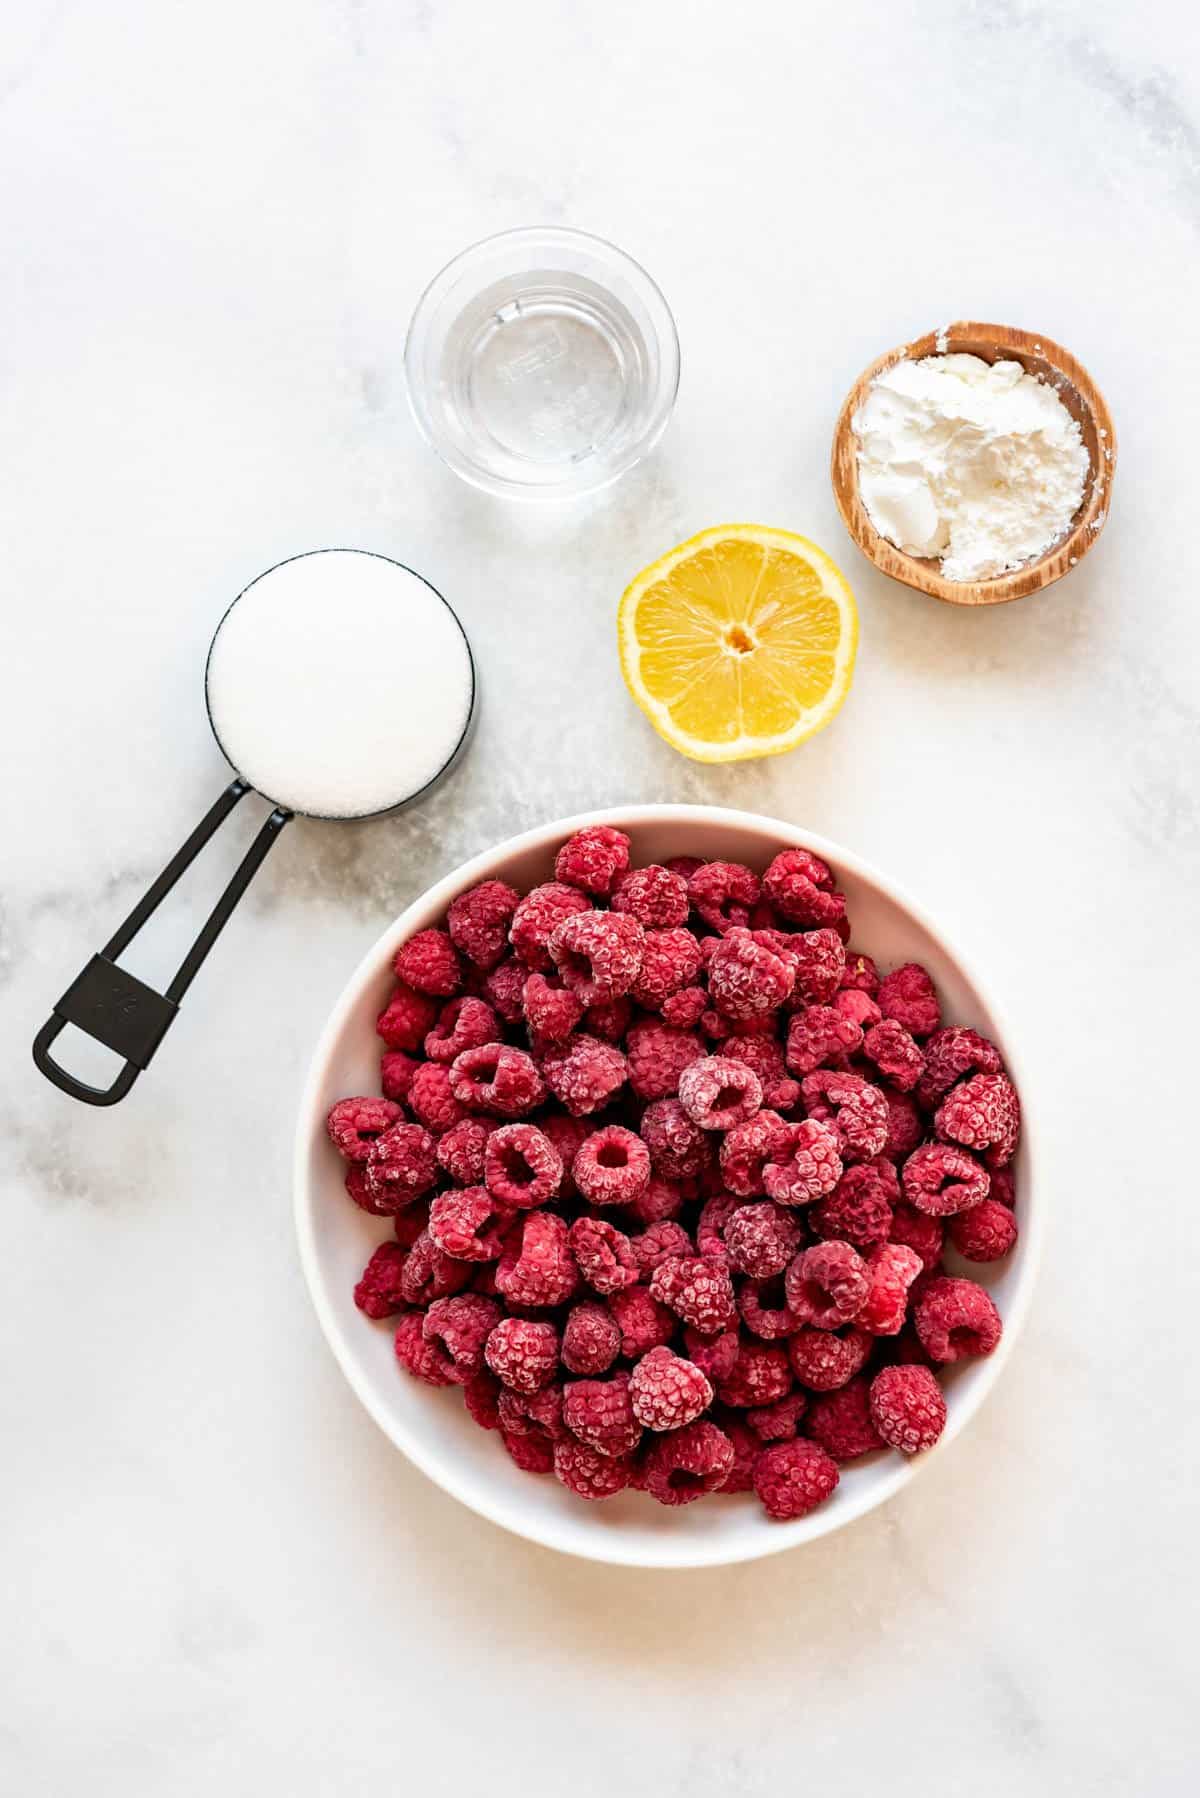
Raspberry Filling
- Raspberries – Fresh or frozen, it really doesn’t matter! Frozen raspberries work great since they are picked at the peak of freshness and are often less expensive than the fresh ones, which you can save for decorating the top of the cake.
- Granulated sugar – One of the main reasons for making raspberry filling instead of just using raspberry jam is that it uses less sugar so the raspberry flavor comes through even more. My recipe has just the right amount to sweeten things up without being overpowering.
- Lemon juice – Keeps the flavor bright and just a little tart.
- Cornstarch – The thickening agent that helps get that thick, silky texture that is sturdy enough to be sandwiched between cake layers.
- Water – Just a little bit to help the berries and sugar combine and start to break down on the stove.
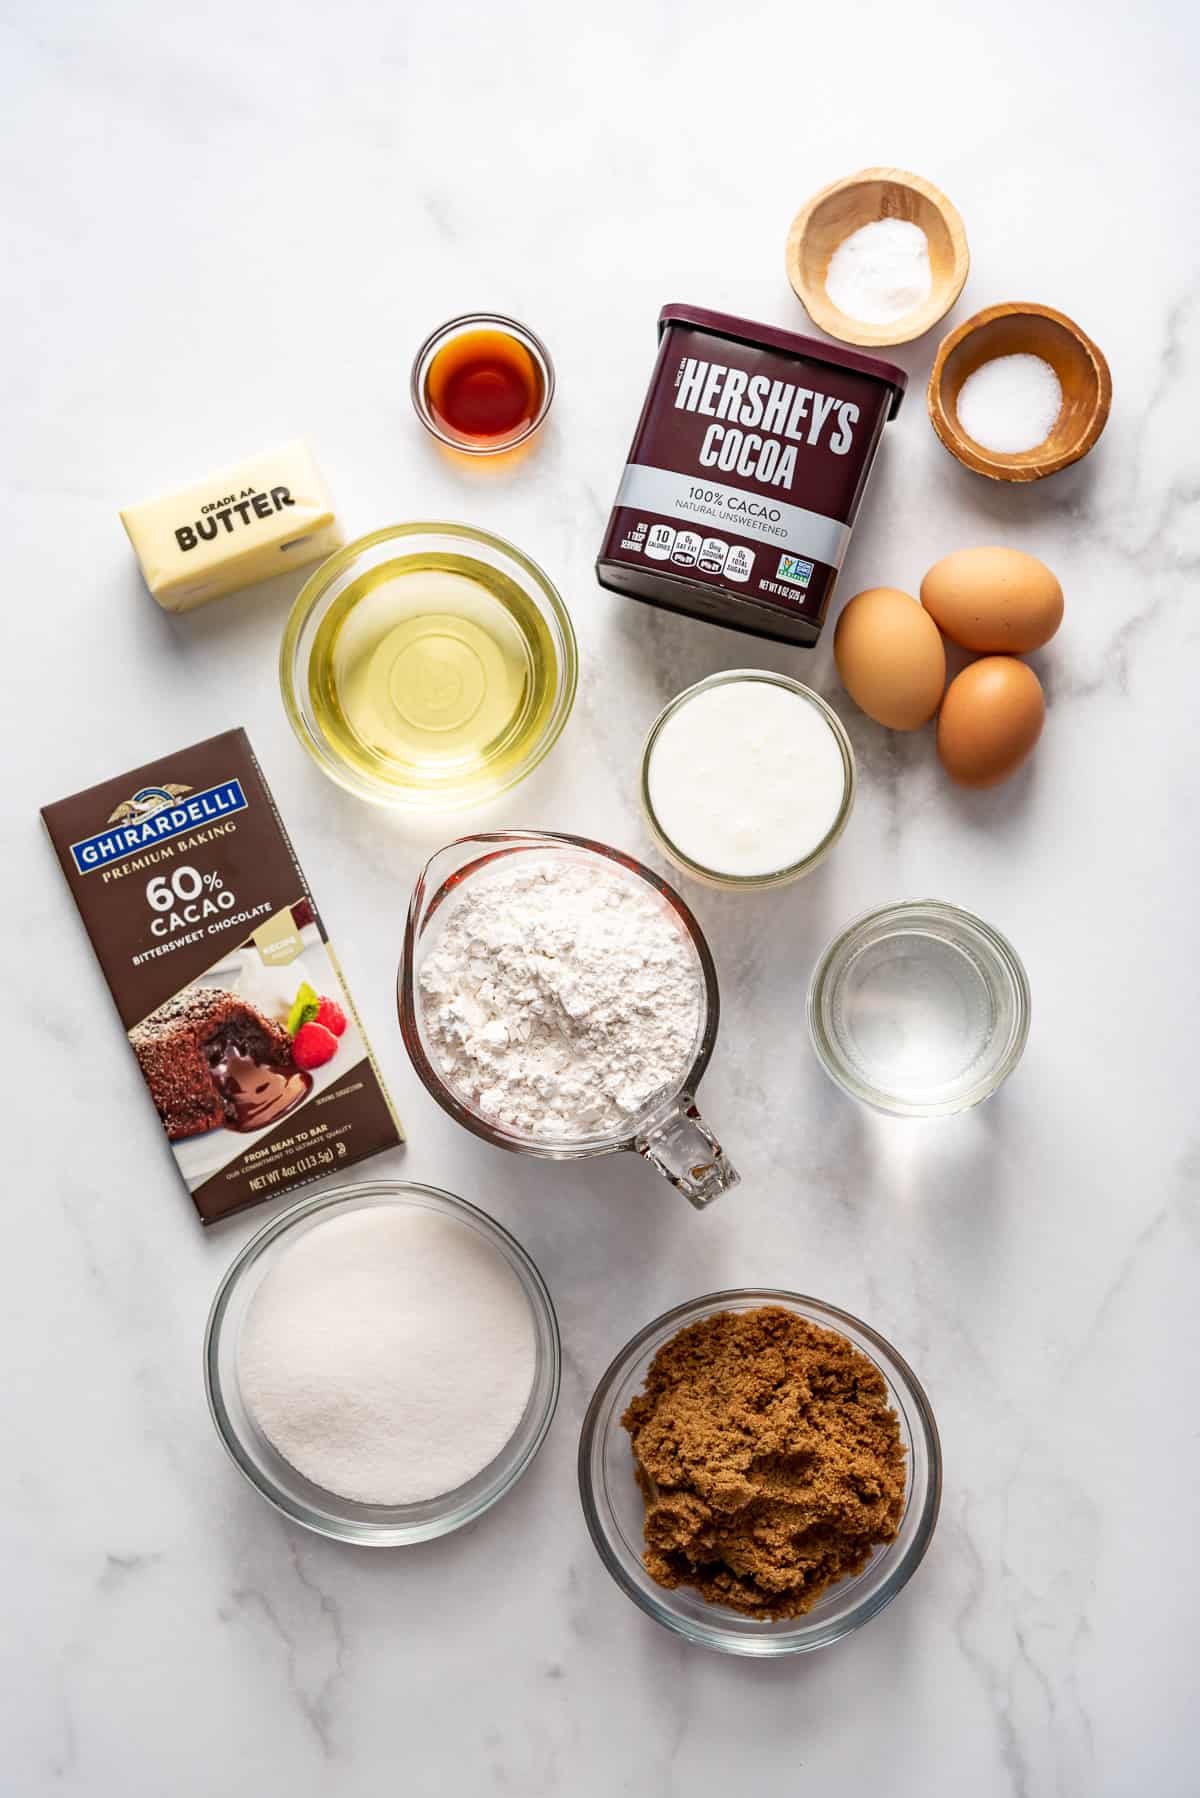
Chocolate Cake Layers
- All-purpose flour – For a lighter crumb you can use cake flour, but for a slightly sturdier crumb that holds up better to the weight of the raspberry filling I recommend using unbleached all-purpose flour instead.
- Cocoa powder and bittersweet or semisweet chocolate – Many chocolate cake recipes only call for cocoa powder, but adding some chopped bittersweet chocolate creates an even deeper, more wonderful chocolate flavor.
- Sugar – A combination of granulated sugar and brown sugar adds depth and richness as well as sweetness to the cake.
- Eggs – These are an important ingredient in most cake recipes. I recommend using room temperature eggs for best results.
- Oil and butter – Butter adds flavor while oil adds moisture. A combination of the two is the best of both worlds and leads to a supremely flavorful, moist cake.
- Baking powder – This leavening agent provides just the right amount of lift for a light crumb.
- Salt – Another unsung hero of baking, a little salt keeps things from being bland or too sweet.
- Vanilla extract – I like using my homemade vanilla extract to add depth, complexity, and warmth to this chocolate raspberry cake recipe.
How to Make Raspberry Chocolate Cake
Make the filling
This step can be done 2-3 days ahead and the filling can be stored in the refrigerator until you are ready to assemble the cake. I have an entire post on how to make raspberry cake filling if you want even more guidance.
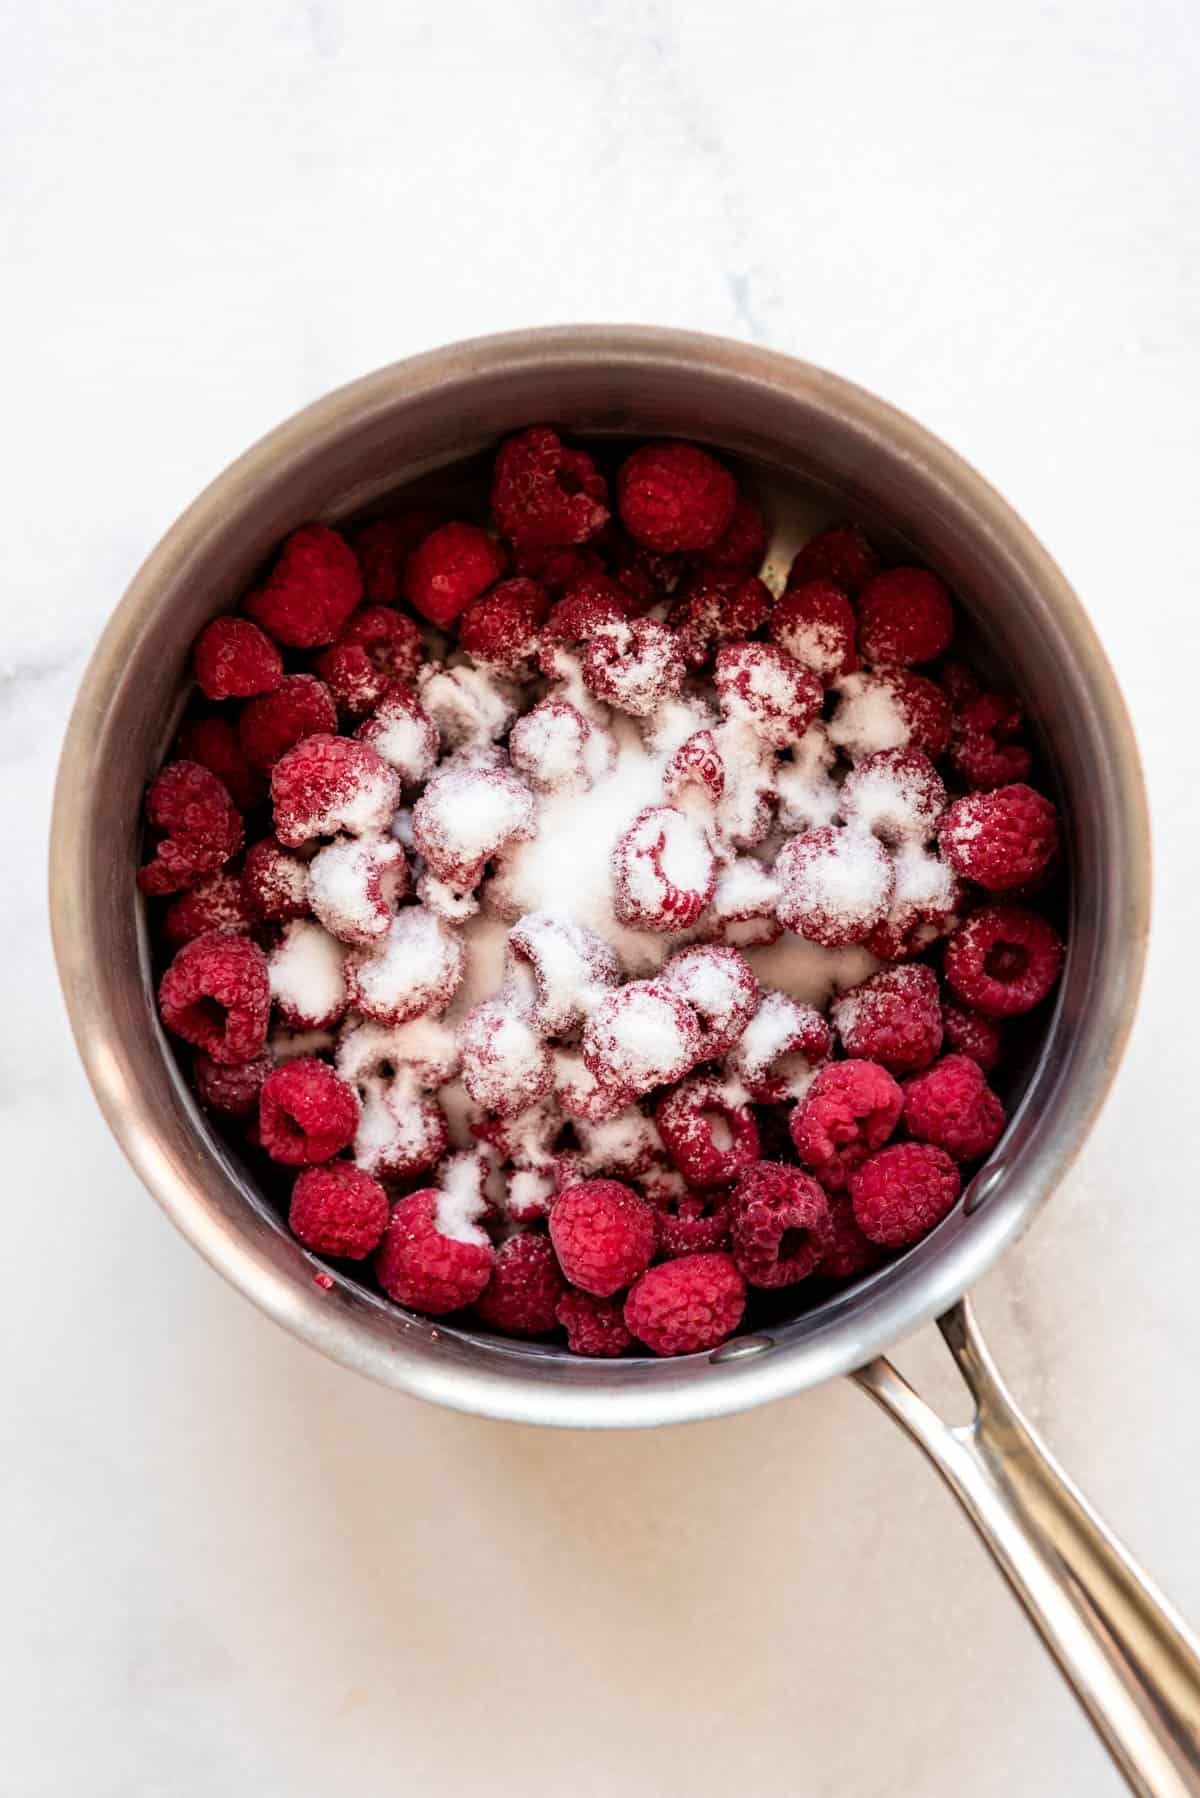
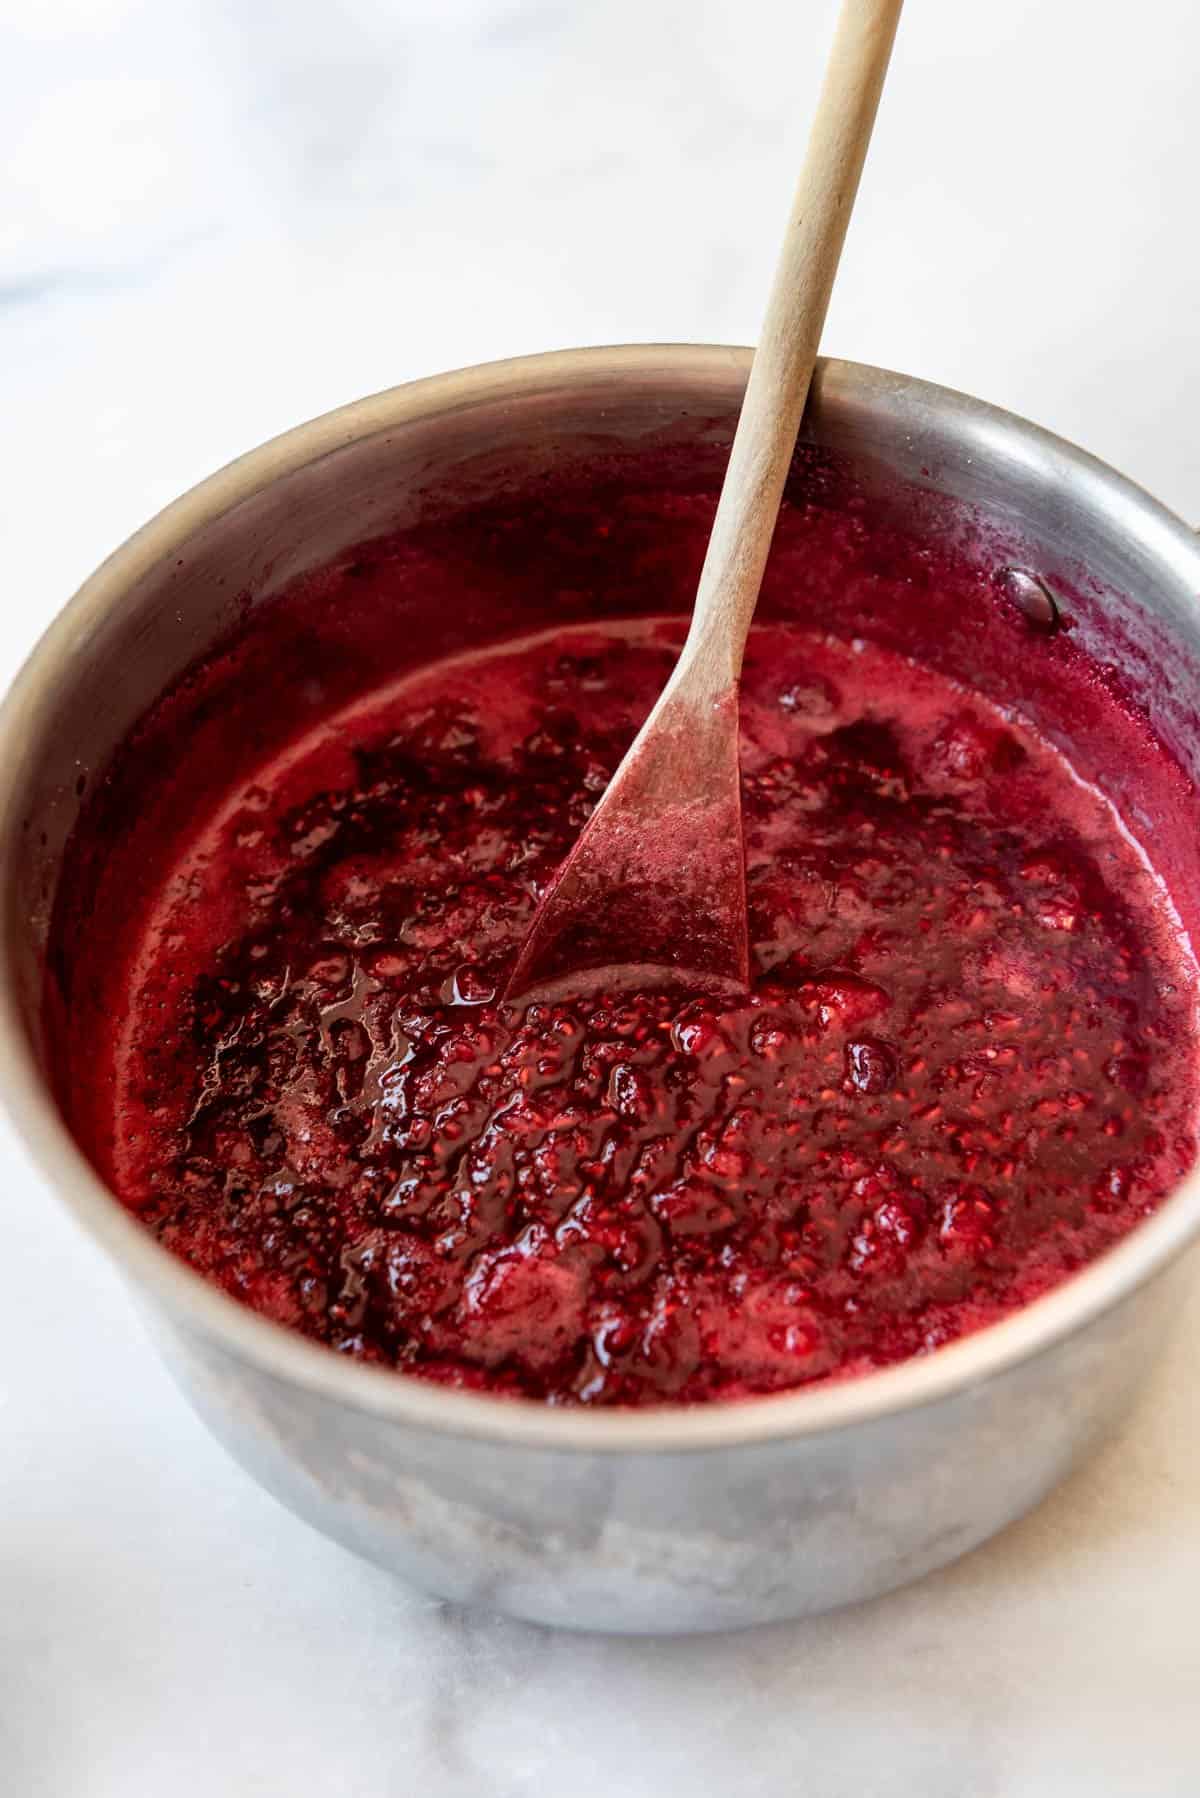
- Simmer. Add raspberries, sugar, and lemon juice to a medium saucepan over medium heat and bring to a simmer. Mash the berries while they cook so help them break up and release their juices.
- Thicken. Make a slurry with cornstarch and cold water, then drizzle into the simmering berries and continue to cook until thickened and the filling turns from cloudy to clear. Remove and press through a fine mesh sieve if you want to remove the seeds, or just cool completely and use with the seeds. I actually prefer the texture of the raspberry seeds so I don’t bother straining, but the choice is yours.
Make the chocolate cake layers
This can also be done a day or two ahead, if needed. Just wrap the cake layers in plastic wrap once they have cooled and they will be fine sitting on the counter at room temperature. Or you can even wrap and freeze the cooled chocolate cake layers for up to 3 months!
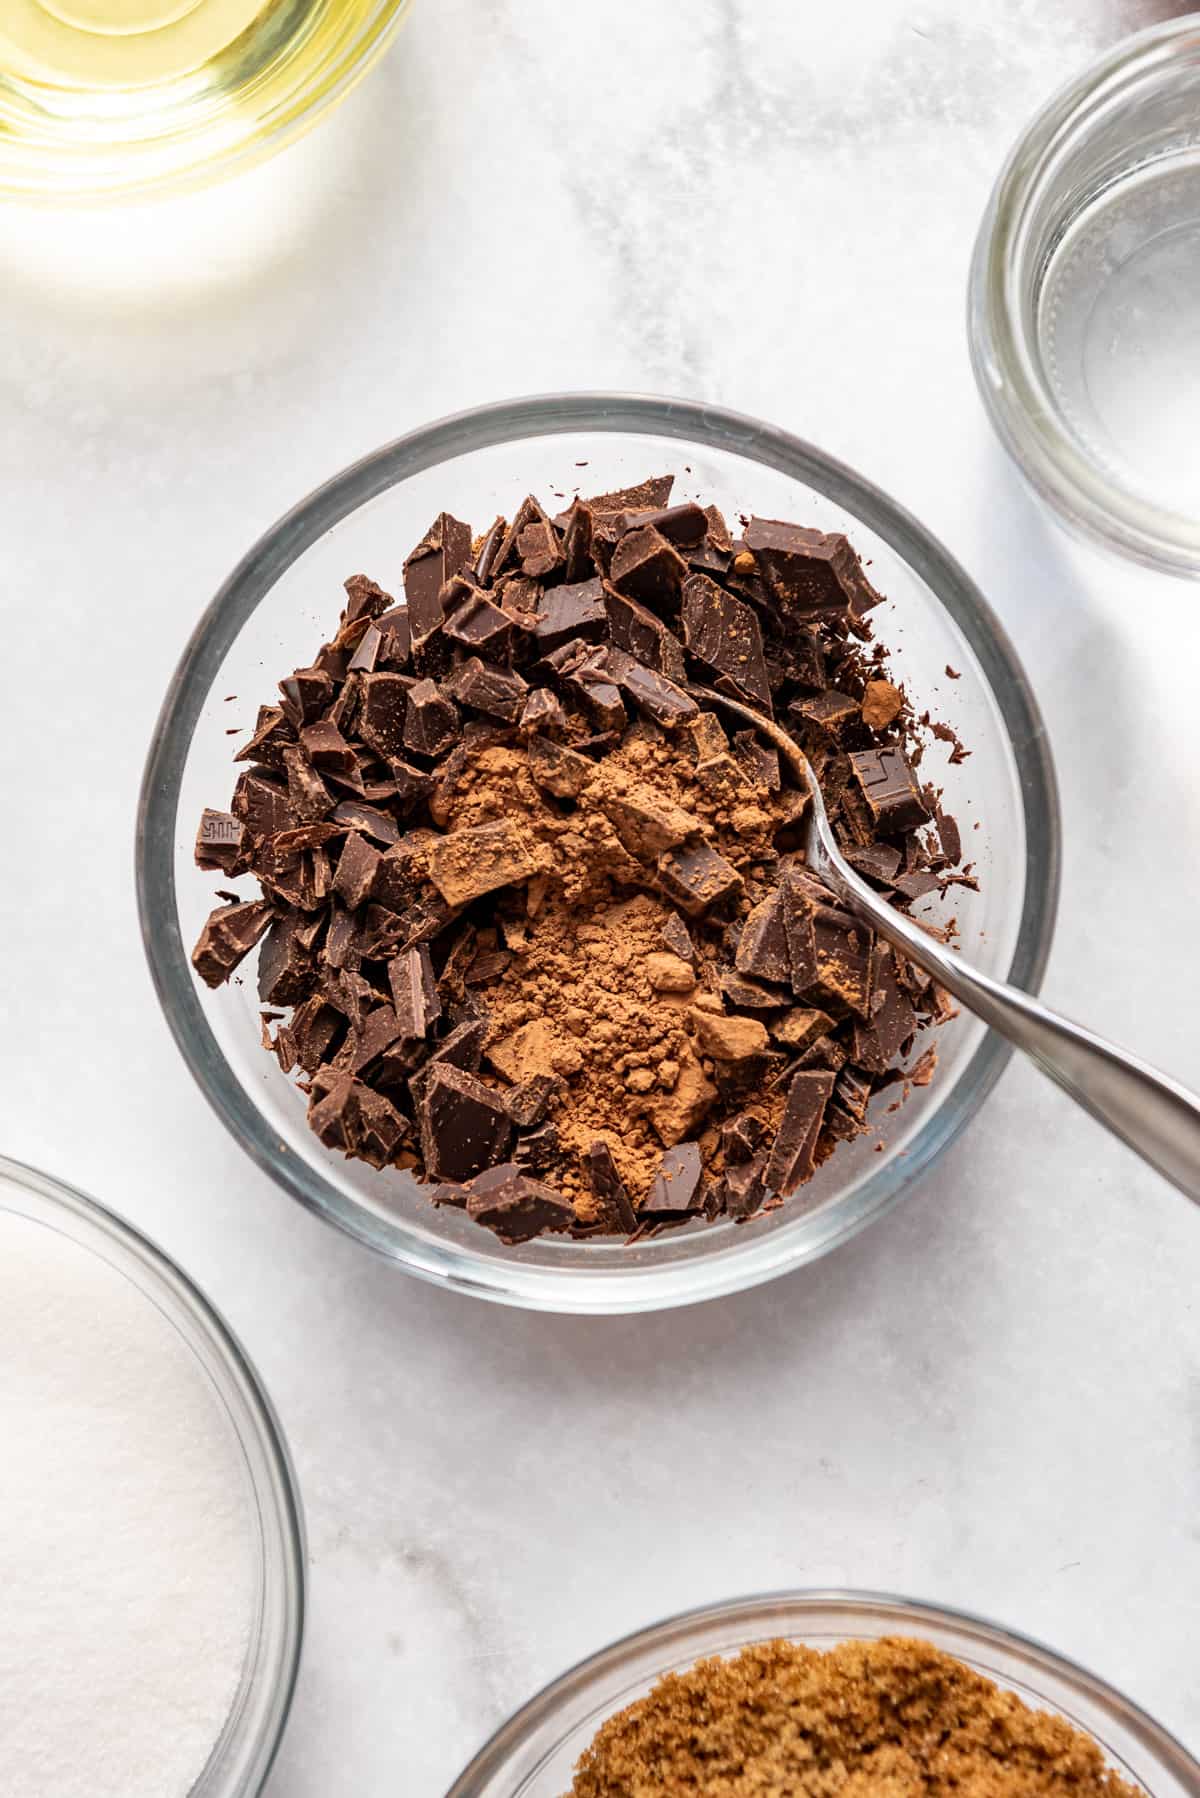
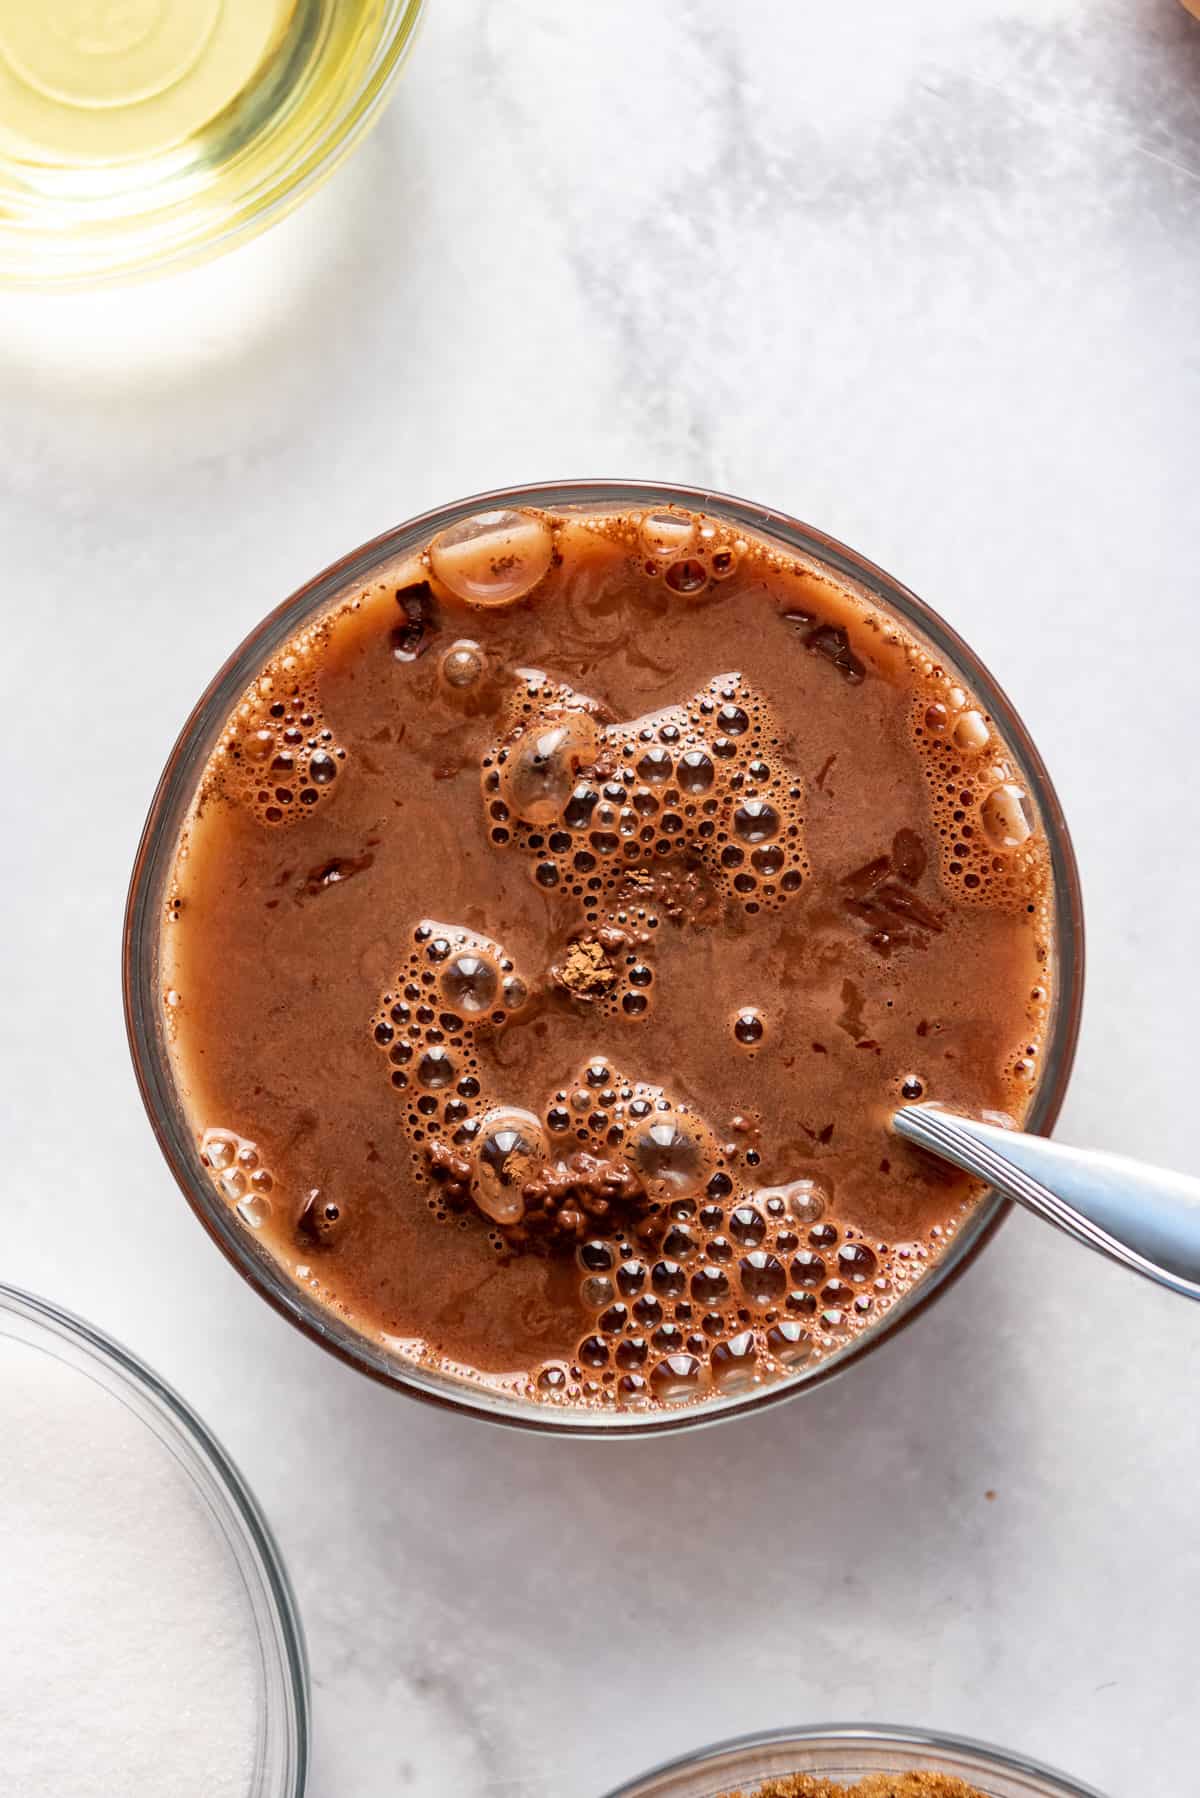
- Combine chopped chocolate, cocoa powder, and hot water. Not only will this help the chopped chocolate to melt, but it makes the cocoa powder “bloom” so it’s flavor is bigger and more intense. Lots of people actually prefer using hot coffee in place of the hot water in this part of the recipe! Once the chocolate is completely melted, stir in the buttermilk and set aside.
- Whisk dry ingredients. Combine flour, baking powder, and salt in a separate bowl and whisk until everything is evenly distributed. Set aside.
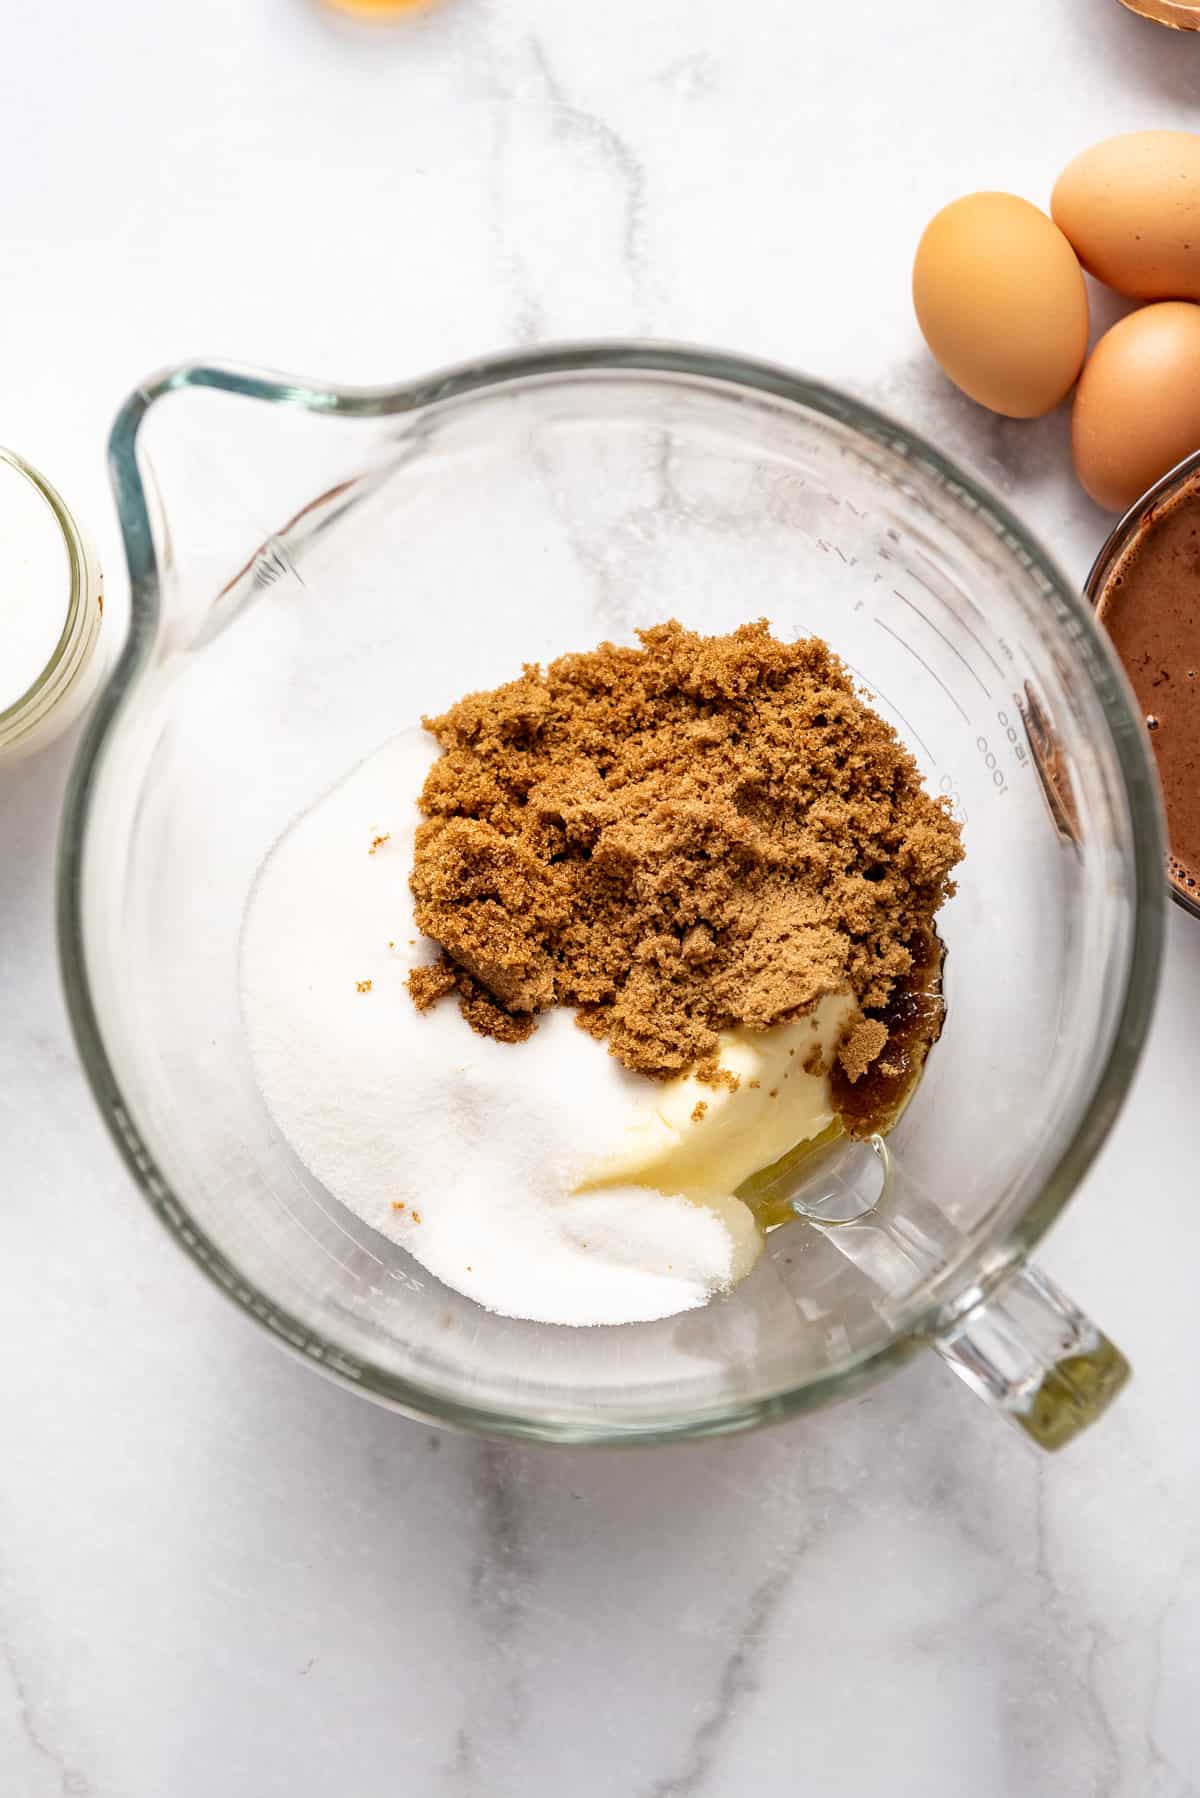
- Cream butter and sugars. Use a stand mixer fitted with the paddle attachment or an electric handmixer to beat softened butter, oil, granulated sugar, and brown sugar together until creamy and light, about 2 minutes.
- Add eggs and vanilla. Stop and scrape the bottom and sides of the bowl, then add the eggs and vanilla and beat again until combined. It’s okay for the batter to look a little gritty or grainy.
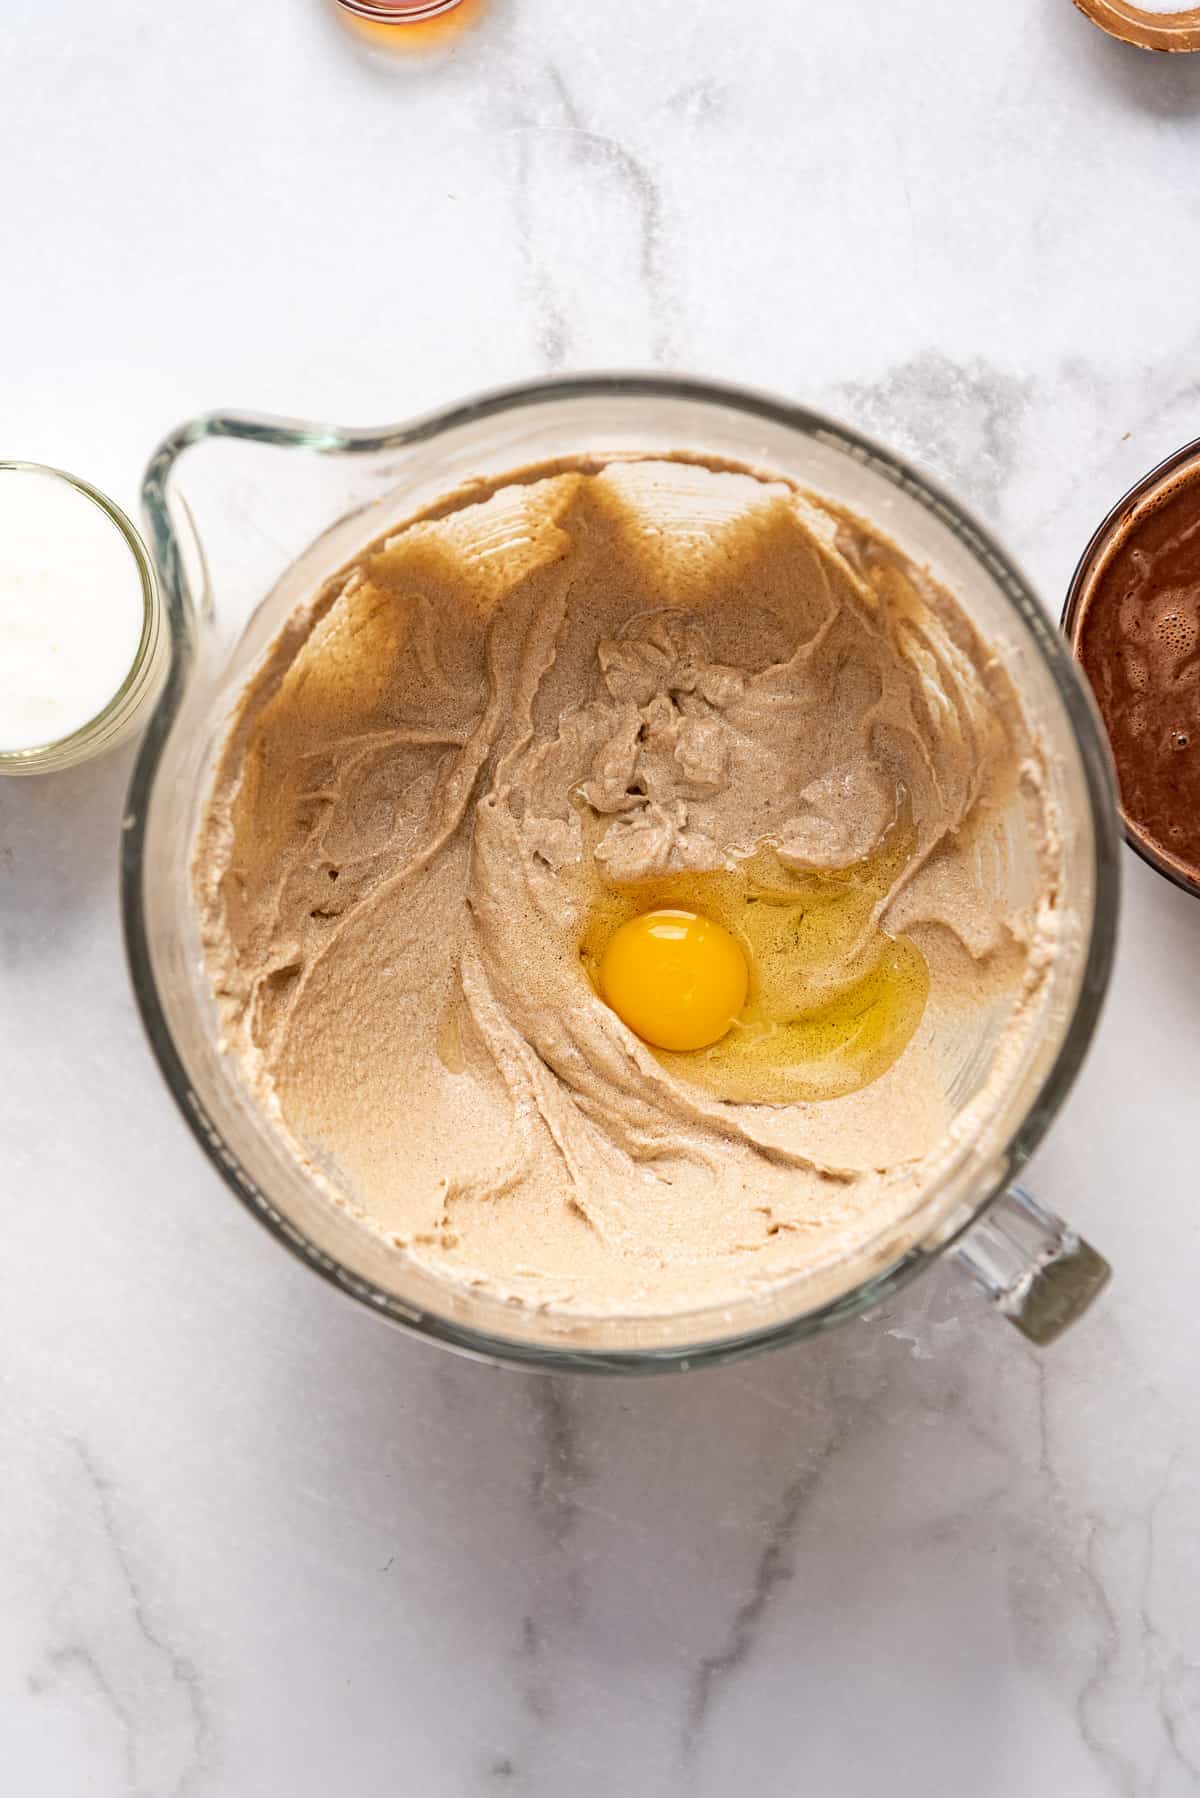
- Alternate adding dry ingredients with the chocolate buttermilk mixture. Mix in half of the flour mixture on low speed just until combined. Add half of the melted chocolate & buttermilk mixture, mixing just until combined. Repeat until all the ingredients have been added, scraping the bottom of the bowl to ensure everything is evenly mixed.
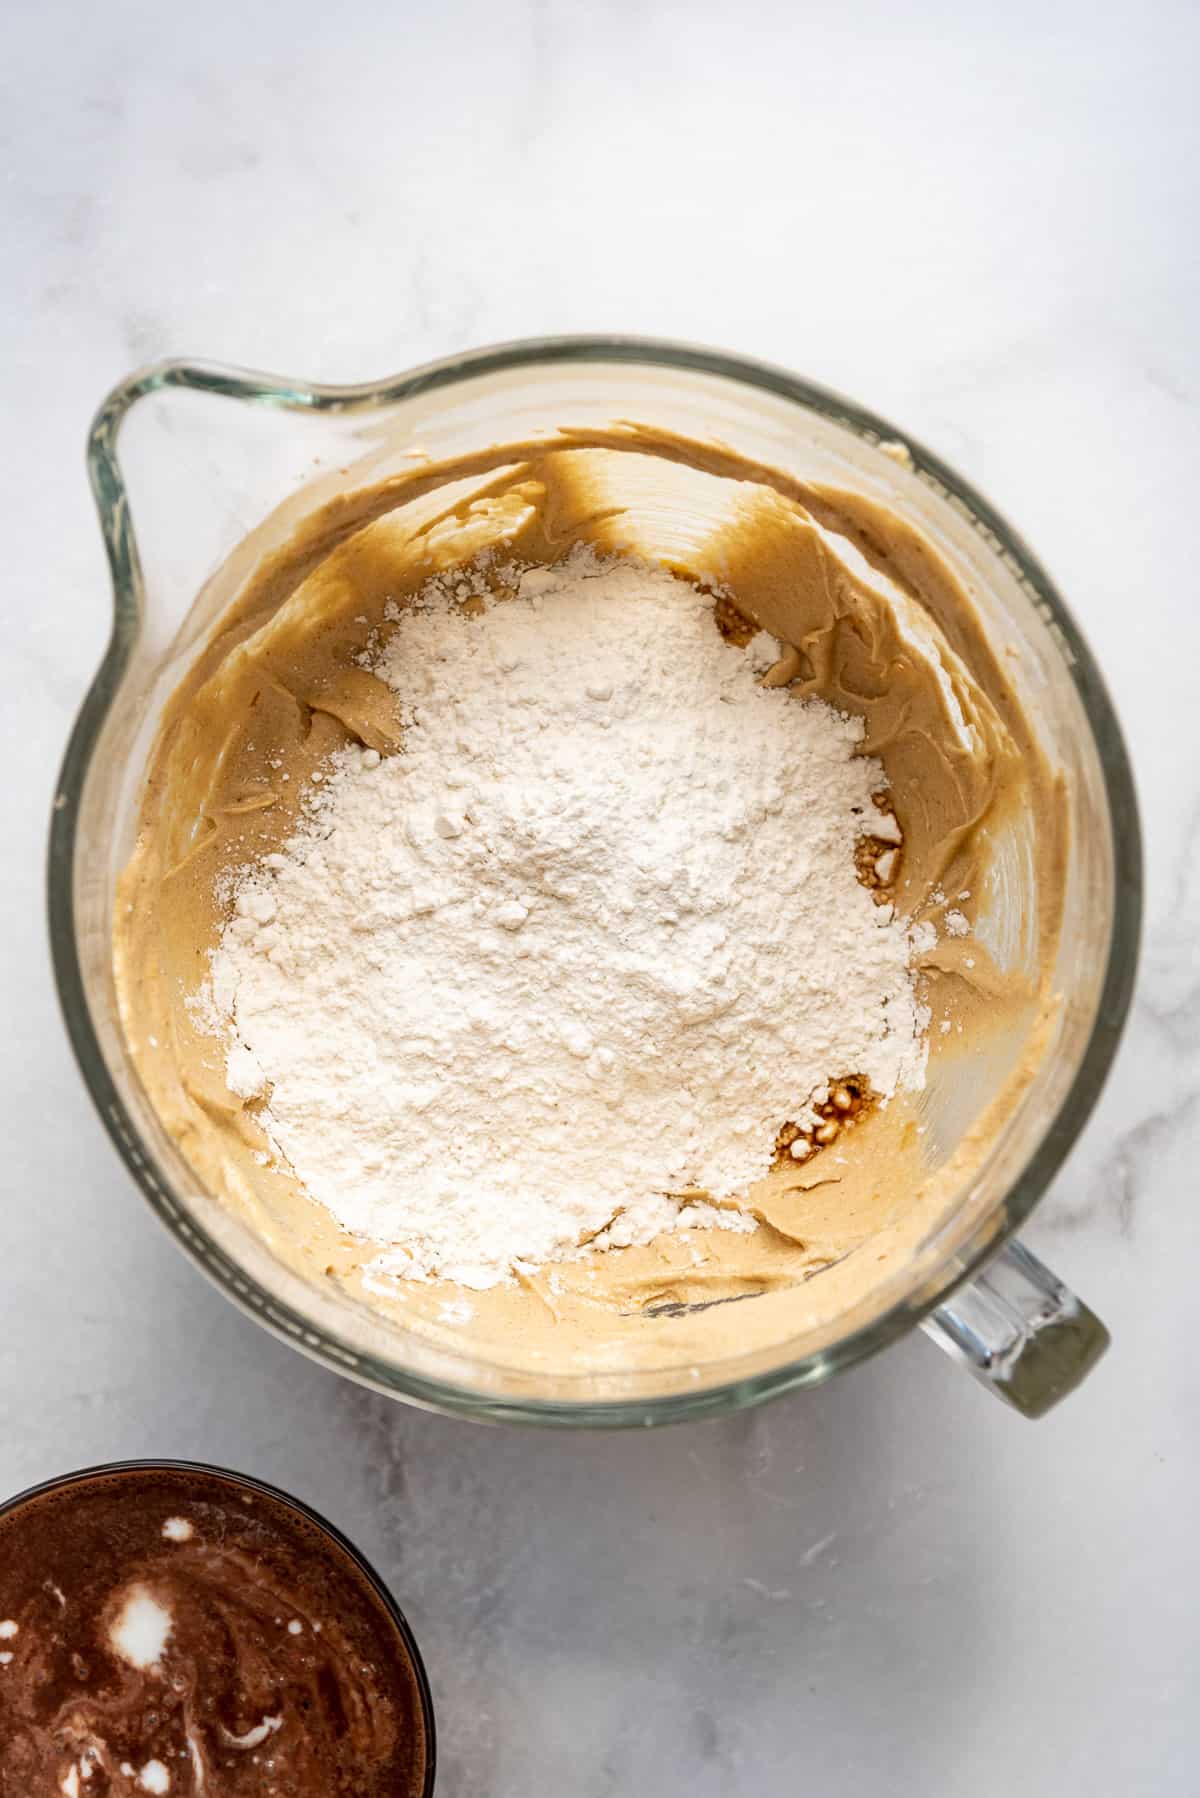
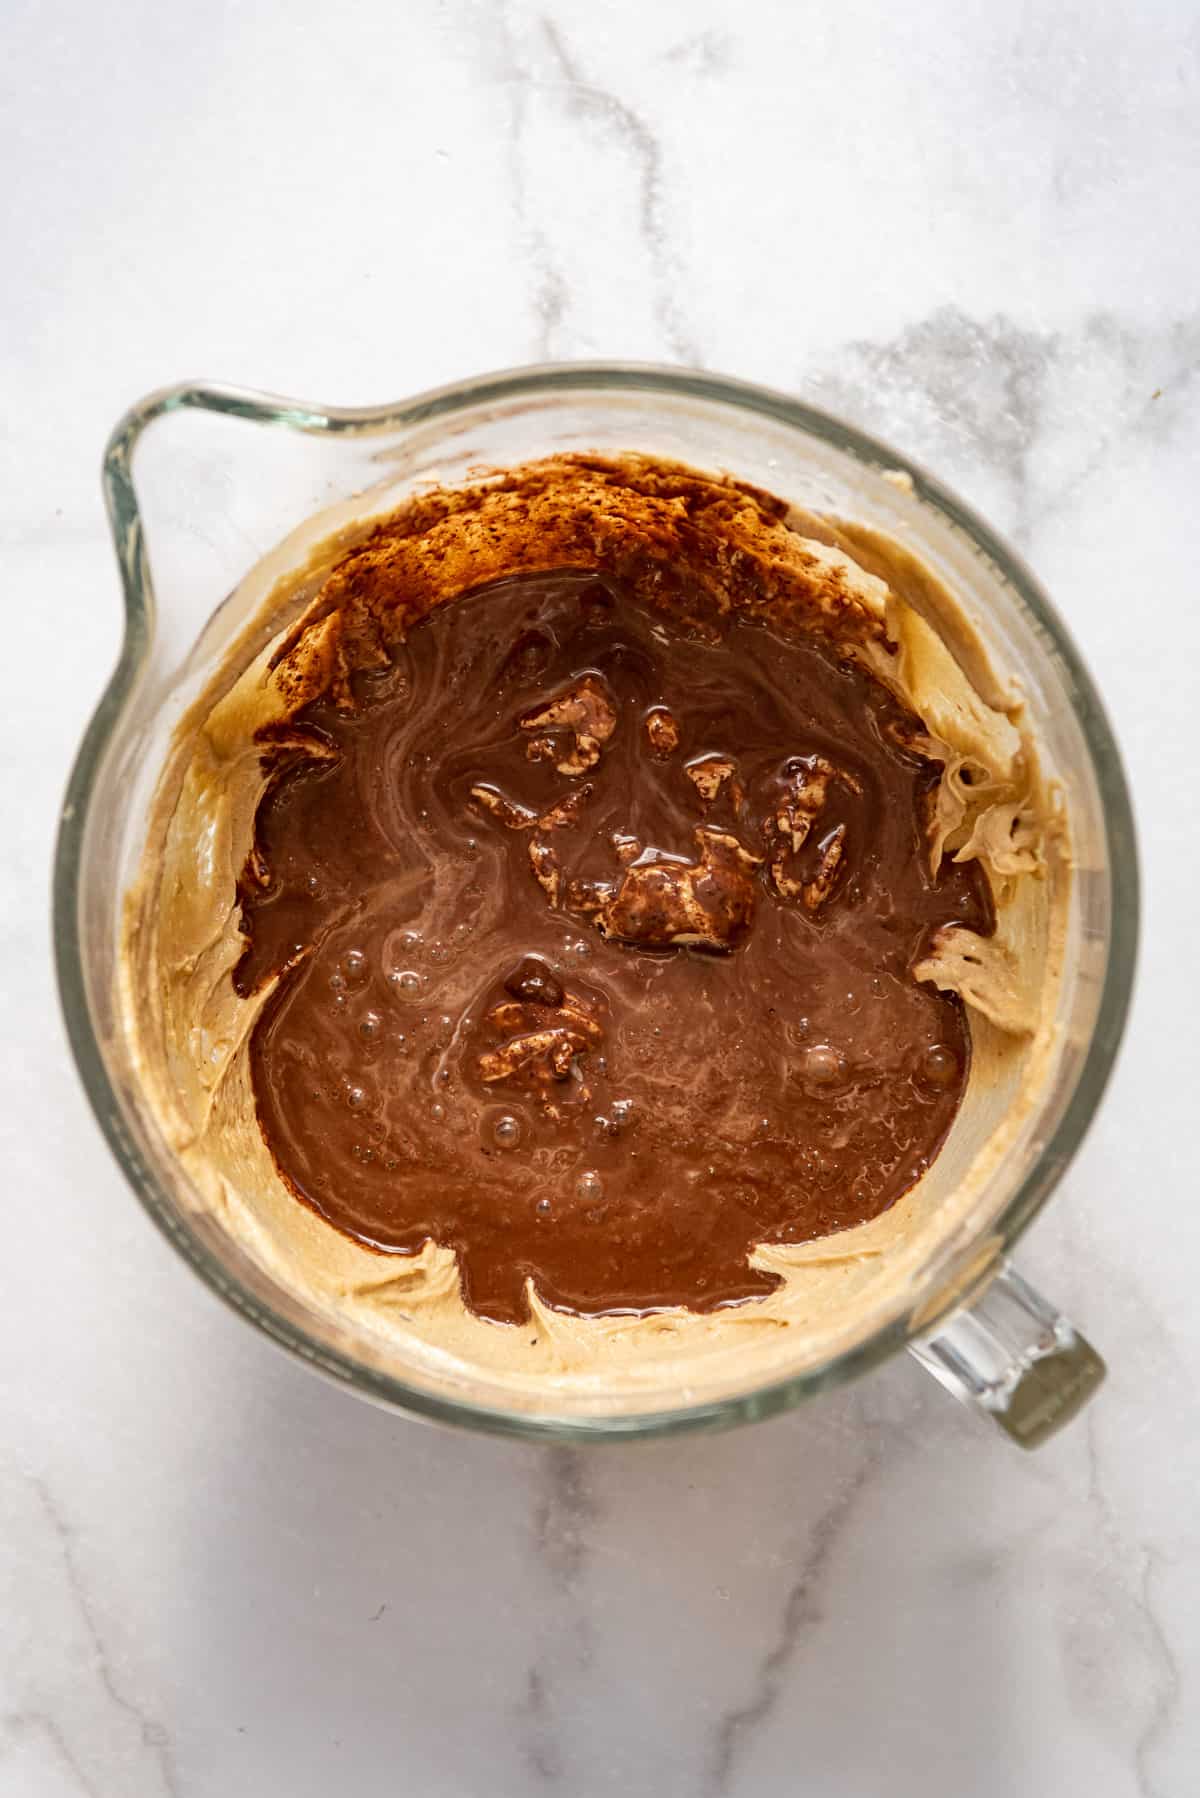
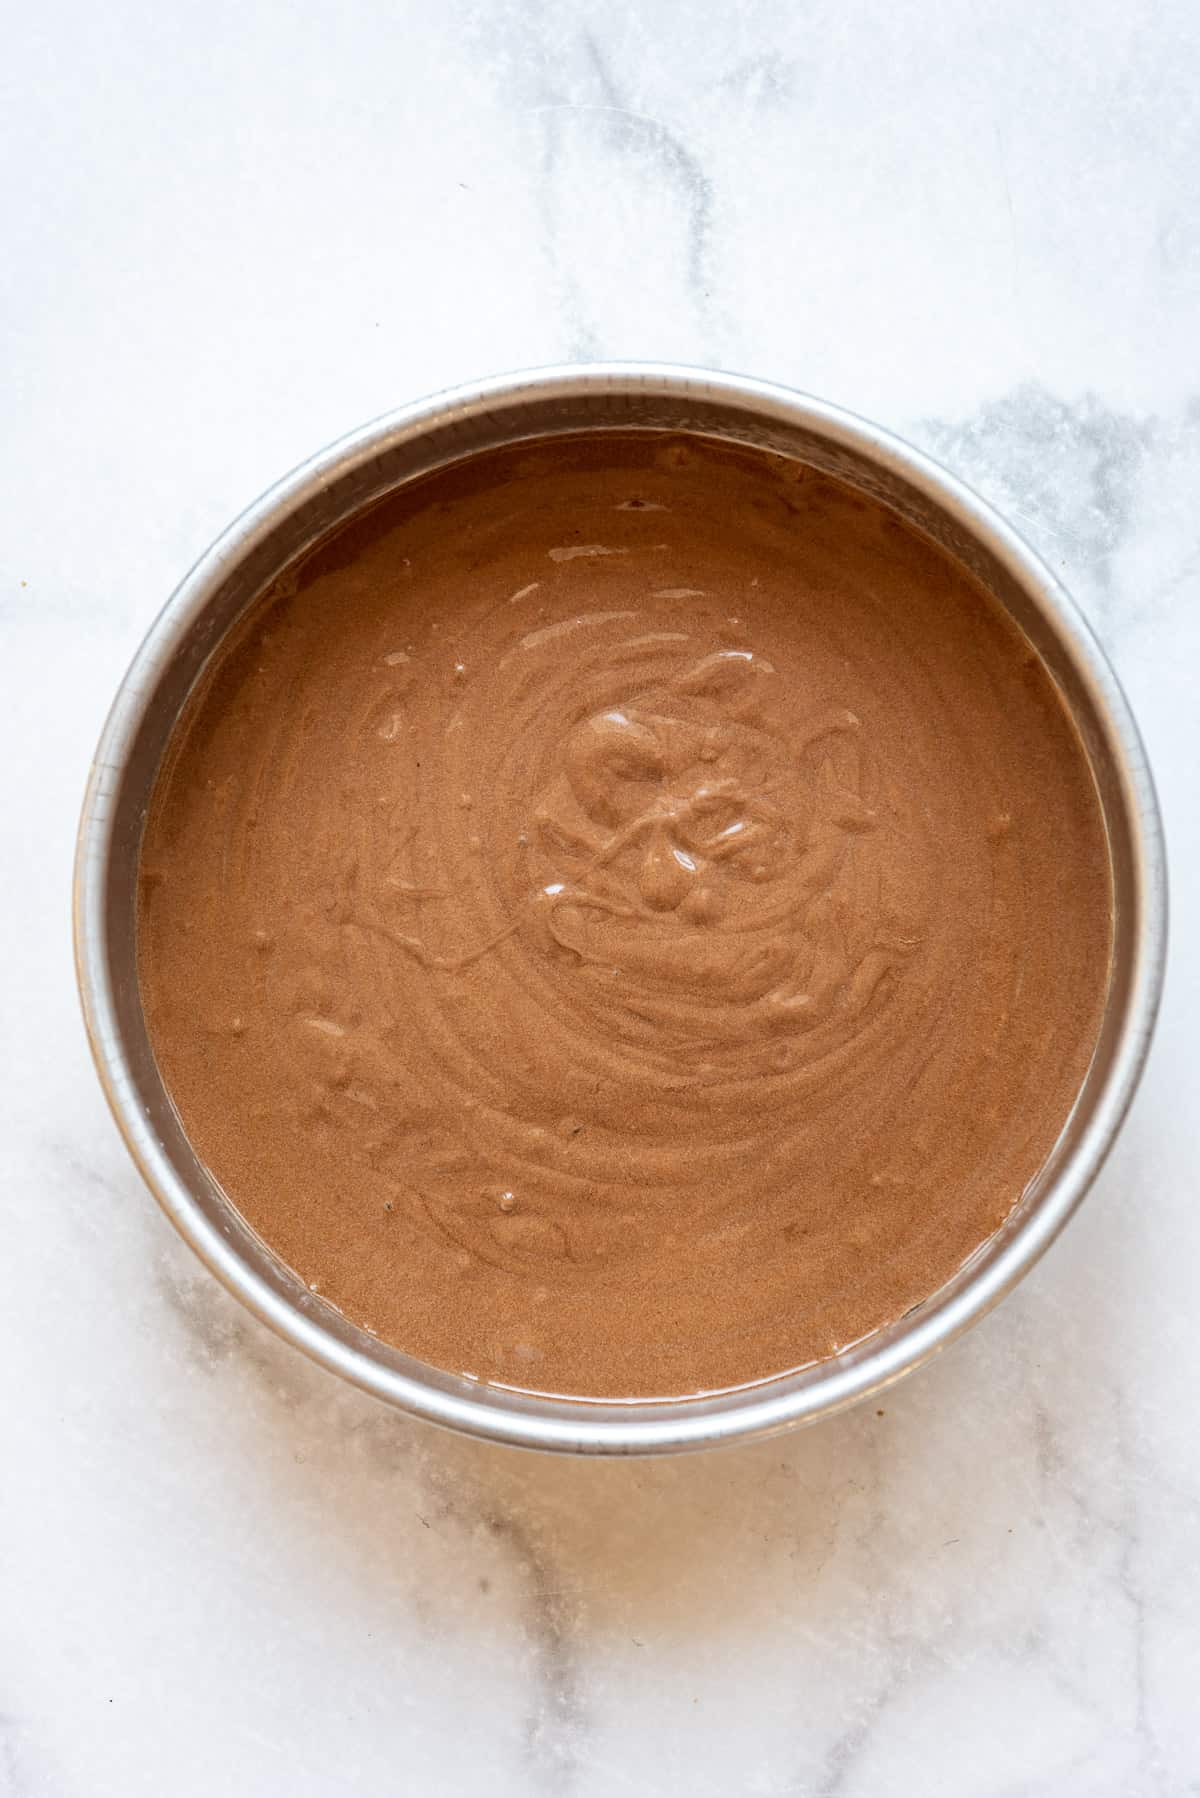
- Bake. Line three 8-inch pans with circles of parchment paper on the bottoms, then spray with baking spray. Evenly divide the batter between the three pans (about 2 cups of batter per pan). Bake in an oven preheated to 350°F for 30-35 minutes until a toothpick inserted in the center comes out clean.
- Cool. Let the cakes cool for 5-10 minutes in the pans before turning them out onto wire cooling racks to cool completely. Peel the parchment paper off each cake layer.
Make the chocolate frosting
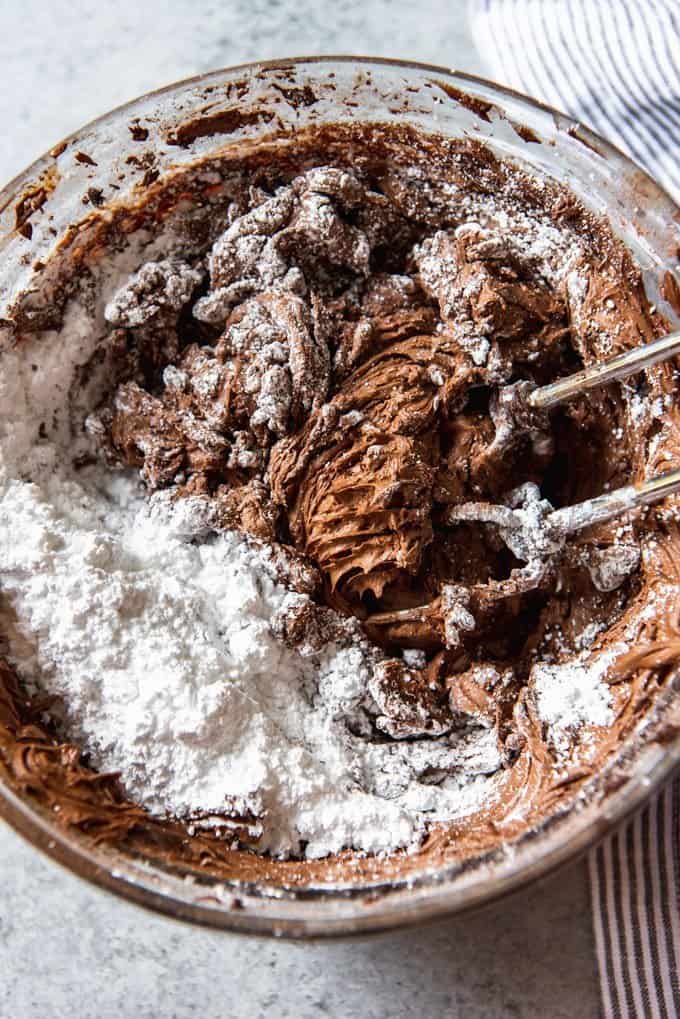
- Beat butter, cocoa powder, and powdered sugar. In a large bowl, cream the butter for 2 minutes using an electric mixer. Add the powdered sugar and cocoa powder and mix again at the lowest speed until combined.
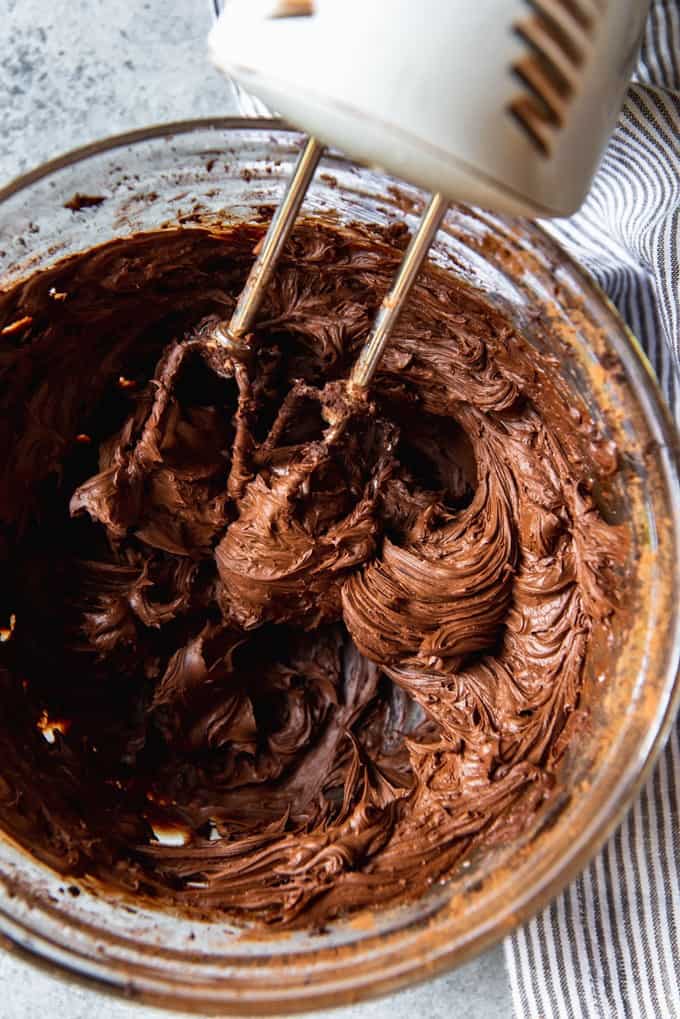
- Add liquid. Add the salt, vanilla, and milk or cream and increase the speed to medium, mixing until the chocolate buttercream is light and fluffy, about 3 minutes. For a softer frosting, increase the milk or cream by small increments, about one tablespoon at a time.
Assemble the cake
- Level the layers. If any of the cakes are domed on top, use a cake leveler or long serrated knife to level off the tops of each layer.
- Pipe a buttercream border. Place the bottom layer on the cake plate you plan to use. Transfer some of the chocolate frosting to a piping bag fitted with a large open piping tip. Pipe a border around the top of the first layer of cake to create a barrier that will hold in the raspberry filling.
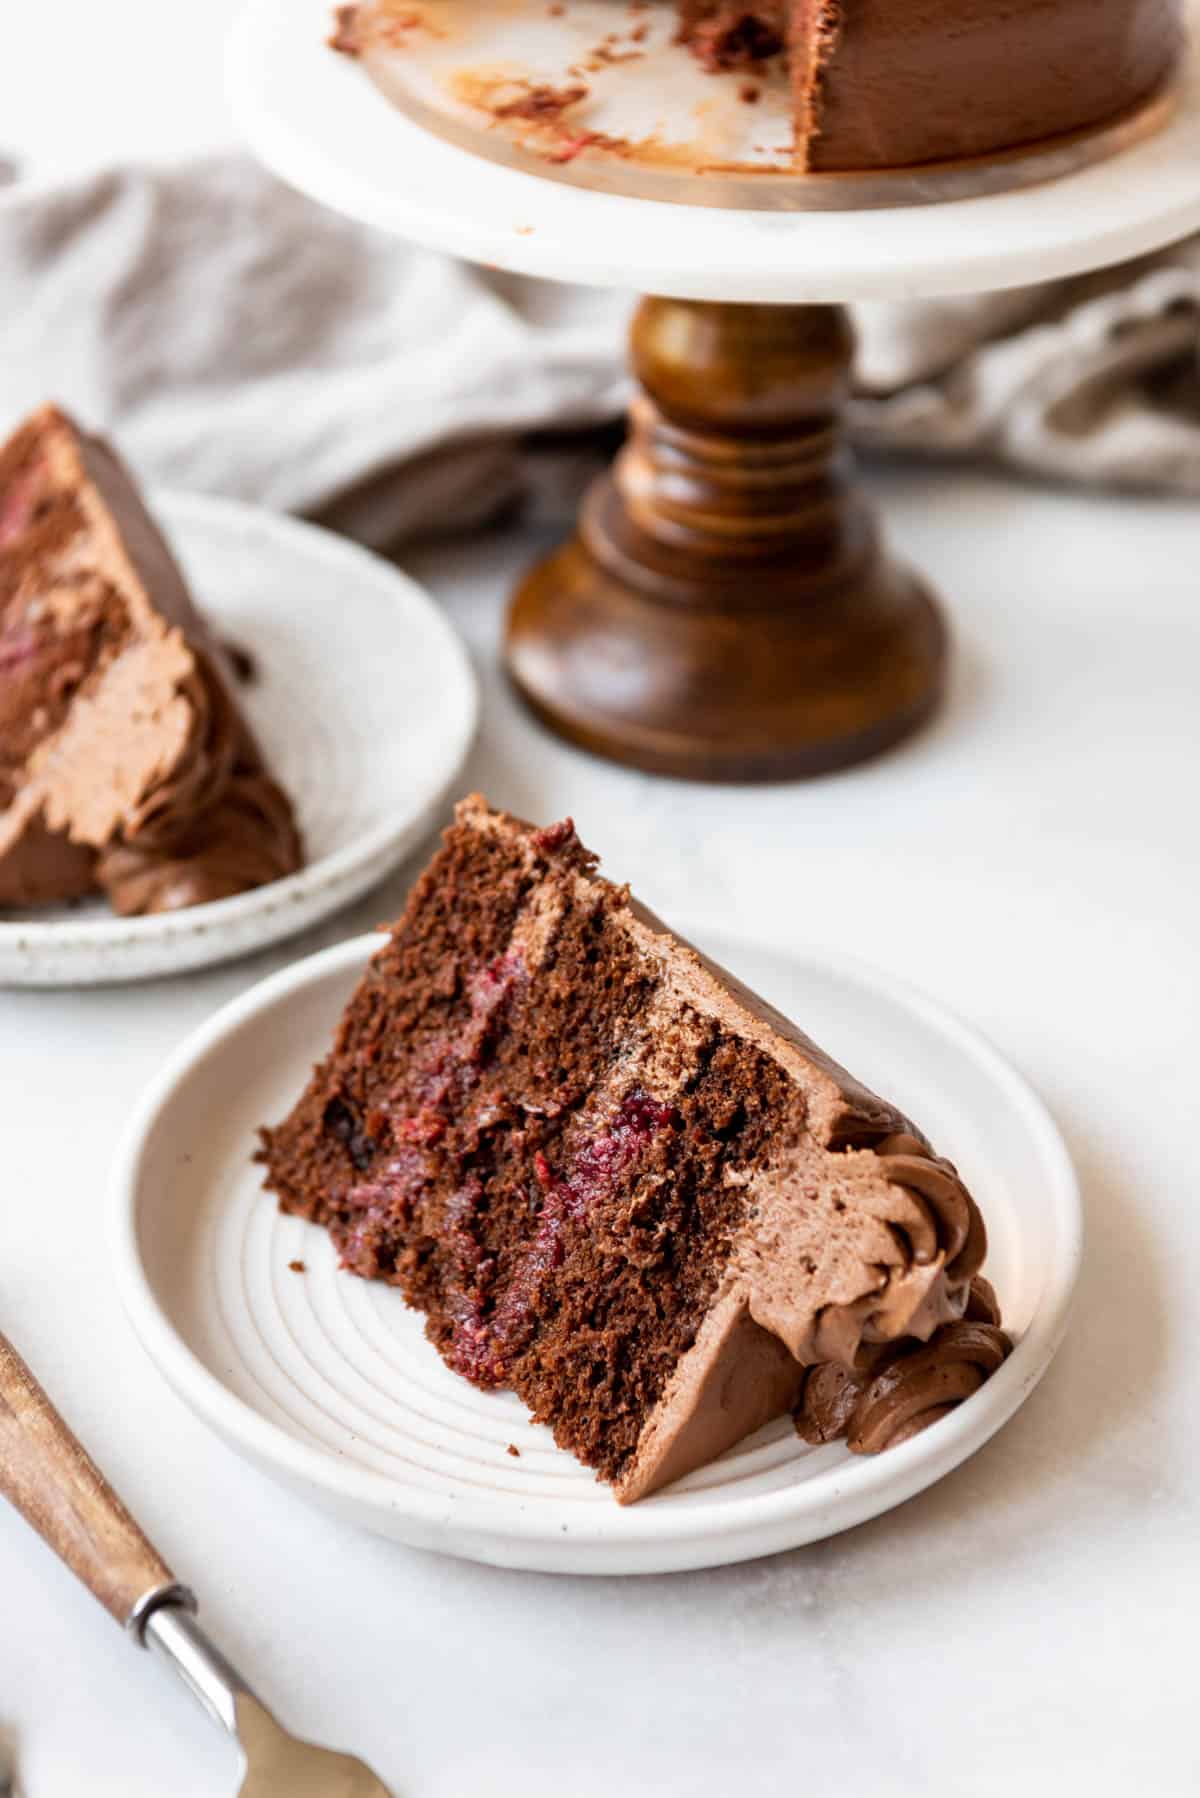
- Add raspberry filling. Spoon a layer of the cooled raspberry filling on top of the cake and spread in an even layer contained by the buttercream border.
- Repeat with remaining cake layers and filling. Finish with a final layer of cake and freeze for 20 minutes. This helps set the buttercream border to contain the filling better to you don’t risk as much squishing out when frosting the cake.
- Add crumb coat. Use some of the frosting to do a thin coating of frosting around the top and sides of the cake. Stick the cake back in the freezer for 20 minutes to help set the frosting before adding a final layer of frosting.
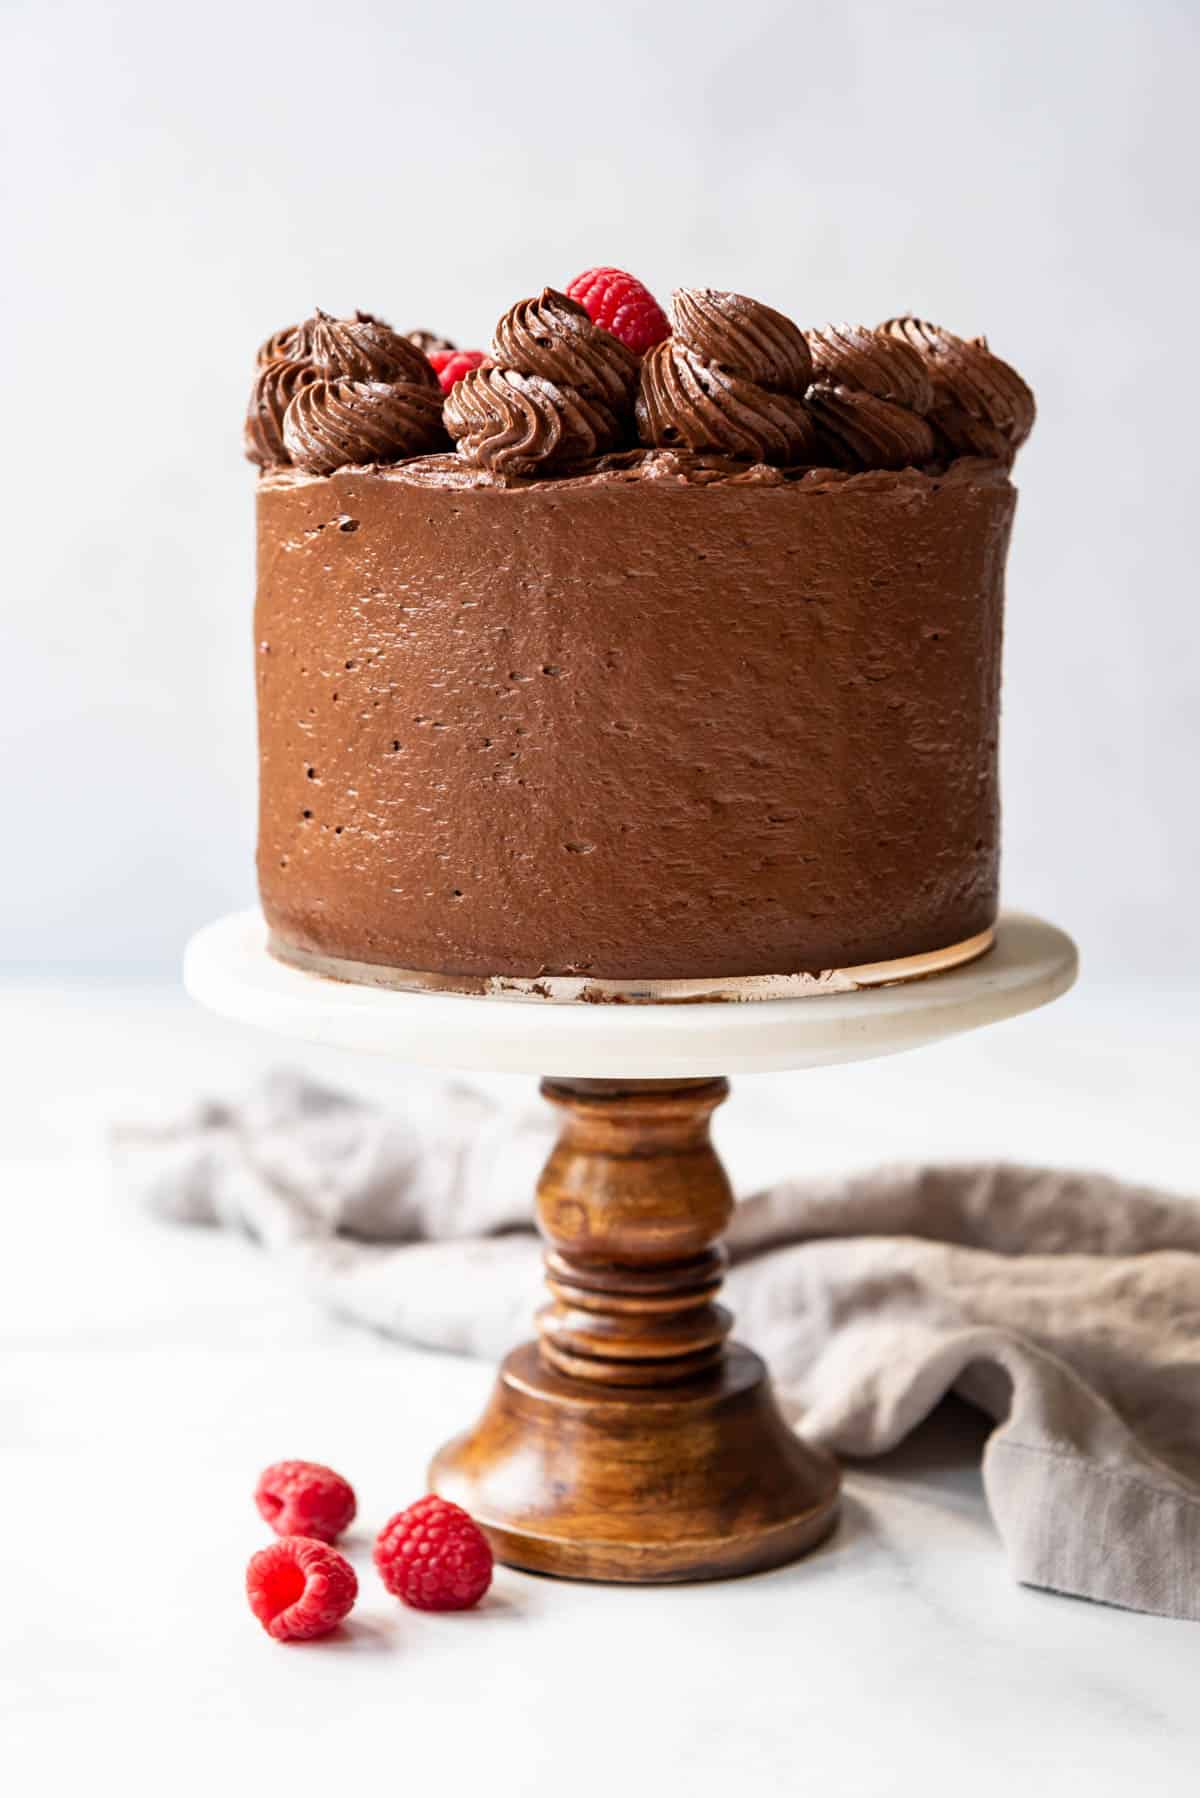
- Finish and decorate. Once the crumb coat is set, add more frosting on the top and sides of the cake, spreading it in a smooth, even layer with a large offset spatula or using a knife to create swirls for a more rustic look. Add any remaining frosting to a piping bag fitted with a decorative tip to pipe swirls around the top of the cake and decorate with reserved fresh raspberries.
Recipe FAQ’s
You can swap out the raspberry cake filling for Homemade Cherry Pie Filling or Vanilla Pastry Cream (aka Creme Patisserie). Another good option would be to use blackberries in place of the raspberries in this recipe for a blackberry chocolate cake.
As you beat chocolate frosting it will get air bubbles in it. A good trick to get rid of them is to use a spatula to stir the frosting for 2-3 minutes by hand, pressing it against the side of the mixing bowl to knock out some of the air bubbles.
Tips for Success
- Clear out some freezer space. It is so much easier to assemble and frost this cake if you can do a crumb coat and let the cake freeze for a good 30 minutes before adding the final layer of frosting. It not only prevents crumbs in the frosting, but it also stabilizes the cake so it is less likely to slide.
- Pipe a barrier around each layer before filling. Skipping this step will result in the raspberry filling smooshing out the sides and making a mess. Creating that dam will save a lot of frustration in the long run.
- Don’t overbake the cake layers. Overbaking can result in a dry, stale-tasting cake even when it is fresh. The raspberry filling helps keep the cake moist, but for best results take the cake out of the oven when a tester comes out with just a few crumbs sticking to it, rather than waiting until the tester comes out perfectly clean.
Want even MORE raspberry flavor?
Add raspberries to the batter: You can sprinkle a handful of fresh raspberries over each layer of cake batter before baking so that there are raspberries baked right into the cake.
Flavor the frosting: You could even add some raspberry jam or raspberry extract to the chocolate frosting to take the raspberry element to the next level.
Use raspberry frosting instead of chocolate: Simply swap out the chocolate buttercream for a raspberry frosting by replacing the cocoa powder in the chocolate frosting below with ⅓ to ½ cup reduced raspberry puree made by simmering 2 cups of raspberries on the stove over medium heat, mashing them periodically, until they break down, thicken and reduce quite a bit. Press them through a fine mesh sieve, then cool completely before adding to the butter and powdered sugar.
Storage & Freezing
Store any uneaten cake on a cake stand with a domed glass covering, in an airtight container, or on a plate covered carefully with plastic wrap to prevent it from going stale or drying out. You can store leftovers at room temperature on the counter for 3 days or in the fridge for up to about 5-6 days. If refrigerating, I recommend letting the cake come to room temperature before enjoying it because cold cake sometimes tastes stale when it really isn’t.
You can also freeze leftovers for up to 2 months. My favorite way to do this is to freeze individual slices on a baking sheet lined with parchment paper.
More Cake Recipes
- Southern Hummingbird Cake
- How to Make a Checkerboard Cake
- German Chocolate Cake
- Oreo Cookies & Cream Cake
- Best Homemade Strawberry Cake
Did you make this recipe?
Let me know what you thought with a comment and rating below. You can also take a picture and tag me on Instagram @houseofnasheats or share it on the Pinterest pin so I can see.
Raspberry Chocolate Cake
Ingredients
Cake
- 1/3 cup natural unsweetened cocoa powder (35g)
- 4 ounces bittersweet or semisweet chocolate finely chopped
- 1 cup boiling water
- 1 cup buttermilk (236mL)
- 1/2 cup salted butter softened (114g)
- 1/2 cup vegetable oil
- 1 cup firmly packed brown sugar (200g)
- 1 cup granulated sugar (200g)
- 3 large eggs room temperature
- 2 teaspoons vanilla extract
- 2 1/4 cups all-purpose flour (281g)
- 1 teaspoon baking soda
- 1/2 teaspoon salt
Raspberry Cake Filling
- 12 ounces fresh or frozen raspberries
- 1/2 cup granulated sugar (100g)
- 2 Tablespoons cornstarch
- 1 Tablespoon lemon juice
- 1 Tablespoon water
Chocolate Frosting
- 2 cups salted butter softened (454g)
- 7 cups powdered sugar (840g)
- 1 cup natural unsweetened cocoa powder (100g)
- 1/2 teaspoon salt
- 1 Tablespoon vanilla extract
- 1/2 cup heavy cream or whole milk
Instructions
Cake
- Preheat the oven to 350°F. Prepare three 8-inch round cake pans by cutting circles of parchment paper to line the bottoms, then lightly spray the insides of the pans with cooking spray.
- Combine the cocoa powder and finely chopped chocolate in a large bowl. Pour the boiling water over the chocolate and stir until the chocolate is completely melted. Once cooled, add the buttermilk to the chocolate mixture.⅓ cup natural unsweetened cocoa powder, 4 ounces bittersweet or semisweet chocolate, 1 cup buttermilk, 1 cup boiling water
- In the large bowl of a stand mixer, beat the butter and oil together for 1 minute. Add the dark brown and granulated sugars and beat for another 2-3 minutes, until light and creamy. Scrape down the sides of the bowl and add in the eggs, one at a time, beating well after each addition and scraping down the sides of the bowl. Add the vanilla extract.½ cup salted butter, ½ cup vegetable oil, 1 cup firmly packed brown sugar, 1 cup granulated sugar, 3 large eggs, 2 teaspoons vanilla extract
- In a separate bowl, sift together the flour, baking soda and salt. Add half of this to the batter and mix on low speed just until combined. Pour in half of the chocolate-buttermilk mixture and mix again, just until combined, then repeat with the flour and the remaining chocolate-buttermilk mixture, scraping down the sides of the bowl between additions, until everything is incorporated.2 ¼ cups all-purpose flour, 1 teaspoon baking soda, ½ teaspoon salt
- Divide the batter between the two prepared cake pans and bake for 30 to 35 minutes, or until a toothpick or cake tester comes out clean. Be sure not to overbake.
- Transfer the cakes to wire racks and allow them to cool completely before assembling the cake with frosting.
Filling
- Combine raspberries and sugar in a medium saucepan over medium heat. Cook, stirring frequently, until the raspberries release their juices and break down, about 8-10 minutes.12 ounces fresh or frozen raspberries, ½ cup granulated sugar
- In a small, separate bowl, whisk together the cornstarch, lemon juice, and water to create a slurry. Add to the raspberry mixture while stirring and continue to cook another 1-2 minutes until thickened and goes from cloudy to clear. The filling will continue to thicken as it cools, so it shouldn't be too thick and paste-like in the pan. Remove from heat and cool completely before using to fill a cake.2 Tablespoons cornstarch, 1 Tablespoon lemon juice, 1 Tablespoon water
Frosting
- In a large bowl, cream the butter for 2 minutes using an electric mixer. Add the powdered sugar and cocoa powder and mix again at the lowest speed until combined.2 cups salted butter, 7 cups powdered sugar, 1 cup natural unsweetened cocoa powder
- Add the salt, vanilla, and milk or cream and increase the speed to medium, mixing until the chocolate buttercream is light and fluffy, about 3 minutes. For a softer frosting, increase the milk or cream by small increments, half a tablespoon at a time. Makes enough to frost a three-layer cake with some leftover for piping swirls on top.½ teaspoon salt, 1 Tablespoon vanilla extract, ½ cup heavy cream
Assembly
- If any of the cakes are domed on top, use a cake leveler or long serrated knife to level off the tops of each layer.
- Place the bottom layer on the cake plate you plan to use. Transfer some of the chocolate frosting to a piping bag fitted with a large open piping tip. Pipe a border around the top of the first layer of cake to create a barrier that will hold in the raspberry filling.
- Spoon a layer of the cooled raspberry filling on top of the cake and spread in an even layer contained by the buttercream border.
- Finish with a final layer of cake and freeze for 20 minutes. This helps set the buttercream border to contain the filling better to you don't risk as much squishing out when frosting the cake.
- Use some of the frosting to do a thin coating of frosting around the top and sides of the cake. Stick the cake back in the freezer for 20 minutes to help set the frosting before adding a final layer of frosting.
- Once the crumb coat is set, add more frosting on the top and sides of the cake, spreading it in a smooth, even layer with a large offset spatula or using a knife to create swirls for a more rustic look. Add any remaining frosting to a piping bag fitted with a decorative tip to pipe swirls around the top of the cake and decorate with reserved fresh raspberries.
Notes
- Freezing: This cake freezes well and will keep for 2-3 months if properly stored in the freezer. To freeze the whole cake, stick it in the freezer for 30-45 minutes until the frosting is completely set, then wrap the cake with plastic wrap directly on the frosting. It won’t stick if the frosting is already frozen. To thaw, pull the cake out of the freezer and remove the plastic wrap. It usually takes about 6 hours to thaw a whole cake. Individual slices can be frozen in a similar fashion and won’t take as long to thaw.
- Substitutions: You can replace the raspberries with blackberries, strawberries, or blueberries.
- Buttermilk substitute: If you don’t have buttermilk, just add 1 teaspoon lemon juice or vinegar to a 1 cup measuring cup, then fill it the rest of the way with milk. Let sit for 5 minutes before using.
