
This post was created as in partnership with Imperial Sugar. All thoughts and opinions are 100% my own.
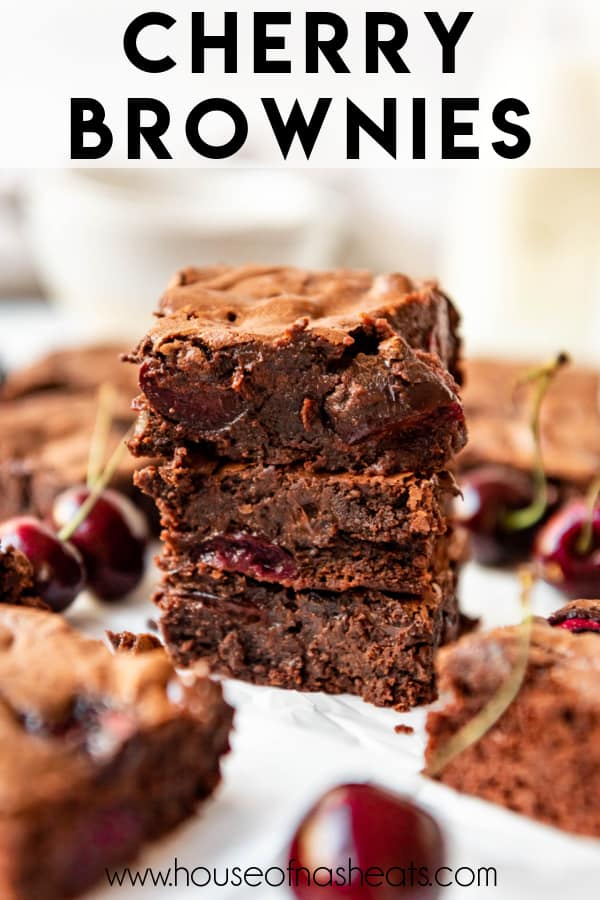
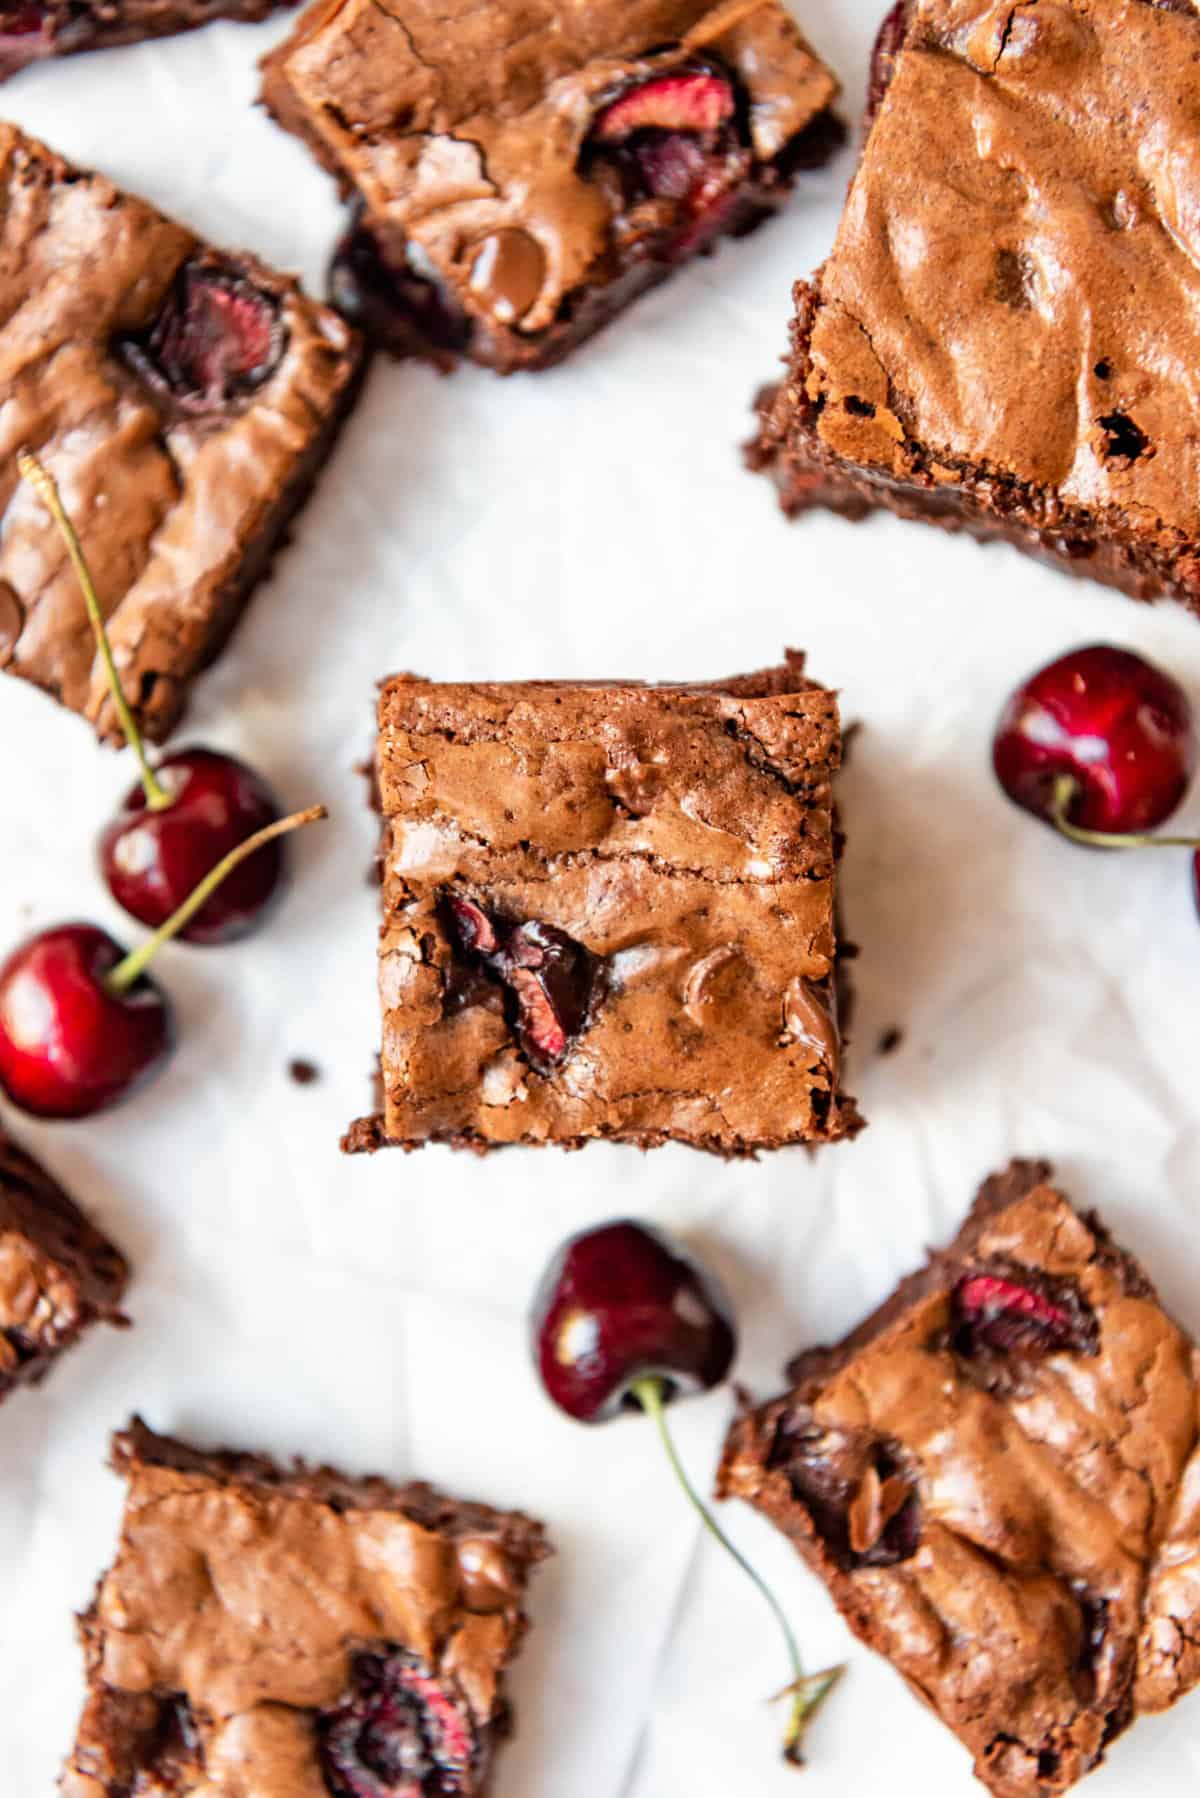
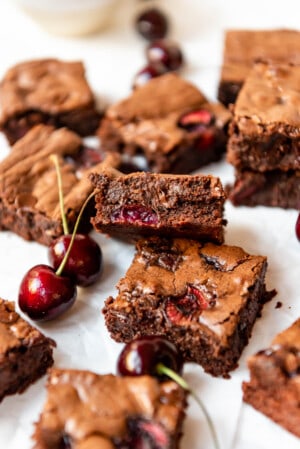
Rich, chocolatey and studded with fresh cherries, these Cherry Brownies are perfect for the cherry chocolate lover in your life! If you enjoy Black Forest Cake, you are sure to love these brownies!

Table of Contents
I look forward to cherry season all year! They are one of our favorite fruits – so juicy, tart, and sweet. We usually just eat our fresh cherries out of hand rather than baking with them because I generally prefer tart cherries for baking, but I wanted to try making these cherry brownies with some of the first fresh cherries of the season this year and I loved how they turned out!
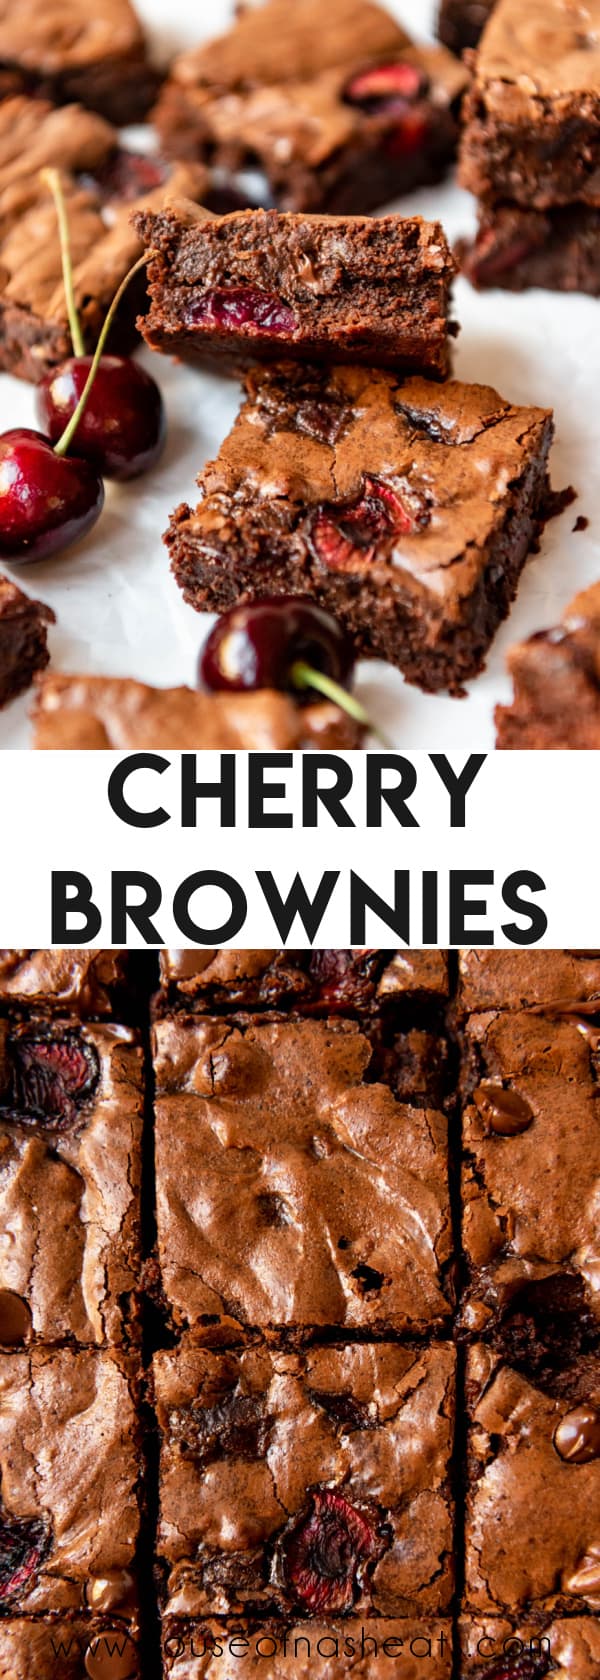
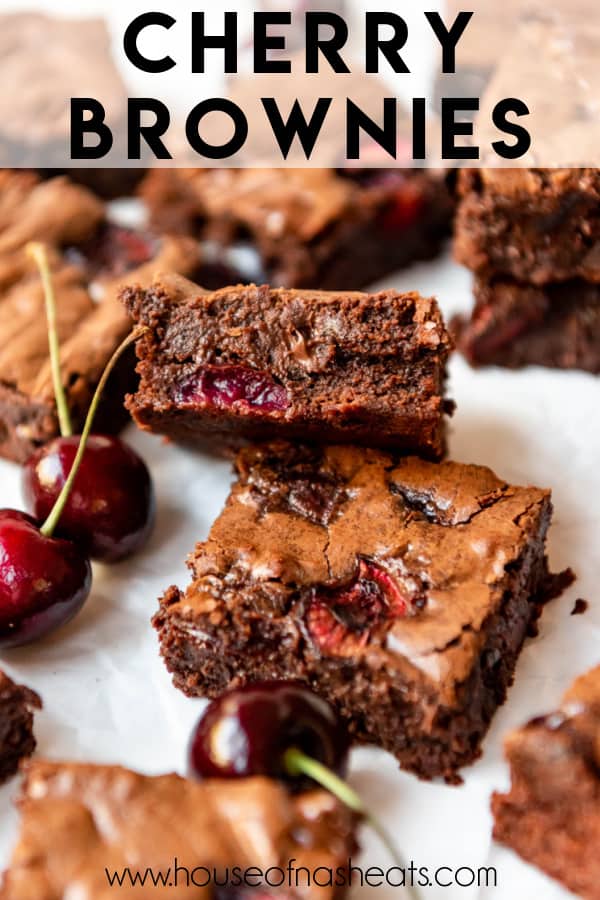
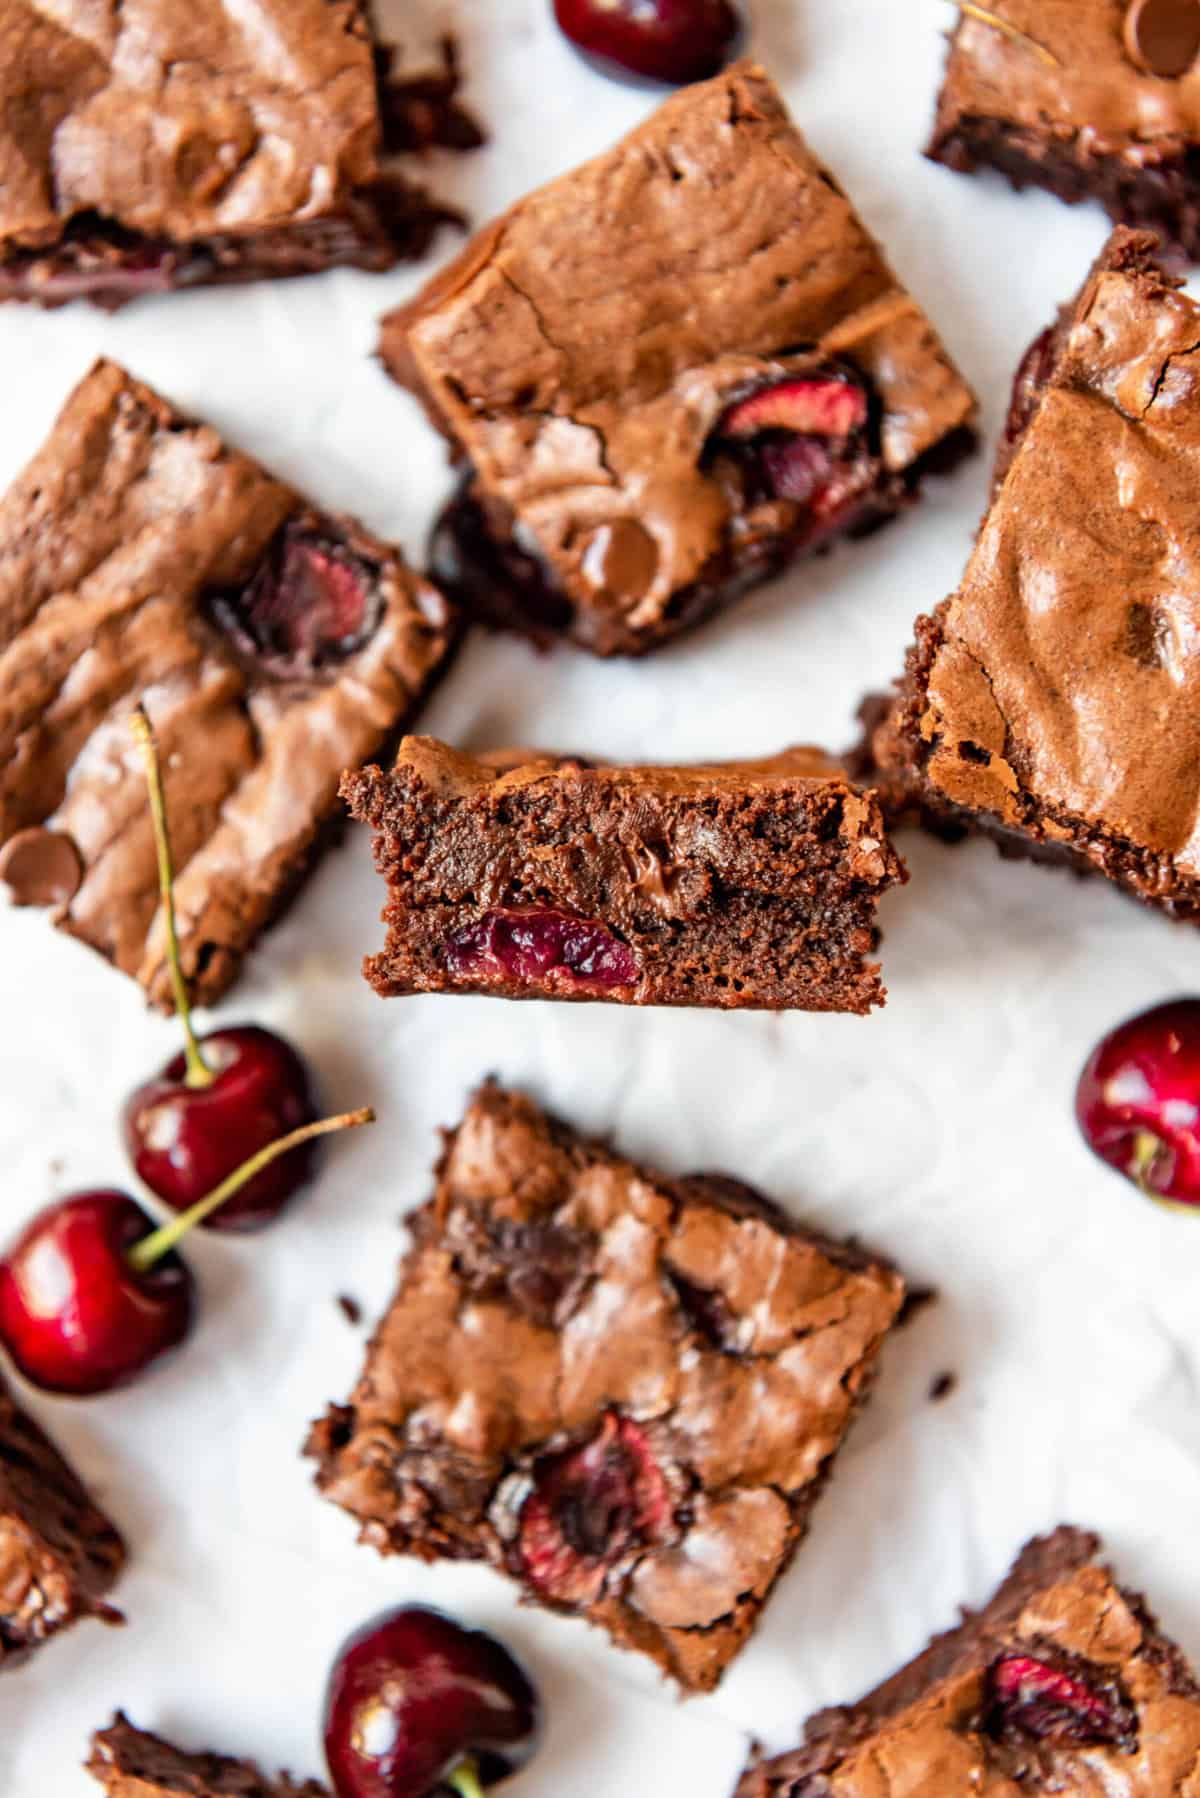
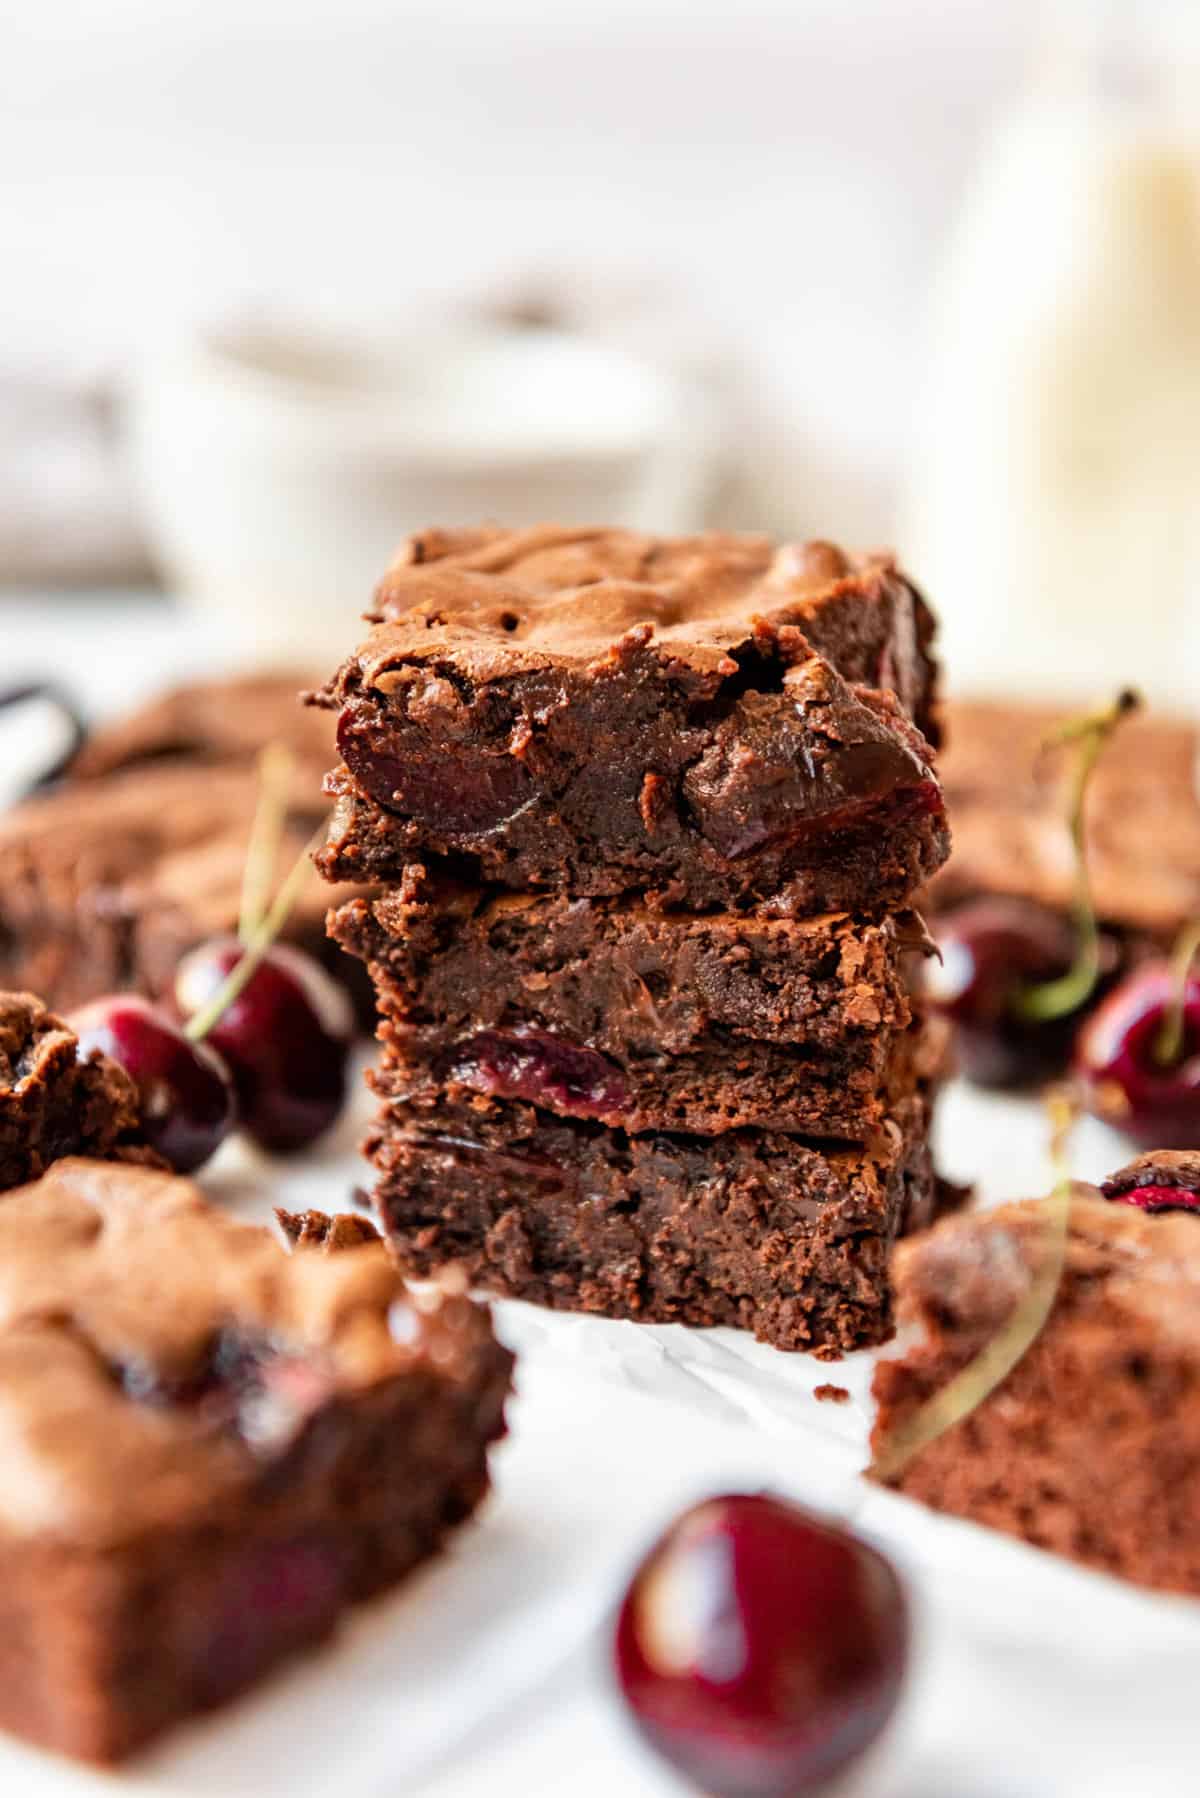
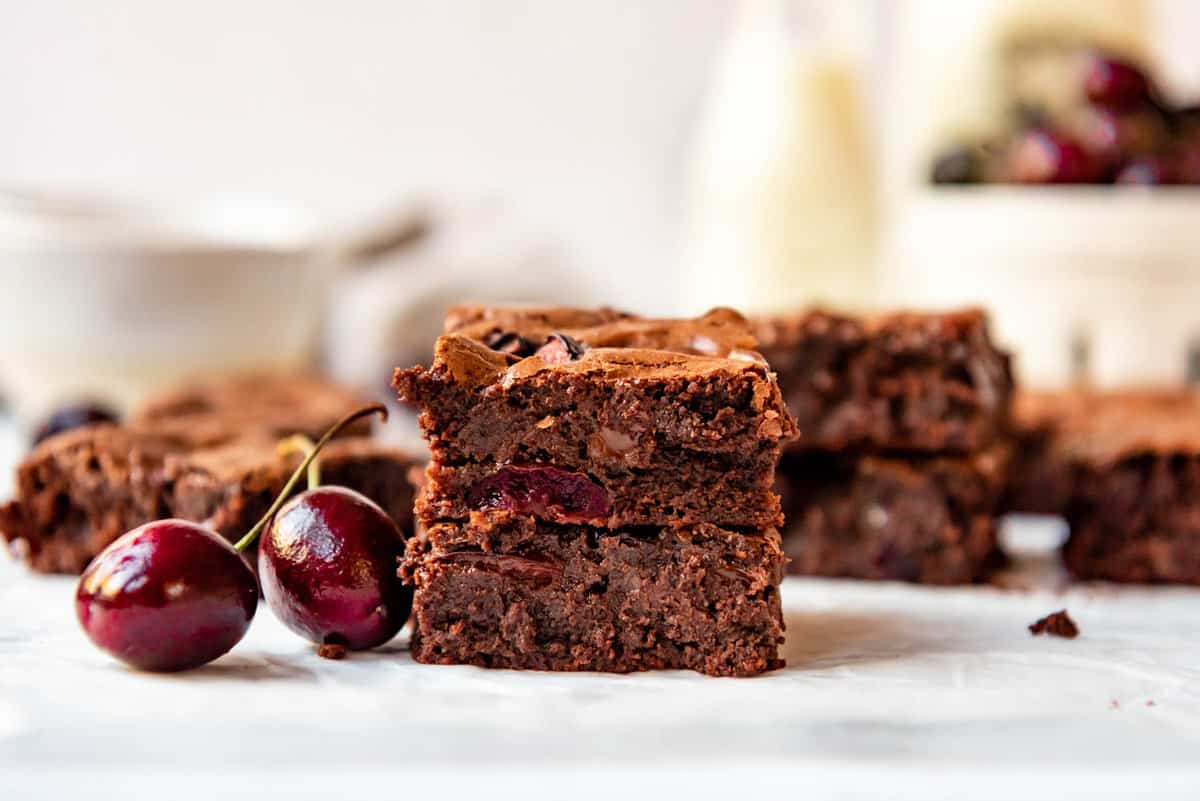
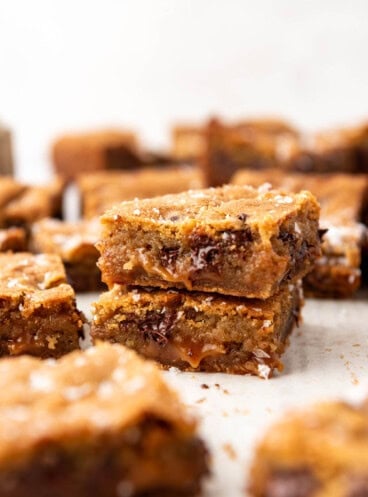
I have made cherry brownies in the past by swirling in a can of cherry pie filling, but it made the brownies a bit too cakey for me. Instead, using fresh cherries results in a very unique brownie that is still fudgy and dense with chewy, sweet pieces of cherry baked into it.
Every time you bite into them you get that mix of fruit and chocolate that is so delicious! If you have had dried cherries covered in dark chocolate, it’s very much like that but in brownie form.
If you love cherry dessert mash-ups, be sure to also check out our Black Forest Cheesecake, Cherry Pie Bars, and Cherry Crisp Cake!
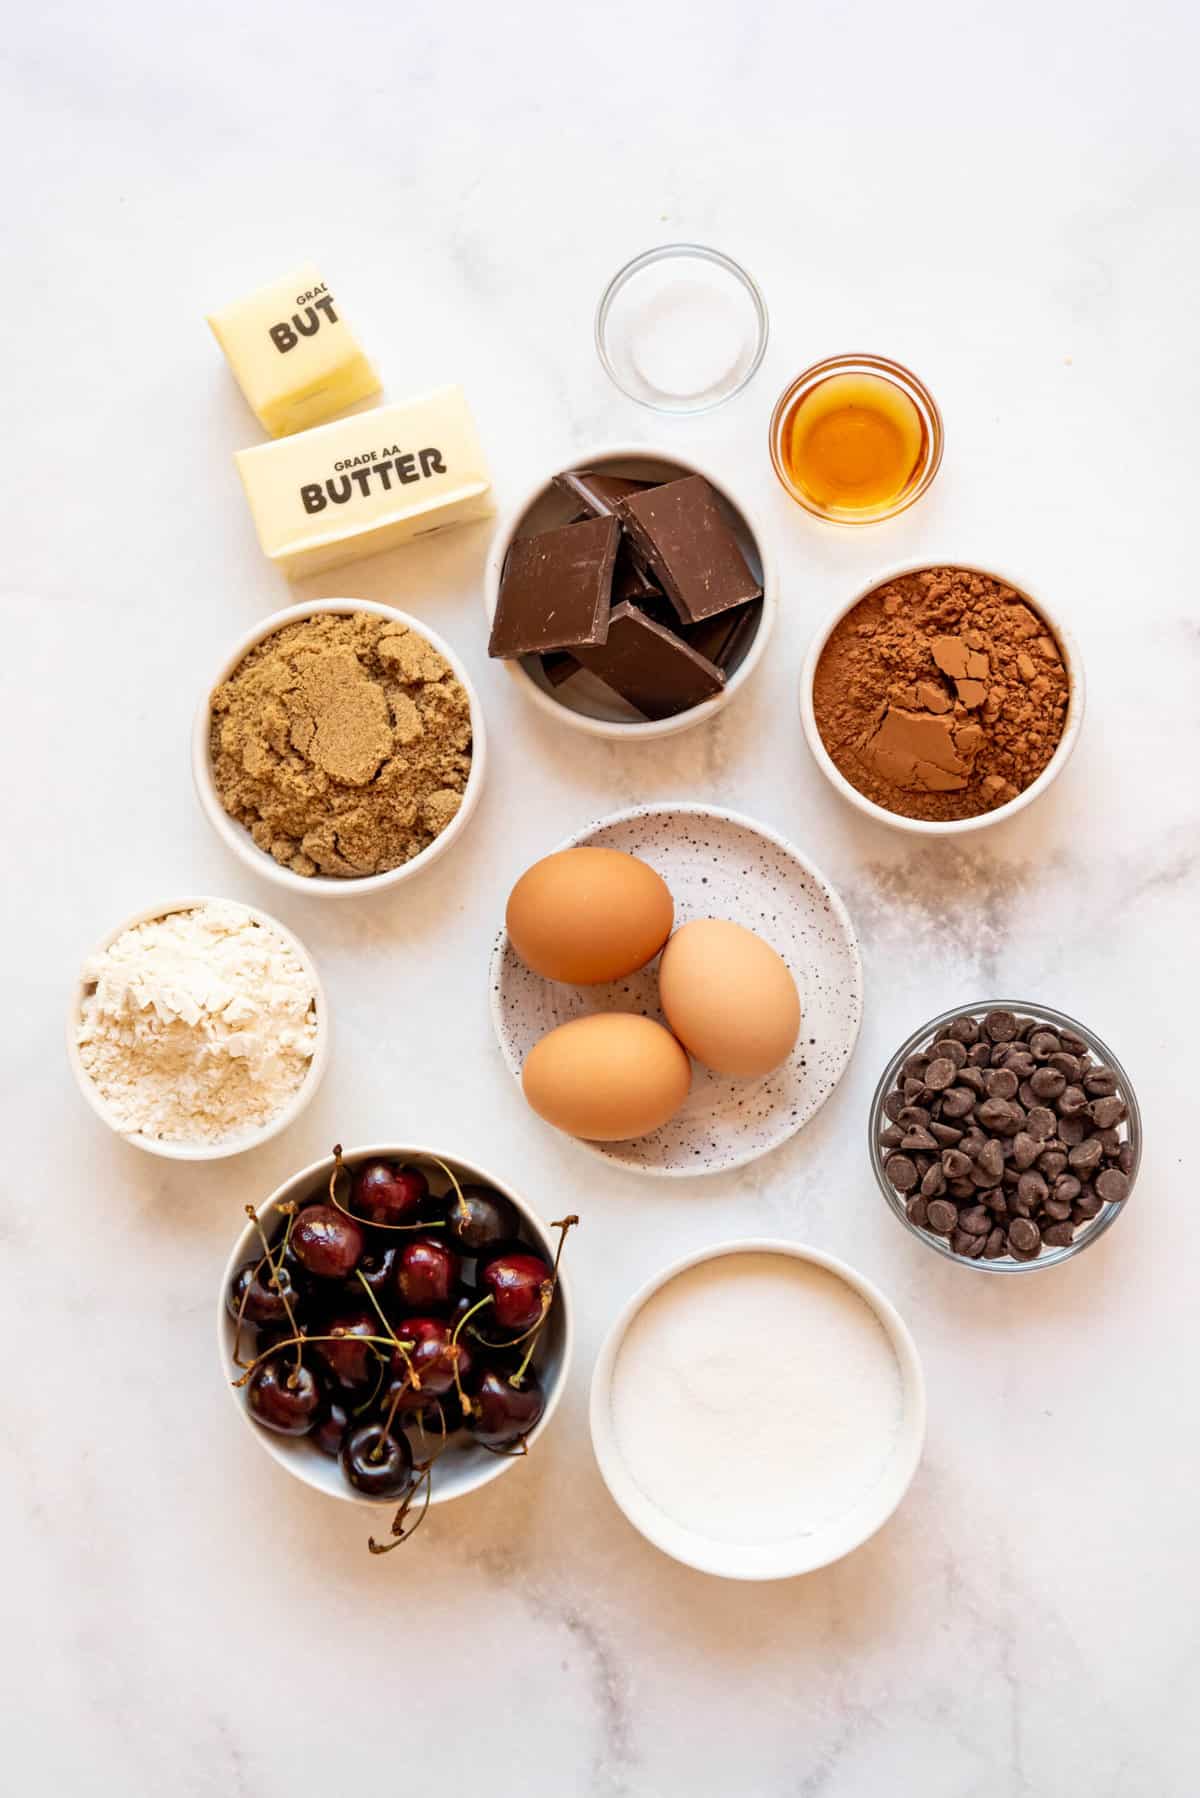
What You’ll Need
Scroll down to the recipe card below this post for ingredient quantities and full instructions.
- Bittersweet chocolate – You could use semisweet chocolate here as well. Bittersweet chocolate has slightly less sugar and slightly more cocoa powder so it gives a deeper flavor, but for baking they are usually interchangeable.
- Salted butter
- Unsweetened natural cocoa powder
- Sugar – You’ll use both granulated sugar and brown sugar in these brownies for the best depth of flavor without sacrificing the crackly top from too much moisture.
- Eggs
- Vanilla extract
- All-purpose flour – Just enough to give the brownies some structure without making them too cake-like.
- Salt
- Chocolate chips – There is already plenty of chocolate in these brownies, so you could skip the semisweet chocolate chips if you wanted to but we love the extra richness they give to the brownies.
- Fresh cherries – I used fresh dark cherries for these brownies, but any sweet cherry will work.
How to Make Cherry Brownies
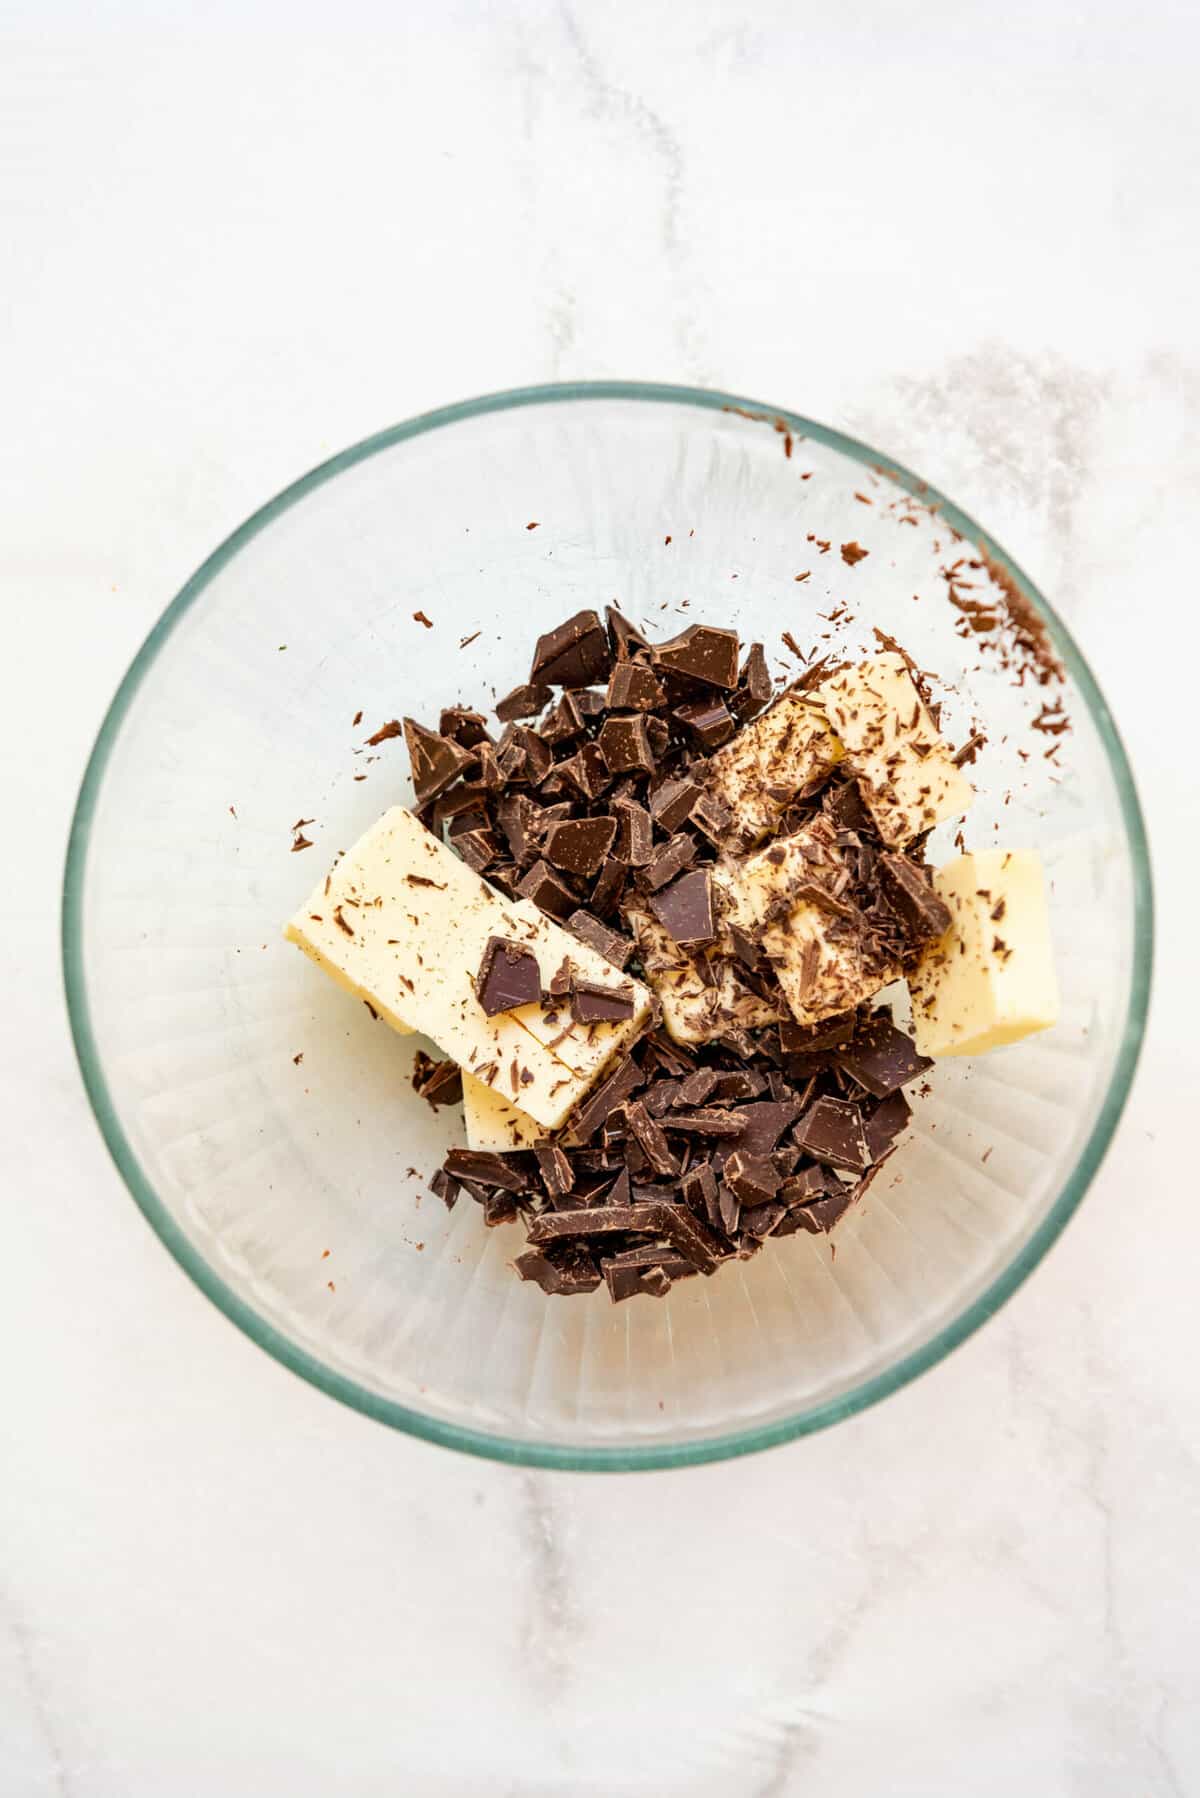
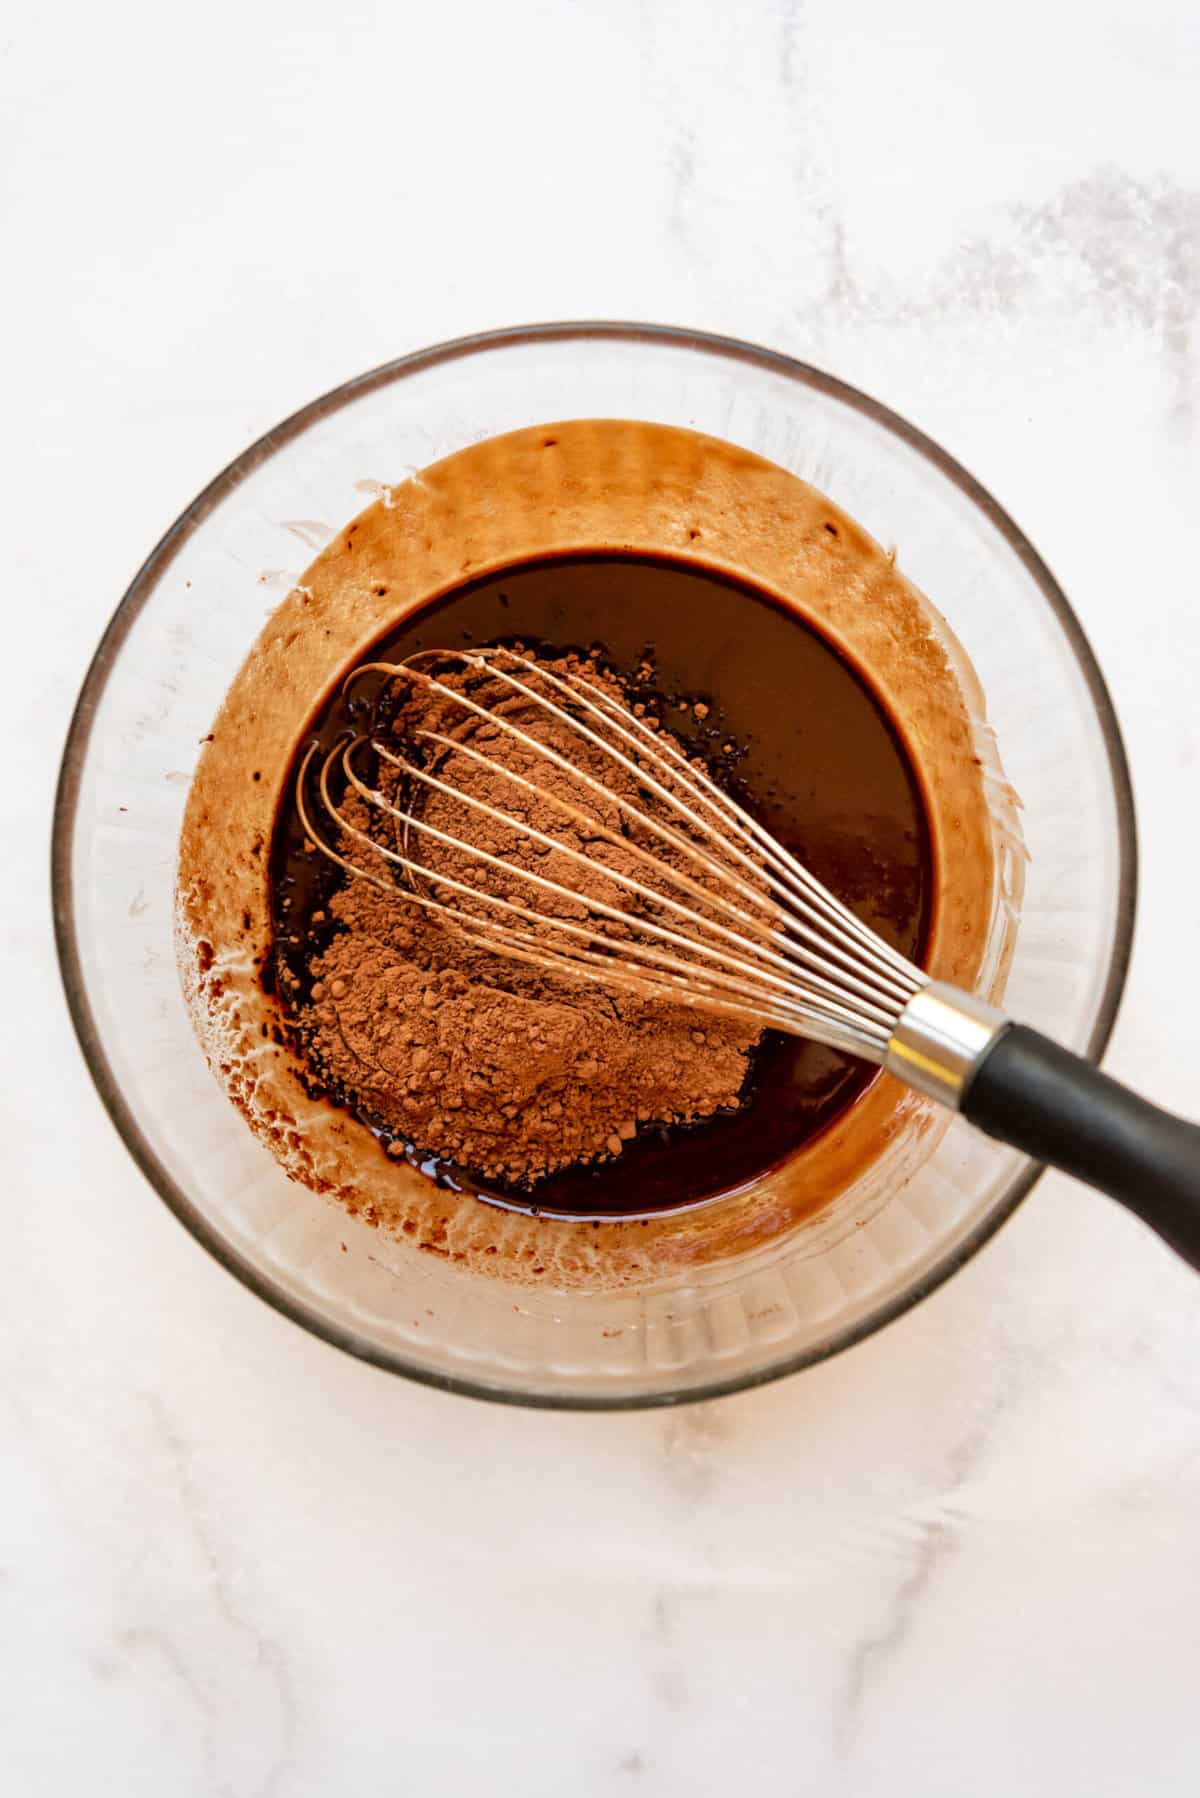
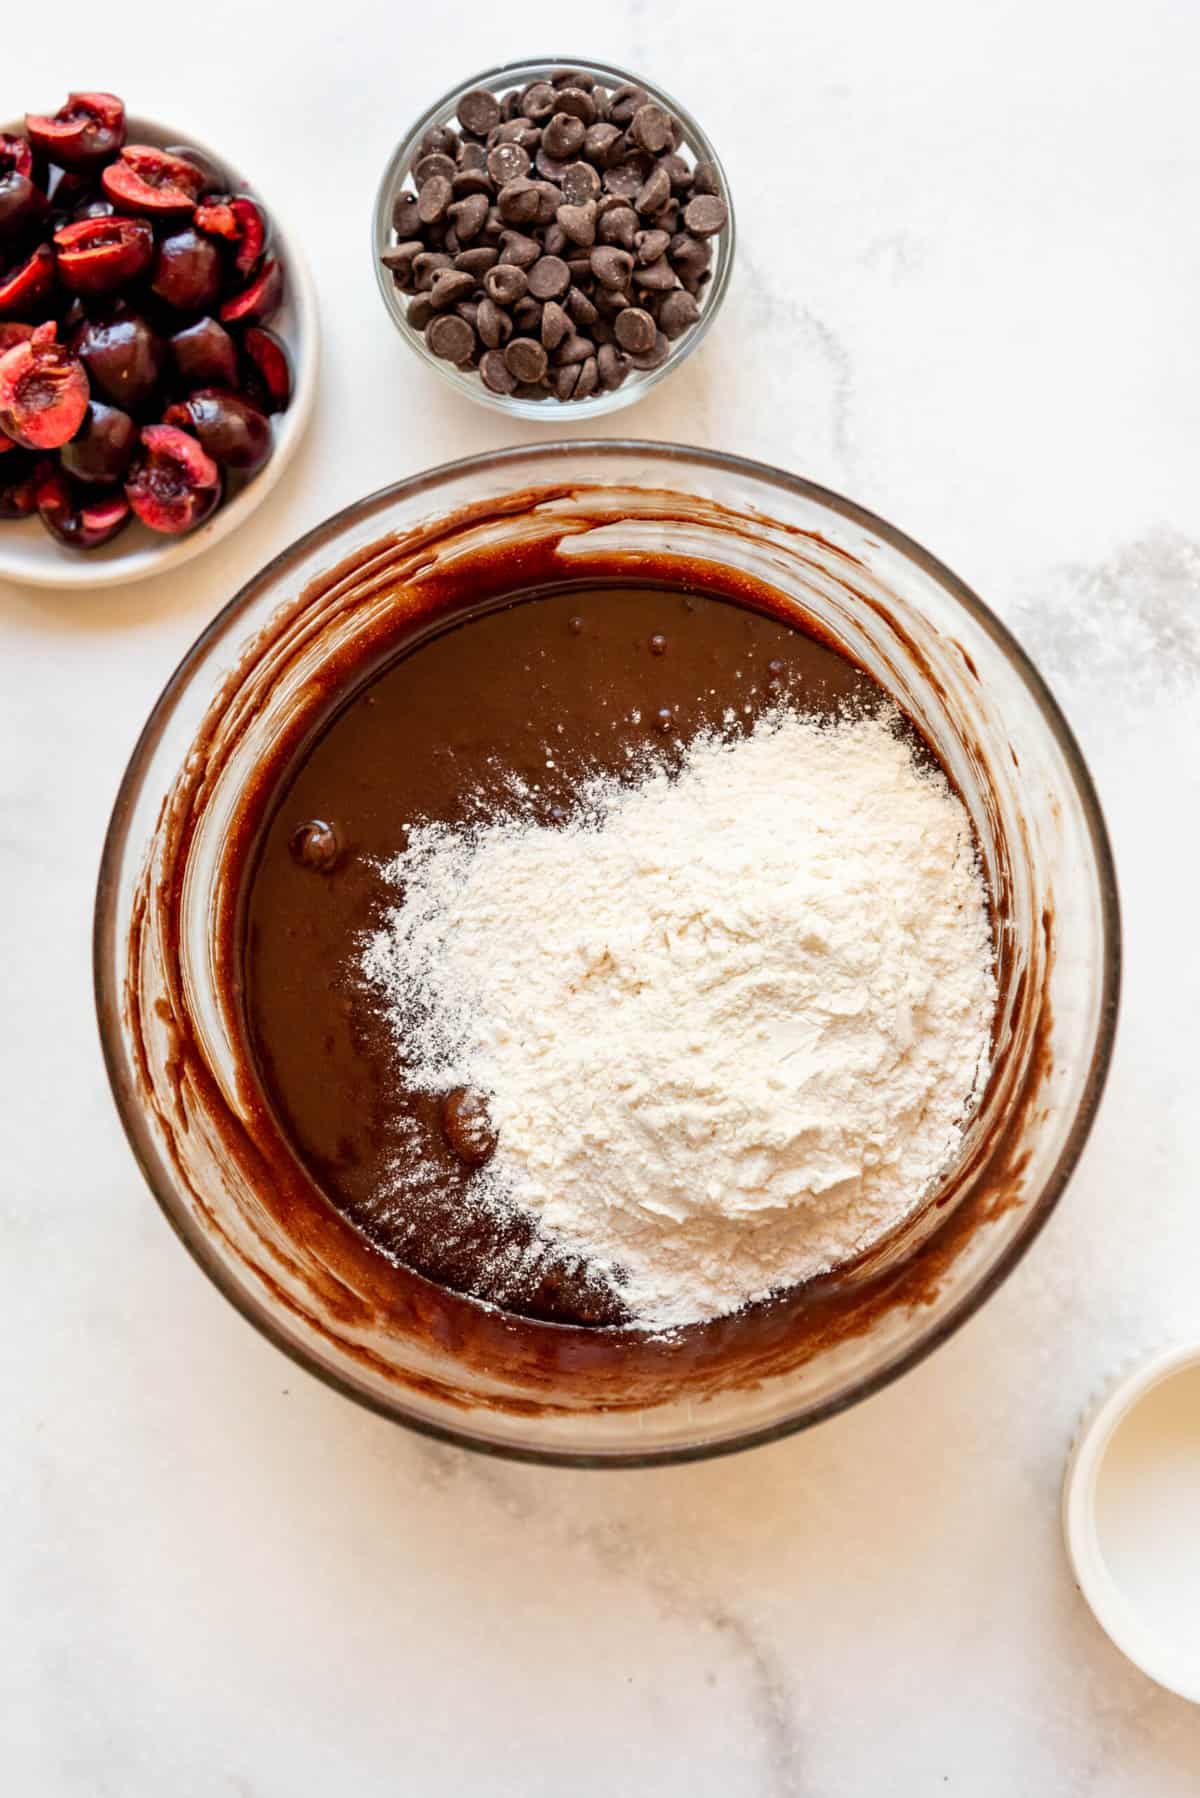
- Melt butter and chocolate. Combine these two ingredients in a large microwave-safe mixing bowl and heat them in 20 second intervals, stirring between each burst of heat, until melted and smooth. Add cocoa powder and whisk together to combine.
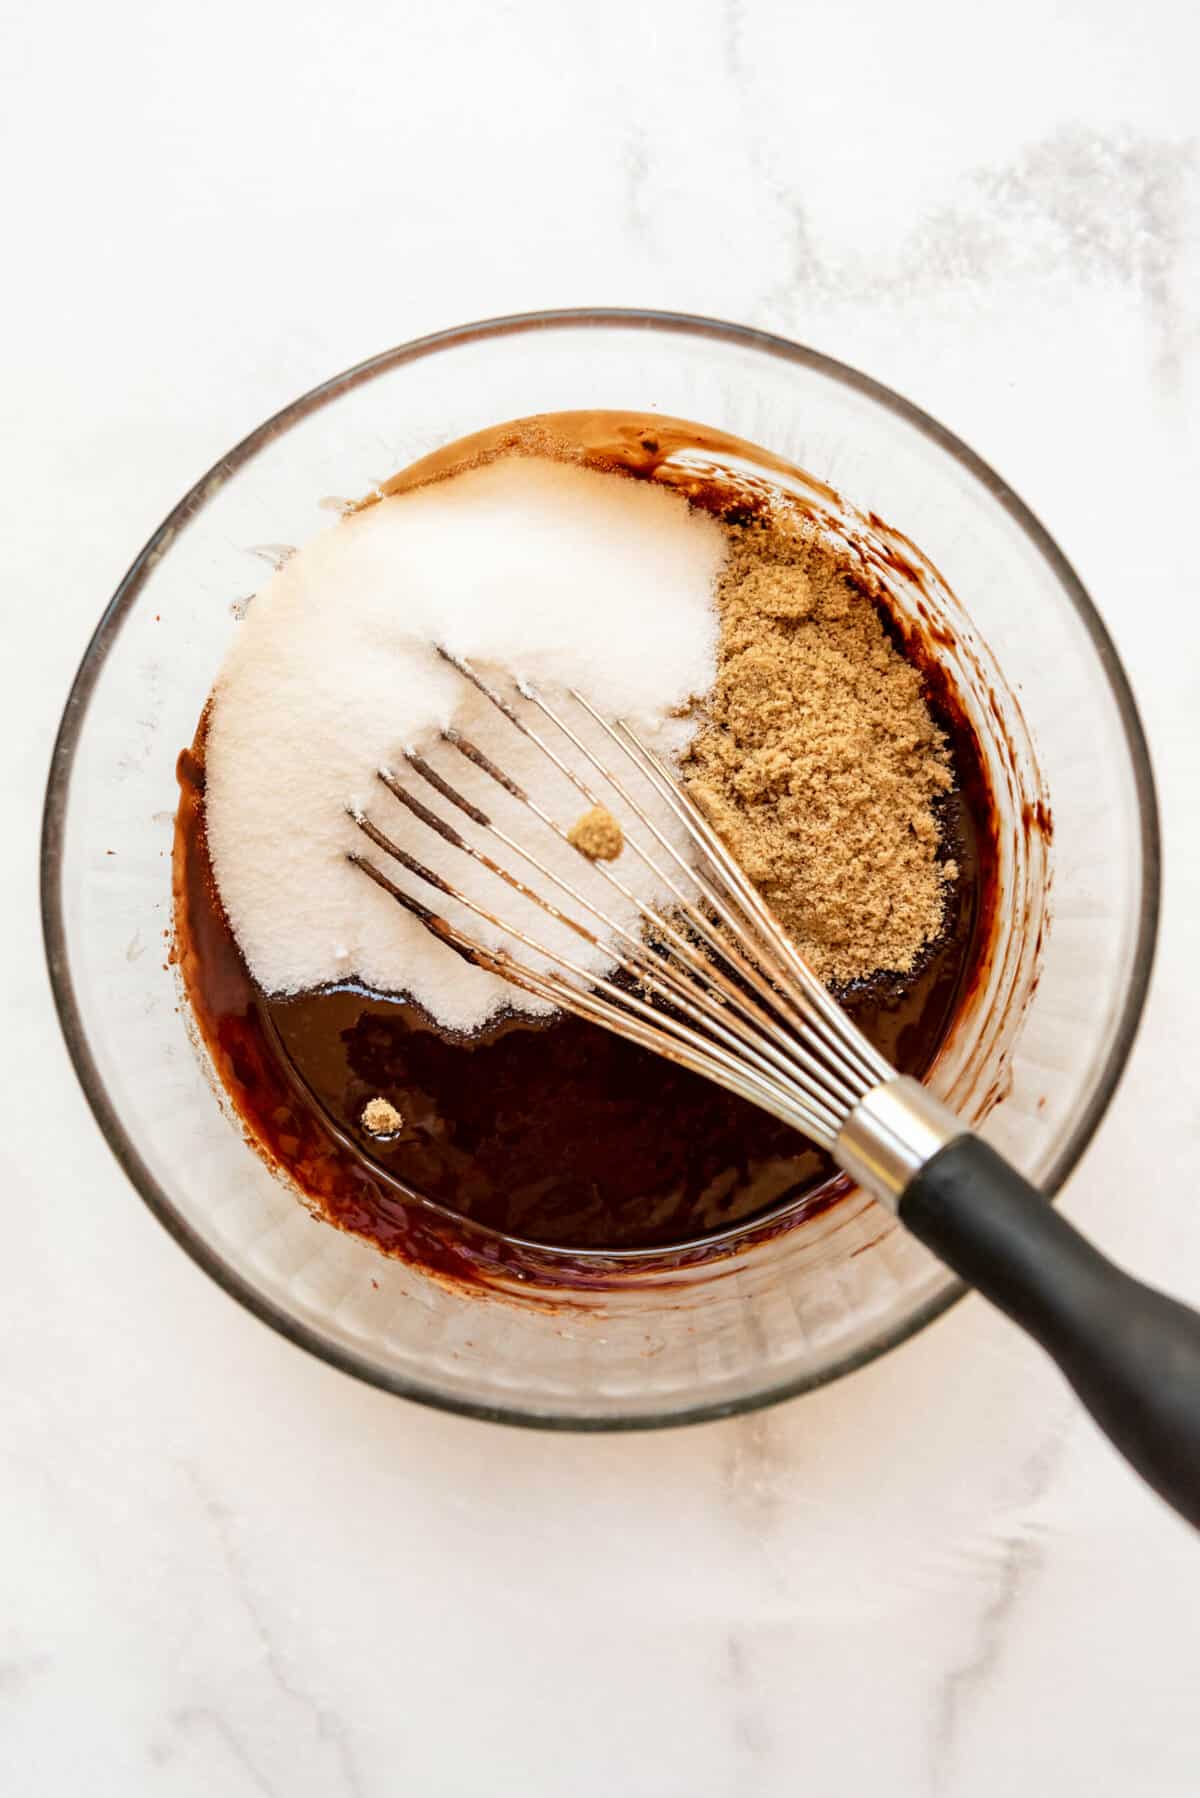
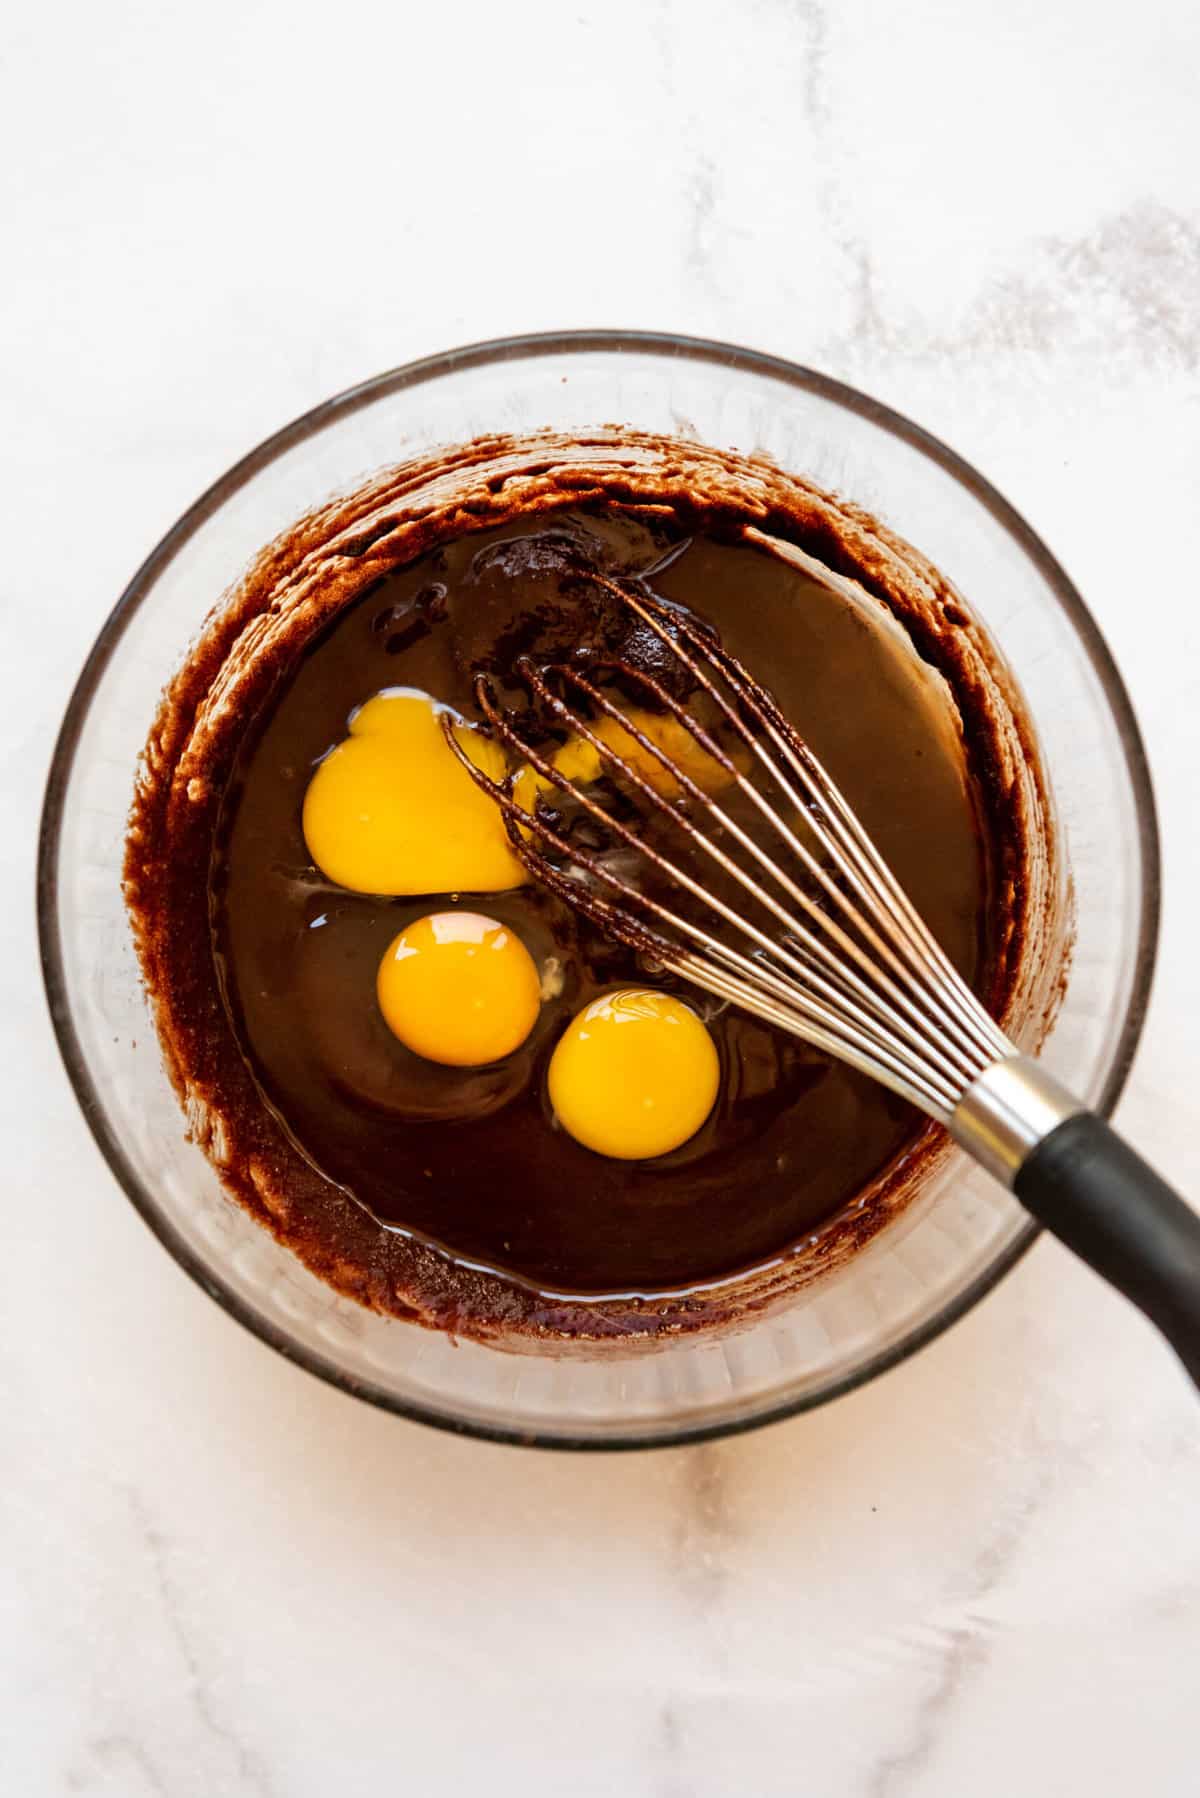
- Whisk in sugars and eggs. Add the granulated sugar and brown sugar, then whisk well to combine. The mixture will be gritty, but that’s totally okay. Whisk in the eggs and vanilla extract using some muscle power to really beat in those eggs. That’s the secret to the shiny, crackly top on the brownies. This can also be done with a hand mixer.
- Fold in flour and salt. Switch to a spatula or wooden spoon to stir this in. It’s okay if there are a few streaks of flour remaining.
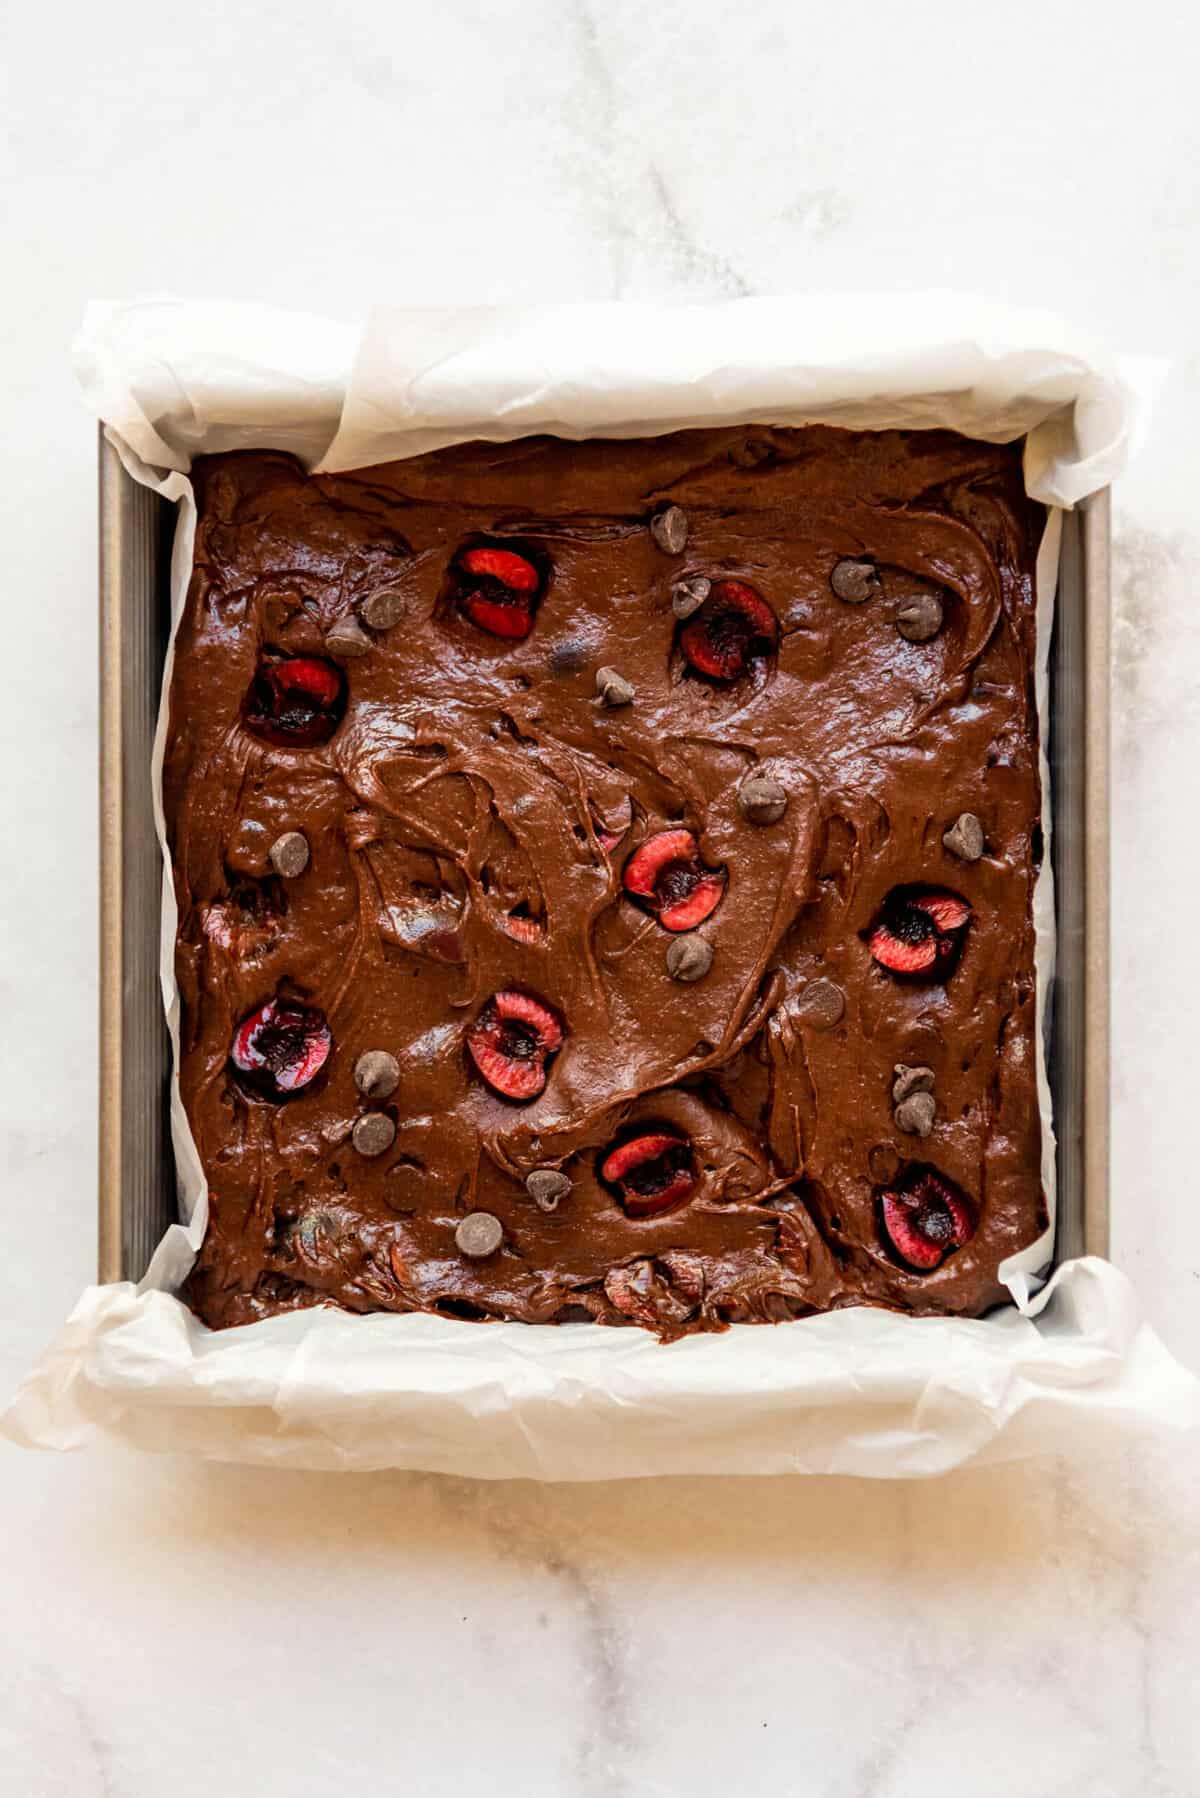
- Add cherries and chocolate chips. Fold in the pitted and halved cherries and chocolate chips. I like to reserve a few cherry halves for pressing into the top of the brownie batter just to make it look pretty.

- Spread in pan. Line a 9×9-inch baking dish with parchment paper so it’s easier to remove the brownies and cut them cleanly when they are done. Spread the brownie batter into the prepared pan and press a few reserved cherry half or chocolate chips into the batter.
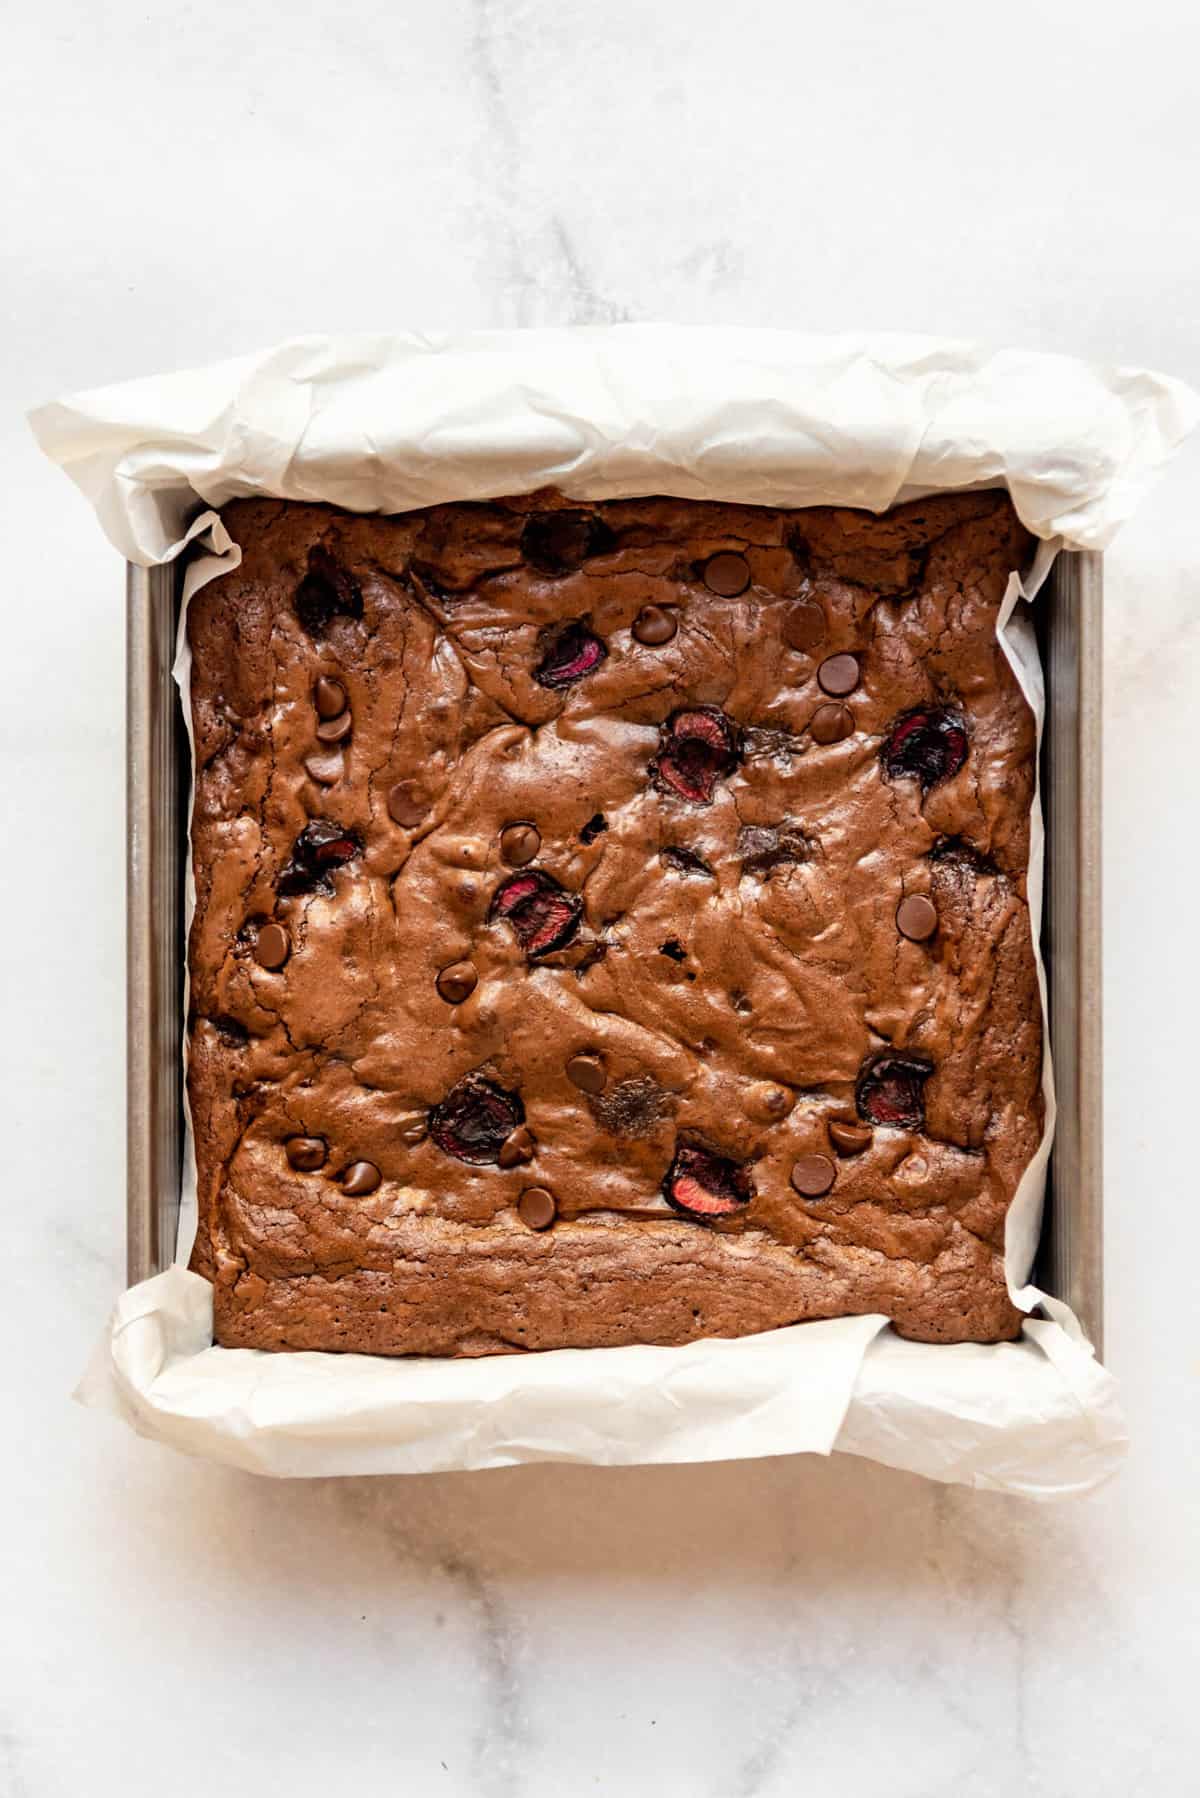
- Bake. Bake for 30-35 minutes in a 350°F preheated oven until a toothpick or skewer comes out with just a few crumbs. Be careful not to overbake the brownies so they stay nice and fudgy.
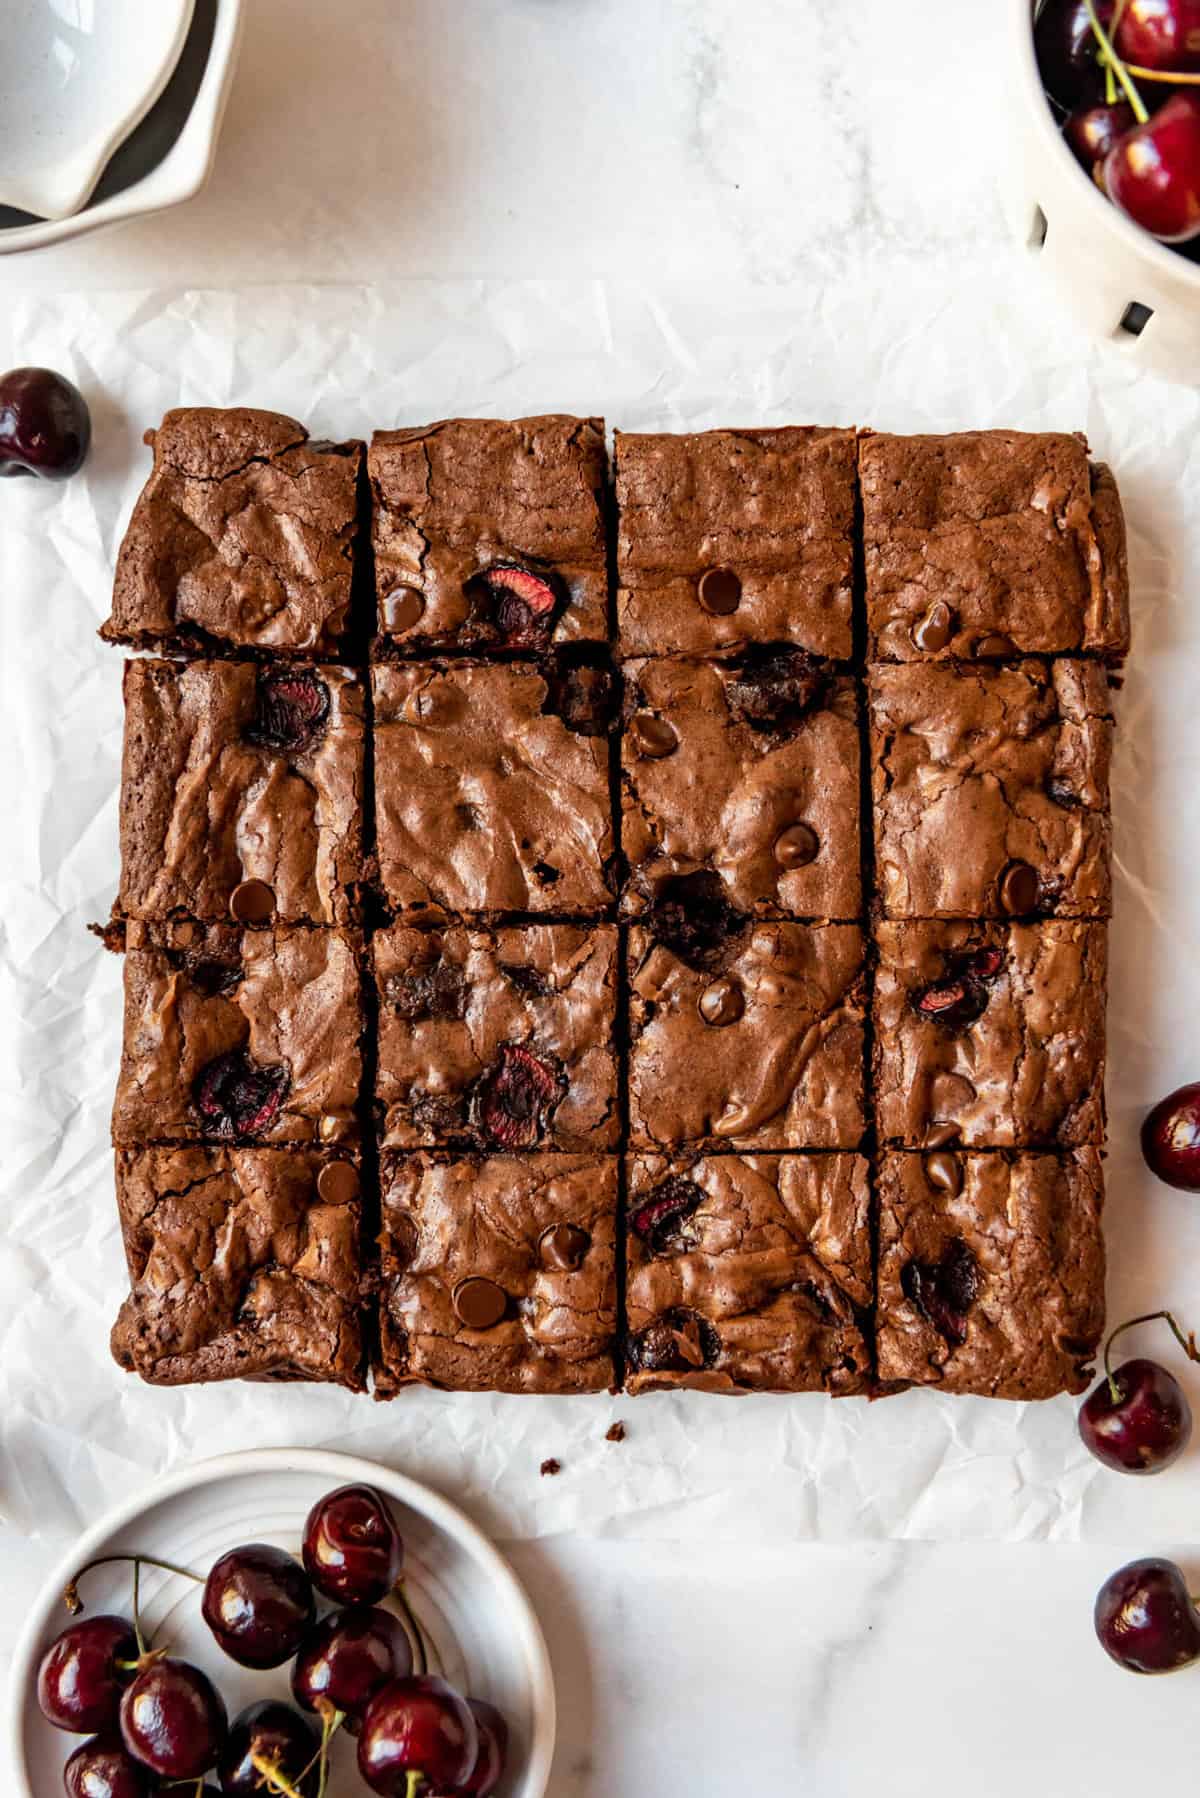
- Cool then cut. Once the brownies have cooled completely, lift them out of the baking dish using the parchment paper sling and slice them into 16 squares.
Recipe FAQ’s
Yes, you can use frozen cherries if fresh cherries aren’t in season or otherwise unavailable, although you will have the best results with fresh cherries.
Sure! They have a different taste and texture than dark sweet cherries, but there is no reason why maraschino cherries wouldn’t work in these brownies.
Yes! Just swap your favorite gluten-free baking flour replacement with the all-purpose flour in this recipe and you will have delicious gluten-free cherry brownies.
Tips for Success
- Don’t overbake. The biggest mistake I see most people make when making brownies is to overbake them. You aren’t actually looking for a toothpick to come out clean, which will indicate the brownies are overbaked and likely dry. Instead, you want some crumbs sticking to the tester. If it’s wet from batter, keep baking the brownies for a couple minutes longer, but try to remove the brownies from the oven while they are still moist inside.
- Let the brownies cool completely. It’s painful to wait for the brownies to cool, but it not only makes it easier to cut them but the flavor develops more so they taste better once they have had a chance to cool completely. You can always rewarm in the microwave for a few seconds before enjoying if you like warm brownies.
- Slice with a plastic knife. If you haven’t already heard this trick, it really does work well! A plastic knife will result in cleaner cuts than a regular knife, so it can be helpful to keep some on hand for slicing your brownies.

Serving Ideas
Of course these brownies are insanely delicious all on their own or with a tall glass of cold milk. But they also make a fantastic base for a brownie sundae with a scoop of vanilla ice cream, some homemade whipped cream, and some hot fudge or chocolate syrup drizzled on top.
You can also use these brownies to make a trifle by layering it with pudding or whipped cream and fresh fruit in a trifle dish. Or bake them thin in a 9×13-inch pan, then sandwich some ice cream between two of the thin brownie squares for cherry brownie ice cream sandwiches!
Storage and Freezing Instructions
Store the cooled brownies in an airtight container on the counter or in the fridge for up to 5 days. You can also freeze the brownies for up to 2 months. Thaw on the counter for a few hours before enjoying.
More Brownie Recipes
- Irresistible Mississippi Mud Brownies
- Mint Brownies
- Homemade Cosmic Brownies
- Peanut Butter Swirl Brownies
- Frosted Brownies
Brownies and bars
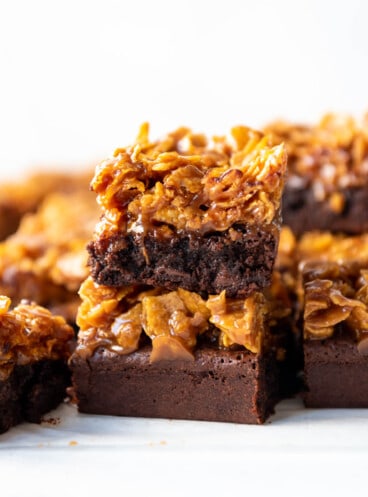
Caramel Cornflake Brownies
Brownies and bars
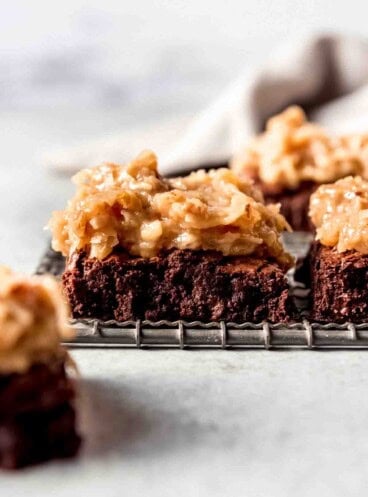
German Chocolate Brownies

Brownies and bars
Cream Cheese Brownies
Did you make this recipe?
Let me know what you thought with a comment and rating below. You can also take a picture and tag me on Instagram @houseofnasheats or share it on the Pinterest pin so I can see.
Cherry Brownies
Equipment
Ingredients
- 4 ounces bittersweet chocolate chopped
- 3/4 cup salted butter cubed
- 1/2 cup natural unsweetened cocoa powder
- 1 cup (200g) granulated sugar
- 1/2 cup (100g) brown sugar
- 3 large eggs room temperature
- 2 teaspoons vanilla extract
- 3/4 cup (106g) all-purpose flour
- 1/2 teaspoon salt
- 1 cup semisweet chocolate chips
- 1 cup halved fresh cherries stems and pits removed

Instructions
- Preheat the oven to 350°F. Line a square 9 X 9-inch baking dish with a parchment paper sling or spray with baking spray. Set aside.
- In a large microwave-safe bowl, combine bittersweet chocolate and butter. Microwave on high in 20-30 second bursts, stirring well between bursts of heat until melted and smooth. Whisk in cocoa powder.4 ounces bittersweet chocolate, ¾ cup salted butter, ½ cup natural unsweetened cocoa powder
- Add granulated sugar and brown sugar, whisking well to combine. Add eggs and vanilla, beating well either by hand with a whisk or with an electric mixer.1 cup (200g) granulated sugar, ½ cup (100g) brown sugar, 3 large eggs, 2 teaspoons vanilla extract
- Sprinkle flour and salt over brownie batter and gently stir it in with a wooden spoon or spatula. Stir in chocolate chips and cherries.¾ cup (106g) all-purpose flour, ½ teaspoon salt, 1 cup semisweet chocolate chips, 1 cup halved fresh cherries
- Pour brownie batter into the prepared baking dish and spread into corners. Batter will be thick.
- Bake for 30-35 minutes, until a toothpick inserted into the center of the brownies comes out mostly clean with only a few crumbs attached. Do not over-bake.
- Cool completely before cutting. Store in an airtight container for up to 5 days at room temperature or in a refrigerator.
Notes
- Use your favorite type of chocolate chips for this recipe. Milk chocolate chips will give these Cherry Brownies a smoother, sweeter taste, while dark chocolate chips will give them a sharper chocolate profile. If you use dark chocolate chips, we suggest staying under 60% cacao.


These brownies were so fudgy and delicious! Will definitely make again
These were so good! I used 1/2 cup less of sugar, i did not add the bittersweet chocolate and it was amazing!
Great Lexi! I am glad you liked them!