
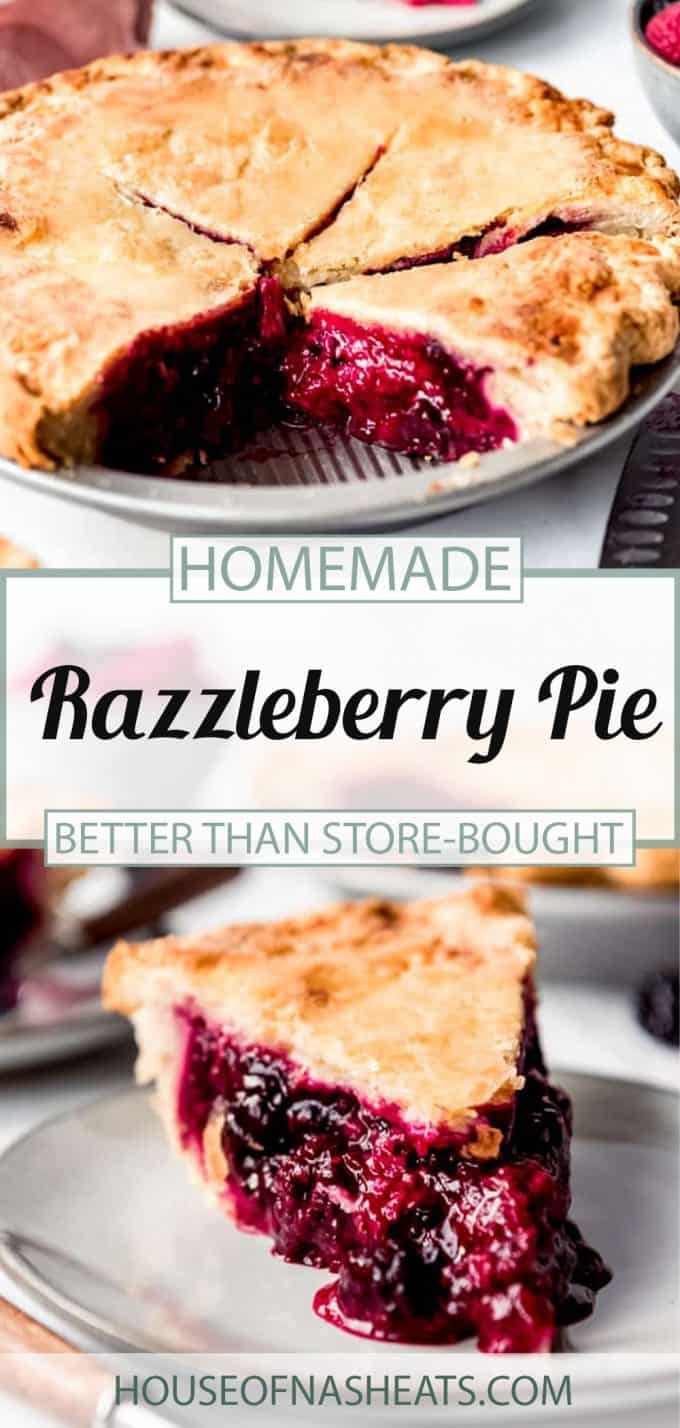


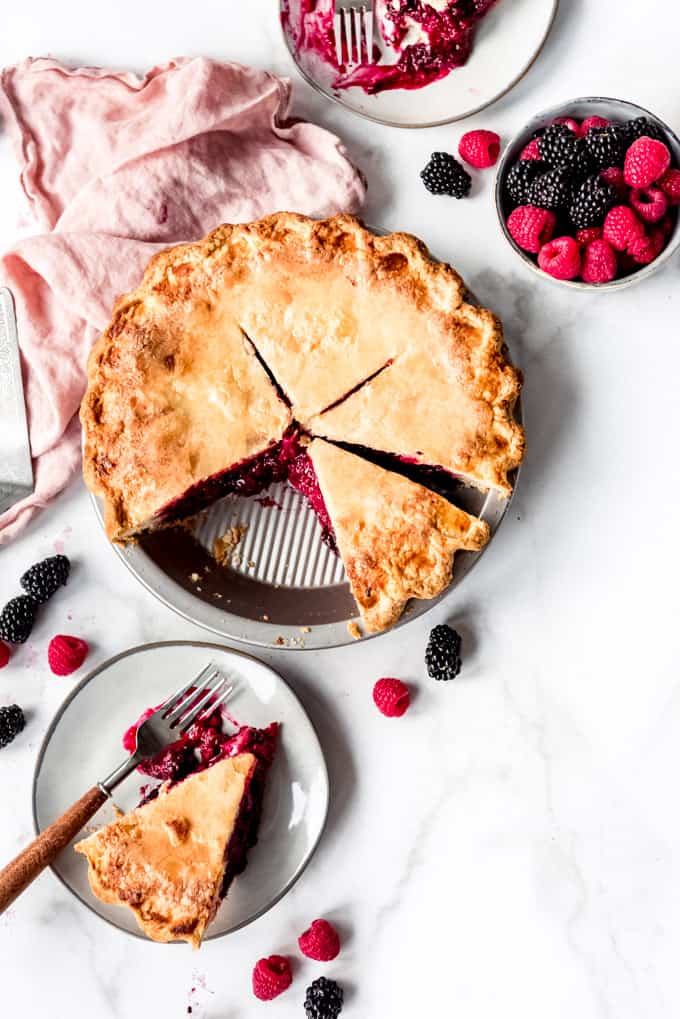
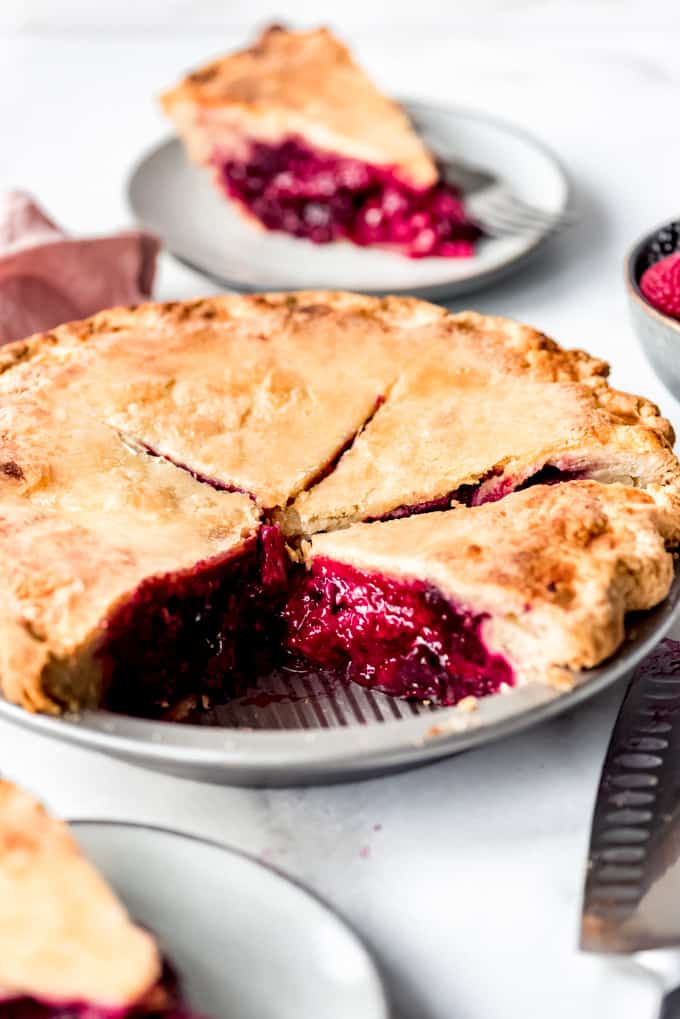
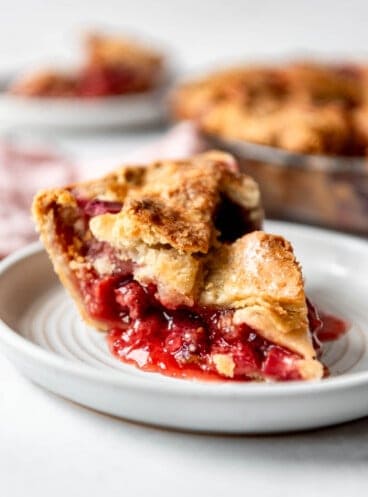
Razzle-Dazzle them with this Razzleberry Pie! Loaded with raspberries and blackberries, and wrapped in a homemade flaky & buttery pie crust, this Razzleberry Pie is such a treat! Use either seasonal fresh berries or frozen and make this pie year-round for all occasions!
Razzleberry Pie. It’s so fun to say! It just sounds like it’s going to be something exciting…and it is!
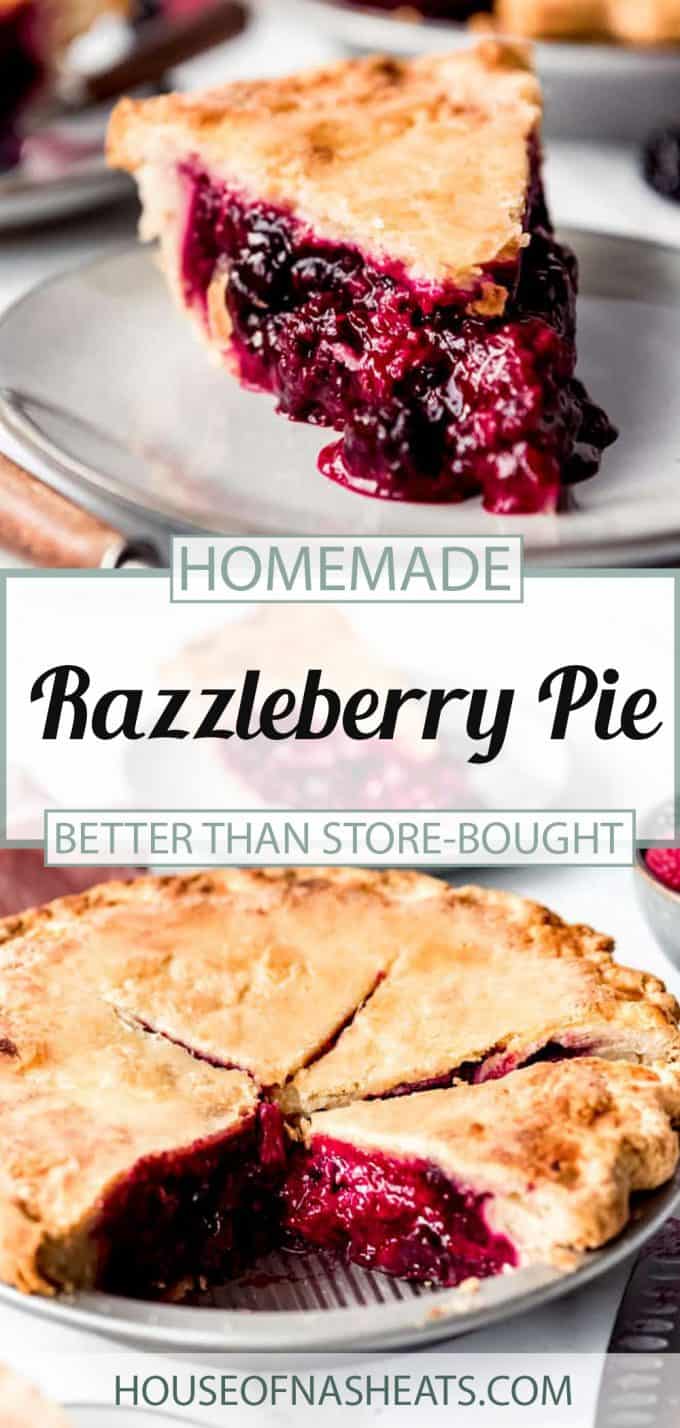
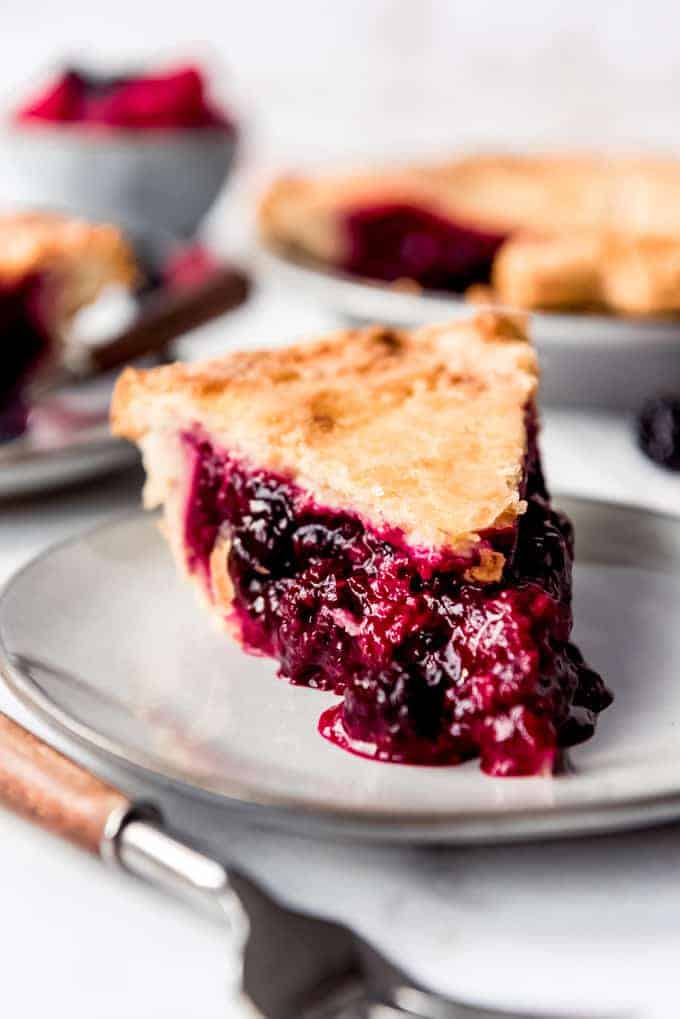
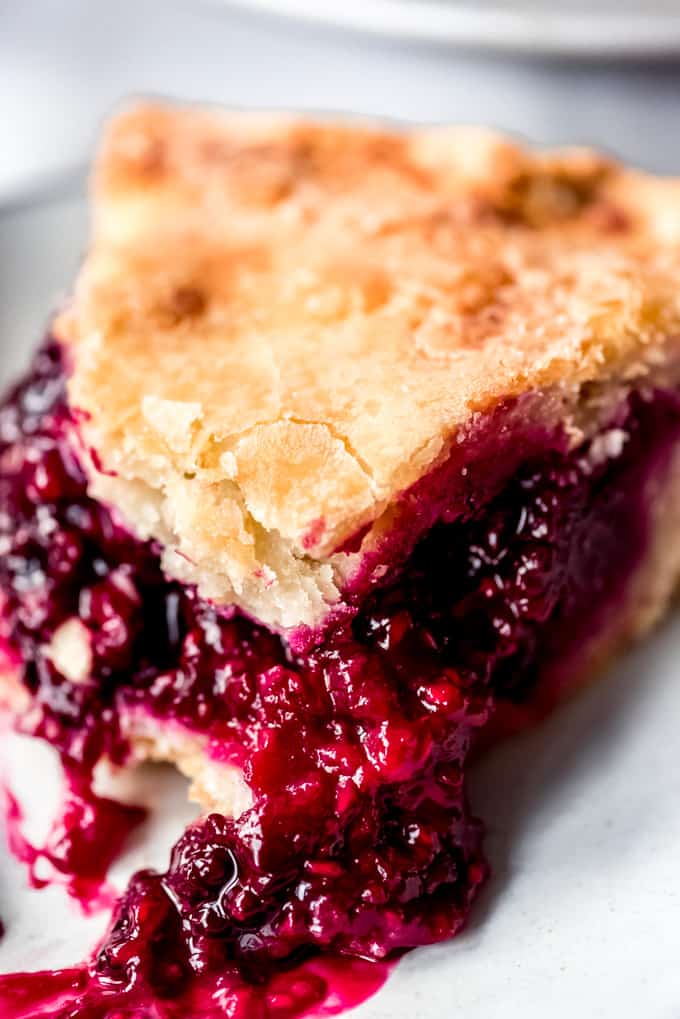
Razzleberry Pie is what happens when you throw raspberries, blackberries, and a little magic together into a pie crust. It’s both sweet and a little tart, surrounded by a flaky, buttery crust. This pie is one of my absolute favorites!
For this easy pie recipe, I was inspired by Marie Callender’s Razzleberry Pie, which my family used to buy years ago. But, as always, I wanted to make my own version at home, and it turned out to be completely no-fuss and simple!
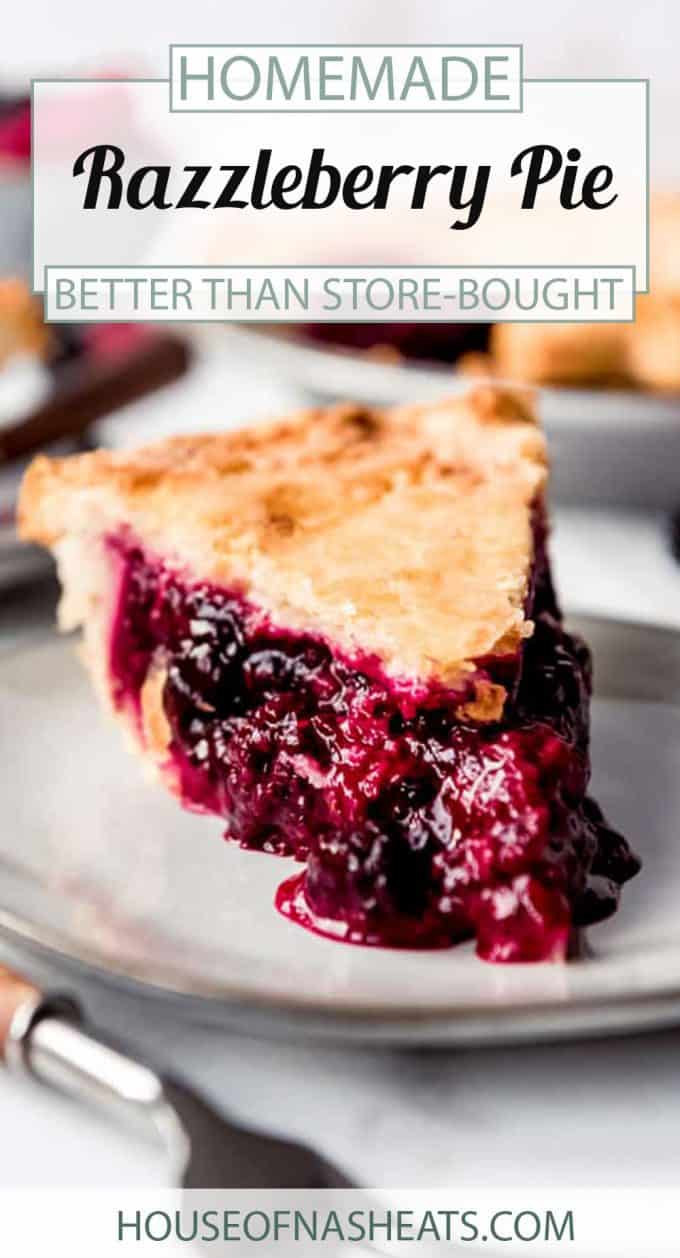
This copycat Marie Callender Razzleberry Pie is so much better than store-bought. Making pies with fresh or frozen berries and butter in the crust gives you hands-down the best flavor. What’s more, you can even freeze this pie for later!
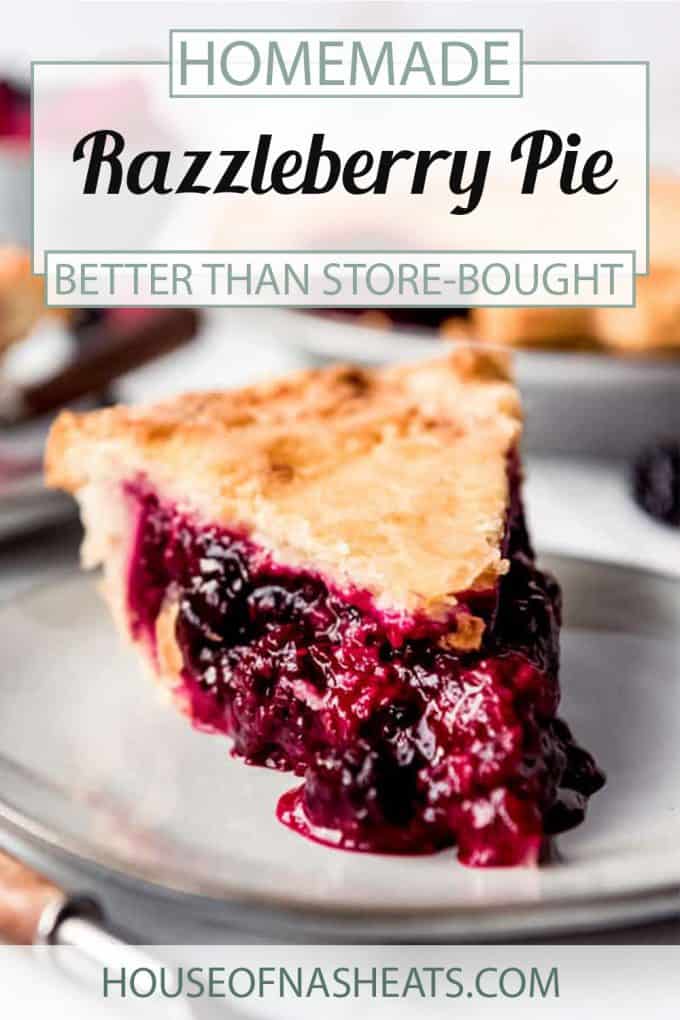
I love making fruit pies for any occasion, but this recipe for Razzleberry Pie would be particularly great in the summer for cookouts or even July 4th. Serve it with a large scoop of ice cream and we’ll call it a home run!
You can’t beat a slice of a classic berry pie, especially in the summer with a scoop of ice cream! Try our Homemade Blueberry Pie (it is the BEST!) and for July 4th festivities, our Old Glory American Flag Pie is delicious and fun to make!
What’s in Razzleberry Pie?
Pie Crust
- Flour: I used unbleached, all-purpose flour as the foundation for this pie crust. You’ll need a little to sprinkle on the counter as well!
- Sugar: I wanted a sweet pie crust for this Razzleberry Pie so I added white granulated sugar.
- Salt: Salt brings out the butteriness of the crust and makes everything taste just right.
- Butter & vegetable shortening: Using both butter and shortening is a MUST for making the best pie crust! Butter gives the crust an amazing flavor, while the shortening holds it all perfectly together.
- Water: Make sure to use ice water! This helps to keep the butter cold, which will make the crust more flaky.
Filling
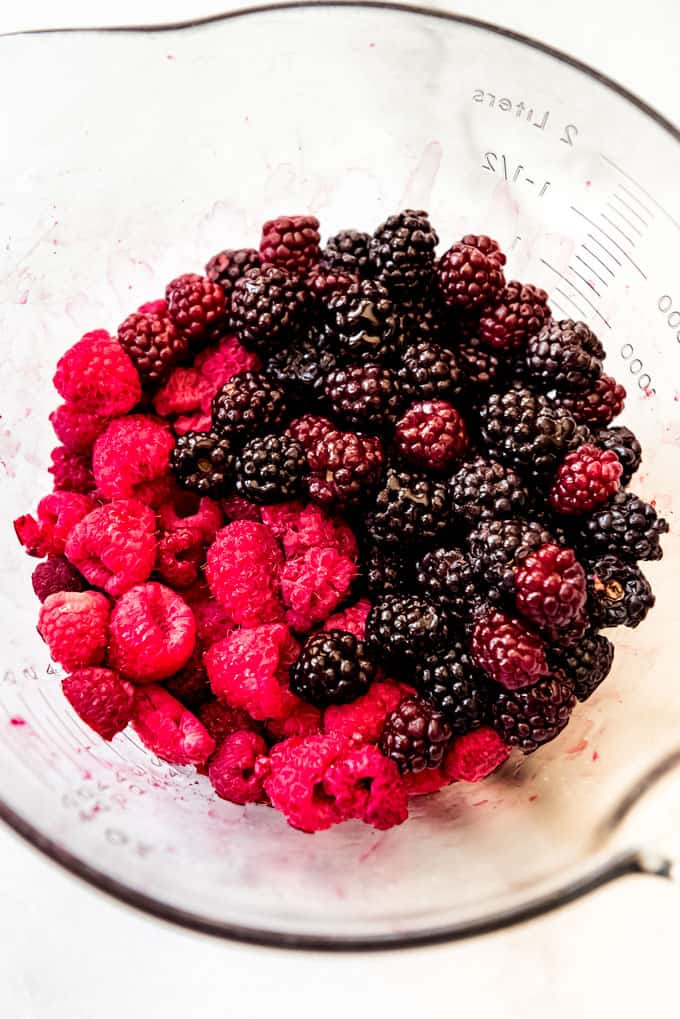
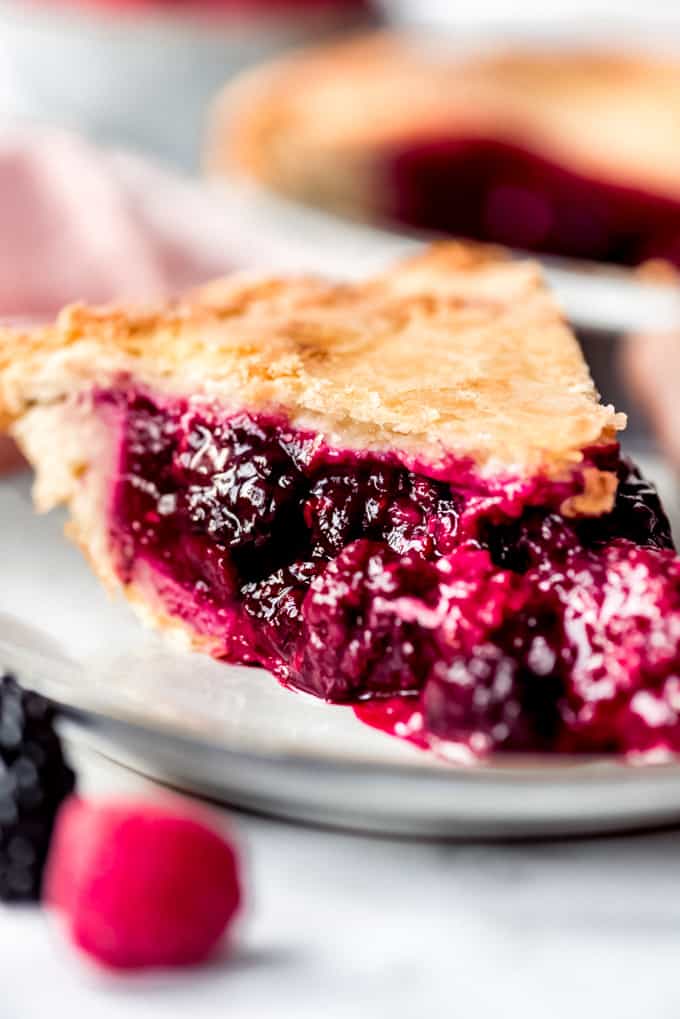
- Berries: Razzleberry Pie includes both raspberries and blackberries in it. That’s it. I know you might come across versions that also include blueberries (and it’s understandable since you can buy big bags of frozen mixed berries), but that’s a triple berry pie, not a razzleberry pie. If you can’t tell, I have VERY strong feelings about this particular pie! You can use either fresh berries if they’re in season or frozen berries throughout the year.
- Sugar: Berries can be pretty tart on their own so some added sweetness from granulated sugar is necessary for a perfect pie.
- Cornstarch: Cornstarch thickens the berry filling in this Razzleberry Pie. We don’t want a runny pie!
- Lemon juice: Just a little kick of citrus elevates the flavor so much in this pie and keeps the berry flavors fresh and bright!
- Egg: The egg is used for a simple egg wash that is brushed on both the bottom crust, which helps protect it from the juicy filling, as well as on the top crust to make it beautifully golden.
How to Make Razzleberry Pie
Pie is one of my favorite things to bake at home! It’s so satisfying to roll out the pie crust fill it with a fruity, vibrant-hued filling!
Pie Crust
- Mix it up! Firstly, stir together the flour, sugar, and salt. Using a pastry cutter or a food processor, cut the shortening and butter into the flour until the mixture resembles coarse crumbs. It is only about 10 pulses with a food processor but a bit more work by hand. One trick to make the process a little easier is to freeze your butter beforehand, then grate it into the flour mixture before cutting it in with the pastry cutter if not using a food processor.
- Slowly stir in the ice water. Sprinkle 2 tablespoons of the ice water over the mixture. Using a fork, gently stir the water into the flour mixture, then repeat with the remaining water, adding only 2 tablespoons at a time, just until the dough starts to come together.
- Divide and shape. Next, divide the dough into two even pieces. Turn each piece of dough onto a sheet of plastic wrap and flatten each into a disc and wrap tightly in plastic wrap. Refrigerate for 1 hour, then allow the chilled dough to sit on the counter to soften slightly for 10 minutes before rolling out.
Filling
- Prep the oven. First of all, preheat the oven to 400 degrees.
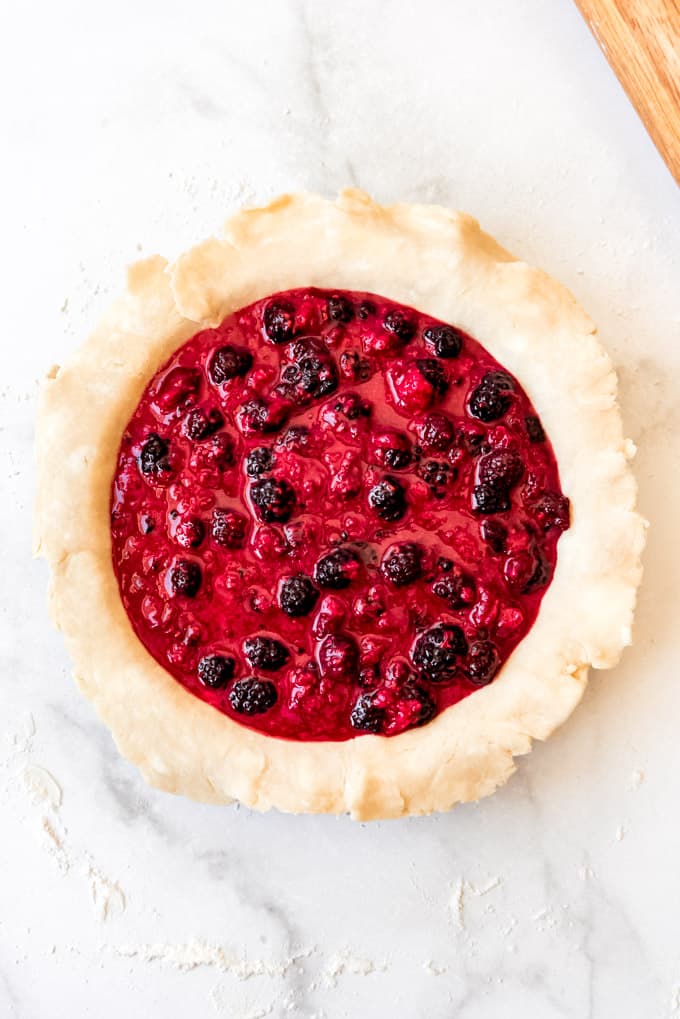
- Roll and brush. Secondly, roll out the bottom crust. Gently line a pie plate (affiliate link) with the bottom crust and brush with part of the egg wash before adding filling.
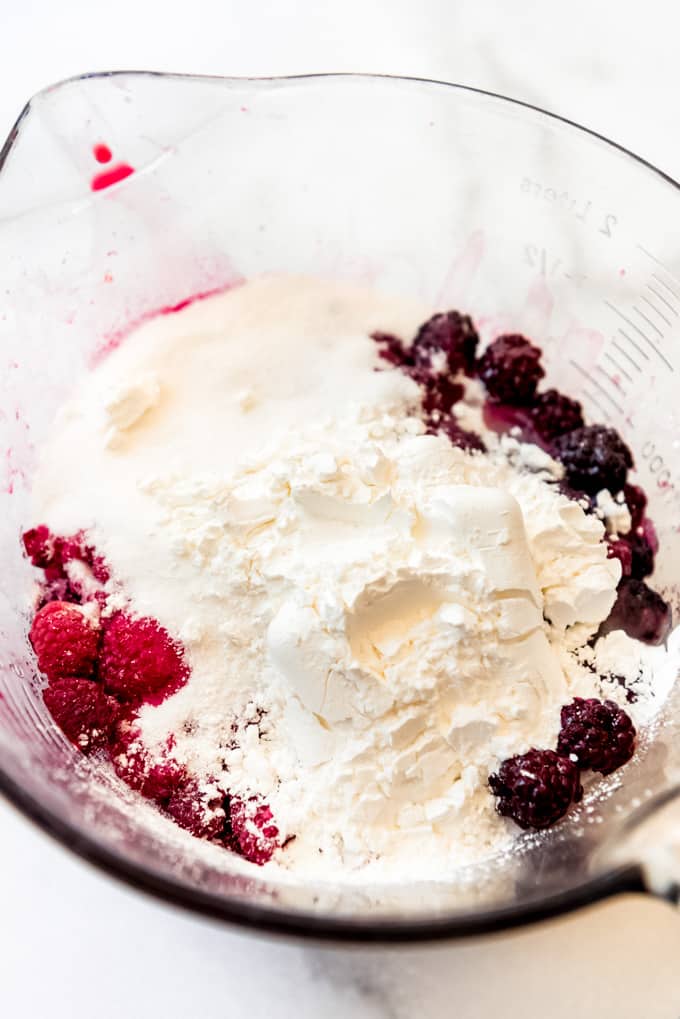
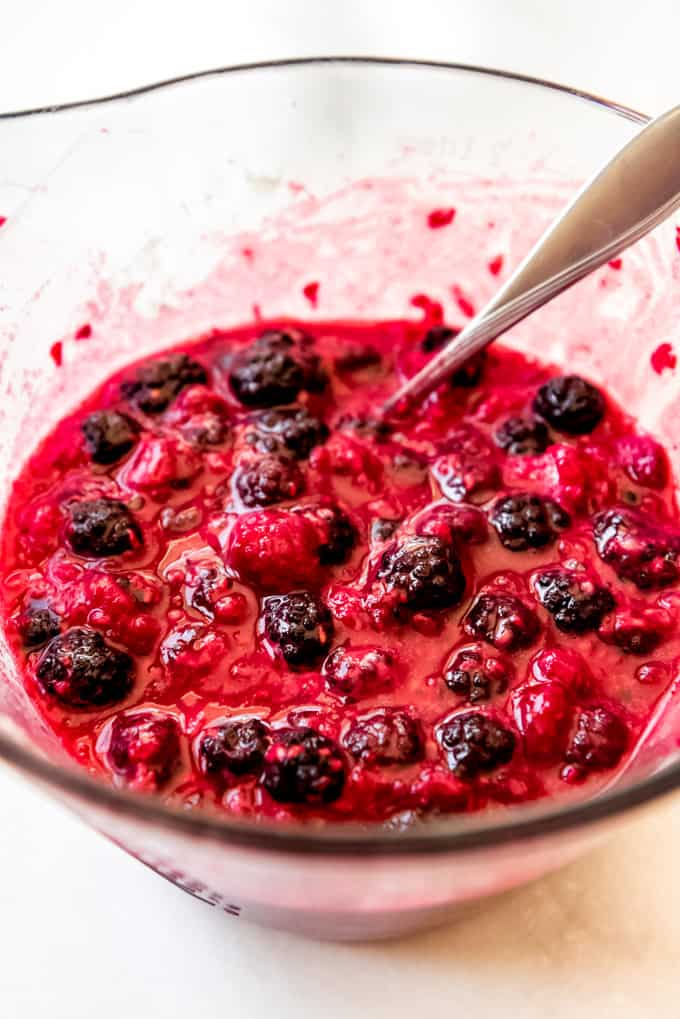
- Mix and pour. Next, to prepare the filling, in a large bowl add the raspberries, blackberries, sugar, cornstarch, and lemon juice and gently toss to combine. Pour filling into the prepared pie crust.
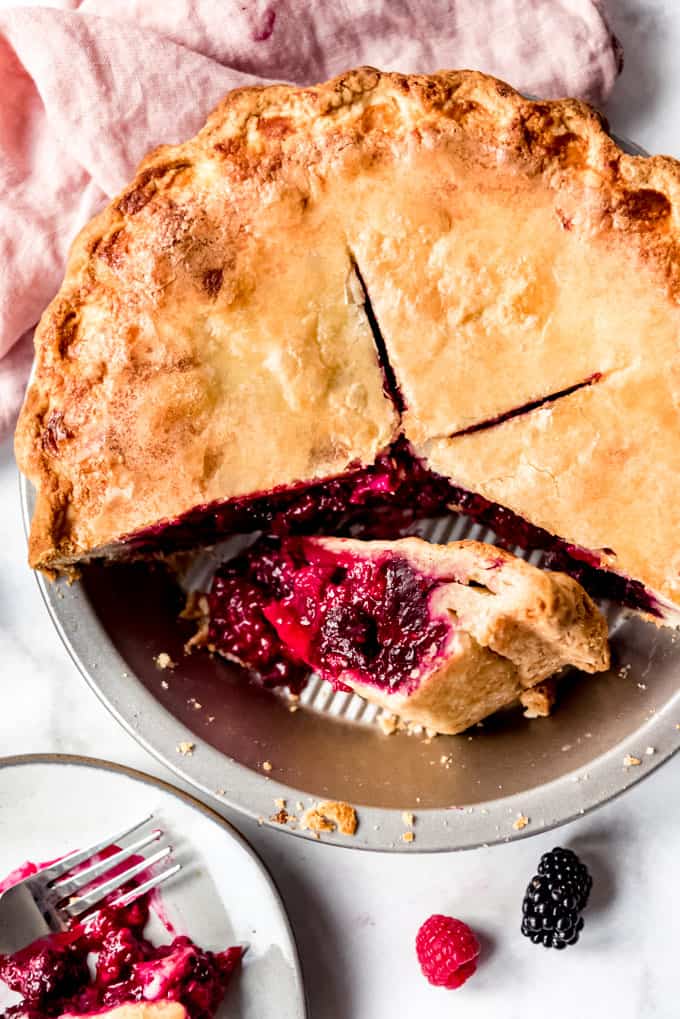
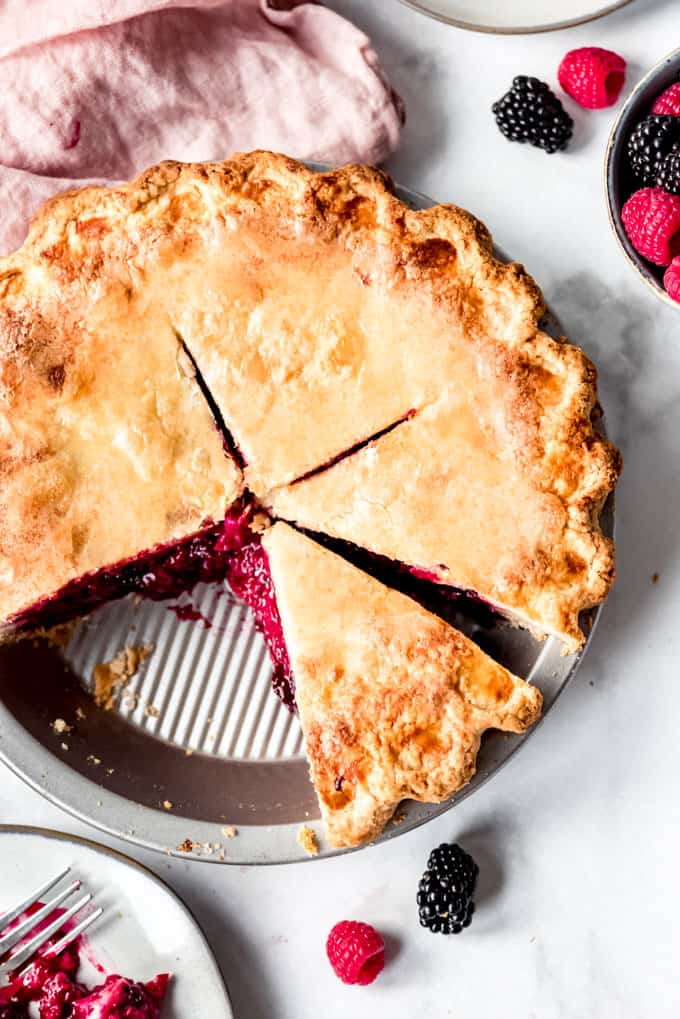
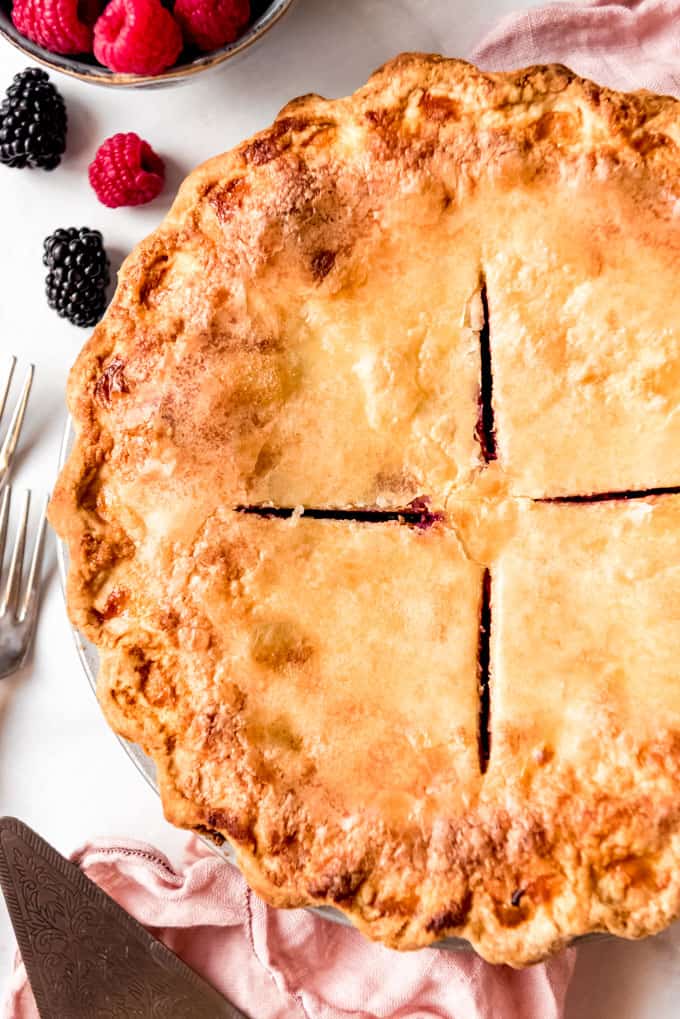
- Top and brush. Roll out the top pie crust and gently lay it on top of the blackberry filling. Trim edges of the pie dough or tuck them under and crimp in a decorative pattern. Cut slits in the top for venting. If desired, you could do a lattice crust or other decorative top. Brush the top crust with remaining egg wash and sprinkle with 1-2 tablespoons of sugar. A generous amount of sugar sprinkled over a brushing of egg wash will almost melt and create a crackly shell on top of the pie crust that I LOVE.
- Bake! Bake for 45-60 minutes, until the filling is thick and bubbly and the crust is golden brown. If the edges of the crust begin to get too dark too soon, cover them with tin foil or use a pie guard so that they don’t burn while the rest of the pie continues to bake.
- Cool. Finally, when the pie is done, remove from the oven and allow the pie to cool for at least 3-4 hours before serving so the filling can set up.
What is Razzleberry Pie?
Razzleberry Pie is a mixed berry pie made with raspberries and blackberries. There is no such thing as a razzleberry and I’m not quite sure who came up with that name in the first place.
Really, you could use this same recipe with your other favorite berries. Here in California, we have a short season for olallieberries and I use this same recipe using those instead during that time if I can get my hand on them at the farmer’s market.
Can I make Razzleberry Pie with frozen berries?
Yes! This is an all-season recipe that you can make with fresh OR frozen berries. Frozen berries are fantastic because they are often cheaper and frozen at the peak of freshness. However, the instructions are a little different if you’re using frozen raspberries and blackberries. I have found a trick to using frozen berries that makes a big difference between a soupy pie and a perfectly set pie that is still juicy, but sliceable.
- First of all, allow the berries to thaw completely in a large bowl. Pour the extra juice into a medium microwave-safe bowl. I typically end up with around ⅓ cup of juice that comes off the frozen berries.
- Secondly, add 1 tablespoon of the sugar and ½ tablespoon of the cornstarch and whisk to combine.
- Next, microwave the extra juice, sugar, and cornstarch mixture for 30-60 seconds, until thickened. It might be gloppy and strange looking, but don’t fret.
- Finally, toss to combine the defrosted berries with the remaining sugar, cornstarch, and lemon juice, along with the thickened juice mixture before adding to the pie crust.
Does Razzleberry Pie have to be refrigerated?
No, I’d recommend storing this Razzleberry Pie in an airtight container on the counter for up to 3 days. You can refrigerate it if you like, but it’s not necessary.
Can I freeze this pie?
Yes! You can assemble this pie and freeze it ahead of time for up to 3-6 months. It’s great to make a double batch and freeze one for later. I love having dessert on hand that I can pull out and bake as needed!
How do I cook this mixed berry pie from frozen?
First of all, don’t thaw the pie! You can cook it directly from taking it out of the freezer. Place the pie on a baking sheet and bake it at 425ºF (220ºC) for 15 minutes. Then you’ll want to turn the temperature down to 375ºF (190ºC) and bake it for 30 to 45 minutes, or until the center is bubbly.
More Recipes Like This
- Best Homemade Apple Pie Recipe
- Lemon Meringue Pie
- Fresh Strawberry Pie
- Easy Blueberry Custard Pie
- Raspberry Peach Pie
- Mock Apple Green Tomato Pie
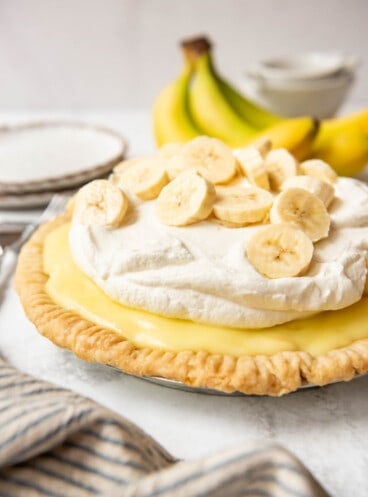
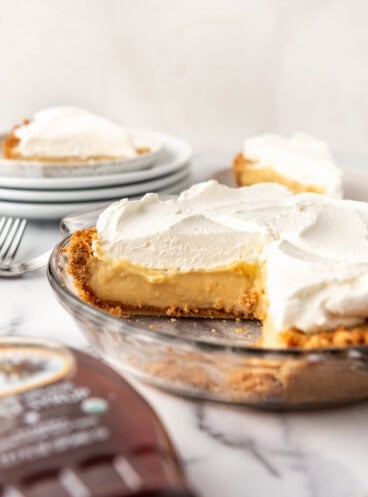
- The Best Banoffee Pie

Did you make this recipe?
Let me know what you thought with a comment and rating below. You can also take a picture and tag me on Instagram @houseofnasheats or share it on the Pinterest pin so I can see.

Homemade Razzleberry Pie Recipe
Ingredients
Pie Crust
- 2 1/2 cups unbleached all-purpose flour + extra for the work surface
- 2 Tablespoons granulated sugar
- 1 teaspoon table salt
- 1/2 cup vegetable shortening chilled
- 12 Tablespoons salted butter cut into 1/4-inch pieces and chilled
- 6-8 Tablespoons ice water
Filling
- 3 cups raspberries fresh or frozen*
- 3 cups blackberries fresh or frozen*
- 1 cup granulated sugar
- 4 Tablespoons cornstarch
- 1 teaspoon lemon juice
- 1 egg lightly beaten
- Sugar for sprinkling
Instructions
Pie Crust
- Stir together the flour, sugar, and salt. Using a pastry cutter or a food processor (affiliate link), cut the shortening and butter into the flour until the mixture resembles coarse crumbs. It is only about 10 pulses with a food processor (affiliate link) but a bit more work by hand. One trick to make the process a little easier is to freeze your butter beforehand, then grate it into the flour mixture before cutting it in with the pastry cutter if not using a food processor (affiliate link).2 ½ cups unbleached all-purpose flour, 2 Tablespoons granulated sugar, 1 teaspoon table salt, ½ cup vegetable shortening, 12 Tablespoons salted butter
- Sprinkle 2 tablespoons of the ice water over the mixture. Using a fork, gently stir the water in to the flour mixture, then repeat with the remaining water, adding only 2 tablespoons at a time, just until the dough starts to come together.6-8 Tablespoons ice water
- Divide the dough into two even pieces. Turn each piece of dough onto a sheet of plastic wrap and flatten each into a disc and wrap tightly in plastic wrap. Refrigerate for 1 hour, then allow the chilled dough to sit on the counter to soften slightly for 10 minutes before rolling out.
Filling
- Preheat oven to 400°F.
- Roll out the bottom crust. Gently line a pie plate (affiliate link) with bottom crust and brush with part of the egg wash before adding filling.
- To prepare filling, in a large bowl, add the raspberries, blackberries, sugar, cornstarch and lemon juice and gently toss to combine. Pour filling into the prepared pie crust.3 cups raspberries, 3 cups blackberries, 1 cup granulated sugar, 4 Tablespoons cornstarch, 1 teaspoon lemon juice
- Roll out top pie crust and gently lay the crust on top of the blackberry filling. Trim edges of the pie dough and crimp in a decorative pattern and cut slits in the top for venting. If desired, you could do a lattice crust or other decorative top. Brush the top crust with remaining egg wash and sprinkle with 1-2 tablespoons of sugar.1 egg, Sugar
- Bake for 45-60 minutes, until the filling is thick and bubbly and the crust is golden brown. If the edges of the crust begin to get too dark too soon, cover them with tin foil or use a pie guard so that they don’t burn while the rest of the pie continues to bake.
- When the pie is done, remove from the oven and allow the pie to cool for at least 3-4 hours before serving so the filling can set up.
Notes
- *If using frozen raspberries and blackberries, allow the berries to thaw first in a large bowl, then pour the juice into a medium microwave-safe bowl. Add 1 tablespoon of the sugar and ½ tablespoon of the cornstarch and whisk to combine. Microwave the juice, sugar, and cornstarch mixture for 30-60 seconds, until thickened. Set aside while you combine the defrosted berries, sugar, cornstarch and lemon juice and toss to combine, then gently stir in the thickened juice.
- Get all my best tips and tricks for a flaky, buttery pie crust in my post about how to make pie crust.
- This recipe is on page 251 of my cookbook, House of Nash Eats Everyday!

Great recipe. It’s not too sweet. I’m lazy so didn’t make crust and threw in all kinds of berries.
Delicious! I used raspberries, blackberries & blueberries!
Thank you so so much. It has been 30 years since I have made a pear pie. The nutmeg really is a great addition!!
I think you meant to share this comment on my pear pie recipe but I’m so glad you loved it!
Wonderful…but why would it be so juicy after baking? Any tips to make it not so runny?
My biggest tip is to let it rest for 2-3 hours to let it set up. Don’t cut into it right away or it might be a little runny. Don’t worry, I sometimes can’t wait and eat a slice right out of the oven knowing it’s going to be a bit runny. Also, make sure you have enough cornstarch which is a thickening agent for the filling.
Have you tried adding apples to the recipe, since it’s listed as an ingredient in Marie Callender’s Razzleberry Pie?
Yes, if you want to try to exactly mimic the Marie Callender’s version, I would peel and grate one tart apple into the filling, like a Granny Smith. There are two logical reasons for including the apple, in my view. The first is that apples contain natural pectin which can help set the filling a little more. The other is that they are less costly than berries and can help increase the volume of pie filling without the expensive of quite as many berries. When testing this recipe I felt like the apple was just unnecessary and preferred just using berries both for simplifying the preparation (not having to peel and grate) as well as taste (pure berry bliss!). But it works either way without any other adjustments!
I have used the filling recipe several times. It is always a wonderful pie. I normally use 3/4 cup instead of 1 cup sugar as my fresh berries make it a little too juicy. I had never brushed egg on bottom crust before. Makes such a difference! I highly recommend making this pie!
Yes I love using the egg wash! It helps so much! Thanks making it!
Taste is very good. Taking it to friends for supper. East to make.
This is one of my favorite pies! It makes me so happy you’re making it Nita!
I think of myself as a professional pie taster, meaning, I really love pie. I tried your recipe to the letter, with one exception, I added extra sugar with fresh berries like another 1/4 ok.. half cup. Other than that, as you wrote it. Perfection is all I can say. I even waited until it set up before I cut into it (I still had a piece of chocolate cream pie left or I wouldn’t have). Thank you!
Wow! Thank you James! More sugar with the berries will only make it more delicious. Ha ha. And very impressive you waited until the pie was set before eating it. I struggle with that sometimes 😉
Thank you for naming your seven pie recipes!! It is a very frustrating email that some chefs use instead of naming their favorites they just number them!
I do not even bother opening those as to me it is an annoying way of
getting a message read!
Thanks again for delicious recipes!
You’re welcome! I’m glad you found it helpful!
This is the best pie I have ever made. It was the first pie to be gone at Thanksgiving! The crust was flaky, buttery perfection and the filling was that great combo of tart and sweet.
Great Paige! I am happy everyone enjoyed it!