
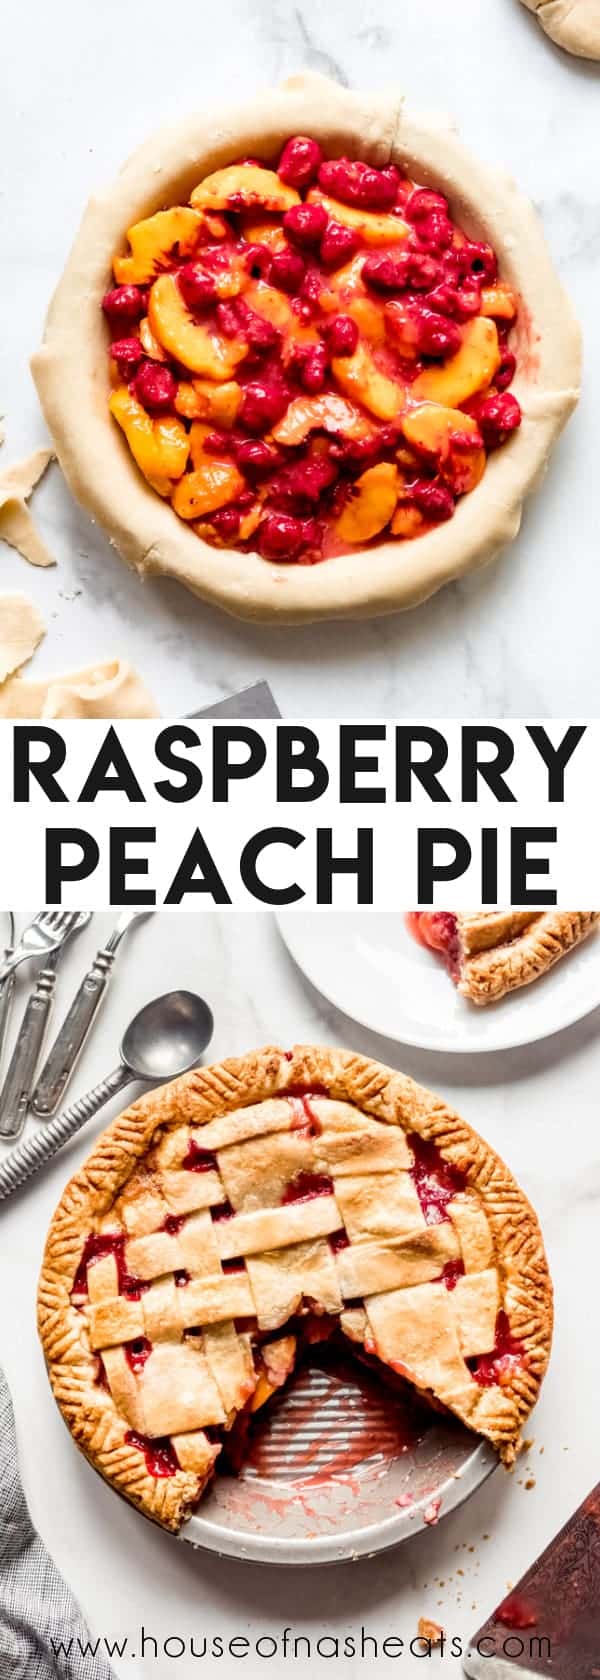
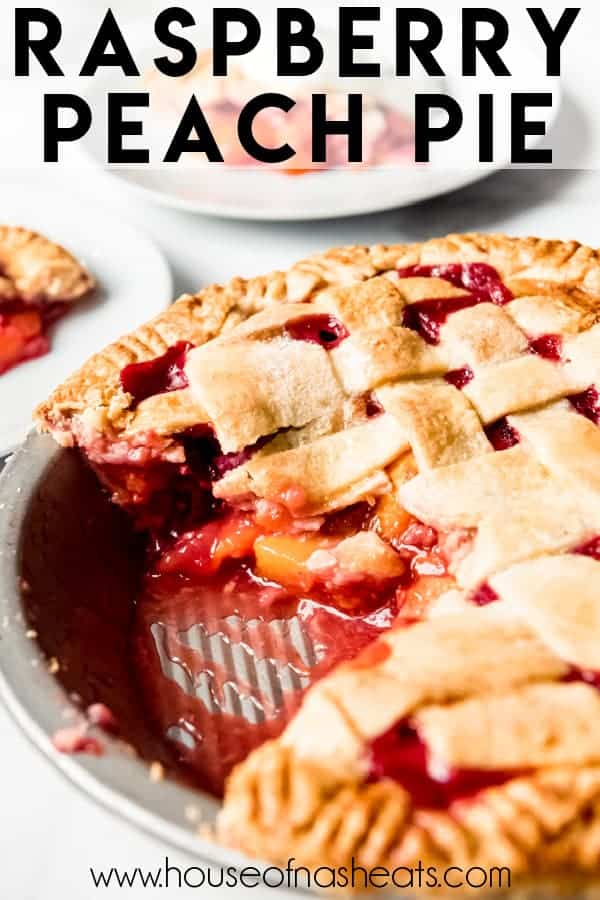
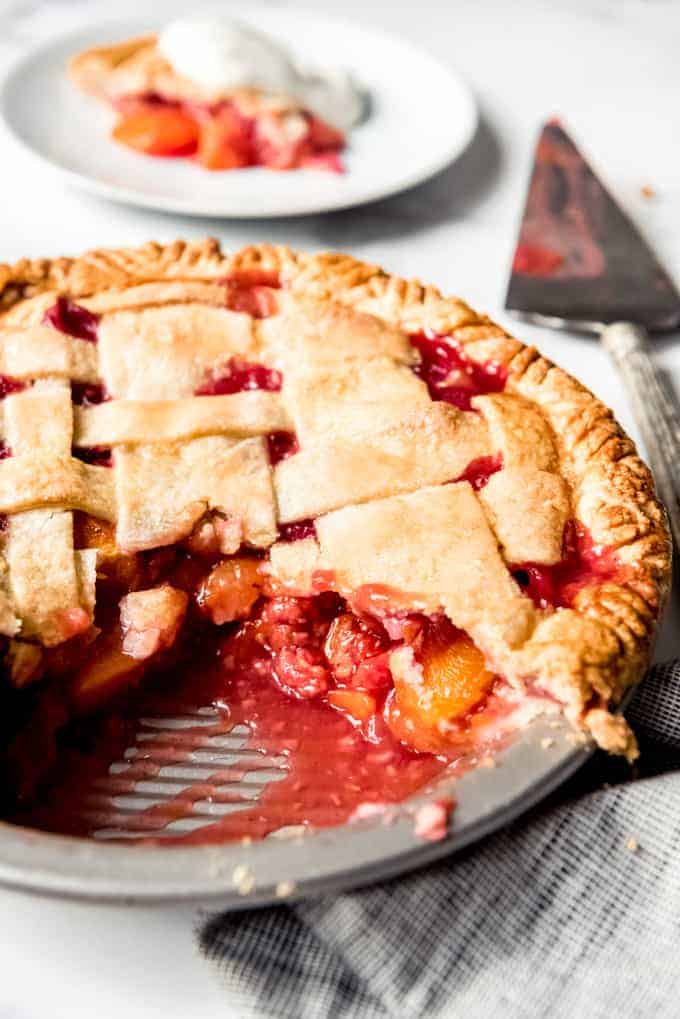
The sweet-tart combination of Raspberry Peach Pie will have you asking for another slice every time. The ruby-hued filling is tucked away under a flaky, golden brown crust that is sprinkled with sugar for extra crunch!

I look forward to peach season all year long! We love peaches at our house and go through bushels of them every year. Sadly, our peach tree got hit by a frost this year and we didn’t get a single one from our own yard! But the ones I picked up at Costco and the farmer’s market were delicious! I have had this pie flavor in mind for a while and had to set some aside before my husband could eat them so I could make a raspberry peach pie and it was everything I hoped it would be and more!
This raspberry peach pie is based off my southern peach pie recipe that I have used for years and years now. It’s one of our summertime favorites that we always make when peaches are fresh and in season. The raspberries add a punchy twist that everybody loved.
Homemade pie is especially delicious when the fruit is fresh and in season, although this one can be made just as well with frozen peaches and raspberries any time of the year! Be sure to visit some of our other favorite recipes made with raspberries and peaches like Raspberry Pretzel Salad, Grilled Peaches with Ice Cream, Fresh Raspberry Muffins, and Peach Cobbler.

The easy way to peel peaches
This technique is one I remember learning from my mom and grandma in my grandma’s kitchen in Idaho where we would bottle peaches every summer when I was a kid.
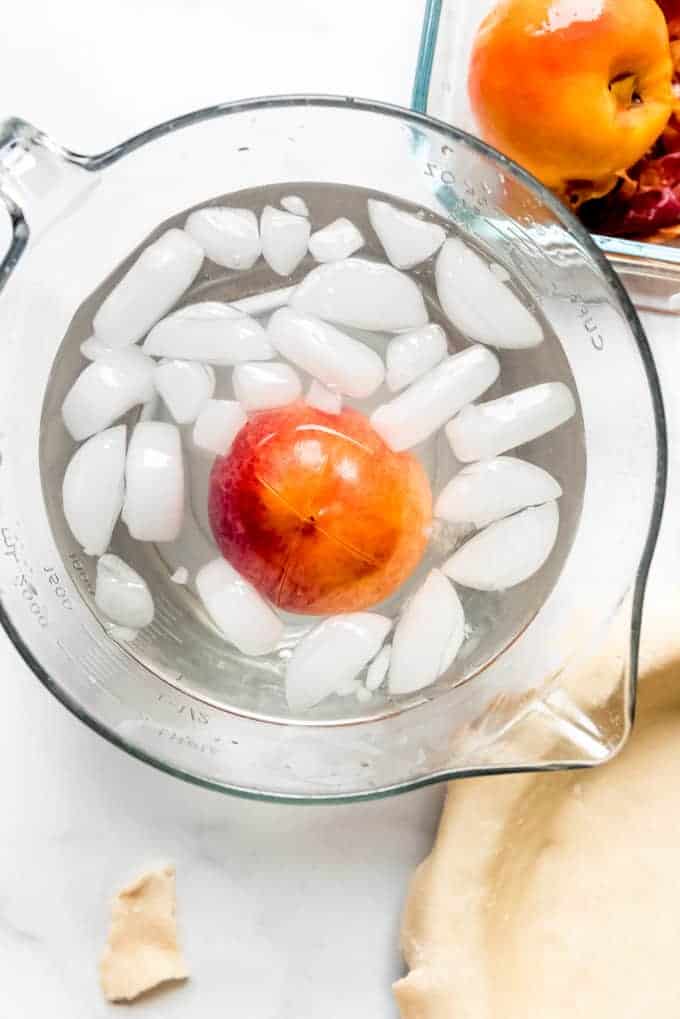
Start with ripe peaches. I like to make a little “X” in the bottom of each peach using a sharp knife. Bring a large pot of water to boil on the stovetop and make a water bath by filling a large bowl with plenty of ice and cold water.
Then you just drop the peaches into the boiling water for about 30 seconds before transferring them straight to an ice water bath. After 15 seconds or so, you can pluck the peach from the ice water bath and easily peel the skin right off those peaches!
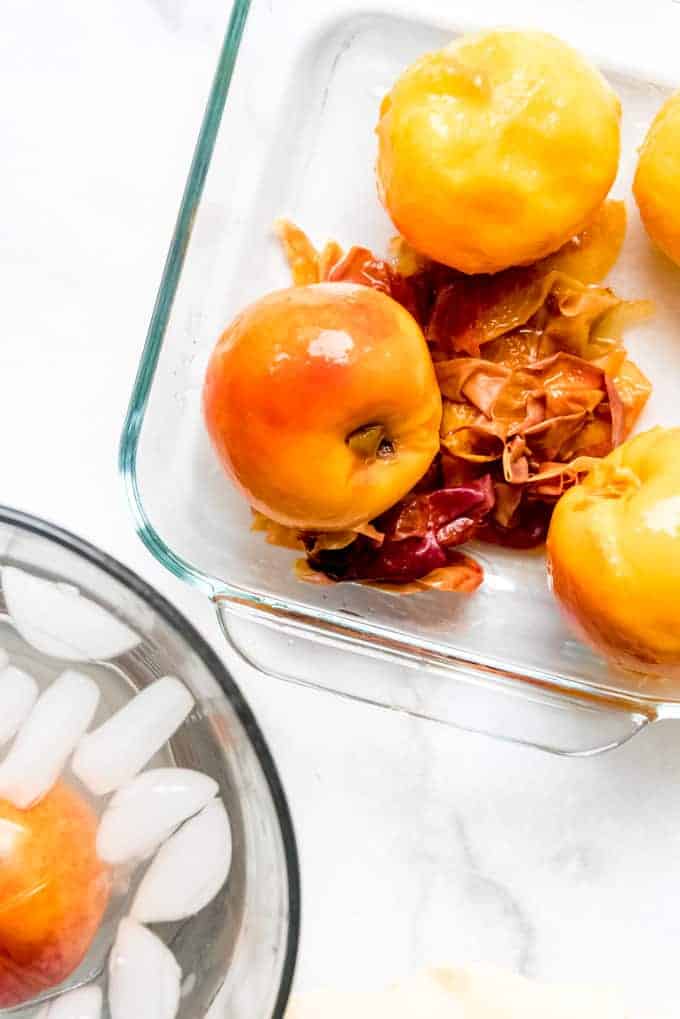
If the peaches aren’t totally ripe, this trick won’t work quite as well, but when the peaches are at their peak, it makes peeling them such a breeze! Then all you have to do is open them up, remove the pit, and slice them for adding to your pie or freezing so you have a stockpile on hand for when peaches are no longer in season!
Let’s bake a pie!
- Start with the pie crust: I’ve included my favorite pie crust recipe in the recipe card below, but be sure to check out the post for more tips on how to make the best pie crust every time! I also have a video tutorial on my YouTube channel showing how I make it and roll it out.
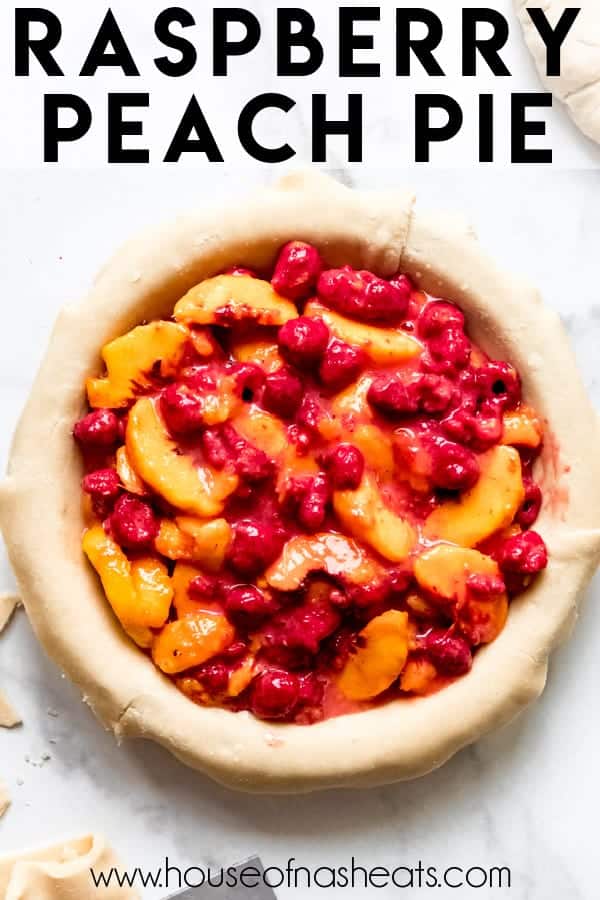
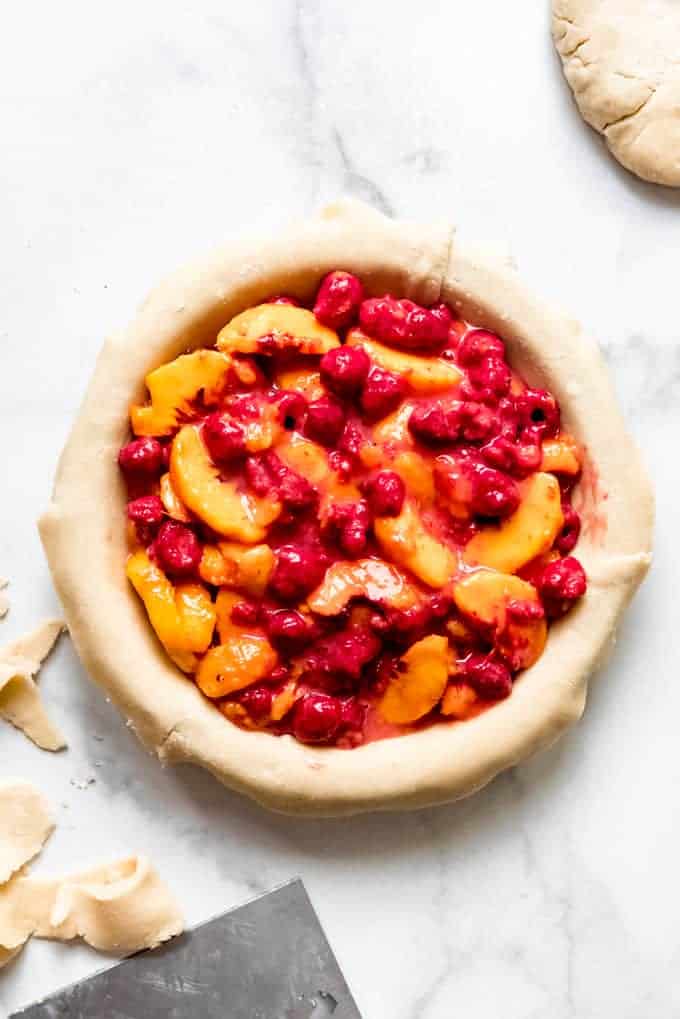
- Make the filling: Peel and slice the peaches if using fresh, or defrost if using frozen fruit and discard the liquid. Add sugar, cornstarch, salt, and vanilla bean paste (you can always use regular vanilla extract instead) and mix to combine. You will notice that fruit will immediately begin to release some of its juices.
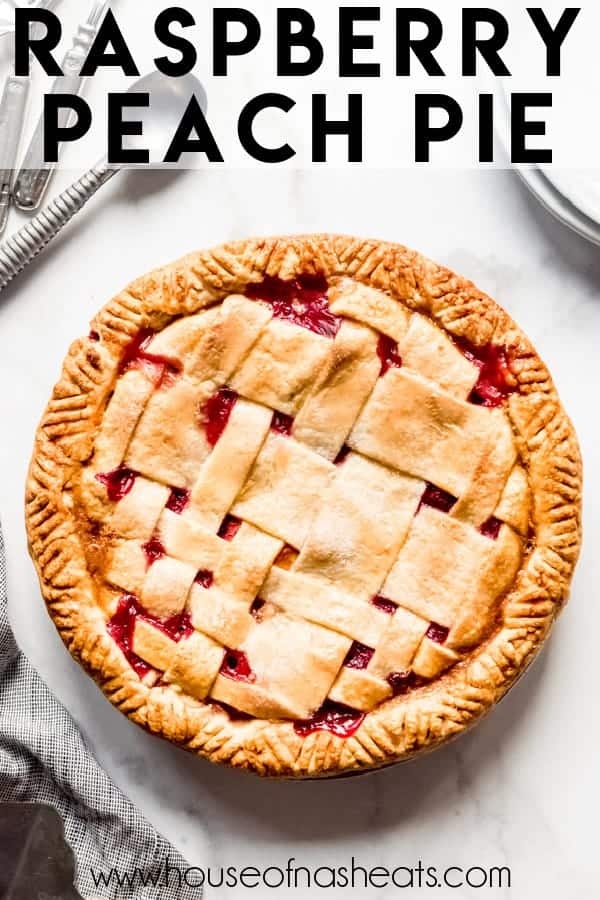
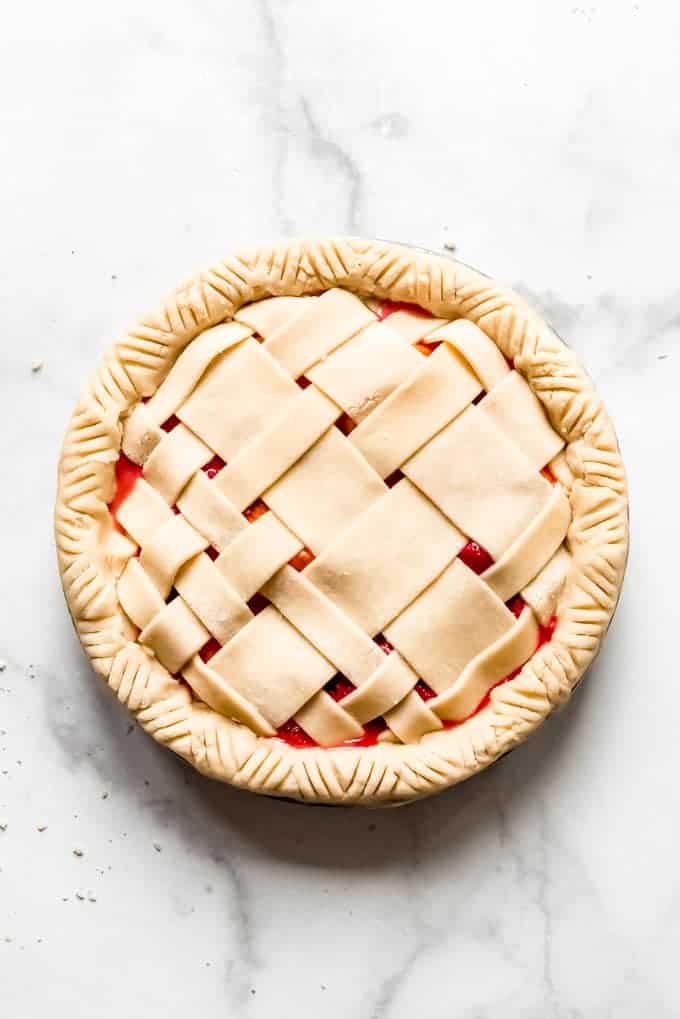
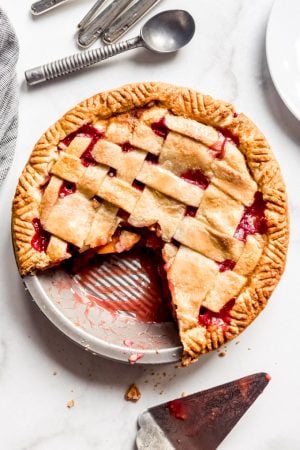
- Assemble the pie: Roll out the bottom crust and use it to line the bottom of a 9-inch pie plate (affiliate link). Spoon the filling into the pie crust. If there is a lot of excess liquid in the bottom of the bowl used to make the pie filling, you can either discard or transfer to a small microwave-safe bowl and cook for 30-60 seconds in the microwave until it thickens up, then add this to the pie shell as well. Roll out top crust and slice into strips of varying widths. Alternate adding them on top of the filling to create a lattice crust, then trim and crimp the edges using the tines of a fork. I have a whole post on how to make a lattice pie crust like the one you see here!

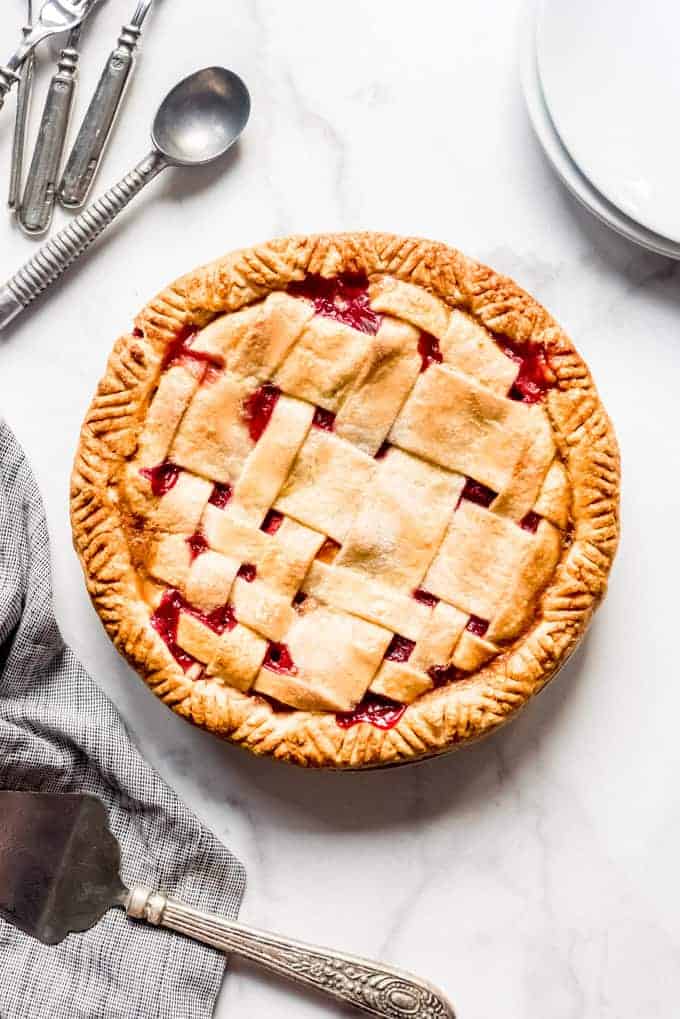
- Brush with egg wash: This step is both adds a beautiful golden sheen to your pie while it bakes and also gives something for the remaining tablespoon of sugar to stick to when you sprinkle it over the top.
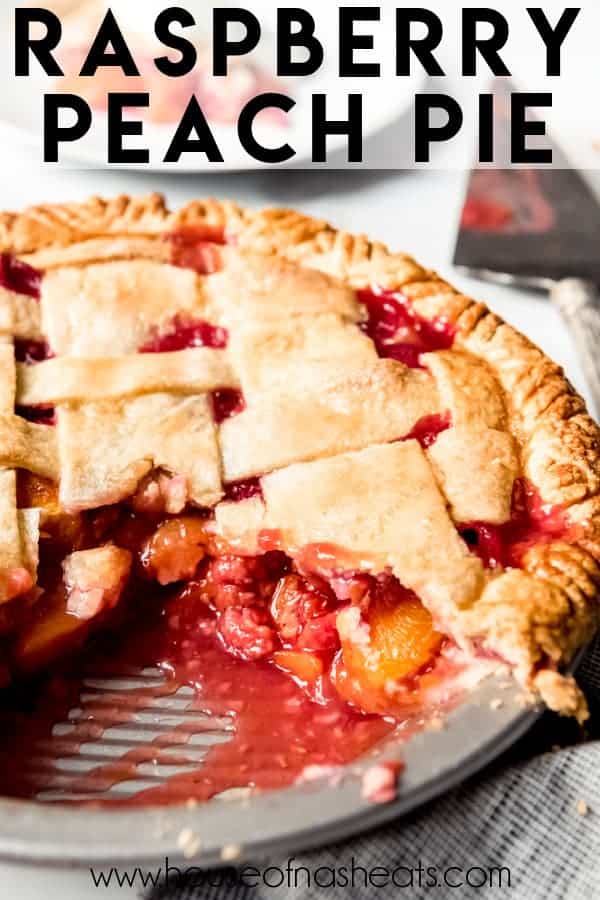
- Bake: I like to start this pie out at the higher temperature of 425 degrees F for 15 minutes, then drop the temp to 375 degrees F without opening the oven door and bake for another 40-50 minutes until the crust is golden brown and filling is bubbly.
- Cool completely for at least 4 hours: It will be so tempting to slice into this pie right away. Resist with everything that is in you! It needs time to set up!
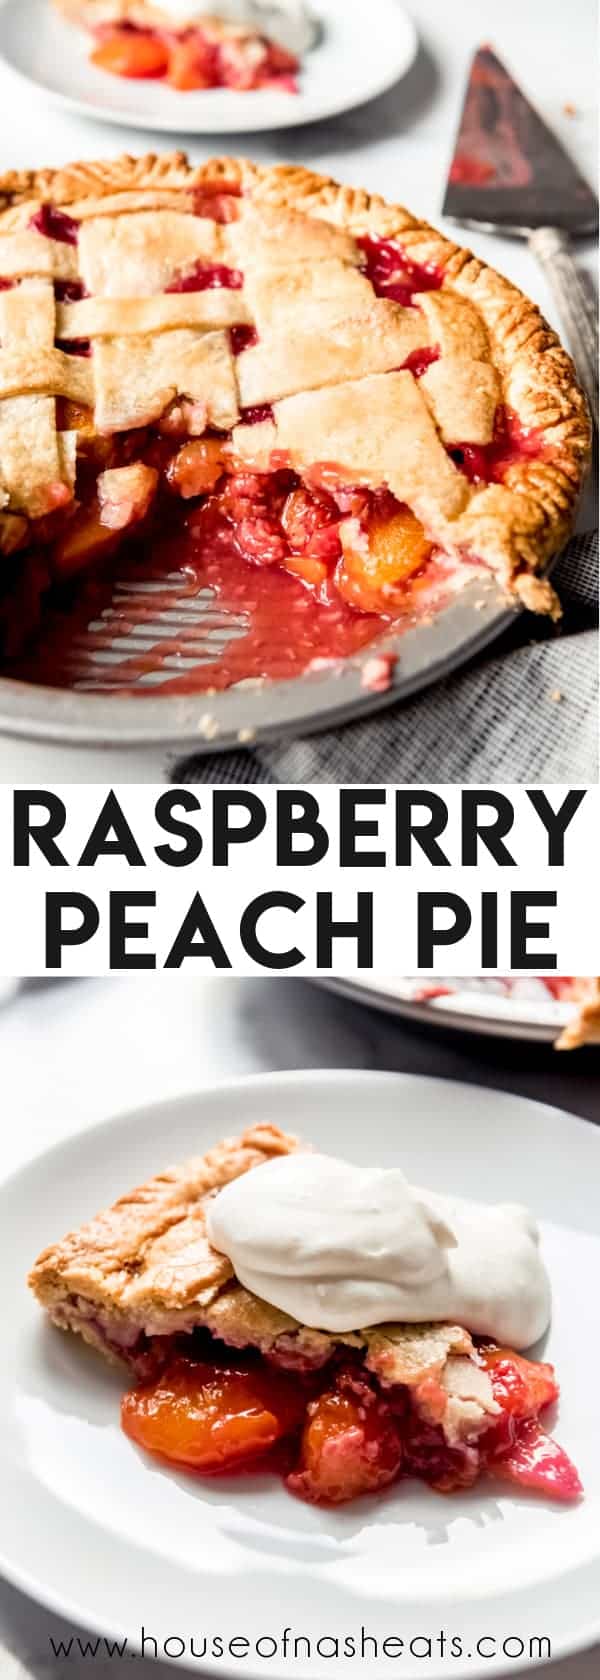
Patience is a virtue when it comes to pie baking
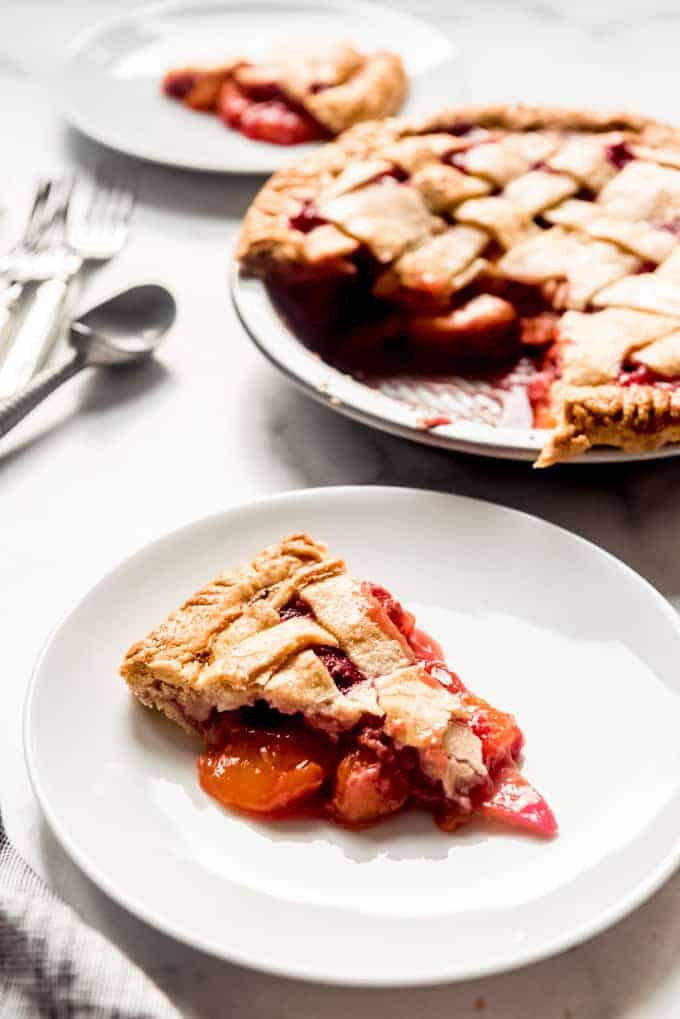
If you find that when you make fruit pies the slices don’t hold up as much as you would like, you may be slicing into your pies too soon. Most pies need plenty of time to cool COMPLETELY in order to set up all the way and fruit pies, with their high sugar content, can take 4 to 6 hours to cool all the way sometimes. If the pie is still warm, it likely hasn’t had time to full set up and you might just get a runny filling and slices that don’t hold up as well.
I’m not saying it’s a bad thing, and as you can see from these images, I don’t always follow my own rules in the face of an irresistible smelling warm pie. Also, sometimes you will just have juicier fruit than others. Just remember that you can always reheat the pie for 10 minutes in the oven or individual slices for 20 seconds in the microwave if you like your pie served warm.
Tips and tricks for making pies
- Keep your pie crust cold: Using cold butter, cold shortening, and cold water in your pie crust makes it extra flaky and wonderful. And when I’m not working with the crust, I keep it wrapped in plastic wrap in the refrigerator.
- How to thicken pie filling: This is the trickiest part about making pie because fruit can be more or less juicy depending on the variety, the degree of ripeness, etc. Personally, I would rather err on the side of under-thickening the pie filling rather than have a gummy, overly thickened pie. I recommend mixing your filling and letting it sit for a couple of minutes. If it is releasing a LOT of juices, go ahead and add another tablespoon or even two of cornstarch to help thicken up the filling even more while the pie bakes.
- Substitutions: You could sub in blackberries or blueberries for raspberries if that’s what you have on hand. Or use fresh nectarines instead of peaches.
More Favorite Pie Recipes
- Fresh Strawberry Pie
- Homemade Blackberry Pie
- Lemon Meringue Pie
- Best Key Lime Pie
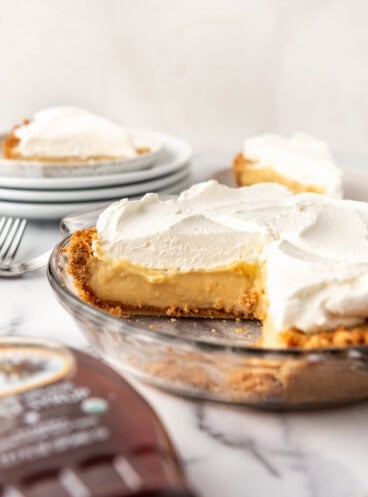
- Coconut Cream Pie
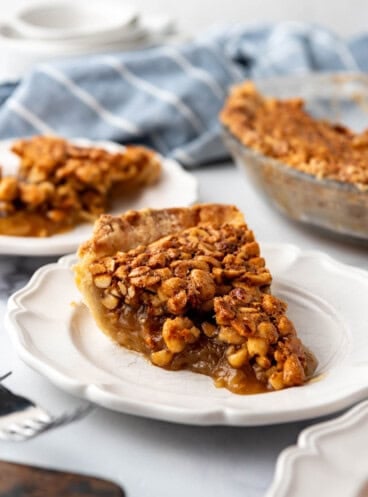
- Kentucky Chocolate Walnut Pie
- Apricot Pie
Did you make this recipe?
Let me know what you thought with a comment and rating below. You can also take a picture and tag me on Instagram @houseofnasheats or share it on the Pinterest pin so I can see.
Raspberry Peach Pie Recipe
Ingredients
Pie Crust
- 2 1/2 cups unbleached all-purpose flour plus extra for the work surface
- 2 Tablespoons granulated sugar
- 1 teaspoon table salt
- 12 Tablespoons salted butter cut into 1/4-inch pieces and chilled
- 1/2 cup vegetable shortening chilled
- 6-8 Tablespoons ice water
Filling
- 3 cups fresh or frozen raspberries 10-ounce package, frozen
- 4 cups fresh peach slices or frozen, thawed
- 3/4 cup granulated sugar + 1 Tablespoon for sprinkling on top
- 5 Tablespoons cornstarch
- Pinch or salt
- 1 Tablespoon lemon juice
- 1 teaspoon vanilla bean paste or vanilla extract
- 1 egg lightly beaten
Instructions
Pie Crust
- Combine the flour, sugar, and salt in a large bowl or food processor (affiliate link). Use a pastry cutter or food processor (affiliate link) blades to cut the butter and shortening into the flour mixture until they resemble coarse crumbs.2 ½ cups unbleached all-purpose flour, 2 Tablespoons granulated sugar, 1 teaspoon table salt, 12 Tablespoons salted butter, ½ cup vegetable shortening
- Sprinkle 2 tablespoons of the cold water over the flour mixture. Use a fork or the food process to mix the water into the flour, repeating with the remaining water, 2 tablespoons at a time, just until the dough starts to come together.6-8 Tablespoons ice water
- Divide the dough in two. Flatten into a disc and wrap tightly in plastic wrap. Refrigerate for 1 hour or freeze for 20 minutes, then allow the chilled dough to sit on the counter to soften slightly before rolling out.
Filling
- Preheat oven to 425 degrees F. Roll out the bottom crust on a floured surface and use it to line a 9-inch pie plate (affiliate link).
- Combine the raspberries, peaches, ¾ cup of sugar, cornstarch, salt, lemon juice, and vanilla bean paste in a bowl. Toss to evenly distribute the cornstarch and sugar with the fruit.3 cups fresh or frozen raspberries, 4 cups fresh peach slices, ¾ cup granulated sugar , 5 Tablespoons cornstarch, Pinch or salt, 1 Tablespoon lemon juice, 1 teaspoon vanilla bean paste
- Transfer the filling into the pie crust. If there is a lot of juice being released by the fruit, you can either discard or transfer to a microwave-safe bowl and heat for 30-60 seconds in the microwave to thicken before adding to the pie crust with the rest of the filling.
- Roll out the top crust and slice into strips of varying width using a pizza cutter or sharp knife. Lay the strips across the filling in one direction with a little space between them. Alternate lifting back every other strip and laying strips across going the other direction. Then replace the folded back strips and fold back the other strips, laying another strip across in the opposite direction. Repeat this process to make a lattice crust, then trim and crimp the edges with the tines of a fork.
- Beat the egg in a bowl to make an egg wash, then brush on top of the lattice crust. Sprinkle with the remaining tablespoon of sugar.1 egg
- Bake for 15 minutes at 425°F, then drop the oven temp to 375°F without opening the oven door and bake another 40-50 minutes until crust is golden brown and filling is bubbly.
- Cool completely for 4-6 hours before slicing and serving.
Notes
- Store on the counter overnight or in the fridge for 3-5 days.
- Variation: Use blueberries or blackberries in place of the raspberries or nectarines in place of the peaches.
Nutrition
Recipe adapted from All Recipes.


Looks so delicious. I am going to try this soon!
Delicious recipe! I made this in 2021 and won a pie contest. The crust is flaky and buttery, and the filling is the perfect amount of sweet. Will be making again this year for the same contest!
Wow! That’s amazing! I hope you win again!