Green Chili Chicken Chimichangas have a crispy-fried shell filled with mildly spiced shredded chicken filling. Top them with all the fixings and enjoy this delicious dish that originated in the American Southwest!
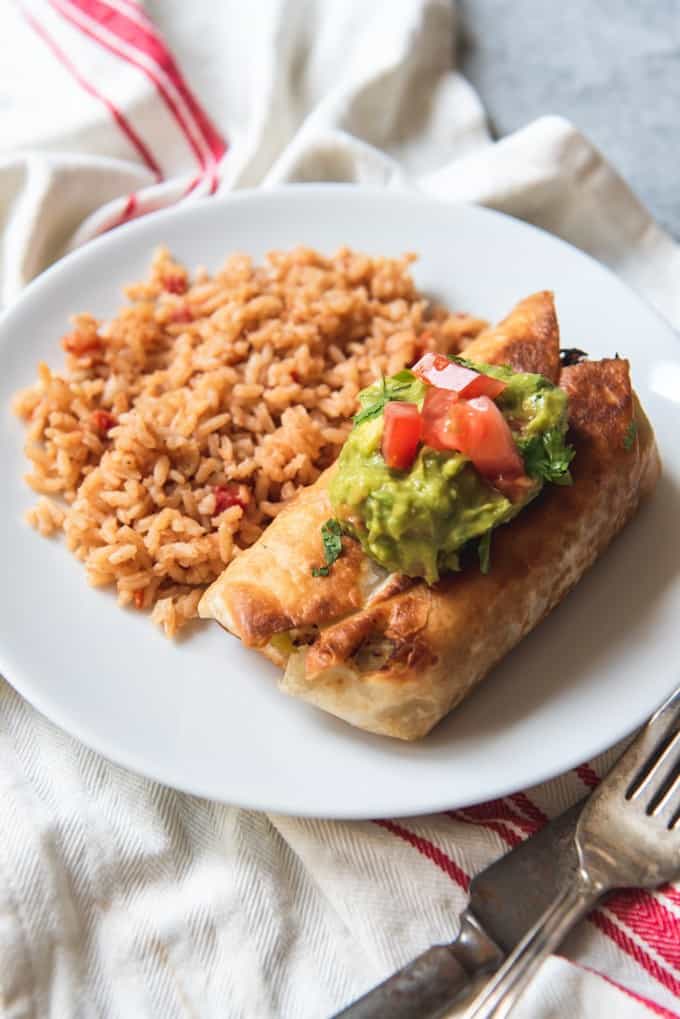
If you love these chicken chimichangas, then you might also want to try my Shredded Beef Chimichangas next or maybe these Vegetarian Swiss Chard and Pinto Bean Burritos!
It’s Arizona Week on House of Nash Eats! I’m doing a series that I’m calling American Eats where I’m exploring the foods and flavors of America state-by-state, drawing on some of the most iconic dishes or ingredients that each state is known for. You can find all of my Alabama posts here and my Alaska posts here.
But today we’re heading to a completely new region of the country – the American Southwest! I thought I would kick things off with one of my favorite foods of all time – Green Chili Chicken Chimichangas.
If you haven’t ever tried a chimichanga, you are missing out!
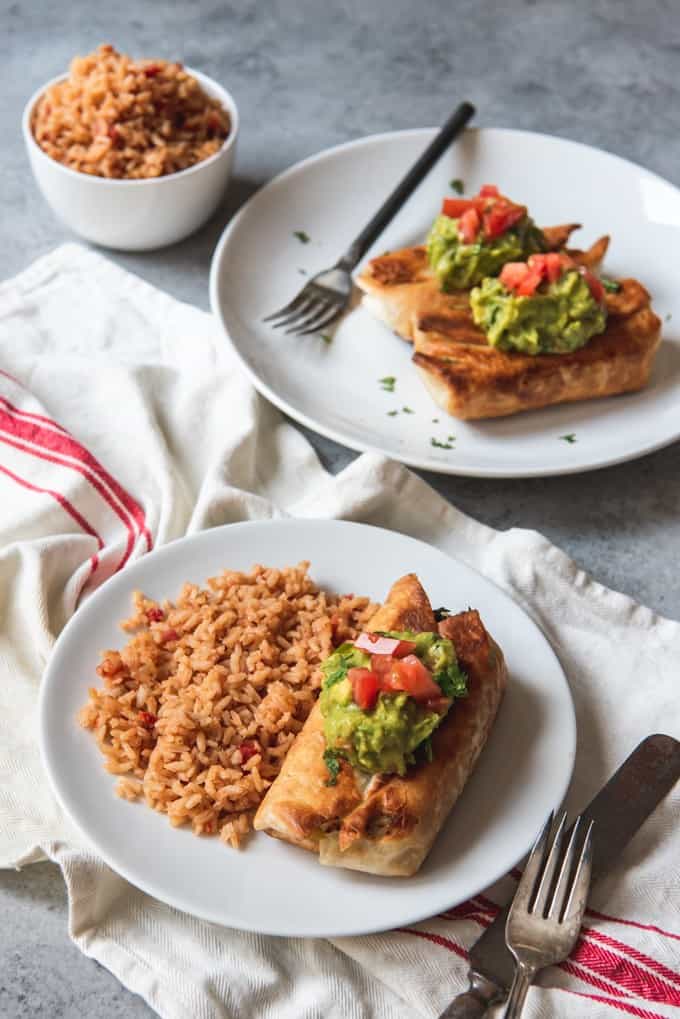
They are essentially a deep-fried burrito and they are an amazing combination of texture and flavor thanks to the crispy-fried tortilla shell on the outside and the savory, spicy meat on the inside. Then you top them with guacamole, sour cream, pico de gallo, cheese, tomatoes, lettuce, and dig in!
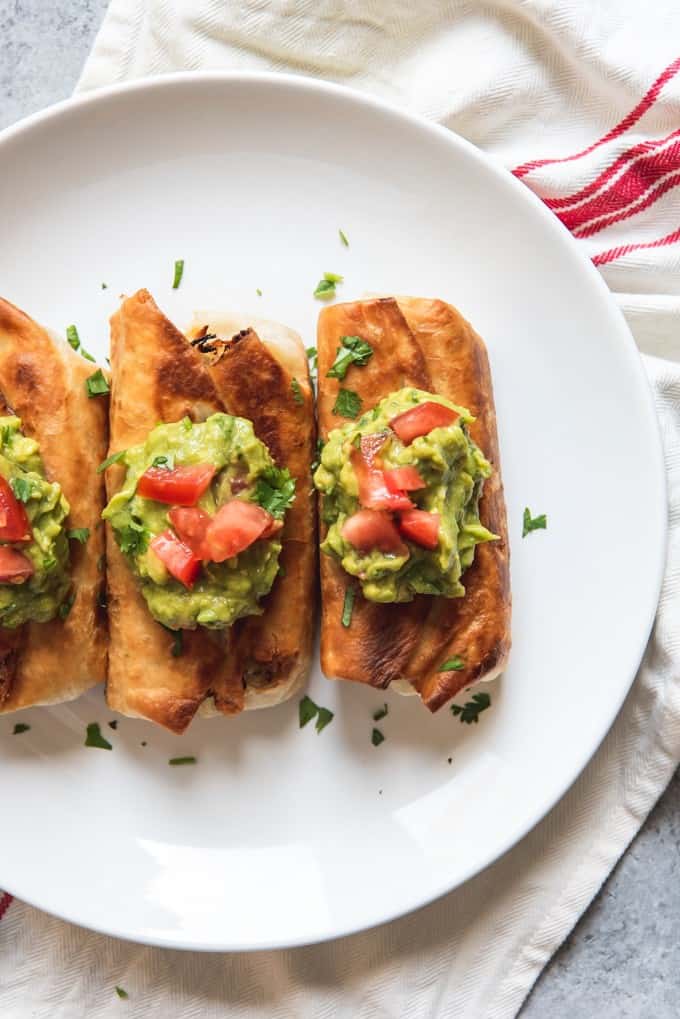
Where are chimichangas from?
Like many foods, there is some debate about where chimichangas originated, but the story I like best is that of a woman named Monica Flin, who owned the El Charro Café in downtown Tucson in the 1940’s and 50’s.
One night she accidentally dropped a burrito in a deep-fryer and fake-swore using a toned-down version of a spanish expletive, turning it into the word “chimichanga”.
I love how mistakes in the kitchen sometimes turn out to be some of the best foods! Other claims for creating the chimichanga come from different restaurants in Tucson and Phoenix (you can read more here), but everything I found indicates that chimichangas are definitely an Arizona original!
My recipe for the green chili chicken filling and method for making these chimichangas comes from an old cookbook that my mom had when I was growing up. We made these often, especially when my three aunts came to visit.
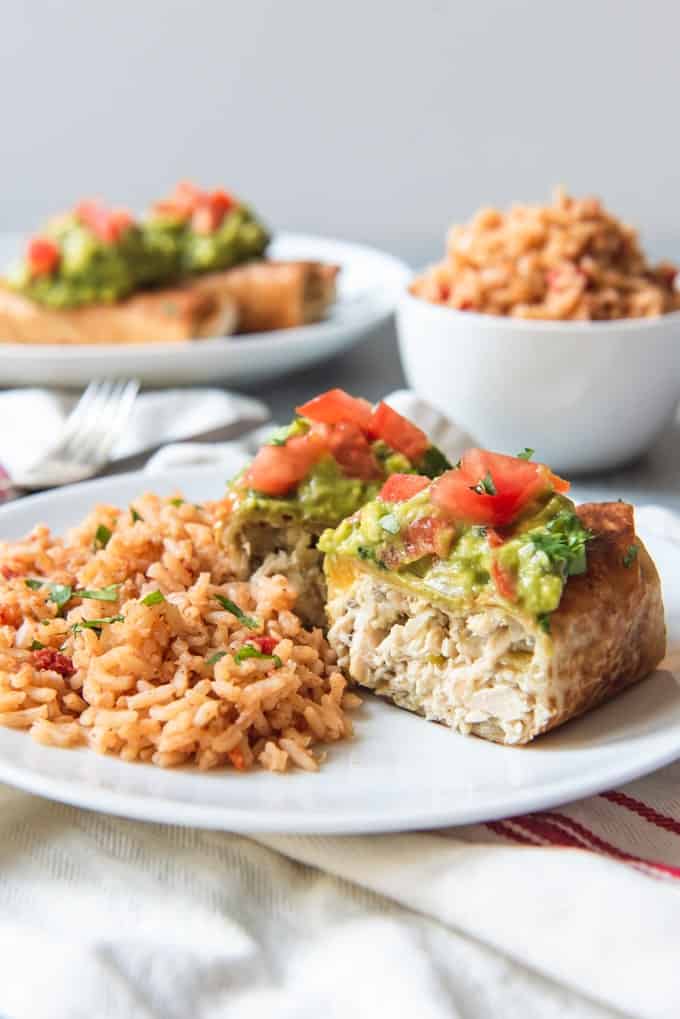
What goes into a chimichanga?
A chimichanga can be filled with anything from the green chili chicken I use here, to carnitas, carne asada, al pastor pork, shredded beef, rice, beans, and cheese.
But I would caution against overfilling the tortilla both from the standpoint of it making it harder to roll and keep together while frying, and from the perspective that an authentic chimichanga is litle more than just a fried tortilla with meat inside.
The fixings, like with tacos, are served on top or on the side along with Mexican rice and refried beans. It’s the ratio of meat to shell creating a meaty, crispy packet that is my favorite feature of a good chimichanga and one reason why I prefer them homemade rather than ordered from a Tex-Mex chain.
The chimichangas I often get at Mexican restaurants are often stuffed with rice and beans and much less meat, and I find them much less satisfying.
Regardless of what you decide to put into a chimichanga, be sure that the filling is already hot since the time it takes to fry up the exterior of a batch of chimichangas isn’t long enough to heat it all the way through if the filling goes in cold.
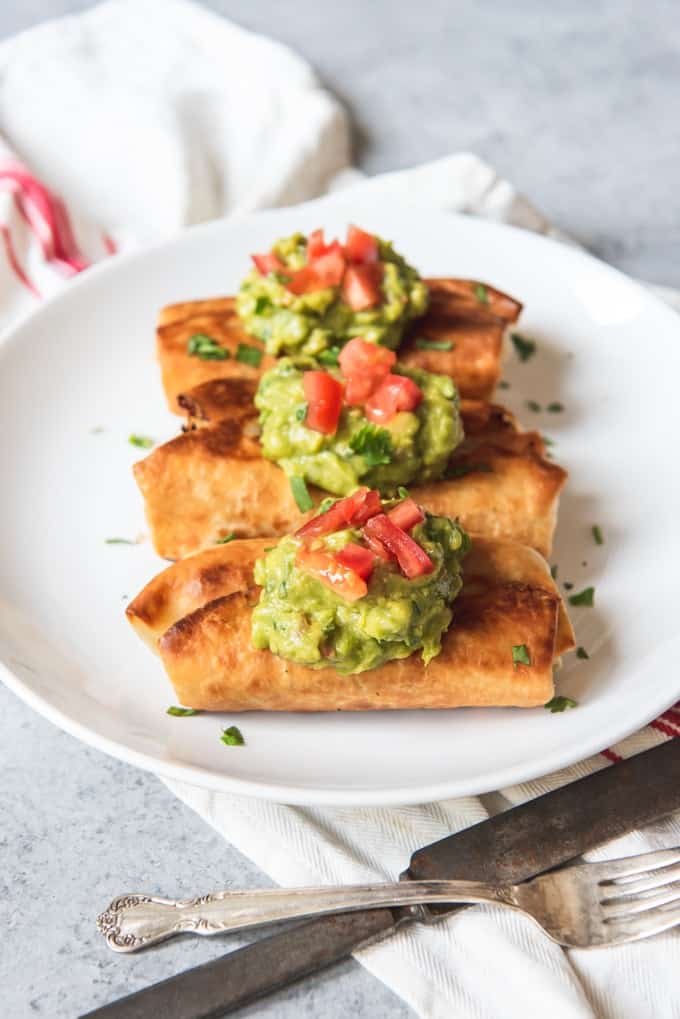
How to Make Chimichangas
- Start by cooking the meat for the filling. Any shredded chicken can be used – even a rotisserie chicken or leftovers from a previous meal. But I typically start from scratch and just bake 4 chicken breasts seasoned with salt and pepper in the oven on a sheet pan at 375°F for about 20-25 minutes until they are 165°F. when tested with an instant-read meat thermometer. Shred with a couple of forks after they have had a chance to cool for a few minutes. They don’t really need any extra seasoning since that all happens when they get added to the green chili filling.
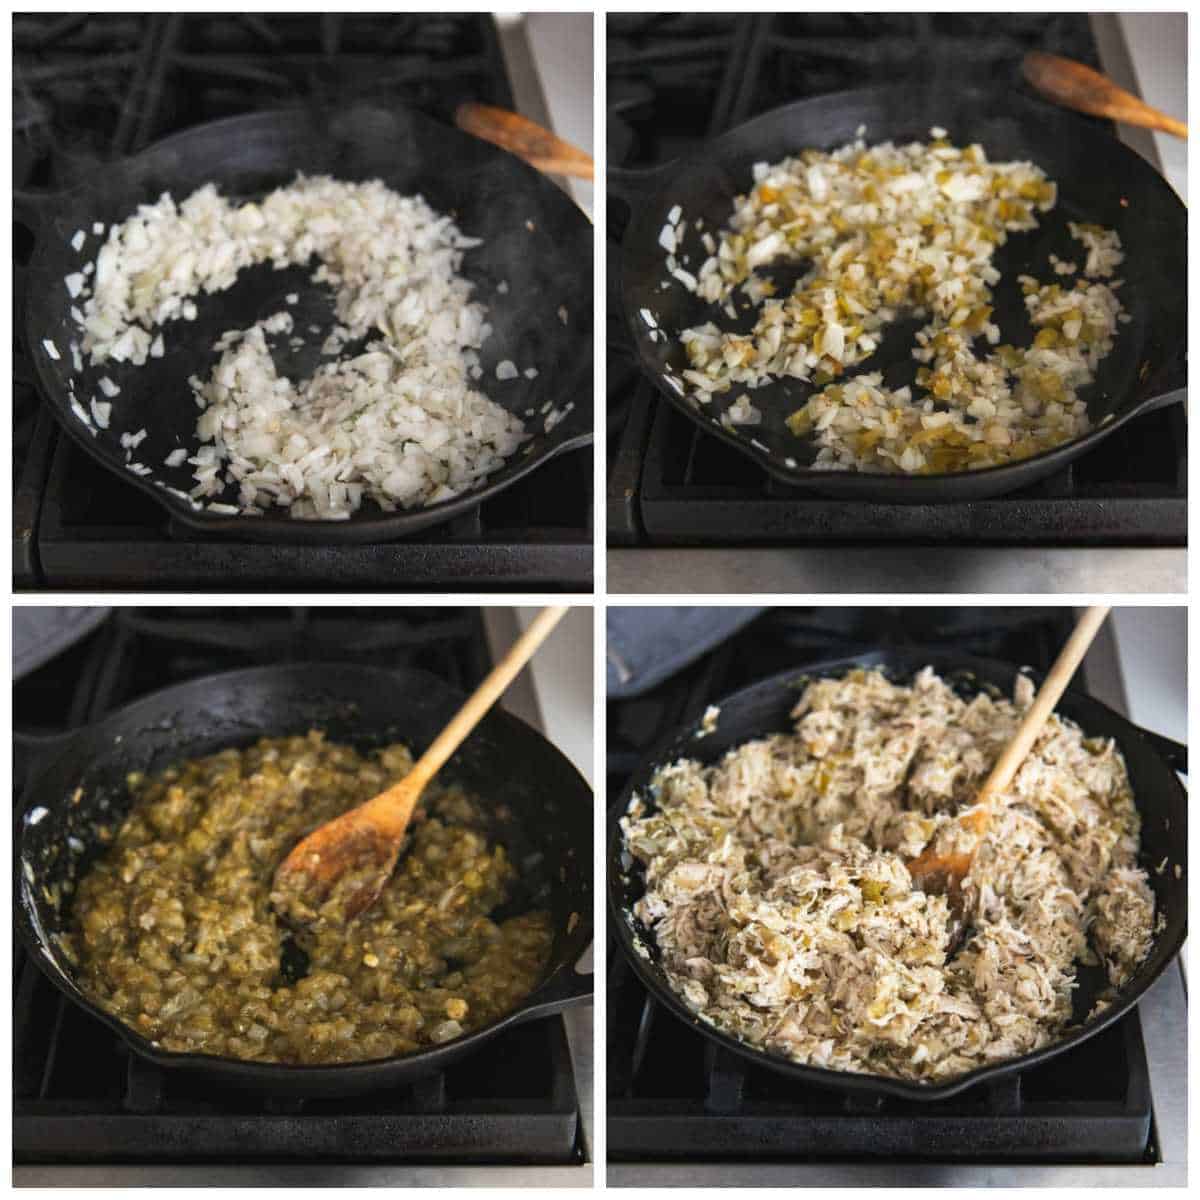
- Saute the chopped onions in two tablespoons of oil in a large skillet for 2-3 minutes over medium-high heat until they just start to soften.
- Add the diced green chilies and cook for another minute.
- Sprinkle the flour, cumin, and garlic powder over the onions and green chilies and stir in, cooking for about 30 seconds more before adding the green chili salsa or salsa verde, shredded chicken, and chicken broth and stirring to combine.
- Cook for about 5 minutes until the mixture has thickened and the shredded chicken has absorbed the juices, then remove from the heat and begin to fill the tortillas.
- Warm the tortillas in a microwave under a damp paper towel until pliable, about 60 seconds.
- Scoop a generous amount (about ½ cup) of the green chili chicken filling onto each tortilla, then fold in both sides and the bottom, rolling it up just like you would a burrito and tucking in the sides to create a tight packet. Secure with toothpicks.
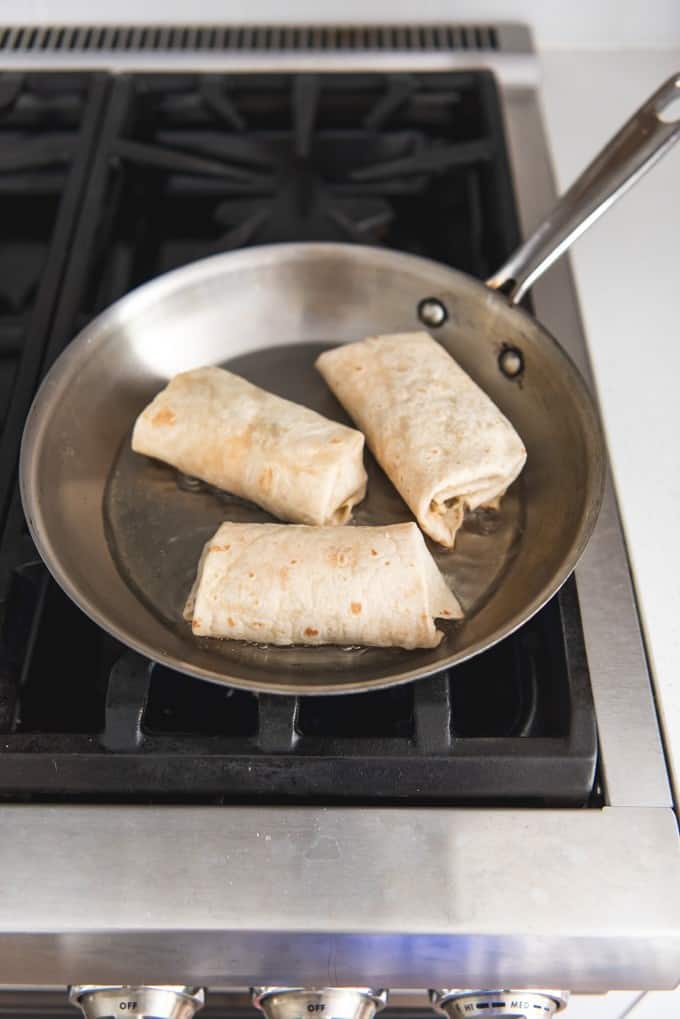
- Heat a large skillet over medium-high heat with enough oil to cover the bottom of the pan. You can deep fry the chicken chimichangas if you want, but I find that about 1 cup of oil is more than enough to pan-fry all of my chimichangas this way.
- Carefully place 3-4 chimichangas, seam side down, into the hot oil and fry until golden brown and crispy, then use tongs to carefully flip and fry on the other side until crispy and brown as well.
- Remove the cooked chimichangas from the pan and set on a paper towel-lined plate while you cook the remaining chimichangas.
- Remove the toothpicks that were used to secure each chimichanga, then serve the warm chimichangas with all of the fixings.
- You can store leftovers in the fridge, although they won’t be as good the next day. I prefer to only make as many chimichangas as I think we will eat, then keep any leftover filling in a container in the fridge or freezer until I am ready to make more, then reheat it before adding it to the tortillas and frying them fresh.

More Mexican Food Favorites
- Crispy Mexican Slow Cooker Pork Carnitas with Escabeche
- Baja Fish Tacos Recipe
- Authentic Carne Asada Recipe
- Oven Quesadillas
Did you make this recipe?
Let me know what you thought with a comment and rating below. You can also take a picture and tag me on Instagram @houseofnasheats or share it on the Pinterest pin so I can see.
Green Chili Chicken Chimichangas
Ingredients
Chimichangas
- 4 boneless skinless chicken breasts
- 2 Tablespoons oil
- 1 large onion chopped
- 4 ounces diced green chilies
- 3 Tablespoons flour
- 1 teaspoon cumin
- 1 teaspoon salt
- 1/4 teaspoon garlic powder
- 1 cup green chili salsa or salsa verde
- 1/2 cup chicken broth
- 10-12 large flour tortillas
- Oil for frying
Toppings
- Grated cheddar cheese
- Shredded lettuce
- Diced tomatoes
- Sour cream
- Guacamole
- Pico de gallo
Instructions
- Heat the oven to 375°F. Season the chicken breasts with salt and pepper then set in a pan and bake for about 20-25 minutes until they are 165°F when tested with an instant-read meat thermometer. Remove from the oven and cool enough to shred the meat with a couple of forks. Alternatively, you can use leftover chicken or even a rotisserie chicken.4 boneless skinless chicken breasts
- In a large skillet over medium-high heat, saute the chopped onions in two tablespoons of oil for 2-3 minutes over medium-high heat just until they start to soften. Add the diced green chilies and cook for another minute.2 Tablespoons oil, 1 large onion, 4 ounces diced green chilies
- Sprinkle the flour, cumin, salt, and garlic powder over the onions and green chilies and stir, cooking for about 30 seconds before adding the green chili salsa or salsa verde, shredded chicken, and chicken broth, then stirring to combine.3 Tablespoons flour, 1 teaspoon cumin, 1 teaspoon salt, ¼ teaspoon garlic powder, 1 cup green chili salsa or salsa verde, ½ cup chicken broth
- Cook for about 5 minutes until the mixture has thickened and the shredded chicken has absorbed the juices, then remove from the heat.
- To make each chimichanga, warm the tortillas so they are pliable, then scoop a generous amount (about ½ cup) of the green chili chicken filling onto each tortilla. Fold in both sides and the bottom of each tortilla over the chicken filling, then rolling it up just like you would a burrito, tucking in the sides to create a tight packet. Secure with toothpicks.10-12 large flour tortillas
- Heat a large skillet with enough oil to cover the bottom of the pan over medium-high heat. You can deep fry the chimichangas if you want, but I find that about 1 cup of oil is more than enough to pan-fry all of my chimichangas this way. Working in batches, carefully place 3-4 chimichangas, seam side down, into the hot oil and fry until golden brown and crispy. Use tongs to carefully flip each chimichanga and fry on the other side until crispy and brown as well.Oil
- Remove the cooked chimichangas from the pan and set on a paper towel-lined plate until all chimichangas are cooked. Remove the toothpicks, then serve the warm chimichangas with all of the fixings.Grated cheddar cheese, Shredded lettuce, Diced tomatoes, Sour cream, Guacamole, Pico de gallo
- Leftovers can be stored in the fridge, although they won’t be as good the next day.
Nutrition
More States I Have Visited in my American Eats Series
Alabama • Alaska • Arizona • Arkansas • California • Colorado • Connecticut • Delaware • Florida • Georgia • Hawaii • Idaho • Illinois • Indiana • Iowa • Kansas • Kentucky • Louisiana • Maine • Maryland • Massachusetts • Michigan • Minnesota • Mississippi • Missouri • Montana • Nebraska • New Jersey • New York • Oregon • Puerto Rico • South Carolina • South Dakota • Texas • Utah • Wisconsin

This has all the yummy vibes! Love the generous topping of guac too and I bet leftovers are just as good the next day. Trying this one soon cause I know hubby will love too 😉
This looks as good or even better than any Mexican restaurant food I’ve had. And I live in Arizona! Have you ever tried brushing them with oil and baking? It’s way too hot to fry here!
Yes, I have! They are good that way too as baked chimichangas, but I have to admit that the pan approach gets them just a bit crispier and I love it even more.
These look delish! Do you think you could do them in the air fryer instead of a pan and if so what cooking instructions would you suggest?
Just discovered your blog and loving it.
Oh thank you! Yes the air fryer would work well. I would spray them with an oil spray (like avocado oil) to get them nice and crispy. Honestly you could cook them at any temperature and just check on them. For example you could probably do 360 F for 6-10 minutes or 400 F for 4-8 minutes. Or anything in between!