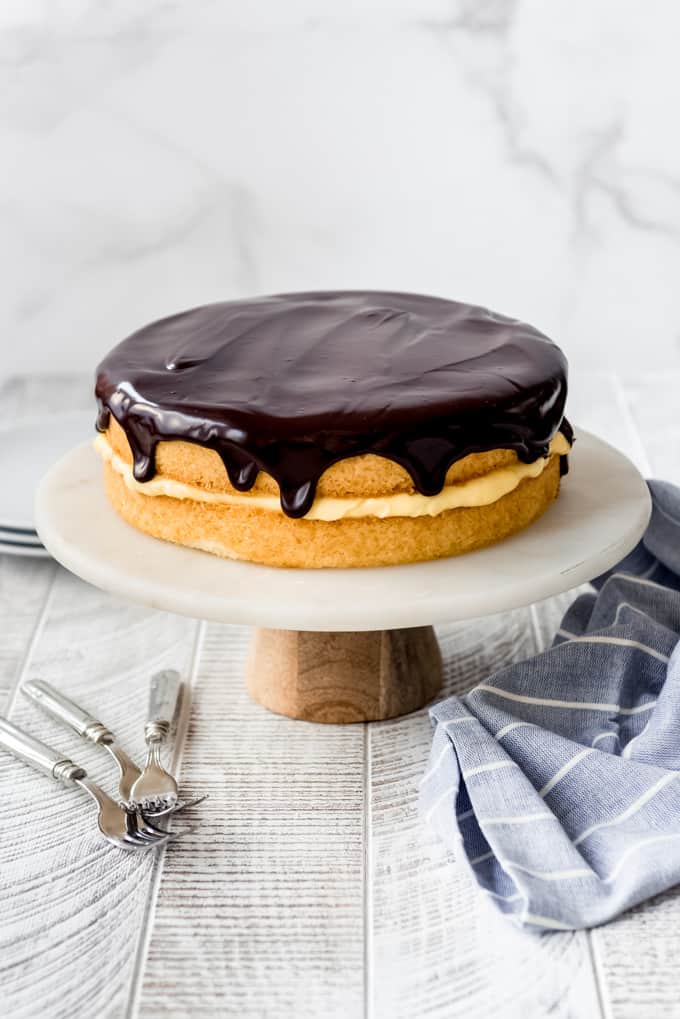
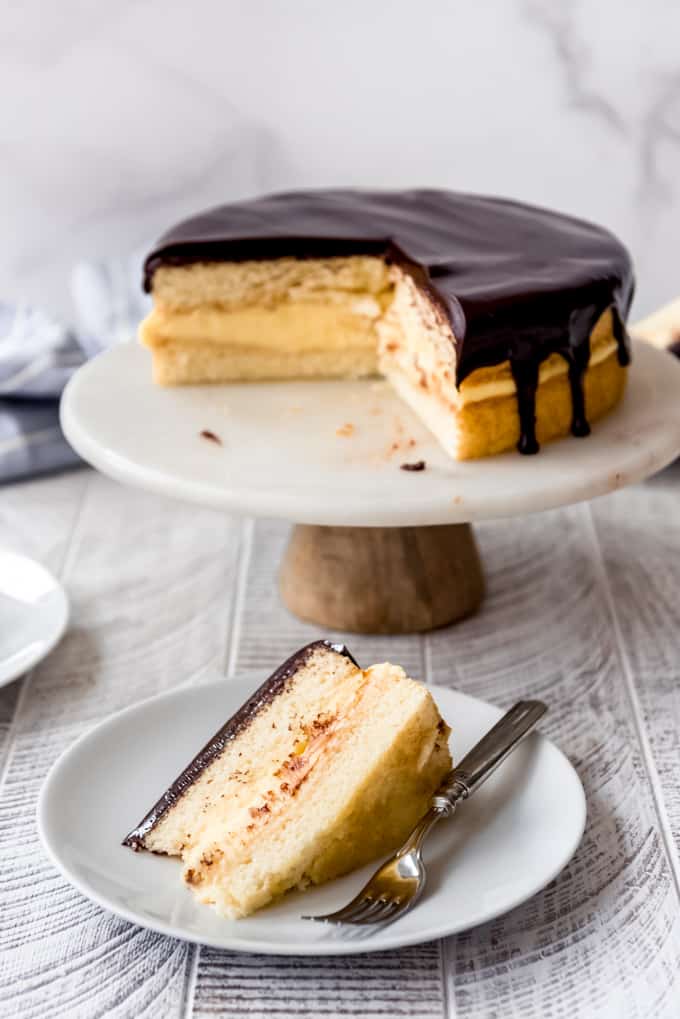
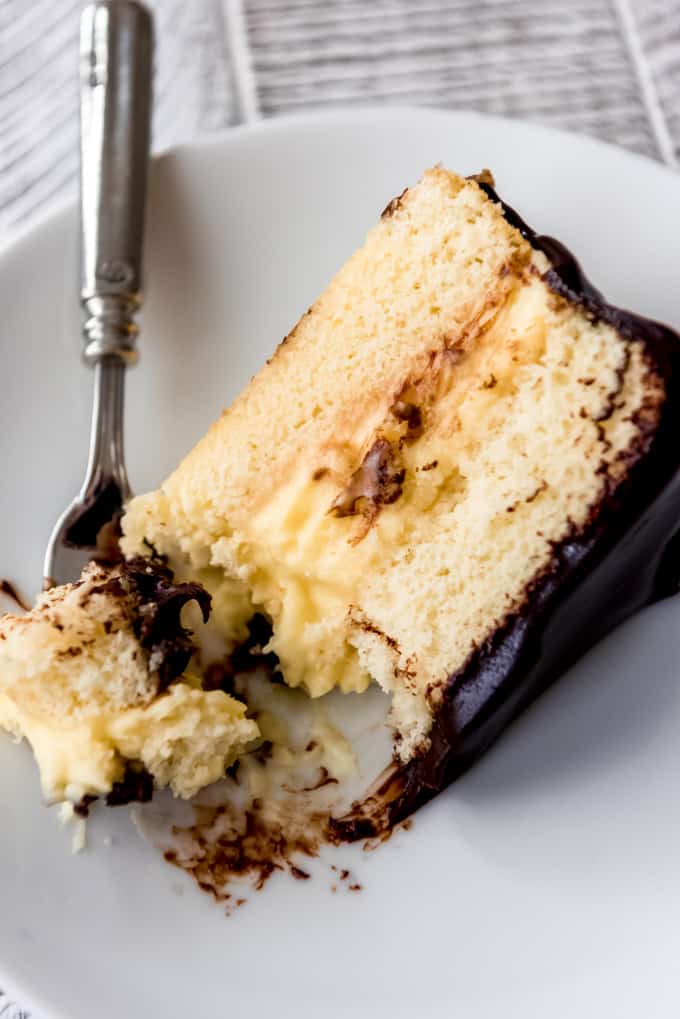
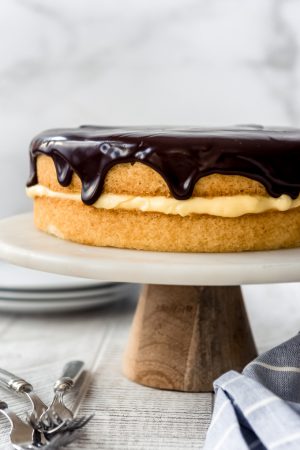
Boston Cream Pie is a glorious two layer buttery yellow cake filled with homemade vanilla pastry cream and topped with a rich chocolate ganache. Every bite of this classic and iconic American dessert is pure bliss!
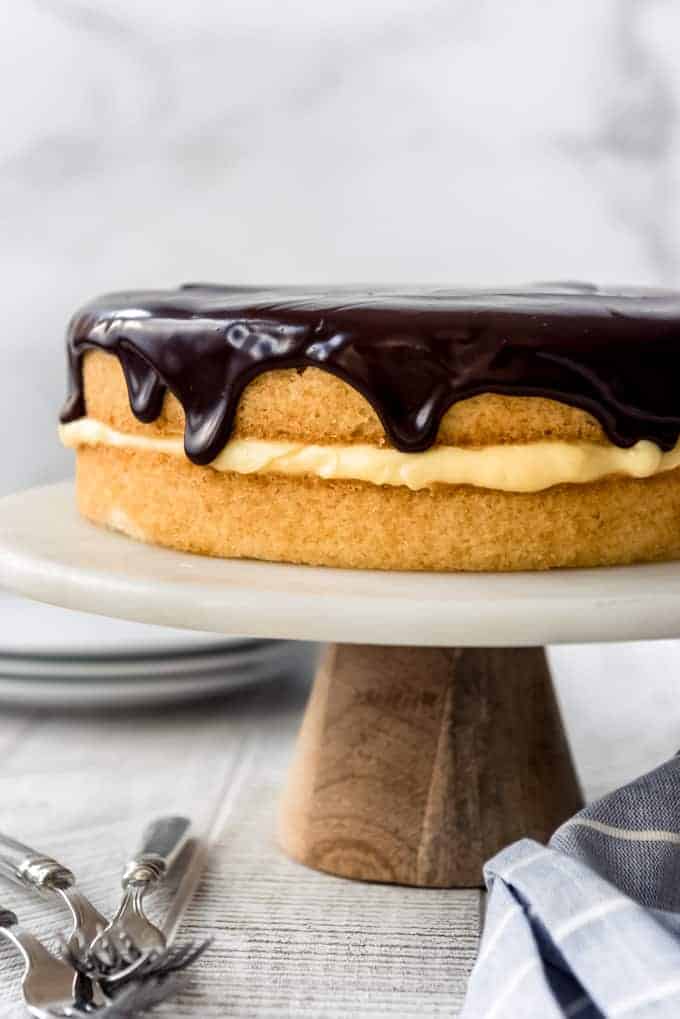
If you love boston cream pie, you’re sure to also go crazy for my Boston Cream Pie Cookies or No-Bake Chocolate Eclair Cake. Or try making Classic Homemade Eclairs, which have all the same flavors of pastry cream and chocolate in a choux shell.
Massachusetts-born Boston Cream Pie isn’t a pie at all, but actually a cake! When it was created in the late 1800’s, the layers were actually baked in pie plates, hence the pie moniker. The name stuck and in 1996, the state of Massachusetts made Boston Cream Pie its official state dessert! Which is why it had to be included representing the Commonwealth of Massachusetts in my American Eats series, where I’m making the most famous foods from each state, one state at a time!
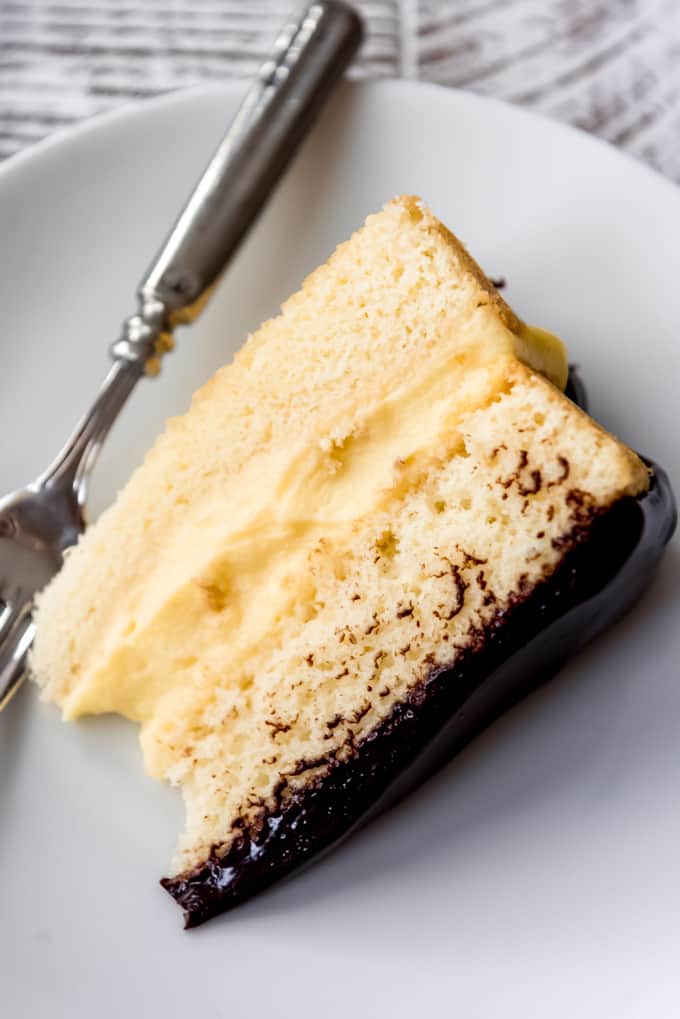
My family LOVED this cake, which I have had before but had never made myself from scratch. To be honest, my previous experiences with Boston Cream Pie had left me underwhelmed, but that was the opposite from my experience with this version.
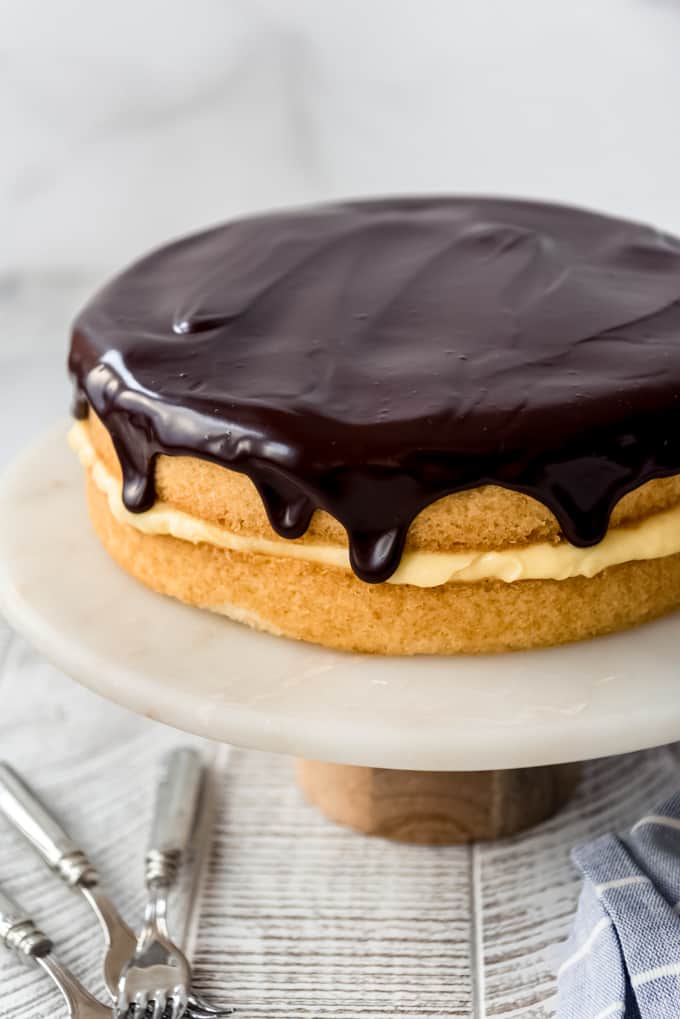
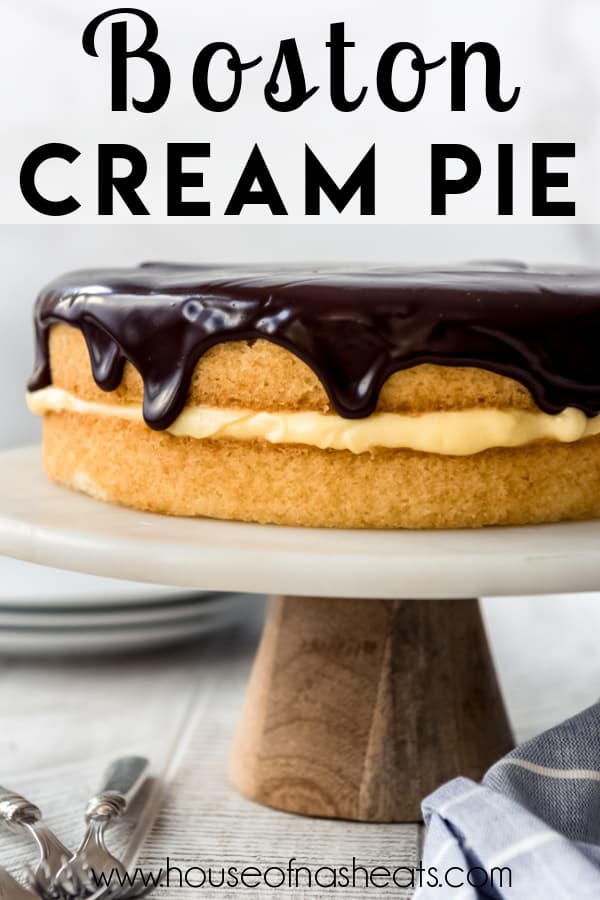
After reviewing multiple versions in my cookbooks and online, I opted to go with my own tried-and-true vanilla pastry cream recipe (the same one I use for making fruit tarts and filling cream puffs), sandwiched between two layers of moist, buttery yellow cake. Then an easy, rich chocolate ganache gets poured over the top and gently nudged over the edges to create thick, decadent drips down the side while still allowing that pastry cream layer to peek through.
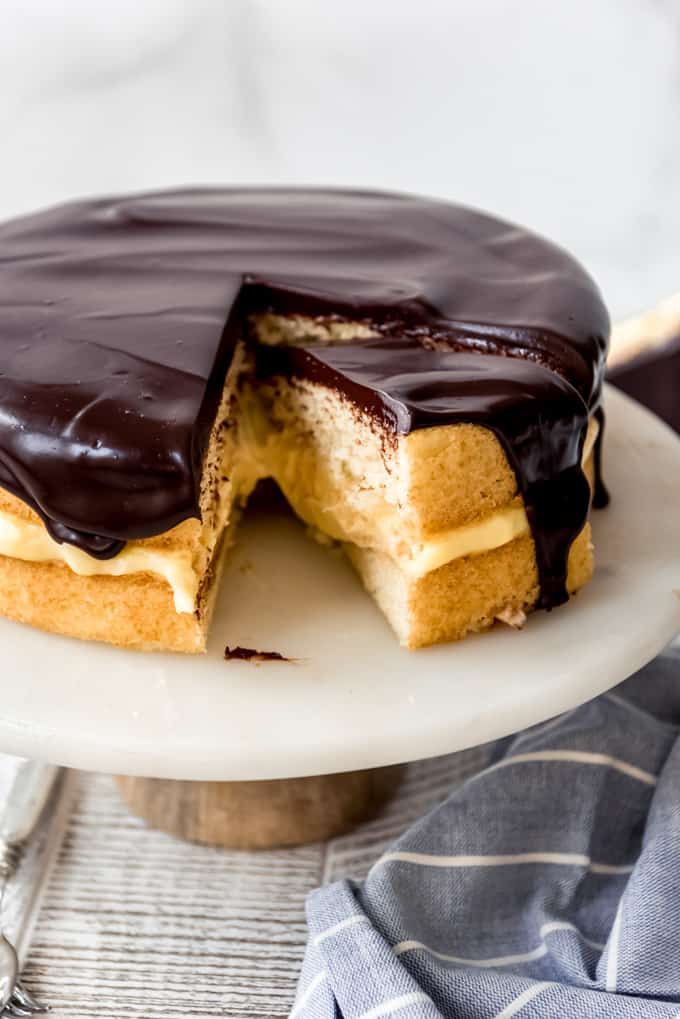
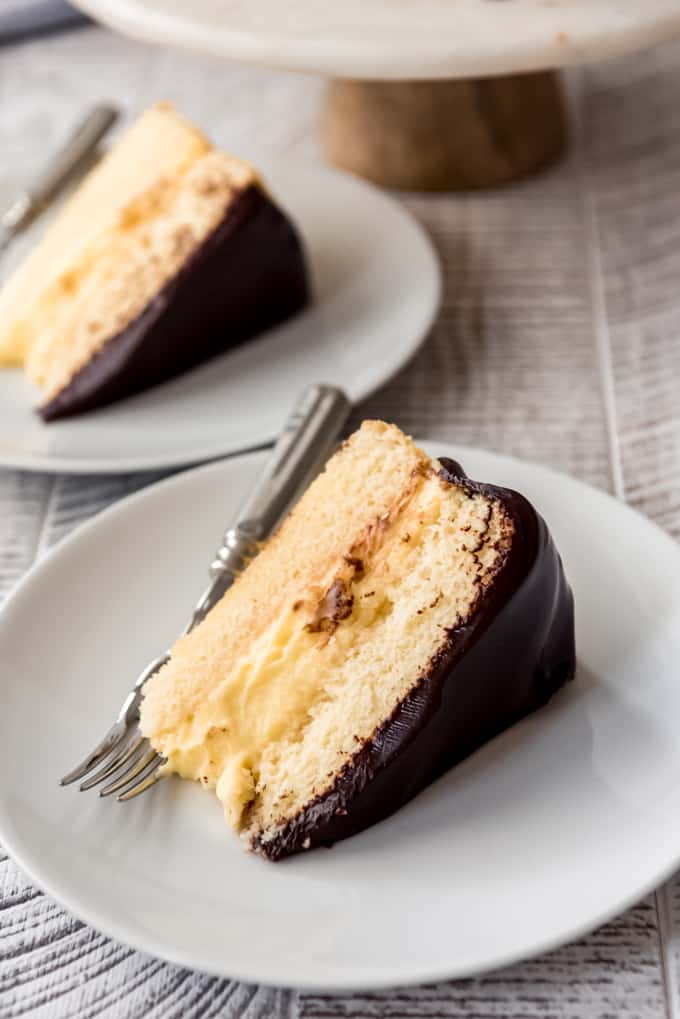
Every bite is a luscious combination of cake, pastry cream, and ganache and it is simply wonderful. This is a great dessert to serve to guests coming over for dinner or to make for birthdays, holidays, and other celebrations. If you have had lackluster Boston cream pie in the past, I sure hope you will give it one more try with this recipe because I’m confident it will change the way you feel about it.
Recipe Ingredients
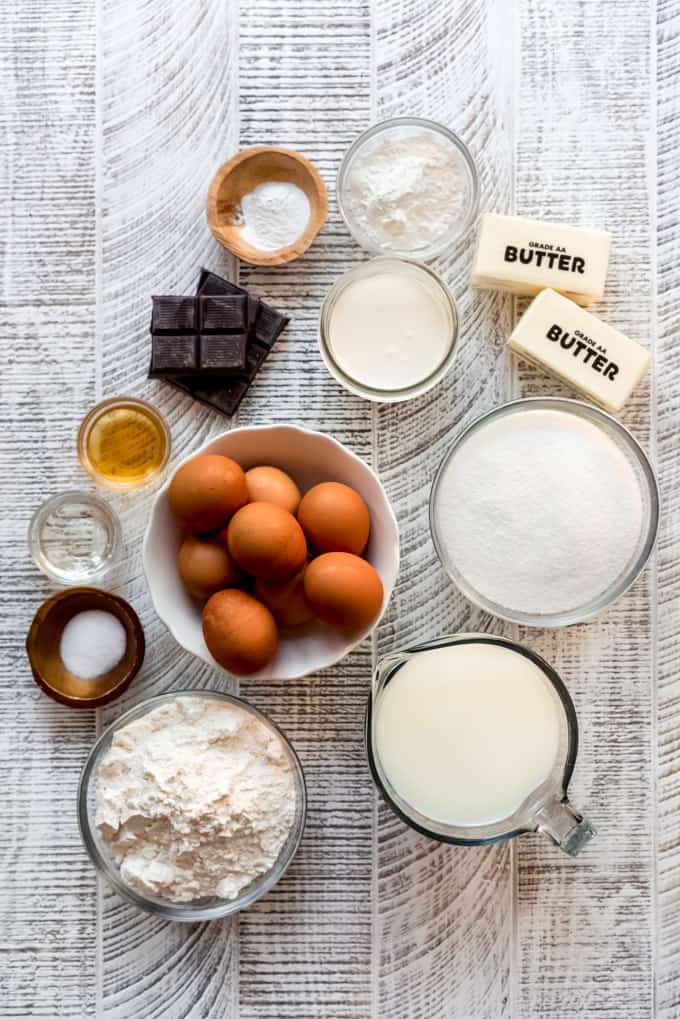
- Flour: Regular all-purpose flour works just great in this cake recipe. No need to use your cake flour for the tender crumb.
- Sugar: Granulated sugar is used in both the cake layers and the pastry cream filling to make this a deliciously sweet dessert.
- Butter: I prefer using salted butter in almost all of my recipes. If you only have unsalted butter, just increase the salt in the recipe by ¼ teaspoon.
- Eggs: Between the pastry cream and the cake batter, you will need 8 large eggs.
- Vanilla extract: I love using homemade vanilla extract!
- Heavy cream: This ingredient is used in both the pastry cream and the ganache. You will get best results with “heavy cream” not just “whipping cream” which has a lower fat percentage.
- Cornstarch: A little cornstarch helps to thicken up the pastry cream but still gives it a creamy, silky texture.
- Chocolate: I recommend using the best bittersweet, semisweet or dark chocolate you have access to for your ganache. I particularly like the Ghiradelli baking bars or Trader Joe’s chocolate.
- Salt: This common ingredient balances the sweetness and makes all the other flavors pop!
- Corn syrup: To keep the chocolate ganache glossy and smooth.
How to Make Boston Cream Pie
There are a few elements to Boston Cream Pie, but none of them are too difficult. Just take them one at a time and assembly will be a breeze. Start with the pastry cream first so it has plenty of time to cool completely (it can even be done 1-2 days ahead of time), then make the cake, followed by the chocolate ganache just before putting them all together.
Making the pastry cream
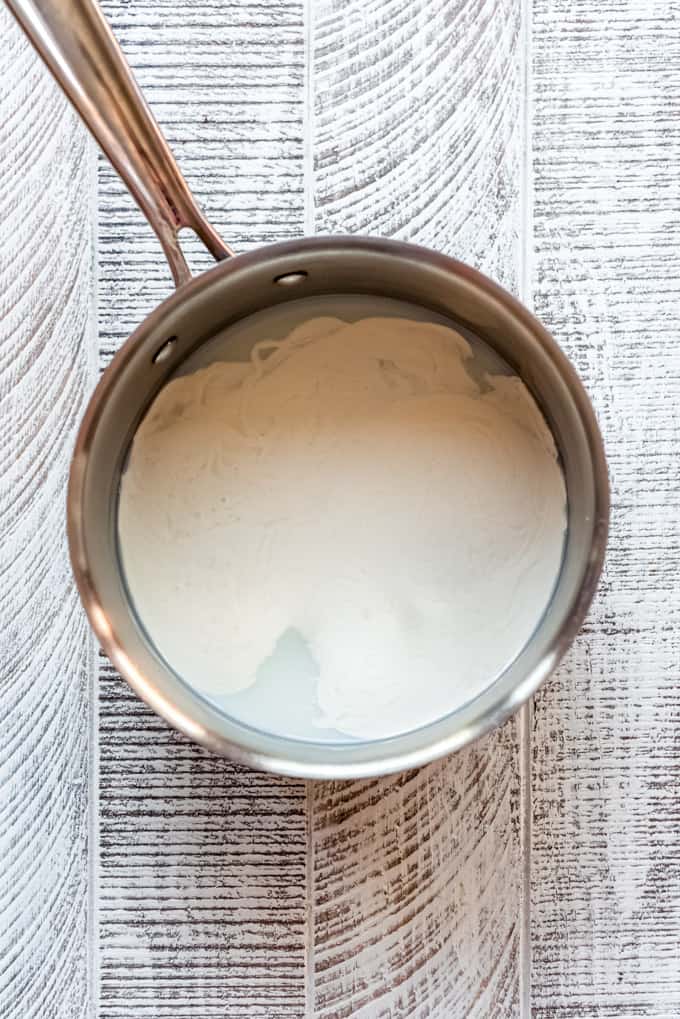
- Heat milk, cream, and sugar: Using a medium saucepan, heat the milk, cream, and half of the sugar over medium-high heat. Stir gently using a wooden spoon just until it starts to simmer.
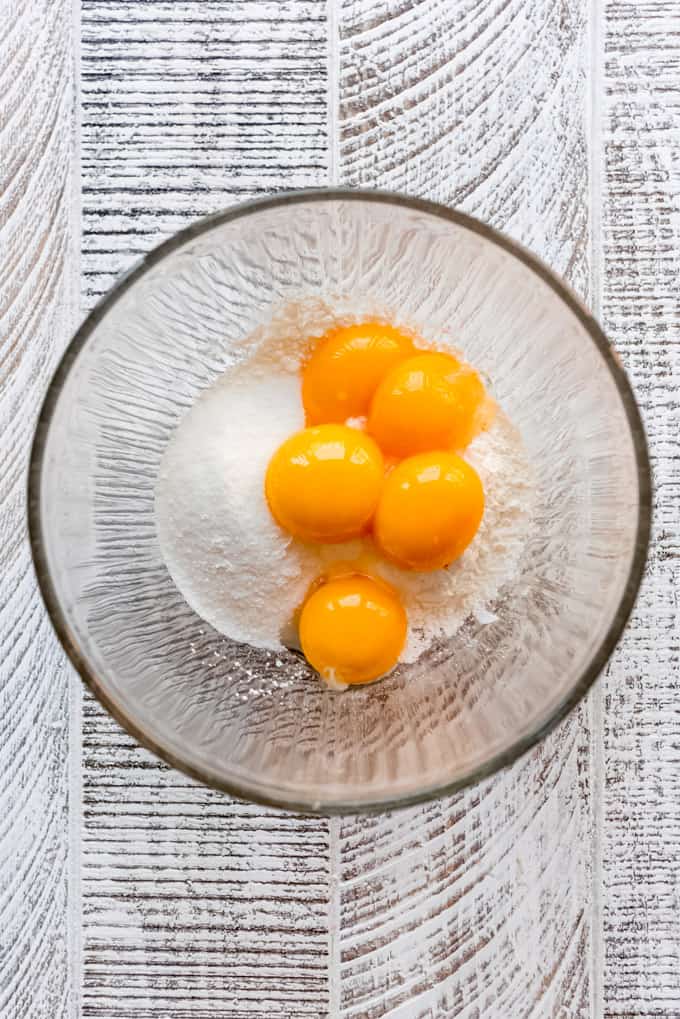
- Whisk other ingredients: While the cream mixture is heating, whisk egg yolks in a medium bowl with the remaining sugar, cornstarch, and salt for a minute or two. It should go from a rich yellow color to a lighter yellow with a creamier texture as air is whisked into the mixture. Set aside.
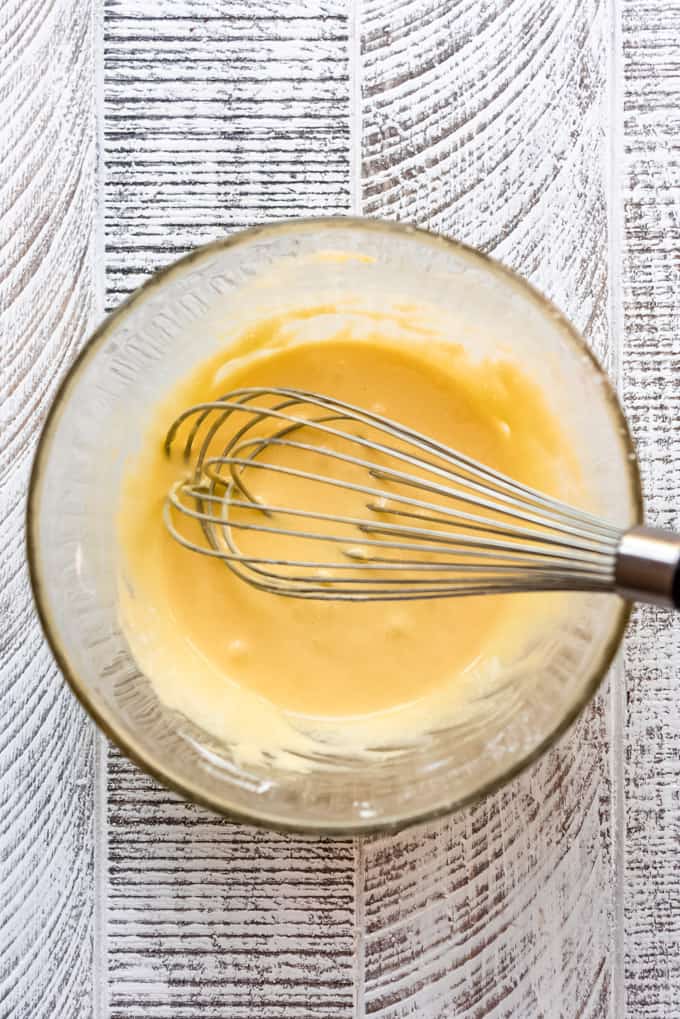
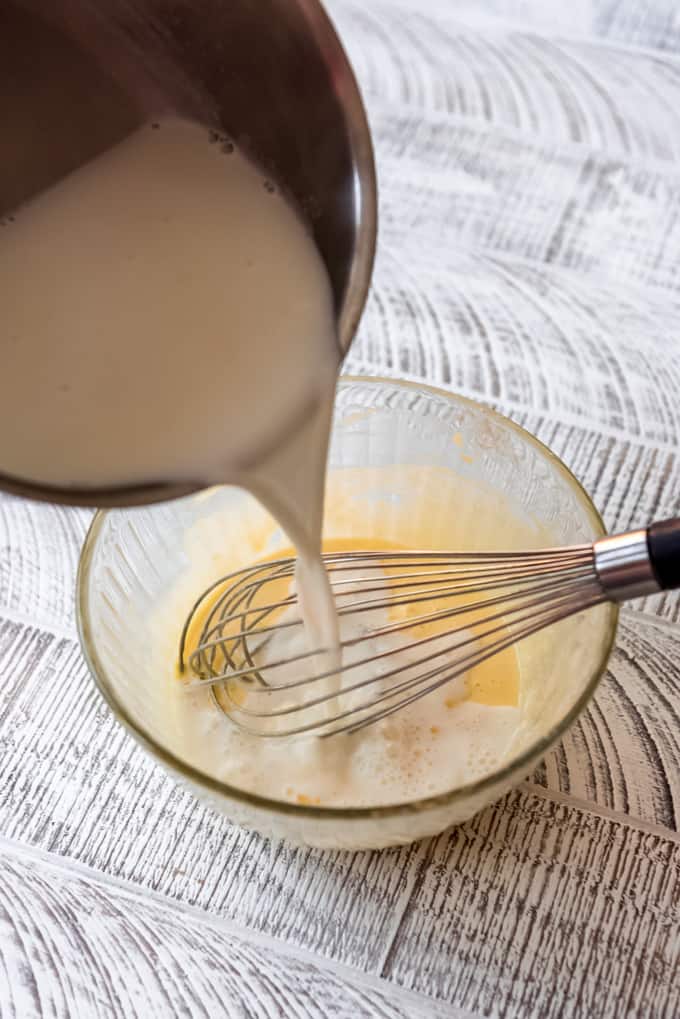
- Combine: Once the liquid is hot, gradually whisk about 1 cup of it into the egg yolk mixture. This process is known as “tempering” the eggs so they don’t scramble when added to the rest of the hot liquid in the saucepan. Once whisked together, pour everything into the saucepan with the remaining milk and cream.
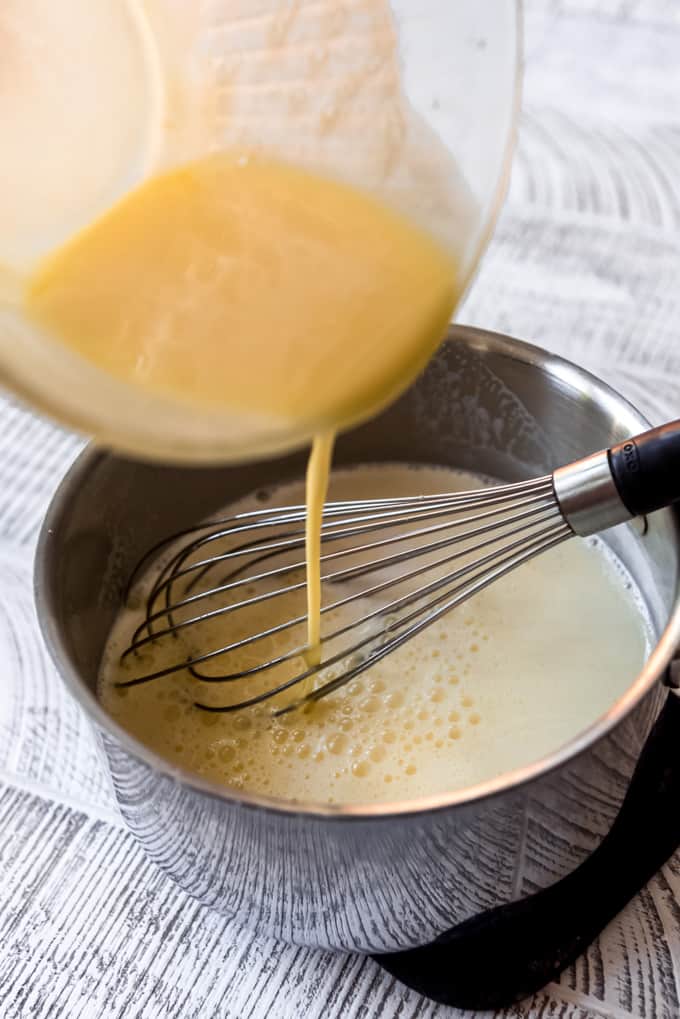
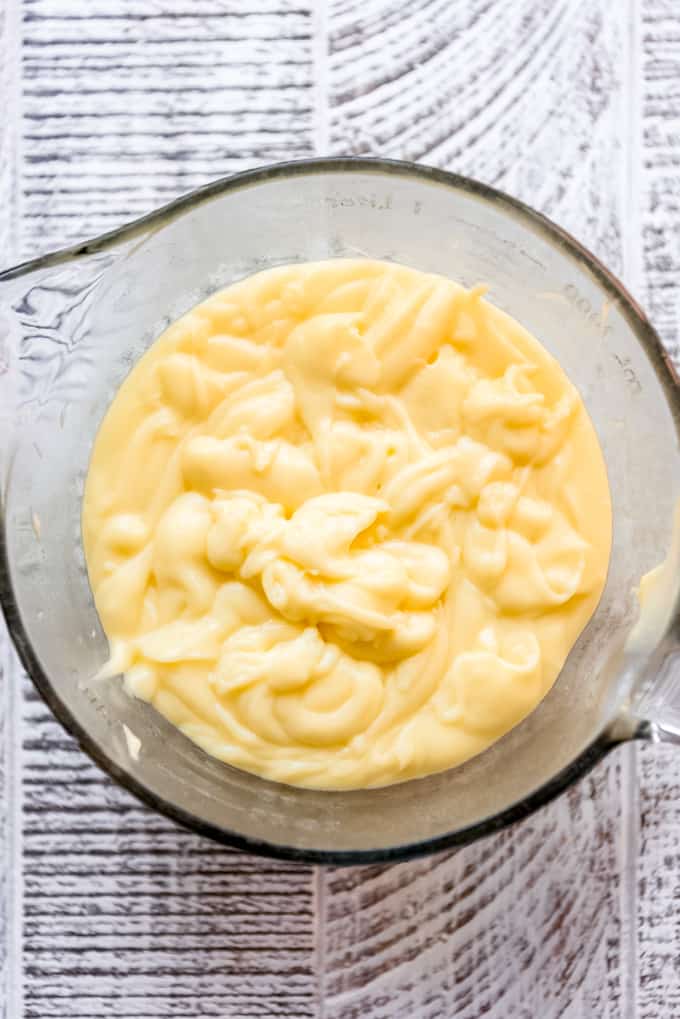
- Cook: Reduce the heat to medium, then continue to cook while whisking constantly. It won’t take long for the pastry cream to thicken and bubbles will start to burst on the surface as the eggs and cornstarch react with the heat. If the pastry cream doesn’t thicken right away, continue to cook and stir until it does thicken because this isn’t the kind of recipe where it will thicken significantly as it cools and sets up in the fridge. That happens to an extent, but if your pastry cream is still soupy, you need to keep cooking it a bit longer.
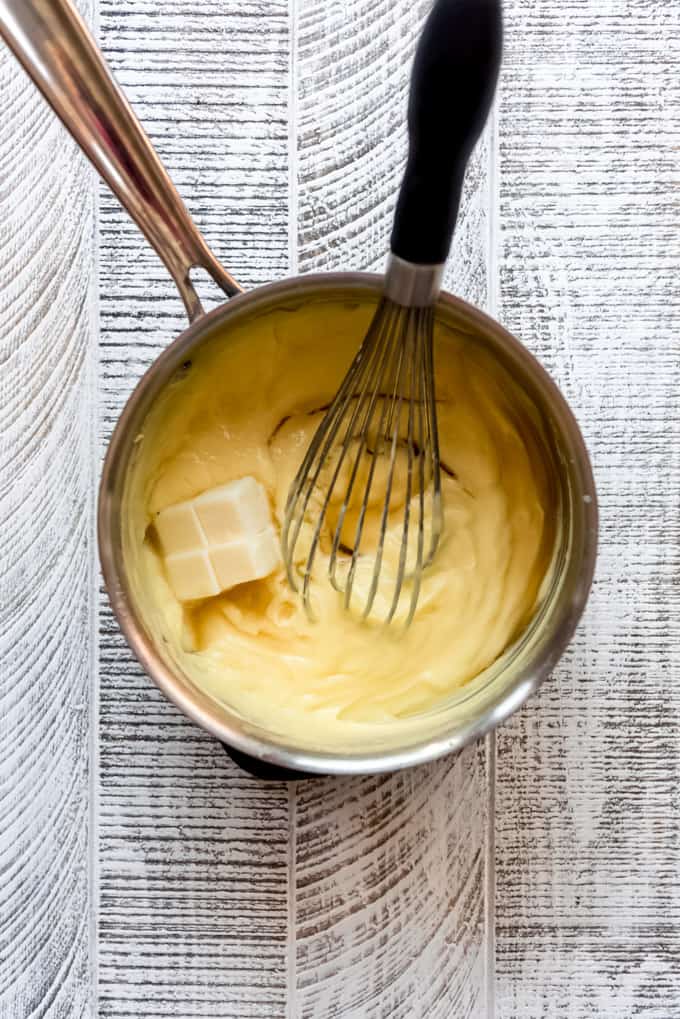
- Add butter and vanilla: Remove the pastry cream from the heat and whisk in a little butter and vanilla to flavor it. For the silky smoothest texture, you can press the pastry cream through a fine mesh sieve, but I usually just skip that step.
- Cool completely: Cover with plastic wrap in direct contact with the surface of the pastry cream to prevent a skin from forming and cool completely in the fridge for at least 3-4 hours or overnight.
Making the cake layers
- Heat milk and butter: In a saucepan over medium-low heat or a microwave-safe bowl in the microwave, heat the milk and butter together until the butter is melted, then set aside and allow to cool slightly.
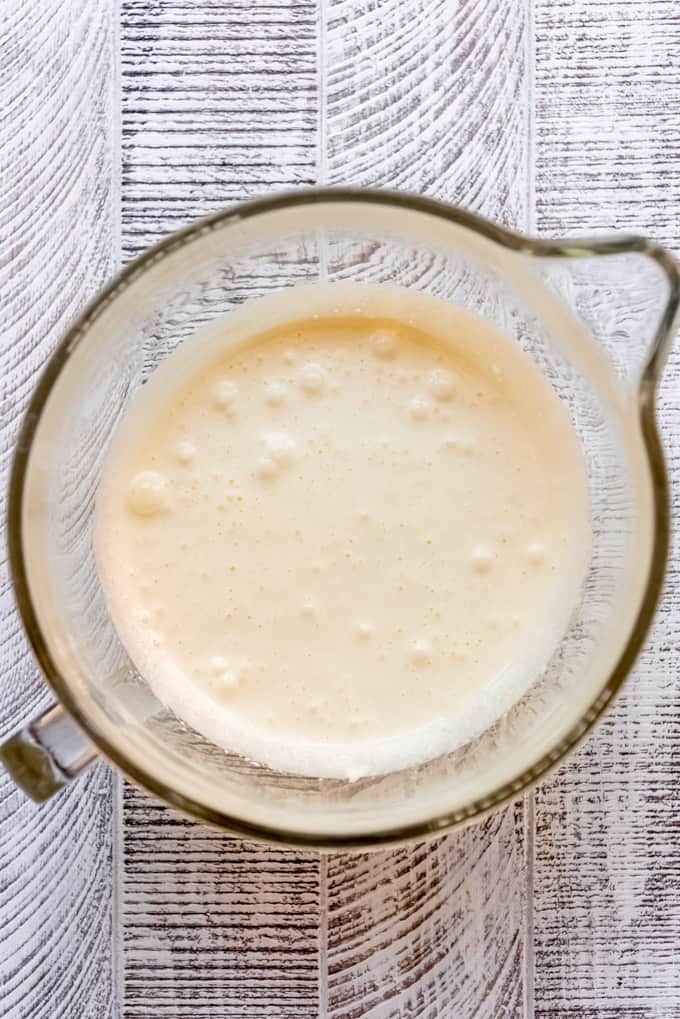
- Beat eggs and sugar: Meanwhile, in a large bowl of a stand mixer fitted with a whisk attachment, beat room temperature eggs and sugar for 4-5 minutes on medium-high speed until they are very light, creamy, and thick. This can also be done with a hand mixer, although it might take a minute or two longer.
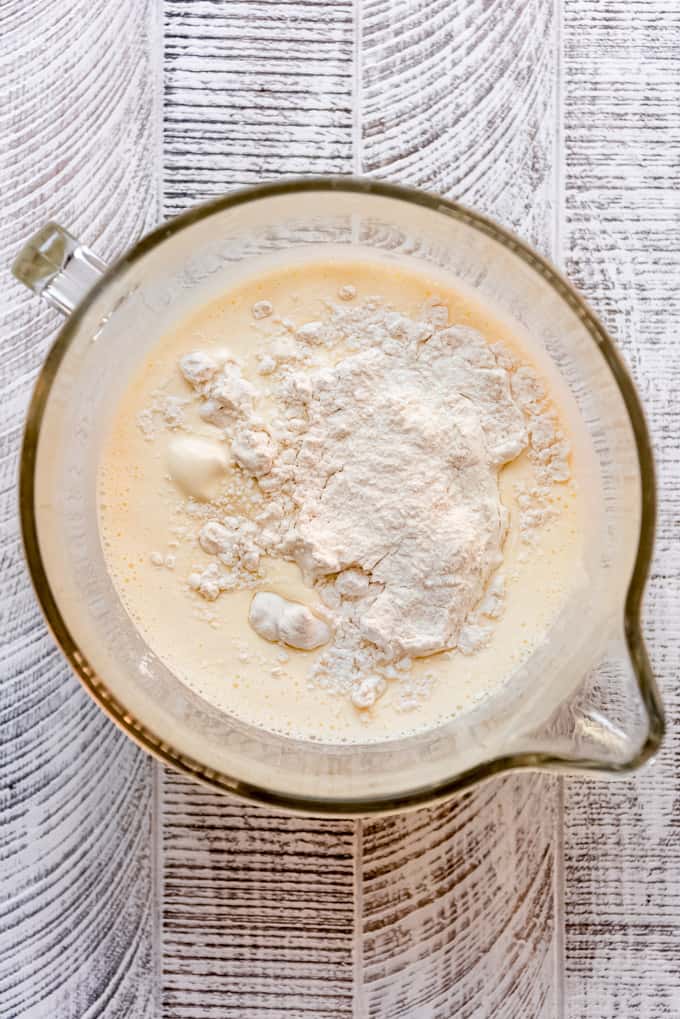
- Add dry ingredients: Whisk the flour, baking powder, and salt together in another bowl, then add this to the eggs and sugar. Mix these together just until combined to form a fairly thin batter.
- Divide between pans: Prep two 9-inch round cake pans with parchment paper circles in the bottom and spray the sides with baking spray. Evenly divide the batter between both pans.
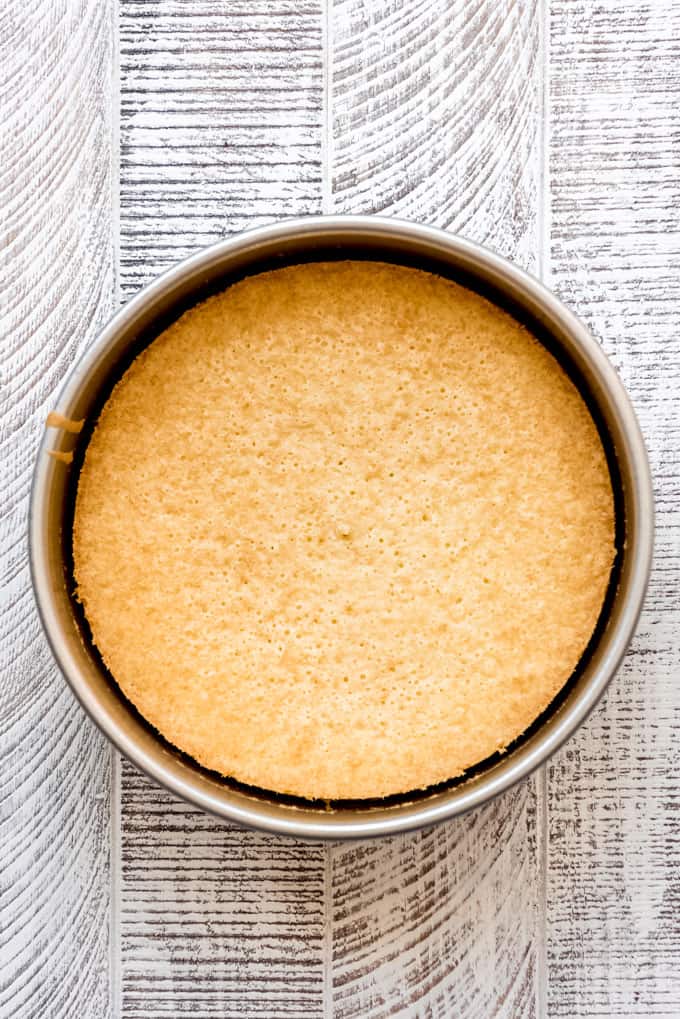
- Bake: Place both cake pans in a preheated 325°F oven and bake for 20-25 minutes until a toothpick inserted into the center of each cake comes out clean. Remove from the oven and cool completely in the pans before assembling the cake.
Make the Chocolate Ganache
- Heat the cream and corn syrup: Combine both of these ingredients in a microwave safe bowl and heat for 60 seconds in the microwave. It will be very hot!
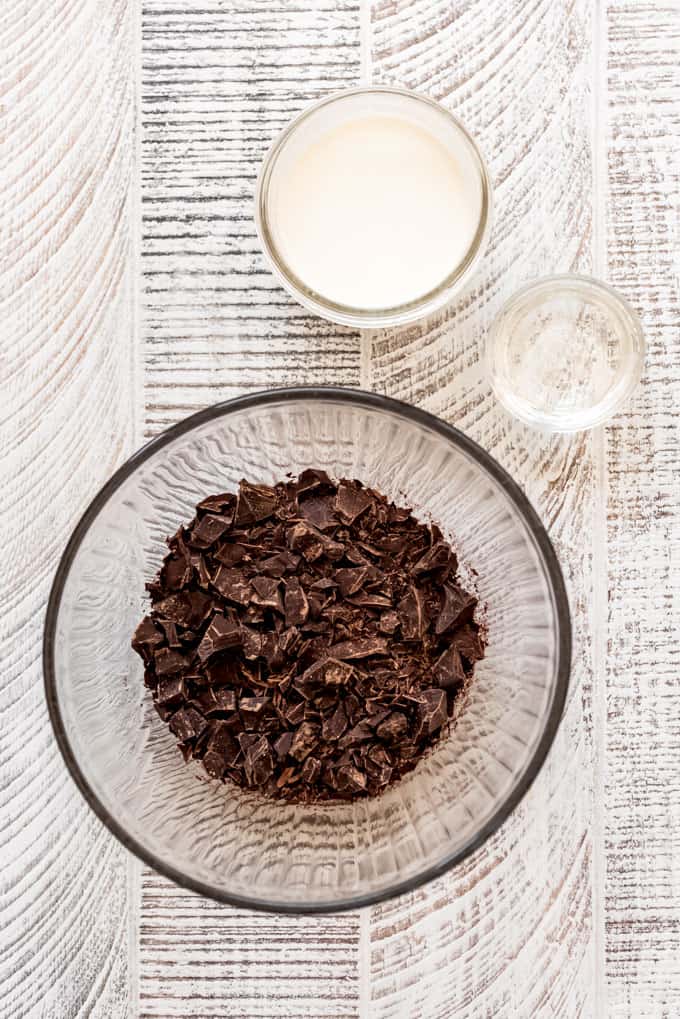
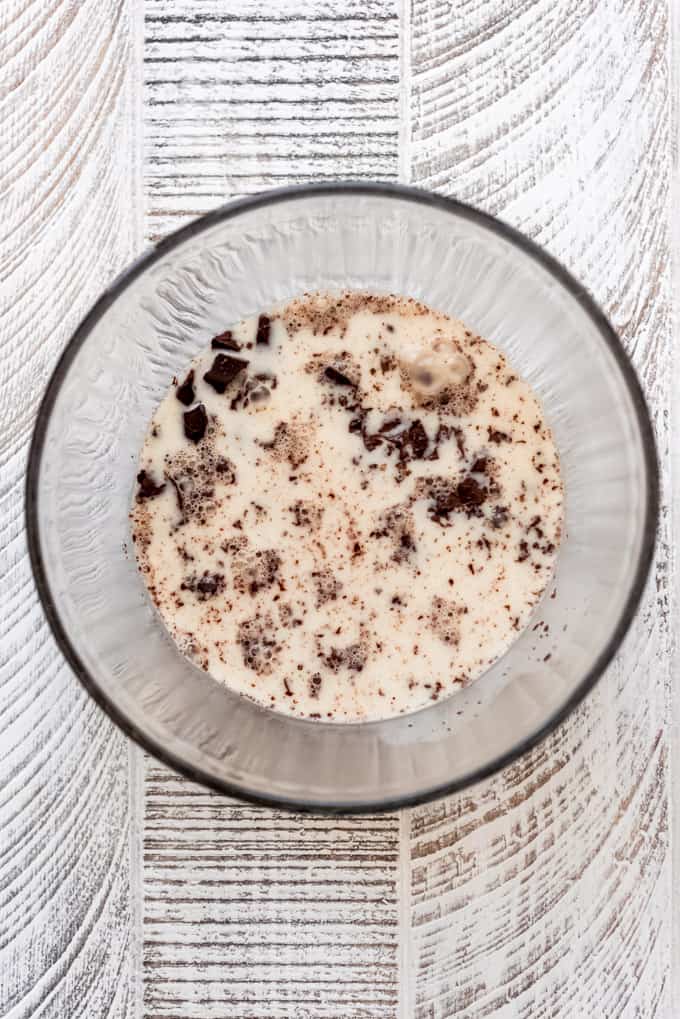
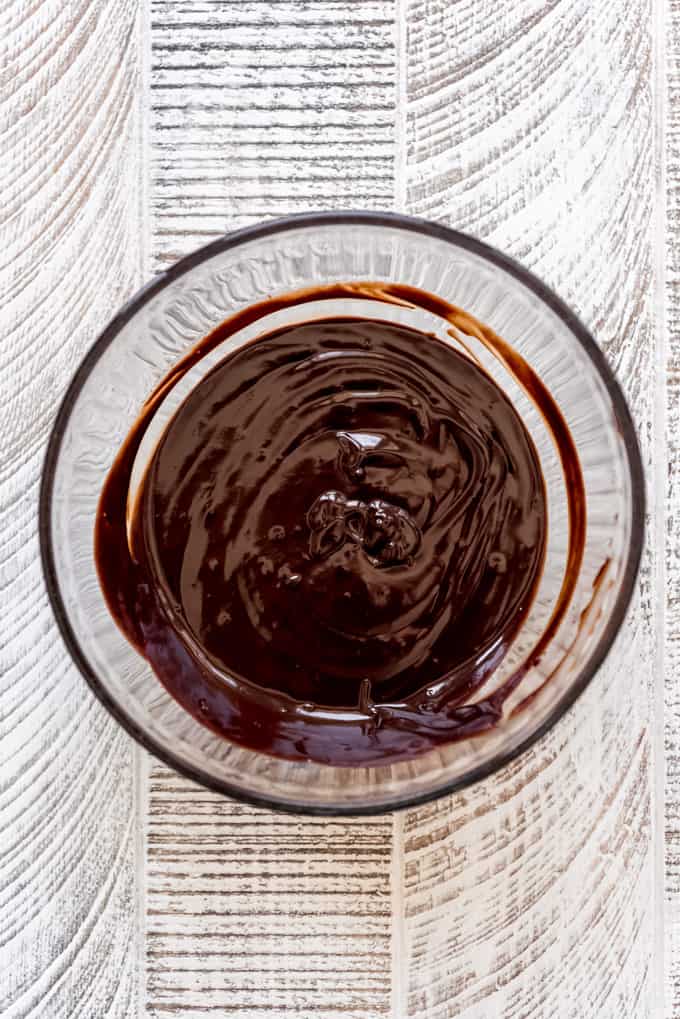
- Pour over the chopped chocolate: In a separate bowl, pour the hot liquid over the chopped chocolate and let it sit without stirring for one minute. The heat from the cream will melt the chocolate. After 1 minute, stir until the ingredients come together in a smooth and glossy glaze. Let it cool for 5 minutes while you assemble the cake so it can thicken slightly. If you immediately pour it over the cake, it won’t be quite as set and will be more likely to run off the sides.
Cake Assembly
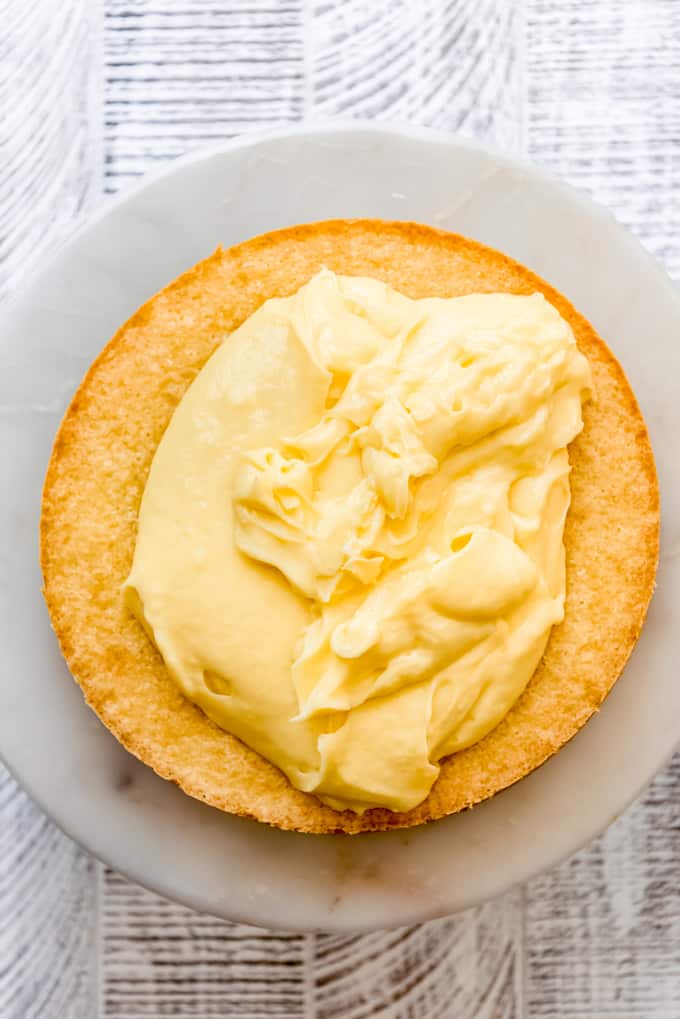
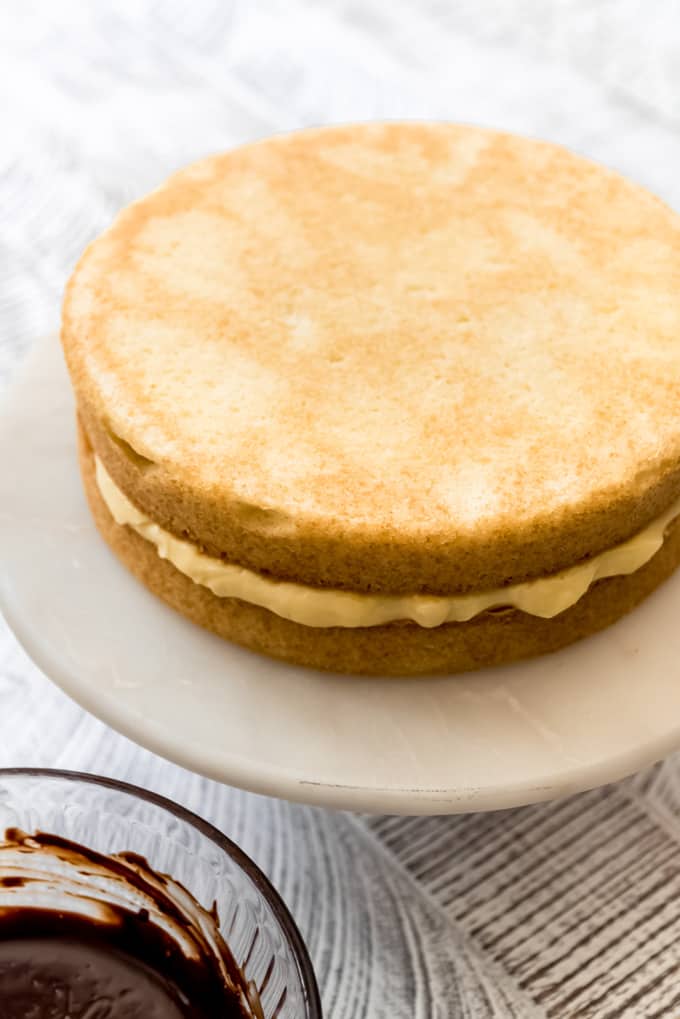
- Stack: Start by placing one of the cake layers on your cake stand or cake plate. Mine baked up perfectly flat, but if your cake layers are domed you will want to carefully level them off first. Spread a nice thick layer of the pastry cream on top. Gently place the second layer of cake directly onto the pastry cream, bottom-side up for the best presentation.
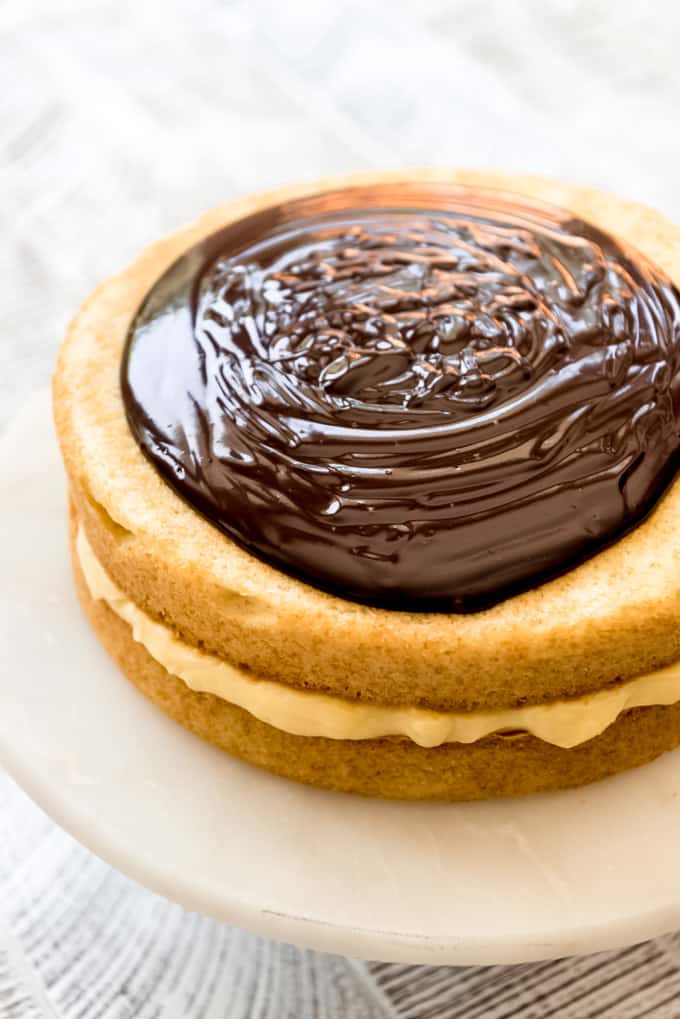
- Glaze: Pour the still warm chocolate ganache onto the top of the cake. It should be thick enough that it doesn’t just run off the edges, so use a knife or spoon to spread it around and nudge it over the sides of the cake for thick, beautiful drips.
- Chill: Immediately transfer the cake to the fridge so it can chill for 3-4 hours to help it set up before slicing and serving.
Recipe FAQ’s
Although a 2-layer circular cake is the traditional shape, I don’t see why you couldn’t use square pans or 8-inch pans (for thicker cake layers). You just might need to adjust your baking time a bit, but not the temperature.
Yes, you should keep this dessert in the fridge until about 15 minutes before you are ready to serve it. It’s fine to sit out for a little bit, but it’s not a dessert I would leave out on the counter for more than an hour or so because of the pastry cream filling.
If your pastry cream didn’t thicken up, there are two potential reasons that are the most likely cause. The first is just forgetting to add cornstarch. If that happens to you, you could save your pastry cream by whisking the cornstarch with a few additional tablespoons of milk to create a slurry, then whisking it in and cooking until the pastry cream is thick. Or the other reason could be just not cooking the pastry cream long enough.
Recipe Tips
- Whisk the dry ingredients separately: I hate dirtying an extra bowl and usually will just add flour along with the salt and leavening agents like baking powder and baking soda without whisking or sifting them together first, but in this recipe I really think it makes a difference and is worth the extra step.
- Use room temperature eggs for the cake layers: It really does make a difference. If you forget to pull them out in advance (guilty), stick them in a bowl and cover them with hot tap water for 5-10 minutes while you pull out the other ingredients and prep your pans.
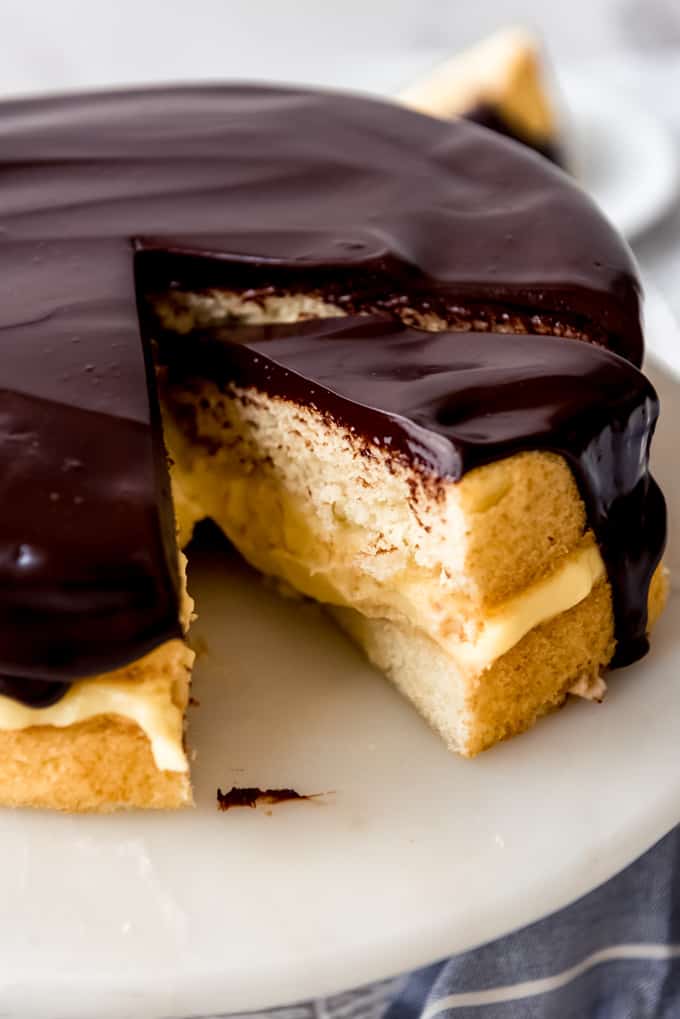
- Clean slices: For the cleanest slices of cake, run a sharp, non-serrated knife under hot water then wipe the blade clean before each slice. It’s honestly a bit of a pain, but it will give you prettier slices every time.
Boston Cream Pie-Inspired Desserts
More Classic Cake Recipes
- Chantilly Cake
- Pineapple Upside Down Cake
- The BEST Homemade German Chocolate Cake
- Yellow Cake with Chocolate Frosting
- Devil’s Food Chocolate Cake with Chocolate Buttercream Frosting
- San Jose Burnt Almond Cake
Did you make this recipe?
Let me know what you thought with a comment and rating below. You can also take a picture and tag me on Instagram @houseofnasheats or share it on the Pinterest pin so I can see.
Boston Cream Pie
Ingredients
Pastry Cream
- 1 1/2 cups whole milk
- 1/2 cup heavy cream
- 1/2 cup sugar divided
- Pinch of salt
- 3 Tablespoons cornstarch
- 5 egg yolks
- 4 Tablespoons salted butter cubed
- 1 1/2 teaspoons vanilla bean paste
Cake
- 1 1/2 cups all-purpose flour
- 1 1/2 teaspoons baking powder
- 1 teaspoon salt
- 3/4 cup whole milk
- 6 Tablespoons salted butter
- 2 teaspoons vanilla extract
- 3 large eggs room temperature
- 1 1/2 cups sugar
Chocolate Ganache
- 1/2 cup heavy cream
- 2 Tablespoons light corn syrup
- 4 ounces bittersweet chocolate finely chopped

Instructions
Make the Pastry Cream
- Combine the milk, cream, and half of the sugar in a medium sauce pan over medium-high heat, stirring occasionally until the liquid comes to a simmer.1 ½ cups whole milk, ½ cup heavy cream, ½ cup sugar
- As the liquid heats, whisk together the remaining sugar, salt, cornstarch, and egg yolks in a medium bowl until light and creamy.Pinch of salt, 3 Tablespoons cornstarch, 5 egg yolks
- Once the milk mixture is hot, slowly whisk about 1 cup of the liquid into the egg mixture to temper the yolks. Pour the tempered egg mixture back into the saucepan with the hot milk mixture and reduce the heat to medium, continuing to cook while whisking constantly, until thickened and a few bubbled burst on the surface, about 30 seconds, although it might take a bit longer if your liquid wasn’t as warm initially. If it hasn’t thickened, continue to cook and stir until it does because it will not thicken in the fridge.
- Remove the pastry cream from the heat and whisk in the butter and vanilla. If you are concerned about possibly having scrambled the eggs at all, you can press your pastry cream through a fine mesh sieve just in case.4 Tablespoons salted butter, 1 ½ teaspoons vanilla bean paste
- Transfer the pastry cream to a bowl and cover with a sheet of plastic wrap placed directly onto the surface of the pastry cream so a skin doesn’t form. Refrigerate until chilled, about 3-4 hours.
Make the Cake
- Preheat the oven to 325°F. Line two 9-inch round cake pans with parchment paper circles and spray the sides with baking spray. Whisk the flour, baking powder, and salt together in a bowl and set aside.1 ½ cups all-purpose flour, 1 ½ teaspoons baking powder, 1 teaspoon salt
- Heat the milk and butter in a small saucepan over low heat until the butter is melted. Remove from the heat and stir in the vanilla.¾ cup whole milk, 6 Tablespoons salted butter, 2 teaspoons vanilla extract
- In the bowl of a stand mixer fitted with the whisk attachment, beat the eggs and sugar for 4-5 minutes until light, airy, and thick.3 large eggs, 1 ½ cups sugar
- Whisk in the hot milk and butter until combined.
- Add the flour mixture, pulsing just until combined to form a fairly thin batter. Divide evenly between the two cake pans.
- Bake for 20 to 25 minutes until a toothpick inserted into the center of the cakes comes out clean and the tops of the cake are a nice golden brown.
- Cool completely in the cake pans before assembling the cake.
Make the Chocolate Ganache
- When it’s almost time to assemble the cake, make the glaze by heating the heavy cream and corn syrup in a microwave safe bowl in the microwave for 60 seconds until very hot.
- Pour the hot cream and corn syrup over the chopped chocolate in another bowl and let it sit for 1 minute. Stir until combined and smooth and glossy. Let this sit for about 5 minutes, stirring occasionally, until the ganache has thickened slightly.½ cup heavy cream, 2 Tablespoons light corn syrup, 4 ounces bittersweet chocolate
Assembly
- Remove the cooled cake layers from the cake pans and peel off the parchment paper. Set one layer on a cake stand or cake plate, then cover with the pastry cream, spreading it almost all the way to the edges of the cake.
- Add the second cake layer turned upside down for a nice flat top.
- Pour the chocolate ganache over the top of the cake and gently spread it toward the edges, nudging it ever so slightly over the edge in some places to create beautiful drips of chocolate.
- Transfer the finished cake to the refrigerator for at least 3 hours to chill and set up completely before slicing and serving.
Notes
- Make-ahead and storage: The pastry cream can be made 1-2 days in advance. You can also make the cake layers 1 day in advance and store at room temperature, covered or wrapped in plastic wrap, or even freeze for up to 3 months then thaw on the counter overnight until you are ready for assembly. The whole cake can be made and assembled 1 day in advance. Store any leftovers in the fridge for up to 4-5 days.
- Chocolate: Bars of semisweet chocolate or dark chocolate will also work for the ganache, instead of bittersweet chocolate. Good quality bittersweet or semisweet chocolate chips work well, too. I recommend choosing a readily available high quality chocolate like Ghiradelli or Trader Joe’s.
- Pans: You could use 8-inch pans if you don’t have 9-inch ones. Your cake layers will just be slightly thicker and will probably take a few minutes longer to bake.
Nutrition
Recipe adapted from Cook’s Country. I used my favorite pastry cream, but closely followed their cake recipe.
More States I Have Visited in my American Eats Series
Alabama • Alaska • Arizona • Arkansas • California • Colorado • Connecticut • Delaware • Florida • Georgia • Hawaii • Idaho • Illinois • Indiana • Iowa • Kansas • Kentucky • Louisiana • Maine • Maryland • Massachusetts • Michigan • Minnesota • Mississippi • Missouri • Montana • Nebraska • New Jersey • New York • Oregon • Puerto Rico • South Carolina • South Dakota • Texas • Utah • Wisconsin



I have 6 young adult nieces and nephews that live close by, and I’ve started baking them each a treat of the their choice for their birthday. This cake is what most of them choose. It is a perfect Boston cream, the cake is so light and moist! The instructions for this recipe are detailed and easy to follow. One of our favorite cakes!
I love this so much and I’m so glad it’s such a winner in your family! Thank you for commenting!
Thank you Amy for such easy steps.
My mom was famous for her Boston Cream Pie but it just seemed to complicated with double boilers and tempered eggs and halving the cake!
Your version and guided steps made it easy to follow.
Hoping for a big family thumbs up tonight 🙂
Wow thank you for your kind words! I hope your family enjoys it! Let me know how it turned out!