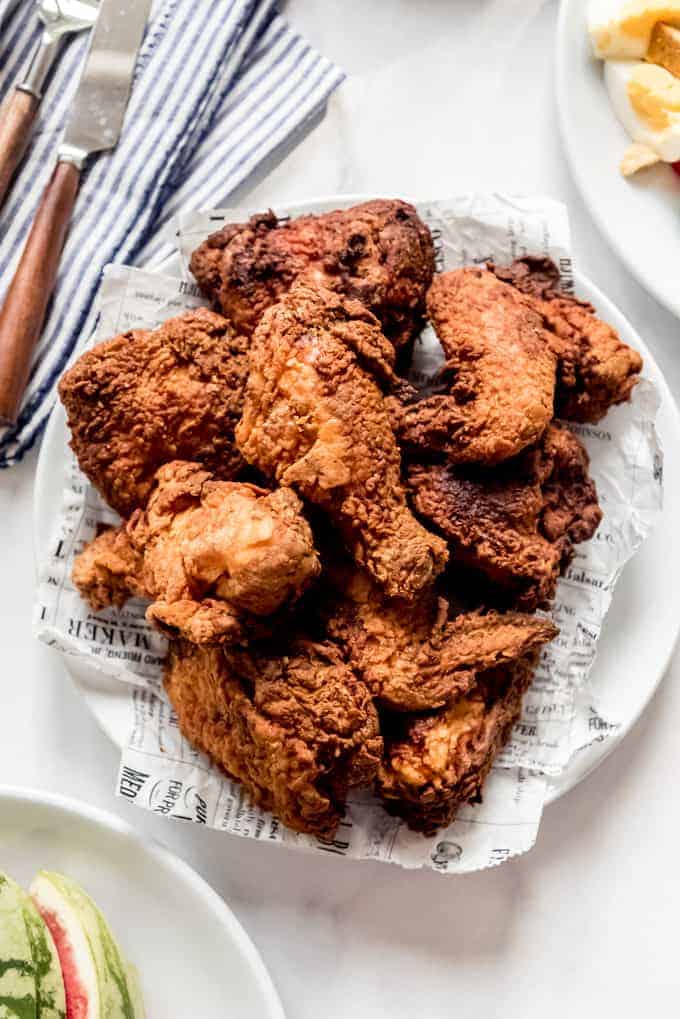
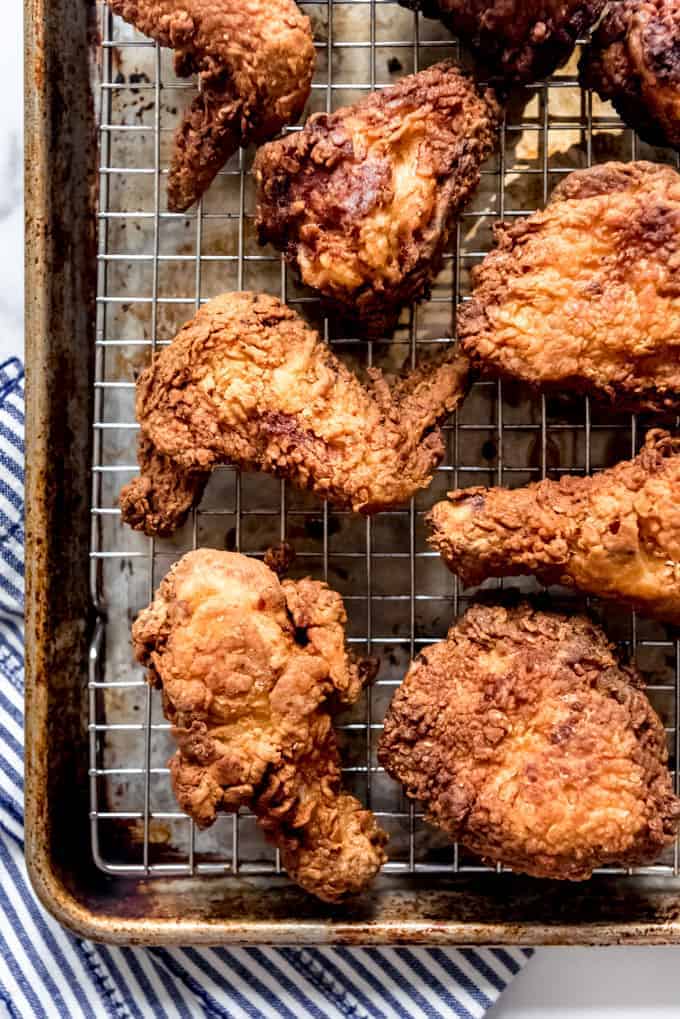
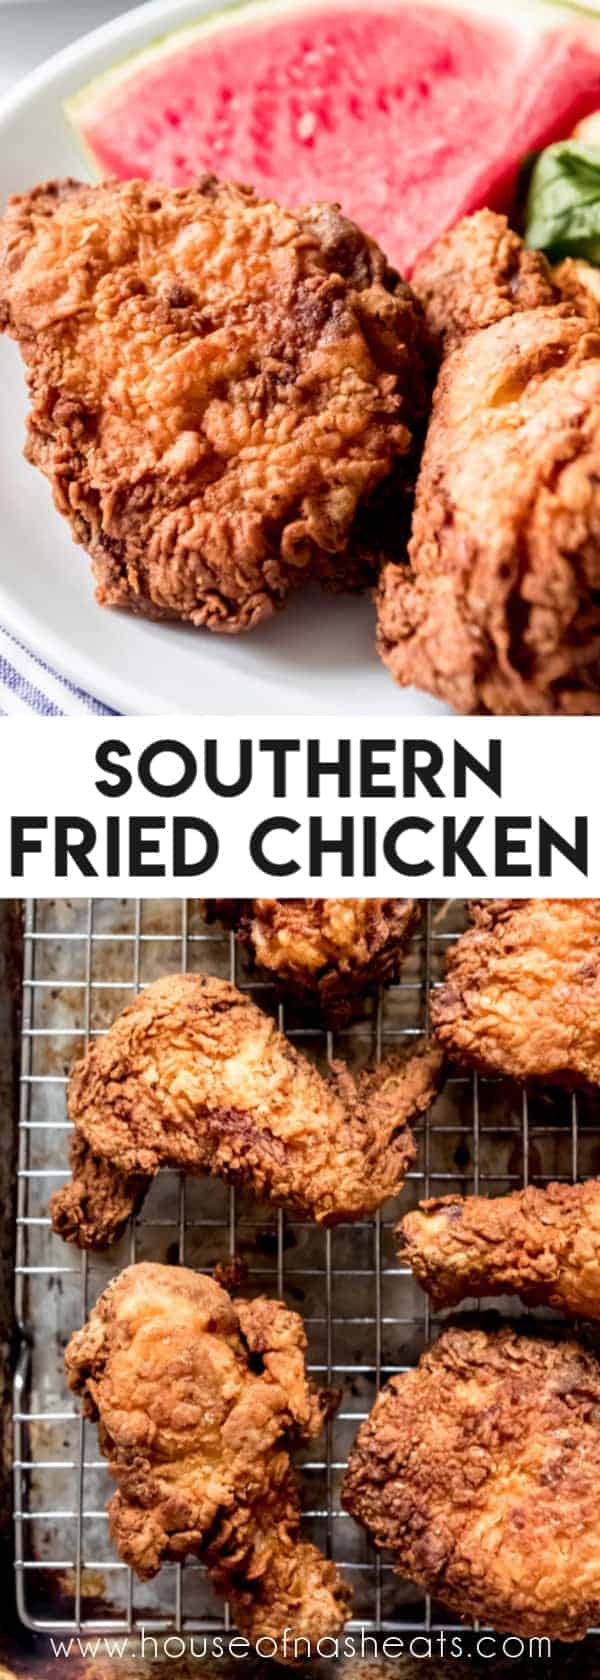
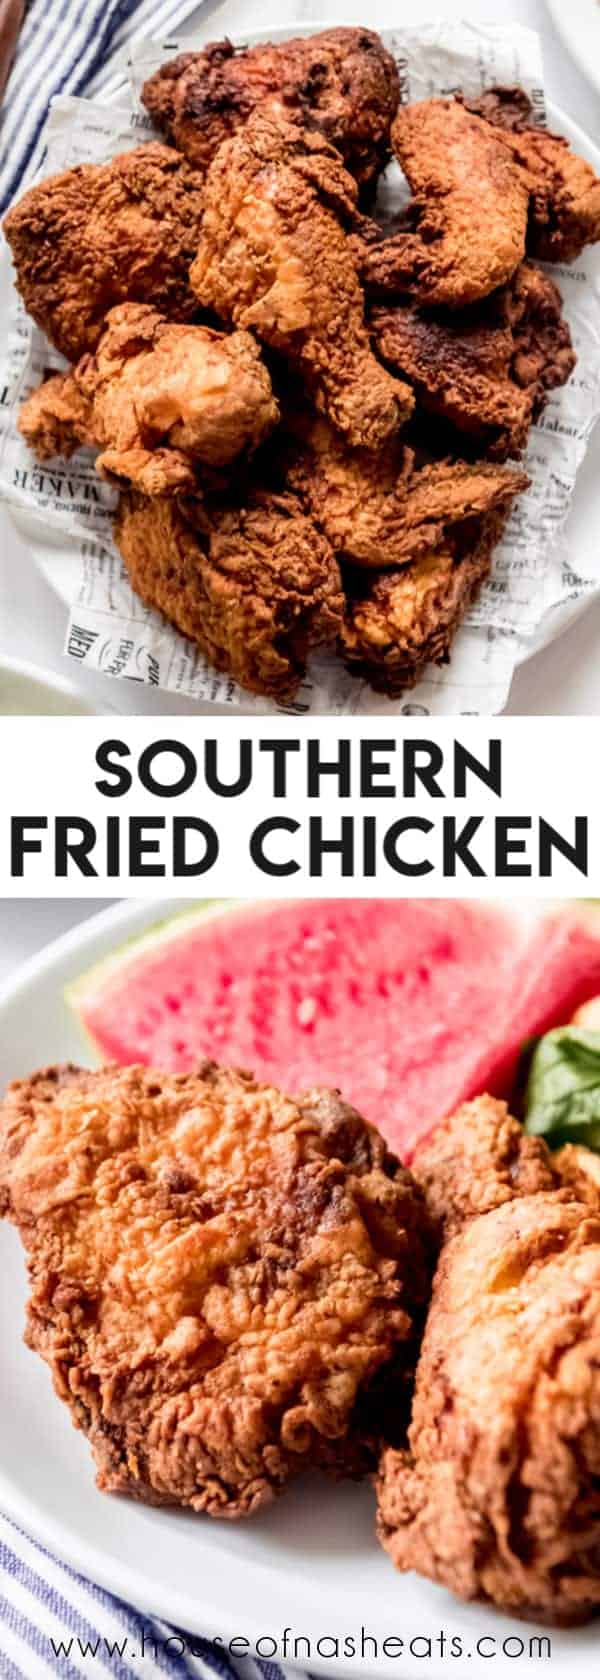
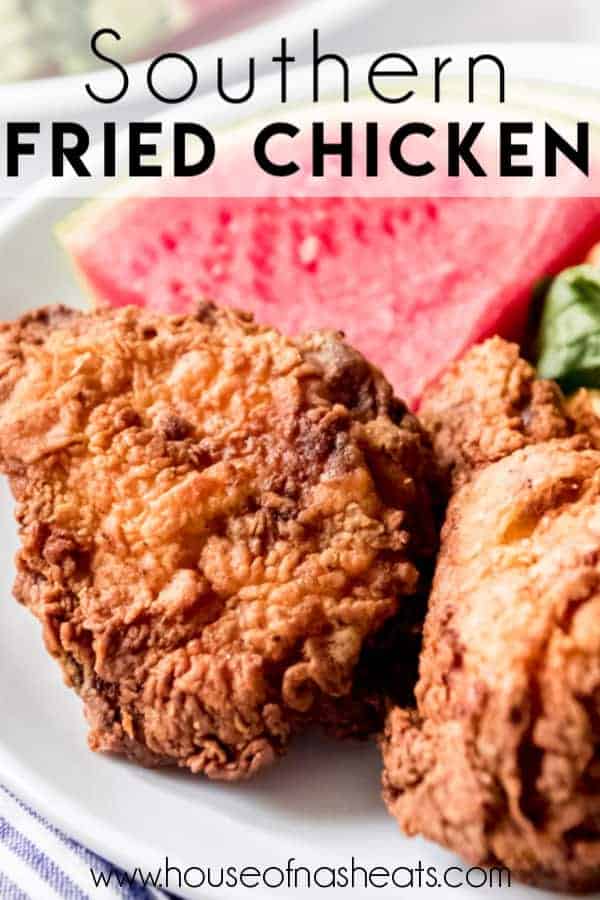
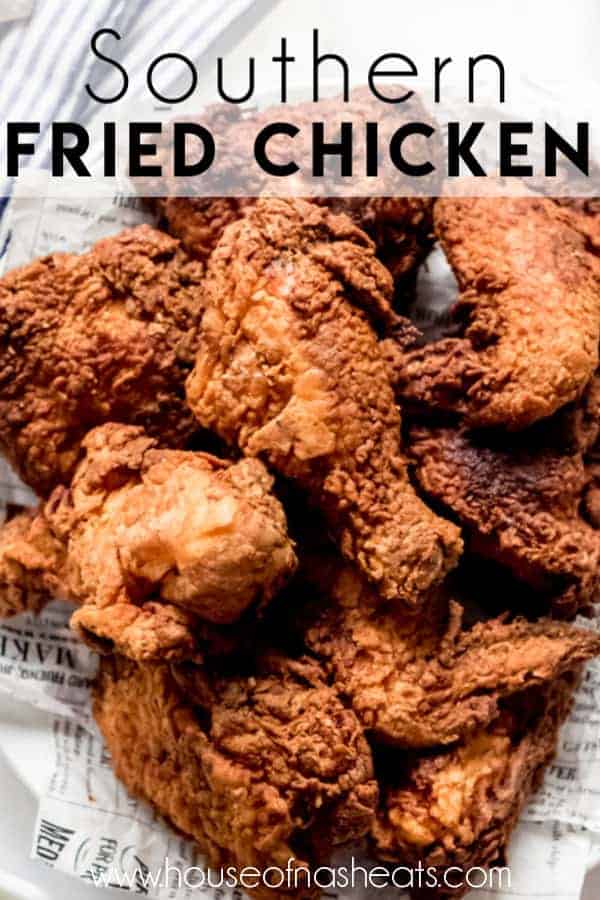
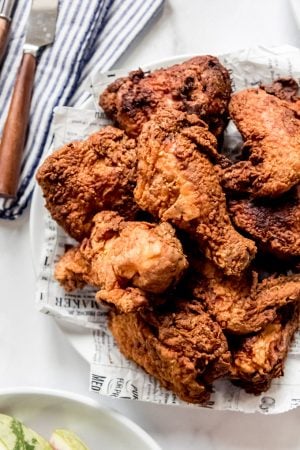
There is nothing quite like good old-fashioned Southern Fried Chicken to satisfy your comfort food cravings! The perfectly spiced chicken is crispy on the outside and tender and juicy on the inside. And the leftovers are just as delicious cold the next day, right out of the fridge.
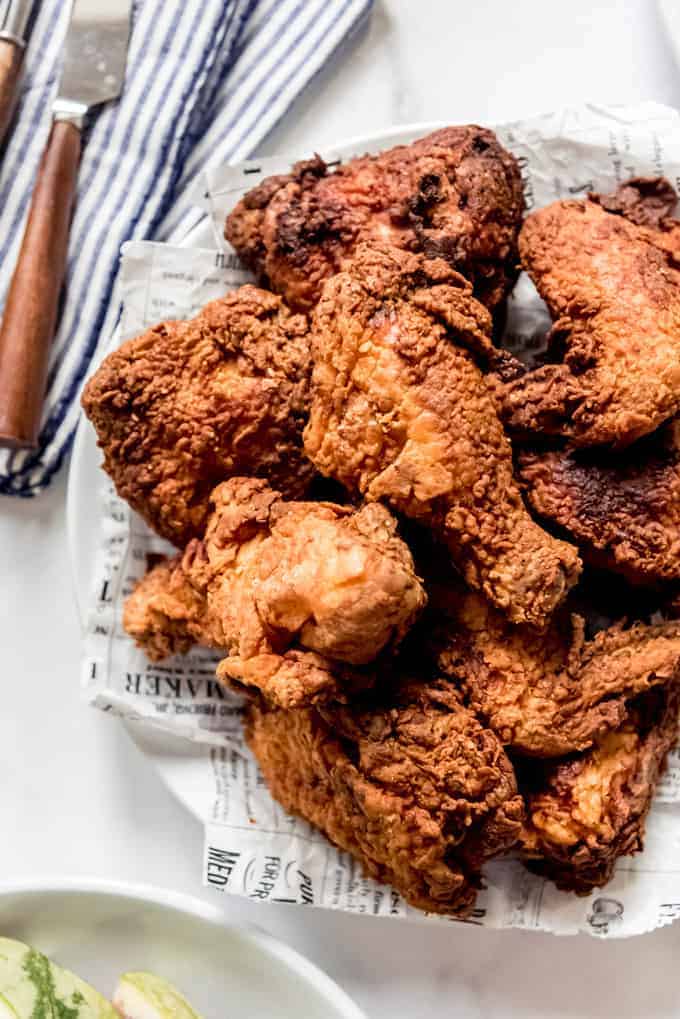
For a healthier alternative, be sure to try our Cast Iron Skillet Chicken Thighs. And check out my tutorial for how to cut up a whole chicken for tips and step-by-step images so everybody can get their favorite piece!
Paul LOVES fried chicken. It’s one of his all-time favorite foods. When he was an undergrad, Paul dated a girl from Kentucky for a bit. When her mom came to visit, she made Paul fried chicken for dinner that he still talks about today.
I don’t think Kentucky has a lockdown on fried chicken, but Colonel Sanders linked the two together in many of our minds with his secret blend of 11 herbs and spices. So naturally I had to include fried chicken in my collection of recipes representing Kentucky in my American Eats series. However, fried chicken could have been included with almost any other southern state where fried chicken reigns supreme so it gets an honorable mention for Alabama and Georgia as well.
Harland Sanders, who started KFC, was actually born in Henryville, Indiana, which is close to Louisville, Kentucky. During the Great Depression, he started serving fried chicken to travelers from a roadside stand near Corbin, Kentucky. His chicken was so popular that he eventually franchised his recipe and the rest is pretty much history.
But despite its popularity, personally, I would much rather have homemade fried chicken any day over KFC.
What you’ll need
- Large Bowl – You will need a bowl big enough to hold all of the chicken pieces in a buttermilk brine.
- Ziptop Bag – A large ziptop bag is great for mixing up the spiced flour mixture and dredging the chicken pieces.
- Large Skillet – A large cast iron pan or dutch oven distributes heat evenly and consistently.
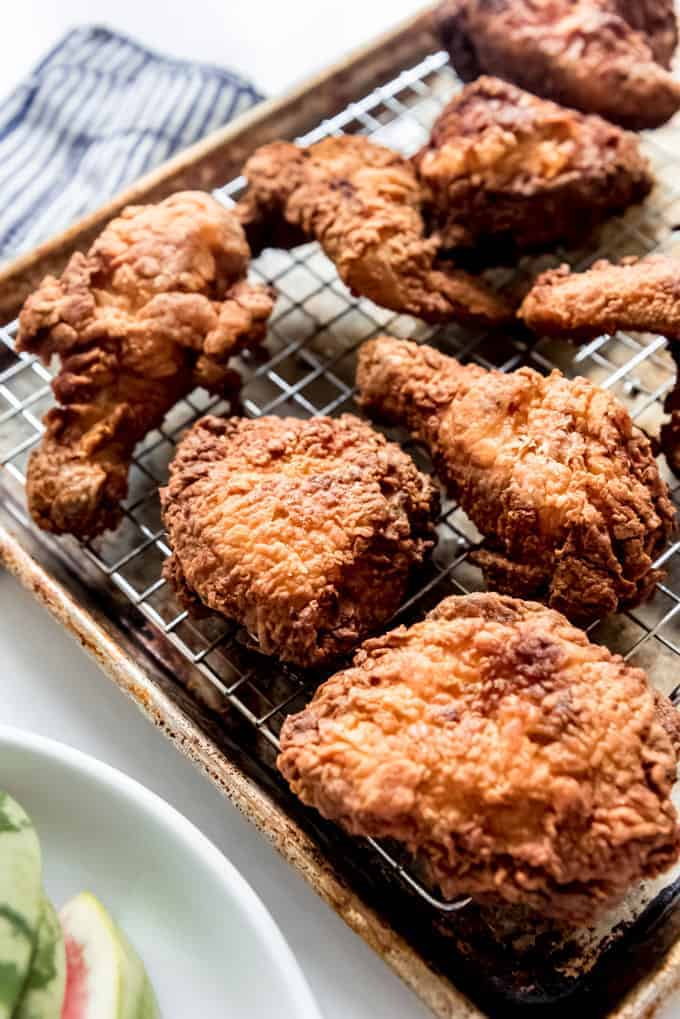
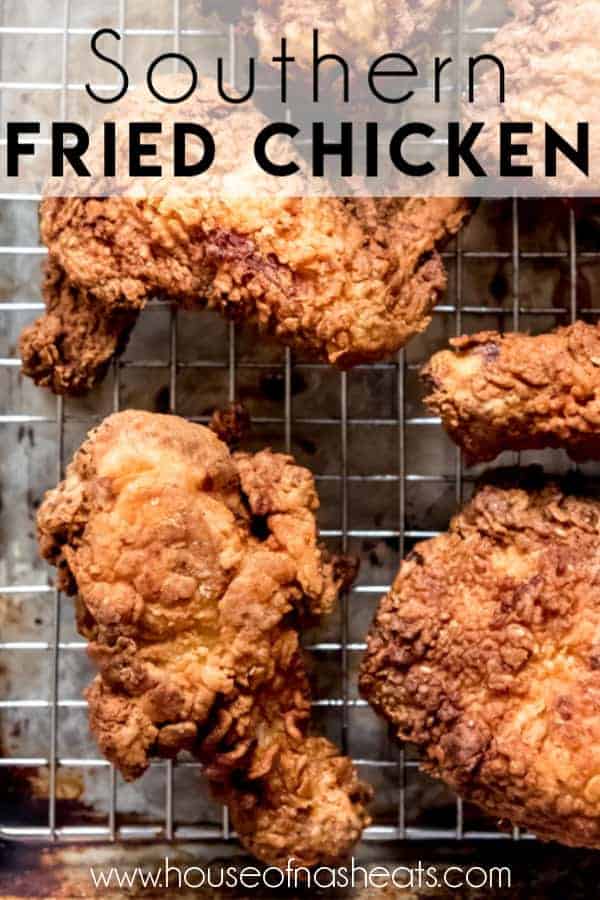
- Baking Sheet & Wire Rack – Placing just-fried chicken onto paper towels to drain results in soggy bottoms. Keep the chicken extra crispy by placing the just-fried chicken on a wire rack set over a baking sheet.
- Deep-Fry Thermometer – This is the same as a candy thermometer (affiliate link) and is indispensable in making fried chicken. A good thermometer will help you regulate the oil temperature so the chicken cooks evenly.
- Digital Meat Thermometer (affiliate link) – Having a good, instant read digital meat thermometer (affiliate link) lets you check each piece of chicken to make sure it has reached the correct internal temperature so you know it’s done. This is especially important when cooking different cuts of chicken like bone-in breasts and thighs.
- Tongs – A good pair of tongs lets you flip the chicken while frying without getting splatters of hot oil on your hands.
- A good amount of oil – canola or vegetable oil are my preference for frying chicken, although peanut works as well. All of these have a high smoke point and flavorless profile so they make the best oil for frying.
What type of chicken is best for frying?
This is really a matter of preference. You can use this recipe to make any type of fried chicken, whether you like all legs, boneless, skinless breasts or thighs, or a whole cut-up chicken so there are different pieces for everyone to enjoy.
If I’m frying chicken to chop up for a crispy chicken salad, I use boneless, skinless breasts or thighs. But if we are having classic southern fried chicken for dinner, then it’s typically bone-in chicken pieces from a whole chicken. Be sure to cut the breasts in half right in the middle before soaking, if taking the latter approach. This helps them cook much more quickly and easily than if you are trying to fry whole, bone-in chicken breasts.
Keep in mind that the amount of time it takes to fry the chicken will be different depending on the cut and whether it is boneless or bone-in.
How to make fried chicken
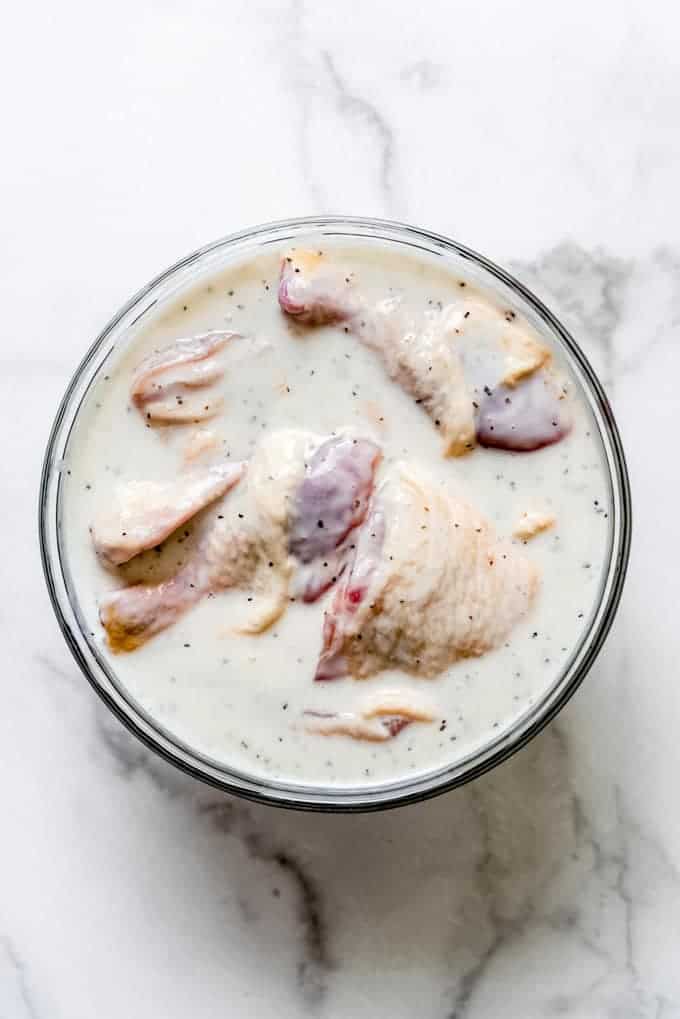
- Place the chicken pieces in a large bowl filled with seasoned buttermilk to soak. I soak my chicken in buttermilk for around 4-8 hours to make sure it’s tender and moist. You can go up to 24 hours, or skip the soak and just dip the chicken in the buttermilk. Adding salt, pepper, and paprika with a few shakes of tabasco sauce to the buttermilk brine helps season the chicken before it ever gets coated in the seasoned flour. Plus, the buttermilk has enzymes that help tenderize the meat as well as seal in flavor. So if you have the time for the soak, I highly recommend it.
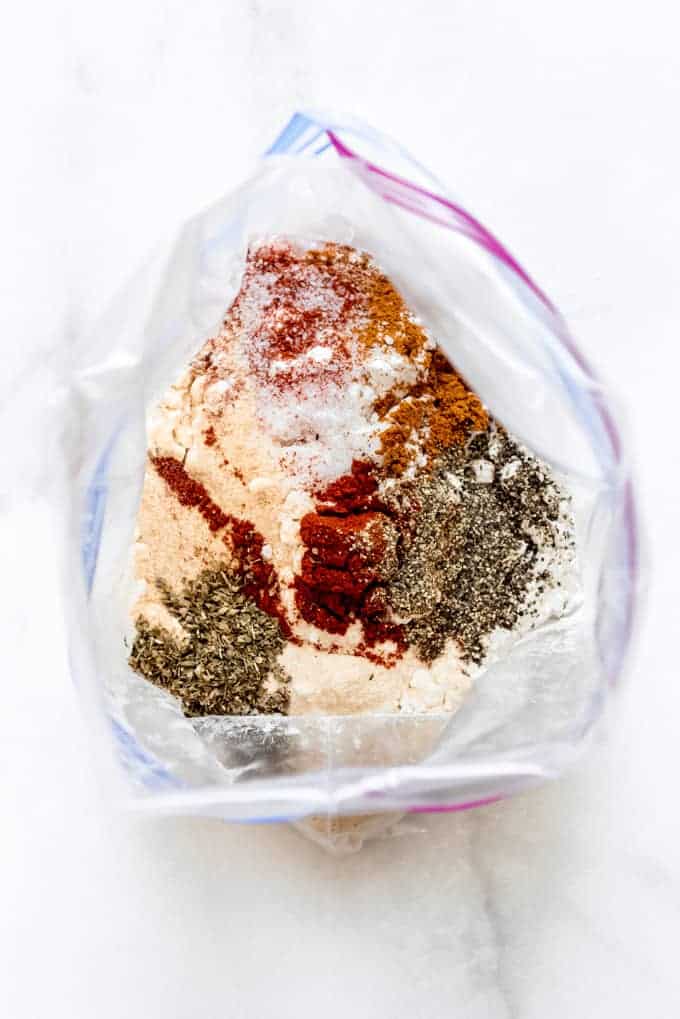
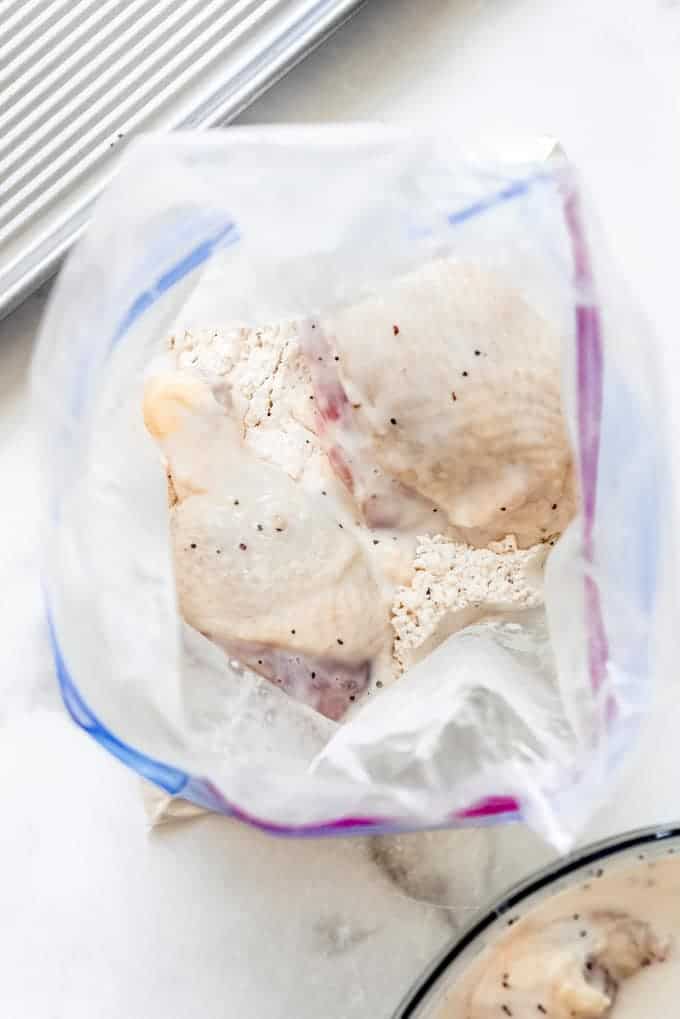
- Combine flour with herbs and spices in a large ziploc bag. Add the soaked chicken pieces, drained of their buttermilk brine, a few at a time. Seal the bag and shake well to coat each piece in the seasoned flour mixture, repeating until all of the chicken has been coated.
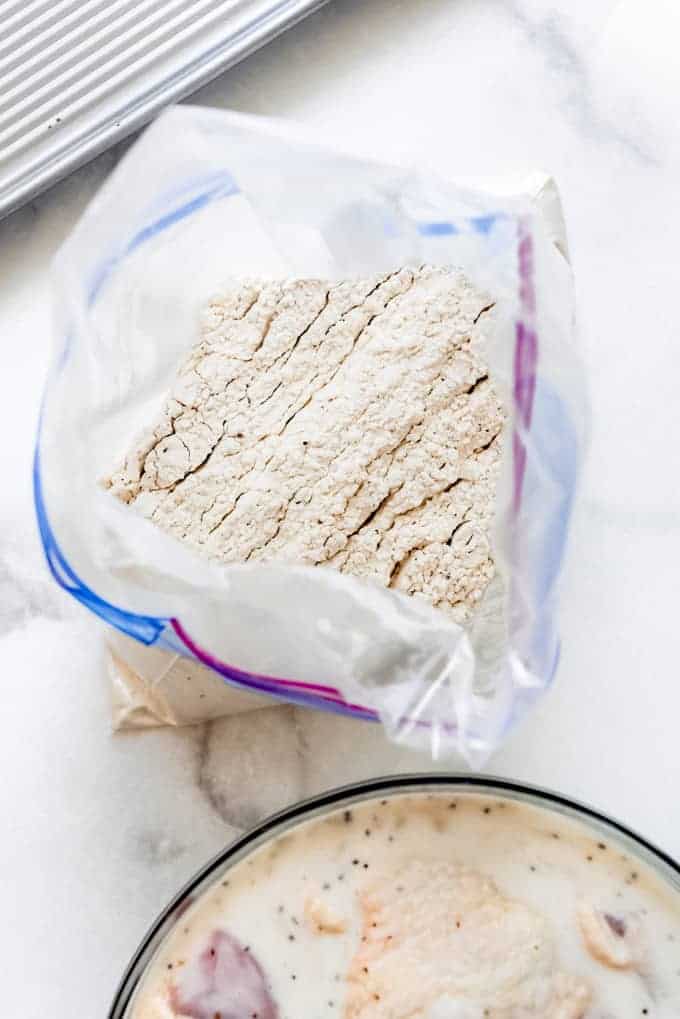
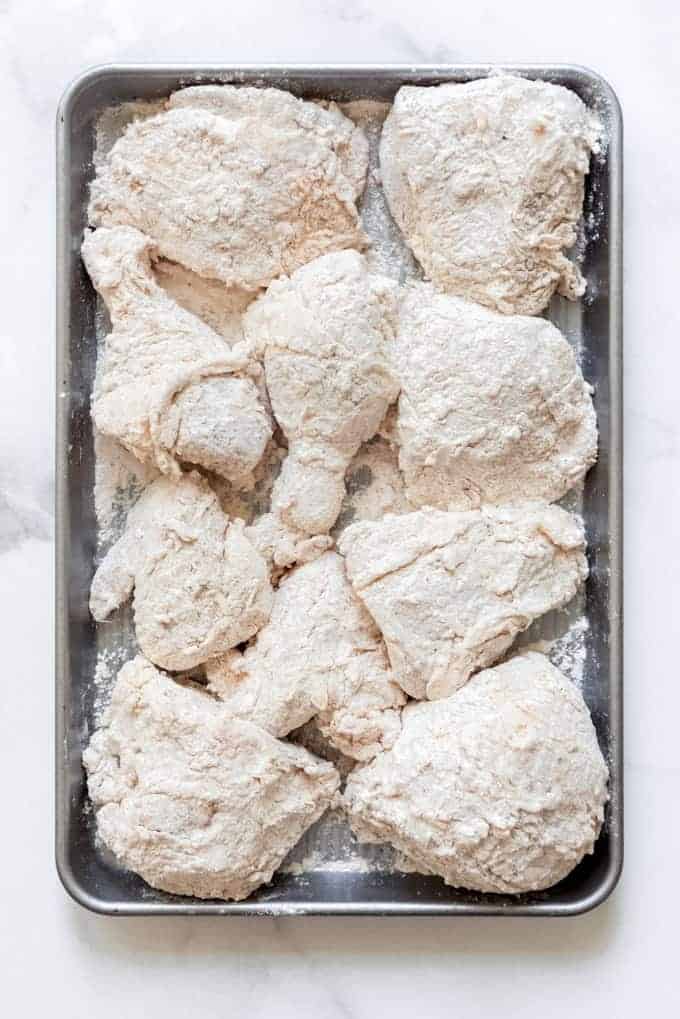
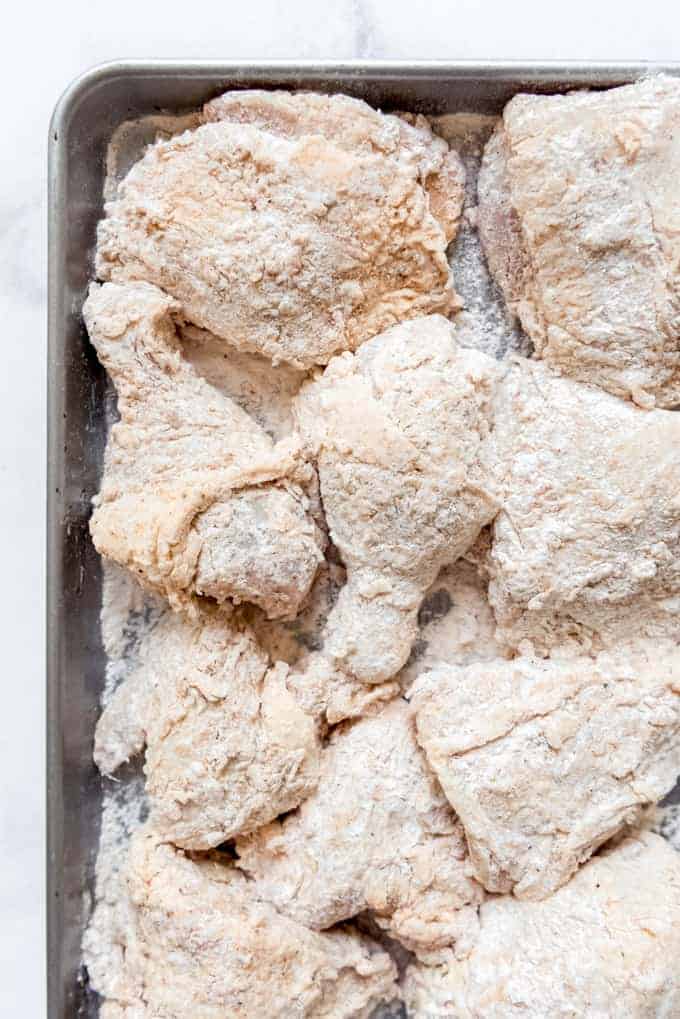
- Arrange the chicken pieces on a baking sheet and cover with a damp paper towel. Let them sit for about 20 minutes until the flour coating has absorbed the moisture from the buttermilk and has a tacky appearance. This step is key for 2 reasons. (1) It gives the chicken pieces time to lose their chill from the fridge so they don’t go into the hot oil while still super cold. This means better, more even cooking and less of a temperature drop to the oil in the pan. (2) The seasoned flour coating fries up better and less is lost in the frying process when it reaches this tacky stage.
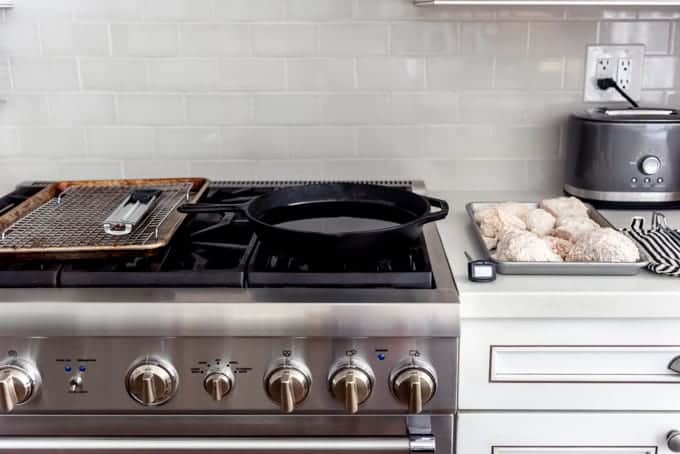
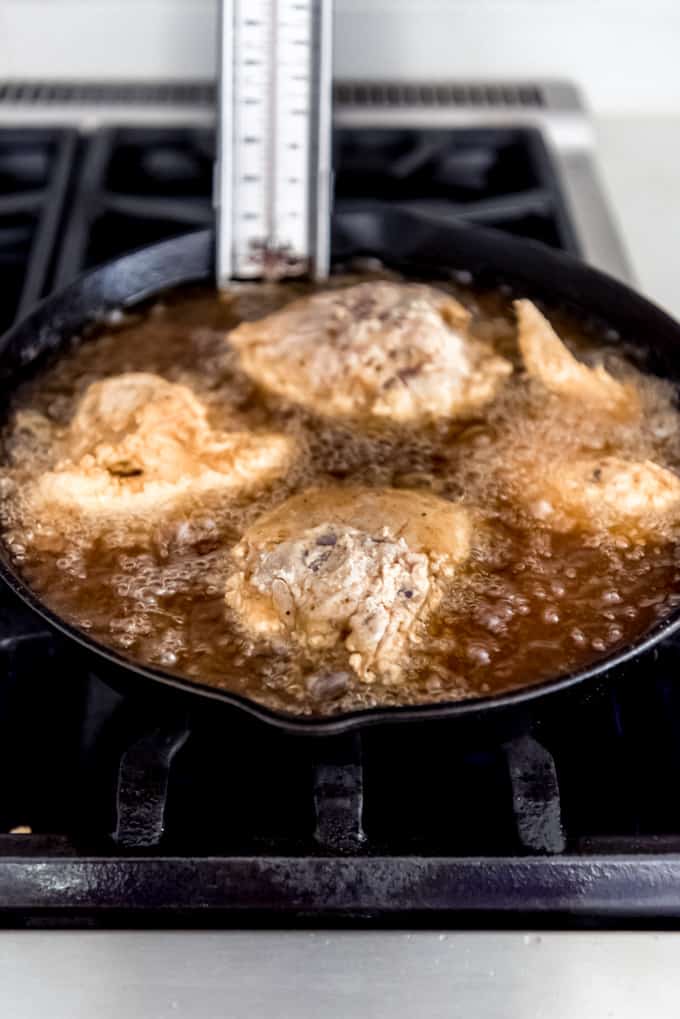
- Set up your frying station and heat the oil to 350°F. Make your life easier by setting up a frying station. Have a clean baking sheet lined with a wire rack on one side of a large cast iron skillet or other heavy bottom pan filled. Set your chicken to be fried, tongs, and thermometers on the other side.
- Fry the chicken a few pieces at a time. Don’t crowd the pan and try to fry all of the chicken all at once. I find that 3-4 pieces is about all that can be managed at a time. Flip the chicken occasionally until it is evenly golden brown and cooked through to an internal temperature of 165°F for chicken breasts and 175°F for chicken legs and thighs. The time will vary depending on the size of your pieces and whether you are using boneless or bone-in pieces.
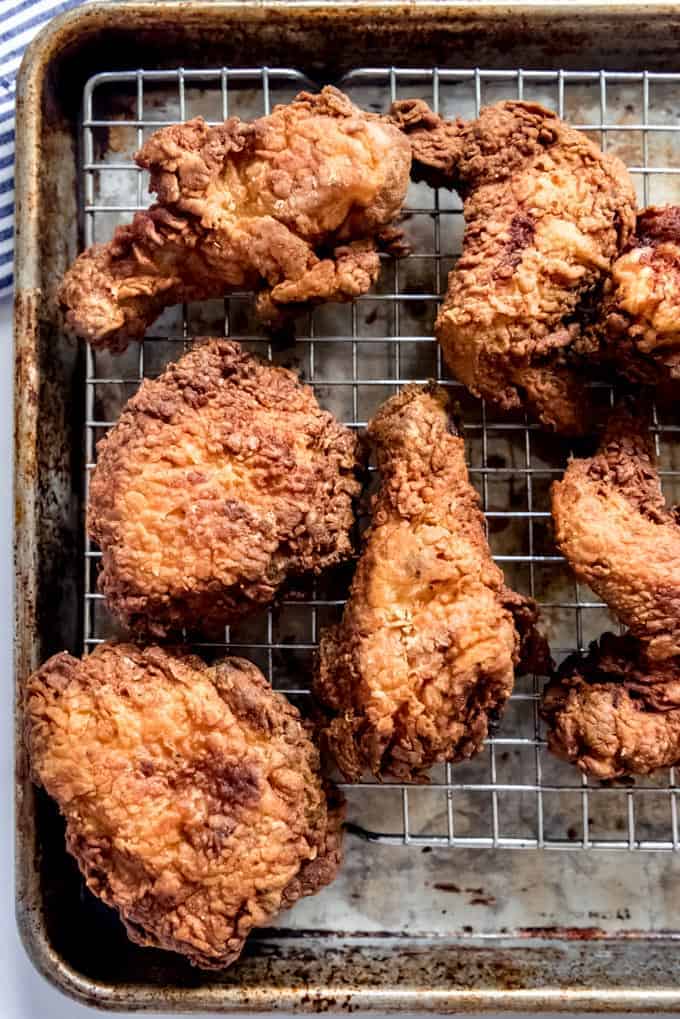
- Transfer finished chicken pieces to the baking sheet lined with a wire rack. Never place fried chicken on paper towels to cool thinking it will absorb grease. This just results in fried chicken that is soggy on the bottom. Keep the chicken warm in a 275°F oven while you fry the remaining chicken pieces.
What temperature does the oil need to be at to fry chicken?
The oil temperature should be around 325 to 350°F and you will want to maintain that temperature as closely as possible. If the oil gets much hotter, you risk burning the outside of the chicken before the inside has a chance to cook all the way through. Lower than that and the chicken tends to get greasy as it soaks up more oil.
My best tips for maintaining an even temperature are to use a heavy duty cast iron skillet, don’t crowd the pan with too many pieces of chicken at the same time, and use a deep-fry thermometer to maintain an even temperature during the process.
Oven-finish method
One alternative approach that I have used with good results is to only fry the chicken pieces for 2-3 minutes on each side, then transfer them to the baking sheet lined with a wire rack and finish the chicken in a 350°F oven until it is cooked through.
Be sure to rely on your meat thermometer to register 165°F to know for certain when the chicken is done.
- Bone-in pieces: Around 24-28 minutes in the oven.
- Boneless pieces: Around 15-18 minutes in the oven.
The upside of this approach is that it doesn’t take nearly as long standing at the stove in front of a pan of hot oil frying the chicken in batches. Instead, you are just crisping up the outer coating. This means all of the chicken finishes up at the same time. It’s an especially good approach if you are doubling the recipe to feed a crowd.
Tips for the best fried chicken
- Cut bone-in chicken breasts in half. They are so hard to get right and take much longer to cook than other chicken pieces otherwise. Just use a sharp knife and cut right through the bones.
- Don’t crowd the pan! Yes, it’s a little annoying to work in batches, but you will get much better results. Plus, you won’t have to deal with the frustration of oil temperature dropping drastically.
- Use the buttermilk soak. If you don’t have buttermilk, you can make a substitute by adding 1 tablespoon of lemon juice or vinegar to a 1 cup measuring cup. Fill the measuring cup the rest of the way with milk for each cup of buttermilk. Let that sit for 5 minutes and you’ve got buttermilk (or a close substitute at least).
- Drain on a wire rack. So many fried chicken recipes mention draining on paper towels, but that destroys the crispy coating! A wire rack is a much better approach.
What to serve with crispy fried chicken
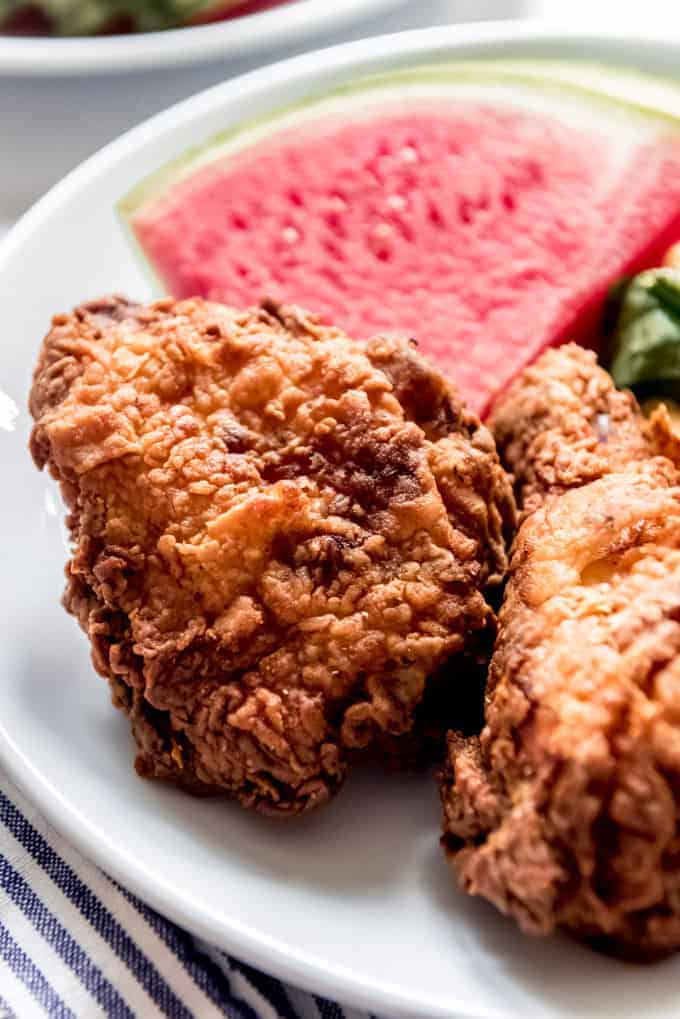
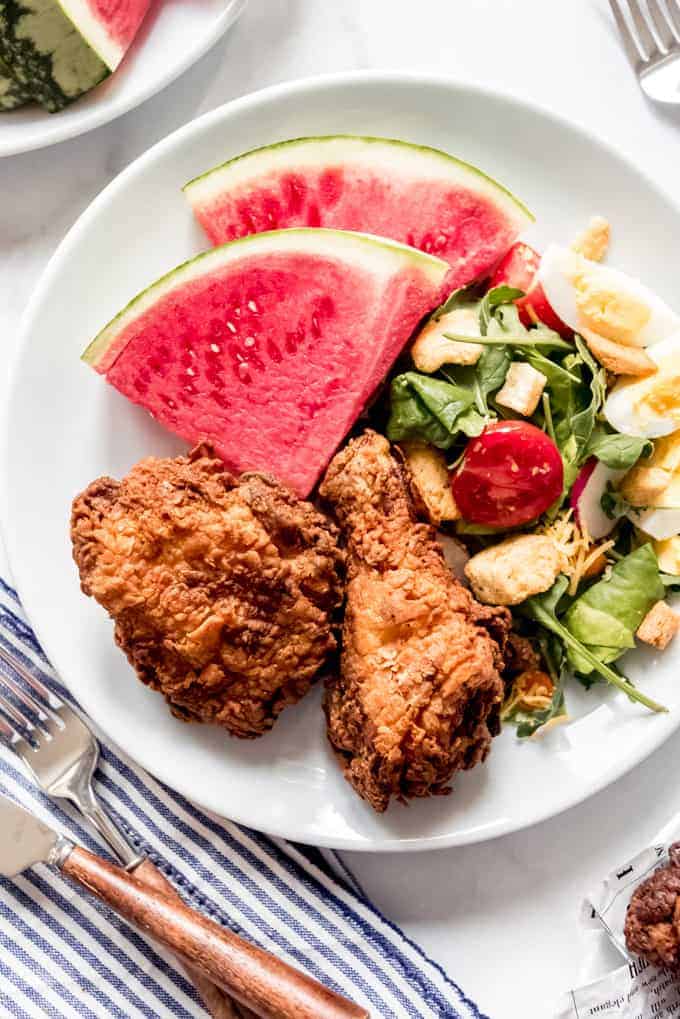
When I make fried chicken, I like to keep the sides lighter and more picnic style by serving with a slice of watermelon, a garden salad, and maybe some potato salad.
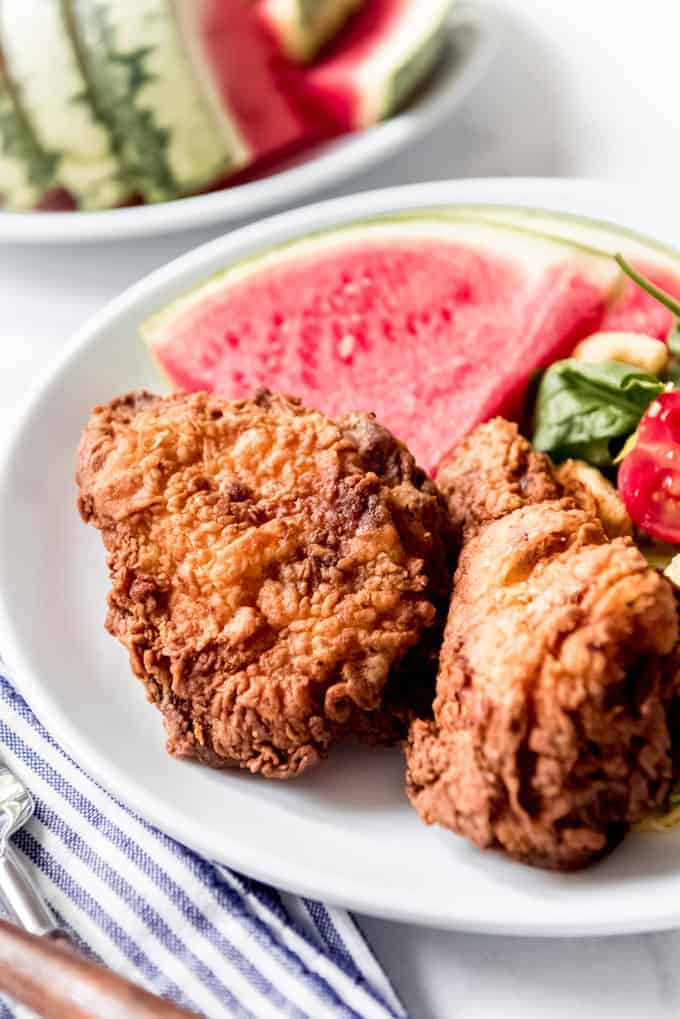
Or you can go the classic southern route by serving your fried chicken with creamy mashed potatoes smothered with a ladleful of gravy and a side of green beans.
Here are some other classic sides that go well with southern fried chicken:
- Classic Macaroni Salad
- Coca-Cola Jello Salad
- Creamy Grape Salad
- Southern Collard Greens
- Easy Creamy Corn Casserole
- Homemade Buttermilk Biscuits
- Fried Okra
- Black Eyed Peas
Did you make this recipe?
Let me know what you thought with a comment and rating below. You can also take a picture and tag me on Instagram @houseofnasheats or share it on the Pinterest pin so I can see.
Southern Fried Chicken
Ingredients
- 4 pound whole chicken cut into 8 pieces
- 2 cups buttermilk
- 1 Tablespoon kosher salt
- 1 Tablespoon paprika
- 1 Tablespoon freshly ground black pepper
- A few shakes of tabasco sauce
- 2 quarts vegetable oil for frying
Flour Mixture
- 3 cups flour
- 1/2 cup cornstarch
- 1 1/2 Tablespoons kosher salt
- 1 Tablespoon garlic powder
- 1 Tablespoon onion powder
- 2 teaspoons paprika
- 2 teaspoons pepper
- 1 teaspoon dried oregano
- 1/2 teaspoon cayenne pepper

Instructions
- Combine buttermilk, salt, pepper, paprika, and tabasco sauce in a large bowl. Add the chicken pieces, turning to coat. Place in the fridge and soak for up to 24 hours. My preference is at least 1-4 hours, although you can move on to the next step right away if pressed for time.2 cups buttermilk, 1 Tablespoon kosher salt, 1 Tablespoon paprika, 1 Tablespoon freshly ground black pepper, A few shakes of tabasco sauce, 4 pound whole chicken
- Combine flour, cornstarch, and all of the herbs and spices in a large, zip tight bag. Remove a few pieces of chicken from the buttermilk mixture at a time and transfer to the bag with the seasoned flour. Seal and toss to coat well, then transfer the chicken to a baking sheet. Repeat with the remaining chicken.3 cups flour, ½ cup cornstarch, 1 Tablespoon garlic powder, 1 Tablespoon onion powder, 2 teaspoons paprika, 2 teaspoons pepper, 1 teaspoon dried oregano, ½ teaspoon cayenne pepper, 1 ½ Tablespoons kosher salt
- Cover the chicken with a damp paper towels, a clean dishcloth, or a piece of wax paper. Let sit for at least 15-20 minutes until the flour has absorbed the moisture from the buttermilk and has a tacky, paste-like consistency.
- Fill a large dutch oven or cast iron skillet with at least 1-2 inches of oil. Heat until it reaches 350°F. Have tongs, deep-fry thermometer, digital meat thermometer (affiliate link), and baking sheet lined with a wire baking rack handy before beginning the frying process.2 quarts vegetable oil
- Carefully add 3-4 chicken pieces to the hot oil and cook on both sides, rotating every few minutes and adjusting the heat to maintain 325 to 350°F for 15-30 minutes until cooked through to 165°F when tested with an instant read digital meat thermometer (affiliate link) for breasts and 175°F for legs and thighs.
- When done, transfer the fried chicken pieces to a wire rack to drain. Keep warm in a 275°F oven while cooking the remaining chicken pieces.
- Leftover chicken is excellent served cold the next day.
Notes
- Oven-Finish Method: One alternative approach that I have used with good results is to only fry the chicken pieces for 2-3 minutes on each side, then transfer them to the baking sheet lined with a wire rack and finish the chicken in a 350°F oven until it is cooked through. Be sure to rely on your meat thermometer to register 165°F to know for certain when the chicken is done. Bone-in pieces will take about 24-28 minutes and boneless pieces will take about 15-18 minutes.
- This recipe is on page 183 of my cookbook, House of Nash Eats Everyday!
Nutrition
Sources: Recipe and method adapted from Elaine’s Crispy Fried Chicken from Allrecipes.com and Bon Appetit.
More States I Have Visited in my American Eats Series
Alabama • Alaska • Arizona • Arkansas • California • Colorado • Connecticut • Delaware • Florida • Georgia • Hawaii • Idaho • Illinois • Indiana • Iowa • Kansas • Kentucky • Louisiana • Maine • Maryland • Massachusetts • Michigan • Minnesota • Mississippi • Missouri • Montana • Nebraska • New Jersey • New York • Oregon • Puerto Rico • South Carolina • South Dakota • Texas • Utah • Wisconsin



I really have to try this recipe. Your pictures are making my mouth water! Quick question. Everytime I fry chicken in my cast iron fryer, I end up with flour sinking to the bottom and eventually burning–what can be done about this, or what am I doing wrong? Thank you!
I feel like that’s almost inevitable to some extent, BUT the amount of flour that sinks is greatly reduced by letting the chicken sit long enough to get tacky. It’s mostly when there is excess dry flour that this happens.
I got to tell you, I haven’t attempted to make fried chicken in over 15 years because every time I did try it, it wasn’t very good or it was undercooked on the inside and overcooked on the outside. I made this recipe this night and it was delicious!!!! I must also say that using both a oil thermometer and a meat thermometer made this a lot easier with yummy results! Thanks for sharing this recipe!
I’m so glad you tried again and used my recipe and tips, Stephanie!
Wonderful recipe. The only thing I did differently was while I was draining the chicken on the rack I drizzled it with some honey and set it in the oven at only 200 degrees to rest and drain. I did use the buttermilk marinade and I’m certain it was the reason the chicken was so juicy and tender.
I’m so glad you enjoyed it!
Putting watermelon with the chicken in the pictures is WILD
Lol, I know most people expect mashed potatoes and gravy, but I love the juicy, sweet watermelon with the crispy fried chicken!
I grew up having fried chicken every other Sunday. My mom taught me how to make it but when I grew up and married we had fried chicken at my parents house. My husband ate about the whole platter! So when I made it I decided I was not going to have oil splatters all over the cooktop and myself. So followed what I was taught BUT put the breaded lightly browned chicken pieces on a rack in a foil lined lipped baking sheet and baked at 325 for 30 minutes. That’s the way I’ve made it since then!! My arms and cooktop were saved!
Great!
Yes I fried the breaded chicken until lightly browned before putting in oven! Also I found if put breaded chicken in a big ziplock bag with all the remaining flour, shake it up a few times and put in fridge for 2 hours. Then take it out, put on rack and let set out 30 minutes. Makes the breading adhere better which fries up craggly and crispy!
Nice tip!
i’m black, and i’m drooling over this meal.
Ha ha David. This made me laugh out loud!